
How To: Exercise with the sit up and rotation with ball throw
Learn how to exercise by doing the sit up and rotation with a medicine ball throw. EXERCISE DETAILS:

Learn how to exercise by doing the sit up and rotation with a medicine ball throw. EXERCISE DETAILS:
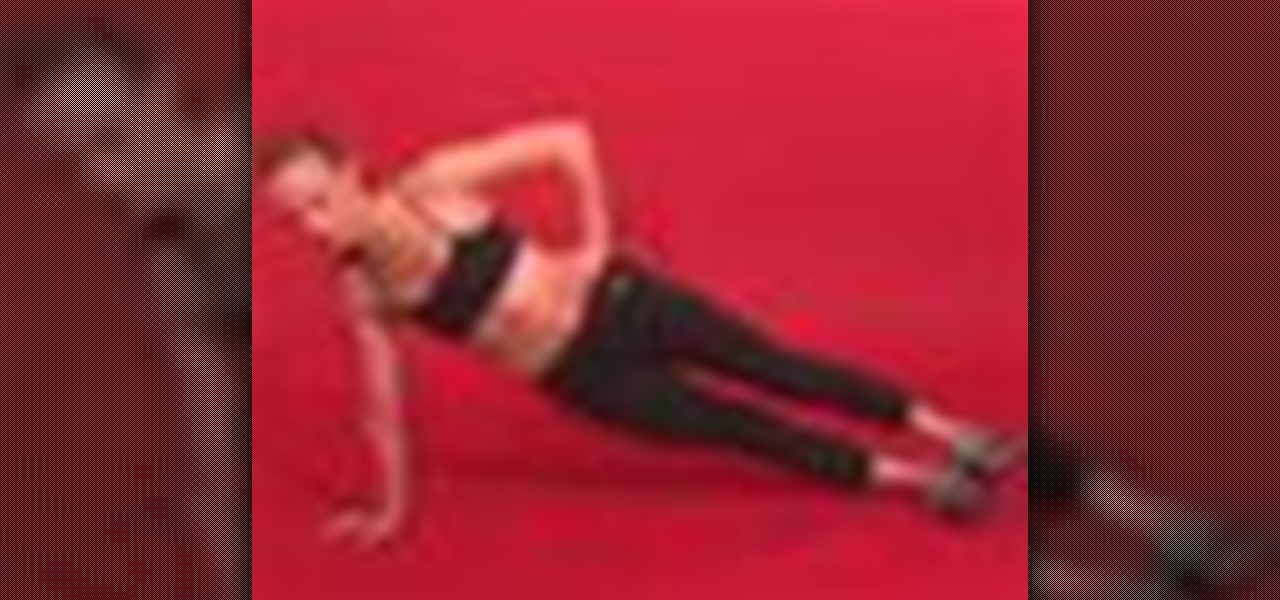
Learn how to exercise by doing the straight arm side bridge and hip abduction. EXERCISE DETAILS:

Learn how to exercise by doing the trunk rotation on the stability ball with a medicine ball. EXERCISE DETAILS:

Learn how to exercise by doing the trunk rotation on the stability ball with tubing. EXERCISE DETAILS:
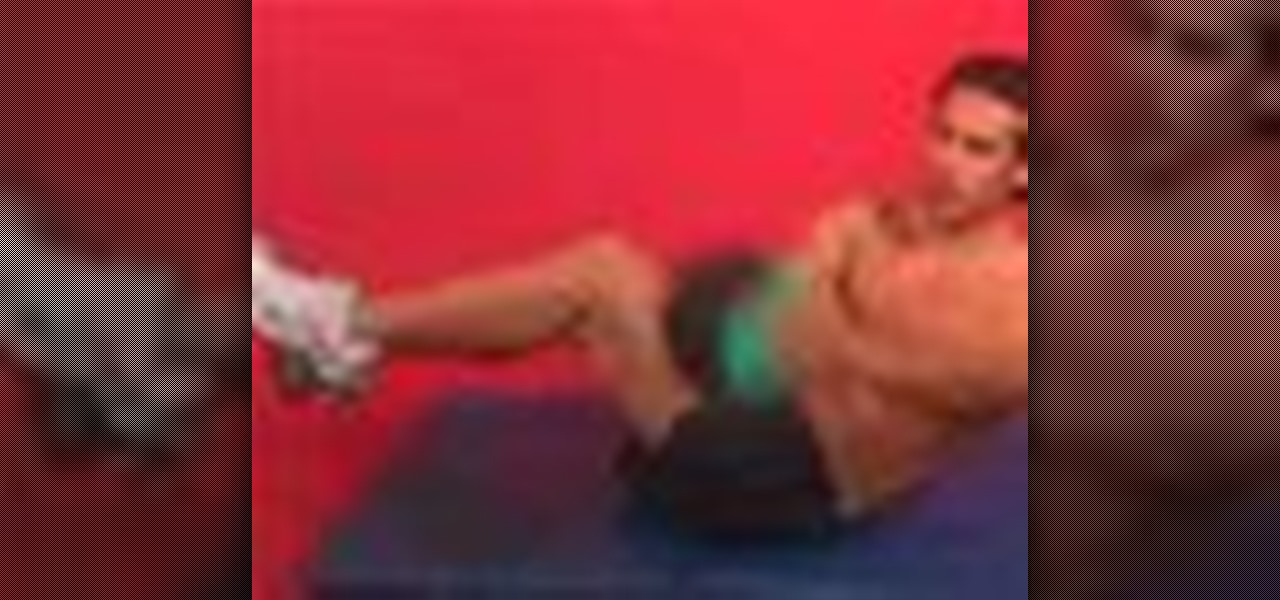
Learn how to exercise by doing the trunk rotation with a medicine ball and your feet up. EXERCISE DETAILS:

Learn how to exercise by doing the trunk rotation with a partner back-to-back medicine ball pass. EXERCISE DETAILS:

This video teaches a simple chord progression consisting of 4 simple chords, G, Em, C and D to learn up to 5 songs. The principle I will illustrate in this video is that popular music often is based on standard chord patterns, or intervals. To demonstrate this, I will play the end part of Led Zeppelin's "Stairway To Heaven" and go right into Jimmy Hendrix's "All Along The Watchtower" -- without changing chords or tempo!

The best knot for you is any good knot that you can tie quickly and strongly. So wouldn't it be great if you could tie all three connections with the same motion and if that motion were based on the first and simplest knot you learned as a child--the overhand knot? It turns out that by using the uni knot and its twin, the surgeon's knot, you can do just that. Though the uni knot is not as strong as many other knots, it is stronger than the improved clinch, and its simplicity may make up for w...

Fireworks, with its hybrid vector/raster type operation is especially well suited to mask work. Fireworks masks are based on one image clipping another. In this Fireworks 8 video tutorial you will learn how to create and use image masks. Make sure to hit "play tutorial" in the top left corner of the video to start the video. There is no sound, so you'll need to watch the pop-up directions. Create and use image masks in Fireworks 8.
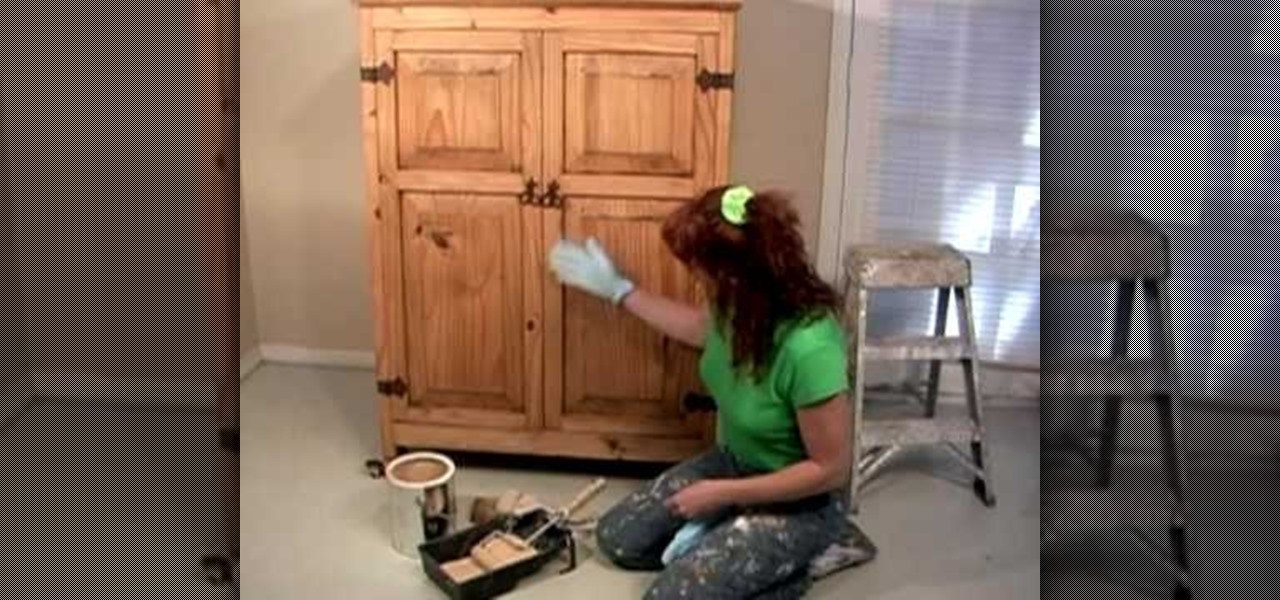
Add a custom finish to a dresser or armoire by following the steps outlined in this video tutorial to add a faux finish and distressed technique. This a good way to add a finished to a piece of furniture that looks plain or undone. To begin, used a water-based primer that is tinted in a golden tone. Just paint a thin layer of the primer onto your piece of furniture with a roller or paint brush. You can leave the hardware on since the finish is very crude looking. This means it is okay if you ...
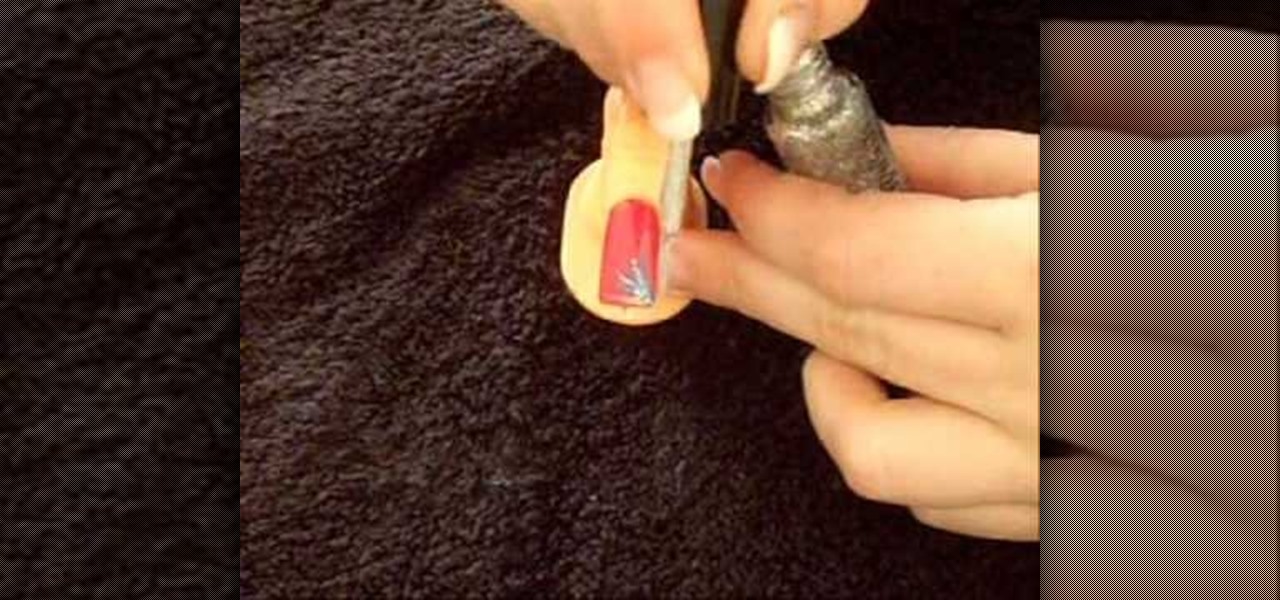
This tutorial teaches you how to use stripers in order to make interesting and unique nail designs using a very simple method. First, you should apply the base coat and a layer or two of the background color you would like to use. Next, using the thin nail art striper brushes of the color of nail polish you would like to use, carefully streak the brush across your nail, creating the desired design. By doing this carefully and with a little bit of practice, you will be sure to have very intere...

This video shows the viewer how to create an interesting nail pattern using minimal effort. This is done by first applying a base coat to the nail and then choosing a block color. Apply the color and then wait for it to dry completely. Then either add another color, or even 2 extra colors, and allow for this to dry. Then, select the type of striping tape you wish to use and stick it to the surface of the nail using the adhesive backing. Then trim the overhanging tape using cuticle nippers.
Moonwalk on Club Penguin! In order to moonwalk like Michael Jackson with your penguin, you need to have Penguin Storm 10. So make sure you download it first before you start penguin dancing.

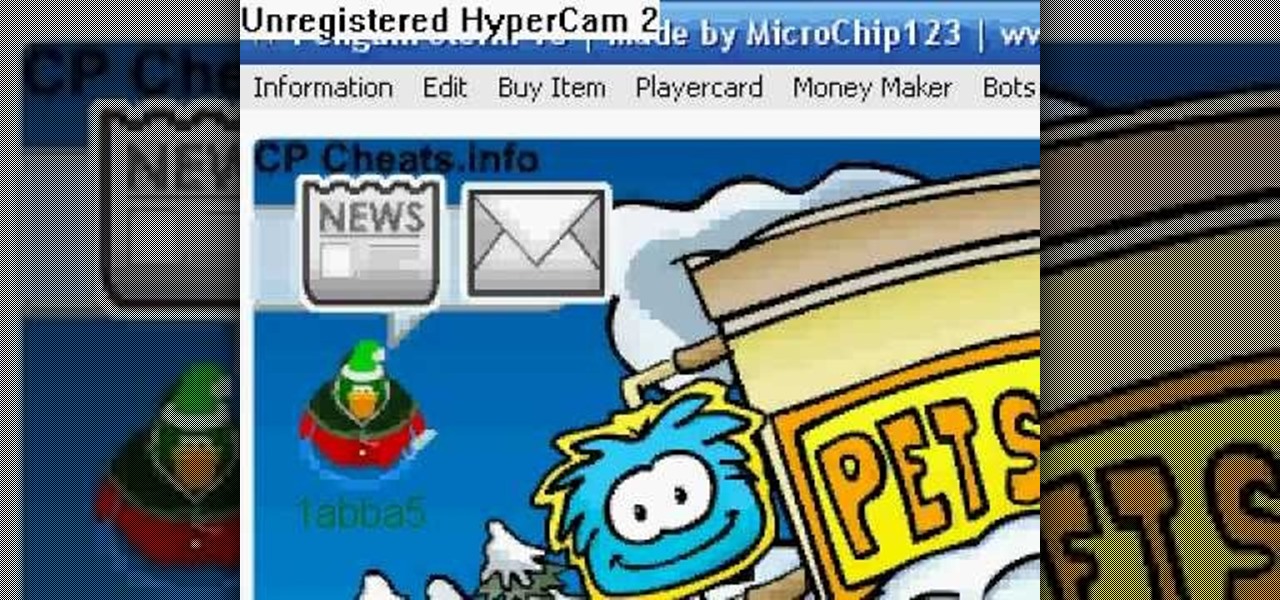
Get tons of coins for Club Penguin. Don't be the only one not cheating your way to the top. It's easy to do and you get tons of coins!

Club Penguin is a flash-based website with an a virtual world of online games for kids to play. Learn how to hack Club Penguin with tricks and cheats. Watch this video tutorial to learn how to hack Club Penguin: money cheat (09/29/09). Download Penguin Storm 8.
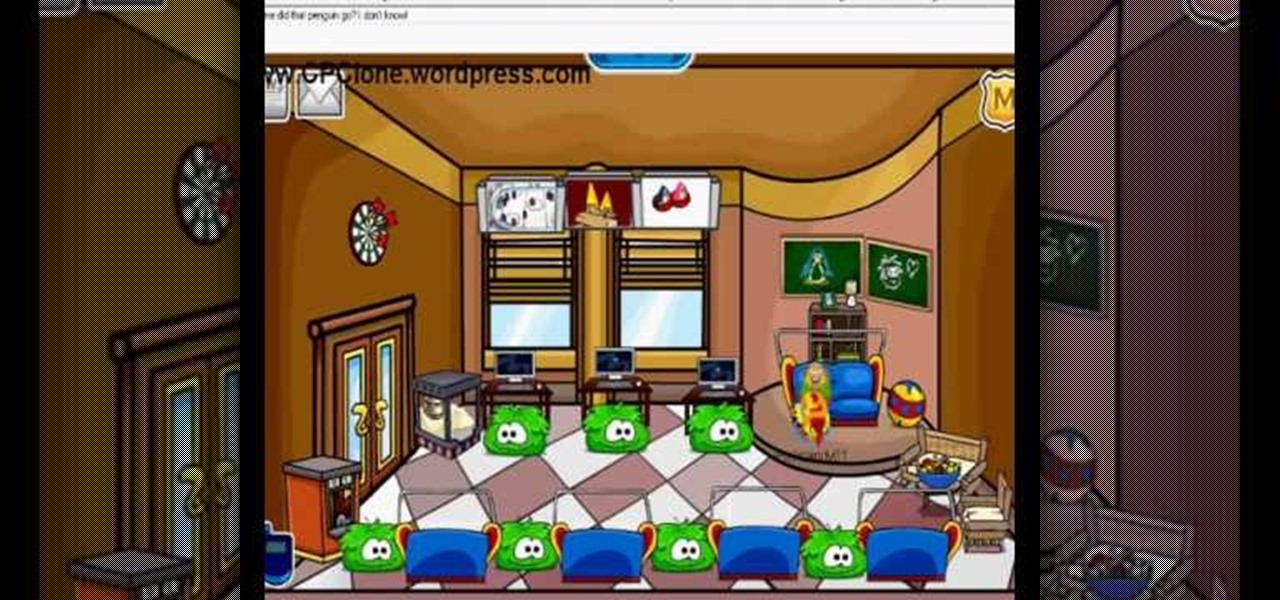
Club Penguin is a flash-based website with an a virtual world of online games for kids to play. Learn how to hack Club Penguin with tricks and cheats. Watch this video tutorial to learn how to get a member puffle on Club Penguin when you're a non-member (09/28/09).

Club Penguin is a flash-based website with an a virtual world of online games for kids to play. Learn how to hack Club Penguin with tricks and cheats. Watch this video tutorial to learn how to cheat Club Penguin: padlock pin hack (09/25/09).

IMVU is a 3D avatar chat, instant messenger, and dress up game. Get help with all of your IMVU avatar needs with these IMVU tips and tricks! Watch this video tutorial to learn how to earn credits easily on IMVU (09/28/09).
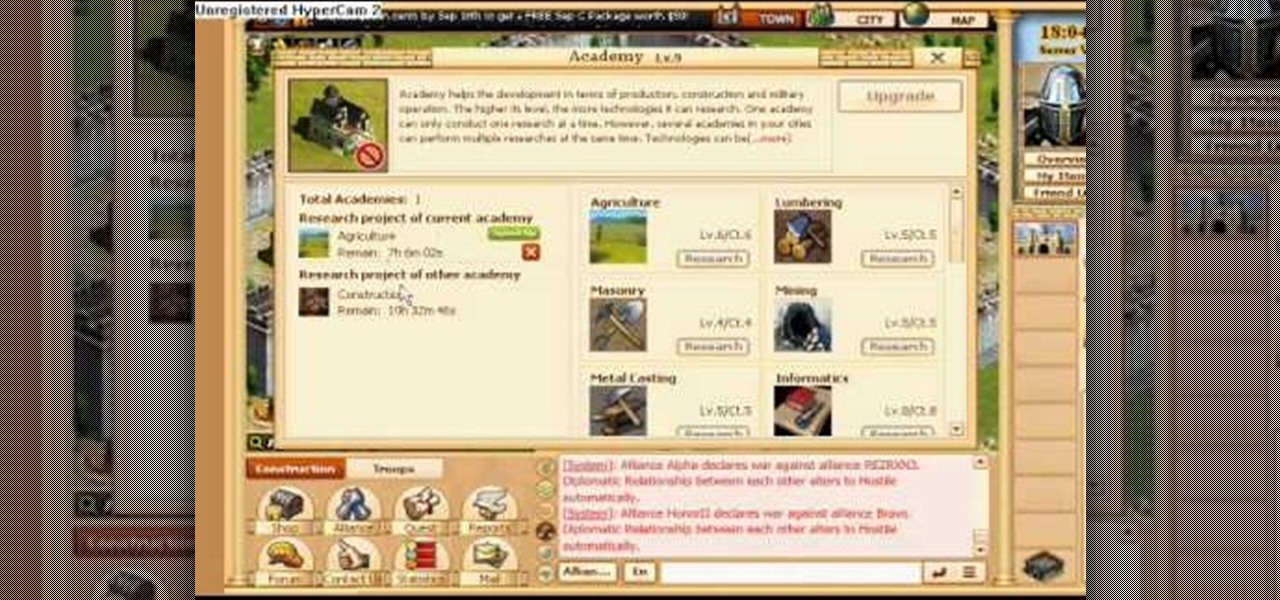
Learn everything you could possibly want to know about the internet, multiplayer game Evony. Watch this video tutorial to learn how to hack Evony (09/17/09).

Learn everything you could possibly want to know about the internet, multiplayer game Evony. Watch this video tutorial to learn how to get heroes and troops in Evony.

Hack mybrute with this mybrute cheat. MyBrute hacks, cheats, tricks. Watch this video tutorial to learn how to hack MyBrute with Cheat Engine (09/12/09).

Hack mybrute with this mybrute cheat. MyBrute hacks, cheats, tricks. Watch this video tutorial to learn how to hack Mybrute for 6 fights on day of registration (08/16/09).
Though several versions of the Big Apple dance exist, this is the widely-known version codified by Whitey's Lindy Hoppers based on the vernacular swing dance traced to the Big Apple Club in Columbia, South Carolina. This two part dance tutorial will teach you how to do the Lindy routine the Big Apple. These steps are fun and easy to do. Follow the steps in this swing dance how to video and you will be doing the Big Apple lindy routine in no time,

Don't show the world that you are tired and have blemishes. In this video, Shiloe shows you how to cover those under eye circles and blemishes. Clean and Prepare

There are many different formulations of foundation on the market. Here we show you how to pick the right foundation for your skin type. Why?
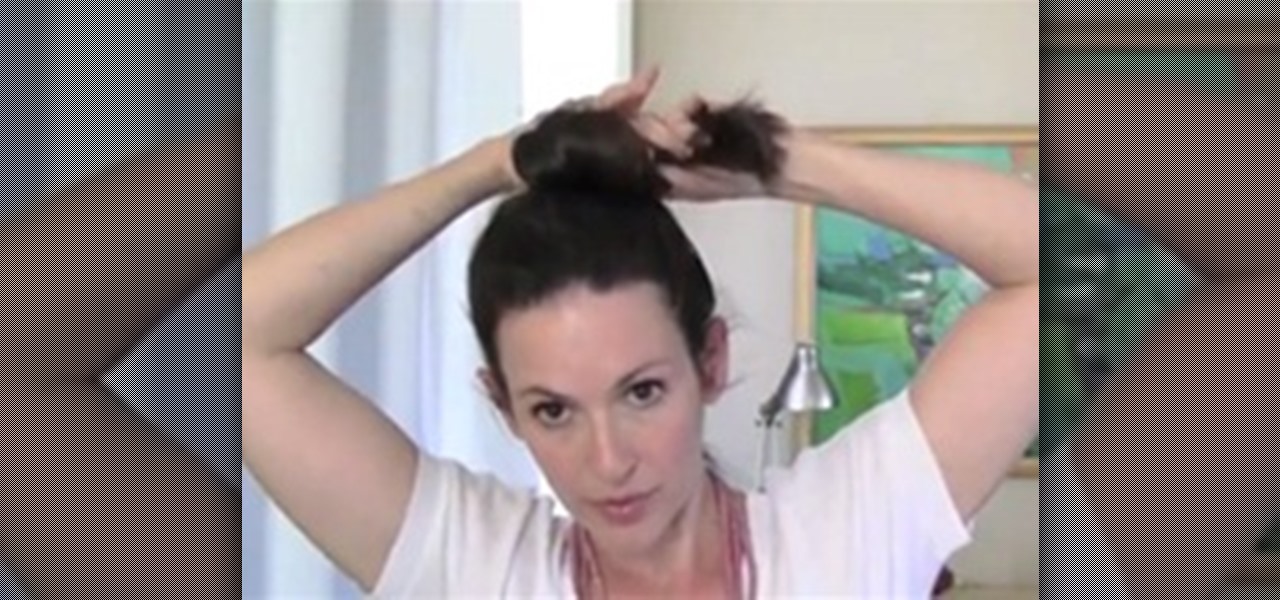
The "Spin Pin" is the secret to creating a secure hair bun. Here we show you how to use them to create a great top knot bun. Pony

In this tutorial, we learn how to remove root suckers from trees with Lee Reich. The root suckers will take the energy from the tree, outgrow the tree, and destroy the tree. The easiest way to get rid of these is to just tug them and remove them from the tree, which will result in no regrowth. For suckers that have been developing for a long time, it's going to be harder to remove. To avoid these, make sure you remove them two to three times a year. You can also cut off root suckers at their ...
This short 3D software tutorial shows you how to use the bevel modifier in 3ds Max. The Bevel modifier extrudes shapes into 3D objects and applies a flat or round bevel to the edges. A common use for this modifier is to create 3D text and logos, but you can apply it to any shape. Bevel takes a shape as the base of a 3D object. You then extrude the shape up to four levels and assign an outline amount for each level. What Bevel allows you to do is extrude and bevel a spline in 3D Studio Max up ...
In this video tutorial you will learn how to edit master files. Master files work almost like templates in QuarkXPress. If you change the master file, all files created based on the master file will change too. Make sure to hit "play tutorial" in the top left corner of the video to start the video. There is no sound, so you'll need to watch the pop-up directions. Edit master files in QuarkXPress.
Double clicking any bitmap based object will get you into bitmap mode. You'll be able to use all the bitmap tools like the Lasso, the Paintbrush, and the Magic Wand. In this Fireworks 8 video tutorial you will learn how to use Paintbrush, and how to set brush preferences. Make sure to hit "play tutorial" in the top left corner of the video to start the video. There is no sound, so you'll need to watch the pop-up directions. Use Paintbrush in Fireworks 8.
Bryce is a texture-based rendering and ray tracing program ideal for creating 3D landscapes, space scenes, buildings and other objects. The name is taken from Bryce Canyon - a rugged region with many of the same landscapes that were first simulated with the software. In this Bryce 5 video tutorial you will learn how to create a volume spotlight. Make sure to hit "play tutorial" in the top left corner of the video to start the video. There is no sound, so you'll need to watch the pop-up direct...

In this video you will see how to apply butter cream frosting to a large circular cake for a wedding or for any occasion that calls for a fantastic cake. You will need a lot of frosting and an adequately sized smoothing tool. It is very helpful to have a platter that turns to get smooth, uniformed edges to your cake. Dipping your tool in a glass of warm water will allow for a more refined smoothing ability. You will use dowel rods placed through the cake to support the following layers. Frost...

first pick your mark...preston would be perfect for this first..get one of your paintball guns n attach a gps to the side of it...type in his location...and BLAMM hahaharepeat wit others such as dunn...knoxville...ect. ect.or create a lil "blind" you can camp in wit paintball gun... while said people come into a perticular buildin everyone frequentsthey be like what the fuck?!? hahaha -RaVeN

In this tutorial, learn how to make a traditional Indian Phulki Ka Salan, or chickpea curry with Sheba.

An "employee" is helping a customer who has a few questions. Not only does the fake employee know absolutely nothing about what is being asked, but the "employee" then "accidentally" breaks an item in the store while trying to demonstrate to the customer. Then a "manager" walks by, and the employee blames the broken item on the customer. The results are endless. People might react in all sorts of entertaining ways. The prank really depends on the fake employee's ability to keep cool while lyi...

50 is fabulous and makeup only enhances your beauty at this age. In this video, Shiloe shows you makeup tips to enhance your natural maturing beauty. Prepare
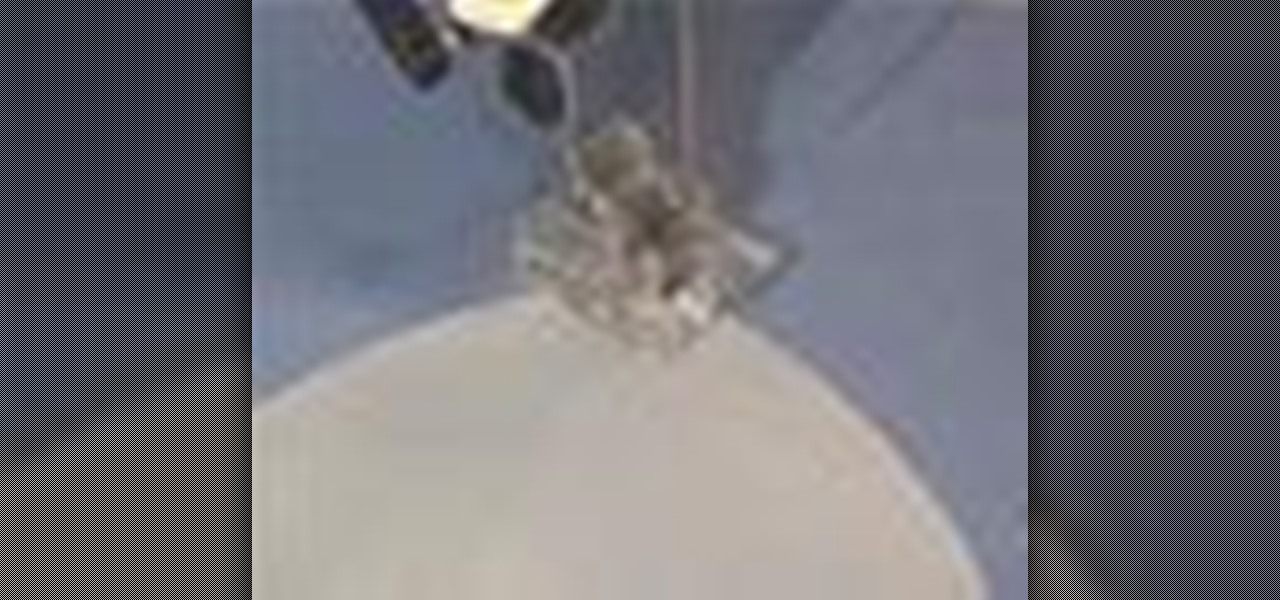
To use an applique foot for a sewing machine, select zigzag stitch with very short stitch length 0.30 to 1, width of 1.5 - 4.0. Loosen tension to about 3. Transfer pattern to paper side of fusible backing. Mirror all letters or numbers. Iron fusible backing onto applique material, cut out designs and remove paper. Position applique pieces and iron onto base fabric. Place stabilizer under applique area. Over stitch all edges to prevent fraying. Use

The Supplies You're going to need a lot of poop and pee for this one. Get guys with sling shots and squirt guns. If it's possible get a fire hose to shoot ALOT of piss at someone.