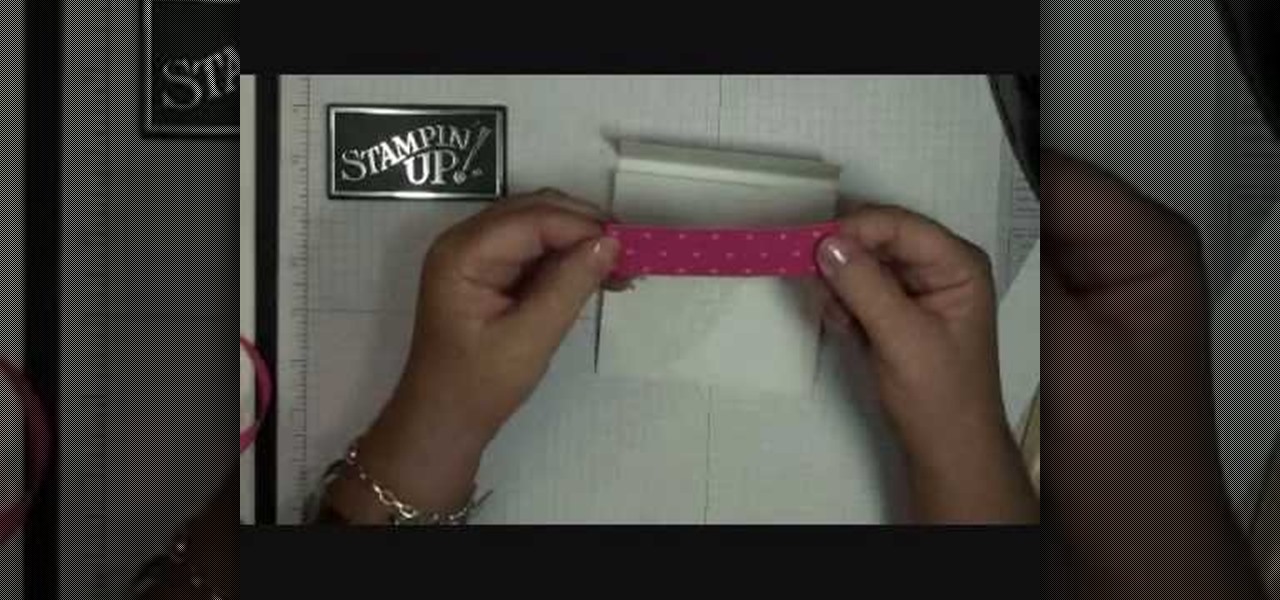
This video shows the method to make a gift card holder with "Stampin' Up." First, we use the Movers and Shapers to cut a heart shape on a paper. We use the add-ons cut by the Movers and Shapers to punch windows. Next, we use the Big Shot machine. Next, put a piece of Whisper White in the machine and cut at four and a quarter to eleven inches. Fold it into half and cut an inch and a half off the front top. Score the back panel at one and quarter inch. Take bags measuring 3 5/8 inch to 6 5/8 in...
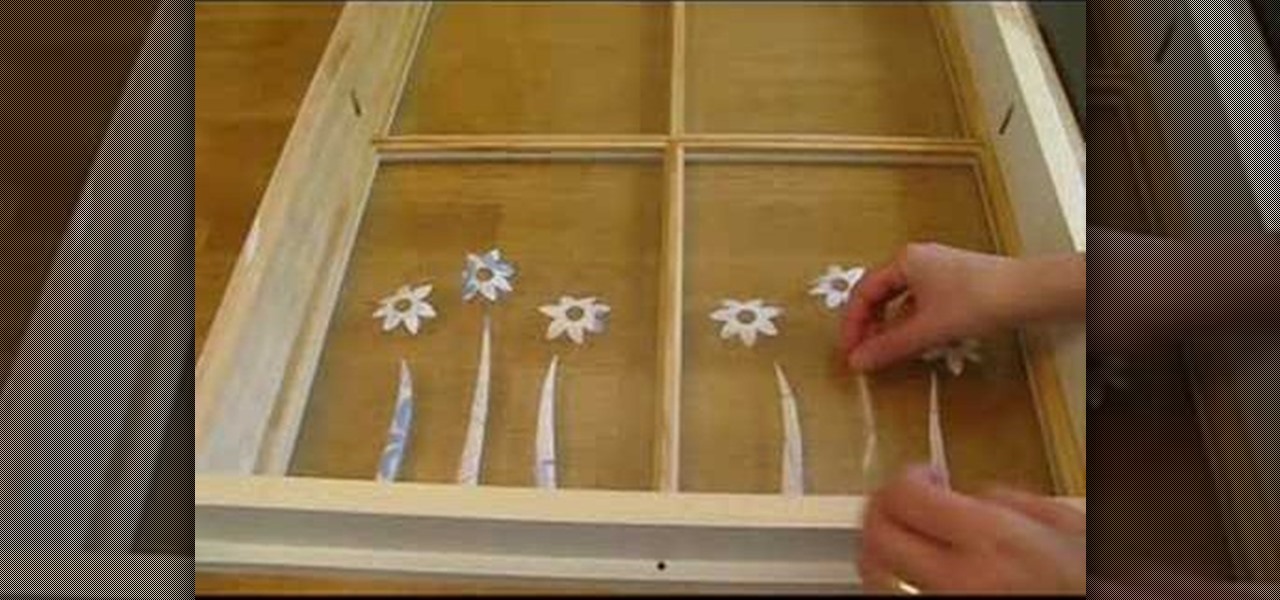
Check out this DIY video tutorial from Curbly, the best place to share pictures of your home, find design ideas, and get expert home-improvement advice.

A guy learning to read girl talk is like learning Latin - only a select few (i.e. girls) know the grammar and rules, and everyone else just stares in confusion.
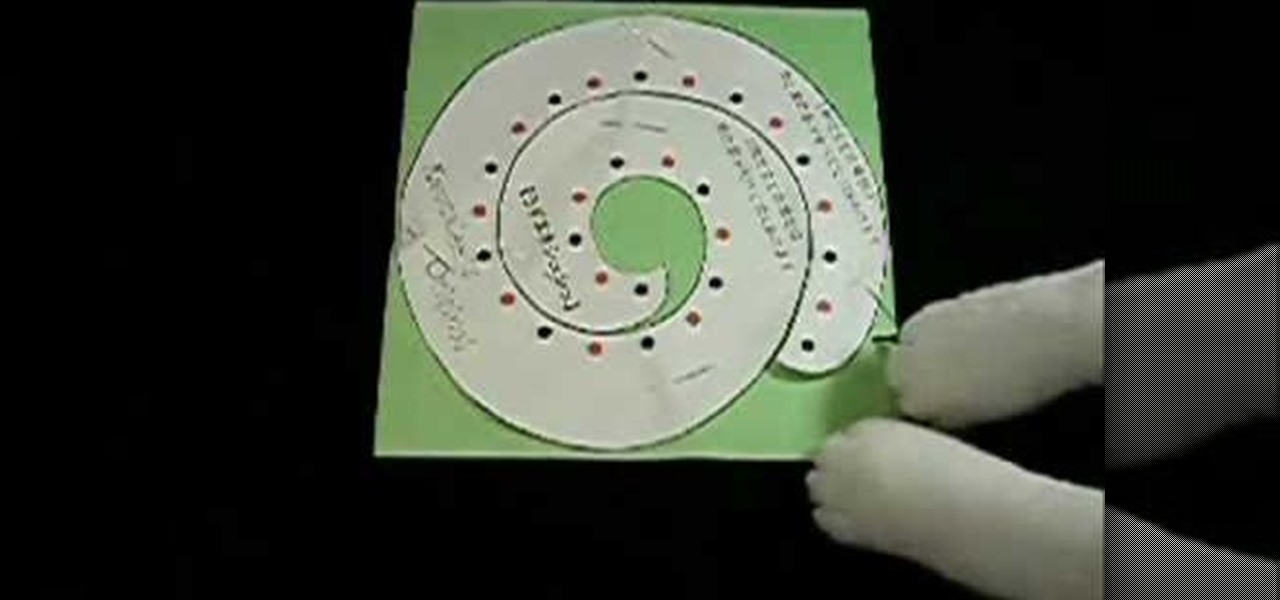
The hair scrunchie in this how-to video is so easy to make, even a cat can do it. You will need a felt fabric square of 20 by 20 cm, an elastic string of 30cm, a cutting punch, a hammer, marking pins, scissors, two big beads, and a cutting mat. Watch this video sewing tutorial and learn how to make a spiral shaped hair scrunchie.

The Crayola Cutter makes cutting as easy as tracing a picture. The safe, easy-to-use cutting wand handles like a pen, so you can cut out intricate shapes anywhere on the page. Designed with safety in mind, the punch-tip action cuts paper by perforating it. This tutorial teaches you how you and your children can use the Crayola Cutter.

This video card making tutorial shows how to make a mini tri-fold album card. You'll need designer paper, ribbons, a hole punch, and a sheet of acetate. Watch this instructional video and learn how to make a mini-trifold album card, as a gift or to treasure yourself.

The Bind-it-all is a handy device to easily make little books or notebooks. It punches paper exactly and gets the ready for coil bindings. Watch this video bookmaking tutorial and learn how to use the bind-it-all paper binder for making notebooks or books.

This video tutorial shows how to make a card using the Brayer technique with Spectrum and Versamark pads, stamps, and paper punches. Get ideas and instructions for how to make a colorful and professional looking greeting, gift, or holiday card.

In this how to video fitness expert Gin Miller reviews the correct technique for the boxer's stance. This kick boxing technique helps you propel your weight forward into your punches protecting your from your opponent.

Adolfo explains how to throw a jab properly. You lean forward, keep your elbows in, and keep your left hand above your right. You should always make sure that your right foot is planted after your punch.

SiFu Lee breaks down a basic drill that combines shifting, the second Tan Sau and Punch to drill against a swings.

Unless it's a scene with so many punches and kicks and explosions, storyboarding an entire movie or short isn't a requirement. However, it can be of use anyway; especially if your movie calls for seventy different shots that you can't all remember; or if you need a visual reference to hand to your crew.

This is a handy technique the pros use all the time—it's perfect for arranging flowers in unusual receptacles, like a favorite punch bowl or cookie tin.

Bob and Brett show you two different record modes in your Pro Tools interface - Quick punch and the Transport window.

This week, Meg shows us a quick and cheap way to add extra seating in those cramped dorm rooms. Plus, some easy tips on how-to make your dorm feel like a cozy home away from home.

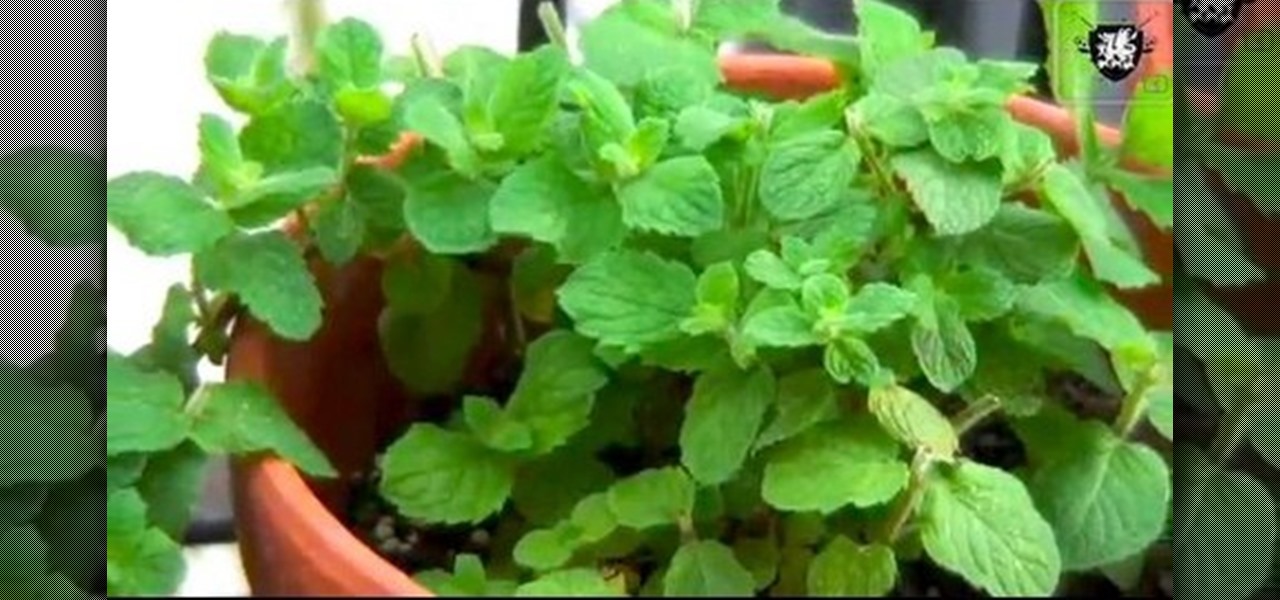
Herbs are an incredible addition to your garden. This week, Meg talks about some of her favorite herbs and shows us how-to make a new moon herb tincture! Follow along with the advice in this video gardening lesson and start incorporating fresh herbs into your cooking!

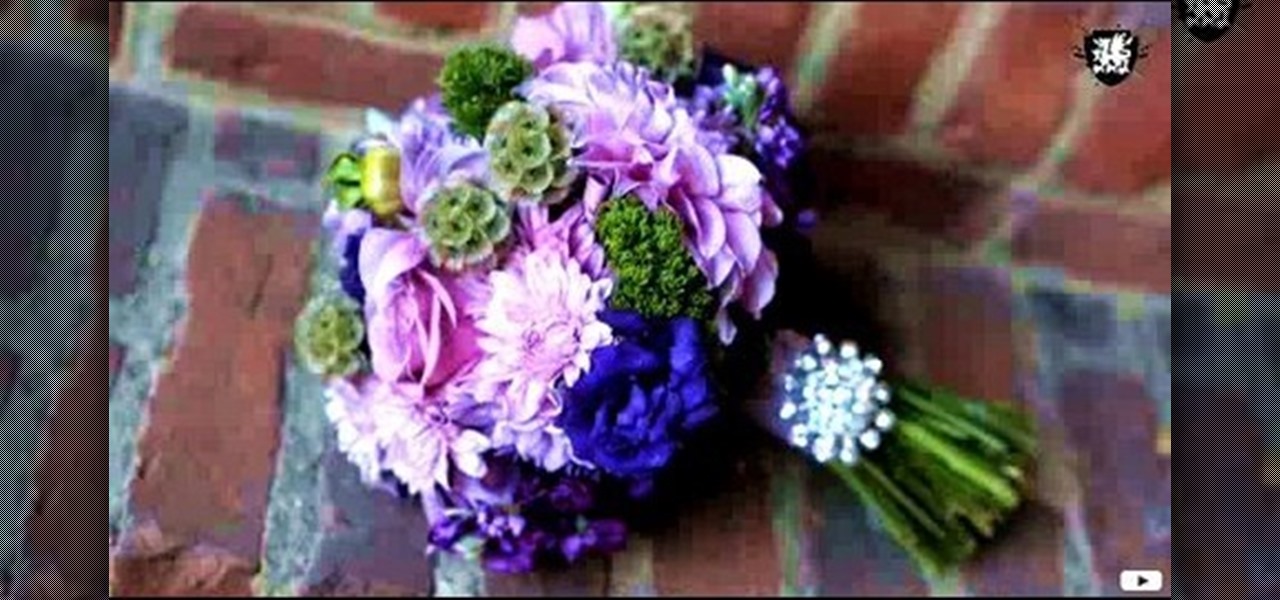
In honor of DIY Wedding month, Meg shows us some awesome wedding lighting solutions and nice personal touches to make your day extra special. This how-to decorating video will show you ways to plan a beautiful, personalized wedding.

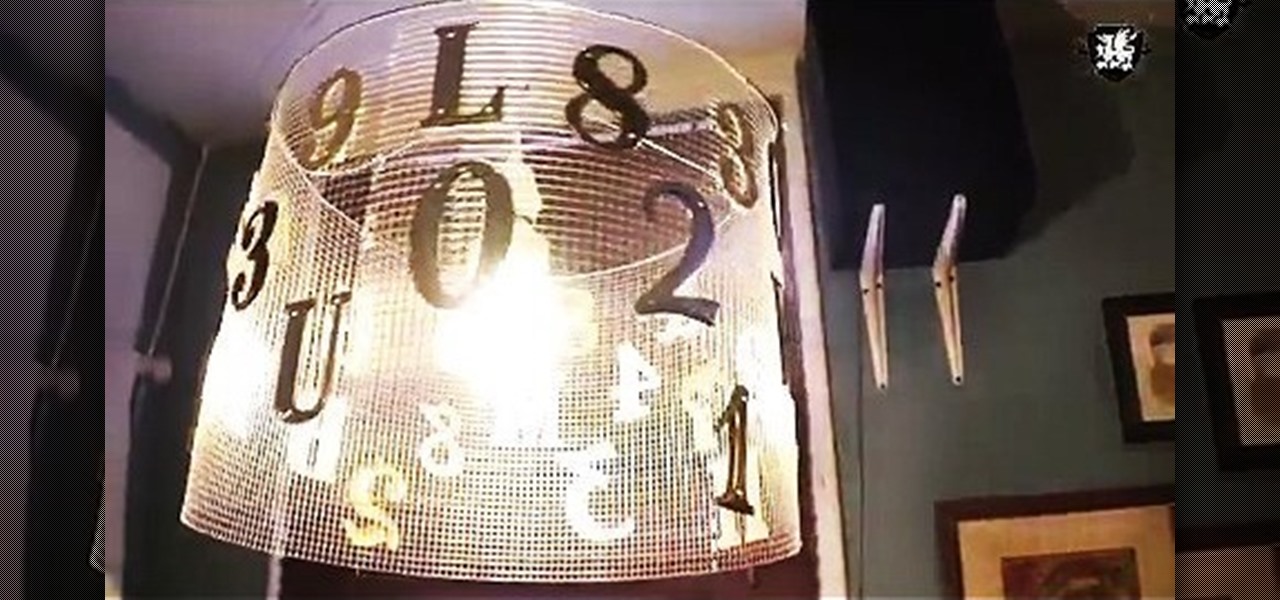
In honor of our Earth, Meg shows us how to upcycle old items into a rad new pendant lamp. Plus, learn some easy ways to contribute to your neighborhood. This video home decorating lesson shows an ecological way to add some style to your space.

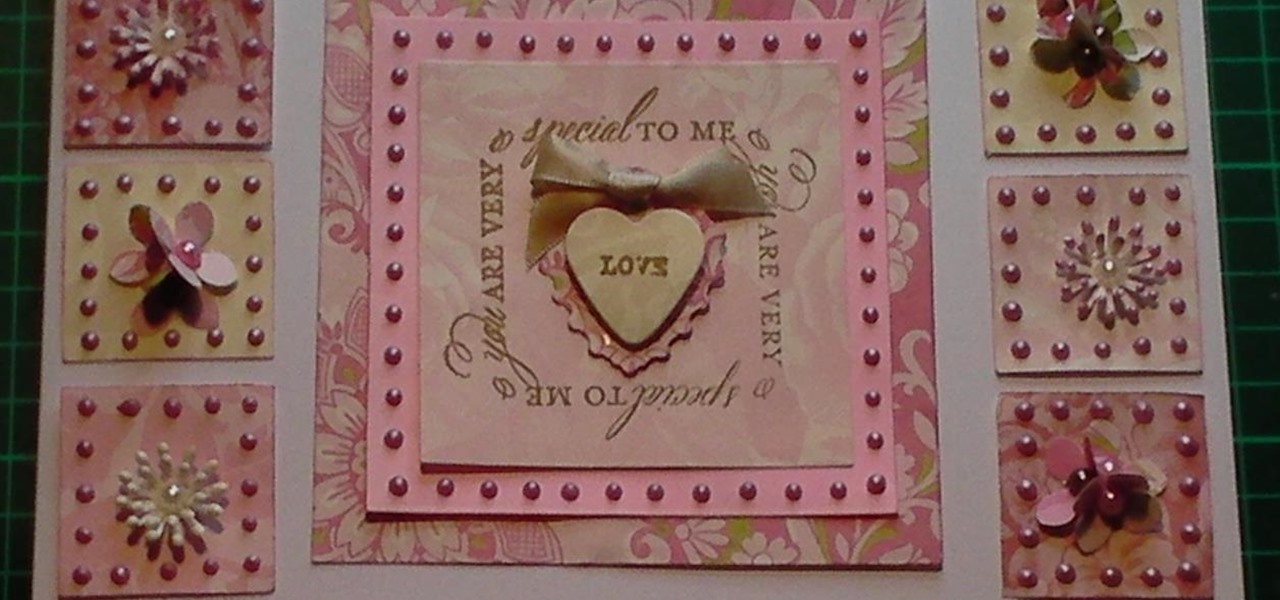
In this demonstration I show you how I have used scraps from my scrapbox and using a punch, I have turned them into a patchwork card. I used Cosmic Shimmer PVA in Vintage Pink to make the Pearl dots and all the paper was in my Anna Griffin scrapbox, I made all the flowers, again from scrap. I used a Say it Anyways stamp to make the sentiment and then finished it off with a handmade heart embellishment. Step 1: Now Watch the Tutorial

Video: . Learn how to make a paper origami gift bag with own logo design (branded paper gift bag). The final size of the paper bag is with width: 18cm and hight:15cm.

Video: . Learn how to make a paper origami gift bag with/without handles tutorial.

To start you will need a craft bag. They can be found at Michaels but they can be difficult to find. Take the bottom flap of bag and fold it over. The bags will be cut down to 4 and 3/8. You will next need your pink pirouette cardstocks, one will be 5 3/4 x 3 5/8 and it will be scored at 1 1/4. That will be the back of the bag. The other pirouette will be 4 1/2 x 3 5/8 and it will be the front of the bag. On the front Pirouette you will use your stamp on the front right hand corner as close t...

Ben for Mechanical Mashup demonstrates how to build a barn door halogen light system for a studio and how to establish right triangles and parallel lined without a square. It is quiet expensive to buy a barn doors according Ben, so it could be built by us. These barn doors can be adjusted anyway we want to. So the barn doors are to be fixed to a halogen light. First thing done is to unscrew the frame of the halogen light. The glass is removed by just bending the frame. Next thing to do is to ...

This tutorial describes how to make a Hershey Kiss holder. This is a quick and easy project that you can make to use as little gifts in your kids' lunches, for co-workers, party favors, place-holders at holiday meals and more.

In this video you will learn how to complete the "Finish Him" achievement in GTA IV. In order to do that just follow these steps. First you will need to go in a crowded place. You will need to get 10 melee counters in 4 minutes. To complete a counter attack you will have to press the A button when the enemy tries to hit you. After you dodge the attack you will have to press the B button in order to punch him back. Just repeat this process for 10 times and you will successfully get the "Finish...

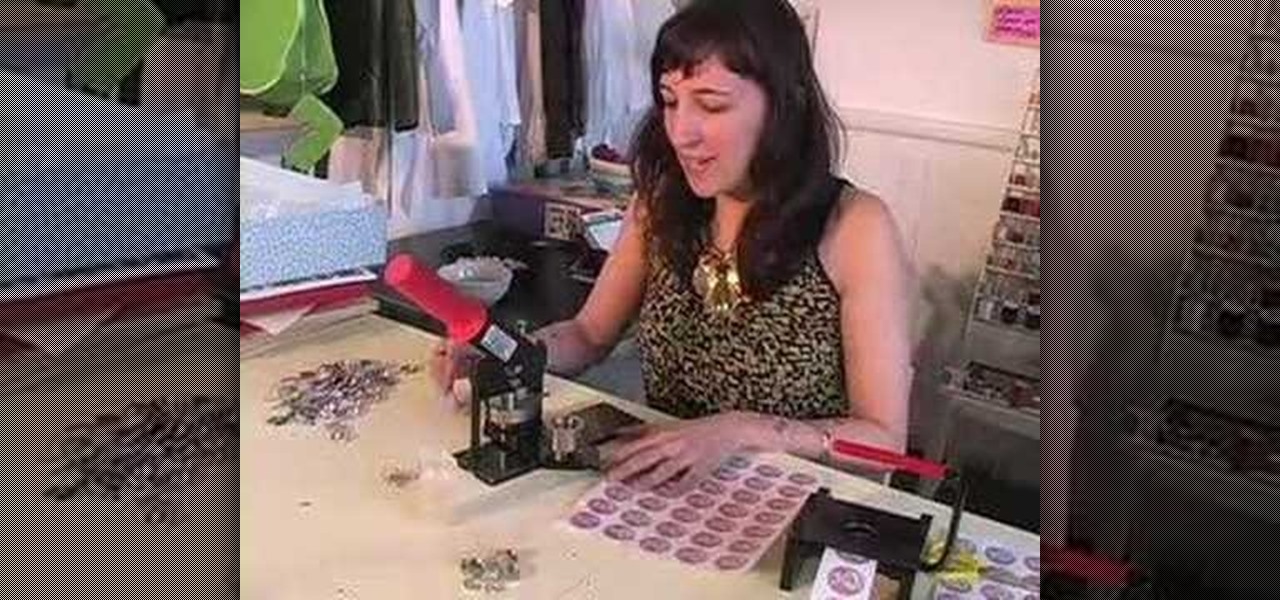
In this how-to video, you will learn how to make a pin back button. First, you will need a button and cloth. Download the sheet of buttons you want to use. Cut out each button, or use a punch. Now, take the image to the button pressing machine. Place the silver part in first, followed by the image. Lastly, place the plastic outer layer on top. Once these are set, place the ring on the other side. Press down for the first step and then rotate and press down for the second. Now your pin back bu...

Jungle Juice is a college frat party classic. In this tutorial, learn how to dump all of the left over liquor and juice in your kitchen and make this intoxicating cocktail.

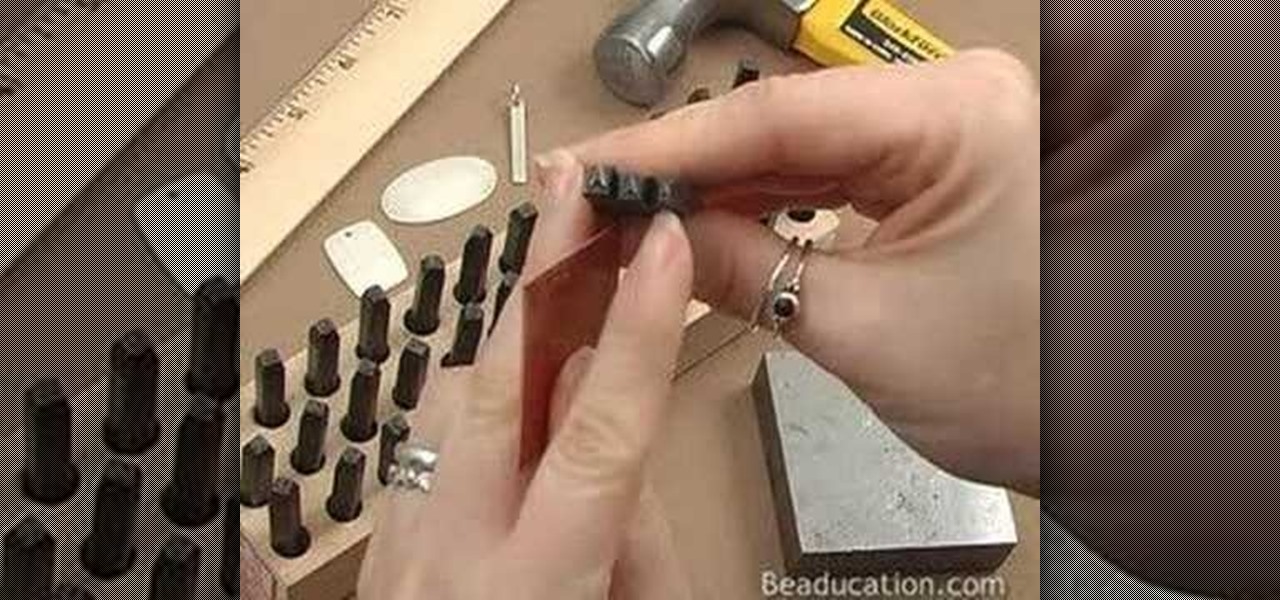
Join Lisa Niven Kelly from beaducation and learn all the basics on getting started with stamping. Learn how to personalize your jewelry by stamping on metal. In this demo, Lisa discusses the necessary tools and teaches you how to make a pendant by stamping on a metal blank, punching a hole, and oxidizing. So get out your letter stamps, bench block, and hammer and stamp away! Learn how to make a stamped pendant for jewelry making.

If you're too old to trick-or-treat (are you ever really?), throwing a Halloween party is the next best thing. You could always just serve beer and jungle juice like most other people will be doing, which will certainly get the job done, but where's the fun in that? Instead, impress (or gross out) your guests with one of these gruesome drinks.

In order to make a photo album with a paper bag, you will need the following: a bone folder, paper bags, decorative paper, hole punch, matte board, adhesive, and paper fasteners.

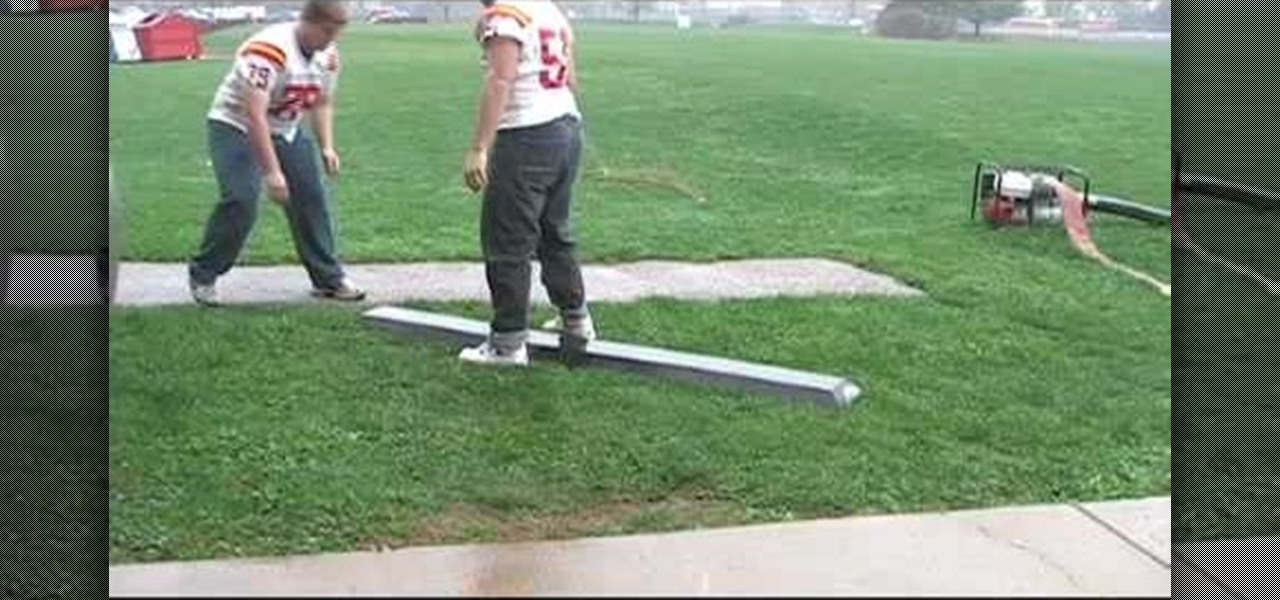
This how to video shows you how to become a better lineman. First, you will need to know that blocking is a matter of position, leverage, and force. You should have courage, determination, intelligence, and willingness to give maximum effort for six seconds. For the first drill, you will have the fit drill. You will line up against a team mate and drive them up for five yards. The next drill is the two step punch and fit drill. You will emphasize your first initial step into the blocker. Thro...

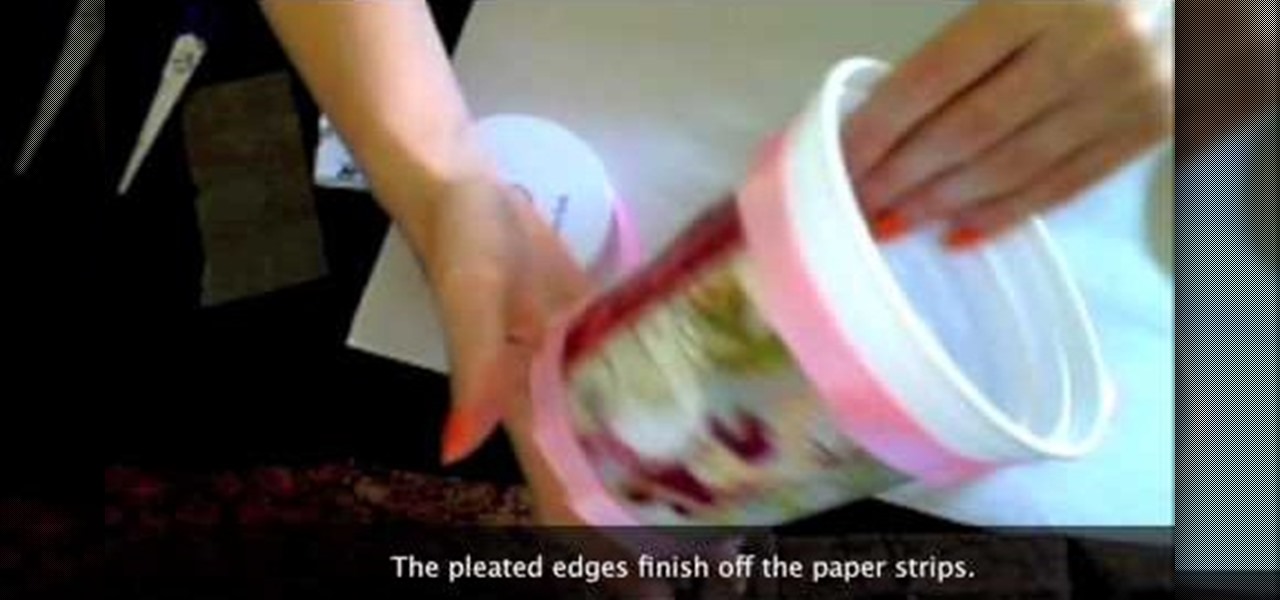
Creativity Prompt demonstrates how to turn a yogurt container into a mini-album. First, measure the lid's diameter. Then, cut a corresponding circle from your patterned paper. Use Mod Podge to adhere the paper circle to the lid and seal it with another layer of adhesive. Next, cut a bunch of different 4 x 1 inch strips of patterned paper. Adhere the paper strips to the yogurt container with Mod Podge. Seal it with another layer of adhesive and set it aside to dry. Measure the bottom of the co...

In this beauty tutorial learn how to use Mac and BitchSlap! Cosmetics to obtain a tropical punch-inspired makeup look. The look incorporates yellow and blue tones to the eye area. To begin, make sure to apply a foundation onto the entire eye lid and under eye area. Use a brush to apply the light blue color on the middle section of the eye lid and crease. In the inner part of the eye lid and crease, brush on a yellow shadow. A dark navy color should be applied to the outer portion of the eye. ...

The lady presenting the video shows us how to make a pomander ourselves which can be used for decoration in the church or at home or at the reception hall for your wedding. She says that she used artificial flowers which are a bit expensive but you can always use the flowers you want, either real or artificial. She says that the pomander she is going to make has a ribbon going through it so that you can hang it wherever you want. She asks you to pick up a Styrofoam ball and punch a hole throu...

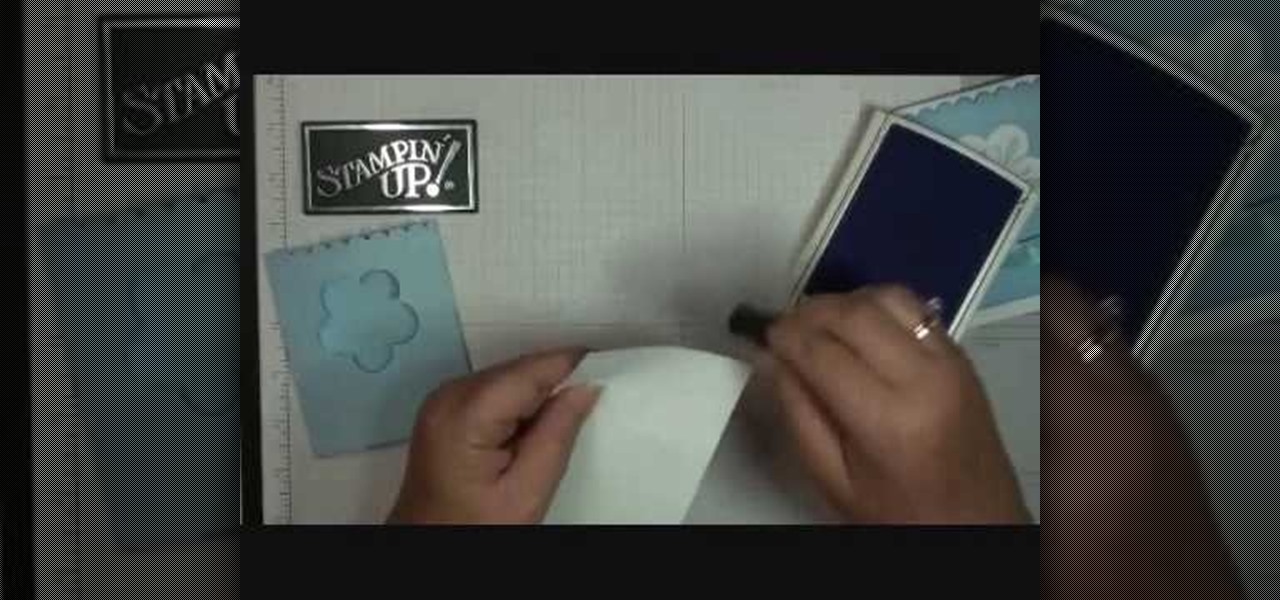
Stampin' Up Dawn shows how to use Stampin Up to create original gift card holders and sleeves in this craft tutorial. The tutorial shows how to create the Bashful Blue gift card holder. However, it should be noted that the Certainly Celery card does not utilize the scalloped edge design. The third style, Elegant Eggplant, uses ink #10510 and card stock #105126. You will need a strip of bashful blue card stock cut 4.5" by 7 3/4" scored at 3/4 and 4 1/4. Fold the score lines to create the sleev...

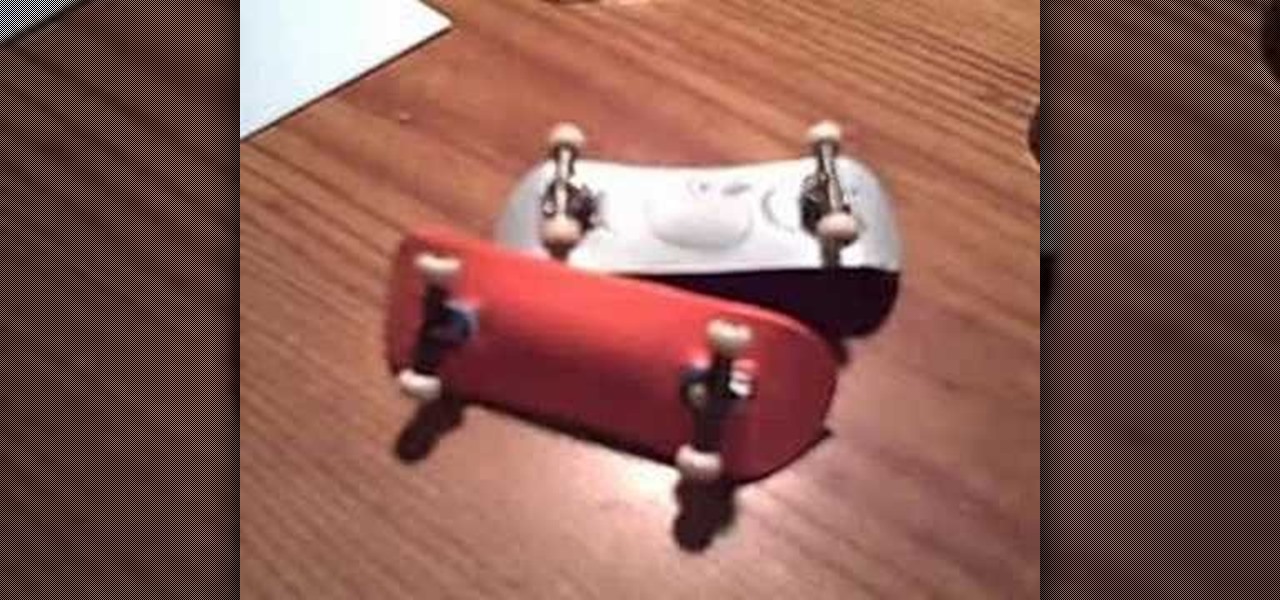
Fingerboards are miniature skateboards that have become popular collectibles. They first hit stores in the 1970s, and today there are fingerboarding contests, fairs and workshops all over the world. You can buy fingerboards, or you can get creative and make them yourself. In the following video, you'll learn how to make fingerboards using simple index cards.

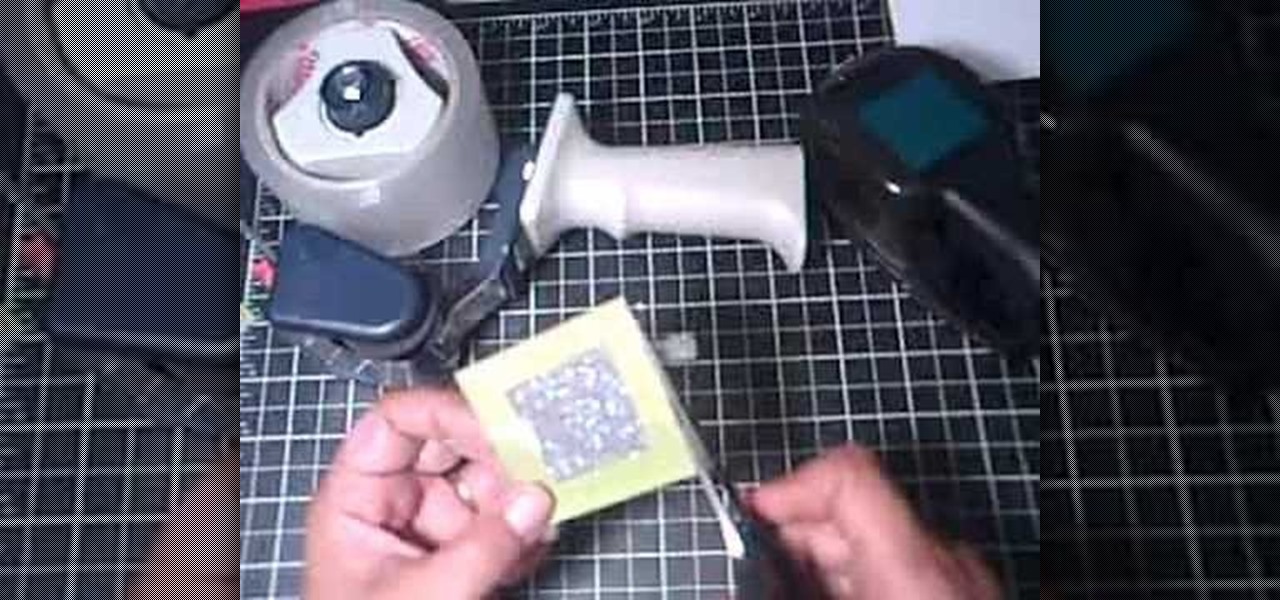
This artsy crafty video tutorial will show you how to make glittered window-style cards. The "glittered window" technique to card-making is basically just adding glitter to shipping tape.

I think I hate this game. I don't really see how you can play more than 15 minutes of Tap Mania without smashing your head into a wall. You do nothing but tap. Tap, tap, tap. At least they got the name right.

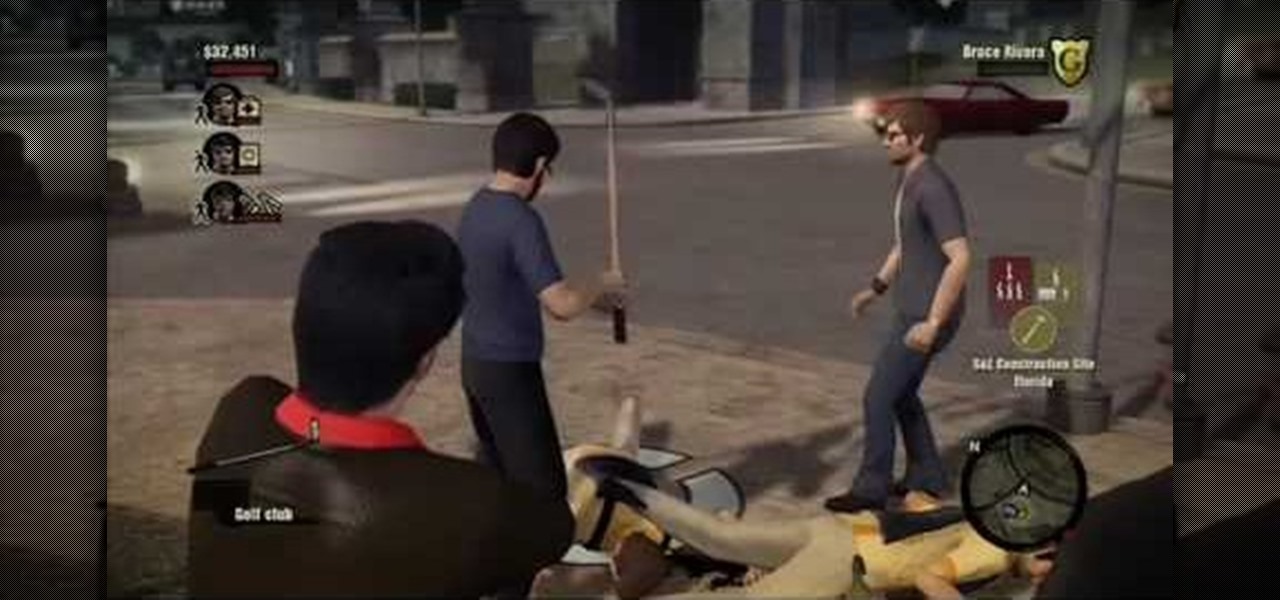
Gus shows us how to do all of the executions in Godfather II in this video. First, run around and try to kill as many people as you can. Use different execution styles so you aren't doing them all the same way. Use choking, hitting, punching, kicking, and anything else to help you execute the people around you. After you kill them, you will learn how to do all of the different executions in the game. Use these while you are playing all the different levels so you can kill people different way...

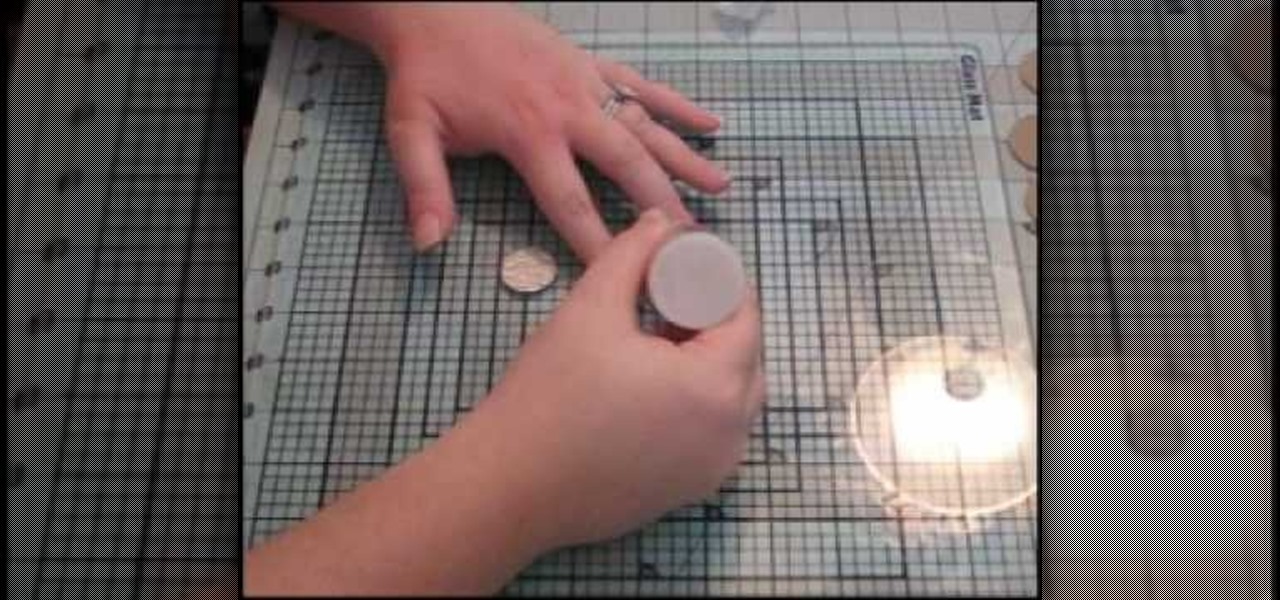
In this video, we learn how to make custom chipboard buttons for scrapbooking. First, take a scrap of chipboard and use a circle trimmer to cut circles out. Cut circles out of patterned paper in different sizes using many different patterns. Now, apply glossy finish onto the papers and wipe off the excess liquid. Ink the edges after this, then put adhesive onto the back of each of the different circles. Now, you can punch holes into the center of the circle to make it look like a button. Now,...


