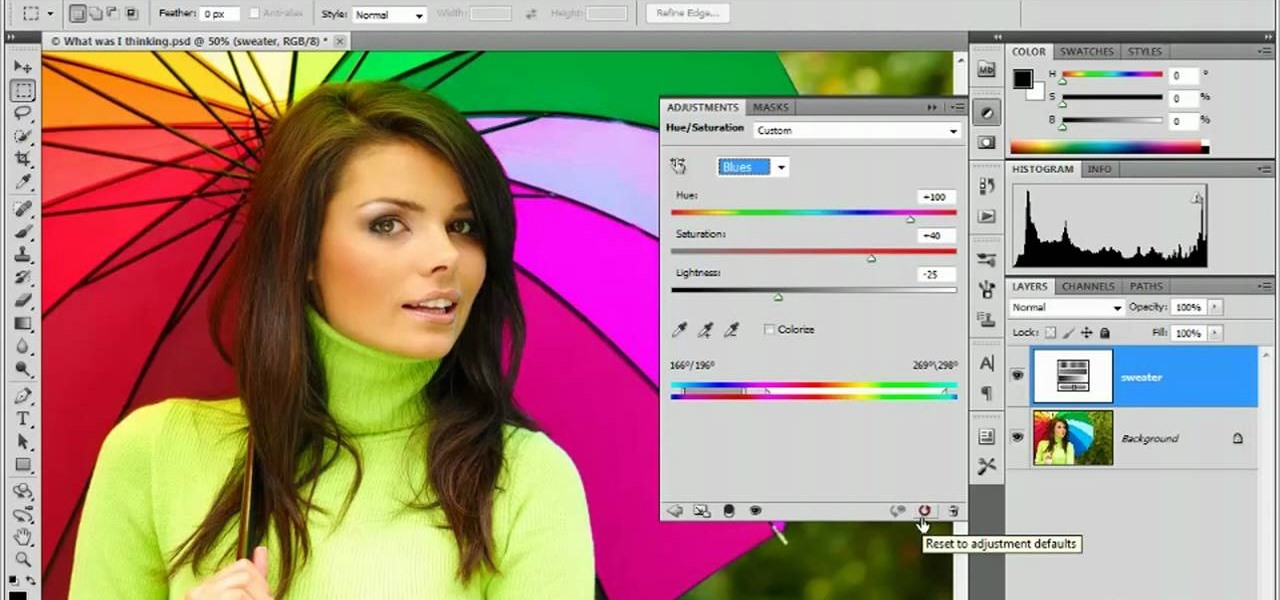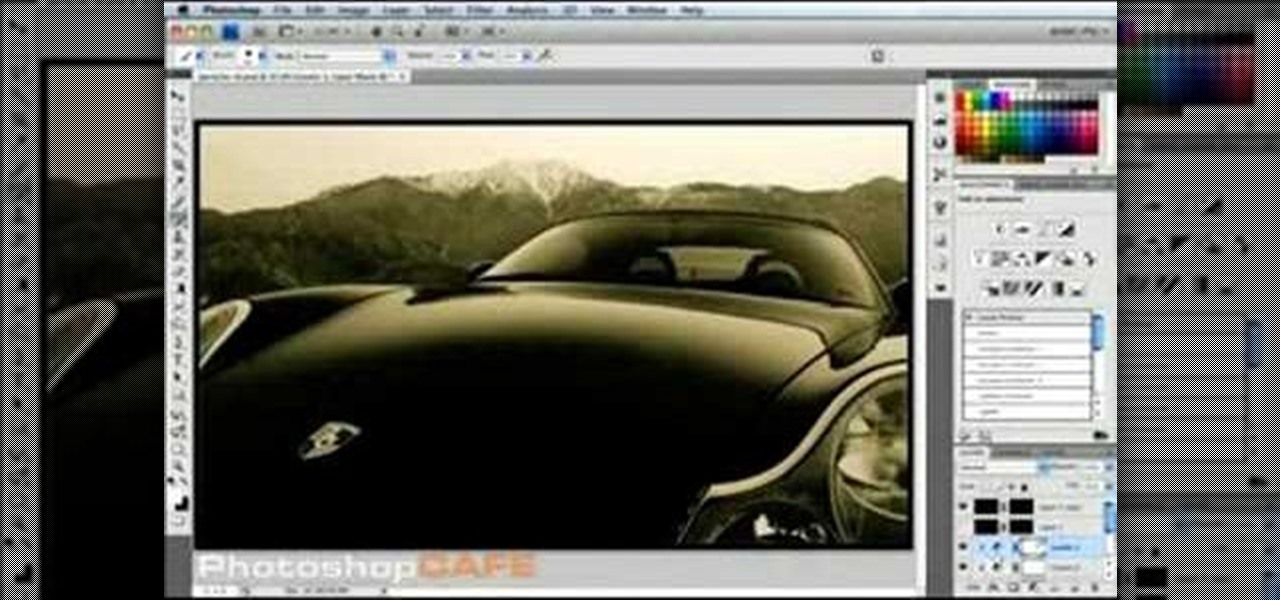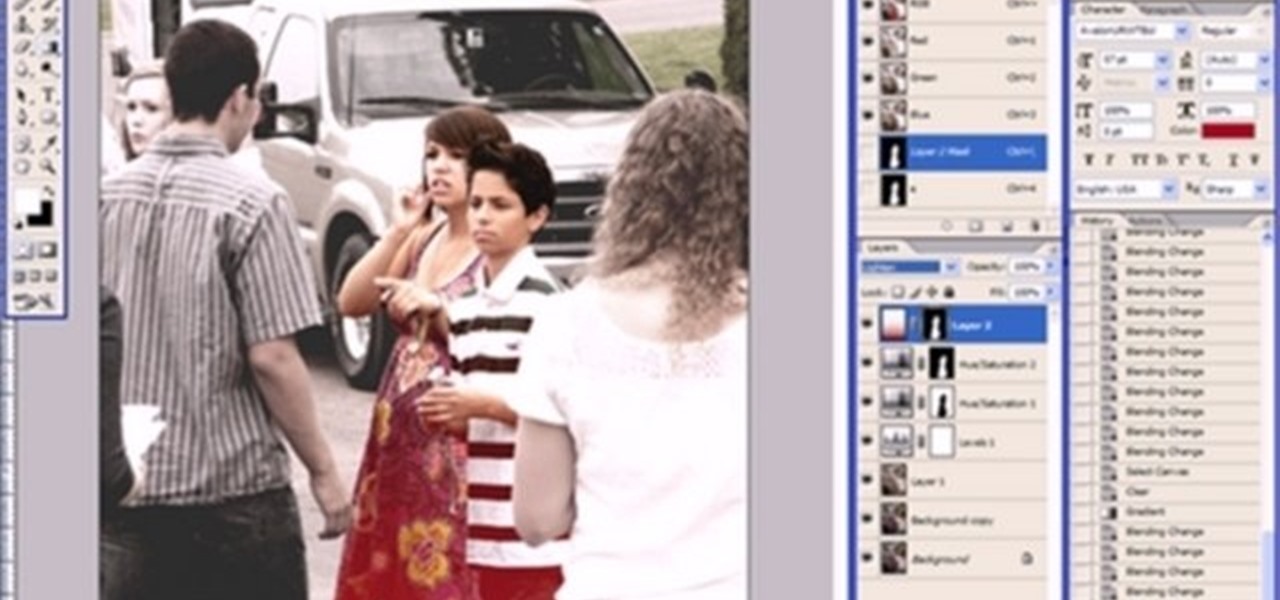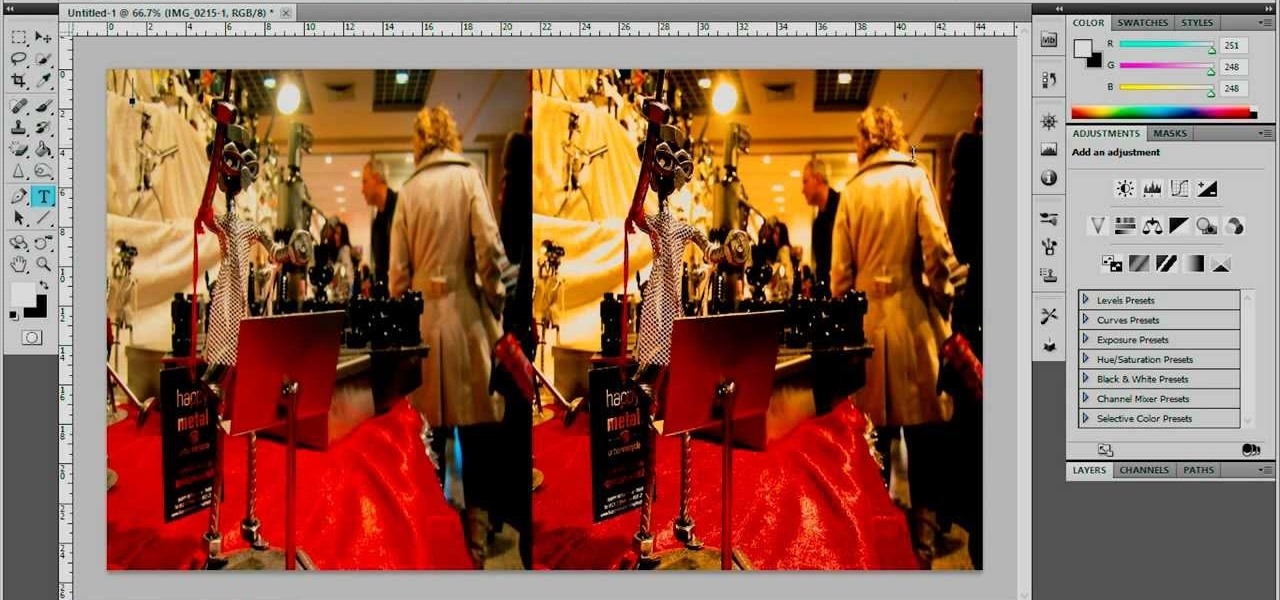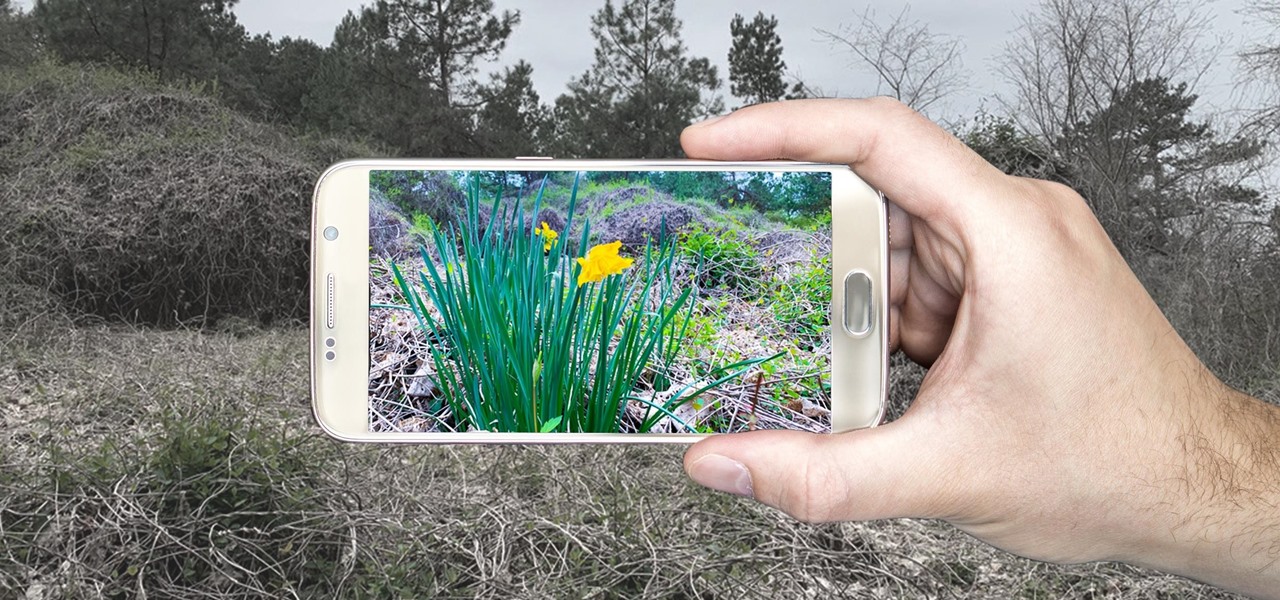
Just like Instagram, Photoshop Express for Android and iOS has its own set of filters you can quickly apply to any photo. It's simple, fast, and more customizable than using Instagram's pre-made filters. The options in Photoshop Express allow you to edit and change your filters to be exactly to your liking. Then, you can even save those edits as your own custom filters.
A few simple adjustments can turn a boring old plastic fork into a terrific iPod stand. Give your hards a break and watch videos on your iPod using this iPod stand. You'll be glad you kept those plastic forks laying around!
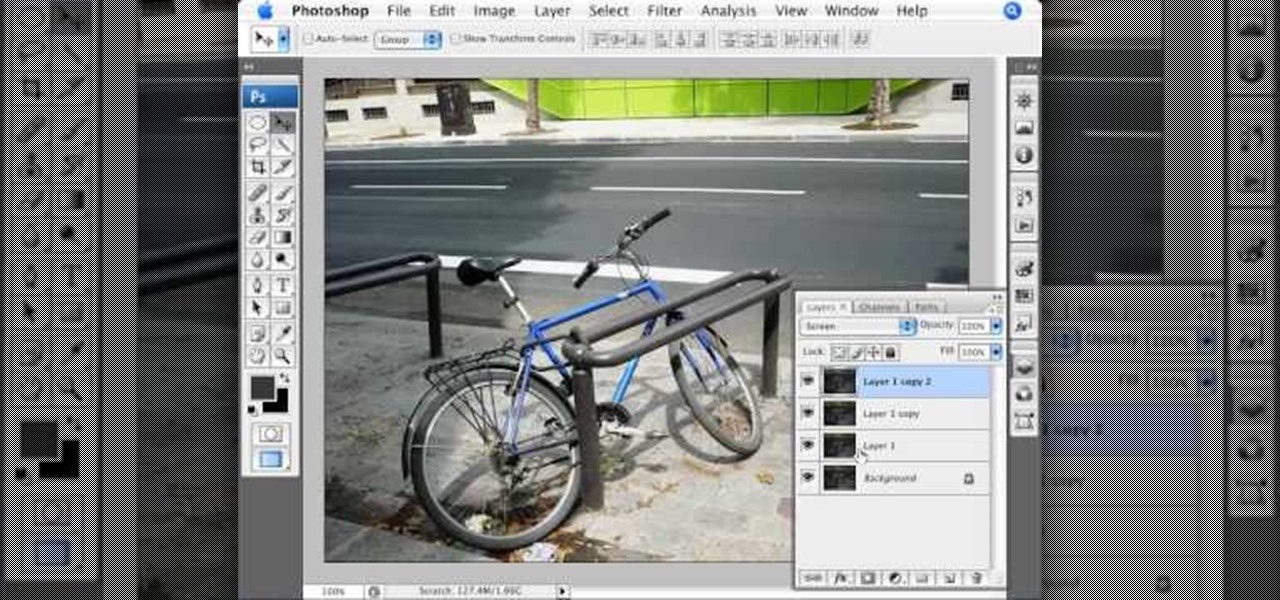
This video shows you how to use an aspect of Photoshop so that you can fix snapshot pictures that may have gotten an exposure level you did not want. This quick and easy tutorial video shows you how easy it is to adjust the layers in the screen. With different adjustment tricks for the layers to use if you are unsatisfied with the results you are getting. Each video will take moments to do and once saved you can move on to edit any other photos that did not come out with exposures that you wa...

Yanik Chauvin shows you how to do basic curve manipulations in both Photoshop and Lightroom. The curves are the simple adjustments for changing contrast, exposure, and color curves.

Take full of Photoshop CS5's HDR Toning Adjustment Tool with this free video lesson. Whether you're new to Adobe's Creative Suite or a seasoned graphic design professional after a general overview of Photoshop CS5's most vital new features, you're sure to be well served by this video tutorial from the folks at Brusheezy. In it, you'll learn how to take advantage of Photoshop's new HDR (high dynamic range) Toning Adjustment Tool.

1. To make tilt shift take one picture which is taken from high angle with any content like car and buses. Now open the picture in Photoshop and change it to quick mask mode to create and edit the selection.

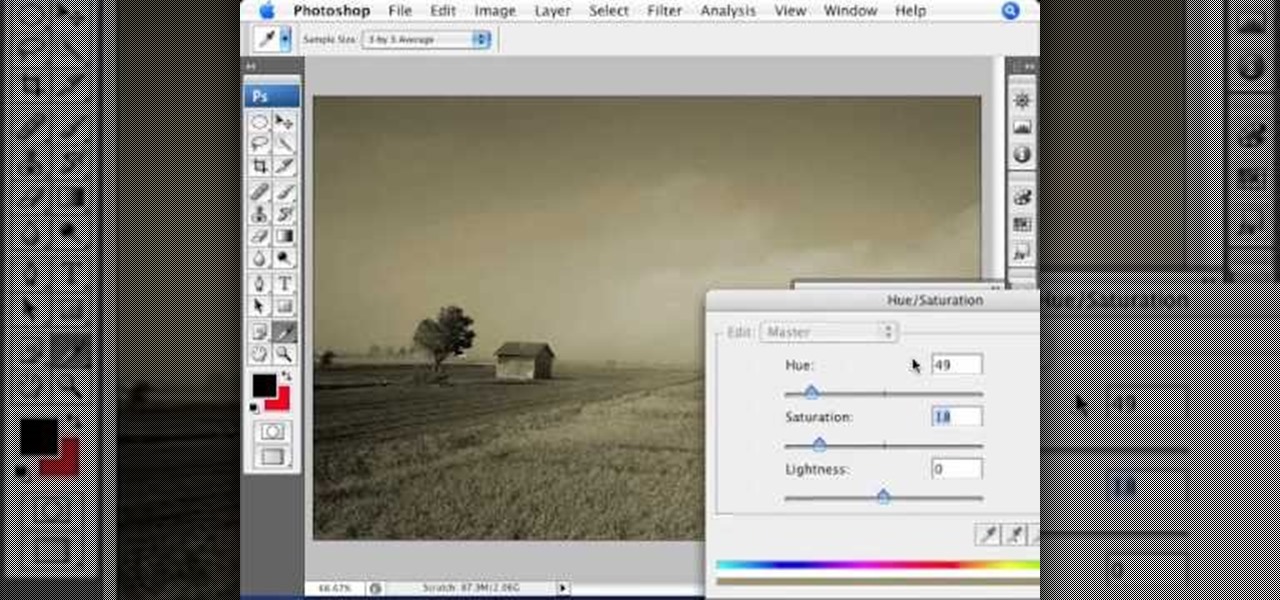
This how-to video is about how to add a color tint to photos in Photoshop.

Smartphone cameras are so good nowadays that there's almost no reason to own a point and shoot. Once the megapixel spec race was finally settled (hint: more isn't always better), manufacturers started focusing on the quality of their camera sensors, which has led to a huge jump in color accuracy, dynamic range, and image clarity.

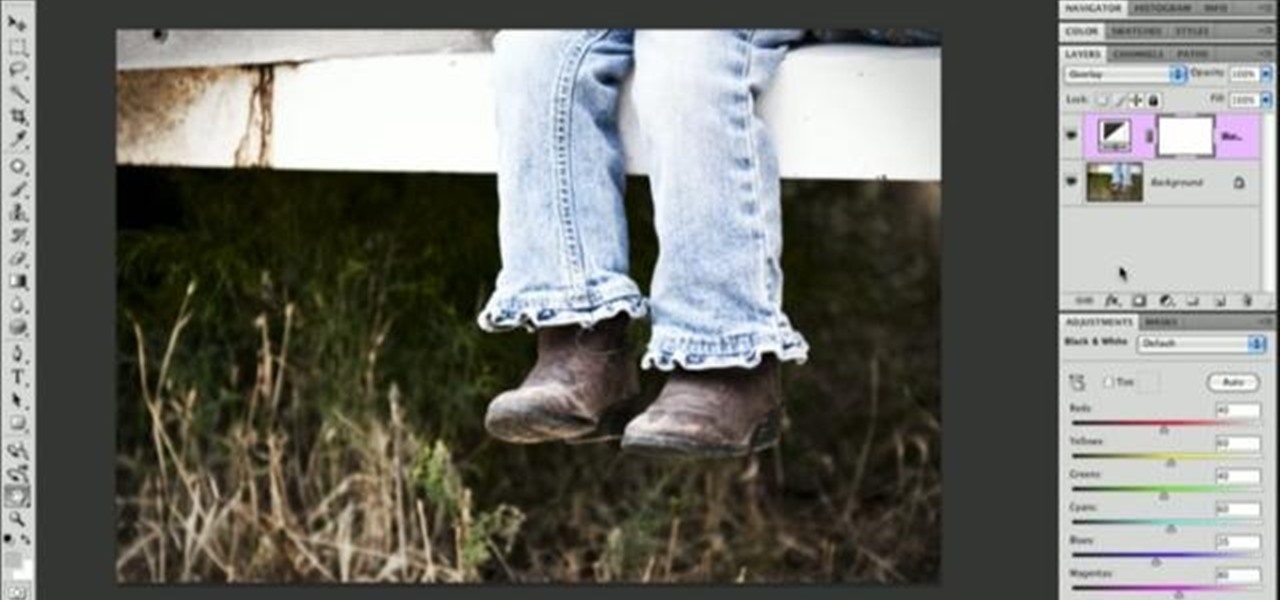
In order to add a nice contrast punch to an image using Photoshop, go to your adjustment layer and click on the black and white adjustment layer. Then go to your "blend modes" and change it to "overlay". If you find that the effect is too harsh you can adjust your opacity settings or you can switch your blend mode to "soft lights". In "overlay" using the black and white adjustment panel you can change your settings to meet your preference. If you are using a previous version of Photoshop that...

The enhance controls in Aperture's adjustments panel provide a number of tools for refining your tonal adjustments, controlling saturation, and for correcting color casts.

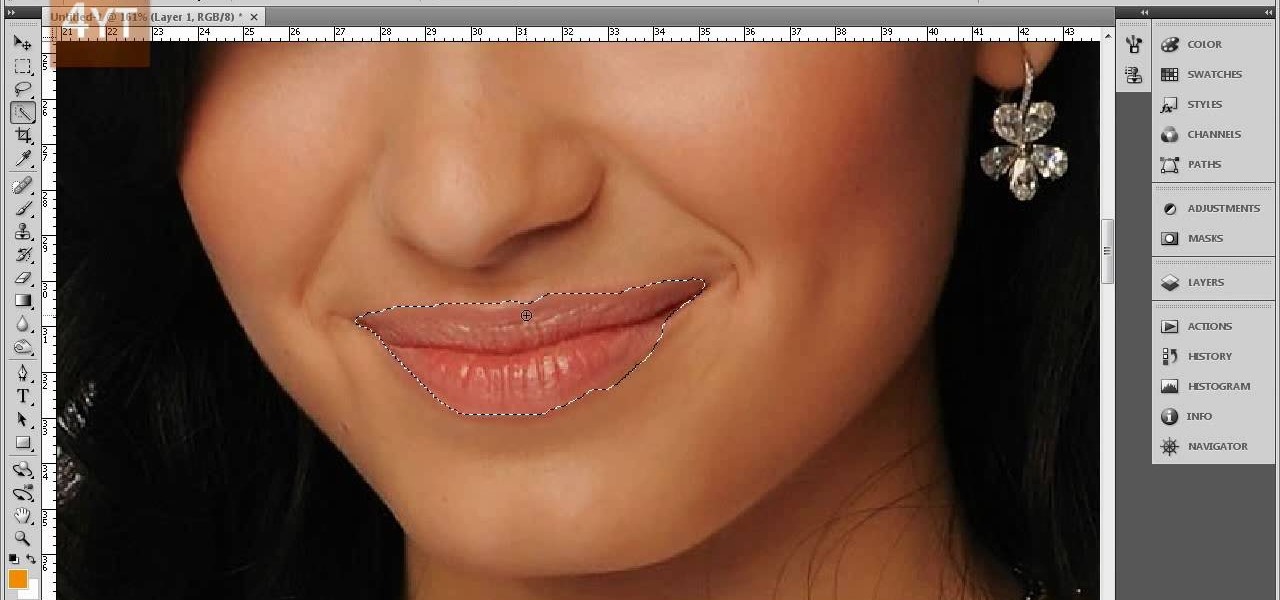
Forget to put on lipstick before a photo? Or perhaps you want to spice up an old photo of someone you love. Well their is a way, as 4YouTutorial demonstrates step by step using Photoshop CS4. First upload a photo or image into Photoshop. Next access your Photoshop layers and delete the default locked layer. After, activate the zoom tool and zoom in on the photo where the lips are located. Next choose the quick selection tool (make sure it's on plus) and drag it over her lips. This process can...

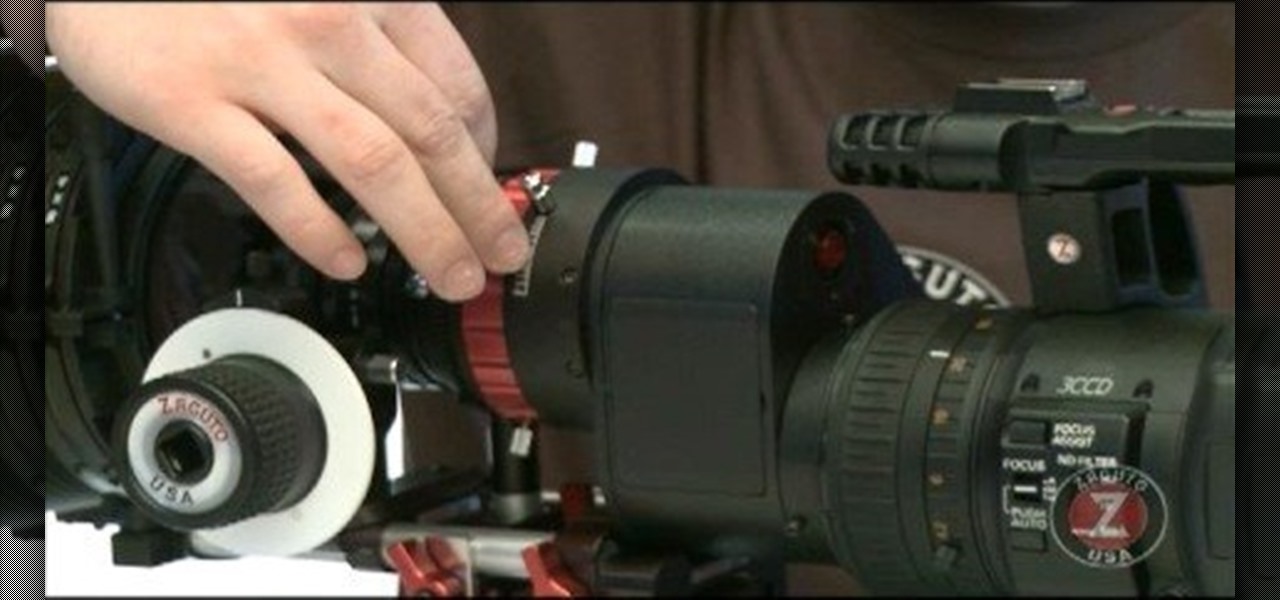
Zacuto Letus35 Elite Backfocus DOF Tutorial

The Photos app on iPhone has long offered basic editing features for quick edits to pictures, but iOS 13 greatly expanded them and gave the same love to videos. One of the best additions offers the ability to turn off photo and video edits without undoing them, so you can preview how your shots look with or without an effect.

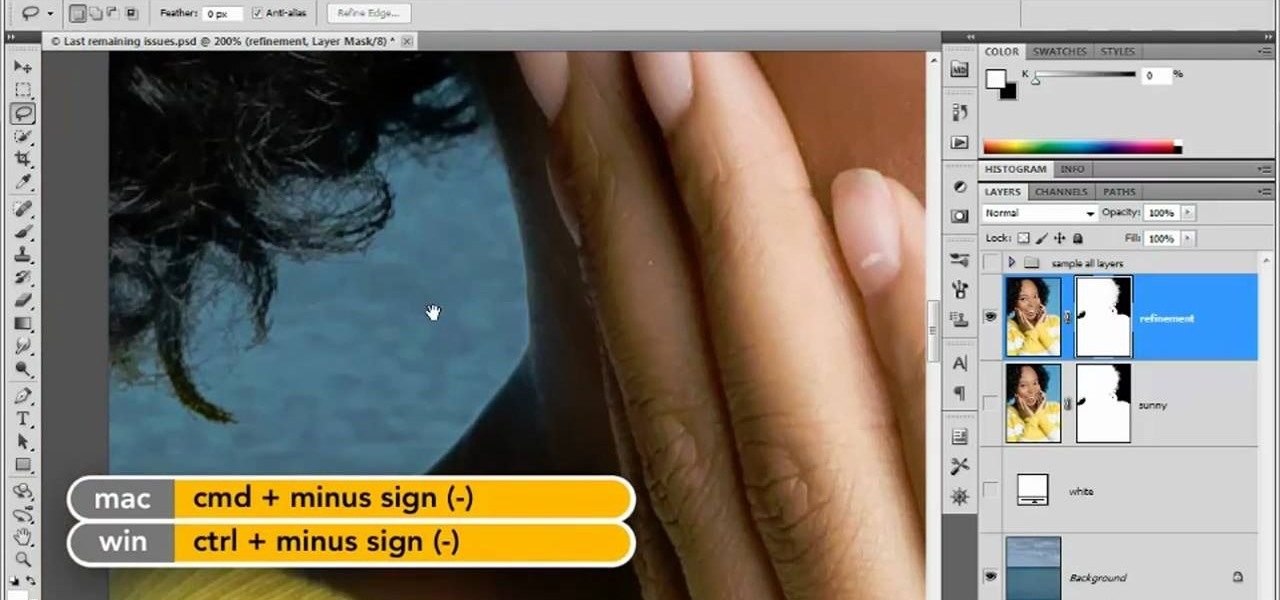
In this clip, you'll learn how to make micro adjustments to a mask when working with a digital image in Adobe Photoshop CS5. Whether you're new to Adobe's popular raster graphics editor or a seasoned designer looking to better acquaint yourself with the new features and functions of the latest iteration of the application, you're sure to benefit from this free software tutorial. For more information, and to get started making highly detailed mask edits yourself, watch this video guide.

Meet the Adobe Photoshop Lightroom 3 Adjustment Brush! Whether you're new to Adobe's popular photo application or a digital photography professional just looking to better acquaint yourself with Photoshop Lightroom 3, you're sure to be well served by this free video software tutorial. For more information, as well as to get started using Lightroom 3 yourself, take a look!

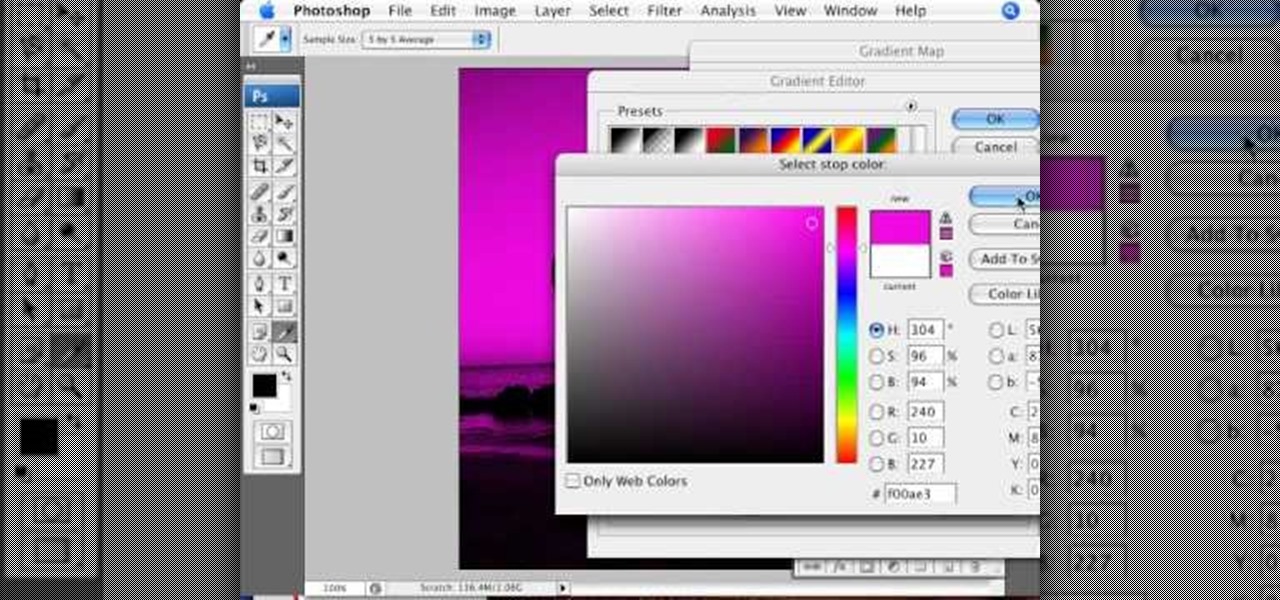
In this video tutorial brought to you by photoshopuniverse, you will learn how to apply mood lighting to images in Photoshop. This is achieved by applying an adjustment layer, called a gradient map, which allows you to adjust the color of the light in an image. You will learn how to access the gradient map from the adjustment layers menu, how to apply the gradient map, then overlay the new layer and fine tune the gradient to create more dramatic looking images.

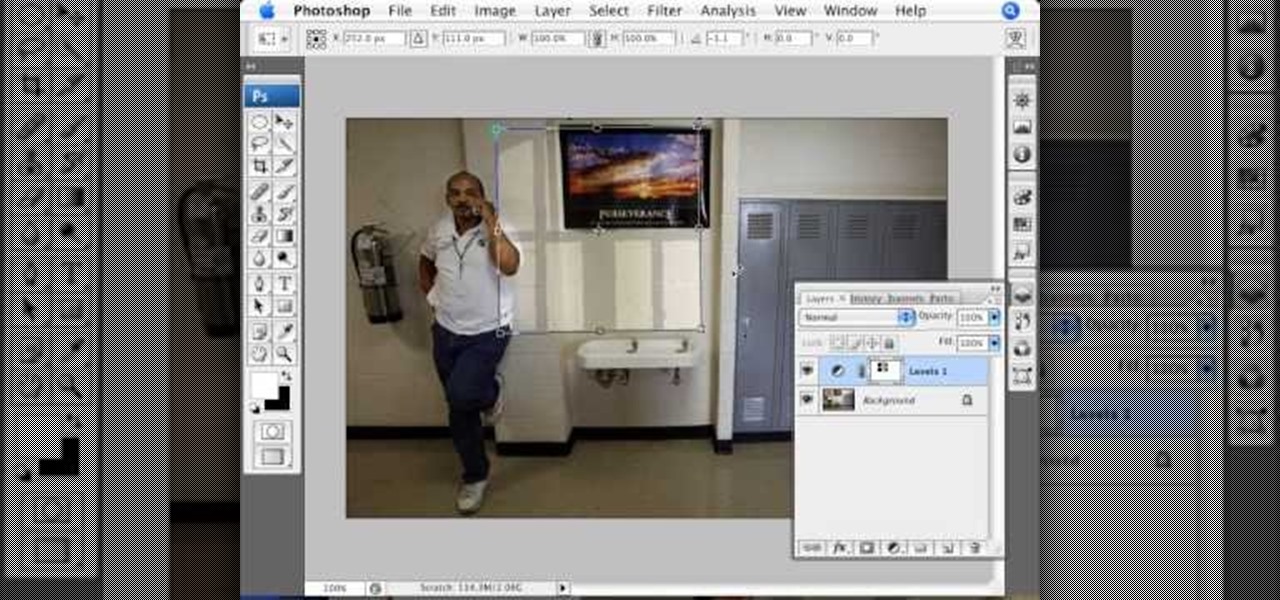
In this video we are going to light cast a window so we can add more focus to the photos. First take unremarkable photo, then find a window image to transfer and select all Ctrl+a. After that copy it to the previous image. Click layer 1, then select the white space in the window that allows the sun light to pass by using magic tool quick select the part of the window. Delete the layer, after that go to adjustment layer, select levels. Adjust the level so that the color of the window is darker...

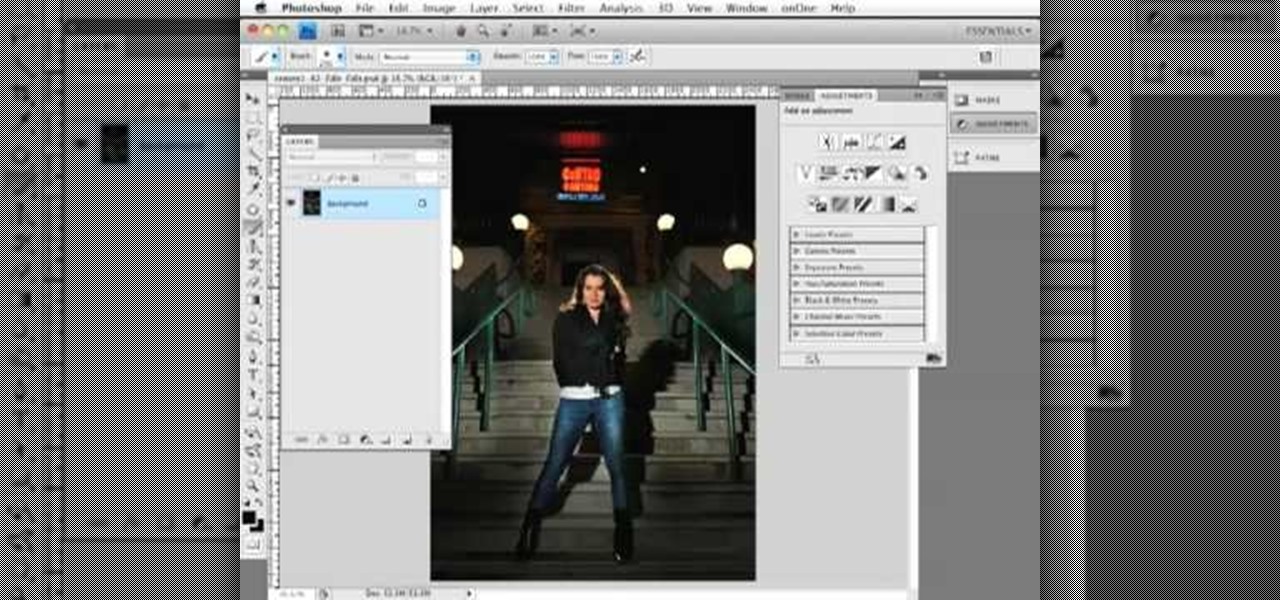
This clip presents a general overview of how to make and work with adjustment and mask layers within most versions of Adobe Photoshop, CS4 & CS5 included. hether you're new to Adobe's popular raster graphics editing software or a seasoned professional just looking to better acquaint yourself with the program and its various features and filters, you're sure to be well served by this video tutorial. For more information, including detailed, step-by-step instructions, watch this free video guide.

Learn how to use the Target Adjustment feature in Adobe Photoshop CS5. Whether you're new to Adobe's popular image editing software or a seasoned graphic design professional just looking to better acquaint yourself with the unique features of Photoshop CS5, you're sure to find something of value in this free video tutorial.

Looking for a Photoshop-style Curves tool in Aperture 3? Look no further. Whether you're new to digital photography or merely unfamiliar with Apple's Aperture 3, you're sure to benefit from this free video software tutorial from Lynda, which presents a thorough, step-by-step overview on how to use said Curves tool to make curve adjustments to your digital images.

Have a photo that could do with a little touching up? Whether you're new to digital photography or merely unfamiliar with Apple's Aperture 3, you're sure to benefit from this free video software tutorial from Lynda, which presents a thorough, step-by-step overview on how to touch up your digital photographs utilizing Aperture's built-in adjustment brushes.

Retouching images is one of the main reasons the world loves Photoshop, and version CS4 has added some new twists and tools to your retouching options. Rediscover the Adjustment layers through the powerful Adjustments panel in Photoshop CS4. Colin Smith shows you all the main features as well as using the new Mask panel. The revamped Dodge, Burn and Sponge tools are mentioned too in this image retouching Photoshop CS4 tutorial.

This is a tutorial in Adobe Photoshop CS2 demonstrating primarily the use of the quickmask tool to make precise selections of organic shapes. Other topics covered include adjustment layers and layer masks. So watch and learn how to enhance photos using quickmasks, layer masks and adjustment layers in Photoshop CS2.

Video: . In Adobe Photoshop CS5.1 there are several ways to perform same action. I make a video tutorial in which you can learn that how to combine two images to perform your different operations. I used a very simple and quick method. To follow my method you can get a quick adjustment of two or more then two images just in single frame and get the result you desire.

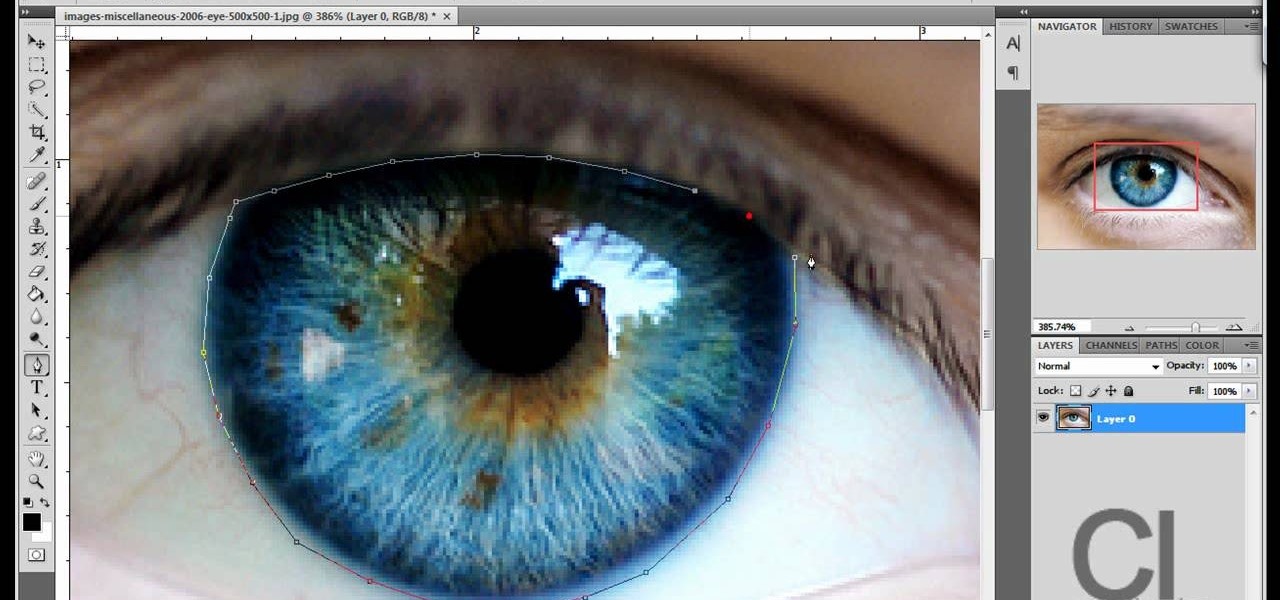
Changing the color of your eyes is very quick using Photoshop and this handy video. After using the selection tool of your choice to outline the eye (this video uses the pen tool) with a little bit of feathering, just change the hue of the eye. The video shows how to do this by pressing control + h, however it can also be selected by choosing the image menu, then adjustments, then hue/saturation. This great effect can be used as shown on close up eyes or on smaller eyes further away. Both way...

In this video tutorial, learn the several methods to get black & white images from color originals in Photoshop. The first method is the simple desaturate by going to image > adjustments > desaturate and it will wipe out the color from your image. The second non-destructive way of doing this is going into the layers palette, adding a new adjustment layer, choosing hue and saturation and dragging the saturation slide all the way down to minus (-) 100. The next method is going to the channels p...

This is a quick and easy tutorial for Photoshop on how to create a simple but effective reflection of an object. This tutorial uses vector masking, scaling, hot keys, vertical flip, gradient tool, and opacity adjustment. After watching this video you will be able to make a reflection of any object you would like. The product of the tutorial will be a half faded reflection that actually seems as though the image is sitting on a reflective surface such as metal, glossy tile, or a wet surface. A...

Imagine an Instagram feed filled with a wild array of vivid color. Beautiful right? But when you look at the photos in your iPhone or Android phone's albums, they're all just too dull to pull off that dynamic look. There's no doubt that colorful images are more eye-catching than dull ones, so how do you get your photos to overflow with vibrant color? The answer: Add it in post.

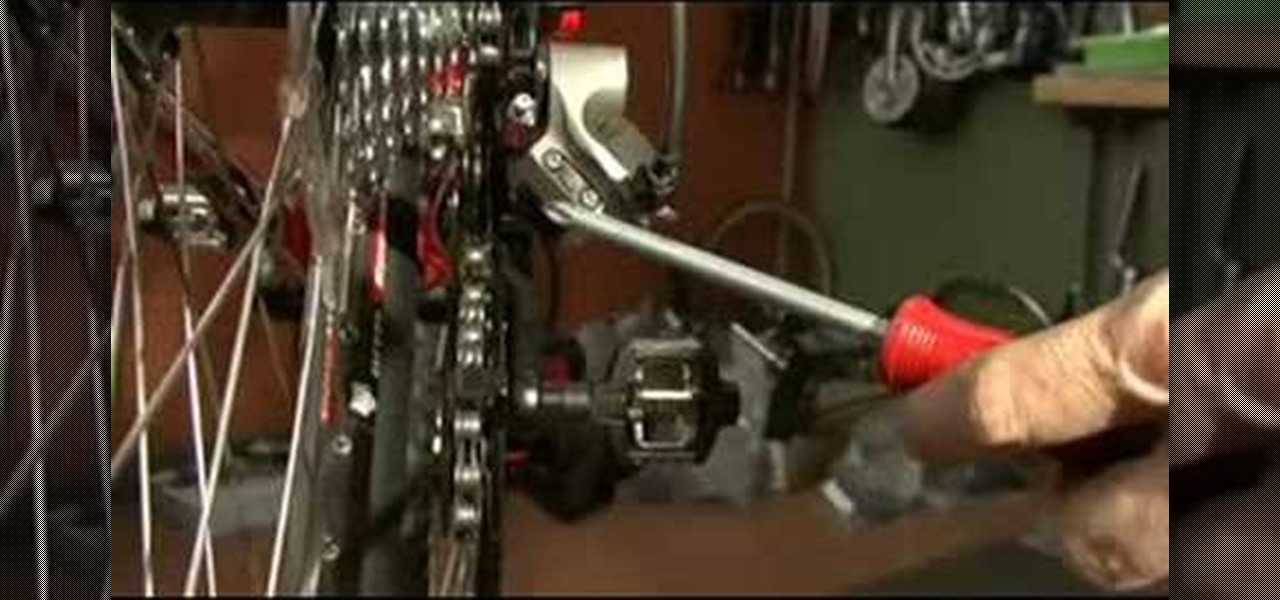
Adjusting the rear derailleur on a bike is an important way to fine-tune your bike's shifting performance, but is complicated and can vary in method and effectiveness depending on the brand of derailleur. This video features instructions on how to adjust a low-normal rear derailleur using the adjustment screws.

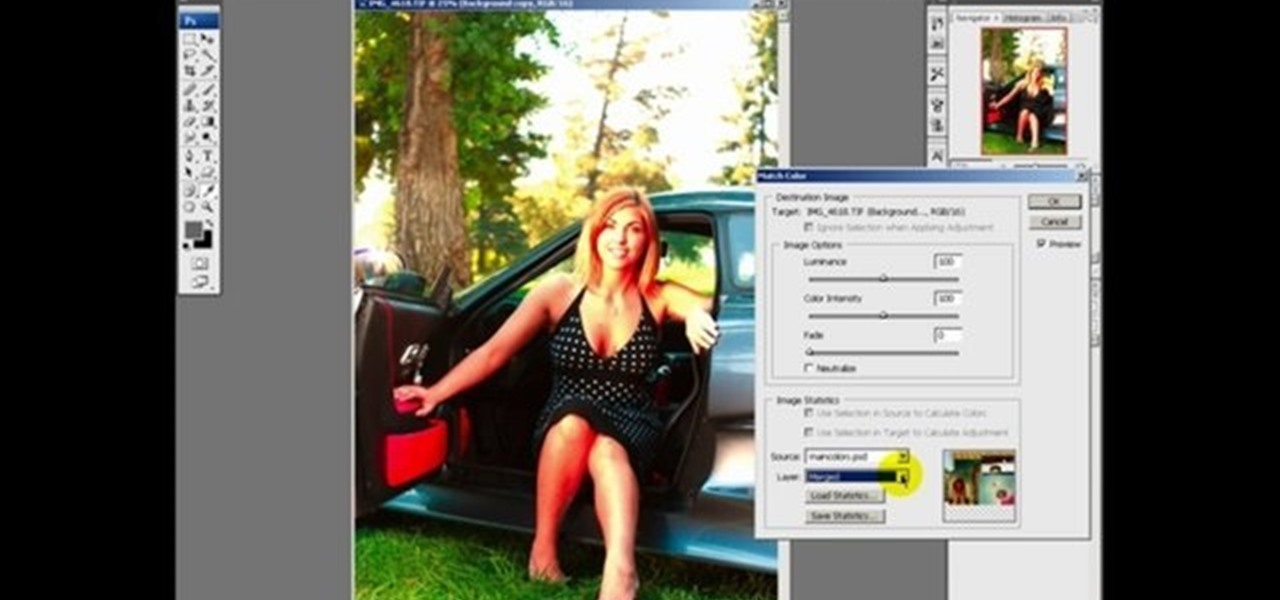
This Photoshop tutorial explaine the simple use of Match Color Adjustment in any version of Photoshop. Before starting this tutorial please create a .PSD file and add at least a dozen or more high res, high quality, vivid color photos and place each photo into it's own layer inside the .PSD file. Once you have your Photoshop file ready, follow along with this tutorial and learn how to use the Match Color adjustment tool in Photoshop on color photos and black and white photos.

Watch this instructional woodworking video to make some typical adjustments to a wooden clock. If the tick is running unevenly you can add some lead discs to the weight. You can also adjust the pendulum length.

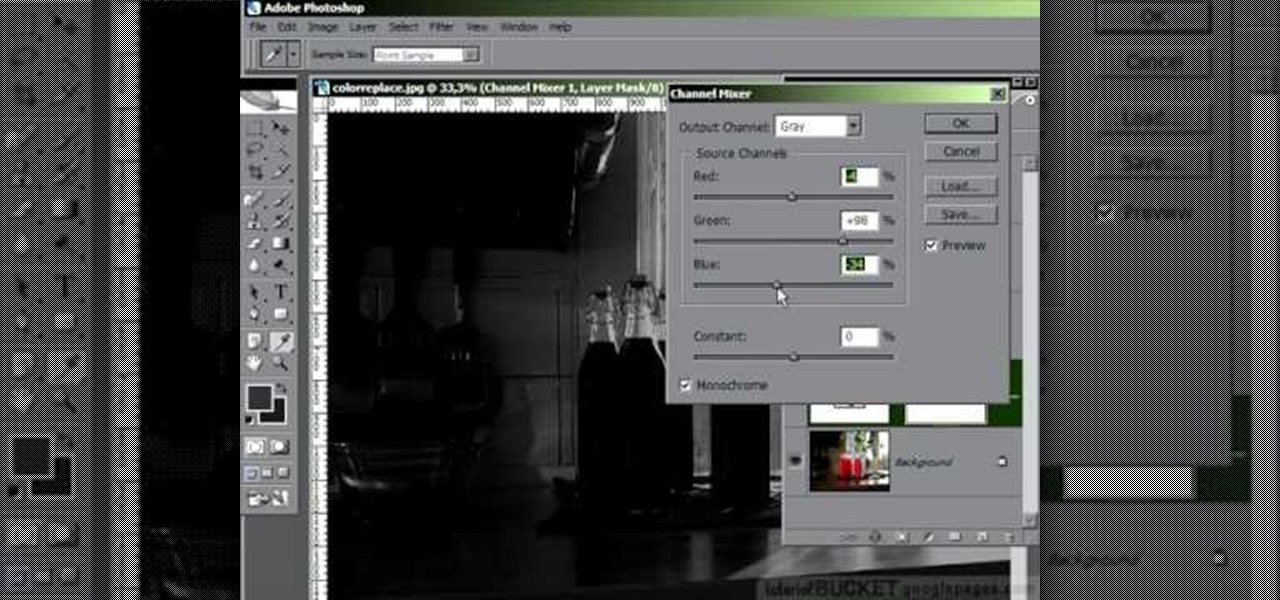
This tutorial shows you how to use the replace color adjustment tool in Photoshop. This is used to change an entire certain group of color.

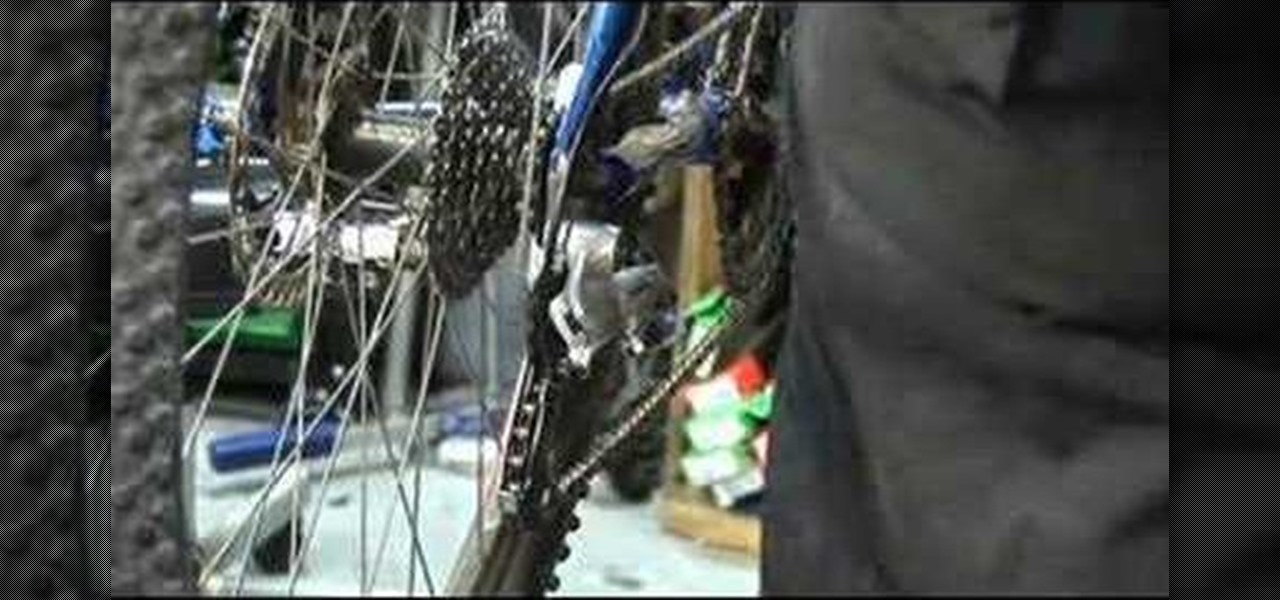
This tech tip demonstrates advanced rear derailleur adjustments in order to achieve proper shifting.

We just keep discovering hidden features and settings scattered throughout the Galaxy S8's system like little digital Easter eggs that were largely left unadvertised. One such setting is an option that lets you change the placement of your S8's display brightness slider.

This video tutorial belongs to the software category which is going to show you how to darken the background in Photoshop using the burn tool. This is an example of how to improve your dodging and burning using the adjustment layers.

A miter saw is a handy portable tool that almost every carpenter or handyman has available. It makes clean cuts to thin pieces of wood in various angles and makes quick cuts. So in this tutorial, you'll find out how to make adjustments to a Bosch 4412 and 5412 miter saw. Knowing how to adjust certain parts of the machine is important, because certain parts may need to be moved in order to get the right cut for the occasion. So good luck, be careful, and enjoy!

Clicks are made on "Image",then "Adjustments", followed by "Brightness/Contrast" ; contrast is set to 30 and brightness is set to 60 to add more light to the picture. "Adjustment", "Variations" are clicked in that order and both yellow and red are increased. "Filter", "Render", "Lightening Effects" are chosen in that order and a new window appears; within which the style is set to "Soft Omni". The brightness is decreased ;similar to the way it was increased, and contrast is increased to 60. T...

Use a 5mm Allen wrench and loosen the bolt holding the cable on the rear derailleur. Thread the shift cable through the cable stays and tighten it in the rear derailleur with as little slack as possible. Make sure that the adjustment screw on the shifter is in the mid point of the adjustment.

Creative Ice Design describes how to change the color of a car in photoshop. The tutorial shows an easy and quick method to change the color.

Team USA's Derek Eoff on making adjustments for high and light hits. Pick up some bowling tips and tricks to improve your game, whether you are a beginner or a competitive bowler in a bowling league. Learn how to make high-light adjustments with this bowling video.


