How To: Dance the salsa "Magic Drop Hands with a Copa" move
In this video you can learn how to do the 'magichands' drop, a quick hammerlock to a cross-body lead, and then a copa for the ladies.


In this video you can learn how to do the 'magichands' drop, a quick hammerlock to a cross-body lead, and then a copa for the ladies.
This is a simple Photoshop Elements tutorial on how to make rounded photo corners for quick and tidy effect. See how to make photos with one, two, or opposing rounded corners. This could be turned into an overlay, too! This is a great, detailed Photoshop tutorial on rounding your picture corners. Easy to learn.
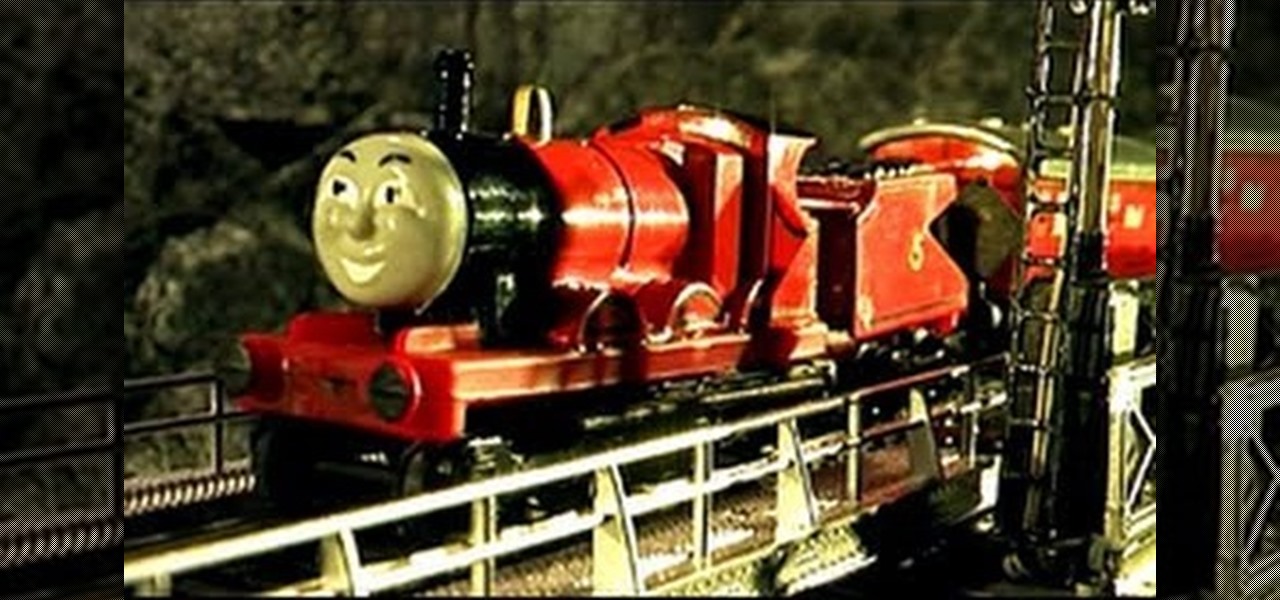
A quick and inexpensive method of making highly detailed miniature landscapes for model railways, diorama's or garden sculptures. This is a vivid scenery design lesson perfect for your train scenes or other mountain scapes.

Ever wanted to solo over the chord progression from Carlos Santana's "Samba Pa Ti" on your ukulele? Who hasn't, right? This ukulele lesson presents a quick overview of a highly adaptable G scale pattern that works over the progression in Carlos' Santana's "Samba Pa Ti." For more information, or to get started soloing over Santana's "Samba Pa Ti" on your own ukulele, take a look.
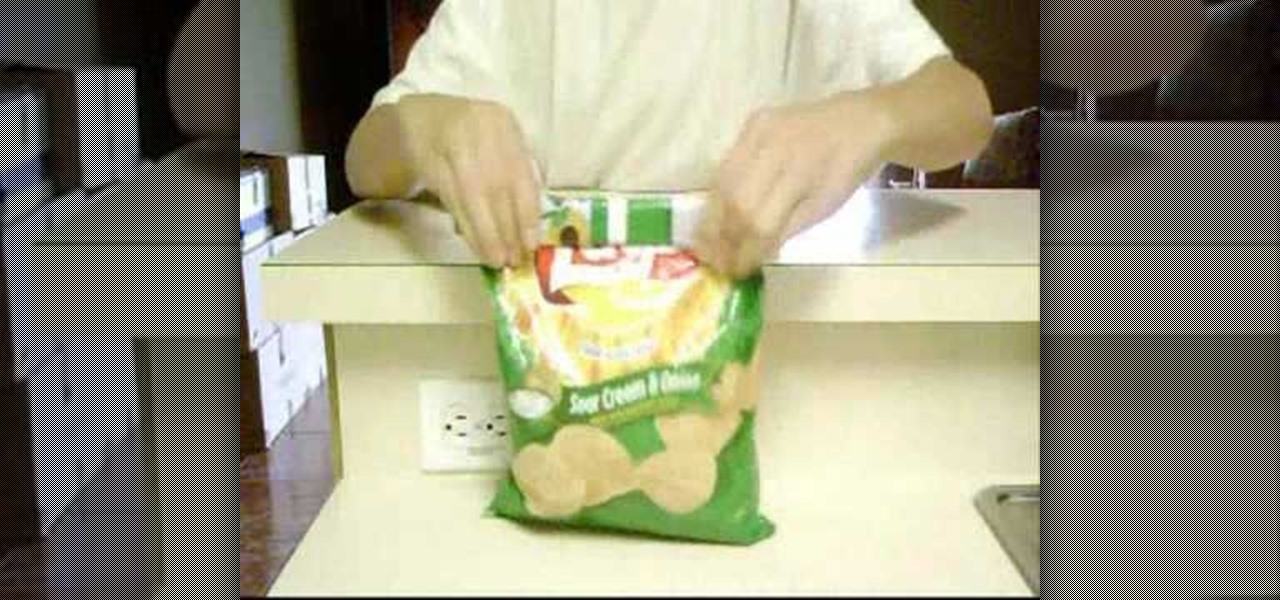
Learn the savvy trick in this how-to video for closing chip bags. It's as simple as it sounds and will save you from wasting money on those chip clips that get lost anyway. Even better, your chips will stay fresh. Check out this quick instructional video and learn how to properly seal a bag of chips.
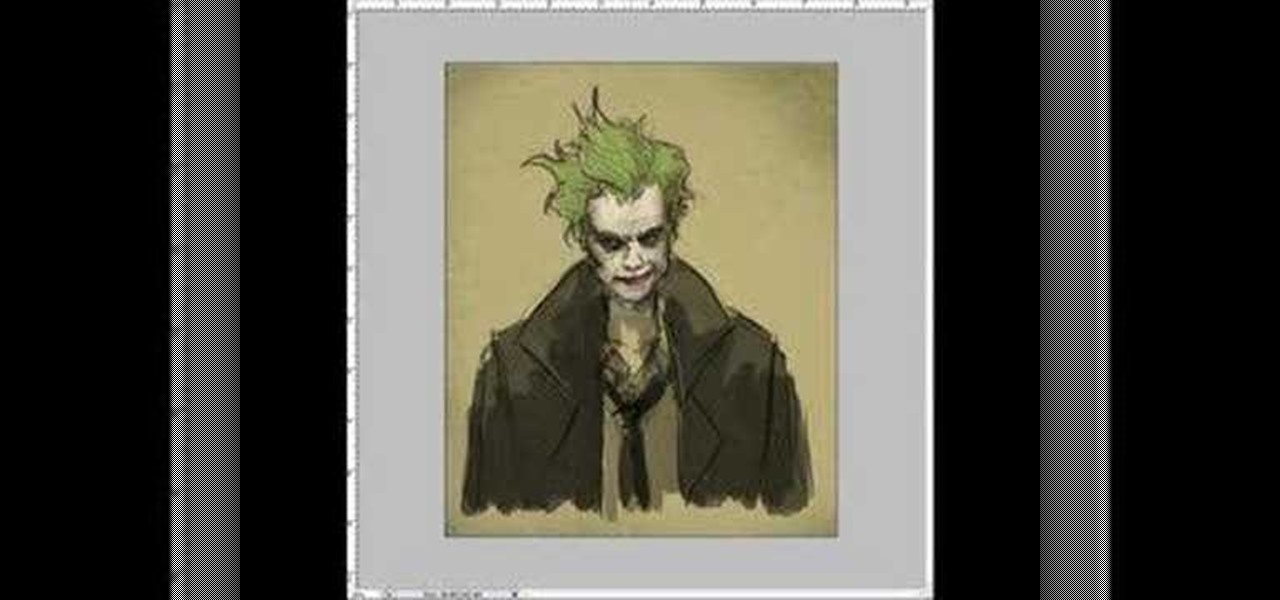
Check out this video to learn how to draw and sketch the Joker from Batman for manga, cartoon and comics. Learn how to draw the male villain character, the Joker, in this Step by Step video tutorial. Learn from basic sketching to finish drawing quick concept for comics cartoon illustration, manga, anime, and figure drawing.
This video is a quick tutorial on how to custom paint an XBox shell to make yours stand out from the crowd.

This is a quick BBoy tutorial put together to show hand hopping techniques. You don't need one arm handstands to do hand hops. Remember to try at your own risk.

If you love origami you'll love this project. Watch this video and see how simple and quick it is to make a 3D paper star.

Don't hurt yourself putting on false eyelashes. Use celebrity stylist Damon Hamilton's quick tips for putting on false eyelashes and look glamorous all night long!
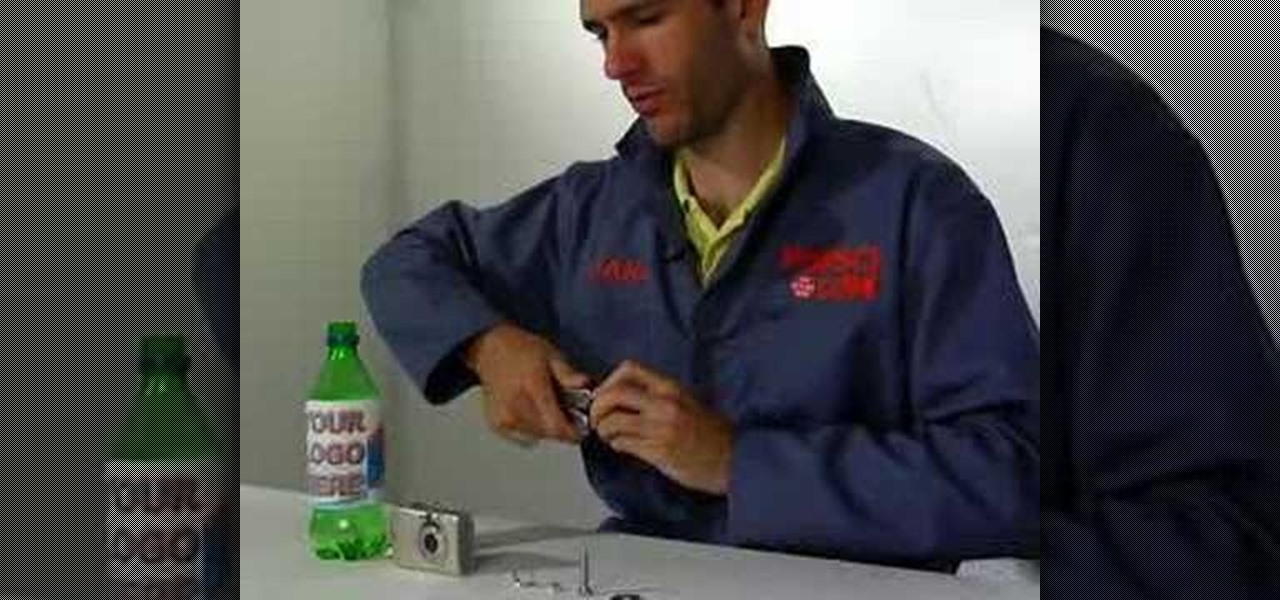
Need a quick and stable tripod for party situations? Here's how to make a small, portable tripod out of a soda or pop bottle.
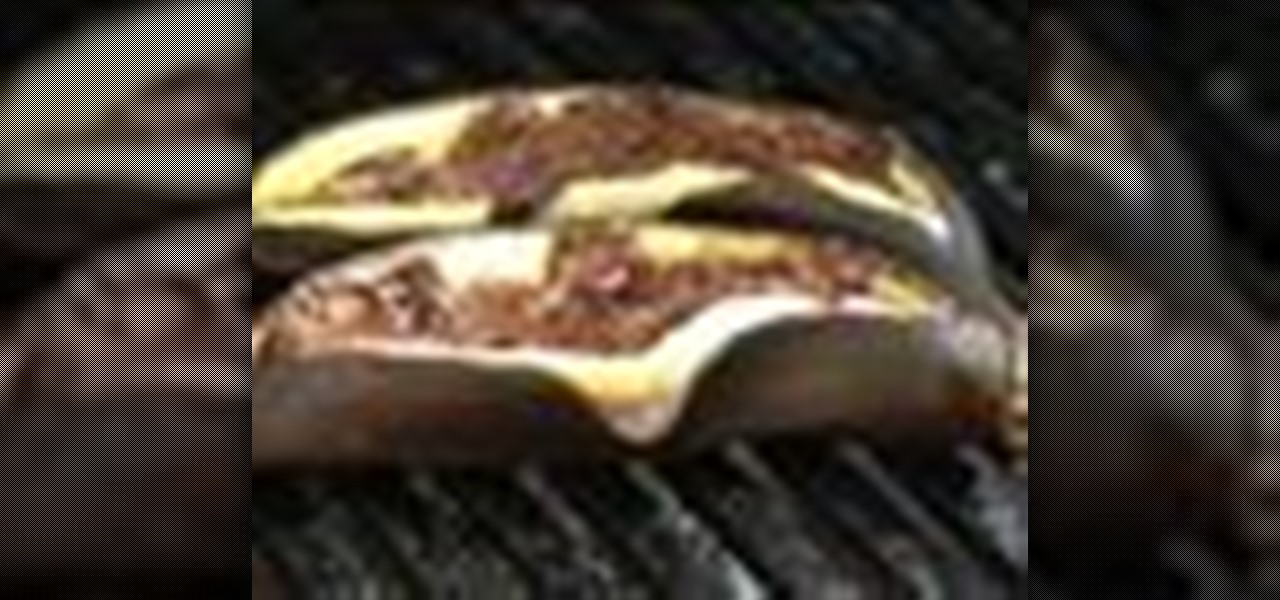
Watch this instructional video to learn how to make chocolate bananas. All you need are bananas and chocolate. Not only is this incredibly quick and easy, but it is extremely tasty.
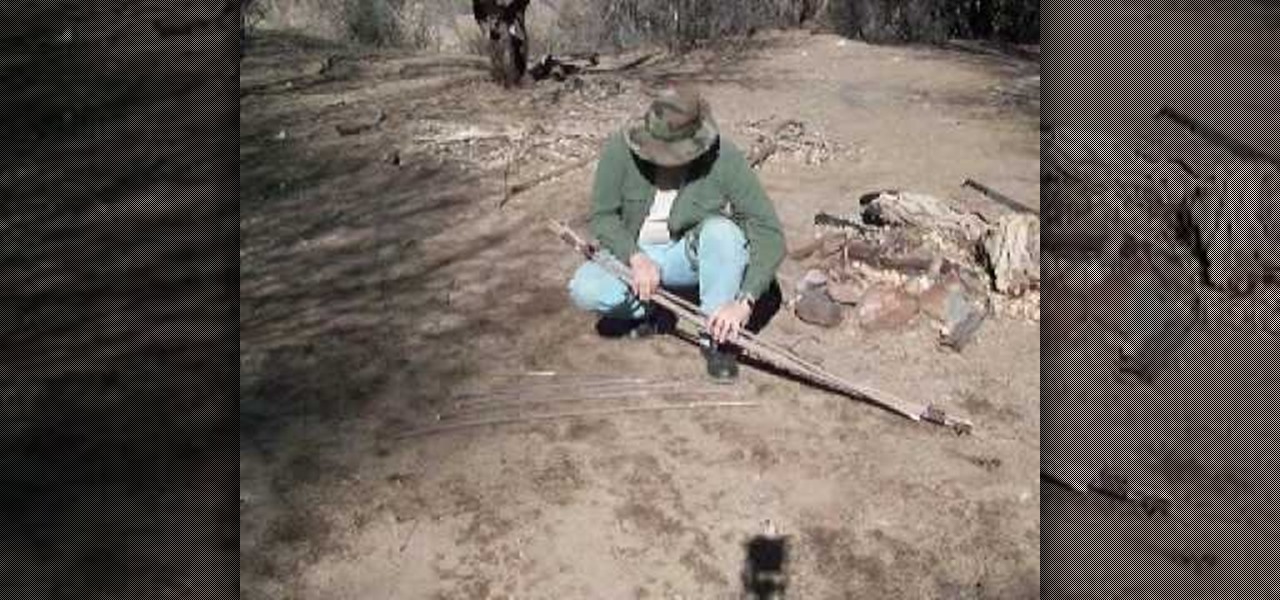
John Campbell, from azbushman, demonstrates how to make a quick bow and arrow in the wilderness by collecting natural materials and constructing them with cord. He starts by finding seep willow (also called coyote willow) that grows in clumps near rivers. He cuts ten willow sticks and ranges their lengths from about five feet down to about one foot, each a couple of inches shorter than the next.
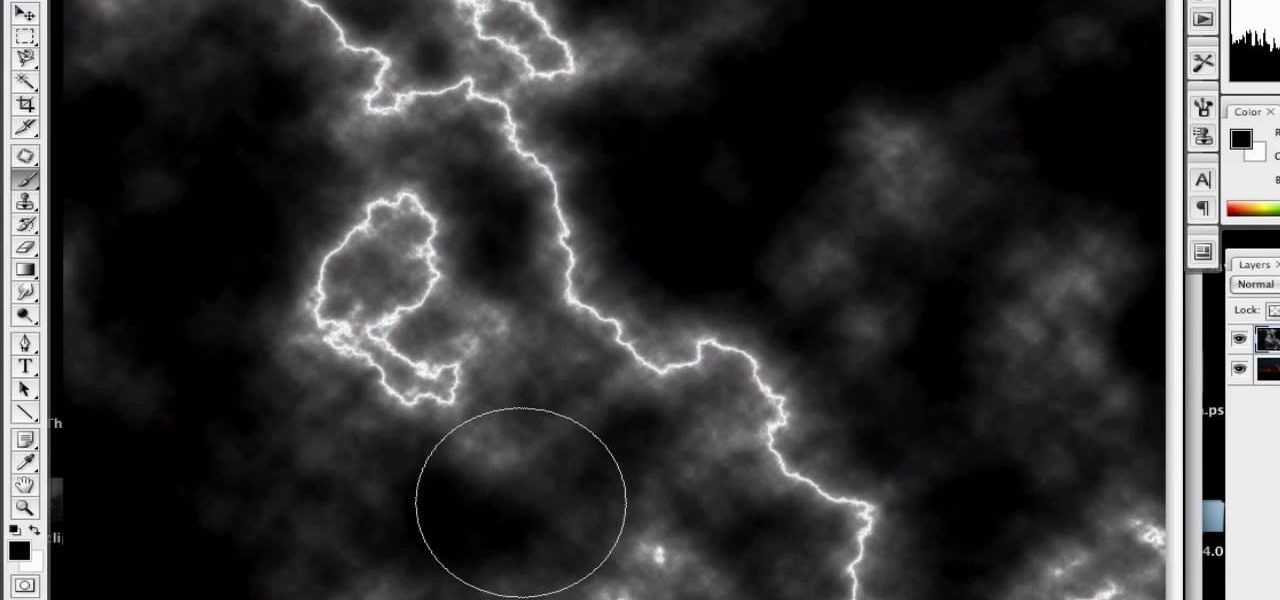
First of all open an image which shows many different lights in a night background. Now make a new layer now set the color of background to black by first and the foreground color set to white. Click the background for the bottom of the left bar and then pressing 'd'’. Next select the 'gradient' tool. Make sure to select the style from the foreground to background. Select the 'mode' to 'normal' and ‘opacity’ to '100%'. Now drag the top right hand corner to the bottom of the left hand corner. ...
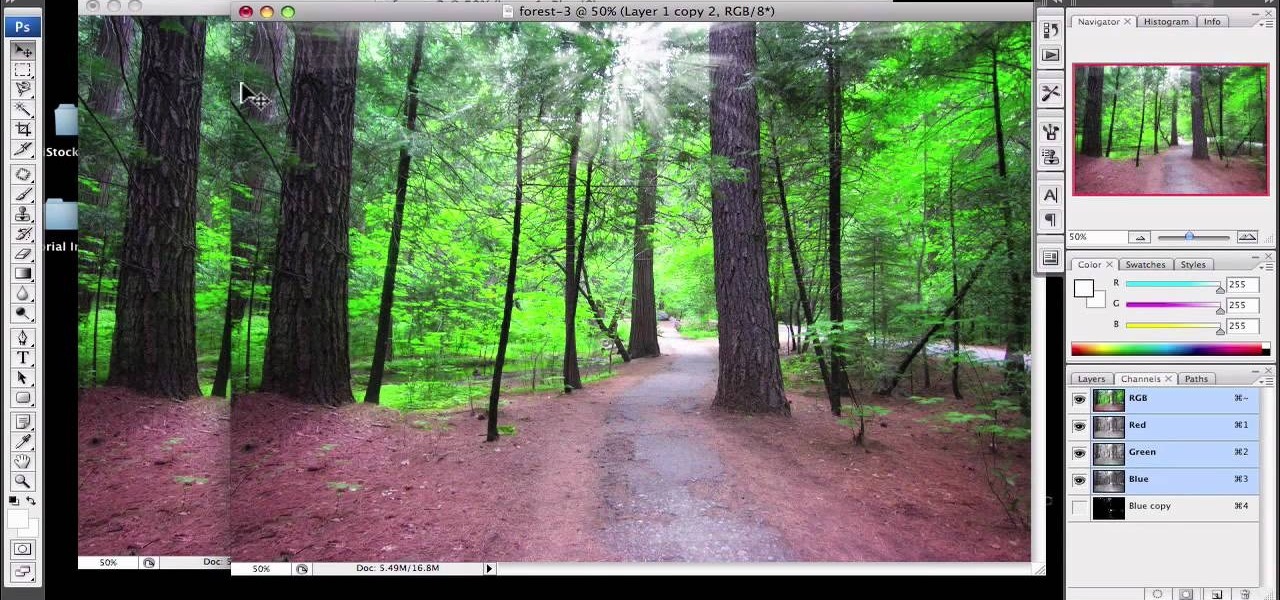
1)Open image, go to channel. Look for the channel that gives the most contrast by going through them one by one.
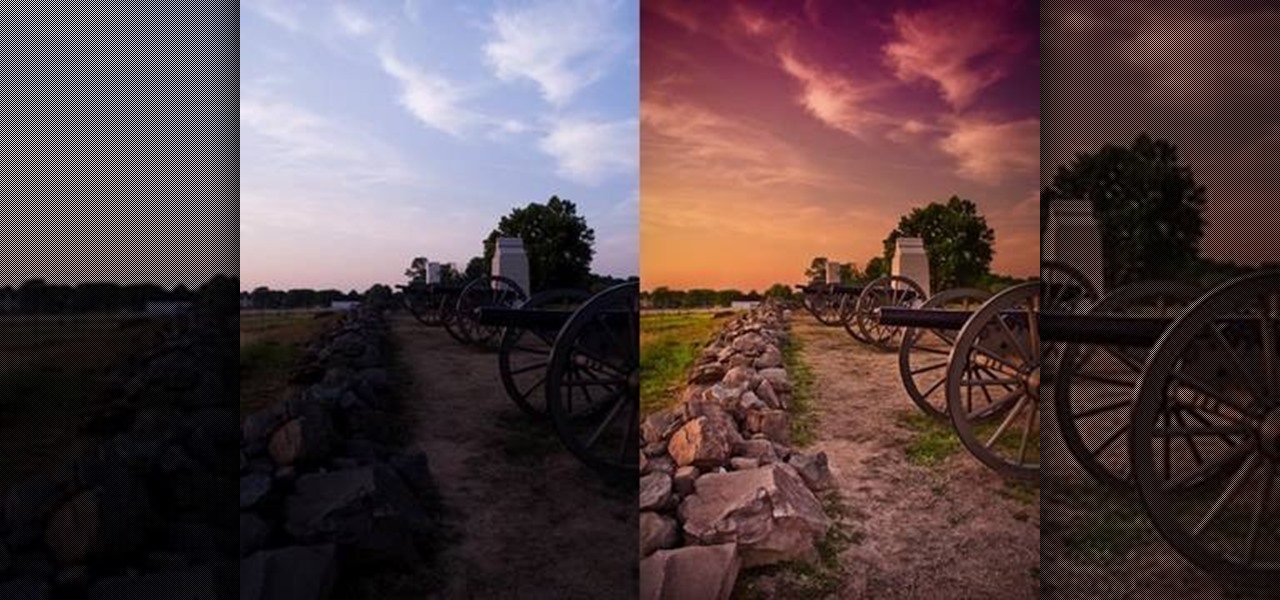
Tutvid shows you how to add flare and dramatic color to your raw camera images (usually the format of a DSLR). In a step-by-step guide with narration, Tutvid takes you through the process of using CameraRaw (used as an extension of Photoshop but never really brings it in photoshop) to add desired colors to your picture. Pull up your raw file in CameraRaw, and press "Command" or "Ctrl + R" to open up the editing panel. With an example, he shows you how to bring out lights in underexposed (dark...

Ever wonder what those bars and lines on the LCD screen on your digital camera do? In this great tutorial, Ethan Wilding demonstrates how to read one of the most useful features on your camera: the histogram.
This video tutorial will show you how to create a seamless background texture using Photoshop using any square or rectangular portion of a picture. The narrator in the video demonstrates step-by-step how to achieve a seamless tiling of a photo through Photoshop and dictates the options that you will need to select. You first have to select a portion of the picture that you want to use. Then the narrator explains that you have adjust the sides of the square portion you chose--labeled A, A' , B...
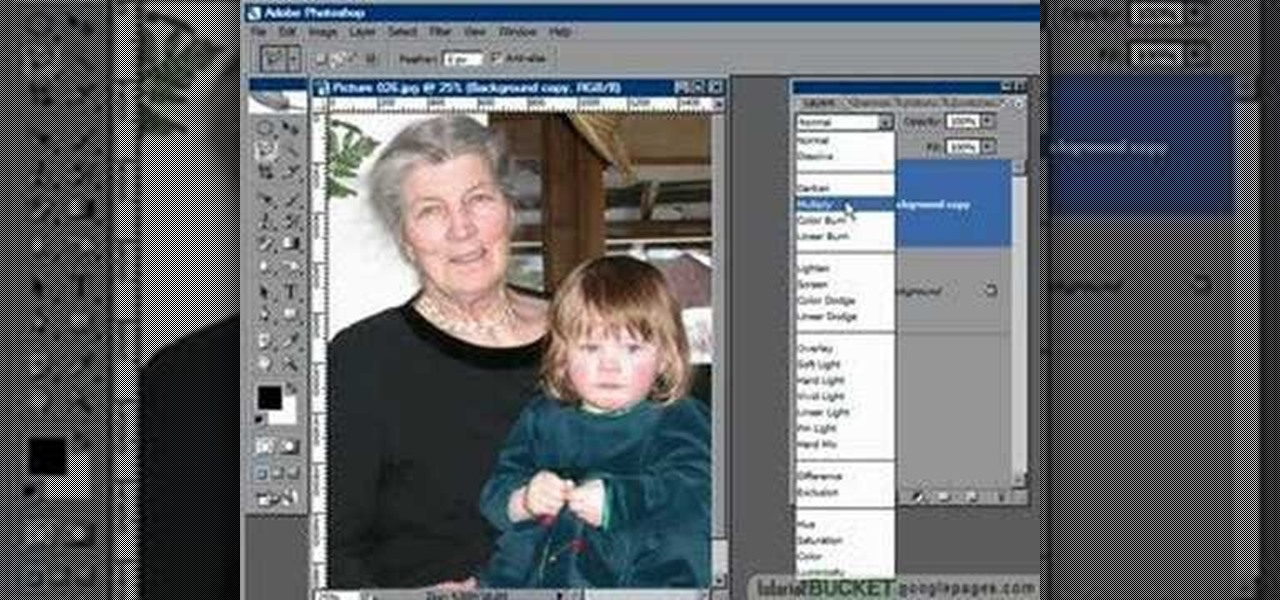
This how-to video is about how to darken an over exposed image in Photoshop.
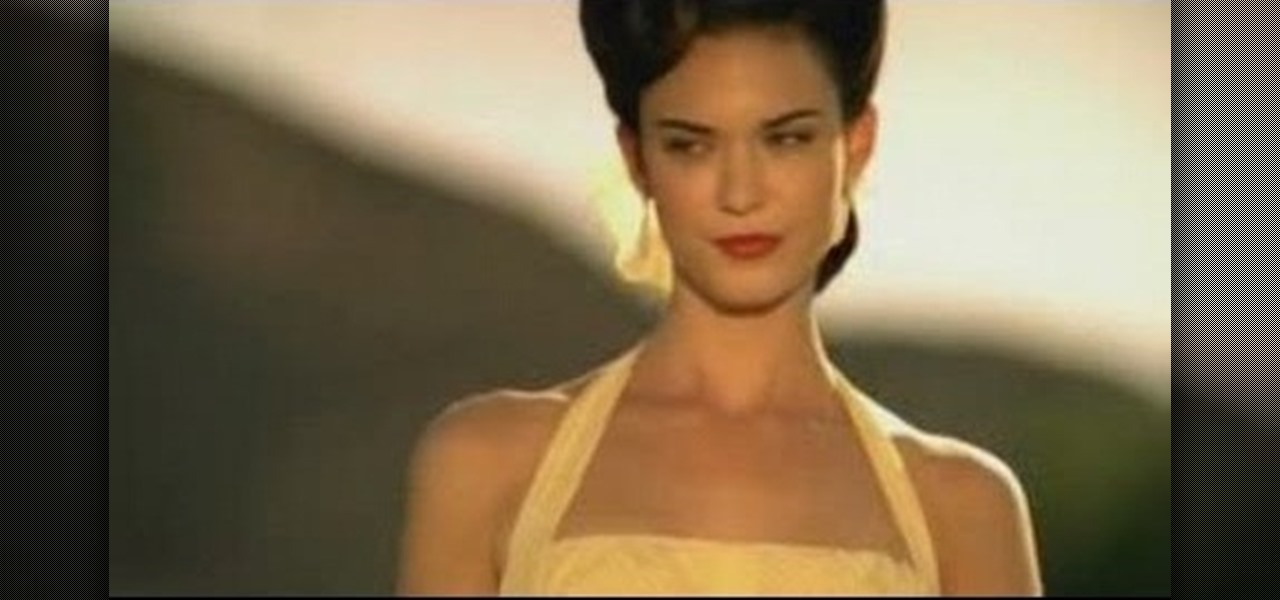
Want to get a Weezer girl hairstyle look? *Use a FHI Curling Iron. *Measure your front bangs and roll them up to the thickness you want. *Set it into place with a pin, split your hair right at the top in half, behind your head at the crown area, open the top behind your ear. *Take the front part and curl it with your iron, take your time and curl the other sections back setting them down with bobby pins. Once this has been repeated on both sides, let your hair cool down. *Tie the back of your...

Learn how to do alternate front lunge holds with quick alternate dumbbell rows. Presented by Real Jock Gay Fitness Health & Life.
In this video tutorial, you'll learn how to increase your Windows performance by adjusting your virtual memory settings. This tweak applies to computers running Windows Vista or XP. If you are running a lot of applications, especially large resource hogs that eat huge amount of memory, your system may become unstable or even crash.

Open the picture you want to edit. Right-click on the main picture layer in the box and then select "Duplicate Layer". Then, in the same box, go to the drop-down menu that says normal, and change it to "Overlay". Then, select Filter>Other>High Pass. In the box that comes up, set the radius to 7.4 pixels. Next, go to Layer>New Adjustment Layer>Gradient Map. Then, when the box comes up, click OK. Then click on the main gradient in the Gradient Map. In the new box, there is a bar that goes from ...

This tutorial guides you through the process of making a mennorade star with origami. It begins with a square of paper that is folded in half and then folded from the corners to make guides on the paper. The paper is then cut in half to make two rectangles. Each rectangle is then folded and trimmed to form a 'Z' shape. It is necessary to complete these steps for ten more pieces of paper. The next step is to take to of the 'Z' shapes, perhaps of complimentary colours, and link them together so...
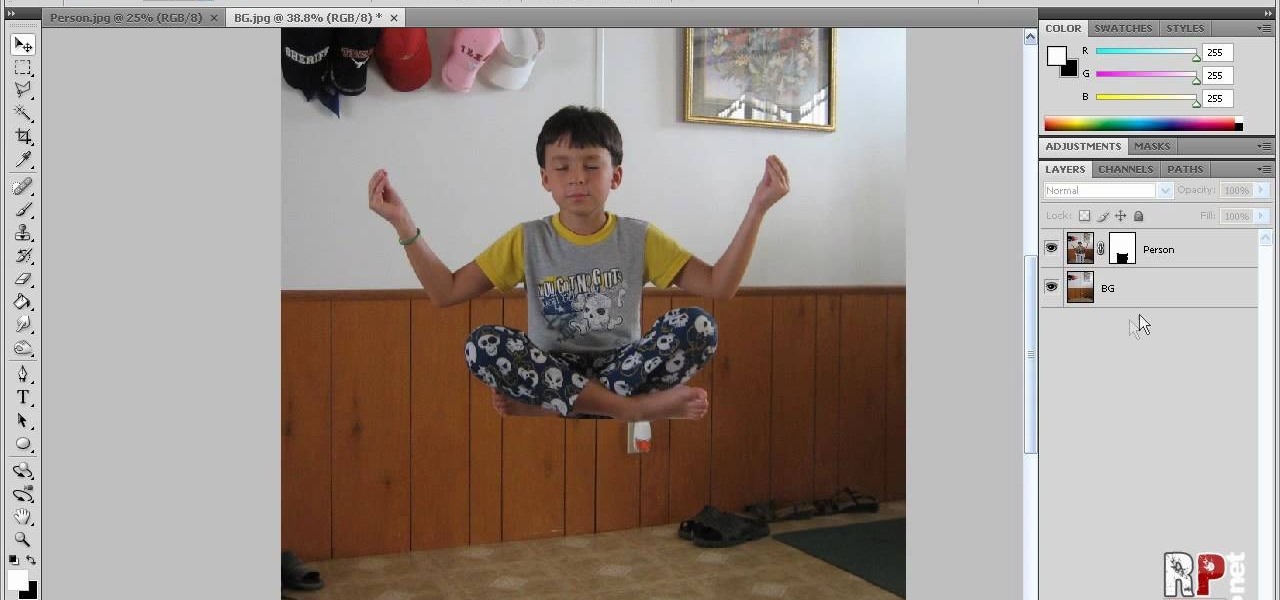
This video tells us the method to perform a simple levitation trick using Photoshop. Take the photo of the background and the person sitting on some object posing as if he or she is levitating. Select the 'Move Tool' and hold the 'Shift' key down. Drag the picture on to the background and release the shift key. Select the layer containing the person and go to the mask tool. Select the foreground color to black. Go to brush tool and set the 'Master Diameter' to 70 pixels and the 'Hardness' to ...
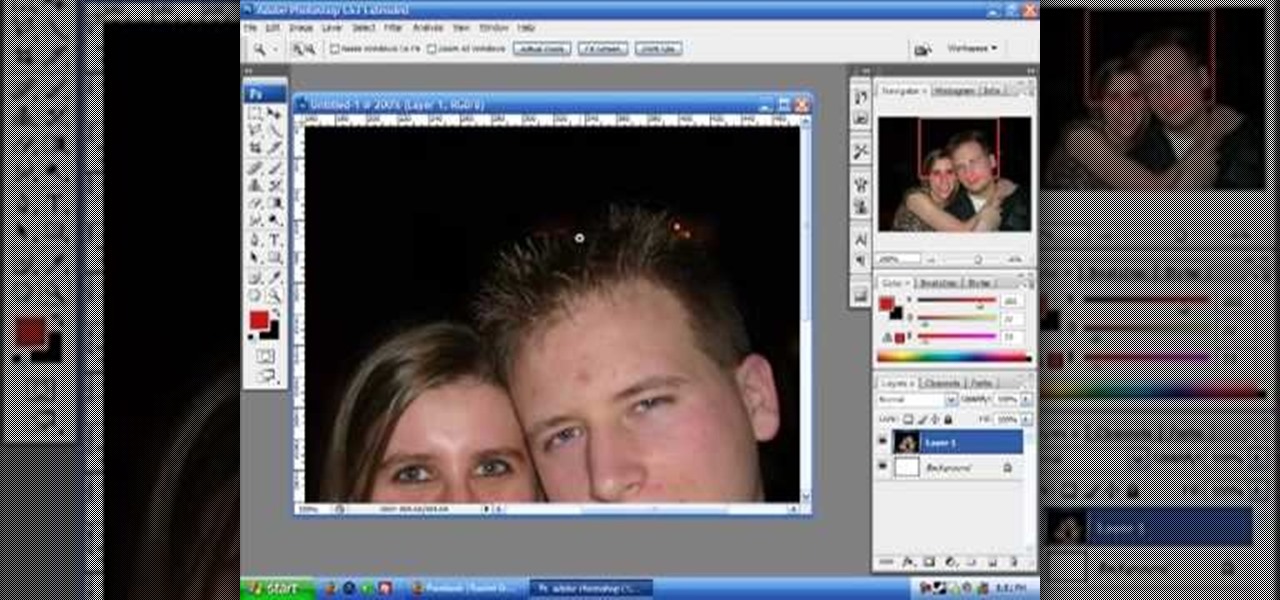
This how to video will show you how to remove blemishes and do other touch ups in Photoshop. First, open the image you want to touch up in the program. Now, choose the polygon tool and select the background of the image. Now, go to adjustments and change the brightness and contrast. You can also add a blur in the filters. Use the smudge tool to touch up any errors from using the blur filter. To fix blemishes, use the patch tool. Select the area you want to fix and drag it to an area of simila...
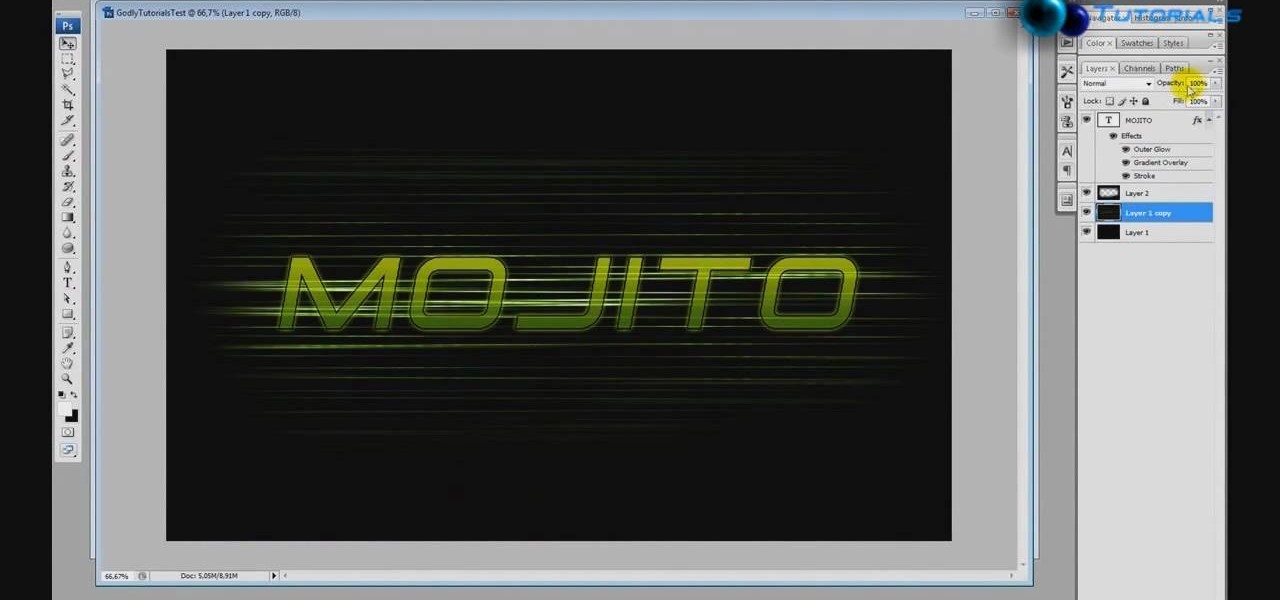
This how to video shows you how to create wallpaper for your computer desktop. Open Photoshop and create a new file. Change the dimensions to the size of your desktop. Click okay and go to edit and fill. Choose color and select black. Click okay to fill the screen with black. Duplicate the layer. Once this is done, go to filter, render, and lens flare. Make sure the lens flare is in the center. Edit the settings to your liking. Click okay to add the effect on to the image. Go to filter, disto...
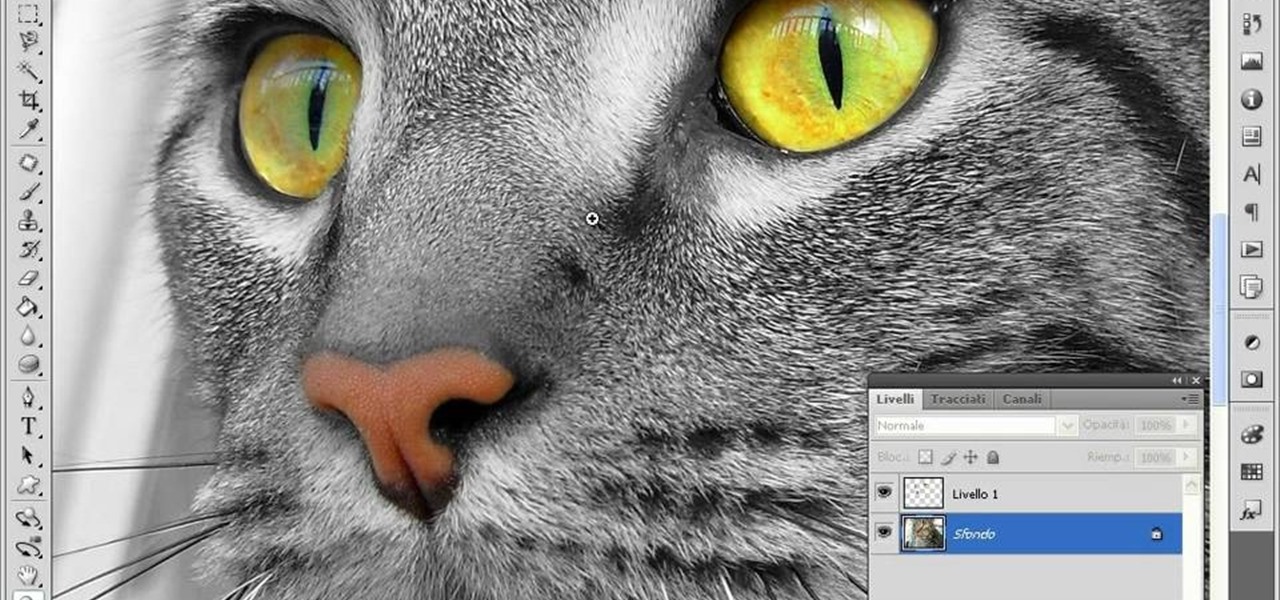
This video teaches us to make a photo black and white with coloured parts in Photoshop. This procedure consists of many steps. In the first step, we choose the magnetic lasso tool from the application. This is followed by the second step. In the second step, we draw the contours of the places we want to stay colored in the photo. Press the 'Shift' key to keep the contours selected while drawing contours across multiple places in the image. After drawing the contours, go to step three. Right c...

In this how-to video, you will learn how to make grain textures in Photoshop. First, click add layer mask to an open image. Add a filter to this mask and by going to the texturizer option. Adjust the settings to your liking. Click okay to continue. The mask will make the texture transparent. Go to image adjustments and levels to adjust the intensity of the grain. Click okay to save the settings. Select the layer and then choose the color you want the grain to be. Make sure to lock transparent...

In this how to video, you will learn how to make a reflection in water using Photoshop. First, open the image in Photoshop. Select the crop tool and select the whole photo. Click and drag the lower part down. Select the rectangular marquee tool and select the picture. Click on the selection and select layer via copy. Click the move tool and drag the upper point in the picture to the bottom of the document. Go to filter, blur, and select motion blur. Choose a -90 degree angle with a 35 pixel d...
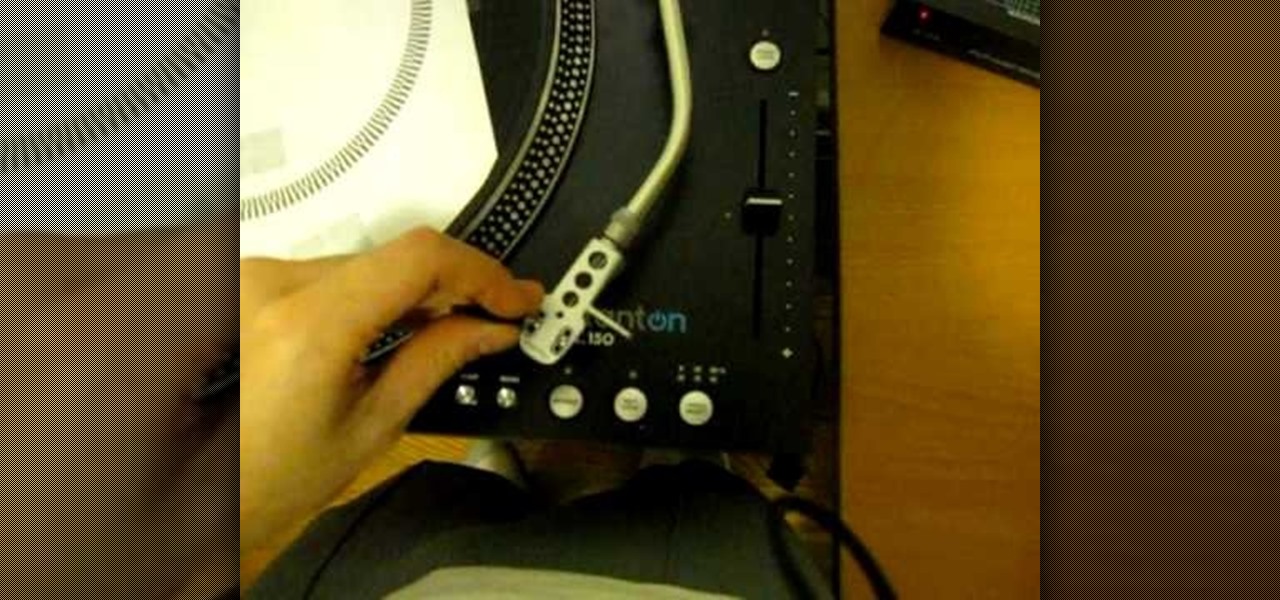
Paul demonstrates to viewers how to properly set up a turntable. Each turntable has the same basic parts, so this tutorial should work for most users. There are several components: the platter is the part that spins and it has a slip mat on top. The tone arm is to the right and it has a head shell and stylus cartridge (needle) mounted on the end. The queueing lever is at the base of the tone arm and it raises and lowers the tone arm base. There is also a VTA (Vertical Tracking Angle) adjustme...
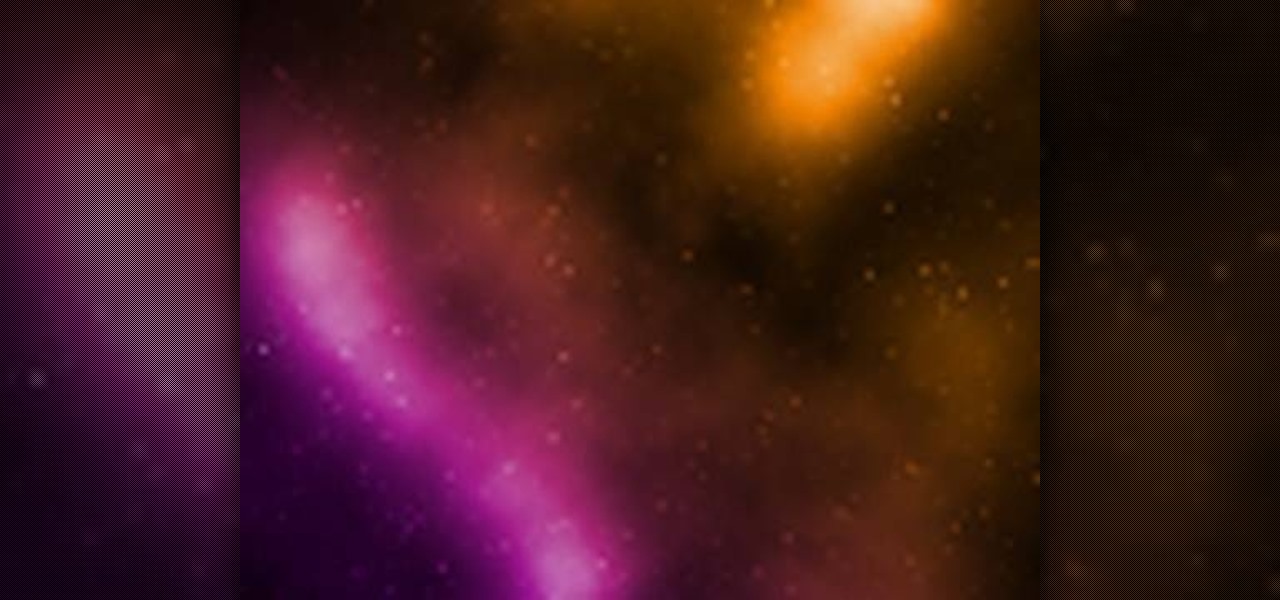
This how to video shows you how to create a nebula star scene in Photoshop. First, create a new image in Photoshop. Fill the background with black. Next, create a new layer and call it stars. Go to filter and select noise. Choose Gaussian and click monochromatic. Click okay to add the noise. Once that is done, go to adjustments and levels. Change the settings so that you have less clutter. Next, make a selection in the middle. Copy and paste it as a new layer. Go to edit and select free trans...

Make light saber glow effects in lsmakerThe author found freeware that helps create light sabers. The freeware is not as good as adobe after effects, but it will serve the purpose. Download the software from the website http://www.lsmaker.uw.hulpage.php?main=lsmaker.html. Extract the folder. Open lsmaker.exe. Save the extracted file to the desktop. Select import. Add either picture or video file. Change the saber color to red. Click ok. The blade needs to be white. In the dialog box change pi...
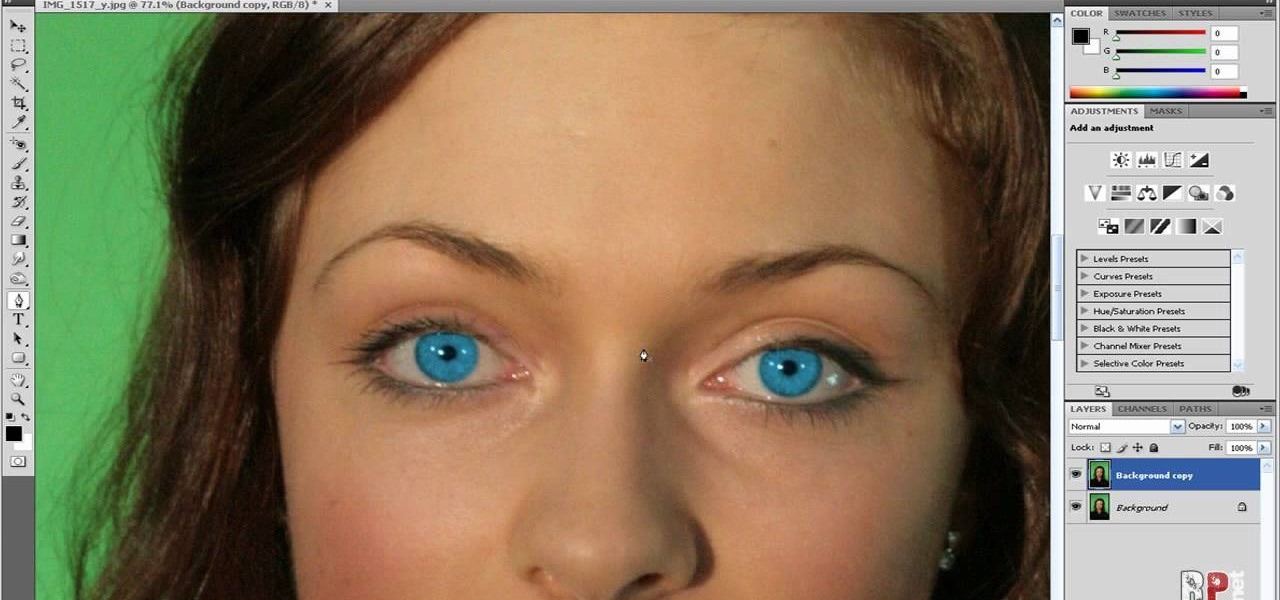
In this how-to video, you will learn how to change eye colors using Adobe Photoshop. First, open the image, Duplicate the background image. Zoom in to one of the eyes and select the pen tool. Set it to paths. Now, go around the iris of the eye. This does not have to be perfect. Click and drag to the other eye and select the other iris as well. Once these are both selected, right click into one of the selections and set the feather radius to about three pixels. Go to Image and Adjustments and ...
It seems like its hard to get as much sleep as we need, doesn't it? Sleep is important and effects how you function throughout the entire day. Follow these tips and you will be on your way to a good night's rest.
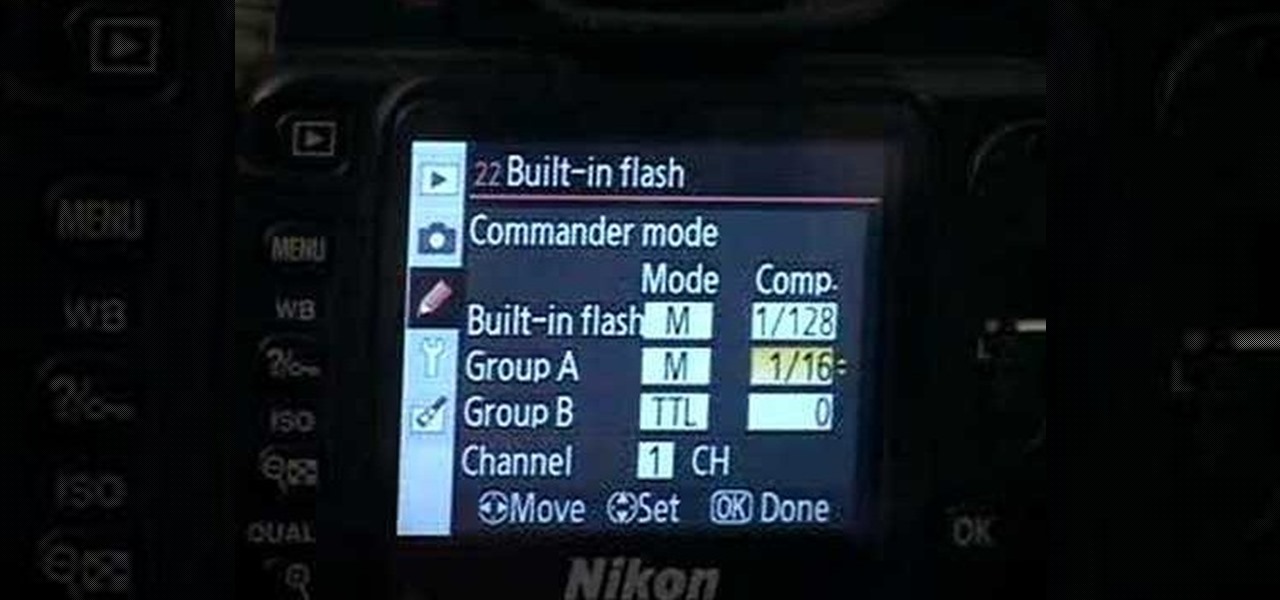
These are the steps required to set your D80's pop-up flash. First, go to the "Custom Shooting Menu." Then you choose #22 on the screen: "Built in Flash." Choose the "Commander Mode" option. The modes that are available for the pop-up flash include TTL, AA (Auto Aperture) M (Manual) and Off (no flash). If you are using an external flash unit, you use either group A or B. The light frequencies and proper settings are related to how much light compensation is needed. +3. 0 is high power, 1. 1 i...
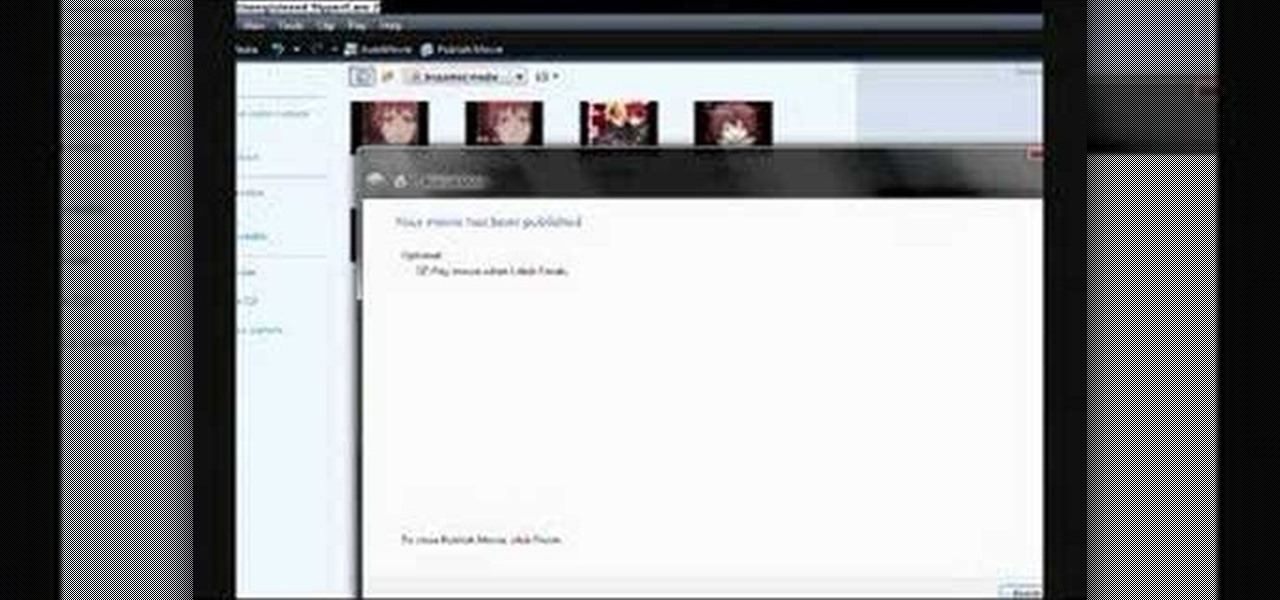
SchizoFilms brings the viewers instructions on how to make an animated GIF in Windows Movie Maker. First open up Movie Maker. You will need to import pictures. To do this, click the button on the top left of the screen that reads 'Import Media'. Find your files here and import them into Movie Maker. Now, you will want to order the pictures in the sequence you want them to show up in. To do this simply drag and arrange them. Now, you can make adjustments for how long you want each to run by dr...

This is a Computers & Programming video tutorial where you will learn how to take screenshots on Mac OS 10. 5. Andrew Grant says there are several ways of doing this. The easiest way is to hold down the Command and Shift key and press 3. You will get a screenshot of the entire desktop. To take a screenshot of a selected area, hold down the Command and Shift key and press 4. The cursor now changes into a target. The figures next to it are the values of the pixels from the left hand top corner....
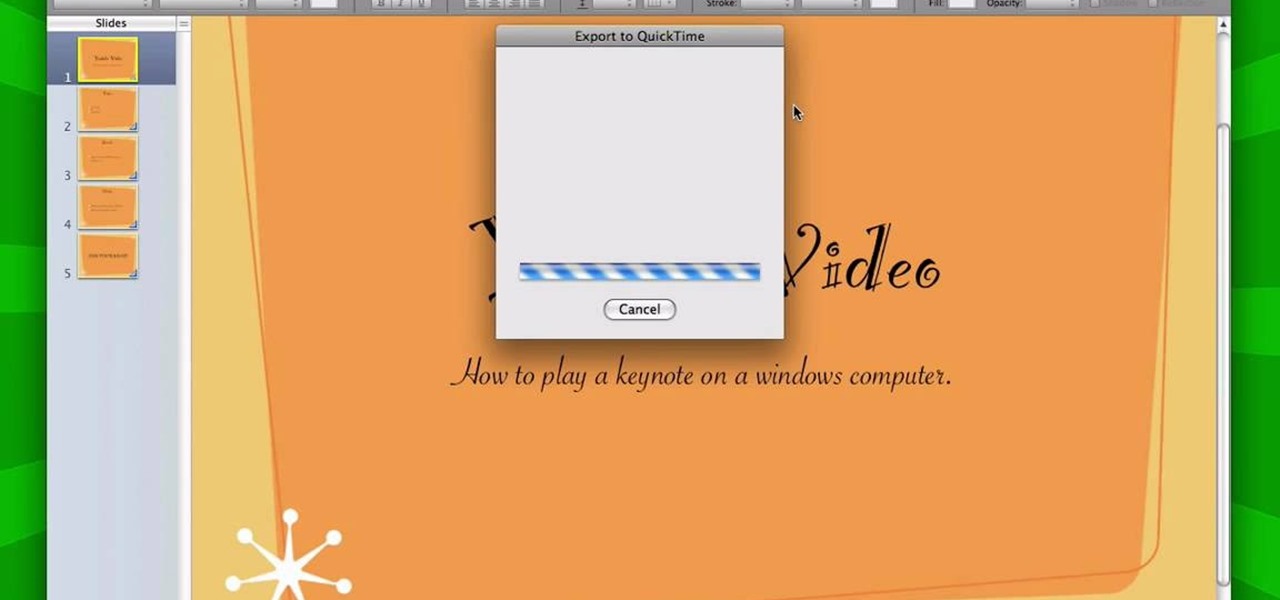
It is a great video tutorial about how to create a keynote presentation to run on a windows platform. After opening the keynote presentation, click on file menu and open up the export window. This window shows different file formats and types. By using this we can export a quick time movie, an html, PDF, images, flash or a PowerPoint presentation file.

This video describes how to put eyeshadow on someone in Photoshop CS3 and CS4. 1.First open the Photoshop CS3 or CS4 and open your image in which you want to put eyeshadow.