
How To: Drive an eighteen-wheeler truck with these safety tips
Trucker Steve takes some time out to show those interested in driving a semi truck or big rig how to make proper weight adjustments safely. Enjoy.


Trucker Steve takes some time out to show those interested in driving a semi truck or big rig how to make proper weight adjustments safely. Enjoy.
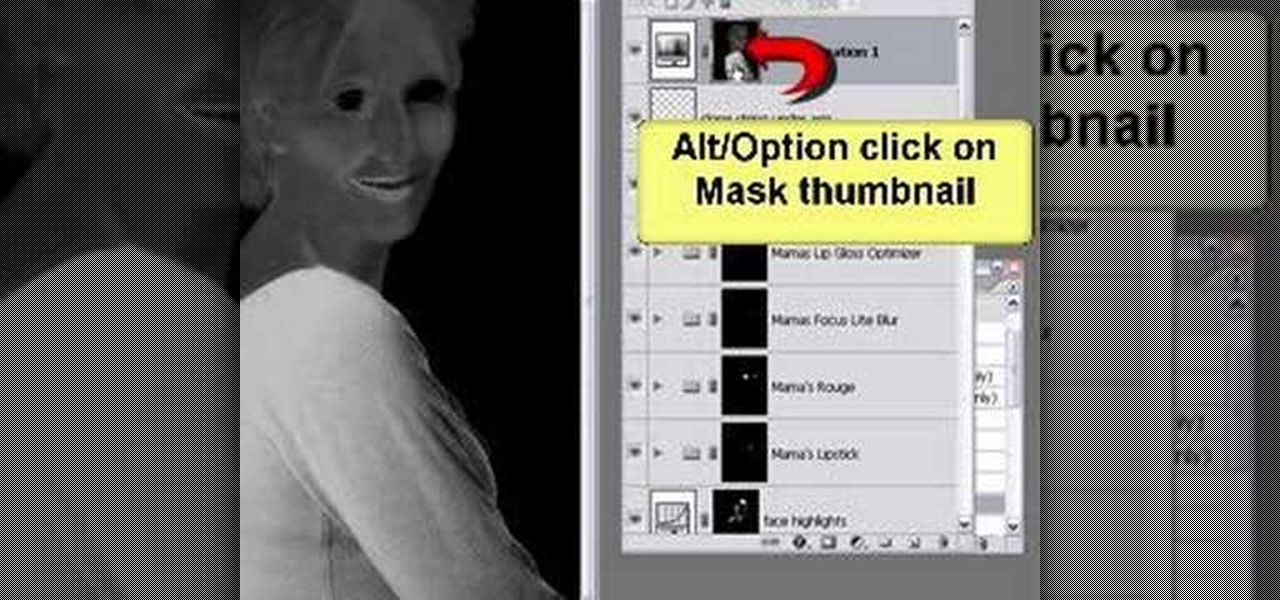
This Photoshop tutorial will show you one method for changing clothing color utilizing the Select Color Range command and fine tuning techniques to use on the mask of the Hue and Saturation adjustment layer. Also shows how to clone.
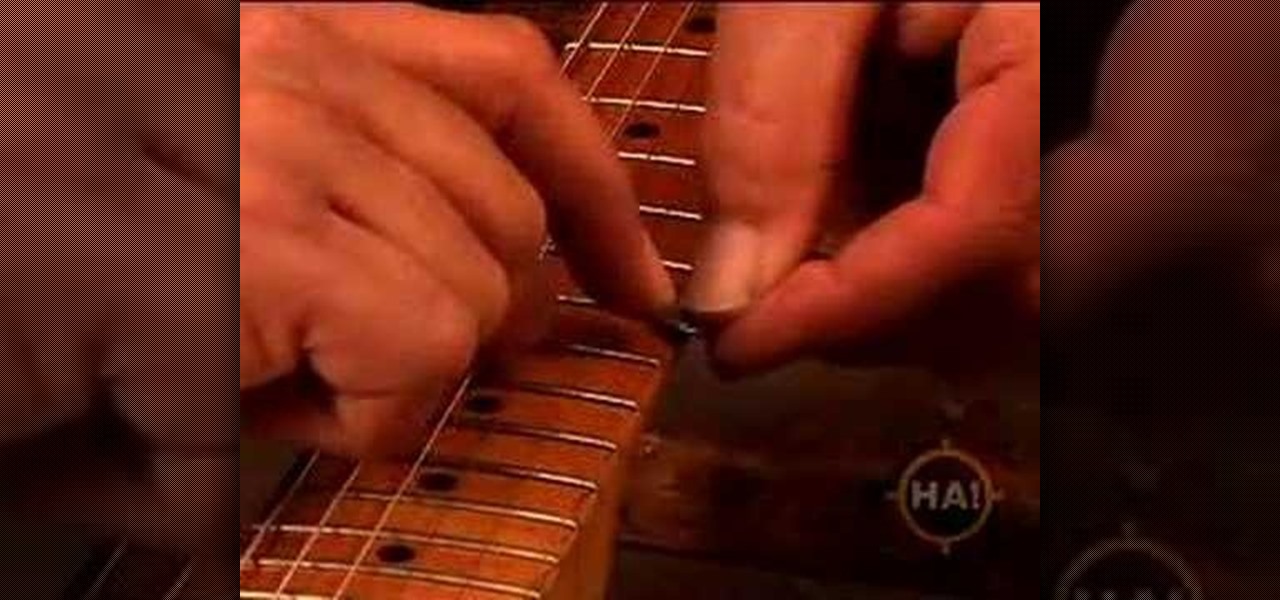
This episode features guitar tech Steve Soest showing us how to adjust the action (bridge adjustment) on our electric guitar.

In this tutorial Macmost.com shows iPhoto '08 of the iLife '08 suite. This video demonstrates how to use the Effects Menu and the Adjust menu to improve the quality of you photographs with some simple alterations.
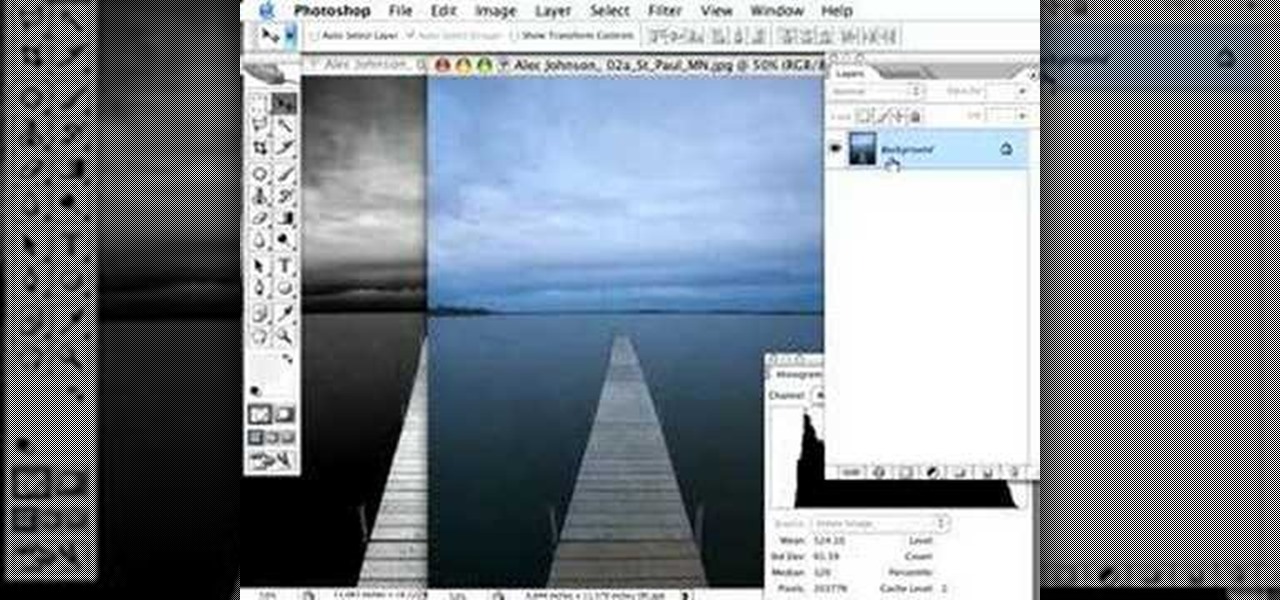
Using a series of submitted images as guides, this video tutorial looks at creating high contrast black & white images as a vehicle of communicating subject relationships. Technically, you will learn to create adjustment layers. Learn also how to use levels to adjust the tones of the image.

Here are a few little tricks you can use to make a free call using fring. After a few simple adjustments free calls can be made to your friends and loved one for free.

Poor alignment of cabinet doors will cause a kitchen to look run-down and may be embarrassing to the homeowner. Luckily, with a single screw driver and a little ambition, the door alignment can look brand new.

This software tutorial shows you how you can blend three differently exposed images using Photomatix, and then demonstrate how to use some basic Photoshop techniques to touch-up the resulting image. [Note: the Flash overlay in this video doesn't sync completely with the audio; pausing for a second and then resuming it fixes the problem.]
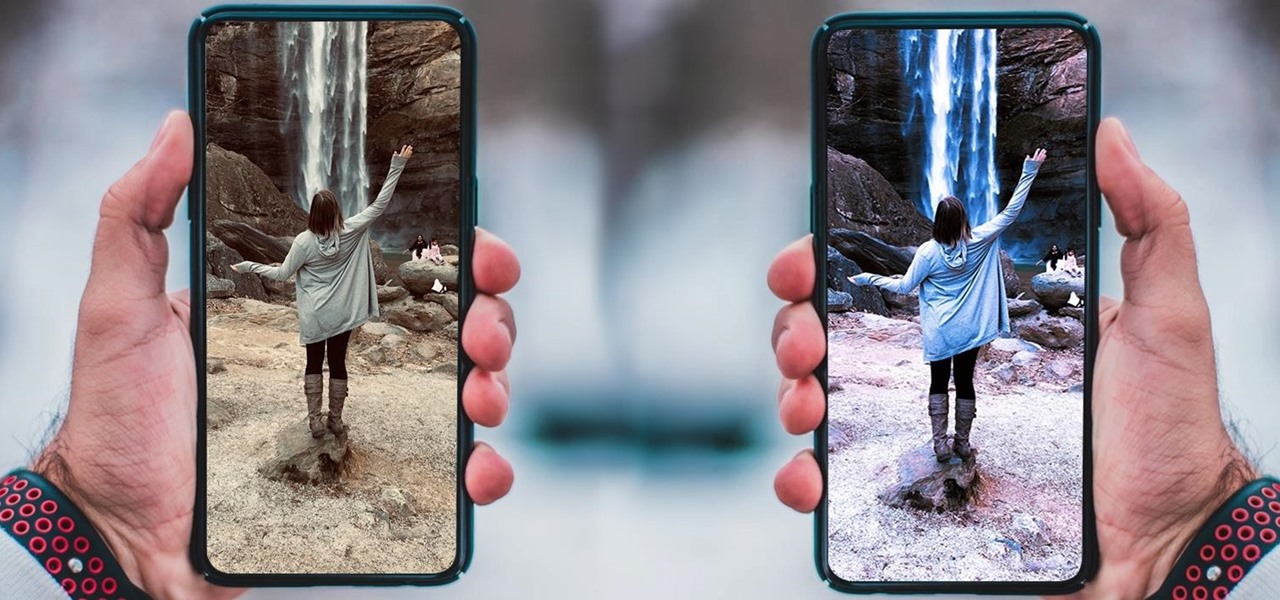
If you want your photos to look like they came straight out of a movie scene, the best method is to use split toning. Many Hollywood producers use this effect to recreate the cinematic look of cameras before the digital film era, which is why most people associate split toning with a cinematic feel.

This is a tutorial showing how to make a lightening effect on Photoshop. First click on the gradient tools and then click on the colors. Check to see if there is black on one side and white on the other, if there is then click the ok button. Then hold the shift key while dragging the mouse across the screen. This will make a black to white gradient effect on the screen. After that, click on the filter button at the top of the screen, then click render, and then difference clouds. After the cl...
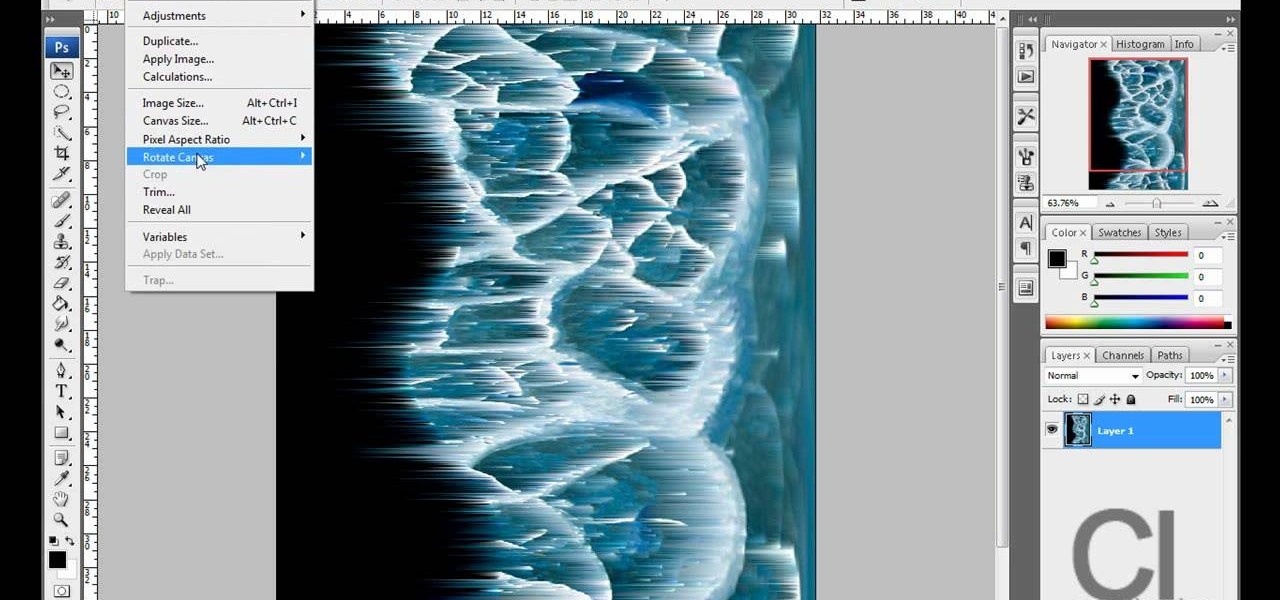
Planet are cool and explosions are awesome so what could be better than an exploding planet. This tutorial will how you how you can create an exciting and adrenaline invoking exploding planet in Adobe Photoshop without too much work.
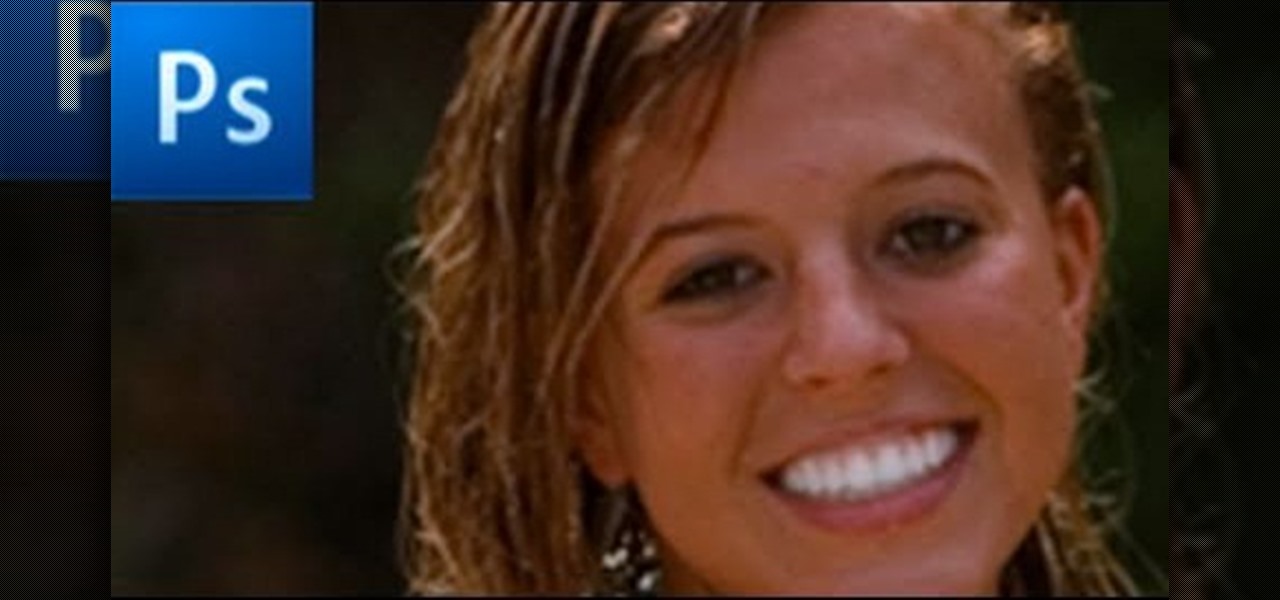
In this how to video, you will learn how to whiten teeth in Photoshop. First, open an image that you want to edit in Photoshop. Zoom in to the teeth as much as you can. Next, go to the brush tool and set the diameter to 21. Hold shift and q to put you into quick mask mode. Now paint over the teeth with your brush. Whatever is red will be your selection. Once you are done painting the teeth, select press shift and q again. Go to select and choose inverse. Next, go to image and adjustments and ...
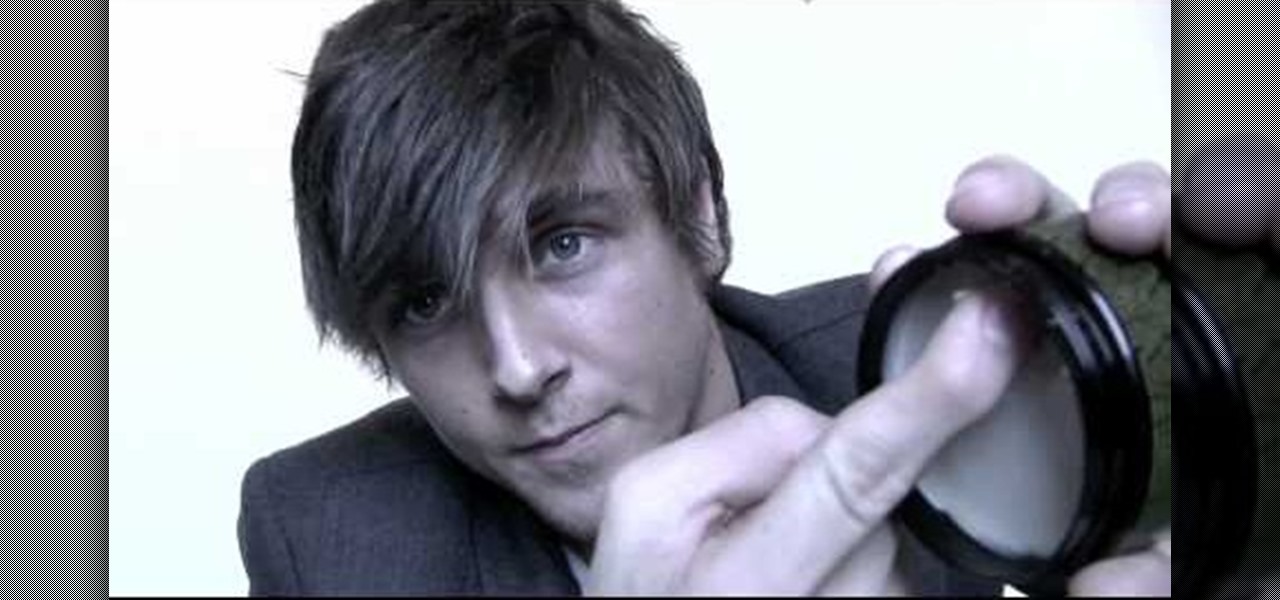
This how to video shows you how to style your hair like Zac Efron with American Crew molding clay. You will need the clay mentioned and a brush. First, comb your hair so that you have side swept bangs. Use a straightening iron on your hair if it is very curly and textured. Next, take some clay and rub it in your palms. From here, rub your hands through the back of your head to the front. Remember to work from the top of the crown to the front. Use the come to make any adjustments. Take more c...

This video tutorial is about adding an infrared effect to an image using Photoshop. First of all, open the image to which you wish to add the effect. After that, create a duplicate layer. Then go to the image option and click on it. A drop down menu appears. From that menu, click on adjustments and from that, select the option channel mixer. In the small window that appears, first tick the monochrome option. The idea of the channel mixer is that the total percentage of the colors must add up ...
Pixel Perfect is the "perfect" show to help you with your Photoshop skills. Be amazed and learn as master digital artist Bert Monroy takes a stylus and a digital pad and treats it as Monet and Picasso do with oil and canvas. Learn the tips and tricks you need to whip those digital pictures into shape with Adobe Photoshop and Illustrator. In this episode, Ben shows you how to dive into new features of Photoshop CS4.

To stand out on Instagram, you need more than just the great camera on the Galaxy S20. You have to think like a professional photographer, which means two things: using manual mode and editing your photos. It is only with the latter that what you imagine becomes a reality.

Adobe Premiere Clip gives mobile video editors the tools they need to make some great looking projects from their iPhone or Android device. Editors need ways to organize and trim clips, edit the look of those clips, add music, and more. For a smartphone app, Adobe Premiere Clip has these features in spades.

Android has separate volume levels for various system sounds like incoming calls, notifications, alarms, and media. This means that when you want to adjust volume levels for just one of these categories, you usually have to press the physical volume rocker, tap a button to expand the volume menu, find the category that you want to adjust, then finally raise or lower the volume.

Despite having the UltraPixel branding, the M7's camera can leave you feeling a little let down. The picture quality is clear and the low-light shots are decent, but when looking at the same shots taken on a friend's iPhone, you may feel a little inadequate.
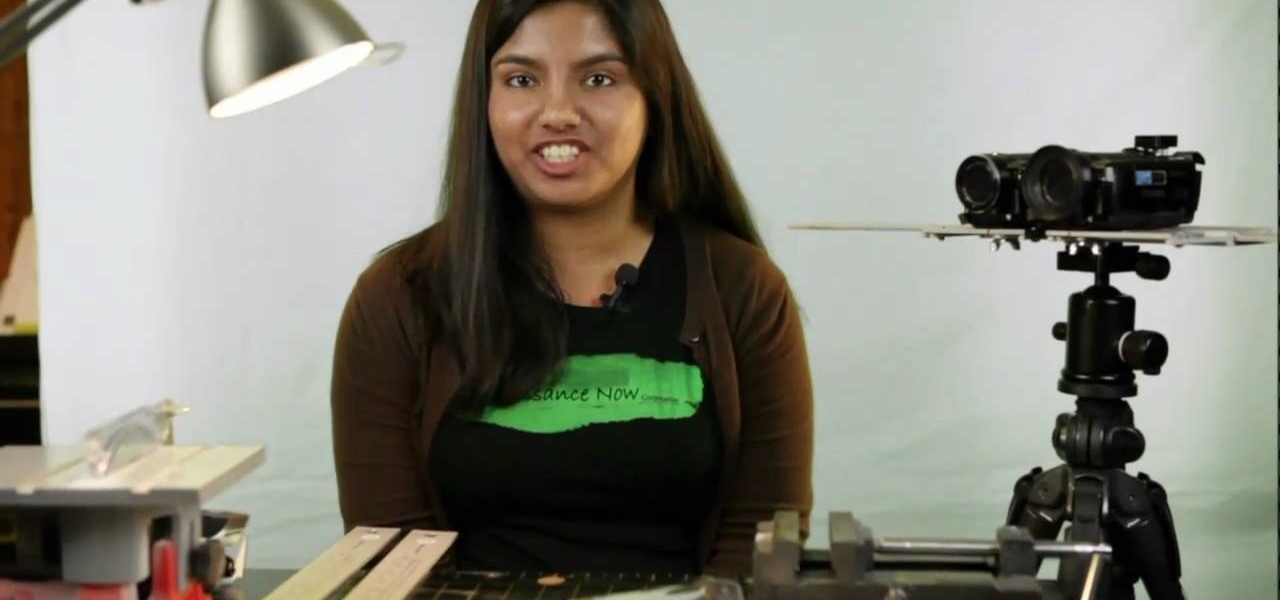
This guide goes over the basics of 3D video recording and the mechanics behind it before delving into something a little more specific. The host discusses how to build a rig that allows for adjustments to be easily made to the interaxial distance and convergence of the two cameras.
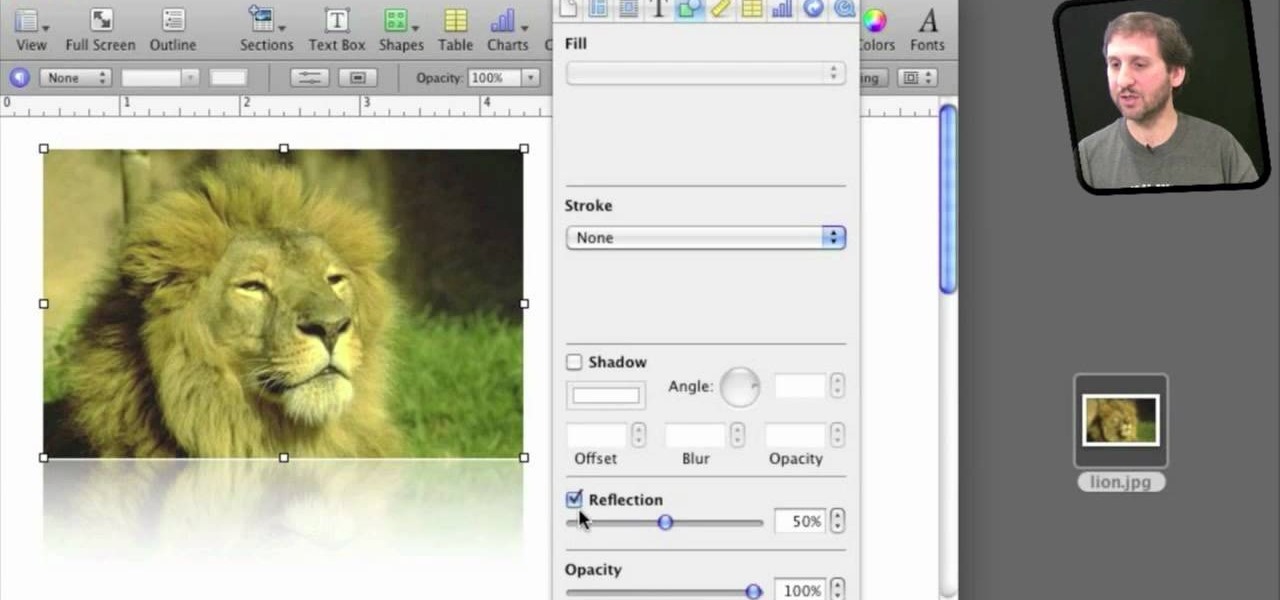
In iWork documents and pages, there's a lot of things you can do with external images. You can import them and manipulate them in various ways. These images can be resized, scaled, rotated and cropped. You can also make color adjustments, brightness, contrast, adjust image colors and place them inside of shape masks.
This video tutorial speaks about how to create a dramatic effect to an image using only Camera Raw in the Bridge program of Photoshop. In this example, the picture was first brought into the program and the fill light was turned upwards in order to lighten up the dark foreground. The white balance of the picture was changed to cloudy to add a nice effect and the color temperature was changed to make the picture appear warmer. The various parts of the picture can then be changed individually b...
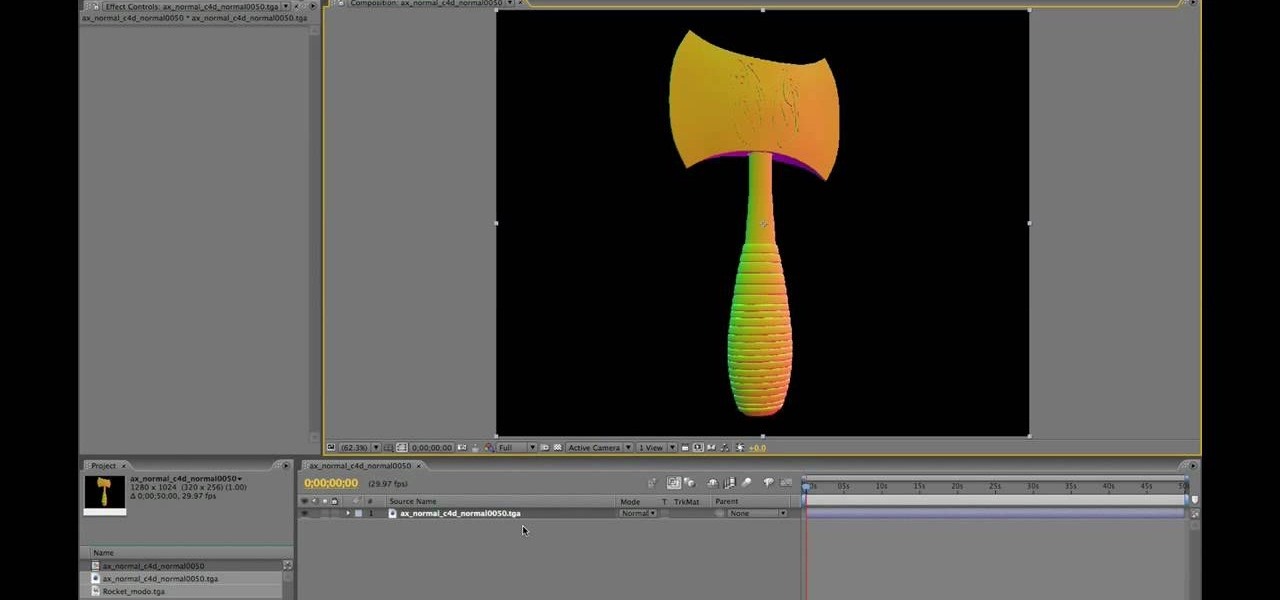
After Effects allows you to do all sorts of amazing things to your videos and images, but it cannot do it all alone. This video will show you how to use an After Effects plugin called Normality 3 to make lighting adjustments to 3D assets on the fly, having already rendered out a normal pass using either Cinema 4D or Modo (you can use other 3D software too, but those two are both shown as examples in the video). It will also demonstrate how to render out the normal passes.
Want to grab some great shots at your friend or family member's wedding? Create a glowing, diffused, soft focus wedding photo effect through the power of Adobe Photoshop CS4. Add a whole lot of "mood" to an image by softening and increasing contrast, that also features a vignette around the focal point of your choosing. The beauty of this technique is that by using adjustment layers you can have full control over the final effect's strength and color. Create the perfect wedding photo and give...

Do you admire the look of vintage photographs? How about the production of the old plastic cameras like the Diana and Holga? You can create that same photo effect with your digital photographs through the use of Adobe Photoshop! In this video, learn how to create a faux lomography effect also known as the "lomo effect". By using Blend Modes and Adjustments Layers you can achieve a pretty cool effect that can be used on any photo!
Need to color correct your photos and you're not sure how? In this video, the basics of RGB and CMYK colors are discussed as well as how to use them to color correct everything from everyday snapshots to portrait photographs. By using the eyedropper and the info palette to read the colors in the photos, you can then color correct. Based on the CMYK read out of the color sample targets, you can then adjust the color channels using a curves adjustment to achieve the kind of colors you'd like. A...

In this video tutorial, viewers learn how to change the color of lips in Adobe Photoshop. Begin by importing the image into the program. Select the quick mask tool and then select the brush tool. Now color the part that you want to retouch. This will allow the mask to create a selection. No click on the masking tool to create a selection. Then select the marquee tool. Right-click the selection and click on Select Inverse. Right-click the selection again and select Feather. Make it 1 pixel and...

This instructional cinematography video provides troubleshooting alternatives to adjusting the focus gear on a Redrock microFollowFocus should it become too loose. There are several adjustment capabilities built into the Redrock microFollowFocus and can be tightened by watching this video. This instructional video is interesting for cinematography aficionados.

Ever experienced uncontrolled after bursts during semi auto play? Most gun triggers have four adjustments: tension, pretravel, activation point, and post travel. The wrong setting could damage your paintball gun's board. This video shows different ways of setting up a paint ball gun's trigger for efficient play and better control.
Watch and learn how to create a drost effect on images in GIMP. The end result will be a color cycled animated GIF. The theory behind this can be applied to make any other adjustments. Whatever layers you have can be cycled through continuously.

In this home repair video Bob Schmidt shows you how to make a simple adjustment to an interior door that will fall open or closed on its own.

Jerry King teaches you how to play well despite windy conditions, by making simple adjustments to your golf swing. It's all about balance and control.

This may be the simplest of all the National B License Tests in Gran Turismo 5. It's the eight one (B-8), where you simply find the line through an S-bend. If you haven't already done so, break out your PlayStation 3 and unlock these tests by purchasing your very first car.

Open the Adobe Photoshop program. Choose a picture with a head shot. This maybe something that is already in your pictures folder on your computer, downloaded from the internet or transferred from your flash drives, and those photos you may have scanned and saved in your computer.

In this tutorial, you will learn how to make advanced hair selections using the alpha channels. And how to blend two different images together, using advance masking and the adjustment layers.

Video: . Valve Clearance Adjustment Tutorial Toyota Hilux, Surf 22re.
Learn How to draw Juliet from the film Gnomeo & Juliet with the best drawing tutorial online. For the original tutorial with speed adjustment and step by step instructions please visit: How to draw

Learn how to draw yuki nagato with the best drawing tutorial online. For the original tutorial with speed adjustment and step by step instructions please visit: how to draw.

Learn how to draw yuki nagato with the best drawing tutorial online. For the original tutorial with speed adjustment and step by step instructions please visit: how to draw.
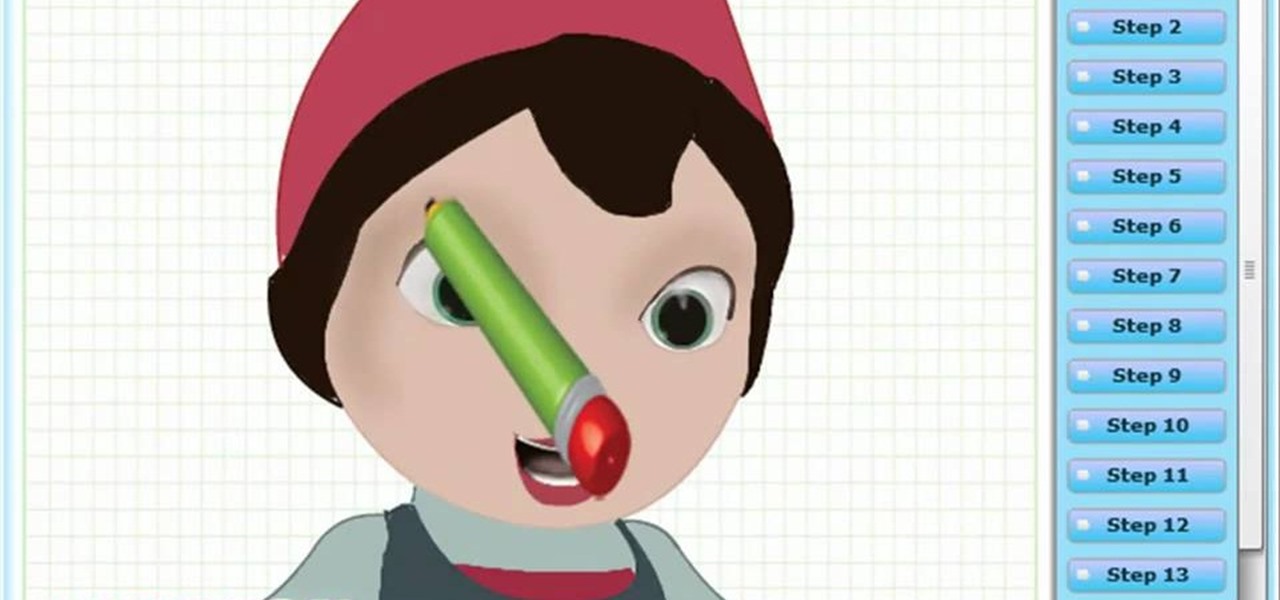
Learn How to draw Juliet with the best drawing tutorial online. For the original tutorial with speed adjustment and step by step instructions please visit how to draw.