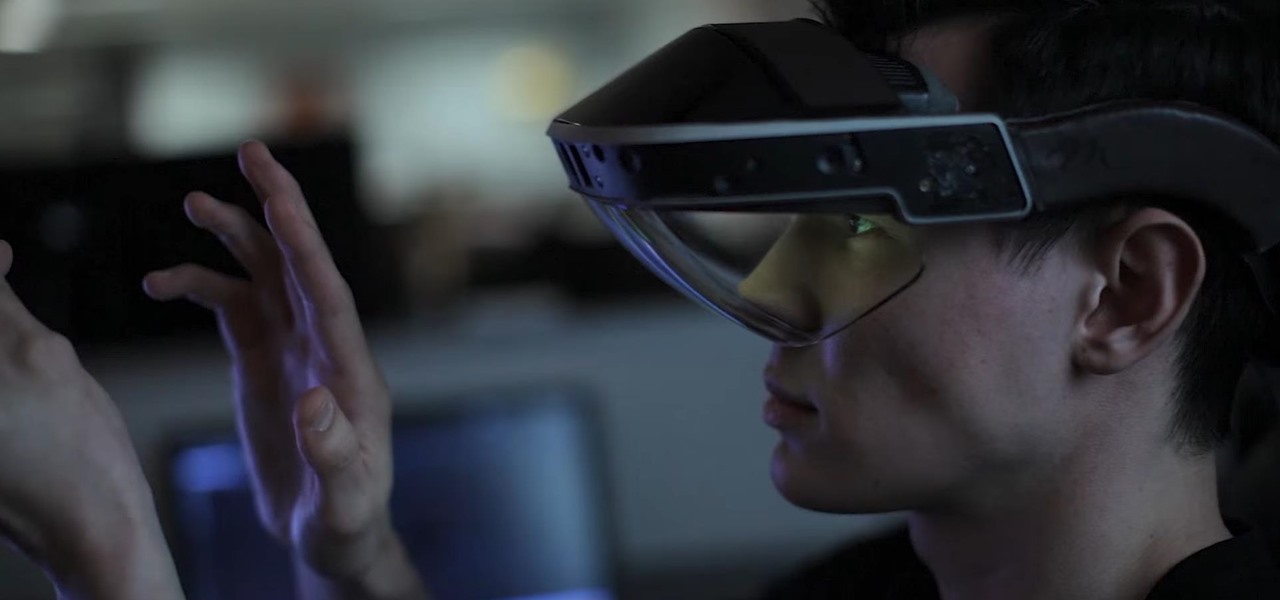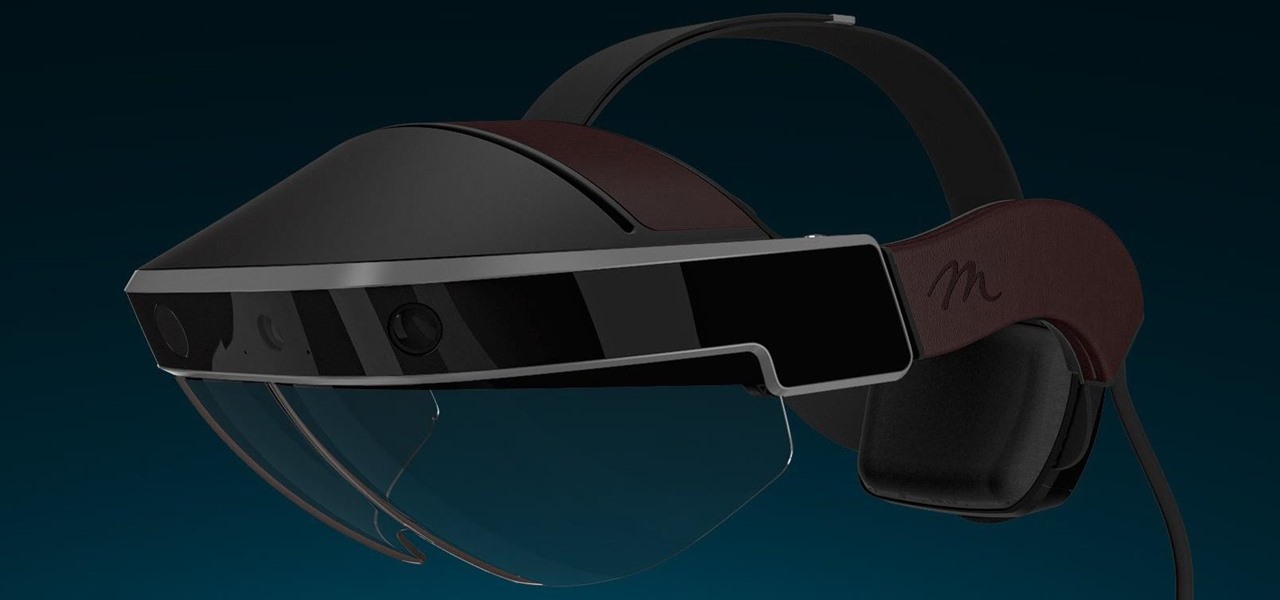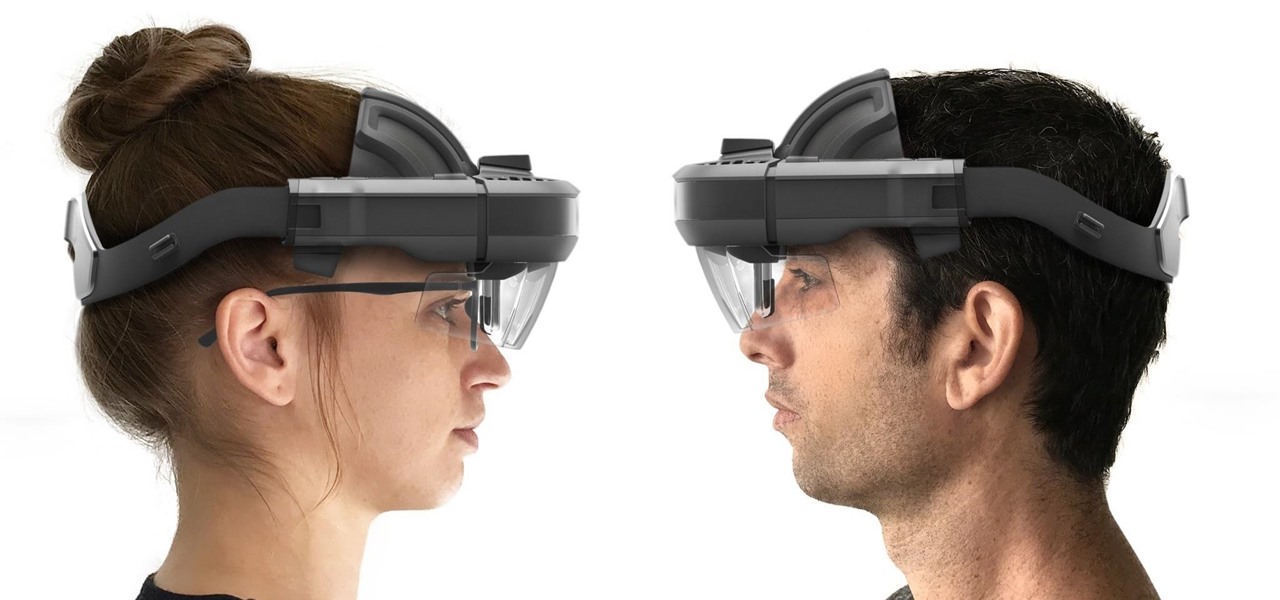
On Tuesday, original design manufacturer (ODM) Flex used the CES spotlight to help introduce a smartglasses reference design aimed at companies interested in bringing their own enterprise AR headsets to market.
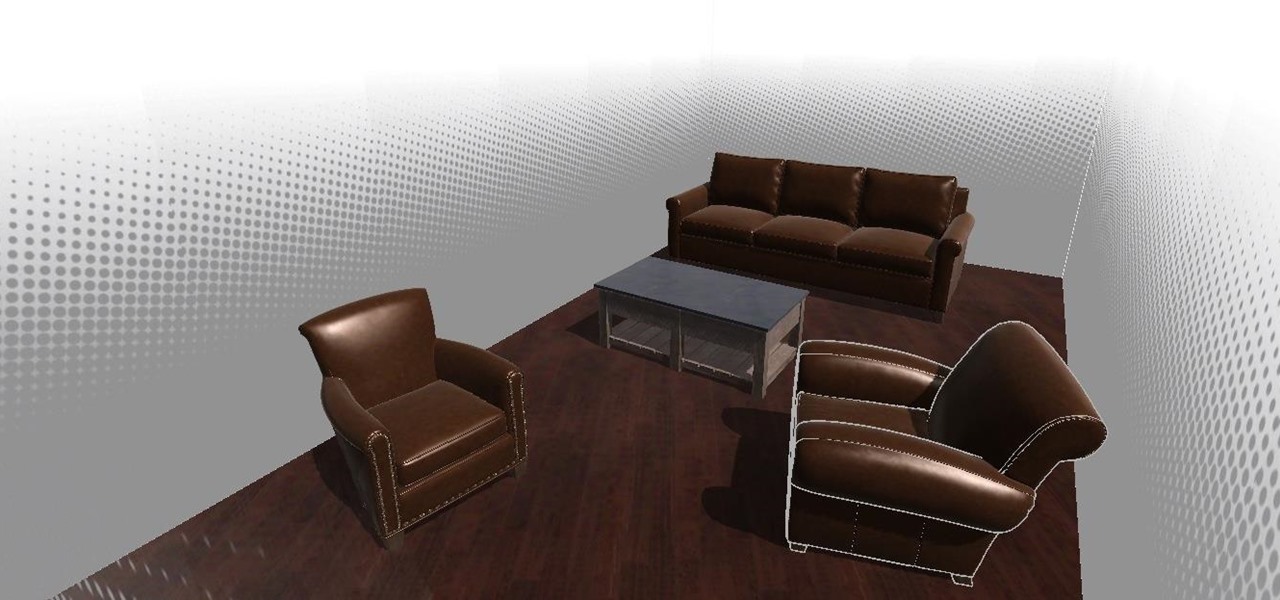
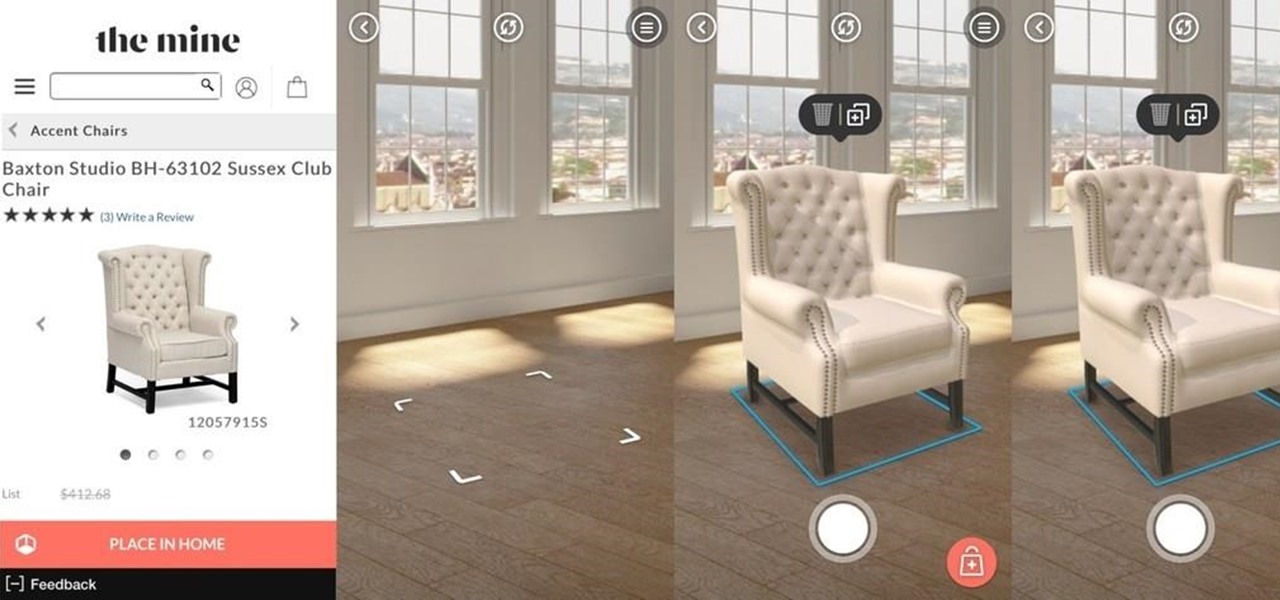
With the advent of ARKit, apps that can place virtual furniture in a real room have become nearly a universal practice for furniture retailers, with Pottery Barn being the latest to join the fray.
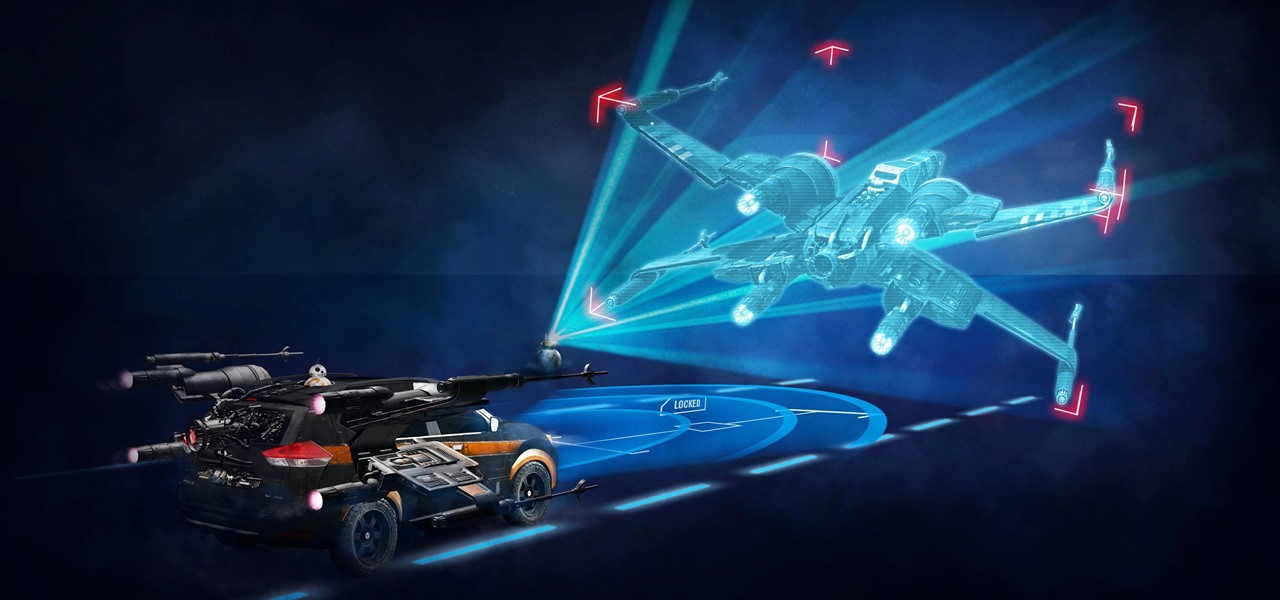
The Star Wars saga may have occurred a long time ago in a galaxy far, far away, but Nissan is using a futuristic technology to bring stormtroopers and droids into its dealerships.
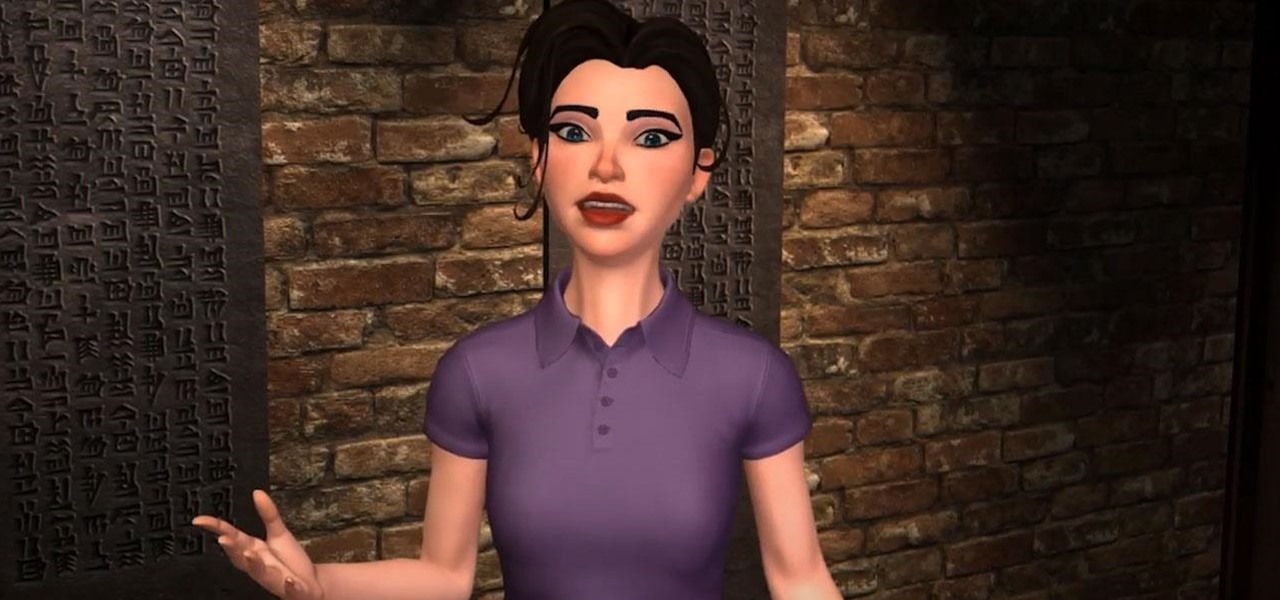
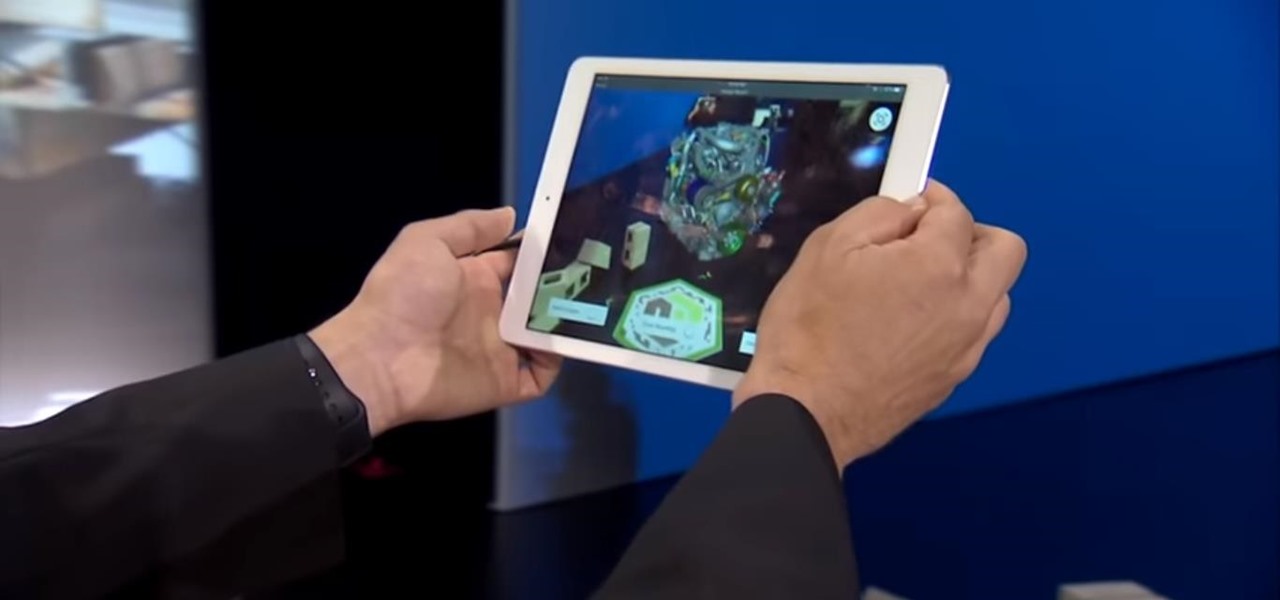
Amazon Web Services (AWS) opened its re:INVENT developers expo with a bang by launching Amazon Sumerian, a new tool that could become the dominant platform for building cross-platform augmented and virtual reality applications.
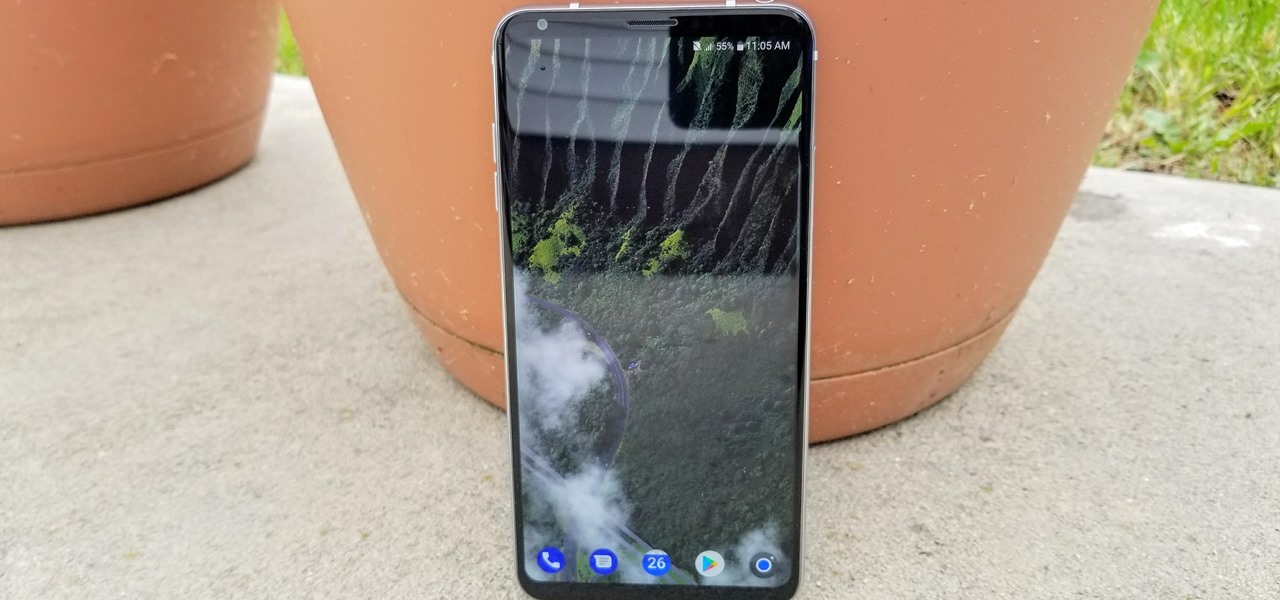
If you're in the market for a new smartphone, you'll likely scan spec sheets and read reviews of the top phones, compare display size and technology, RAM amount, and processors. But one factor that is often overlooked is cell reception — and for T-Mobile subscribers, there's only one device that has flagship specs and an exclusive antenna that will actually improve your signal.
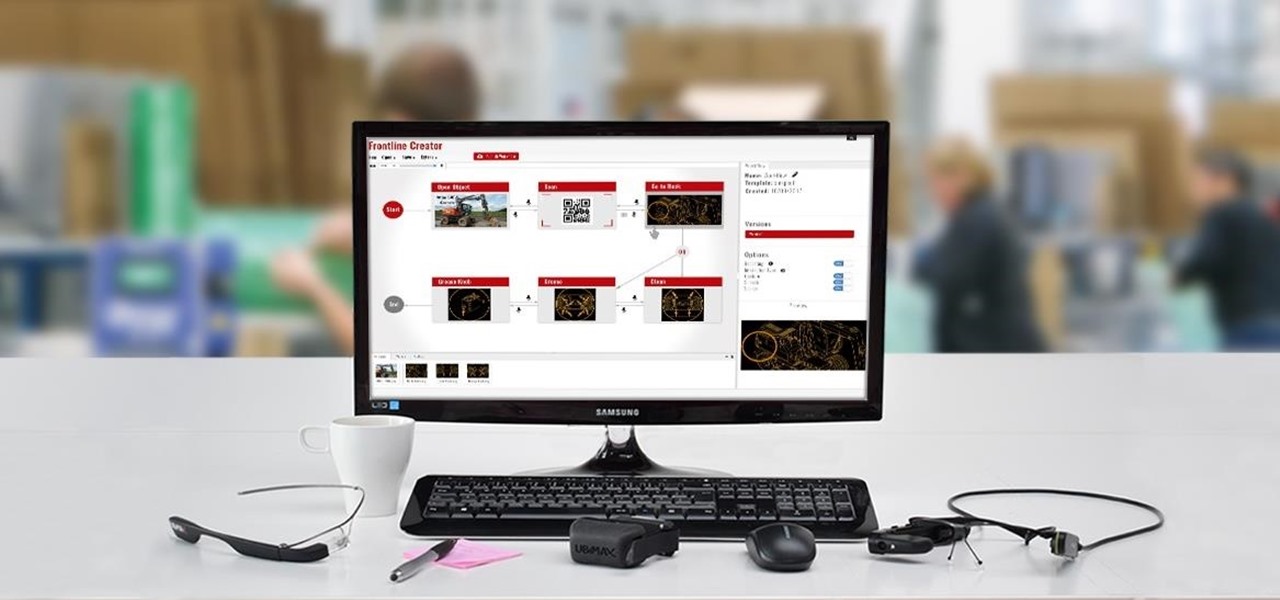
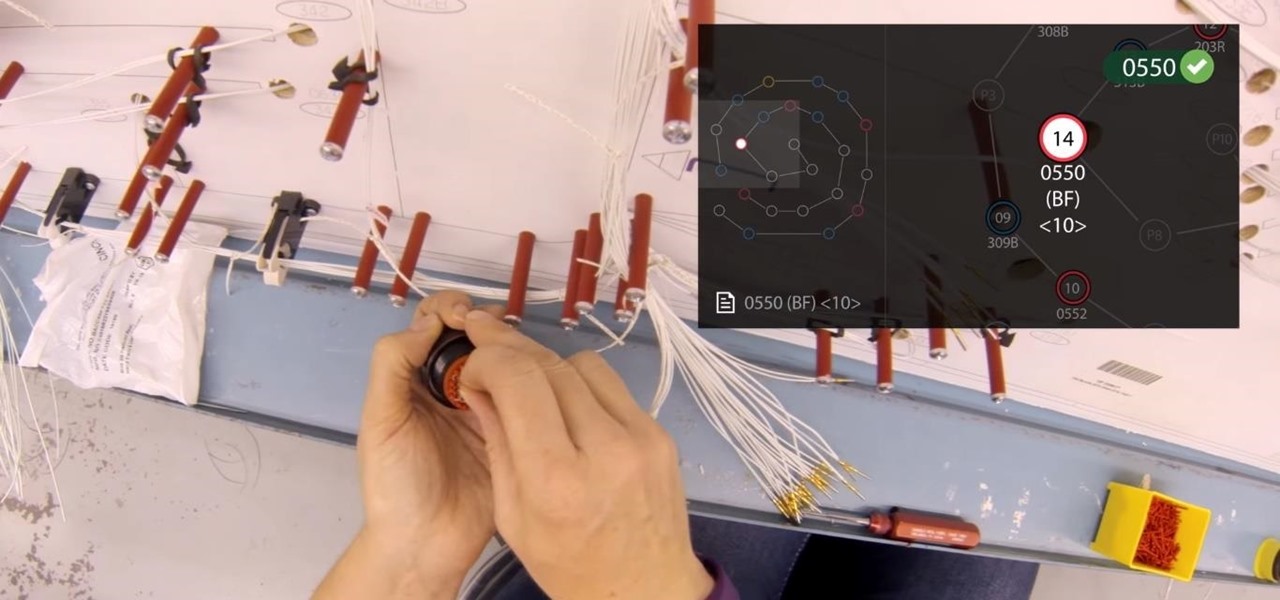
Augmented reality software provider Ubimax unveiled their graphical authoring and publishing tool for their Frontline enterprise platform to attendees at Augmented World Expo Europe today.

Back to the Future Part II missed wildly on many technological advances for the year 2015, such as flying cars and rehydration ovens. However, it connected on several predictions, such as video calling and biometric security, and it was in the ballpark (pun intended) on others, such as the Chicago Cubs winning the World Series.
Lowe's Home Improvement has been an early adopter of augmented and virtual reality in their business practices, so it was a bit of surprise that their name was absent from the ranks of companies launching ARKit apps last week.
Generally speaking, in terms of modern devices, the more simple you make an interface to navigate, the more successful the product is.
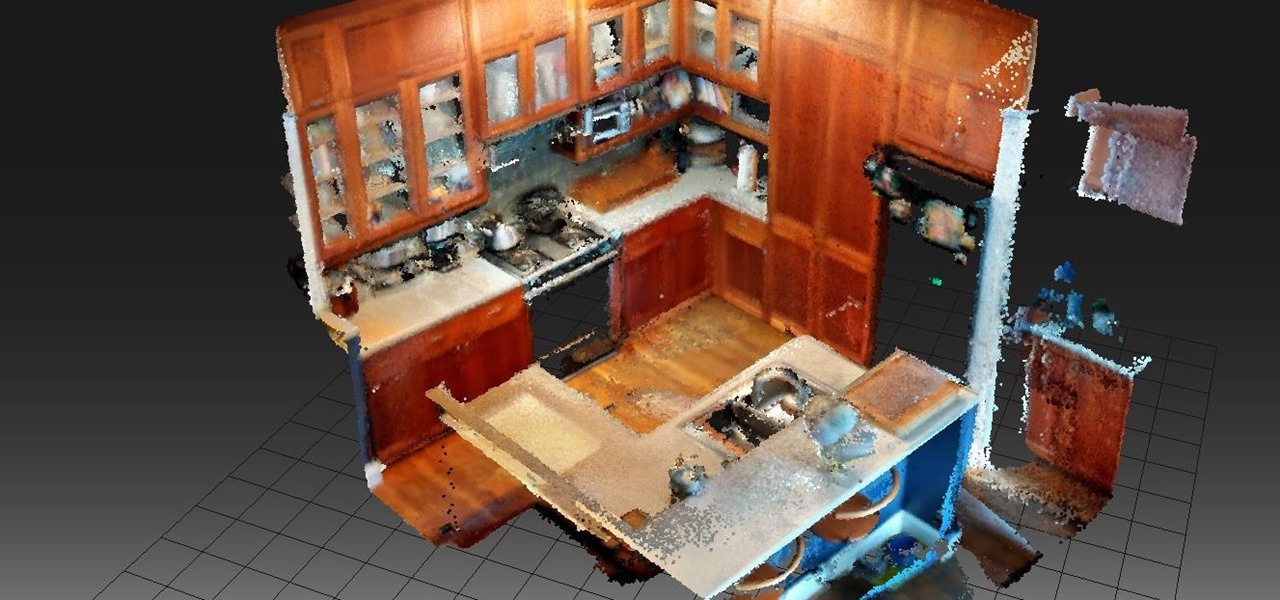
As augmented reality gains popularity, the demand for delivering related services and generating content increases. This is demonstrated by a pair of investments from the past week, one in the expansion of a technology lab and another in the form of seed funding for a content studio.
Influenced by the growth of augmented and virtual reality technology as well as 3D computer vision, Ericcson Ventures invested in Matterport, whose hardware and software help companies create AR/VR experiences.
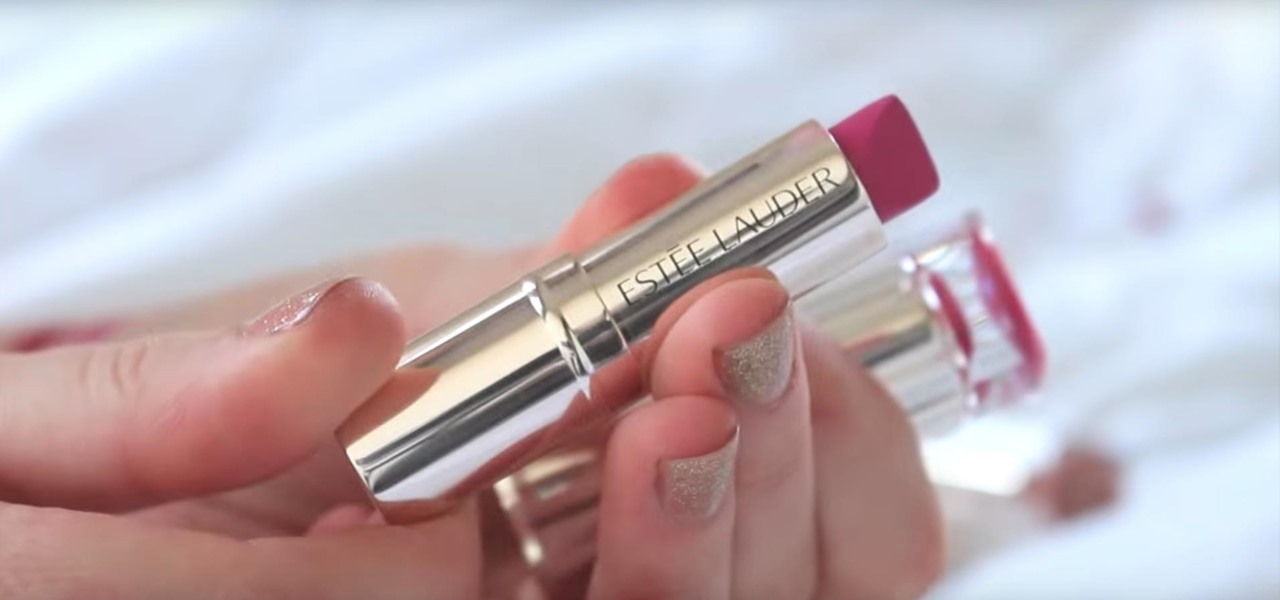
Lazy makeup enthusiasts, this new service is what you've been waiting for! Makeup giant Estee Lauder's latest project incorporates augmented reality to help customers test out their lipsticks without even getting out of bed. The company collaborated with Modiface — a group that creates AR services for the beauty industry — to produce a new Facebook Messenger chatbot that uses customers' cameras to let them virtually try on the brand's Pure Color Lipsticks.
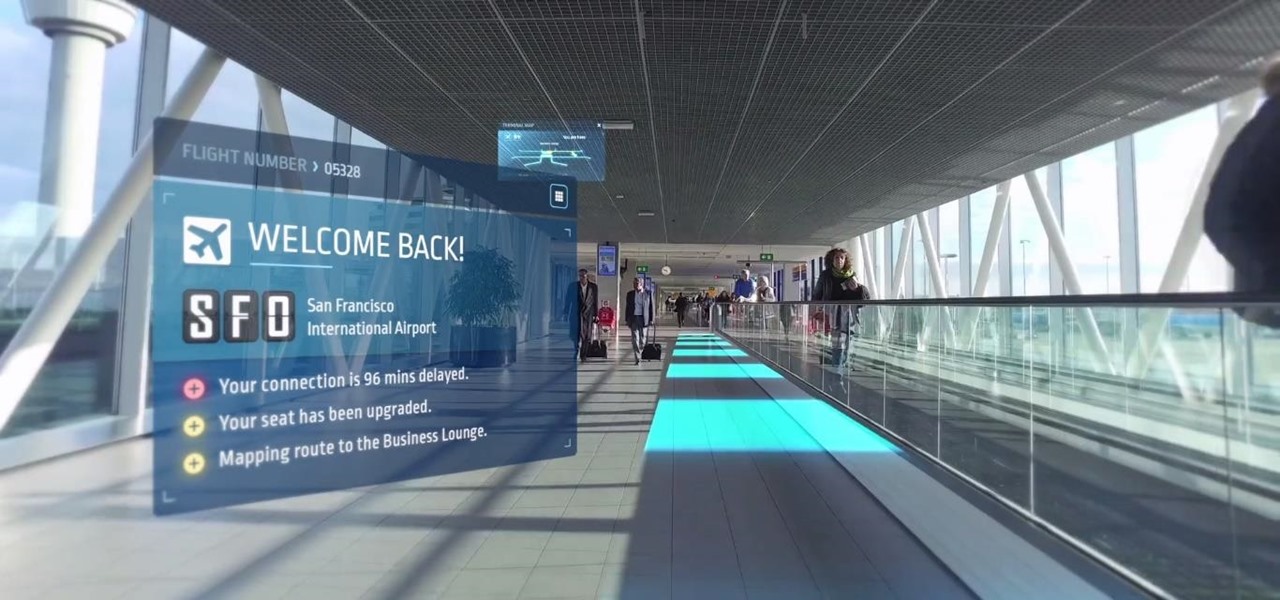
Heathrow Airport's most recent arrival isn't a flight, but rather an interactive children's game featuring augmented reality technology.
A few years ago, the Hilton hotel group unrolled the Digital Key, a feature of the Hilton Honors app that allows you to unlock your hotel room with your smartphone.
You can pinch yourself, but you're not dreaming. Sprint is actually offering a year of (mostly) free, unlimited service for anyone who switches to the carrier. The only stipulation is that you must bring your phone with you, and it has to be one of the 27 eligible devices.
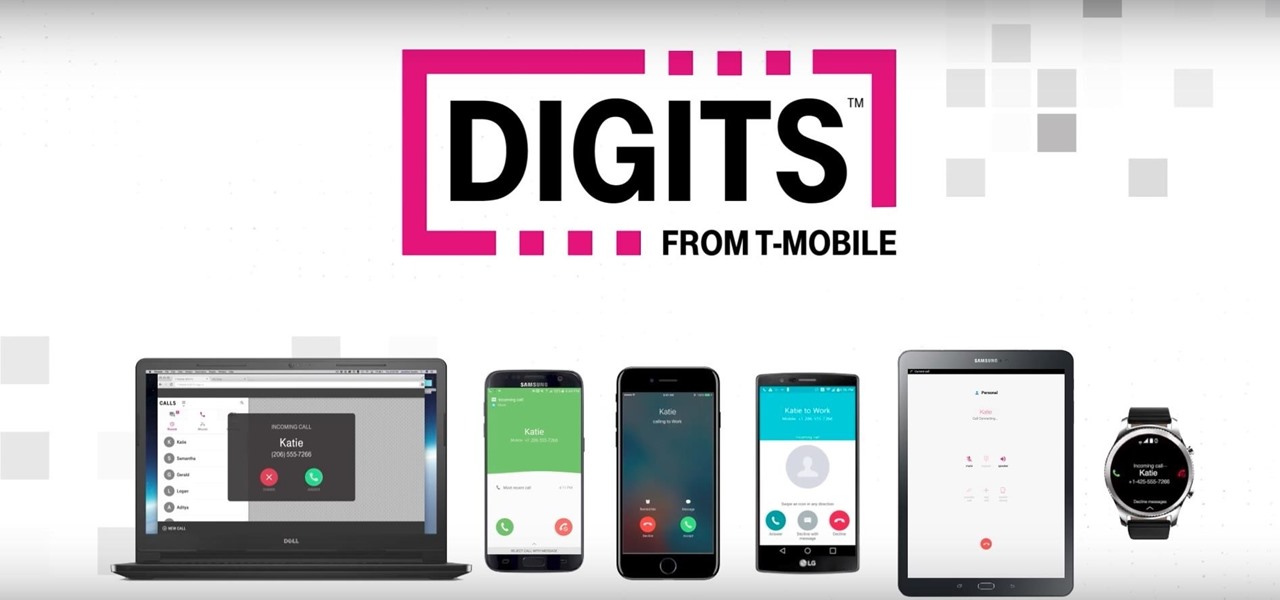
The roll-out of T-Mobile's hotly anticipated 'Digits' service is now underway. For those unfamiliar with what could be the un-carrier's next killer app, 'Digits' is basically a combination of Google Voice and AT&T NumberSync. With it, T-Mobile customers can use their number across any phone, tablet, wearable, or PC. That means you can give out your phone number and answer the call on any device you like.
The common thread between this week's Brief Reality stories is that augmented reality is beginning to prove its worth as a technology that improves workflows and processes. From customer service to healthcare to manufacturing, augmented reality is helping companies improve productivity.
I was a slap-happy T-Mobile customer before, but now, after hearing that the company sent out a box of rolling papers to certain media sites with memes bad mouthing #VerHIGHzon ... I love you even more, John Legere!
Upskill, an enterprise software developer for industrial augmented reality applications, recently received an influx of funding and a major vote of confidence from two of their top customers.
Amazon has been toying with the idea of opening physical retail stores for some time now, even opening old-fashioned bookstores in select locations and teasing cashier-less convenience stores. But the online retailer has some new ideas in the works, including implementing virtual and augmented reality into retail home stores.
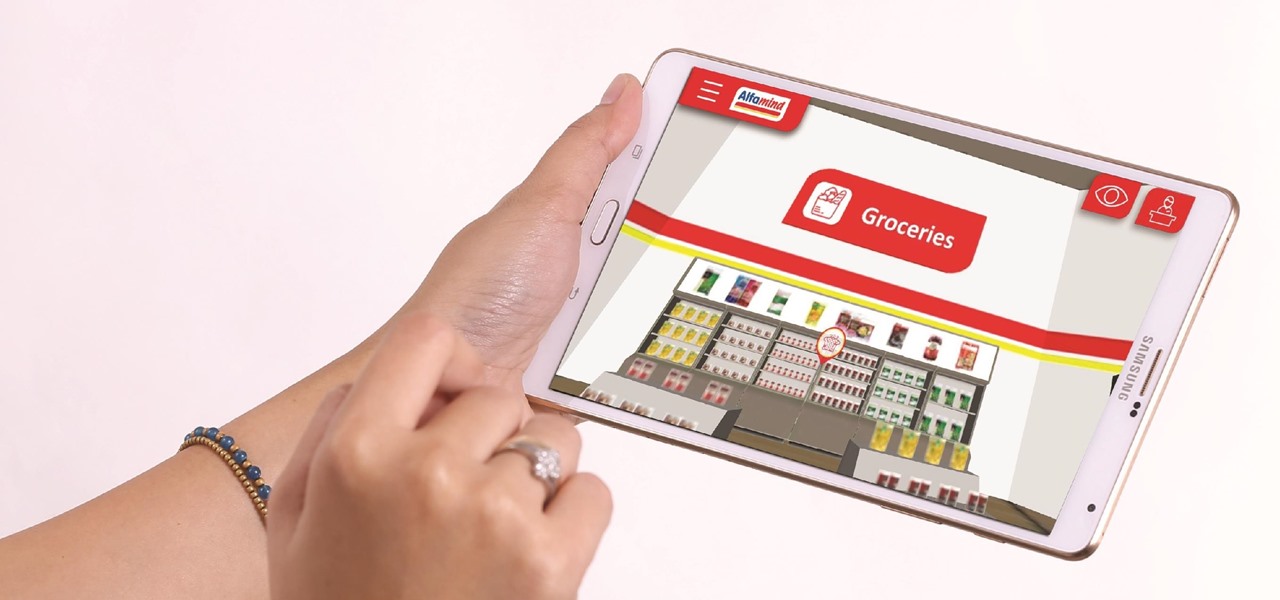
While its direct-selling model echoes brands like Avon and Tupperware, Indonesia's MindStores gives the approach a modern twist—with augmented reality.
The Meta 2 developer kit has finally begun shipping! Gary Garcia, the senior director of customer success at Meta, just sent out an email that they are shipping out to the first round of preorder customers. Waves will be building from there, up to far higher manufacturing rates near the end of Q1 of 2017.
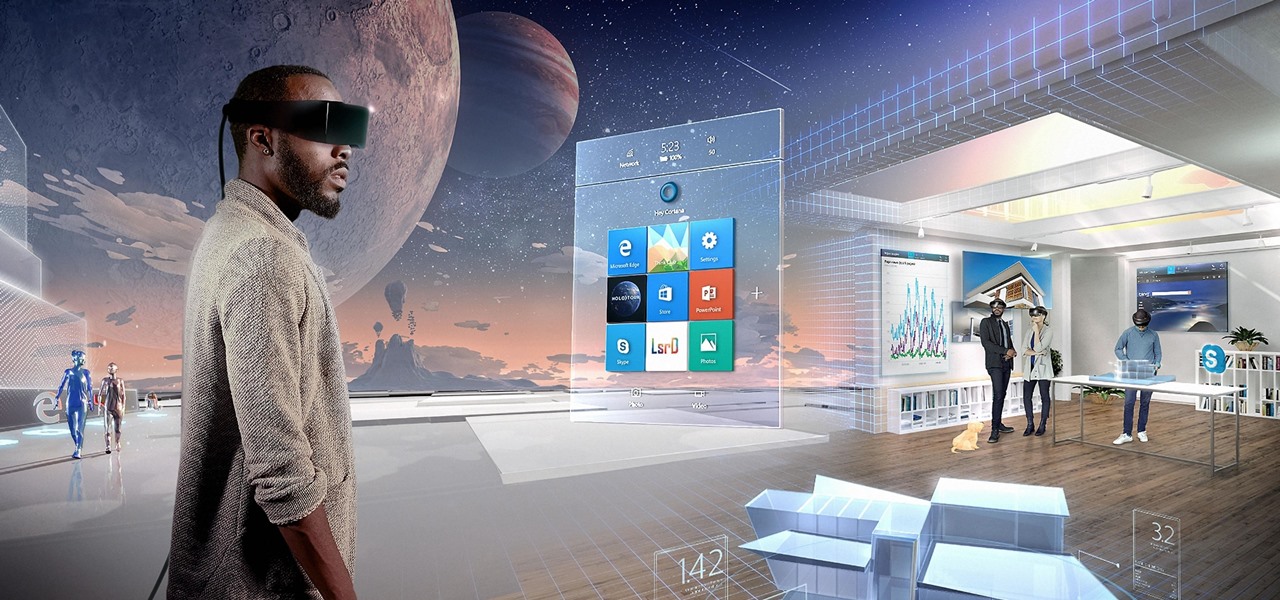
We've been hearing some interesting rumors in the last few days that are stirring up all kinds of speculation about the potential upcoming consumer release of the HoloLens. However, MSPoweruser has speculated a bit further past the consumer HoloLens release to a possible HoloLens 2 as soon as Q3 2017.
Oh no... your precious iPhone is in shambles. Maybe you shattered your screen after a crazy night of celebrating, or maybe your two-year-old jabbed a toy into your iPhone's charging port, completely destroying it in the process. Now what? Do you take it to a repair shop, or go to an Apple Store to have it fixed? This brief article will help you weigh your options.
The future for the Meta 2 augmented reality headset will have to wait. While shipments were supposedly on their way out back in June, Meta revealed today that they need a bit more time to provide the best possible experience—and that's really for the best.
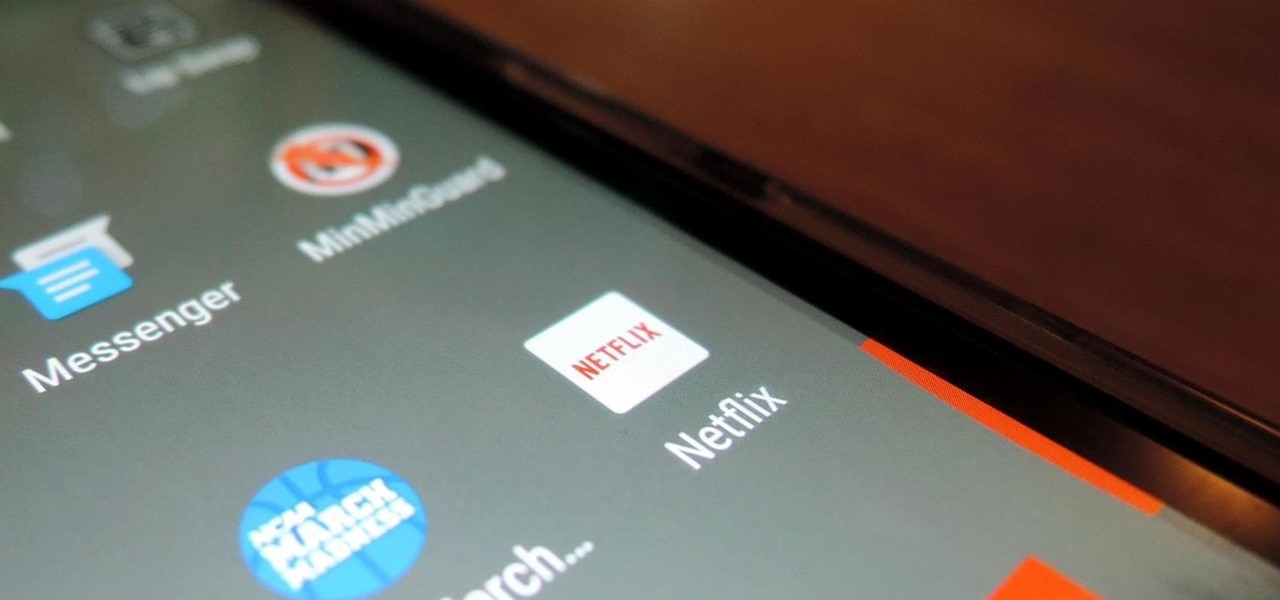
Netflix has become the subject of heavy buzz this week, and not due to the latest season of Daredevil (which gets two thumbs up, btw). The online video entertainment provider is drawing fire over its admission that it has been throttling video streams for its AT&T and Verizon customers for years.
There are so many things in life I wish I could've canceled without any repercussions, and I'm mostly talking about text messages.
Getting a good break in life is always nice. But when you're playing pool, it's essential. You Will Need
Learn how to give your daughter a trim and you’ll save big bucks on trips to the hairdresser. Learn how to give a child a haircut, at home. This is a cost effective tip that will help you save money.
Learn how to squats and plyometric jump squats. Presented by Real Jock Gay Fitness Health & Life. Benefits
In this tutorial, we learn how to make a bear pop-up card. First, draw a big bear face on a 4x6 card. After this, fold the card in half so the face is in half. From here, use scissors to cut along the mouth line up until you reach the nose. After this, bend that flap up and down so it's creased and will flip both ways easily. After this, open the card back up and push the nose of the bear into the top. Then, close the card again and the nose will pop up from the page, enjoy!
In this tutorial we learn how to field dress a deer. First, put some gloves on and grab a sharp knife. After this, puncture a hole in the lower half of the throat of the deer. Next, start to cut up until you reach the neck. There will be a lot of blood that comes out, just a warning. Then, you will see the inside of the deer start to come out from the fur. Cut the piece of the neck and then tie together at the end. To finish, go to the rear end of the deer and cut from the hole. Tie it with a...
In this tutorial, we learn how to skin a deer with a golf ball. First, hang it up by a tree around its neck. From here, taper down from the shoulders until you reach the bottom. Then, cut each of the ankles right around the knuckle and slice it down the front like normal. From here you will take a golf ball and stick it in the hide. Hold the hide over the golf ball and then make a ball with it. Then, take a slip knot and wrap it around the golf ball, tightening it up tight. From here, you wil...
In this tutorial, we learn how to make a bow and arrow from a ball point pen. First, you will take the top and bottom off of the pen. Then, use a knife to poke a hole in one side of the case until you reach the other side. Now, make small notches in the top of it so you can stick a rubber band on it. Do this on both sides and try to make it equal. Now, take the top of the pen and stick it in the little hole you made in the middle. Then, take the rubber band and stick it on. Then, shoot this a...
In this tutorial, we learn how to get Leona Lewis' Avatar themed "I See You" makeup look. First, you will need to apply black eyeshadow to your entire lid up until you reach the crease. After this, use a brush to blend the color out and create a winged effect on the outside corner of the eye. Next, apply this color on the bottom lash line, making a slightly smudged effect with your finger. From here, you will apply a teal colored shadow all over the eye and on the outside flare as well. Then,...
In this video we learn how to create a simple paper football. First, fold off a strip of a piece of paper and then cut it or rip it off the page. After this, grab the bottom of the paper and fold it into a triangle. From here, fold the triangle up and then continue to fold it making the same triangle shape. Do this until you reach the top of the strip of paper. You will have a small piece of paper left over at the top of the strip. With this, you will take it and tuck it into the small pocket...
In this video we learn how to make a paper football with different papers. First, grab the papers that you want to use and then cut a strip off of them. Once you do this, you will fold the told of the paper down in a triangle. After this, fold down the triangle many times down until you reach the end of the strip. You will be left over with one small piece of the paper that you will tuck into the small pocket that you made when you folded all of the triangles in the strip of paper. Once you d...
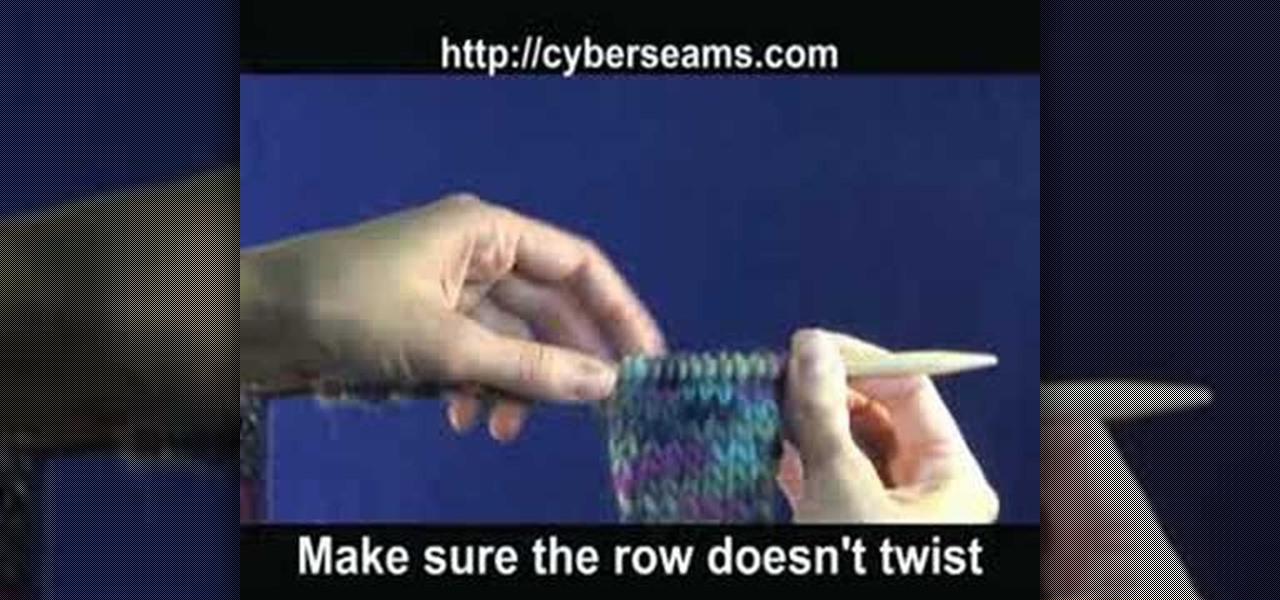
In this tutorial, we learn how to attach the strap to a knitted felt tote bag. Using a knitted cast on, cast on 35 stitches to where you want the strap to be. After this, use a crochet or knitting needle to pick up working yarn through the sts. Continue to work on your strap until you have reached the desired length that you would like it to be. Once you are finished with the last row, you will need to cast on four more stitches to finish it off. Tie it off at the end, then you will have a st...
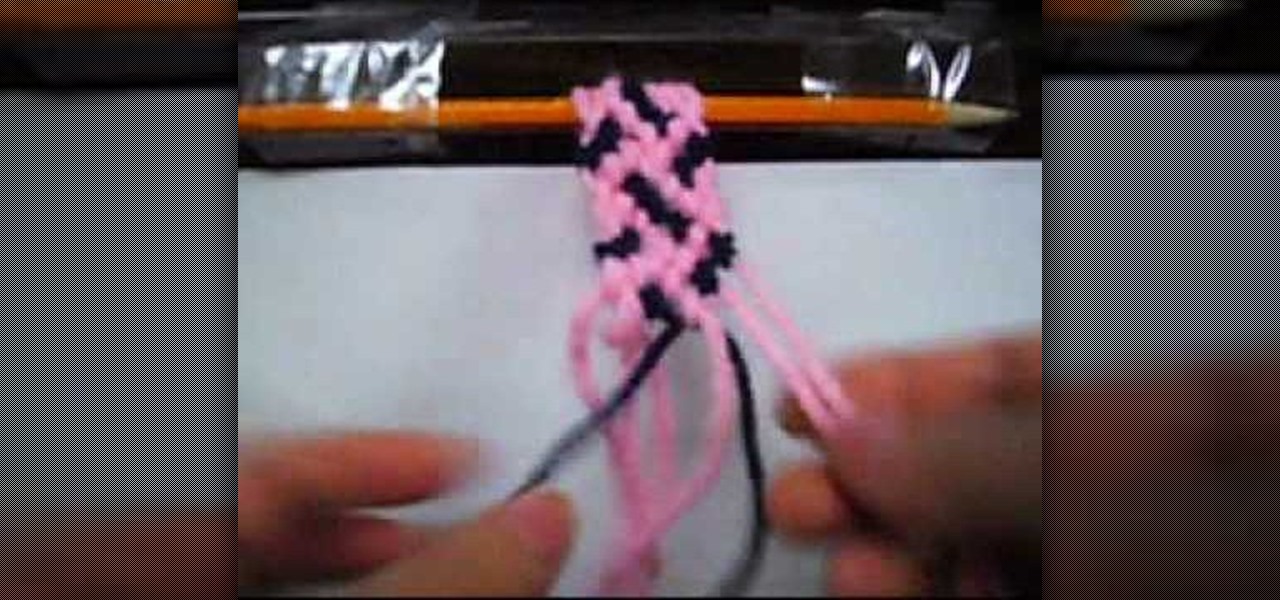
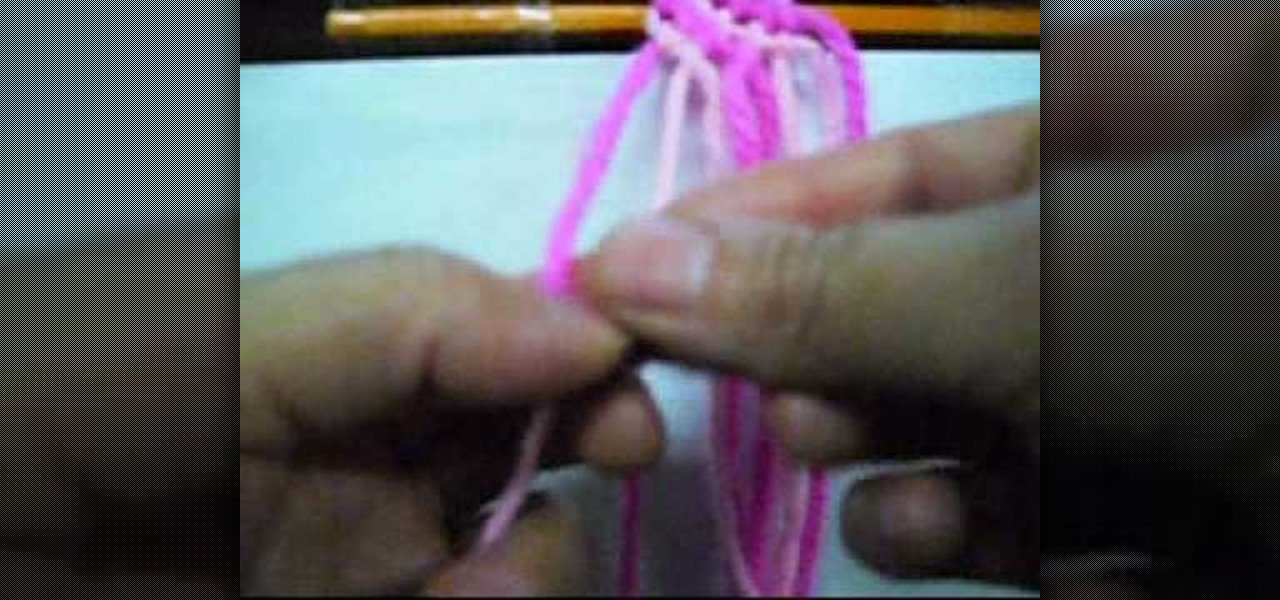
In this tutorial, we learn how to make a confused-style friendship bracelet. First, you will need to clip down your thread on the top and then start to braid the thread together. You will need to have two different colors, white and blue. Then, you will tie the right and left side together and start to braid the middle of it. Then, you will start to braid the bracelet together until you reach the bottom. When you are finished, you can tie this around your wrist and wear it whenever you would ...
In this tutorial, we learn how to make a dual-colored line friendship bracelet. Start by creating knots in the strings going from left to right. After you have covered all of the strings on the bracelet, you can start to braid. Make sure the strings are clipped at the top to keep them in place. When you start to braid, take the two to strings on the left, and braid them in with the others going from left to right. Then you can continue to do this process until you reach the end of the strings...