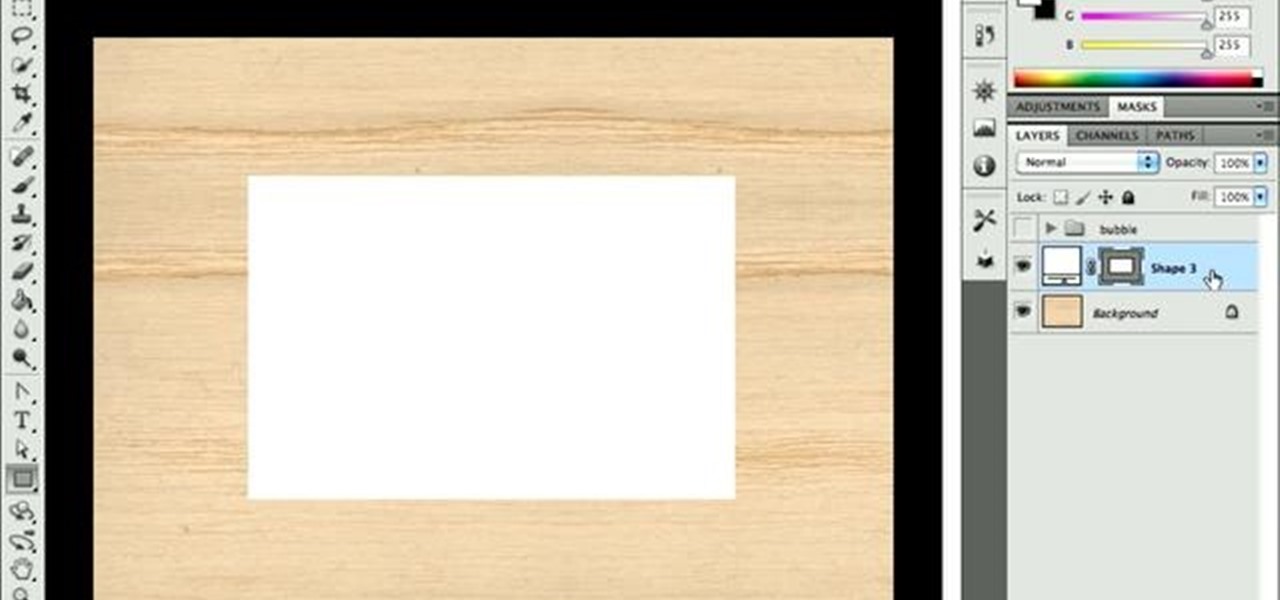
Want to create a realistic paper simulation in Adobe Photoshop CS5? It's easy! And this clip will show you how it's done. Whether you're new to Adobe's popular raster graphics editor or a seasoned designer looking to better acquaint yourself with the new features and functions of the latest iteration of the application, you're sure to benefit from this free software tutorial. For more information, watch this video guide.
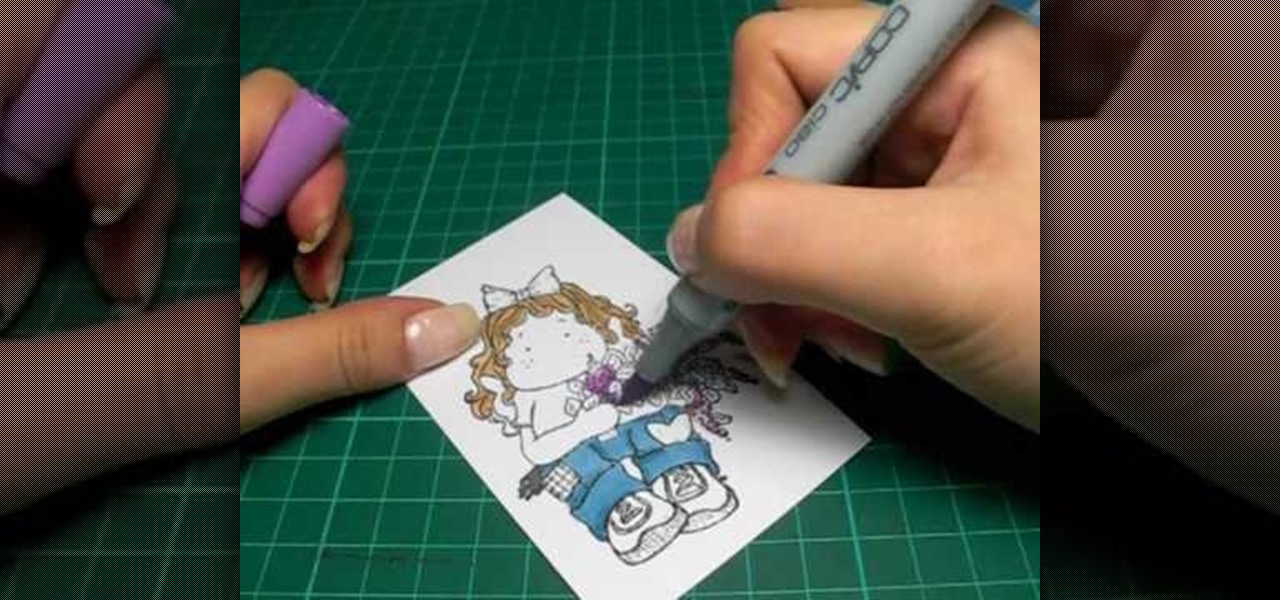
In this tutorial, we learn how to color with Copic pens. First, grab a picture that you want to color with your pens. After this, start to color in the picture with your different colored pens. After you fill in the colors, use a darker colored pen to add in shading and make the lines darker along the sides. Continue to color in your picture, adding shading where you prefer. Add in different colors and make the lines darker when you want them to look more bold. Make sure to add in highlights ...
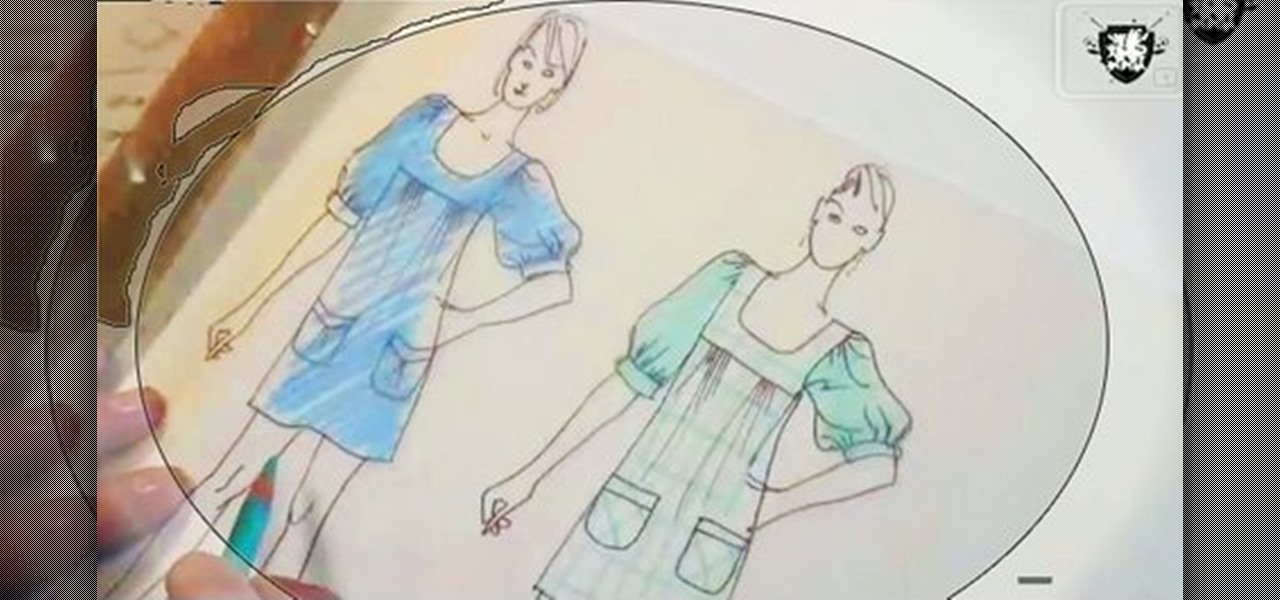
In this video, we learn how to draw a fashion sketch. Start off by using a fine pen and drawing the silhouette of a woman. Draw on the outfit to the woman, adding in all the fine details. Draw in ruffles of the clothing as well as the prints of clothing you are going to use. Use a colored pencil to color in the picture so you know what colors you want the clothes to come out like. Shadow the model slightly to make it look more realistic, then finish up the details of the image. When finished,...

Our little sister nearly burst our eardrum when she squeled in glee at seeing cute as a button baby penguins tap dance and jive in the movie "Happy Feet." Baby penguins, being rather spherical in shape and super fuzzy, often become a little girl's favorite animal, and it's easy to see why.
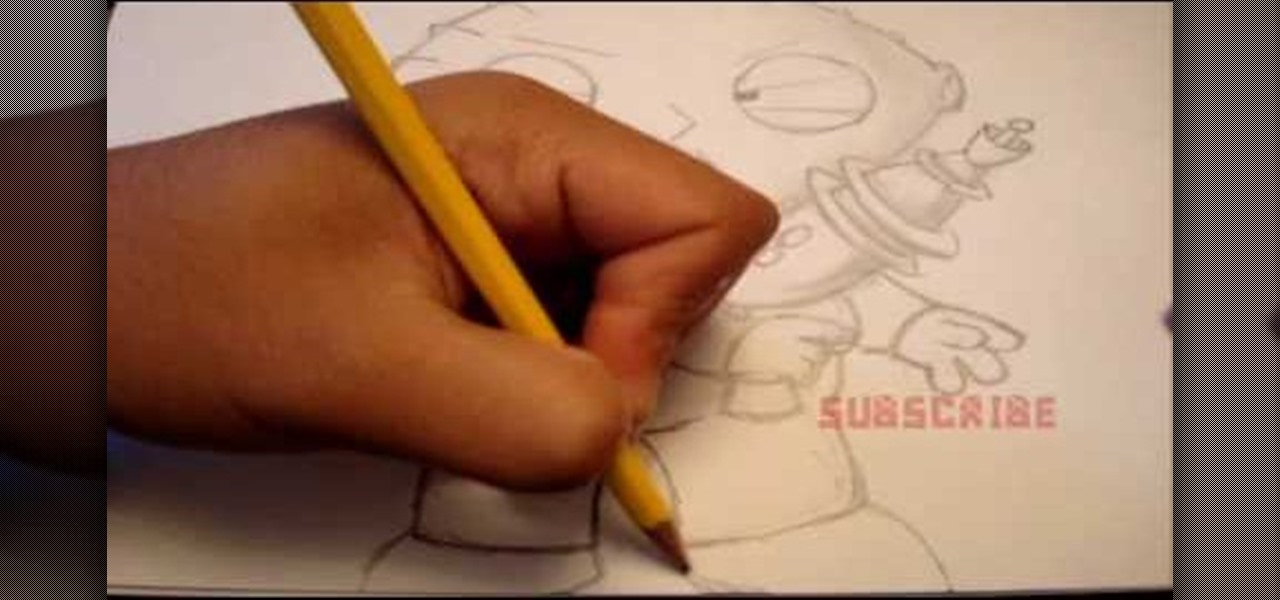
In this tutorial, we learn how to draw Stewie Griffin from Family Guy with a pencil. Start off by drawing the ears, then the football shaped head around the ears. next, draw the arms with the shirt on it, and make the hands. Also, draw a rocket with Stewie holding it. Keep drawing downwards, making the arms around the rocket and the body with pants and a bib on top. Draw in the details of the face, giving the character large eyes and a triangle shaped nose. Give the character narrow eyebrows ...
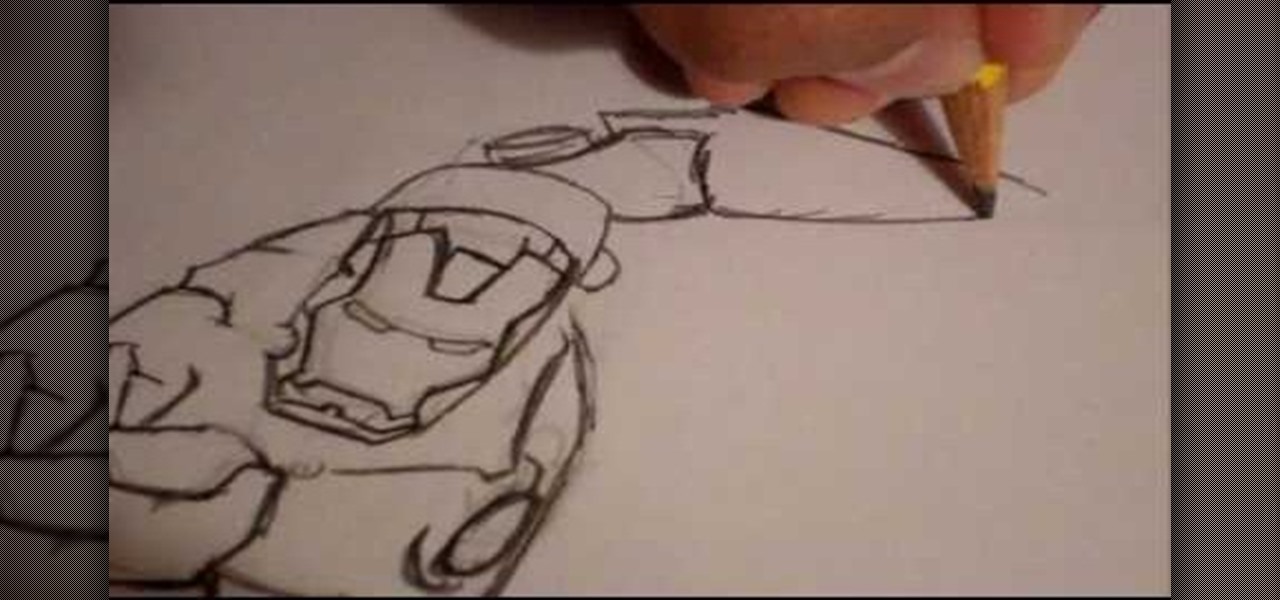
In this tutorial, we learn how to draw Ironman. Start off by drawing the feet to Ironman, making sure to pay close attention to the detail that is on the outside suit. Make sure to include bolts and screws to make the picture more lifelike. Use shading on the outside of the sides to make it darker and more realistic. Continue working your way up on Ironman until you reach the torso and the rest of the upper body. Then, draw the head onto the top followed by the large mechanical arm and the he...

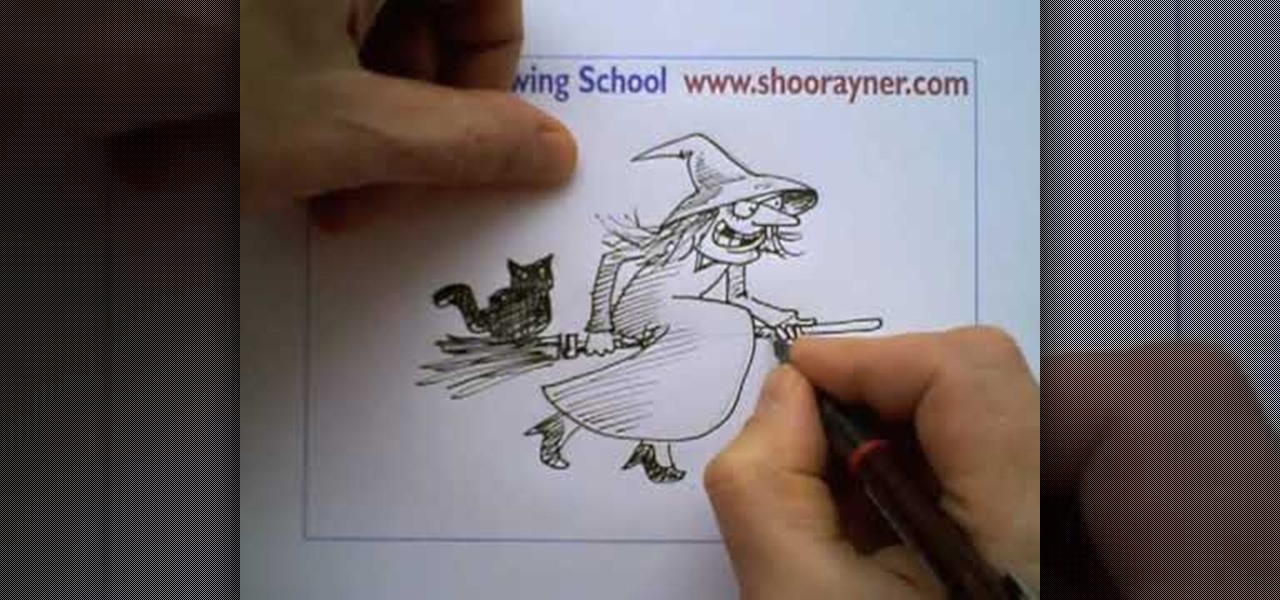
In this video, we learn how to draw a Halloween witch. There are a ton of different styles of witches you can draw, you just have to choose that one that you like best! No matter which one you choose, you will first start out by drawing the outline of the witch, using a light pencil marking. Draw the head and body, followed by the witch with the broomstick. After this, start to add in more details, such as the face and clothing. Make sure to draw in the hat and add in lines on the clothing to...

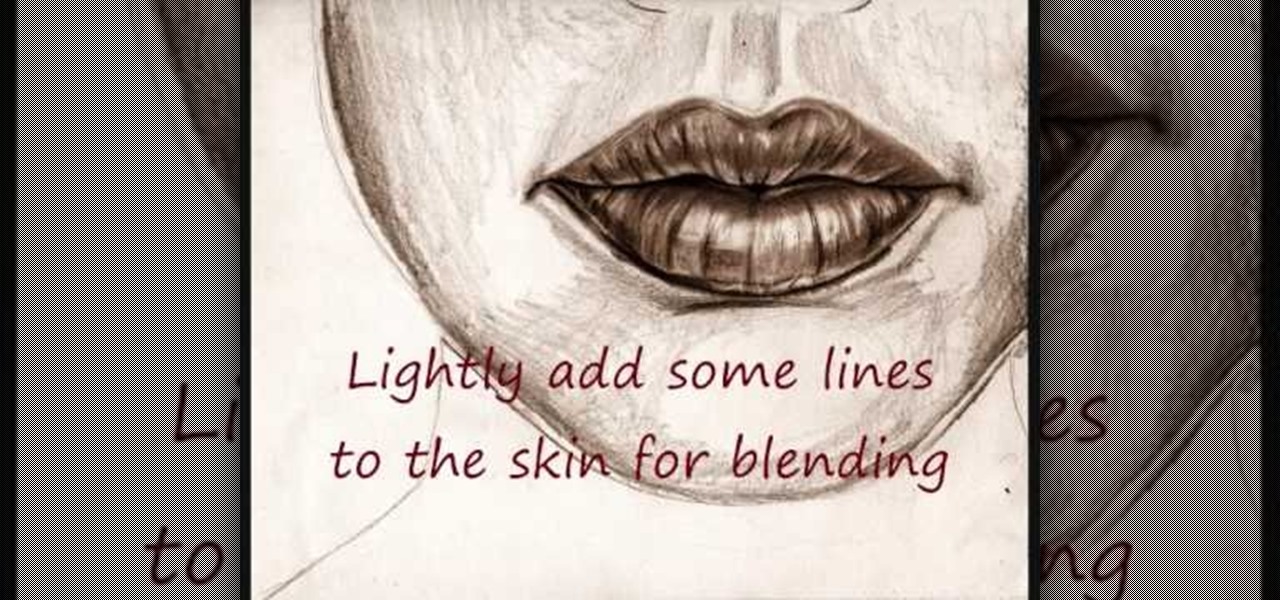
In this video tutorial, viewers learn how to draw lips. Begin by drawing a horizontal line for the mouth and draw a Mickey Mouse shape in between the line. Then sketch the upper lip with the 2 smaller circles on top and draw the lower lip with the large circle as guidelines. Now users may draw the rest of the face. Then darken and define the upper and lower lips. Now lightly sketch some lines on the lips to show depth. Then darken and shade the lips. This video will benefit those viewers who ...

Yanik Chauvin teaches us how to add texture to a reflection in Photoshop in this tutorial. To start, add a basic reflection to the item you want a reflection on. Now, reduce the opacity of the layer and bring it down to 25%. Next, add a new layer and paint in a gradient white to transparent. Make sure your first gradient selection is selected. Now, click and drag and you will see the reflection diffused. Next select the blur option, then click on motion blur and put the distance at 20 pixels....

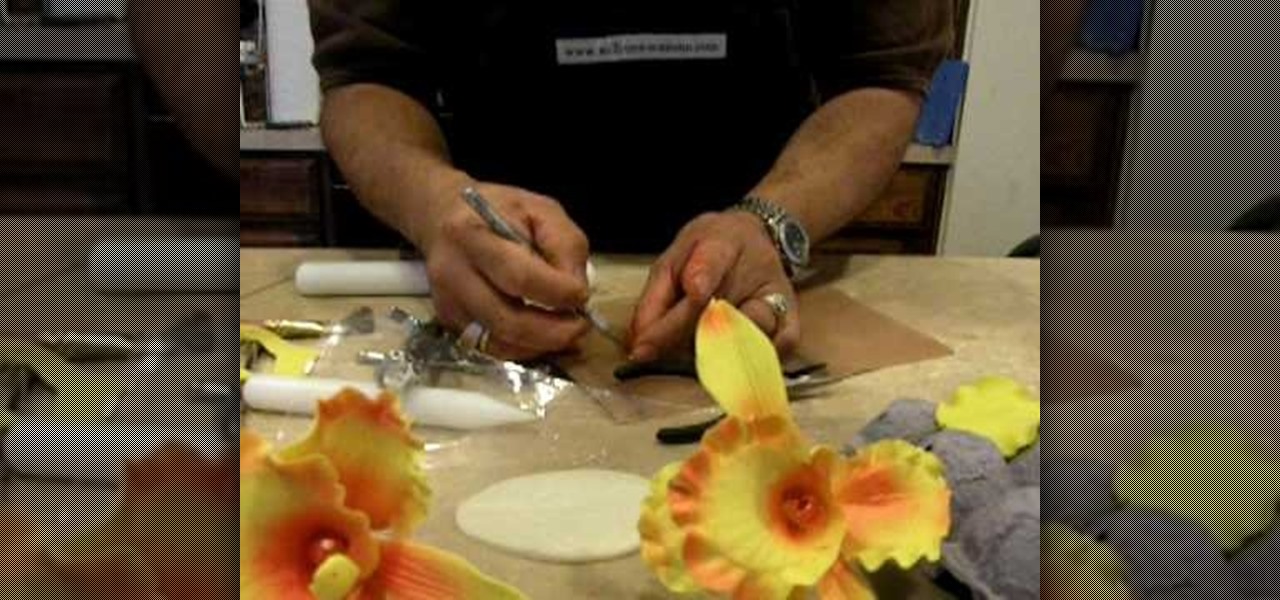
In this tutorial, we learn how to make an orchid flower with gum paste. First, roll out the gum paste and then cut it into three different shapes to make the flower. Next, place a wire in the center of the petals and then place them on a mold to get the correct texture. After this, push a ball onto the ends of the petals to make them look more realistic. Make the last flower by putting a pointed cone in the middle and wrapping it around. Now, place a ball shaped gum paste in the middle of the...

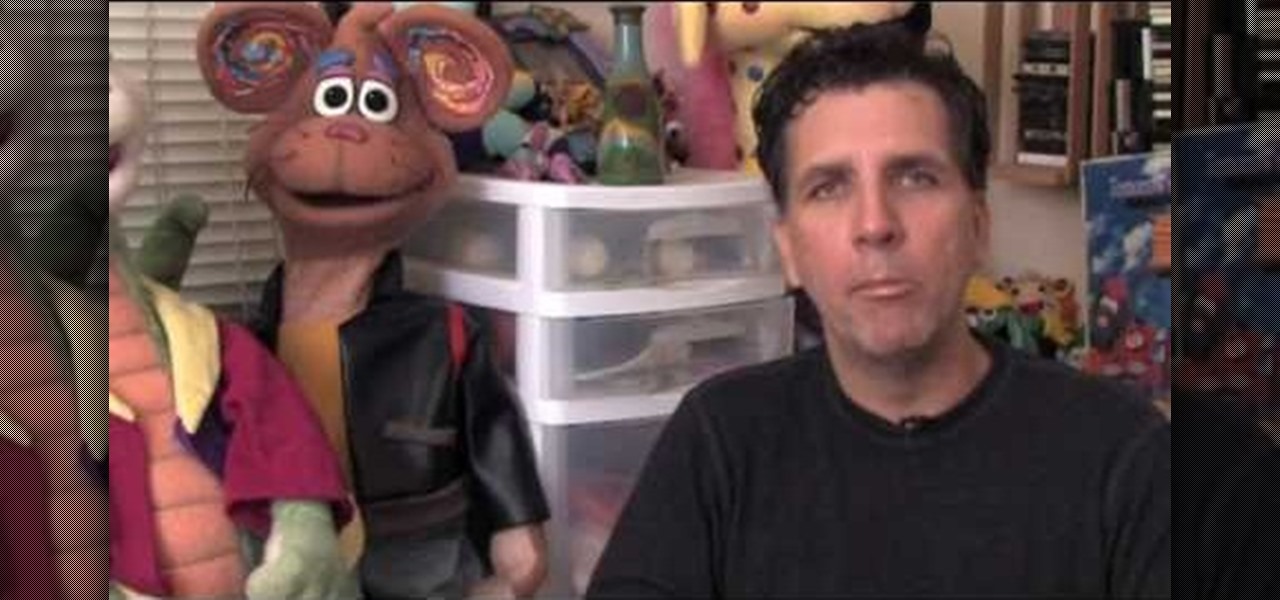
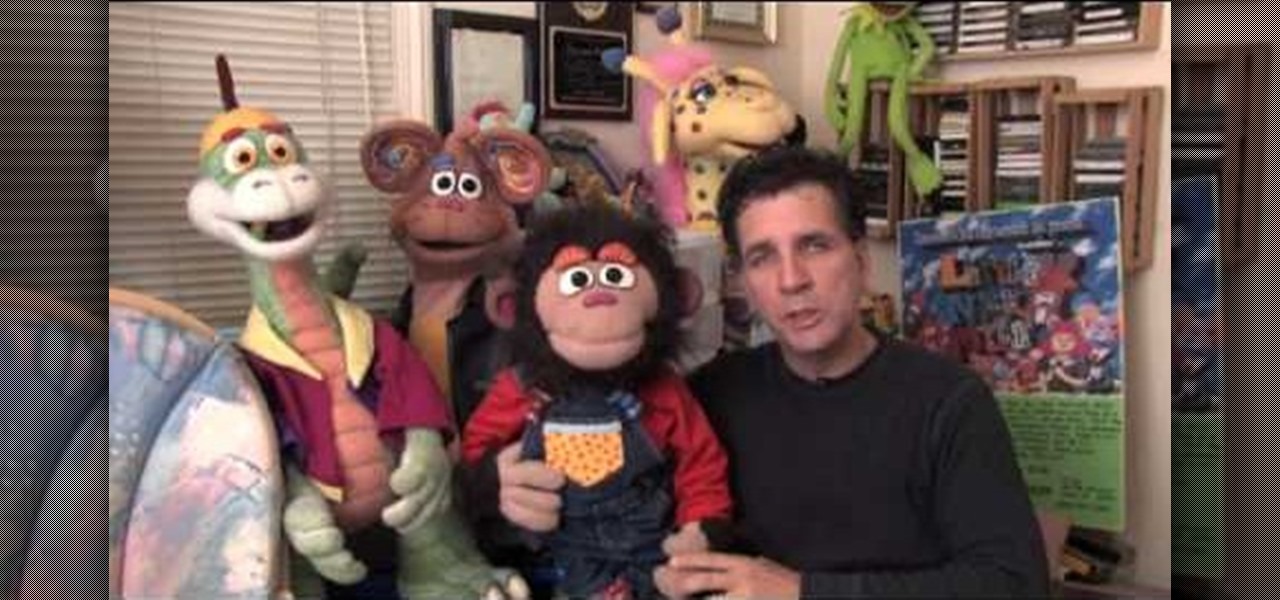
In this video tutorial, viewers learn how to properly make a puppet lip sync. Begin by putting your hand into the puppet's body and bring it into the frame. When lip syncing, do not just open and close the puppet's mouth as you talk. It will make the puppet look more robotic and unrealistic. Instead, open and close the puppet's mouth upon every syllable. This will make the puppet look more realistic and make it look like it can speak dialogue fluently like a human. This video will benefit tho...

In this video, Paul Louis, a professional puppeteer and puppet builder discusses the difference between puppets intended for theater and television and how they are different both in appearance and operation. For a puppet on stage, stitching is acceptable to be seen on the outside of the puppet and large, exaggerated movements for the puppet are acceptable and encouraged for easier viewing by your audience. For a puppet which is shown on a television shown, the puppet should be cleaner and th...

This how to video shows you how to change the voice in the VoiceOver Utility program on a Mac. This will be useful if you want a voice that is more realistic or more understandable. First, open the program and choose the speech pane. On voices, click the drop down menu to choose which of the voices you want to use. At the side of this, you can change the rate, pitch, volume, and intonation. To change the voice settings with just the keyboard, press control option and command together. Use the...

Shoo Rayner demonstrates how to draw a realistic bat that can be scary, funny, or friendly for children's books. You will need a pencil, pen, and eraser to help you achieve texture. With a light pencil sketch, draw a round head and an oval body. But don't worry too much about accuracy, because there are many types of bats that look different from each other. Your bat needs large ears, a tail, a short forearm and a long upper arm. But most of the bat's wing is its three fingers and a thumb. Th...

In this video Tanky shows you how to make a LEGO bookcase. He details each step of how to create a small LEGO bookcase, starting from the base and building one level at a time. He Suggests connecting all parts in the final step in order to ensure the bookcase does not fall apart. He then inserts books into each shelf to create a filled bookcase that displays twenty books on two levels of shelf. The LEGO books fit in well. If you follow the steps in this video you will have a realistic LEGO bo...

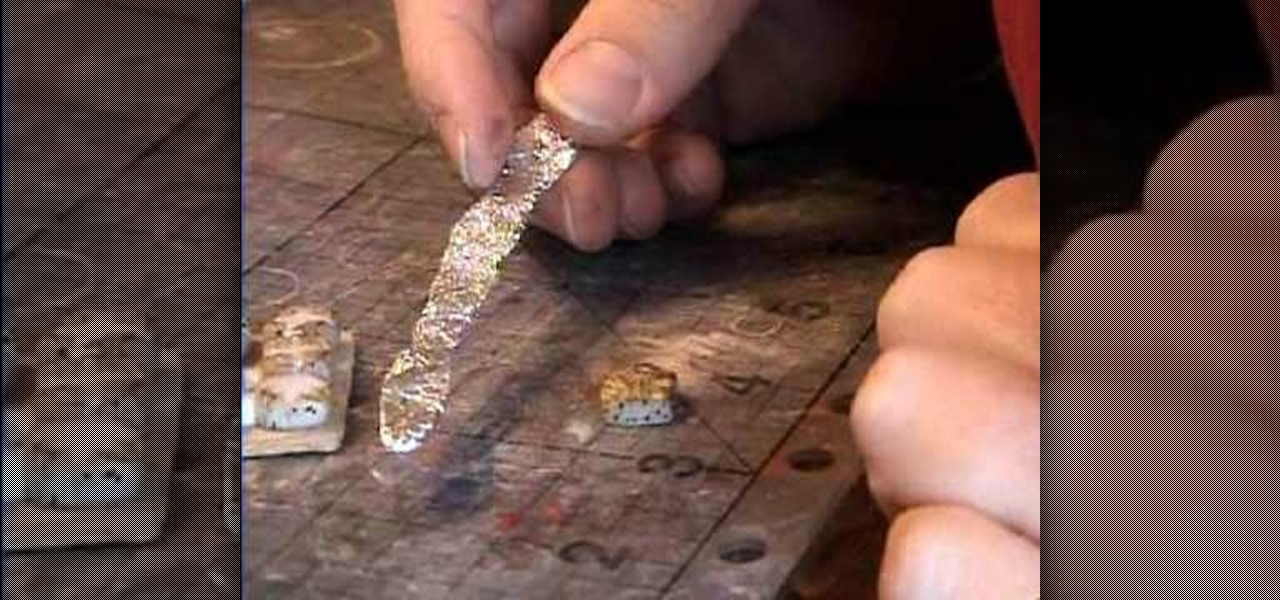
Watch this video to create realistic hot cross buns for your dollhouse! Start off with some white clay, and glass marble beads. Take your clay and make a nice little ball and pour in some of the marble beads. Squish the clay together so all the little "raisin" beads get mixed in. Roll it through the pasta machine on setting number one. Next take your square cutter and press it down on the clay. You then have your first hot cross bun. Use different colored chalks to color the bun. Then bake yo...

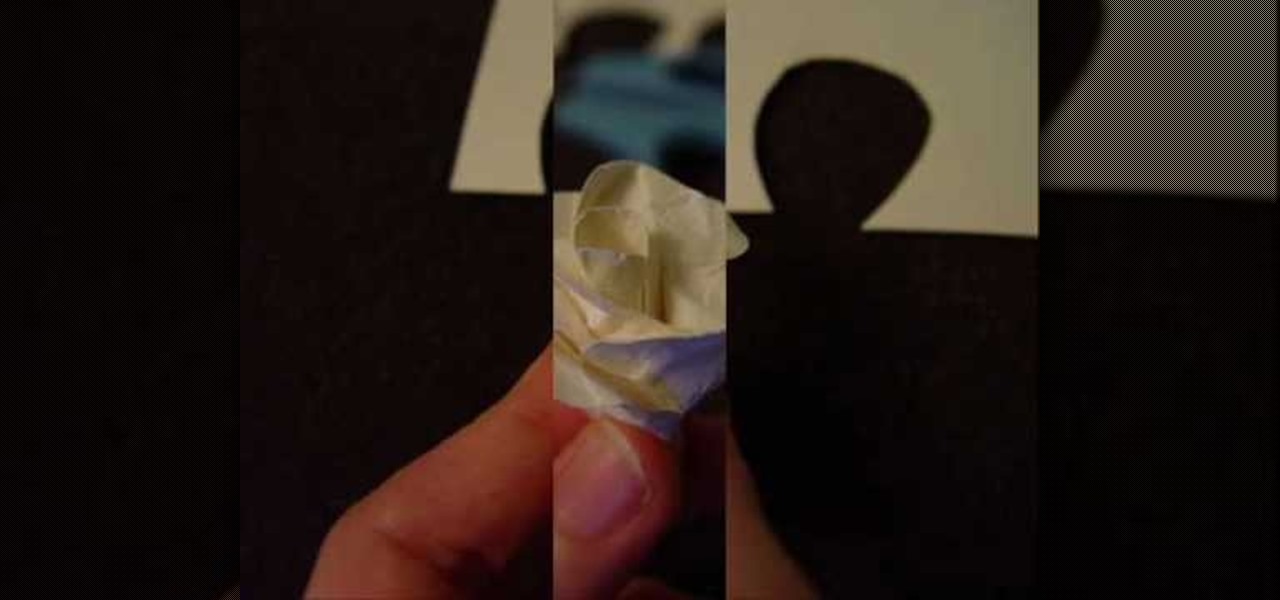
This tutorial demonstrates how to make simple yet beautiful paper roses using only a few materials. The image displayed at the end of this video is just one example of how realistic a paper rose can look. In order to do this, you will need at least one sheet of plain or colored paper, tacky glue, wire and a pair of scissors. Initially, you must first cut your paper in to the shape of your pedals, then crumple them up. Crumpling your pedals not only makes them more flexible, but can also add a...

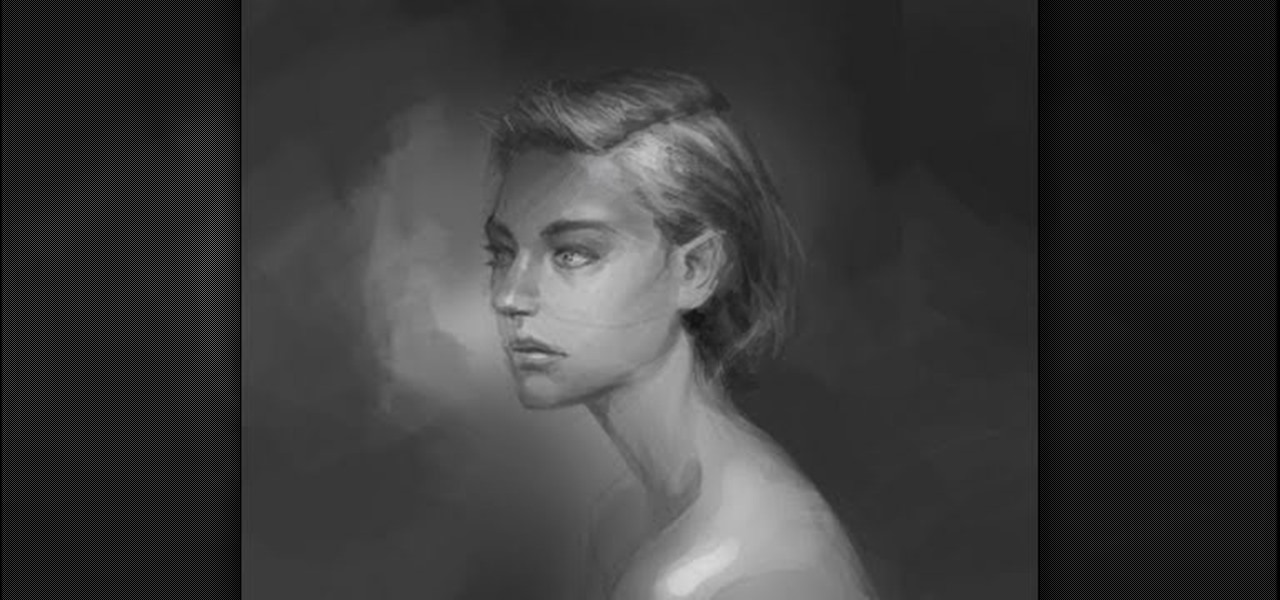
Learn how to sketch a realistic 3/4 profile of a female head and face. Begin by drawing a simple circle. Add a few more construction lines which outline the general shape of the drawing. The rough features of the face come next. Now you are ready for more artistic touches, such as shadows underneath the nose and lower lip. Experiment with different brushes and intensity of color until you like the result. Learn to play with lines and shadows to create a sketch of a female head.

You first want to start with doing the outlines of the arm. Basic shapes like tubes are given structure with cross sections. This is to know if your knee is bending or is it straight. To do a gesture properly is to use landmarks. You start from the toes positioning and work your way up from here. Your feet, knee, and torso are your three landmarks. Erasing sharp edges helps to give the effect of a more soft drawing and the limbs seem more realistic. Today we learned that drawing is more about...

You can draw almost anything in Photoshop. Check out this video for information on how to draw an envelope that you can use as an icon for other programs. This step by step tutorial takes you through the entire process of creating a realistic looking envelope on your computer. This icon can be used to identify programs on your desktop or simply as a drawing. All you need is a mouse and a copy of Photoshop and you will be on your way.

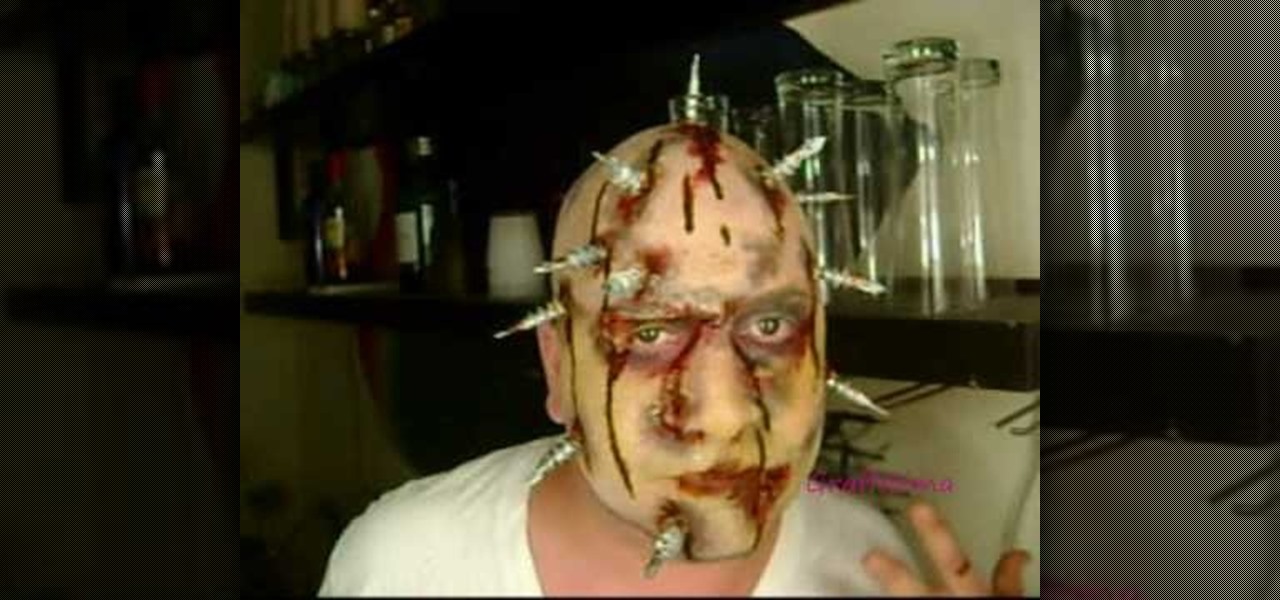
This fantastic Halloween special effect makeup tutorial teaches you how to create a bloody bolt look using mostly MAC products. The artists teaches you how to create texture and create a distressed look with the base and color makeup. He applies the adhesive and attached the scar effects and adds the "bolt props" with the adhesive. He uses a purple and yellow pigments to distress the skin further. He then takes fire red to create the blood. He also shows you how to make realistic blood with s...

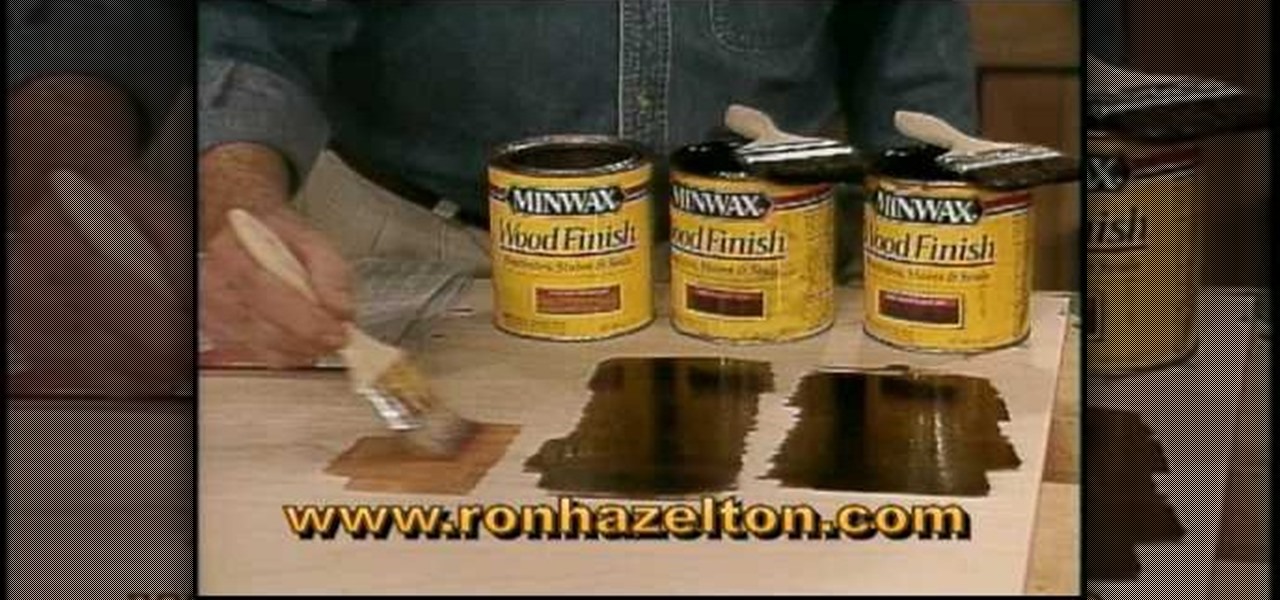
Want to create a realistic or customized wood stain for your home? Learn how to get the exact color stain you need to match existing wood finishes or to create unique effects.

Learn the basics of crumpling and tearing in Houdini 10. This cool crumple and tear effects can make destruction look more realistic in any 3D scene.

Don't play with guns, kids... unless their homemade paper guns! Check out this three-part video tutorial to learn how to make an AK-47 paper gun. This somewhat realistic replica gun is the perfect hobby for a young gun enthusiast. What better a gun than the AK to start out with?

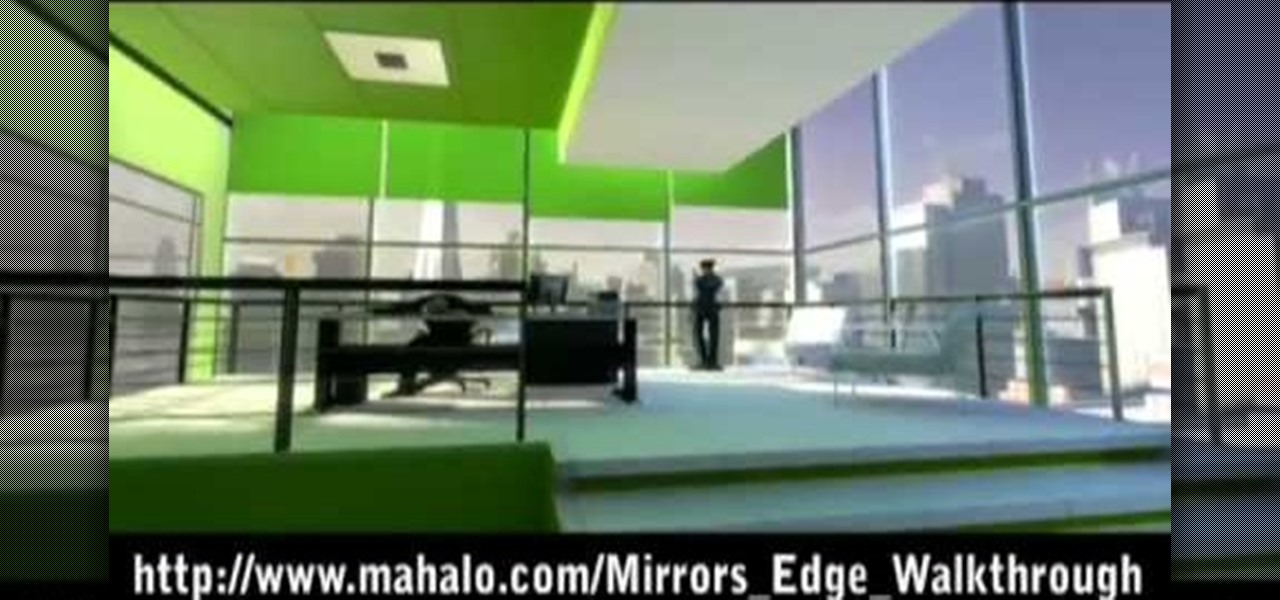
This is a video walkthrough of the "Prologue: Financial District" level in Mirror's Edge for the Xbox 360.

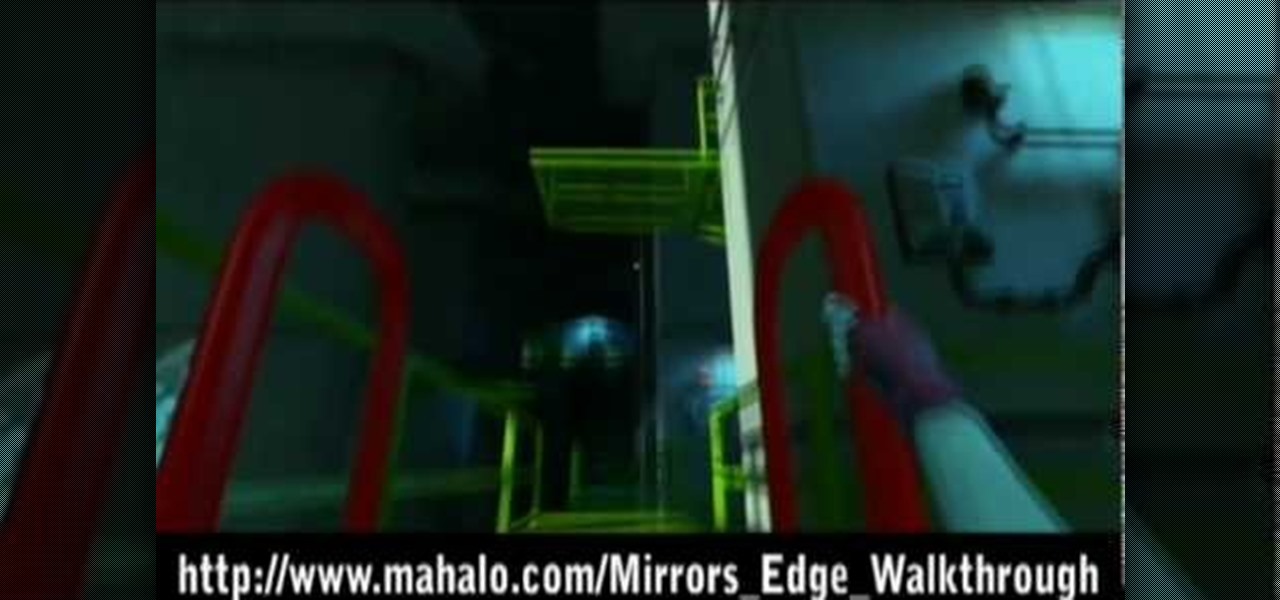
This is a video walkthrough for Chapter 1: Flight (PT. 1/2) in Mirror's Edge for the Xbox 360. The game has a realistic, brightly-colored style and differs from most other first-person perspective video games in allowing for a wider range of actions—such as sliding under barriers, tumbling, wall-running, and shimmying across ledges—and greater freedom of movement, in having no HUD, and in allowing the legs, arms, and torso of the character to be visible on-screen.

This is a video walkthrough for Chapter 2: Jackknife (PT. 1/2) in Mirror's Edge for the Xbox 360. The game has a realistic, brightly-colored style and differs from most other first-person perspective video games in allowing for a wider range of actions—such as sliding under barriers, tumbling, wall-running, and shimmying across ledges—and greater freedom of movement, in having no HUD, and in allowing the legs, arms, and torso of the character to be visible on-screen.

This is a video walkthrough for Chapter 2: Jacknife (PT. 2/2) in Mirror's Edge for the Xbox 360. The game has a realistic, brightly-colored style and differs from most other first-person perspective video games in allowing for a wider range of actions—such as sliding under barriers, tumbling, wall-running, and shimmying across ledges—and greater freedom of movement, in having no HUD, and in allowing the legs, arms, and torso of the character to be visible on-screen.

If you need to create an animated character, Maya is the software program for you. If you don't know how to make that character you've dreamed up, then maybe you should check out this Maya video tutorial on an important step -- creating a skeleton structure. Creating bones could be a daunting task in Autodesk Maya 8.5, but with the help of this four-part video, you'll see how to create those realistic bones for your animation with ease. You'll also see some common unintentional wrong rotation...

The cost of acrylic paint and corn syrup? Minimal. Freaking out your friends beyond all reason? Priceless.

This is it. The last one. The last mission in Battlefield Bad Company 2. Airborne. This is where you and your unit finally find the scalar weapon. If you're scared of heights though, this might be the most terrifying mission of all, with a freefall plummet down to the Earth's surface. Yo have to shoot and kill Kirilenko when you're falling, too, so don't panic. Watch this video walkthrough to learn how to complete the Airborne mission in Bad Company 2 on the PS3.

Check out this guide to Battlefield Bad Company 2, the mission entitled Zero Dark Thirty. Find the M-Com Stations and destroy them, but stay alert for all enemies. Watch this video walkthrough to learn how to complete the Zero Dark Thirty mission in Bad Company 2 on the PS3.

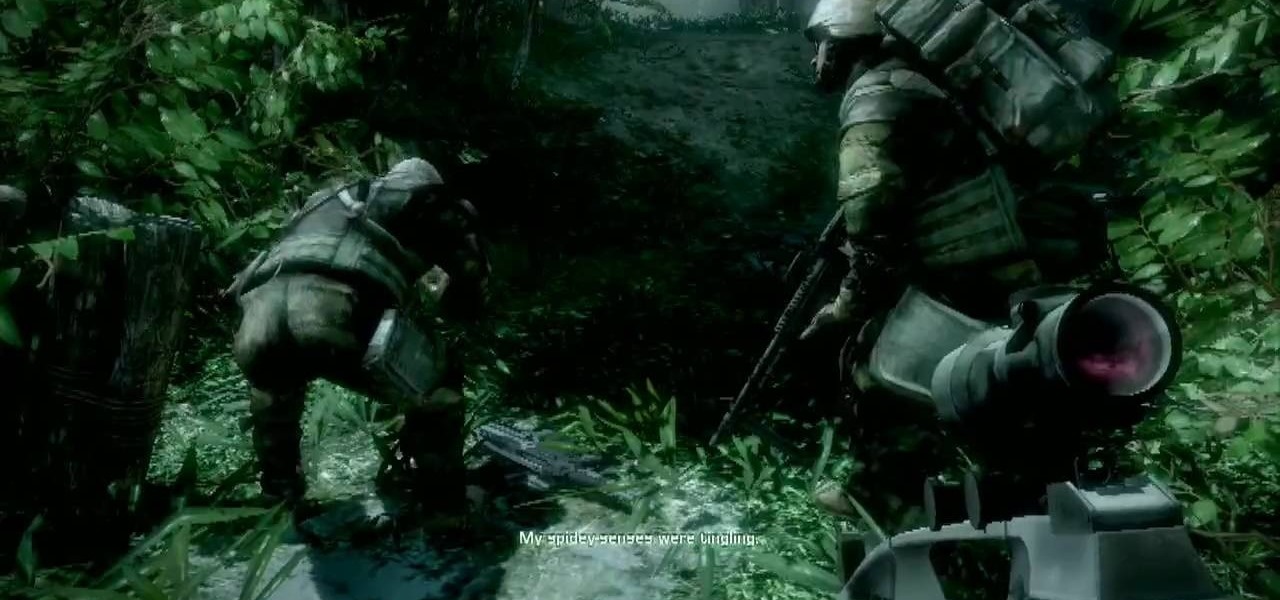
Things are really heating up now with that the Russians are putting on the pressure in Battlefield Bad Company 2. This time your helicopter gets hit by an RPG and you need to put it down and make your way through the clearing in the jungle. Destroy all the M-Com Stations, and nobody can die. Watch this video walkthrough to learn how to complete the No One Gets Left Behind mission in Bad Company 2 on the PS3.

The first thing you need to do in this mission on Battlefield Bad Company 2 is to hop out of the copter and get in the sand buggy and head to your marked location. You'll need to locate and head to each station on the map: Bravo Base Station, Charlie Base Station, and Alpha Base Station. After that, complete the Triangulation Point. Watch this video walkthrough to learn how to complete the Sangre Del Toro mission in Bad Company 2 on the PS3.

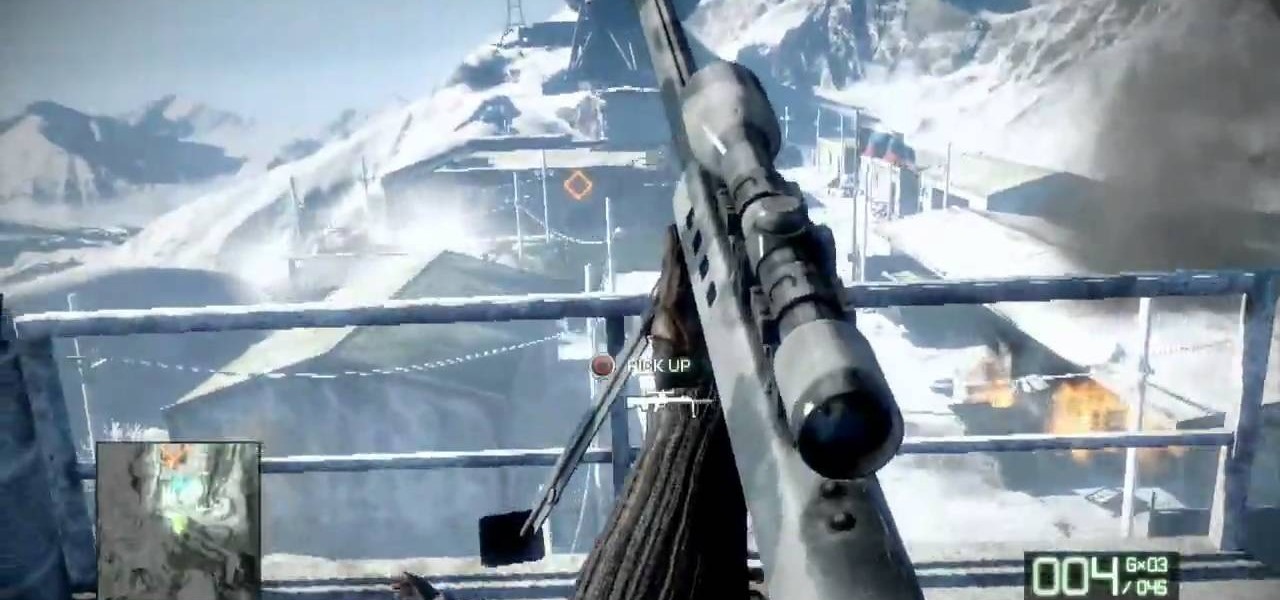
Make your way to the crash site in this mission on Battlefield Bad Company 2. You'll need to protect the crashes satellite from RPGs and enemy fire. Then you need to destroy yet another M-COM Station, so make sure you're ready. Watch this video walkthrough to learn how to complete the Snowblind mission in Bad Company 2 on the PS3.

Crack the Sky in this mission on Battlefield Bad Company 2. Use the minions on the helicopter to to take care of your enemies below, and once you kill them all, the copter will drop you off where your real mission starts. Make sure to destroy the M-Com Station. Watch this video walkthrough to learn how to complete the Crack the Sky mission in Bad Company 2 on the PS3.

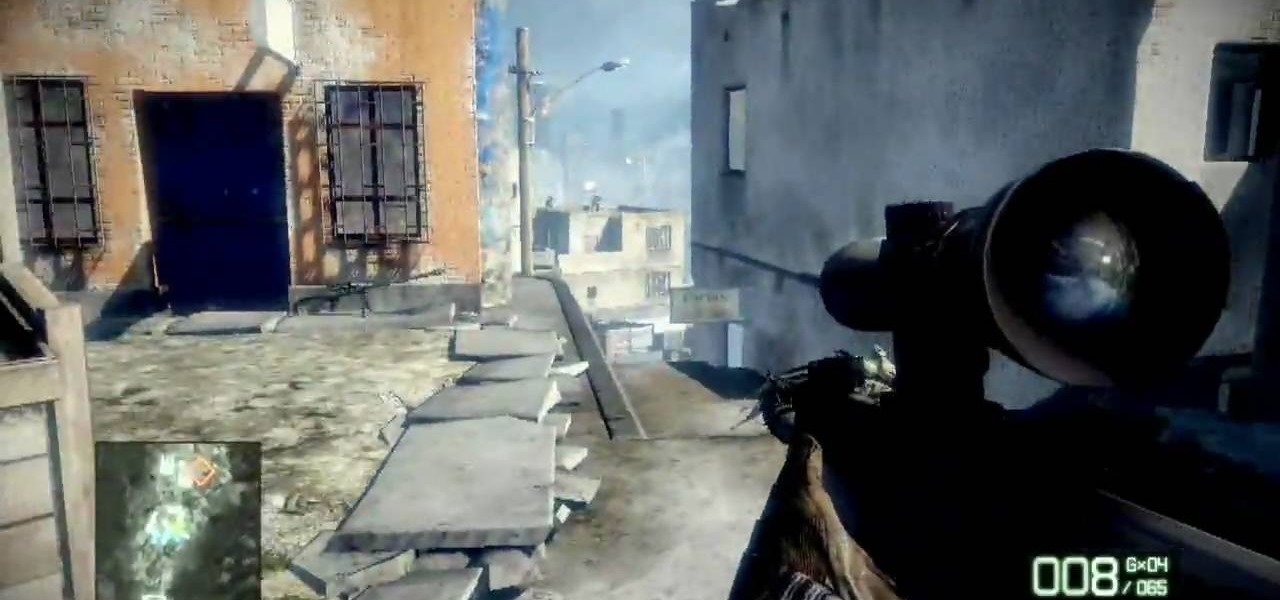
In Mission 4 (Chapter 3) of Battlefield Bad Company 2, you need to first take care of the sniper. You can only fire the sniper rifle during the thunder, or you'll automatically lose the mission. So make sure you have sniper sensibility in this mission. Watch this video walkthrough to learn how to complete the Upriver mission in Bad Company 2 on the PS3.

This is the third mission in Battlefield Bad Company 2 called the Heart of Darkness, where you need to follow your unit through the ruined village. But first you have to survive the helicopter ride with the hippy pilot. You need to destroy the M-COM stations to succeed in this mission. Watch this video walkthrough to learn how to complete the Heart of Darkness mission in Bad Company 2 on the PS3.

At the very beginning of Battlefield: Bad Company 2, you and your squadron are floating down a river behind enemy lines. At first, you're just watching and learning, then you finally gain some control and learn how to use your weapons and make your way around the battlefield. Watch this video walkthrough to learn how to complete the prologue Operation Aurora in Bad Company 2 on the PS3.

If you want to paint shadow lines on a model care you should first realize that you can pair this technique up with any other technique you want to for different effects. Shadow lines occur when the out lines get thick and it provides a contrast to make something pop out. Shadow lines will focus on the light source. You want your shadow to be realistic so you want to think about where you light source will be. To paint on shadows lines, focus on where the light source is coming from and darke...


