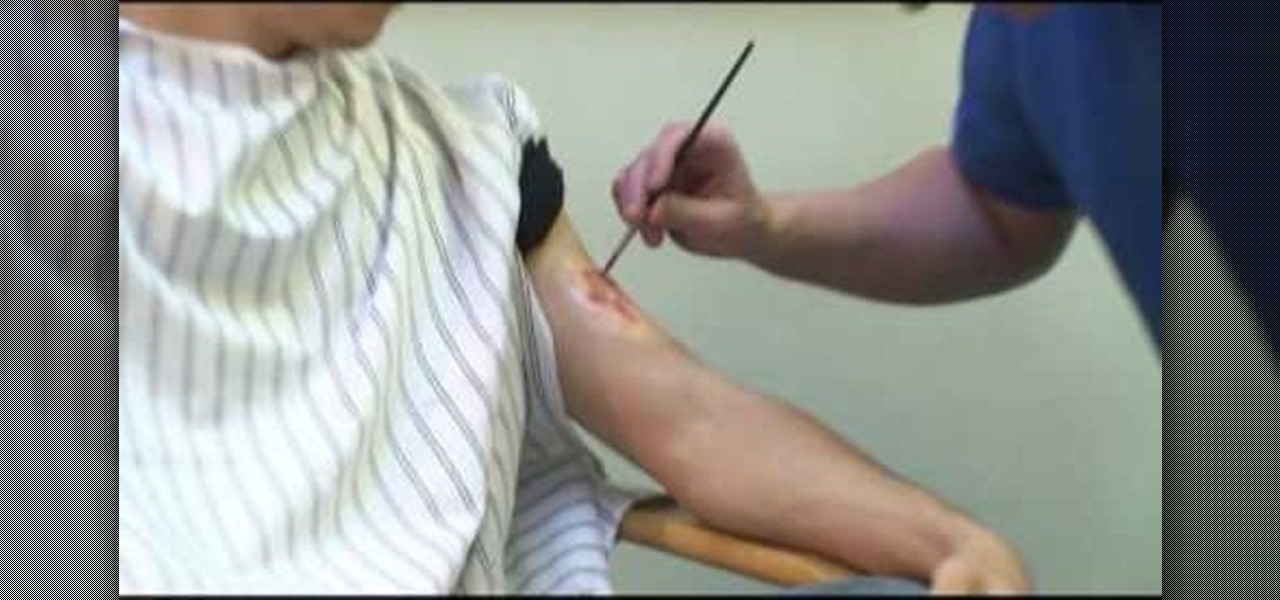
In this tutorial, we learn how to apply injury makeup with Emmy winner Brad Look. First, clean the area with water, then use glue and powder to apply the surface of the injury. After this, use more makeup to cover up the piece on the skin and blend the edges into the skin so they mix in completely. In the middle, add in some reds, purples, and blacks to create a realistic looking injury. Make sure there are textures and highlights on the would to make it look more real. Make the injury radiat...

In this tutorial, we learn how to draw Electivire from PokŽmon. Start out with a very sharp pencil and lightly draw the outline of the body of the character. After this, use a firmer hand to draw a darker line on the outline of the body, then start to add in details of the face and the rest of the character. Next, draw the details on the body to give it more of a personality and make it look more realistic. Continue to draw on the rest of the body parts, using lines and shading where appropri...
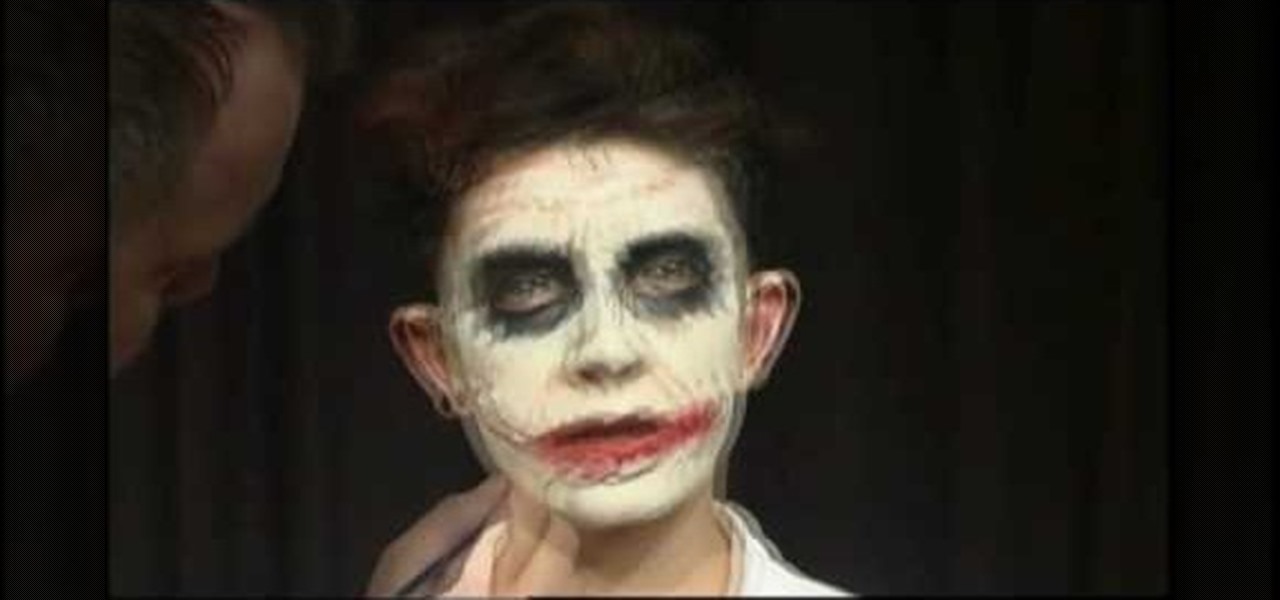
In this video, we learn how to make a prosthetic Glasgow smile like the joker. First, smooth the material onto the face and around the lips. Follow the shape of the lips for the sides of the mouth to make it look larger. Use a Q-tip to push on the prosthetic onto the face. Once this is attached, you can add in the color to the lips to make it look more realistic. Makeup will need to be added to the entire face. White should be on the face, black should be around the eyes. Go for a cracked and...
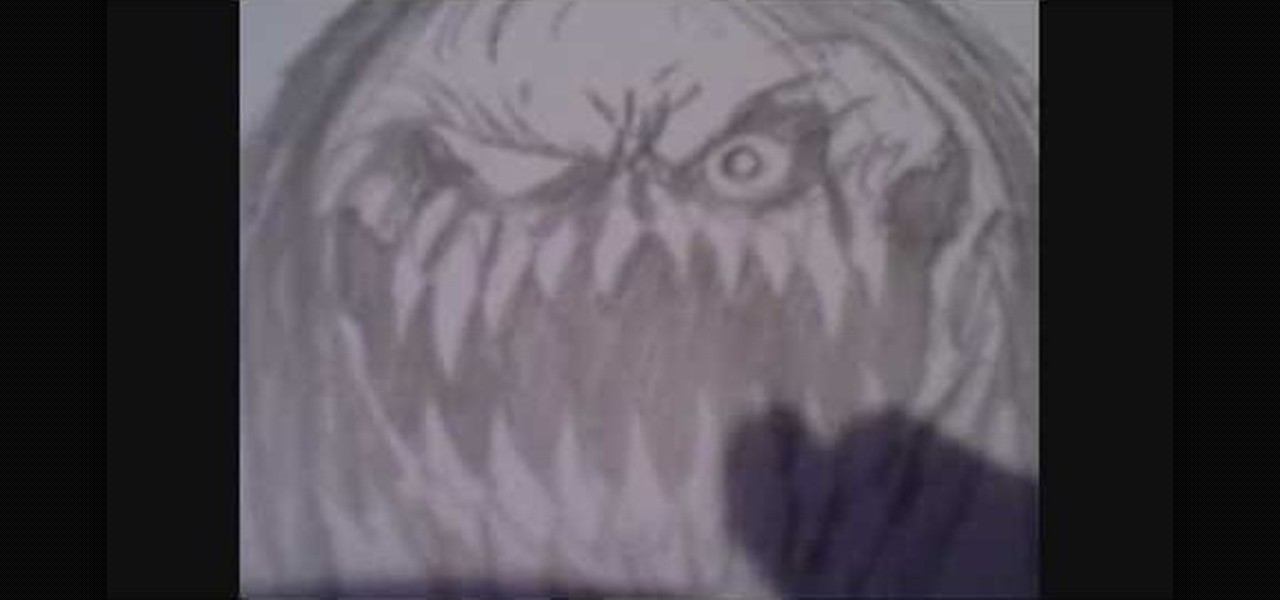
In this tutorial, we learn how to draw a scary demon mother. Start off by drawing a circle for the face with huge sharp long teeth and small evil eyes. Add in details around the face to create a more realistic feel and creases in the eyes. Next, draw in the hair by using your pencil and just drawing in straight and straggly hair. After this, add in additional details to the eyes and the rest of the face, creating a nose and other features you want. After this, draw in lines on the bottom of t...

In this video, we learn how to make someone burst into flames with After Effects. You will first need Fire Assets from Action Essentials 2 or from somewhere online. Know which you are going to use before you shoot so you can get the right angle. Then, bring your shots into your software and position the fire above your character. Change the size and shape the match your actor. Then, track your footage by clicking on track motion and continuing forward. To make this look more realistic, change...
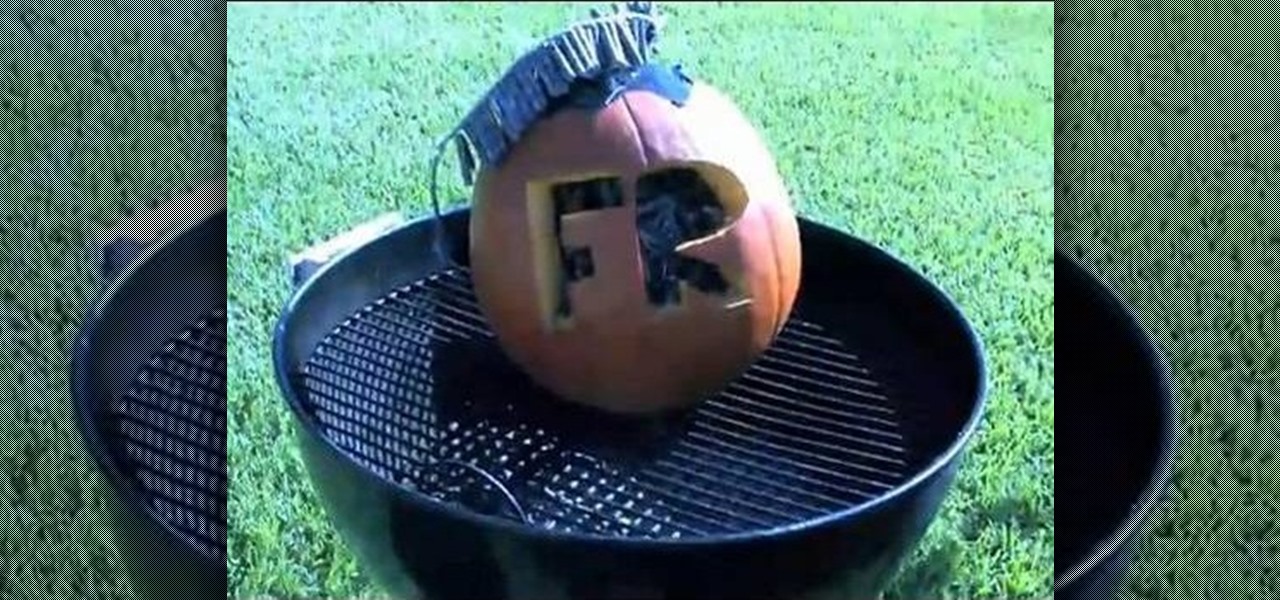
In this tutorial, we learn how to create great gore, mutilation and blood with makeup. Using makeup can make you look like a completely different person, and this includes making something gross! Using pumpkins to blow up can look just like someone getting hurt and their body parts coming out, it has the right sound as well. Gasoline and firecrackers are also used to help make the sound of something bad happening in a movie! Using gelatin on the face can create a makeup look that gives a real...

In this tutorial, we learn how to draw Train Heartnet. Start off by drawing a circle for his head, then lines in the head for reference of where the features will go. Next, draw a stick for the body and draw circles where the shoulders and wrists would be. After this, draw in the neck and the upper body. Draw in the clothes after this, adding in as much detail as you would like. Make sure to add in shading and lines to make the clothes look more realistic. Next, you will need to draw in the f...

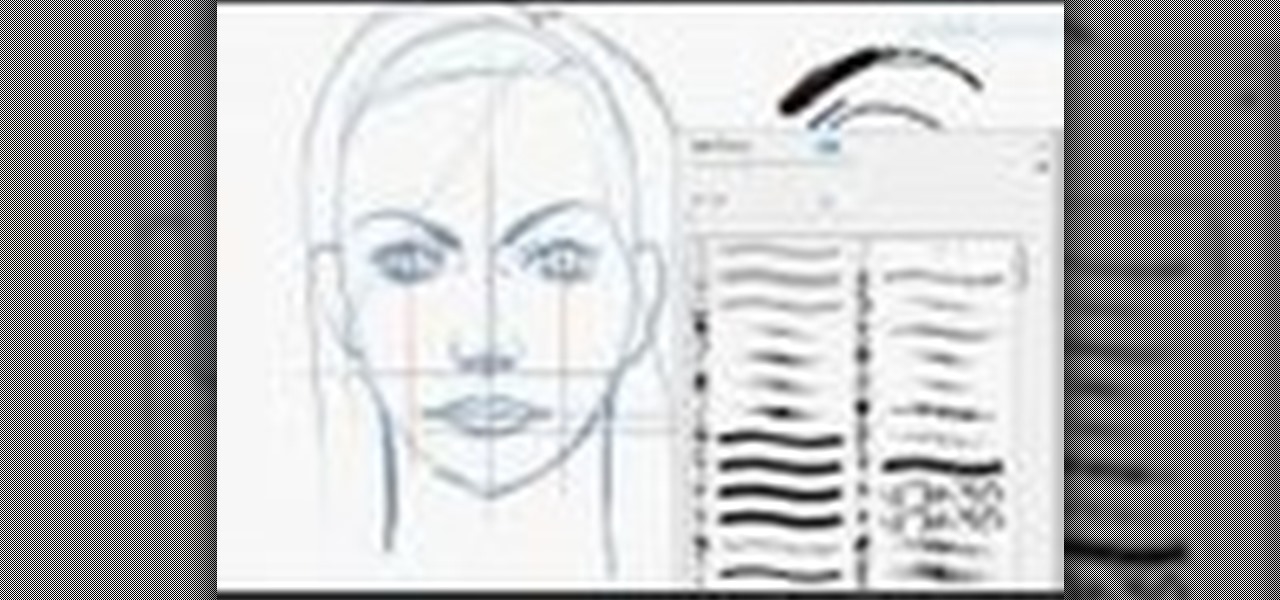
In this tutorial, we learn how to sketch a female face. Start with an upside down egg shape for the face, then draw in the contours of the chin. Use reference lines on the face to help you place where the eyes, nose, and mouth are going to go. After this, start to draw in the additional features, using a lot of lines to contour the face and make it look as realistic as possible. It's very important to use the lines in the background of the face so everything is even and lined up. After this, ...

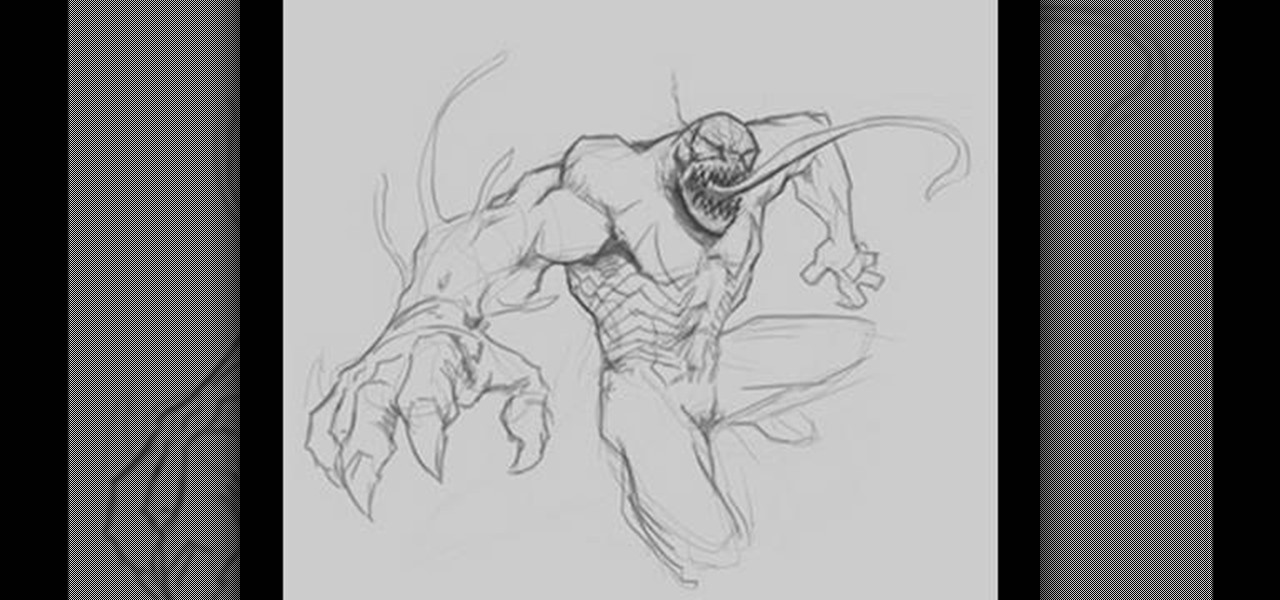
In this video, we learn how to draw Venom. Start out by drawing the outline of the entire body of the character. Use a soft line to create light lines throughout the entire body. After you have completed this, use a more bold line to draw around the body and start filling in details. Add the veins to the arms and then use shading to make them look more realistic. Draw in the details of the face and tongue, then continue on until you reach the torso to the feet. Once finished with the drawing,...

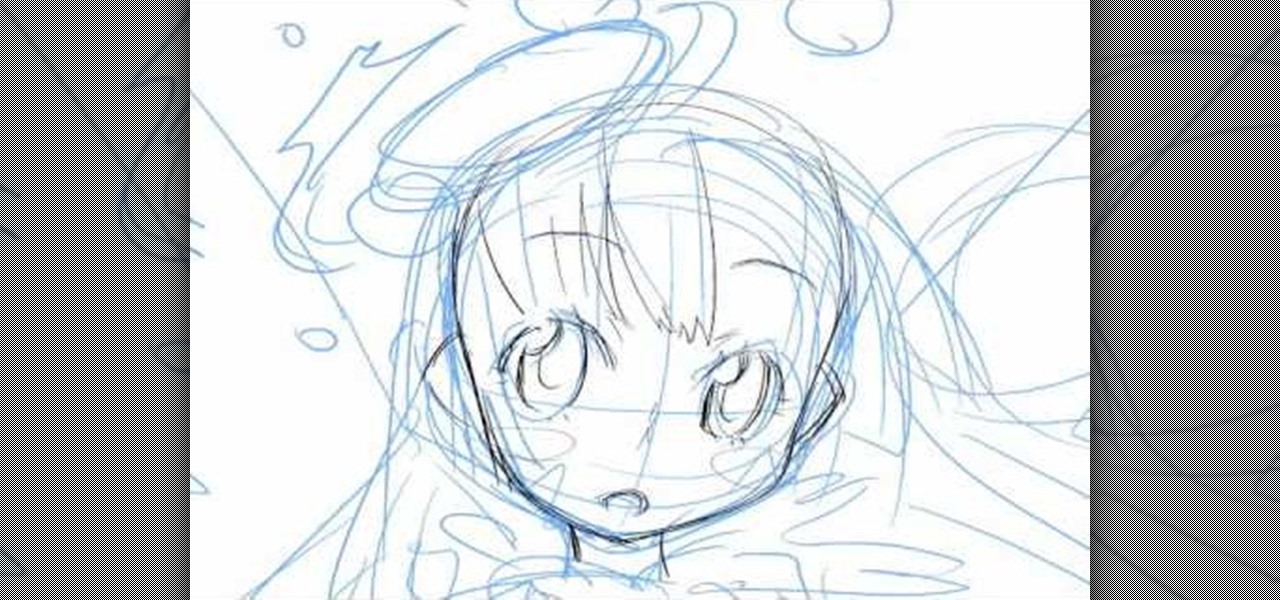
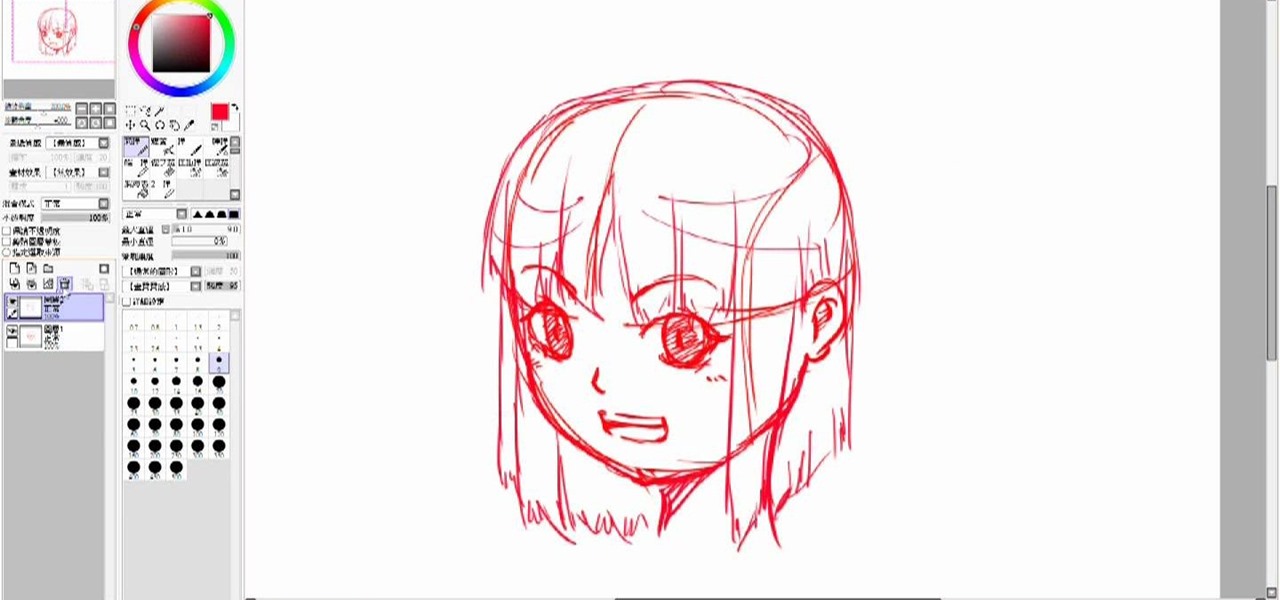
In this tutorial, we learn how to draw an anime or magna illustration on your computer. To start out, you will open up a new draft and start to create the outline of the anime together. As you continue, you will draw in darker lines that will be the outline and the details of the character as well. Erase any background lines from the drawing that don't fit in, then create new additional lines. When you're done, start to add in the facial features and details, then add in the hair and clothing...

In this tutorial, we learn how to draw Axel. Start out by drawing the head, then add in the facial features including the eyes, nose, ears, and mouth. After this, draw in the spiky hair that goes around Axel's head. Next, draw the neck and shoulders. Continue to draw down the body until you reach the feet. Add in the details of what the character is wearing, using lines on the clothing to make it look more realistic. After this, you will need to draw in shadowing on the drawing to make it loo...

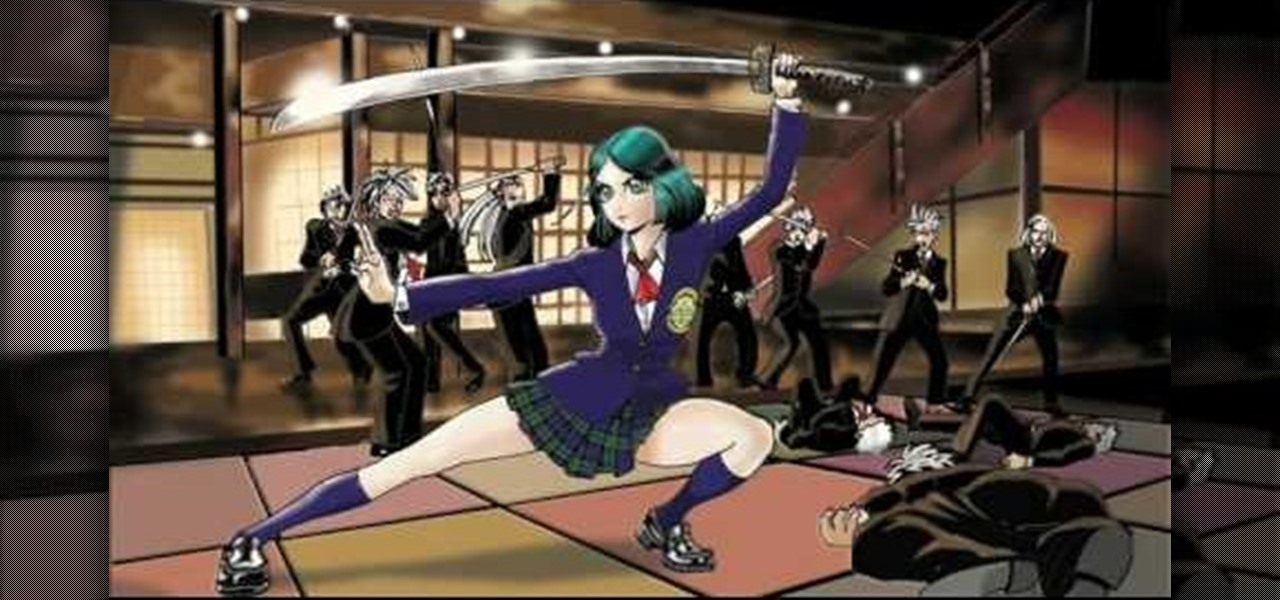
In this tutorial, we learn how to draw a female anime or manga school girl. Start out by drawing the outline of the character, then drawing in the details along the middle and the body of the character. Use circles inside the body to create a references as to where the body joints would be. Then, draw in clothing on the body and add a sword in the hands of the girl. After this, draw in additional details to the drawing and then focus on the face. Draw in the facial details, then add the hair ...

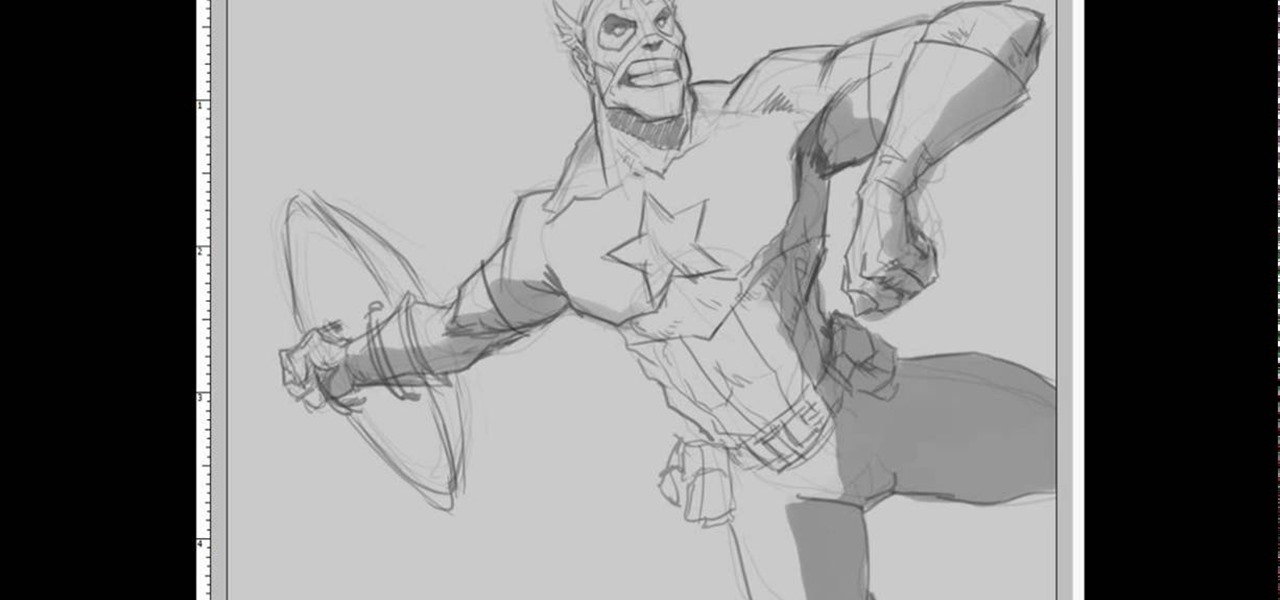
In this video, we learn how to draw Captain America in an action pose. Start out by drawing the torso, then the rib cage and pecks. Continue to draw the outline and small details of the rest of the body. Draw in arms gong out of the body so that they are spread apart, then draw in the head. Draw in lines for where the muscles are, then start to draw in the mouth, nose, lips, eyes, and other facial features. Once you do this, start to add in even more details of the outfit that the body has on...

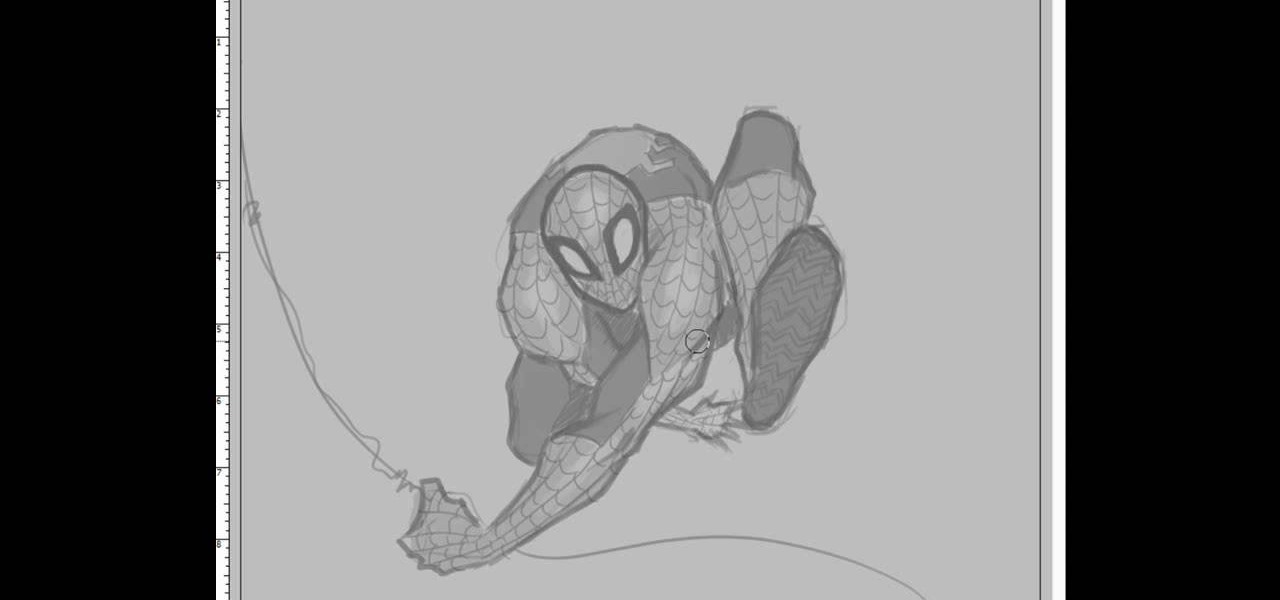
In this tutorial, we learn how to draw Spiderman. First, draw the outline of Spiderman's body while hanging from a web up in the air. Then, use a darker line to draw over the original sketch of the body. Start to fill in details of the entire body and the face of the character. Next, fill in the small details of Spiderman. Draw the details down to what the bottom of the shoes on his suit look like. Make sure the face has all the right details, then add in lines to the web to make it look more...

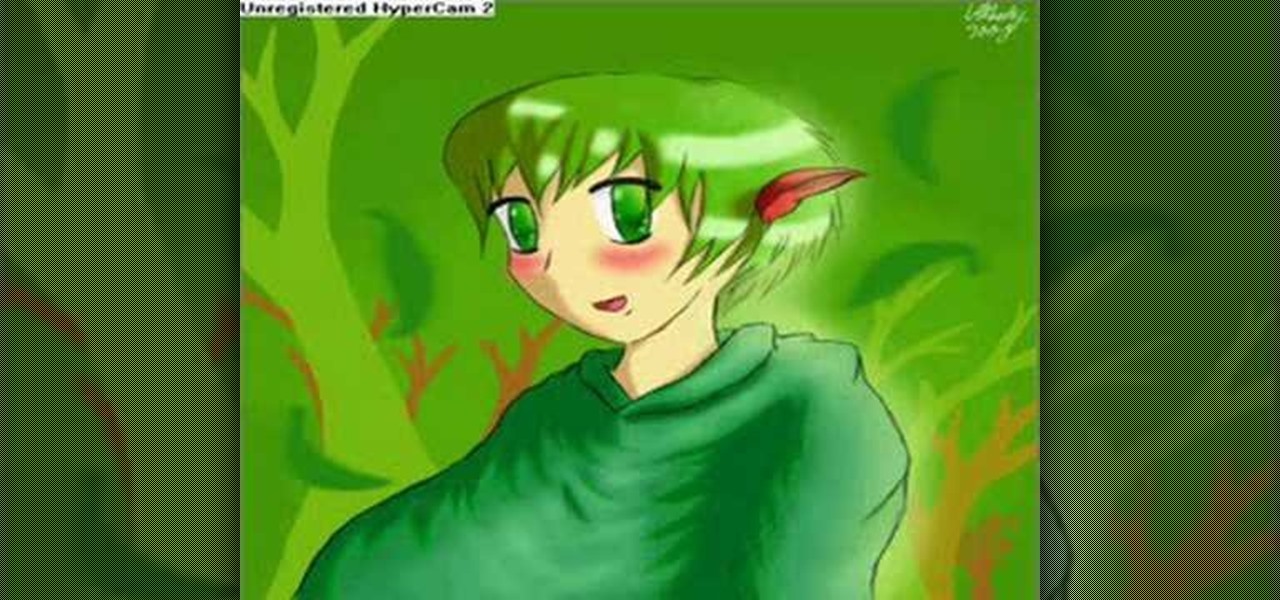
In this tutorial, we learn how to draw anime. Start off by drawing the outline of the anime, then color in the face, hair, and clothing. Add in the ear on the side of the head, then add in the features of the face. Next, add in shading to the face, hair, and clothing to add dimension to the drawing. Next, add in details to the face to make this look more realistic. Then, draw in trees and leaves for the background of the drawing and color them green and brown. After this, add in a light sheen...

In this video, we learn how to draw Maplestory Bigfoot. Start out by drawing the outline of the character, then start to draw on the details. Once you have finished the outline of the entire character, start to use a darker pencil or pen to make it darker. Add in shading on different parts to make it look 3D, then add in lines to make the character look more realistic. Add as many details as you would like, then when you are finished you can color in the picture as you would like. You can rep...

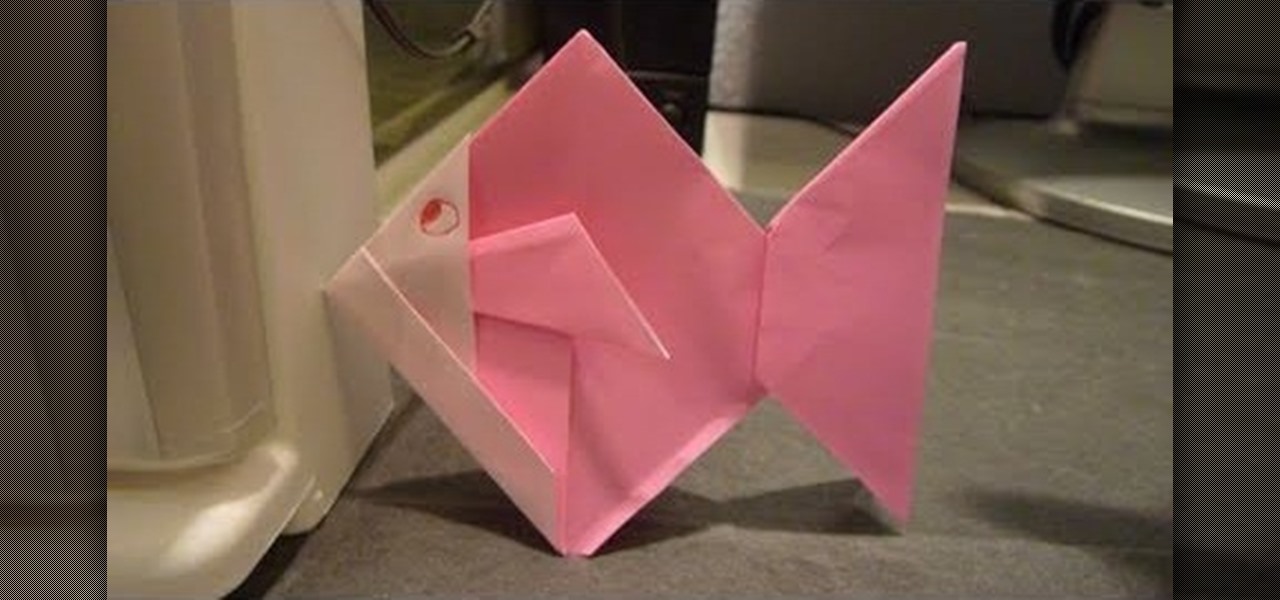
Okay, so we have to admit something to you: This isn't actually an origami craft in the strictest sense of the term. Origami dictates that an object be folded into being from a single sheet of paper, but for this goldfish we take a bit of a shortcut, literally. Instead of folding to get all the pieces in place, we make a few cuts to facilitate the fish-forming process.

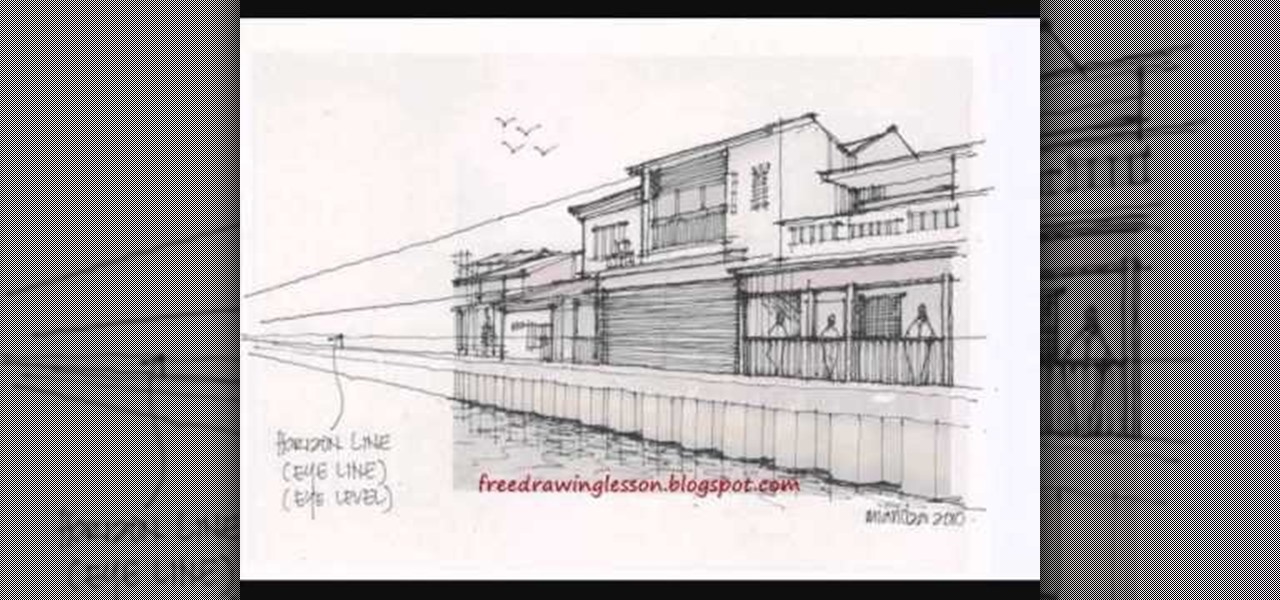
Imitation is the best form of flattery, right? In the case of this picture of a roadside apartment complex, imitation will help you learn about perspective and vanishing points, and how architectural features align with these two drawing caveats to create a realistic picture.

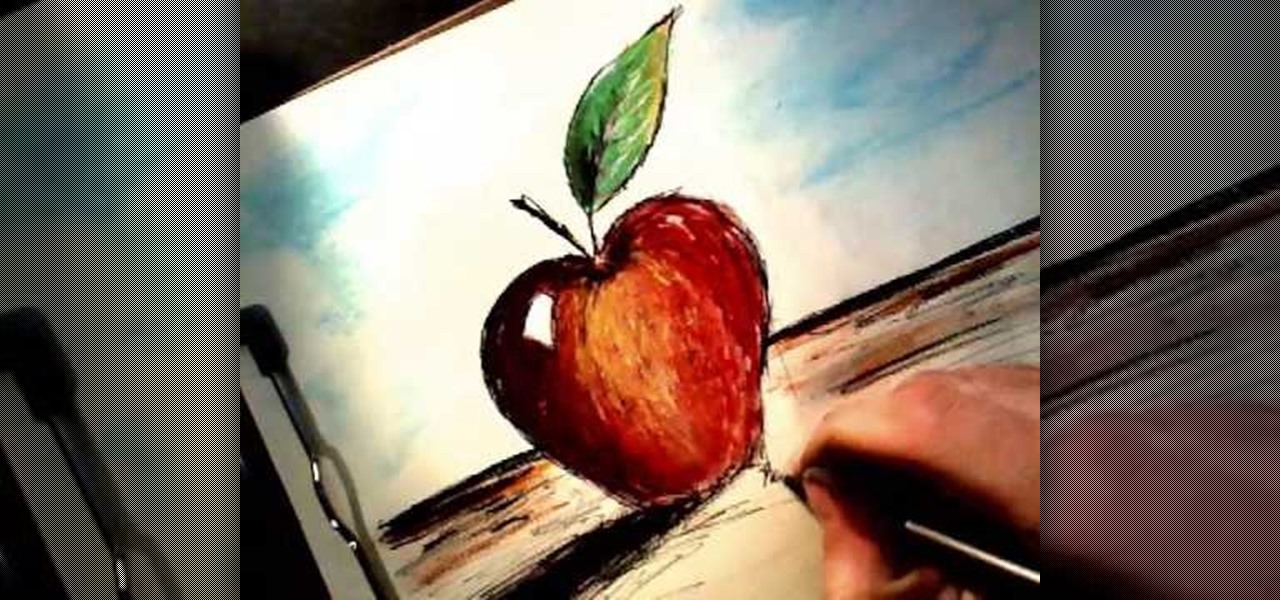
In this tutorial, we learn how to draw an apple. Start by drawing the outline shape of the apple. It looks like a slight heart shape in the middle of the apple where the stem is. After this, start to fill in the apple with lines to make it look more realistic, then draw the stem and a leaf coming out of the top middle of it. Color in the leaf with browns, blacks, and green. Then, draw lines on the bottom of the paper to make it look like the surface. Finish by coloring the apple red, making d...

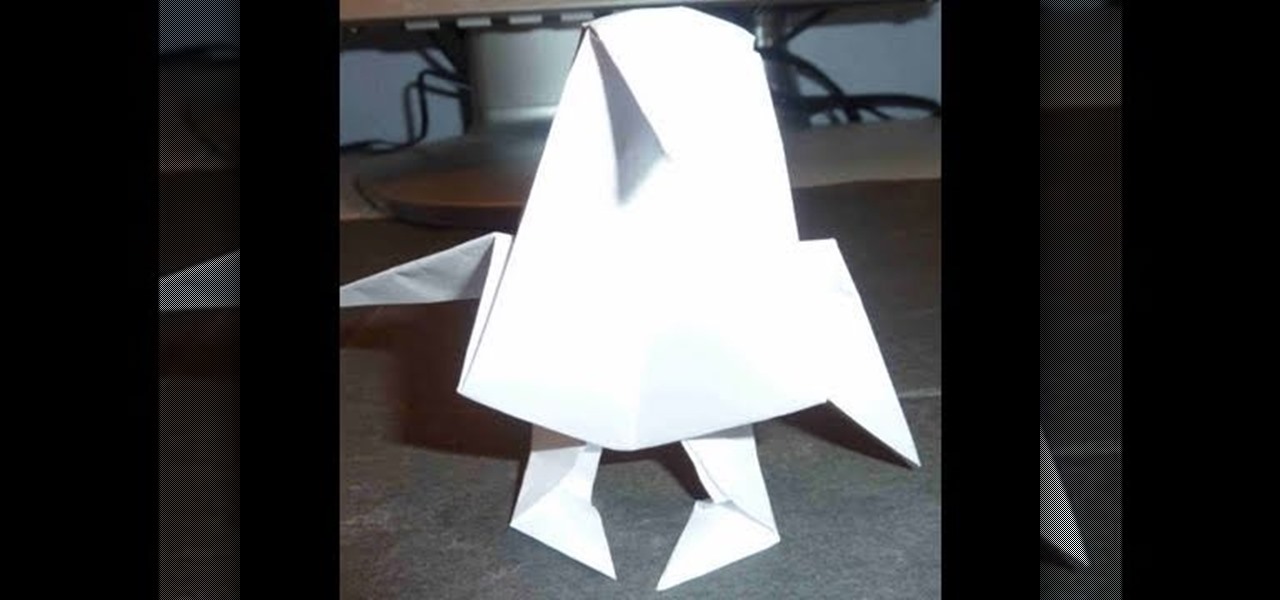
Is it just us, or does this ferocious alien/monster strangely resemble a cute, chubby wubby penguin? Whatever you decide this animal is, all we want to do is tickle its copious belly. Maybe this project would look like the alien it's meant to be if you drew ferocious eyes on it?

In this tutorial, we learn how to put on dread falls. First, put your hair into two buns onto the top of your head, then place two cut off socks on top of them. After this, take a string and tie it around the two buns. After this, apply your dread falls to the side of each different bun and tie them on with any type of string. When you are done, flip the dread over your head and then situate in the back. When you are finished, you can put a headband in your hair so the dreads look more realis...

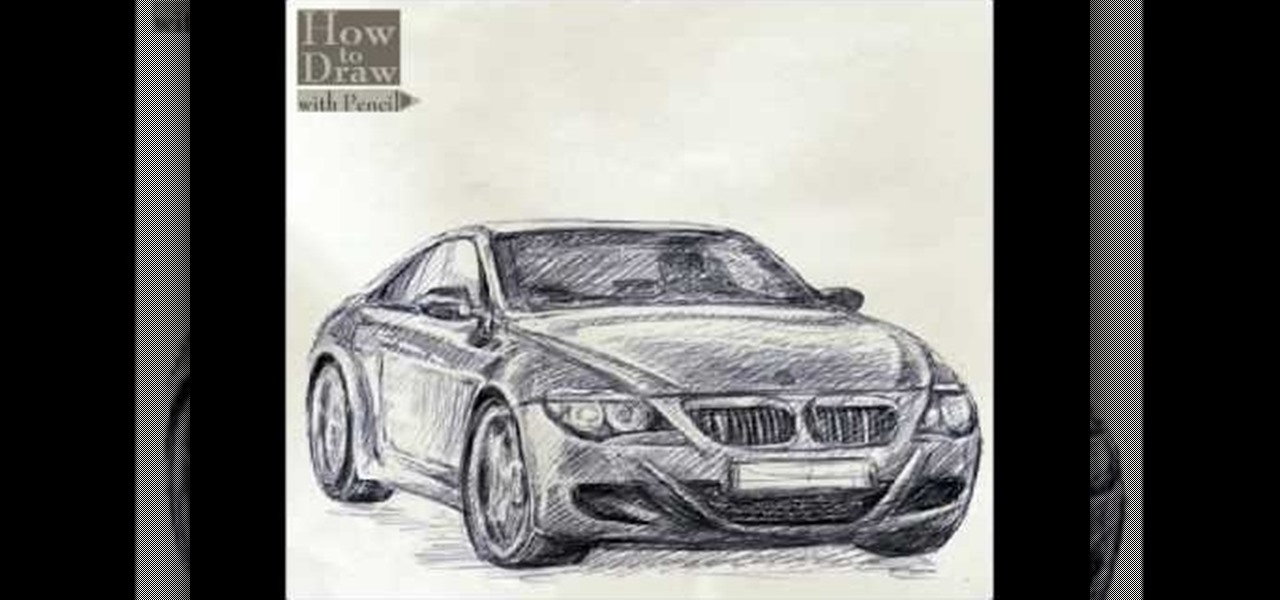
In this video, we learn how to draw a BMW car. Start off by drawing the outline of the car. After this, start to shade the drawing and add in the details of the car. Draw in the windshield, headlights, grill, license plate, and all the other small details. Make sure to use shading underneath the car to make it look more realistic. Also do shading inside the driver's seat to make it look like someone is inside of the car driving. Erase lines where you don't need them to make the car look more ...

In this tutorial, we learn how to draw Shadow the Hedgehog. Start off by drawing the head and then add in the spiked hair. After this, draw in the details of the eyes and continue down to the arms and the rest of the body. Draw in the feet and a gun in the character's hand. Now, use a pen to start drawing the outline over the pencil marks that you just made. Continue on to draw in details on the picture that make it look more realistic. After this, color in the picture with colored pens and u...

In this tutorial, we learn how to draw an eye in GIMP. First, open up the GIMP software and set up a circle, then color it dark blue. Next, add in light to the middle of the eye, so it looks like a light is shining onto it. After this, make a small circle in the middle of the eye, coloring it black. When done with this, create a new layer and then add brightness to the pupil of the eye. Continue to play around with the contrast and colors of the eye, so it looks more realistic and life like. ...

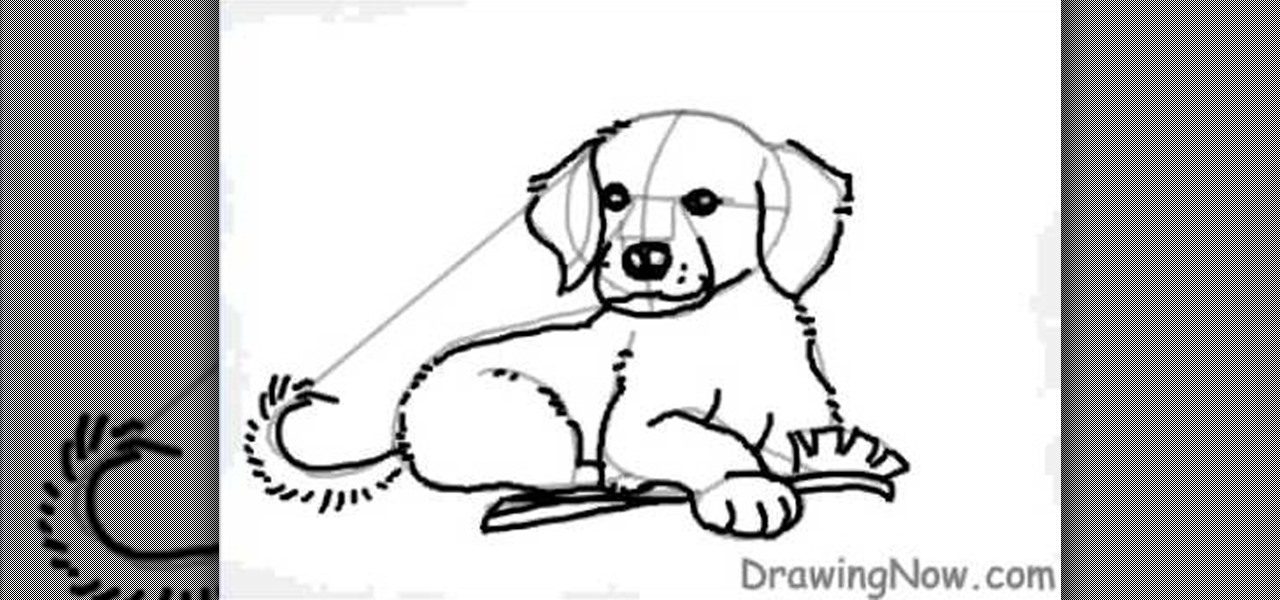
In this tutorial, we learn how to draw a cartoon golden retriever puppy dog. Start off by drawing the face with intersecting lines on it so you know where the nose, eyes and mouth go. Then, keep outlining the rest of the body including the legs and tail. Next, use a darker brush to go over the lines and make more of a detailed outline, including fur and eyes. Make sure to use lines on the side of the dog to make the hair look more realistic. After this, paint the inside of the dog using a lig...

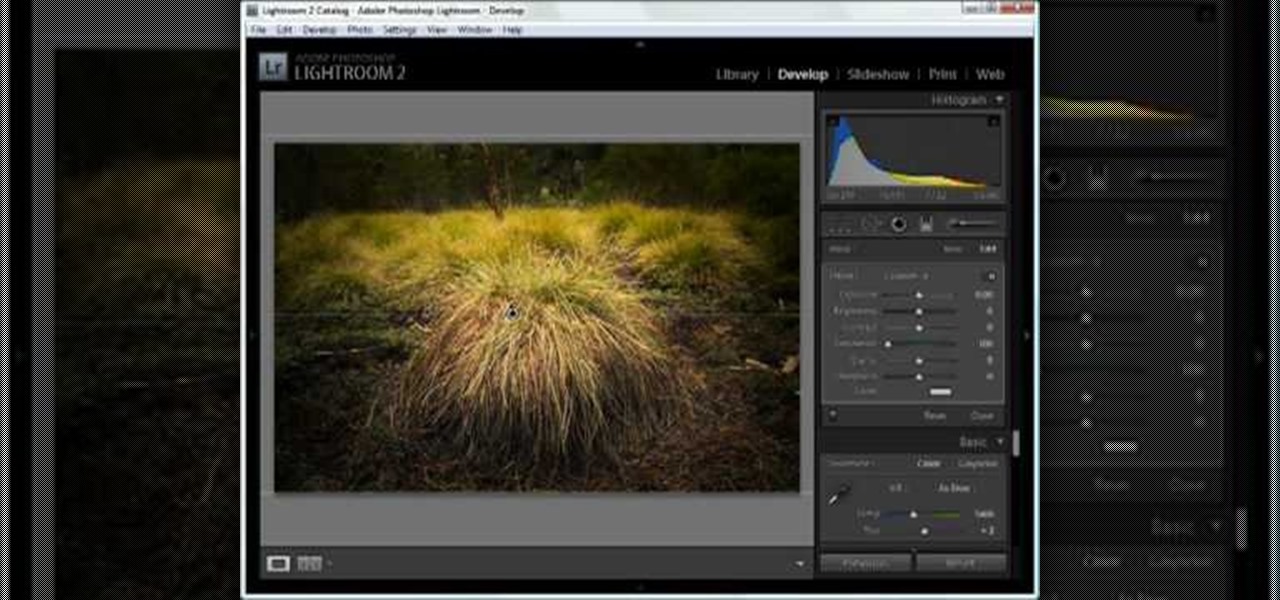
In this tutorial, we learn how to dodge and burn in Lightroom 2. First, open up your image in Lightroom 2 and use the brushes to change the saturation and the colors in the image. You can also use the graduated filter which you can use to apply effects across the image itself. Next, you can add a tint onto the picture and apply a second filter to make the top of the image darker, then make the middle of it brighter. Change the exposure and saturation to make the picture look more realistic. U...

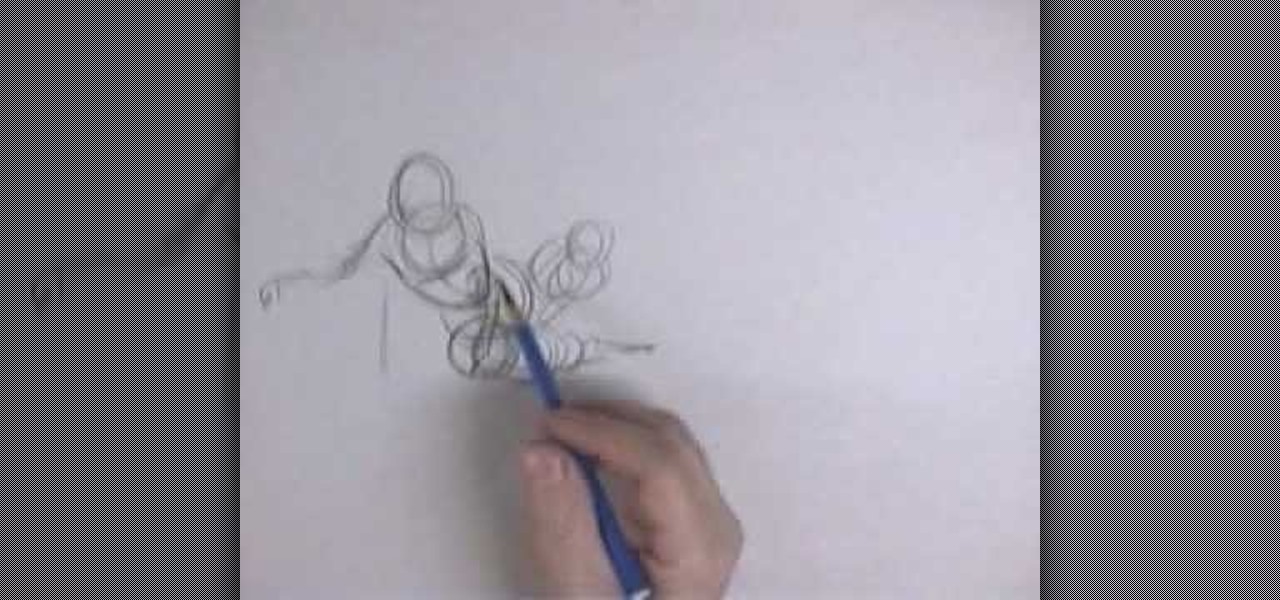
In this video, we learn how to draw foreshortened figures. First draw a circle and then continue drawing other circles to connect them together and make an out line. After you have drawn these, you will start to outline the circles so you see a body detail coming out of the drawing. Draw in the legs and the arms as well as the head. Don't worry about adding details to this, it's all about drawing just the figure. Shade on the different areas and add in lines to make the figure look more reali...

In this tutorial, we learn how to draw transparent objects. Start out using light pencil markings, and draw the basic shape of the bowl. After you have the round top and have make it three dimensional, add shading to the bottom circle in the bowl so that you can see the bottom of the inside. After this, add shading to the side of the bowl to give it a realistic feel like it's sitting on a table. Next, use your eraser to remove some of the shading, then fill in darker pencil marks onto these s...

In this video, we learn how to draw Charmander. Start off by drawing the large eyes with lines inside of them. After that, you will connect the head around it, followed by the nose. Next, you will draw in the rest of the body including the feet. Draw in the tail with flames coming out the end of it. Add in lines around the body to make the figure look more realistic, then draw in pupils for the eyes. When you are finished, you can color the character or just leave it how it is and shade in on...

In this tutorial, we learn how to draw Umbreon from PokŽmon. Start off by drawing the head and using crossing lines as the reference points for the eyes. After this, draw the neck and body underneath the head. Next, draw the feet, rear legs, and tail as well. Use your pencil to add lines on the sides to make the fur look real. Next, start drawing in details to the character, including; ears, paws, and eyes. Also, draw the nose and mouth to the character. After this, start to shade different p...

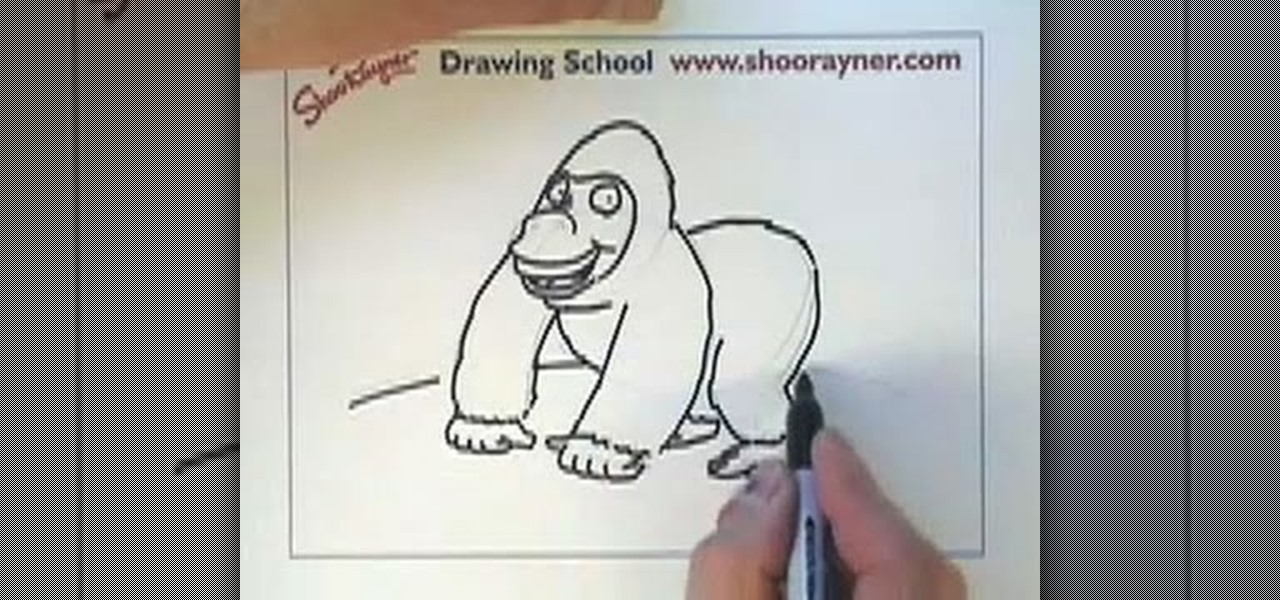
In this tutorial, we learn how to draw a gorilla. Depending on what type of gorilla you want to draw, there are various ways to change the look easily. To start, draw a bean shape that will be the body. Next, draw a smaller bean shape for the head on the side of the other shape. Now, draw the middle of the face, making eyes in the middle underneath the brow bone. Now, make the nose and mouth of the gorilla. After this, continue back down on the rest of the body and draw arms and legs for the ...

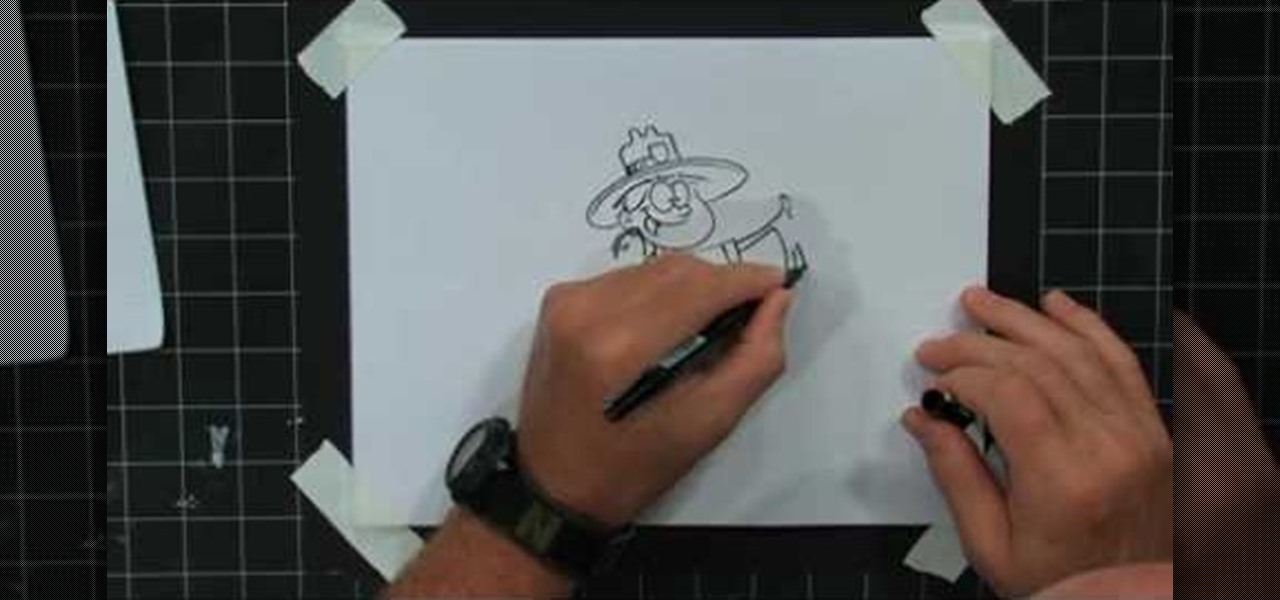
In this tutorial, we learn how to draw a cartoon park ranger with Bob Ostrom. Start off by drawing two eyes touching each other, and a nose coming off of the second eye. Next, draw a large mouth for the smile, and now draw the head around the character. Draw ears on, then give her a park ranger hat and long hair. Next, draw a neck coming down from the head, then draw the chest and arms. Draw a park ranger shirt onto her and a badge as well. Keep drawing down until you make the legs and shoes....

In this tutorial we learn how to draw a manga face. Start off by drawing a circle, after that add a cross in the middle as a reference point for where to draw the eyes, mouth, and nose. After you do this, you can start adding in further details to the face to make it look more realistic. Don't forget to add in lines on the face for wrinkles and pupils to the eyes. Ears should be placed on both sides of the head and don't forget to draw in hair as well. Outline the pictures with a darker brush...

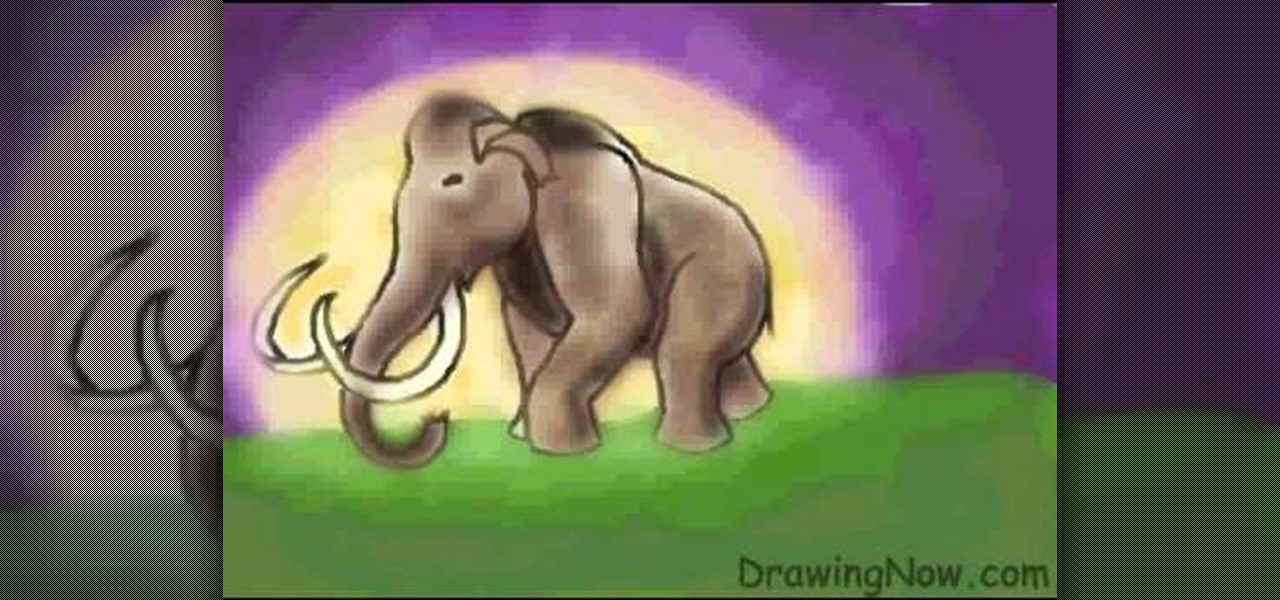
In this video, we learn how to draw a woolly mammoth. Start off by drawing the head, body, tusks, and feet. After you have the basic outline of the animal done, draw over it with a black paintbrush over the entire body and erase the lines underneath that. Next, draw in an eye and color the mammoth brown. Color the tusks ivory, then make the background of the picture purple with green underneath. Next, color the background with orange making it look sunny but also like sunset. To finish, start...

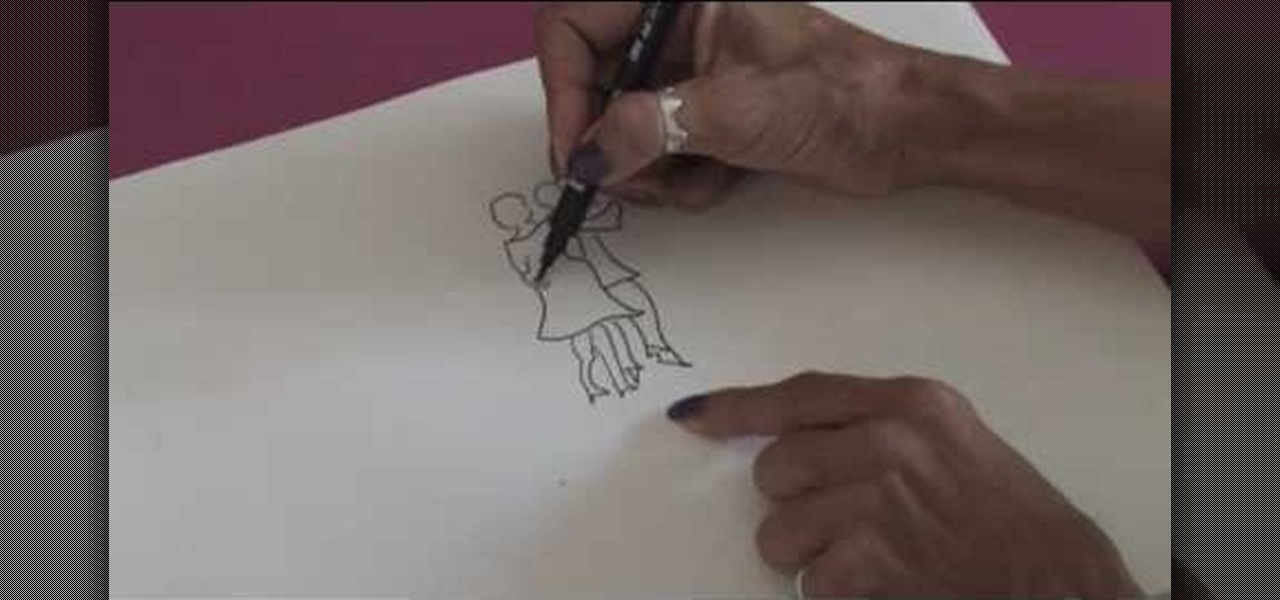
In this video, we learn how to draw people in motion. Start off by drawing a shoulder and an arm. After this, draw the body, then continue down to draw the legs. Next, draw the head on the body and draw the second body dancing with the first one. Draw the clothes on then add details to make it look more realistic. Once you add lines in around the people, it gives the illusion of them moving their feet. Draw in the dance floor, then finished with additional lines around the figured. When done,...

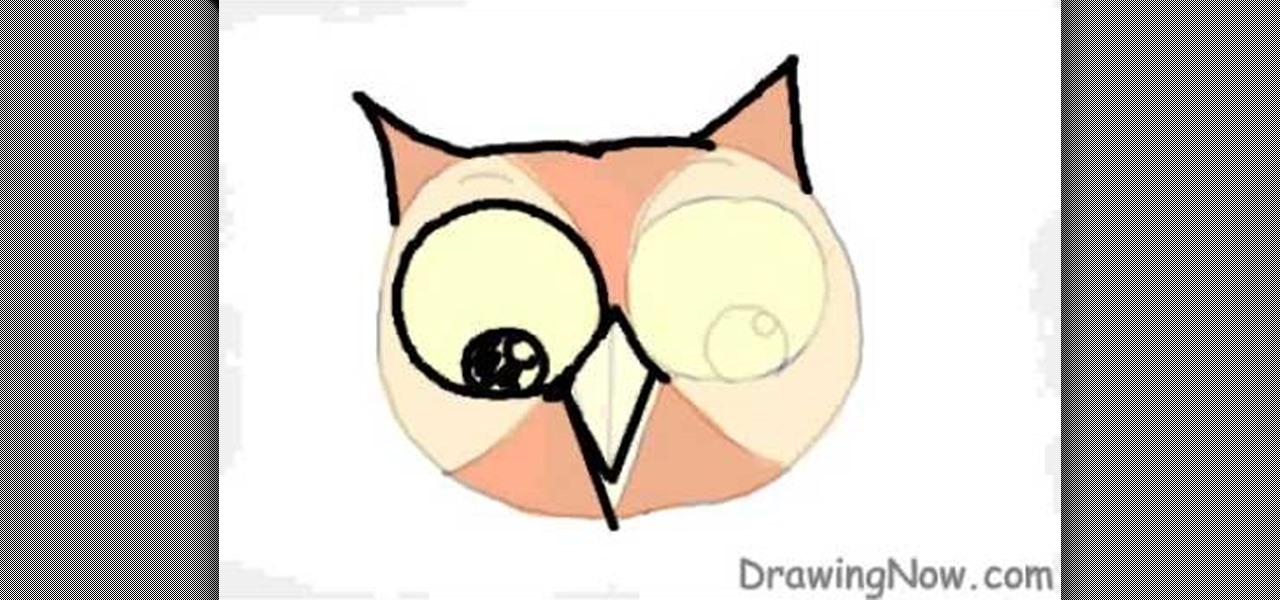
In this video, we learn how to draw an owl on a computer. First, draw a circle, then two small triangles on both sides of the top of the head. Next, draw two very large circles in the middle of the face, separated by an upside down triangle and two large triangles on either side of that. Next, add pupils to the eyes, and add a line in the beak. Outline the eyes, beak, and eyebrows after this. Color in the owl brown and light brown, then add small black lines to the sides to make it appear lik...

In this video, we learn how to carve a papaya flower design. To start, you will want to take a sharp object and outline the drawing you want to make. Carve this onto the papaya, then remove the skin as you are making different shapes. If you want to do a large flower design, carve layers into the papaya to make the flower look more realistic. Take time to carve the different petals, stems, and other details. This is a fun way to make something beautiful with your food, and can double as a cen...

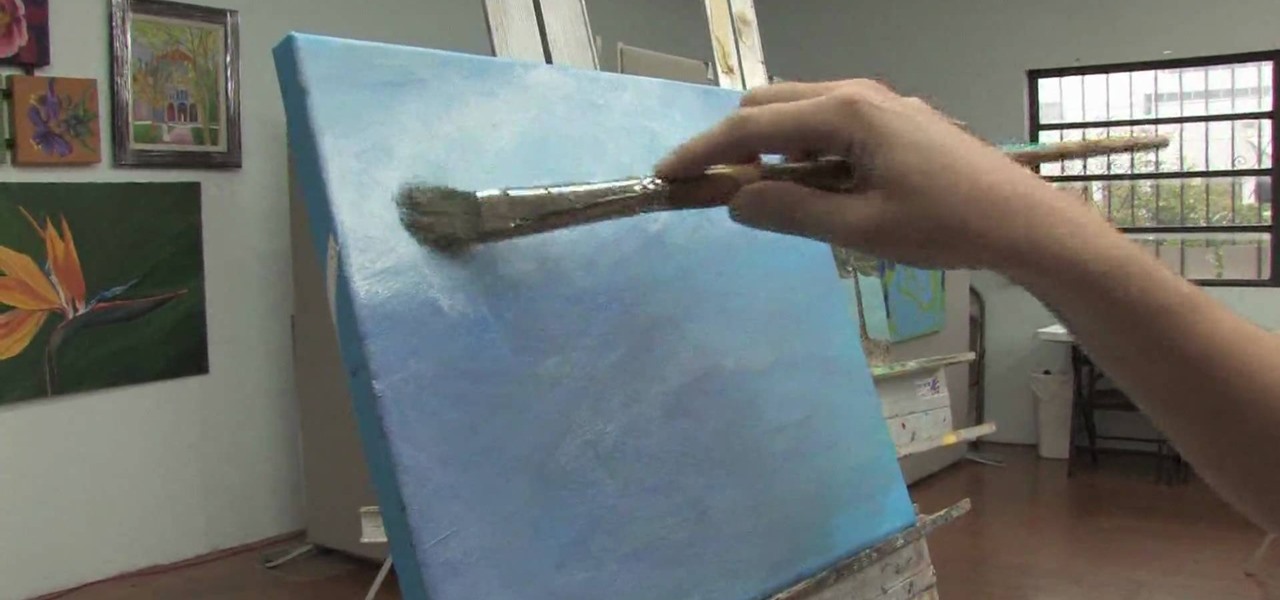
In this video, we learn how to embellish a painted sky. To do this, use white paint and gray paint. Add some clouds with your paint brush and make them loose and puffy in the sky of a painting. Be very loose and let the blue shine through the white like a regular sky. Paint the tops of the clouds more white than the other parts and paint this throughout the entire picture. If you want to take off some of the embellishment, use blue paint to cover up some of the white you have painted on. This...

In this tutorial, we learn how to communicate with a graphic design client. When you are dealing with a graphic design client, you will want to ask them a ton of questions to try to get into their head. If they are hard to deal with, then drop them as a client and don't do business with them. When dealing with other clients, make sure you communicate with them clearly so you both see the same vision and you are working in the right direction. Ask the client what type of budget they have first...

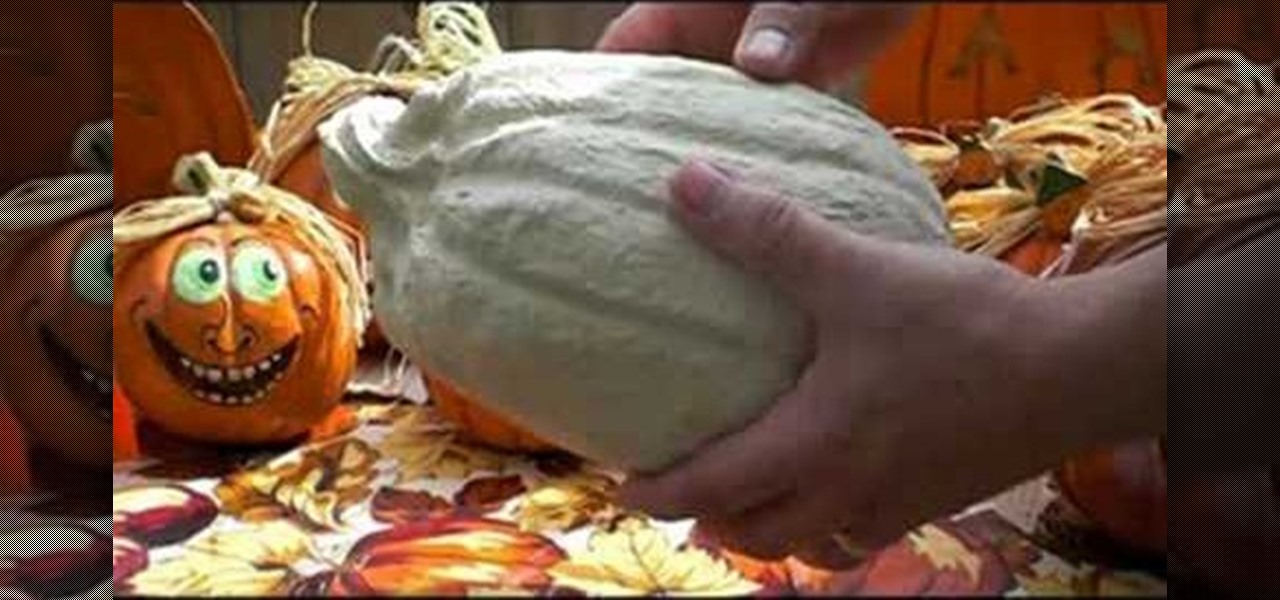
In this tutorial, we learn how to make paper mache Halloween pumpkins. You can purchase the pumpkin already made in the correct shape. When you are read to paint it, use orange pain and then a darker color in the creases to make it look realistic. You may need to smooth the pumpkin out before you paint, to make it easier to paint. Let the paint dry when finished, then add a gloss on. You can also paint on faces and different designs if you want to spice things up. You don't have to paint them...


