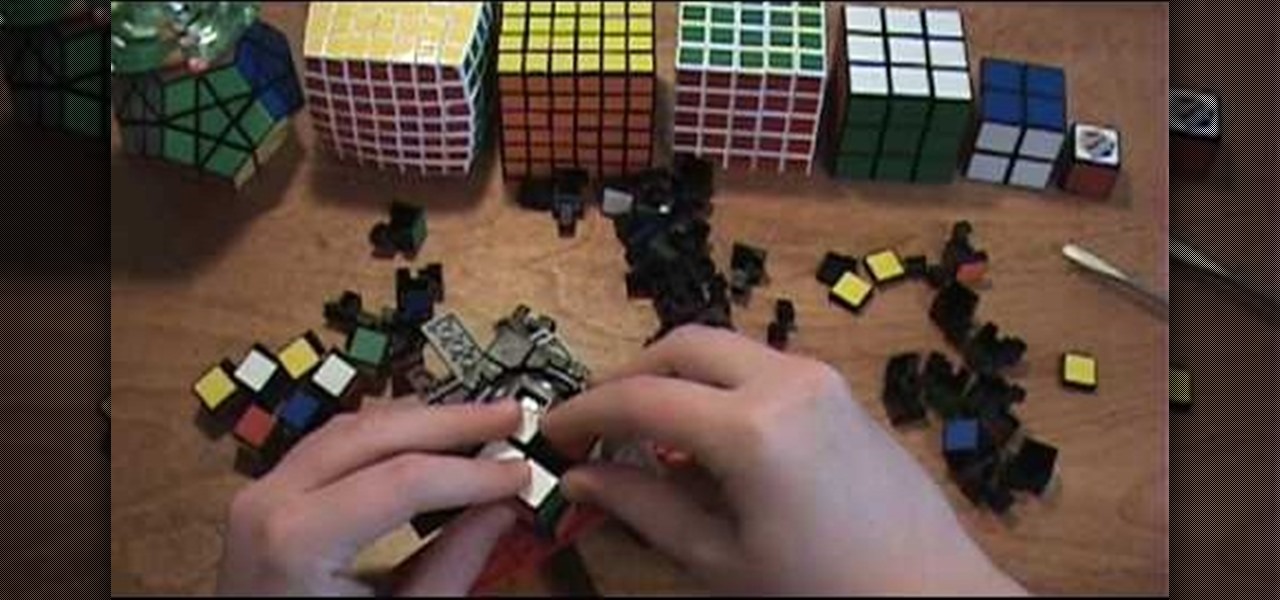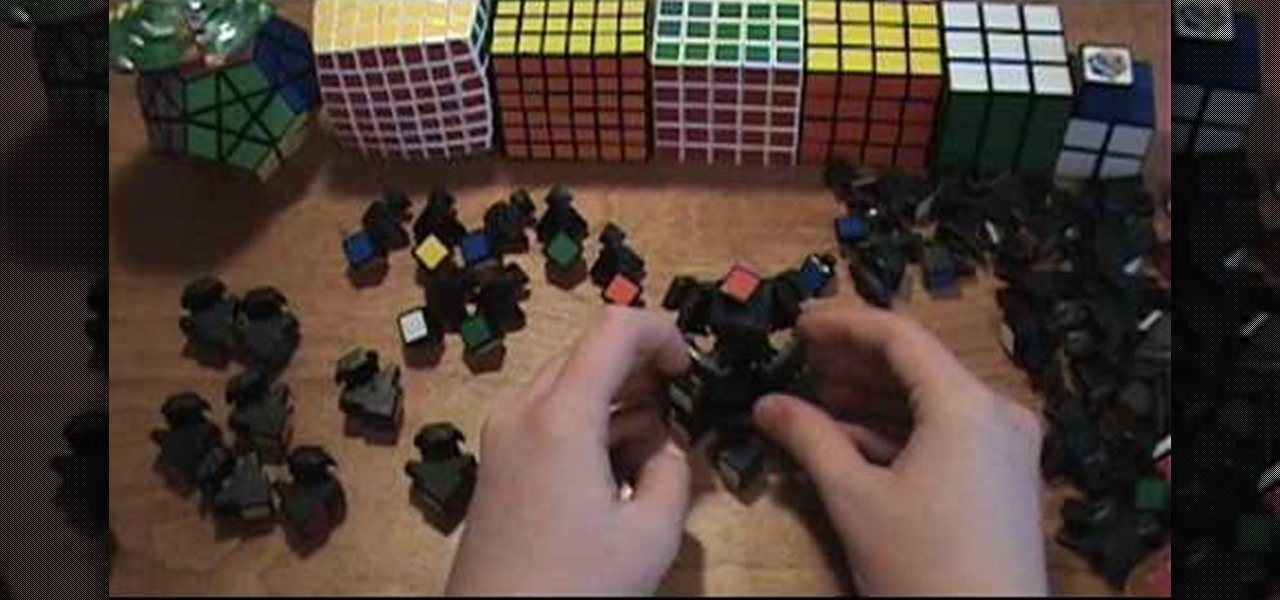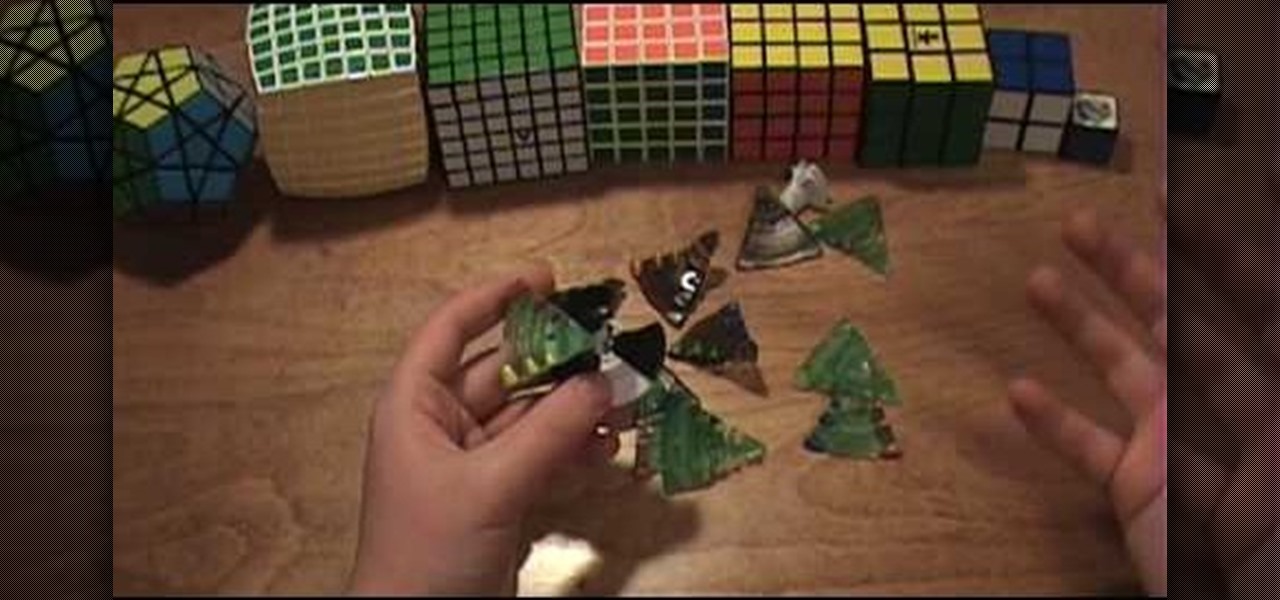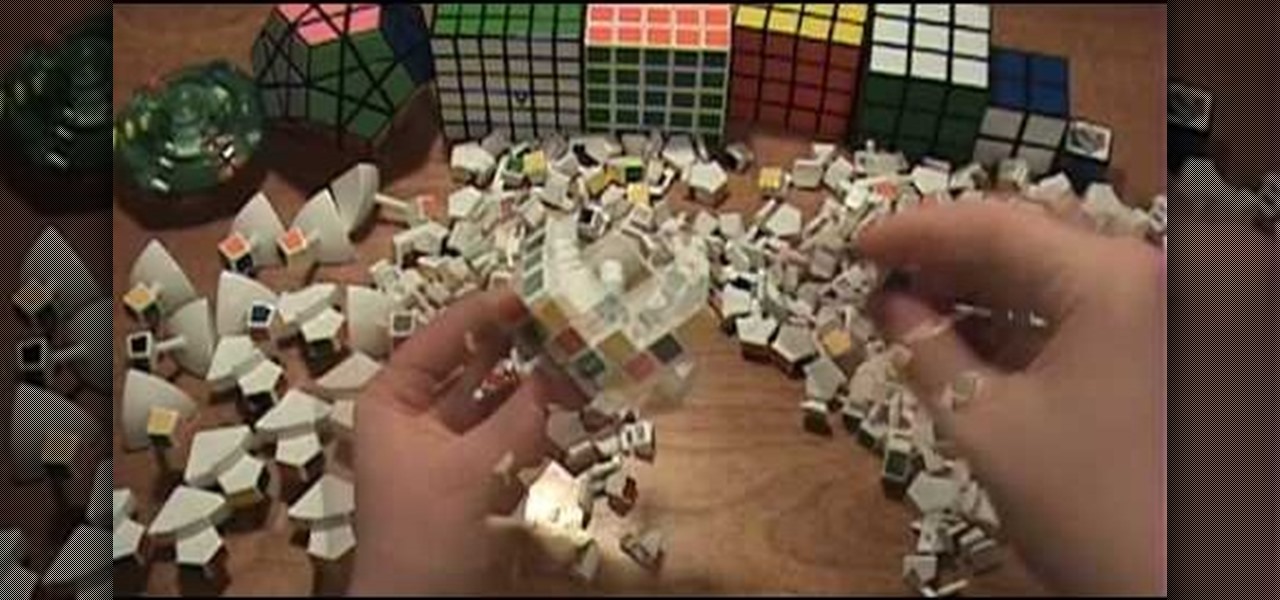
It's time to disassemble your V-Cube puzzle, so how do you do it? Panagiotis Verdes designed these puzzles just like Erno Rubik designed his Rubik's Cubes, only bigger and more challenging. Every once in a while it is necessary to take them apart, either for cleaning, lubricating or for replacing game parts.
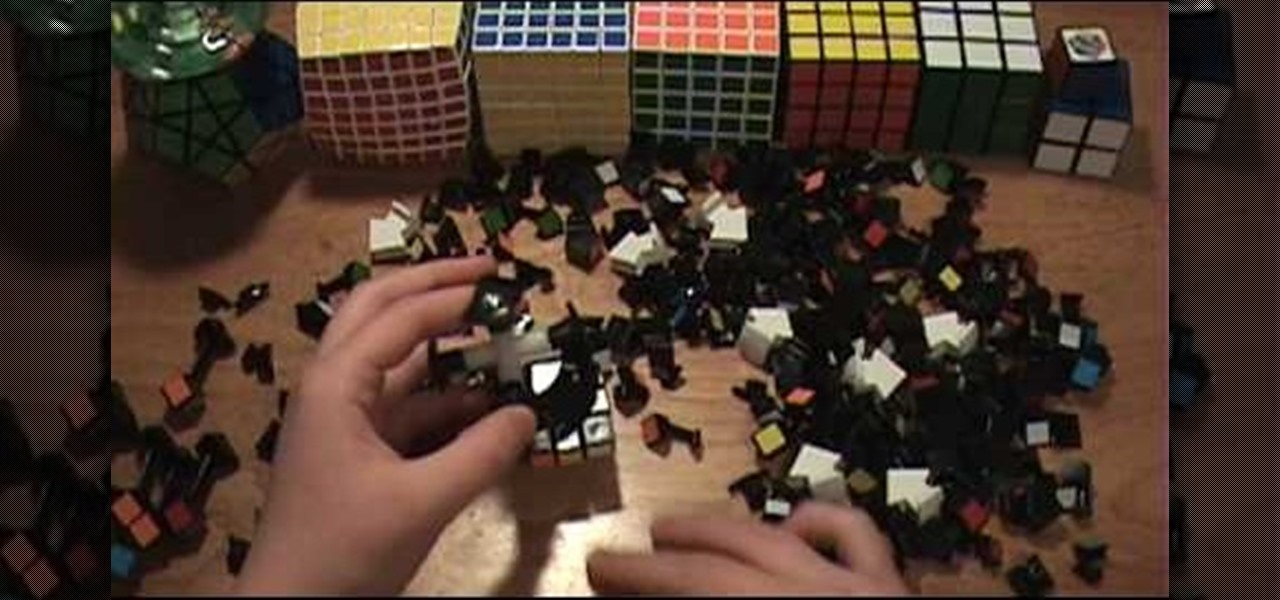
It's time to disassemble your V-Cube puzzle, so how do you do it? Panagiotis Verdes designed these puzzles just like Erno Rubik designed his Rubik's Cubes, only bigger and more challenging. Every once in a while it is necessary to take them apart, either for cleaning, lubricating or for replacing game parts.
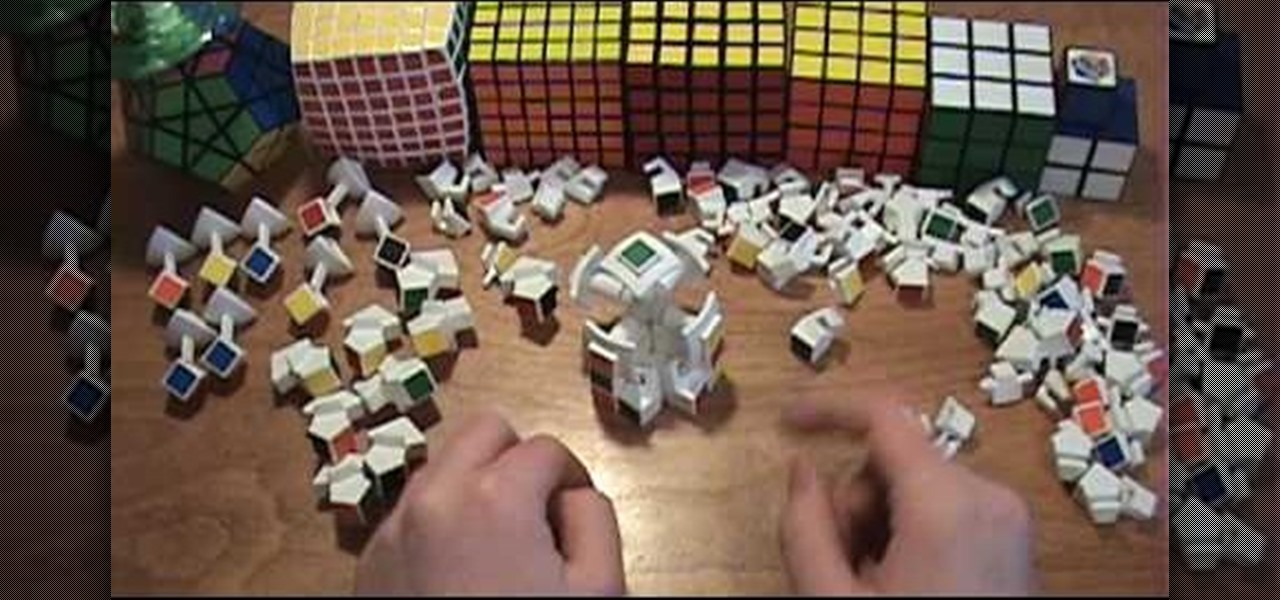
It's time to disassemble your V-Cube puzzle, so how do you do it? Panagiotis Verdes designed these puzzles just like Erno Rubik designed his Rubik's Cubes, only bigger and more challenging. Every once in a while it is necessary to take them apart, either for cleaning, lubricating or for replacing game parts.
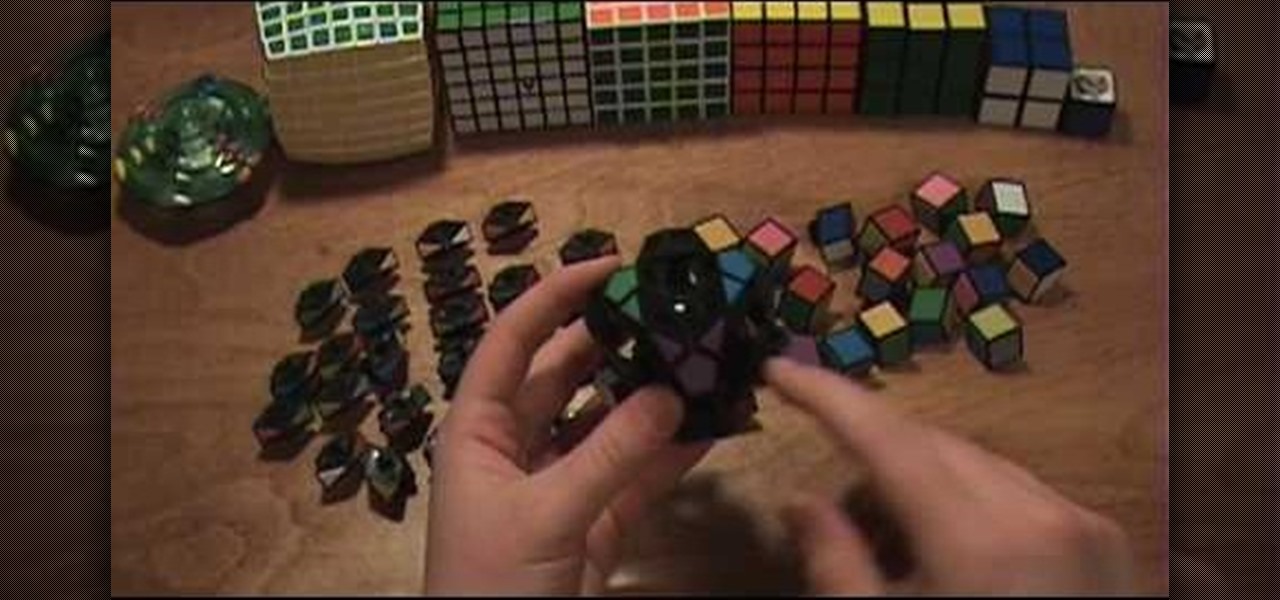
It's time to disassemble your Megaminx puzzle, so how do you do it? These puzzles are meant to be solved, just like the Rubik's Cube, but every once in a while it is necessary to take them apart, either for cleaning, lubricating or for replacing game parts.
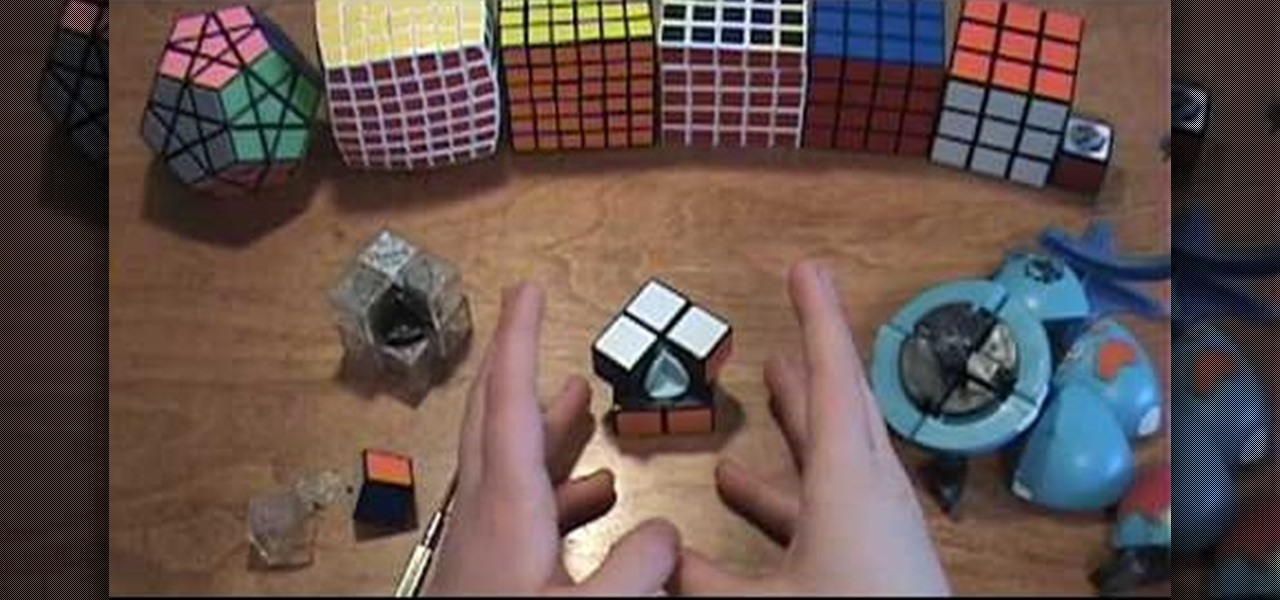
It's time to disassemble your Rubik's puzzle, so how do you do it? Erno Rubik designed these puzzles to be solved, but every once in a while it is necessary to take them apart, either for cleaning, lubricating or for replacing game parts.
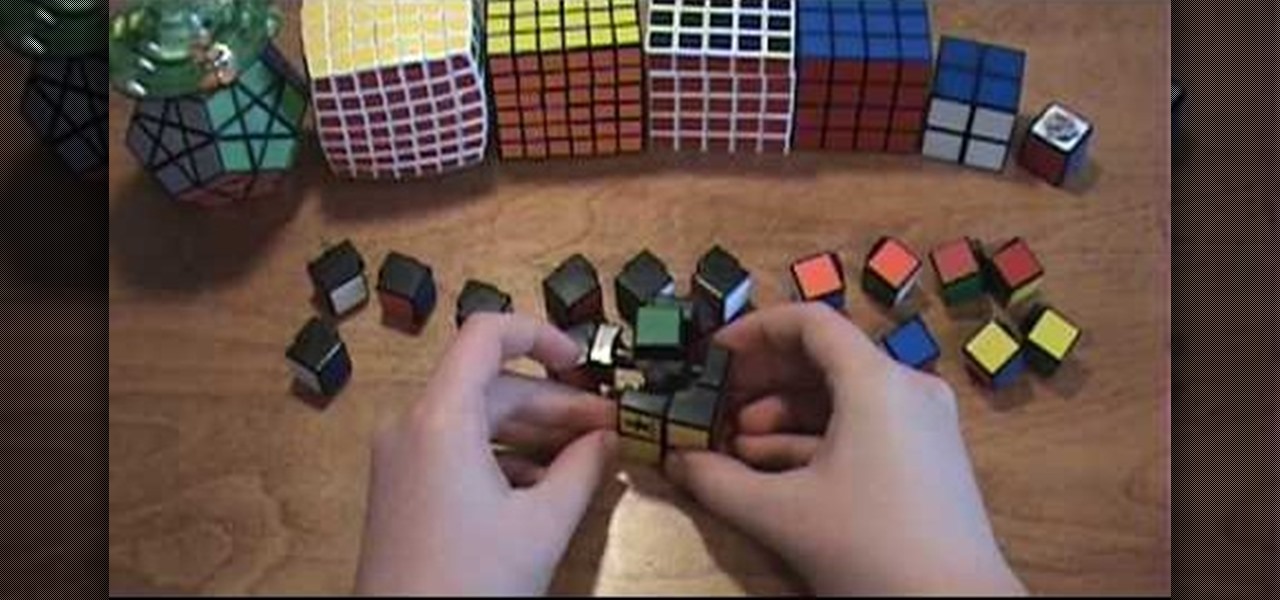
It's time to disassemble your Rubik's puzzle, so how do you do it? Erno Rubik designed these puzzles to be solved, but every once in a while it is necessary to take them apart, either for cleaning, lubricating or for replacing game parts.

It's time to disassemble your Eastsheen puzzle, so how do you do it? These puzzles are meant to be solved, just like the Rubik's Cube, but every once in a while it is necessary to take them apart, either for cleaning, lubricating or for replacing game parts.

It's time to disassemble your Rubik's puzzle, so how do you do it? Erno Rubik designed these puzzles to be solved, but every once in a while it is necessary to take them apart, either for cleaning, lubricating or for replacing game parts.

It's time to disassemble your Rubik's puzzle, so how do you do it? Erno Rubik designed these puzzles to be solved, but every once in a while it is necessary to take them apart, either for cleaning, lubricating or for replacing game parts.

It's time to disassemble your Rubik's puzzle, so how do you do it? Erno Rubik designed these puzzles to be solved, but every once in a while it is necessary to take them apart, either for cleaning, lubricating or for replacing game parts.

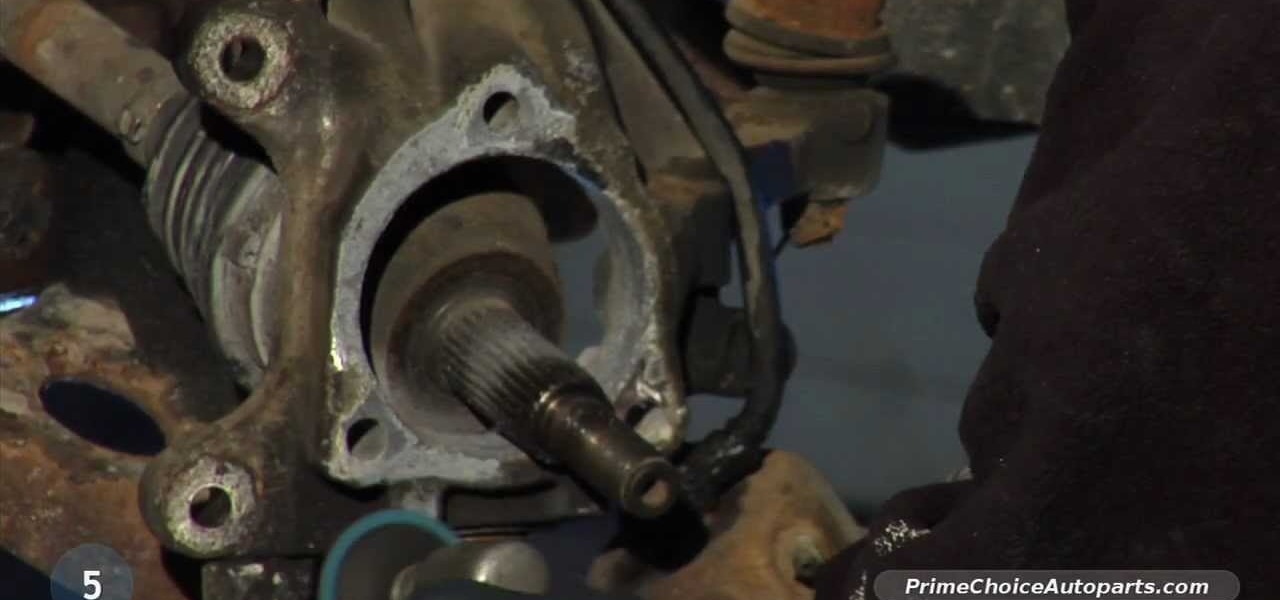
Hub bearing assemblies are one of the most expensive things you could get fixed on your vehicle. And it's not an easy task to repair yourself if you're not a semi-professional mechanic. But with the help of this video, you'll learn the steps to changing hub bearing assemblies, from a licensed technician.

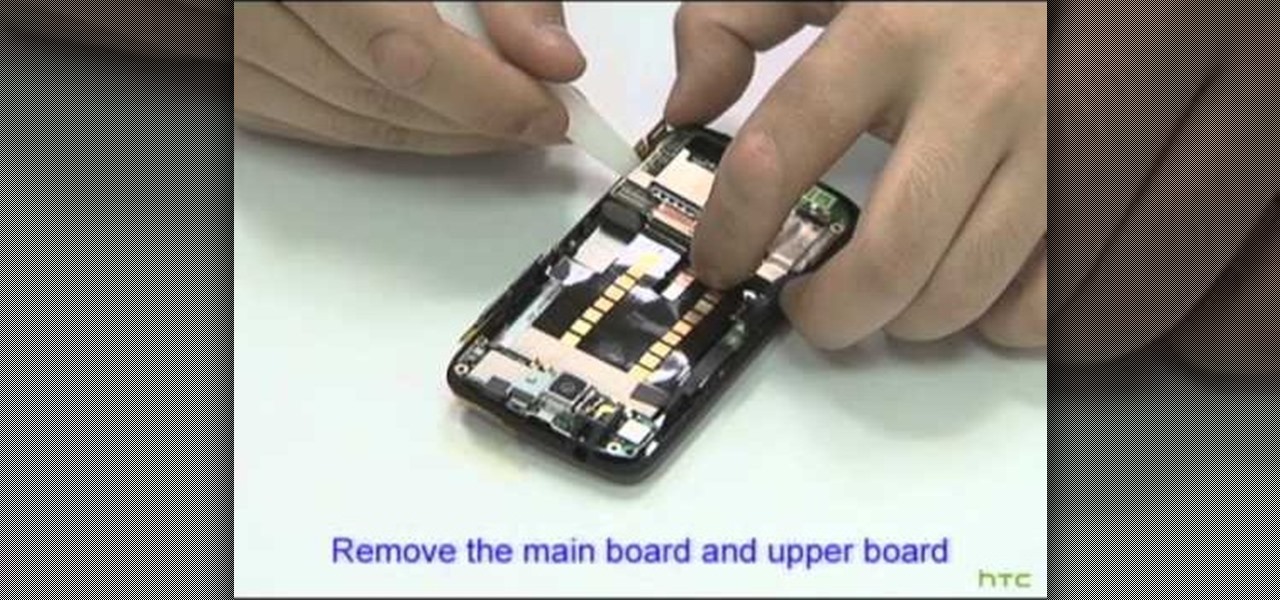
In this video teardown, we learn how to take apart an Desire HTC Desire Google Android smartphone, the first step in any repair. This video presents a step-by-step guide of the reassembly process. To follow along, you will need an air gun to reduce dust, an anti-static (ESD) wrist strap, a wedge, a pair of tweezers, and a small screwdriver.

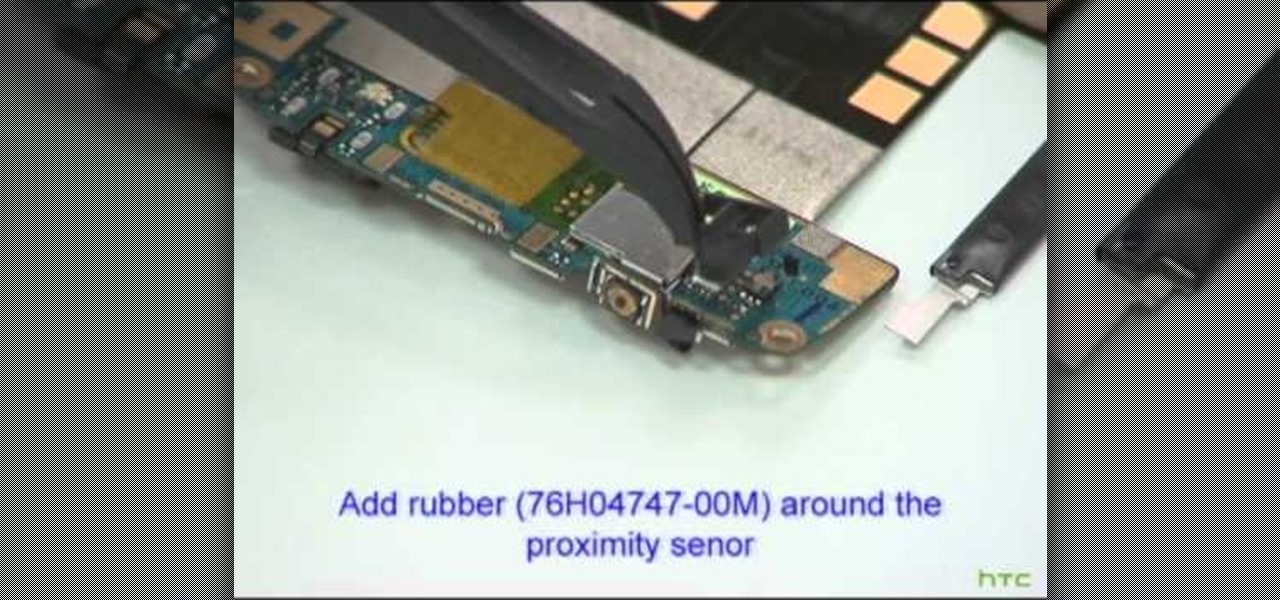
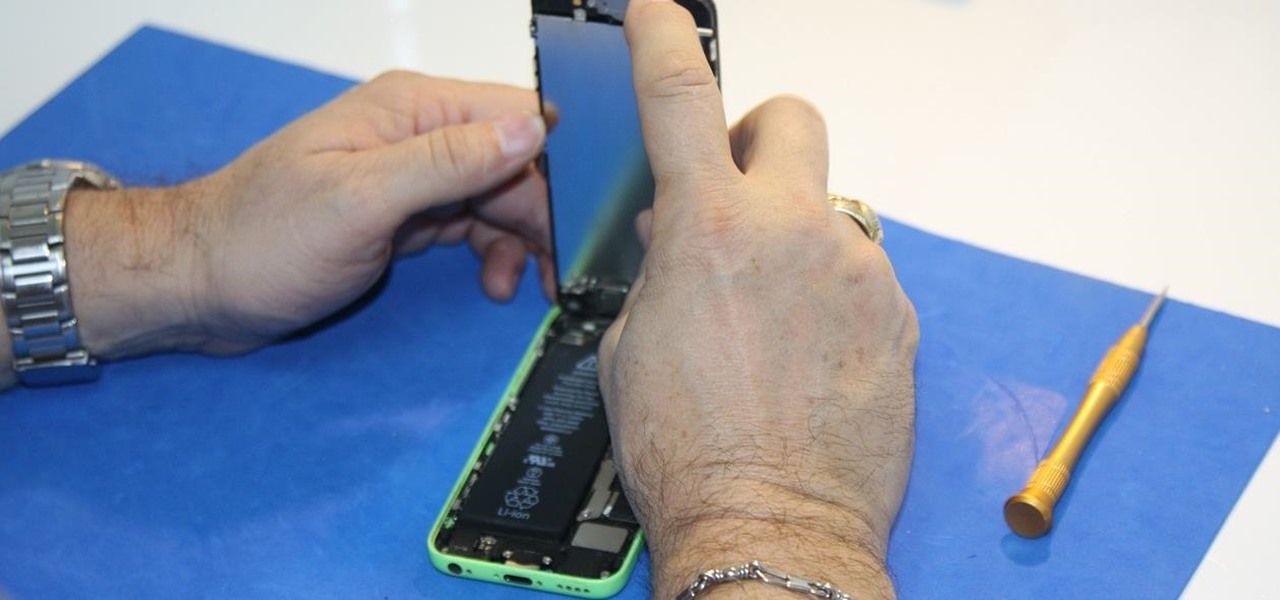
Put your Desire HTC Desire Google Android smartphone back together after taking it apart. This video presents a step-by-step guide of the reassembly process. To follow along, you will need an air gun to reduce dust, an anti-static (ESD) wrist strap, a wedge, a pair of tweezers, and a small screwdriver.

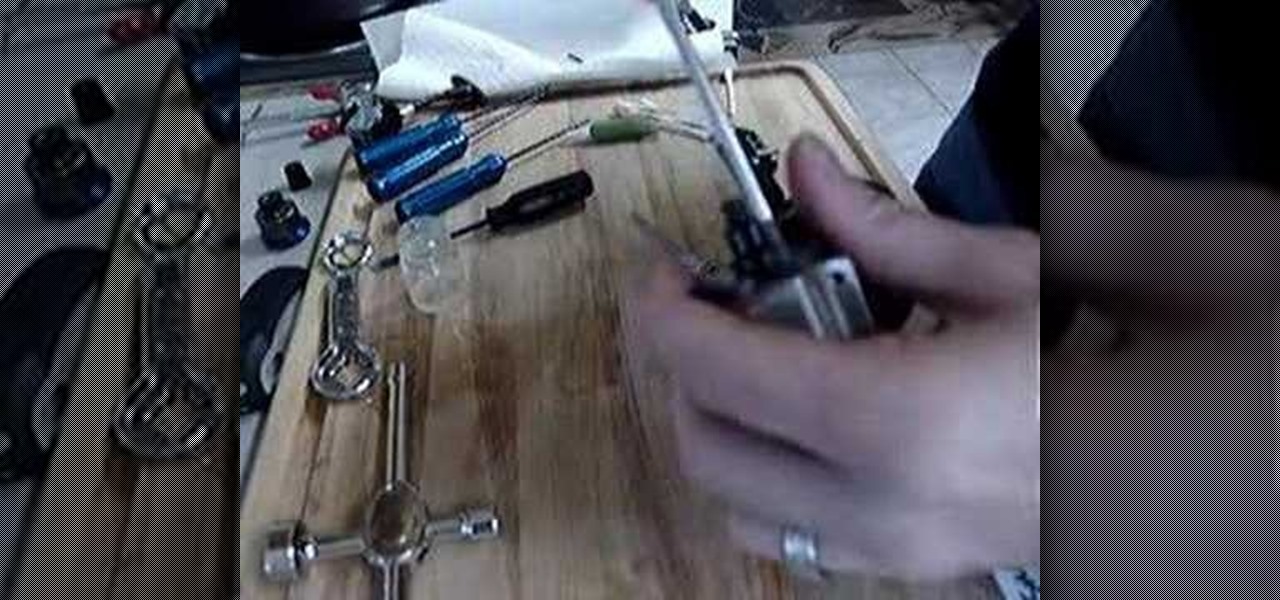
See how to set up a new radio controlled engine from disassembly, cleaning, sealing the engine, and clutch bell assembly. This will show complete tear down, cleaning to avoid metal flakes in the engine, reassembly of the engine, and then sealing the entire engine. This can be used on any SB or BB engine (small block and big block) from OS, Picco, TRX, HPI, Axial and also any engine size.

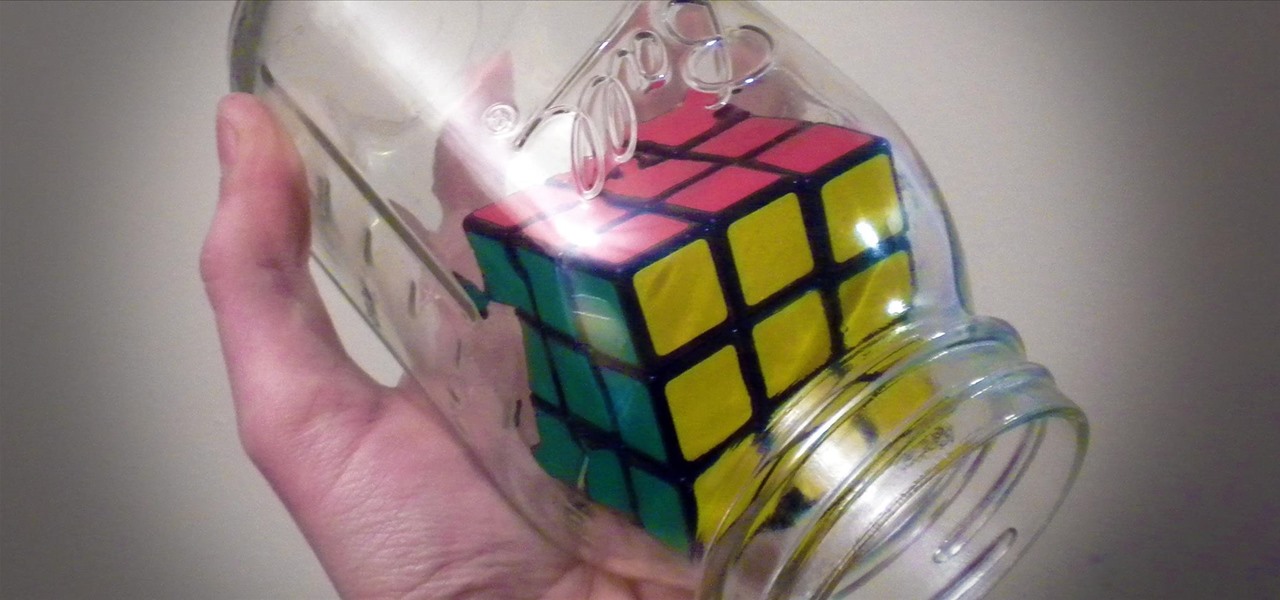
Rubik's Cubes are classically frustrating on their own, but what if you want to go that extra mile and make your puzzle impossible to solve?

Both bObsweep Standard and Pethair models have two bumper sensors inside their covers. Whenever Bob runs into an obstacle, the sensors tell Bob to back away.

The bumper for bObsweep Pethair and Standard are installed the same way. It holds the sensors that allow Bob to see any obstacles in his path. If a repair of the wall detection sensors is needed, the steps for replacing the whole bumper are the same when working on either bObsweep model.

In my days as a hardware tech, I often came across motivated do-it-yourselfers who watched a video or two on how to repair a phone and thought that they'd give it a go. More often than not, they failed miserably and damaged their phones (and wallets) even more in the process.

These instructions are applicable to both bObsweep models. Follow the video or text descriptions to replace the disinfecting UV lamp on your automatic vacuum.

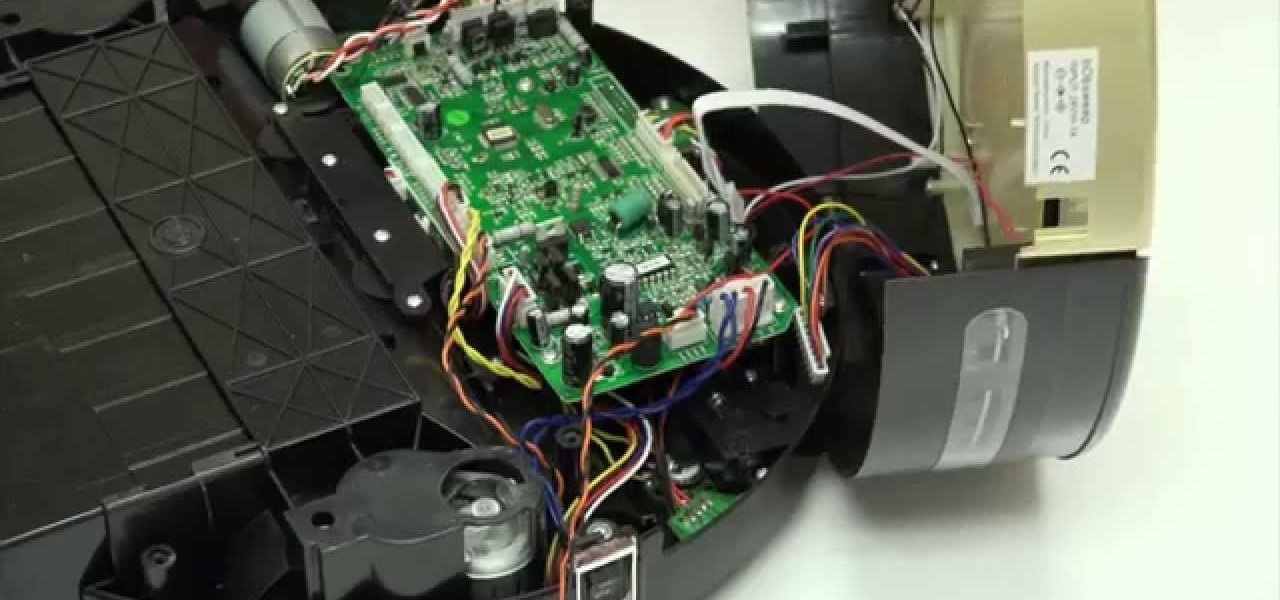
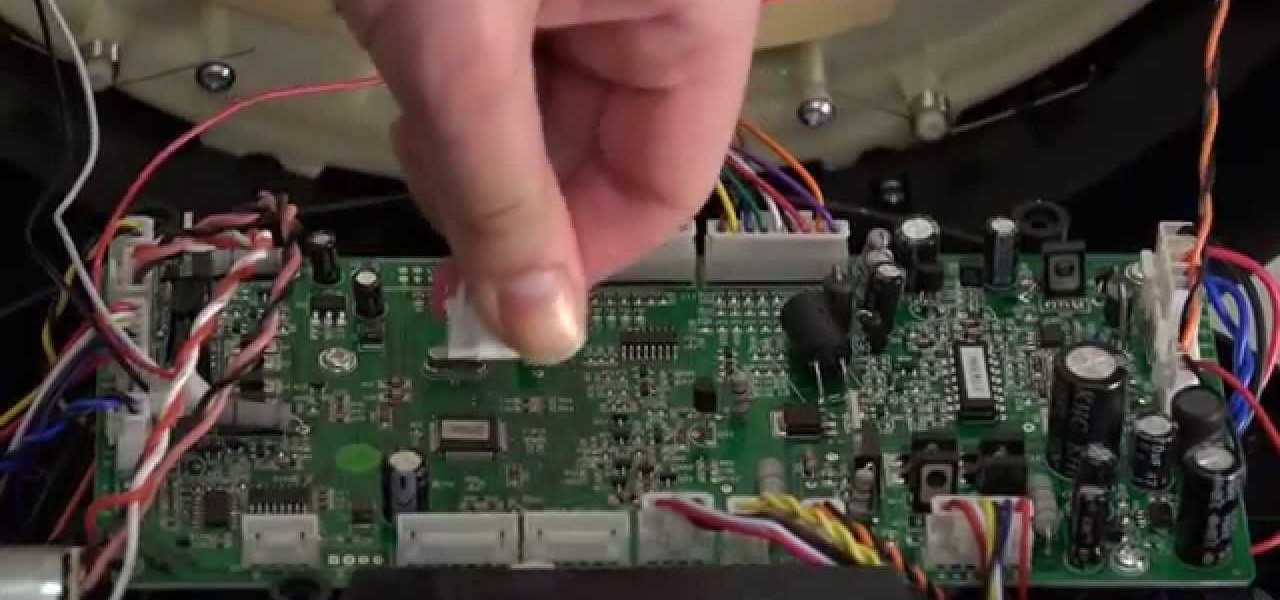
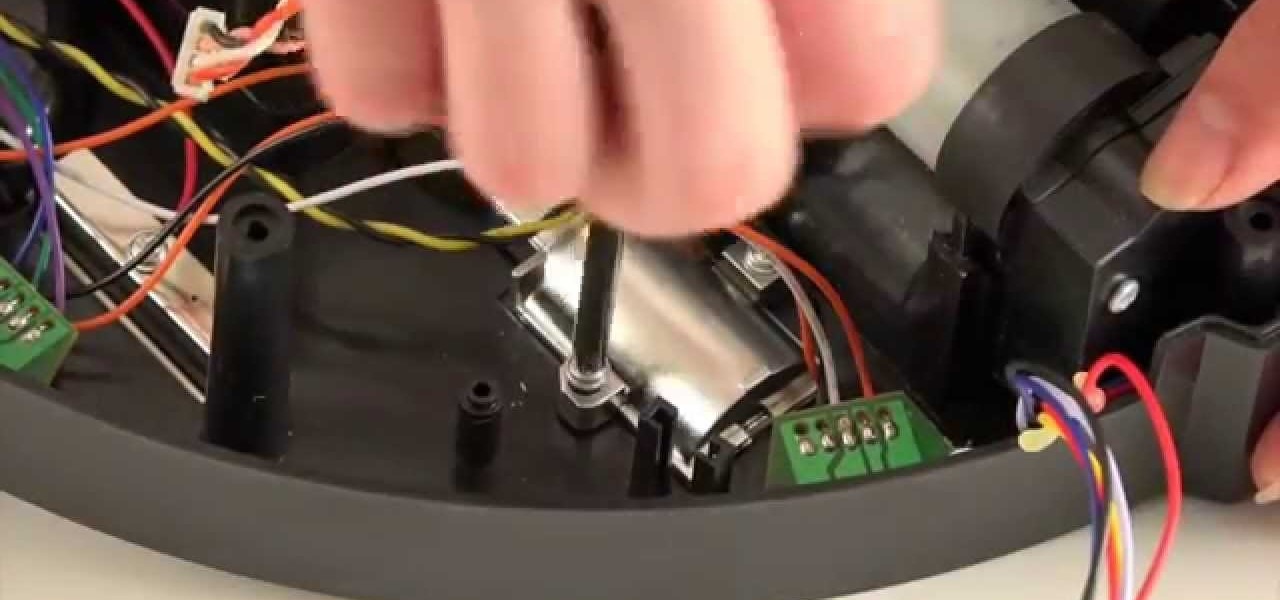
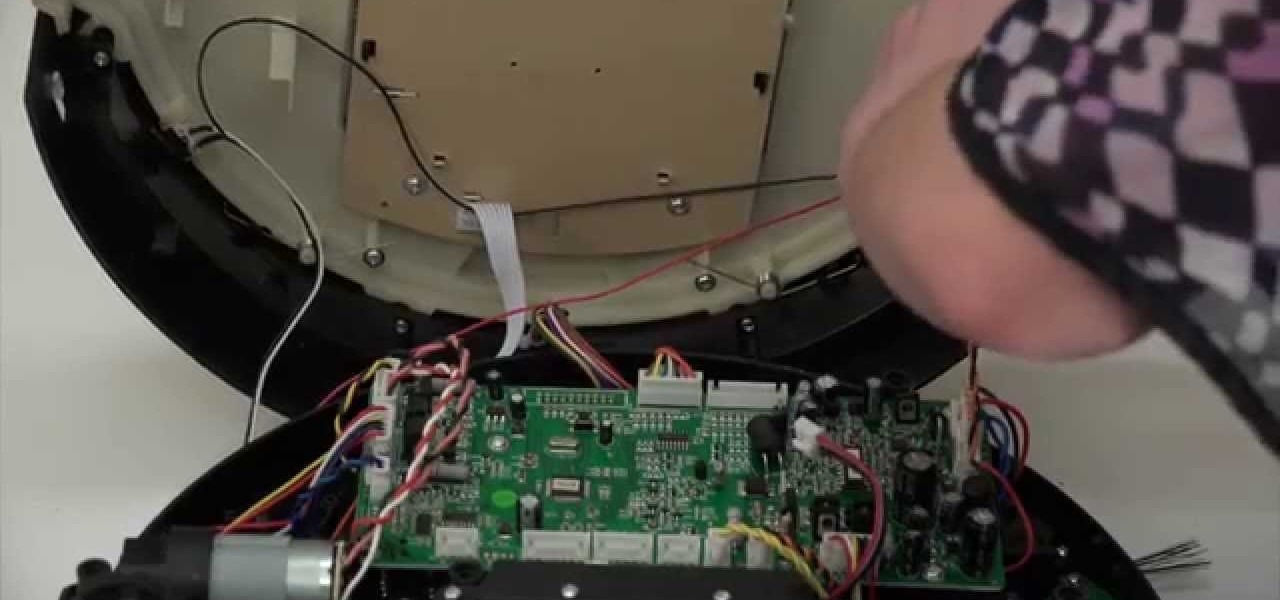
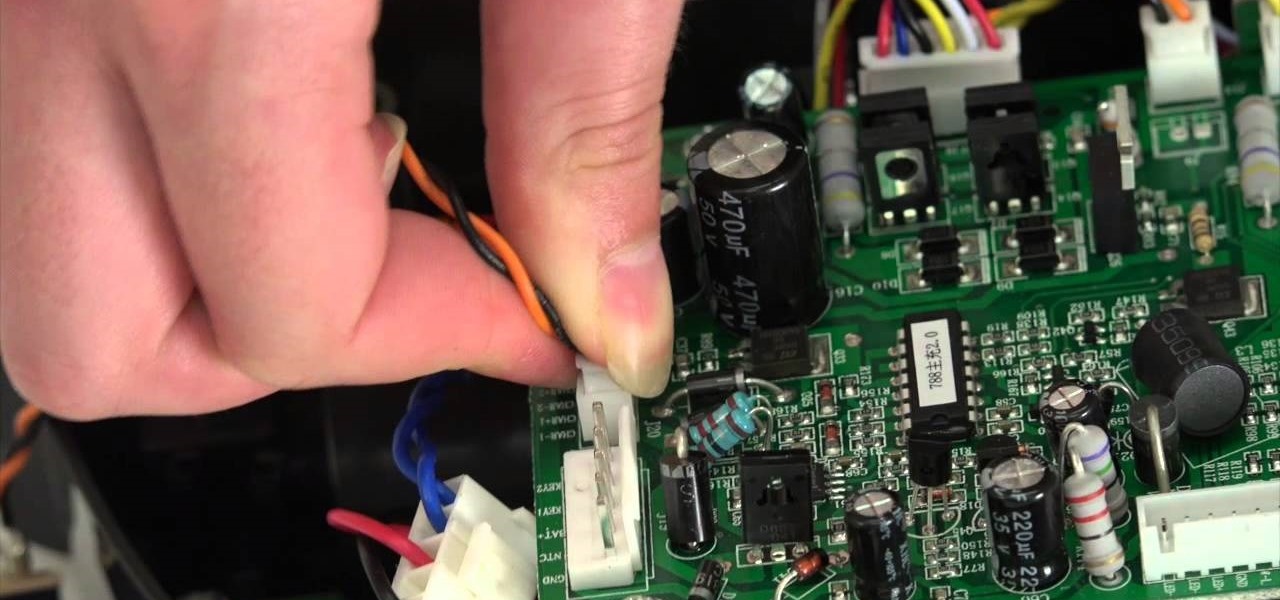
A step-by-step guide to replacing the side brush motor on bObsweep Standard or Pethair. Follow the video or multimedia directions in order to open up bObsweep, remove the main board, replace the side brush motor, then close your vacuum for future use.

The guide will walk you through a power switch replacement on a bObsweep Standard or Pethair. It includes:

Changing the rear disc brakes on your 2001 Chrysler Town & Country (henceforth referred to as T&C) can be quite a challenge, but if you can spare a few hours (remember that you need to budget time to get the brake parts from the parts house) and are willing to get a little dirt on your hands, then you can save quite a bit of coinage!!! If after reading this article you do not feel like you can safely change your brakes, then bring your vehicle to a repair shop and let a professional do the jo...

I assume at this point you have already completed your control panel using Part 1 of this How To guide. Now, if you are anything like me, you couldn't fight the urge to play, and you have your panel sitting on saw horses in the living room.


