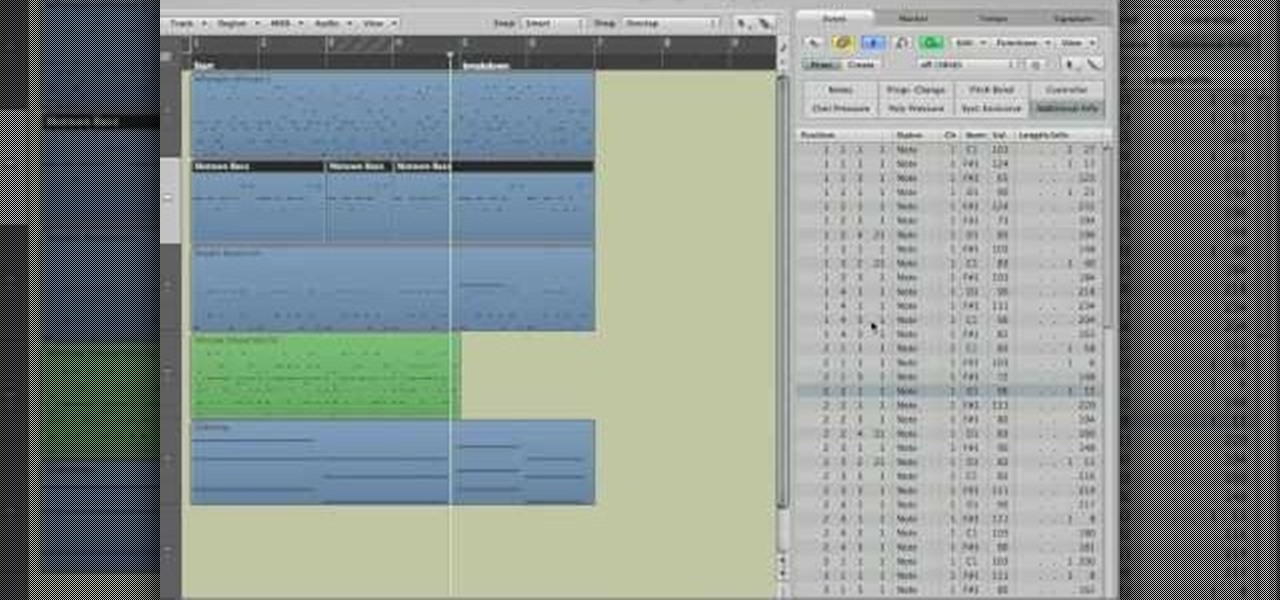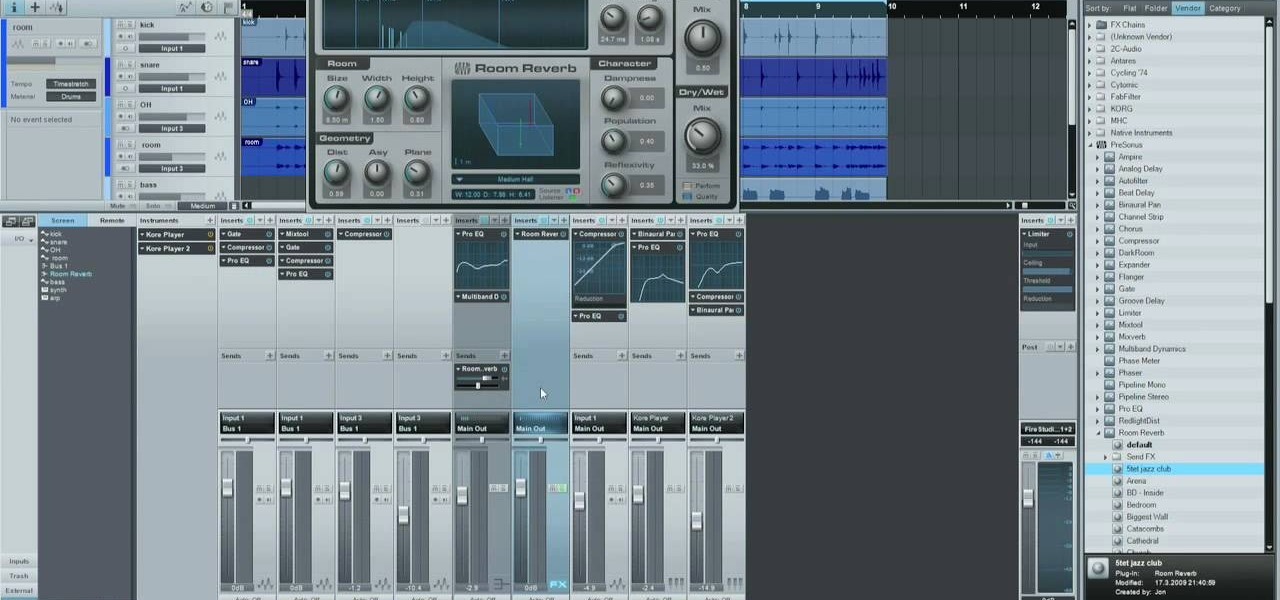
Get to know how to use Logic Pro's arrange page in this short tutorial. Use the arrange area to work with the audio of your song. Change the timeline by choosing a time and beat. Use the toolbar area to do some functions. Use the icons to easily open up media and list areas. Use the bin to store your audio. Use the browser to look for your audio songs. Use the event list editor to edit your MIDI information. Use the inspector to view the channel strips of your track. Use the editors in the bo...

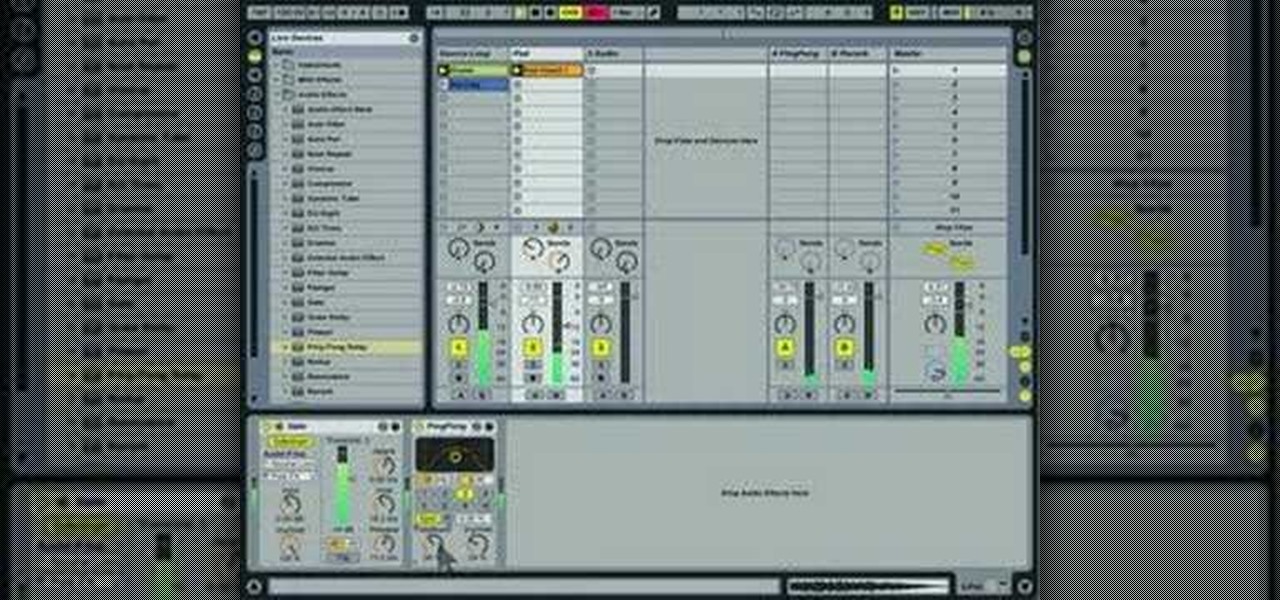
A helpful video for all budding musicians as it clearly explains the Gate sidechain feature in the Ableton Live. The maker of this video simply explains how the feature works and how to use it, clarifying what can sometimes be a daunting program to use. A great tutorial from a very good series produced by Huston Singletary to help newer users. The tunes created through the video are also a great inspiration as it is demonstrated how easy it is to create nice sounding music using these techniq...

Musicians who want to take their music to the next level, will want to learn how to create an interesting wobble/fidget effect for the bass. The video takes us through the steps of using Malstrom software to create a wobble/fidget effect that is commonly heard in fidget house music. In order to create this effect, you must have already created a dirty electro bass synth. Once this effect is created, it can be added or combined with just about any other effect at varying frequencies for intere...

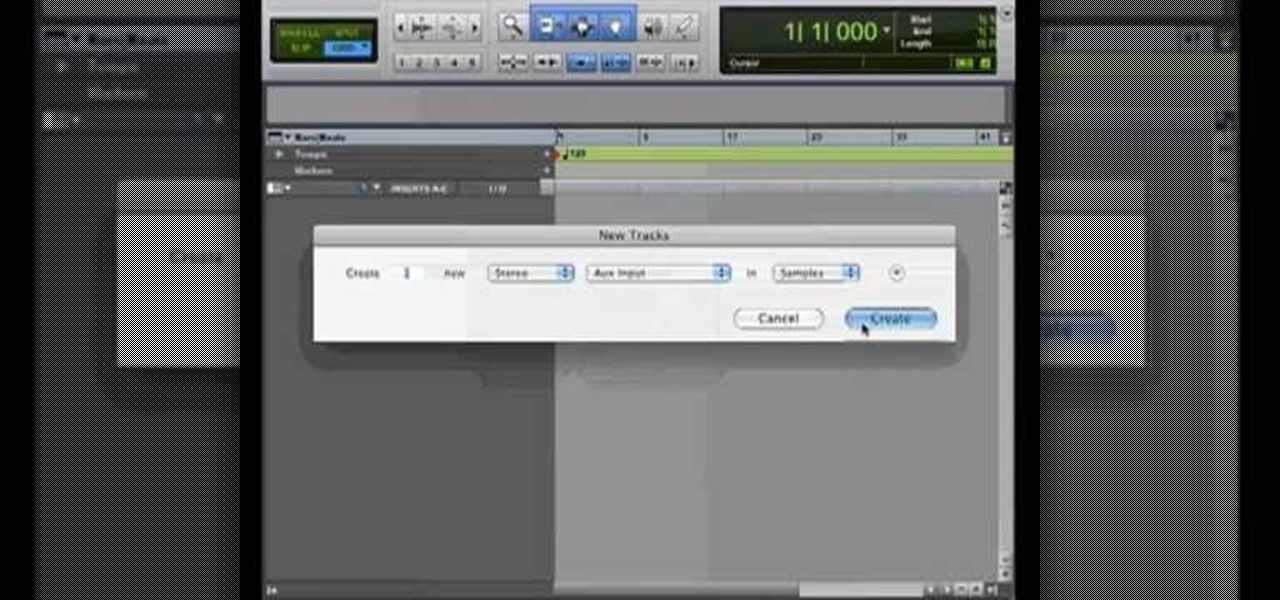
After finally completing a rhythm section using Reason software, you may want to rewire using Protools. First decide how to feed Reason into Protools. The best, would be to re-patch individually into Protools, however the demo here shows a simpler approach that will be easier for anyone to use. First and foremost, Shut down Reason and boot a new session in Protools. Then add an AUX input and instantiate the rewire plug-in to connect to Reason. Make sure the main Reason stereo is feeding track...

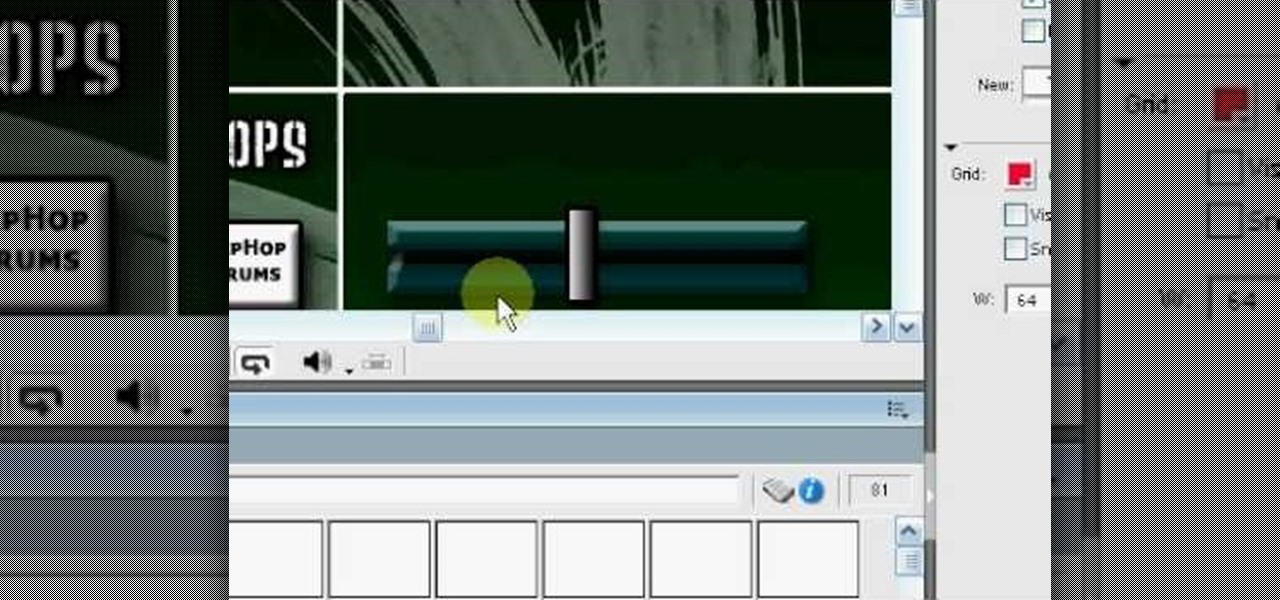
This six-part video tutorial, goes over how to make beats in Adobe Director. The six different videos go over the following:

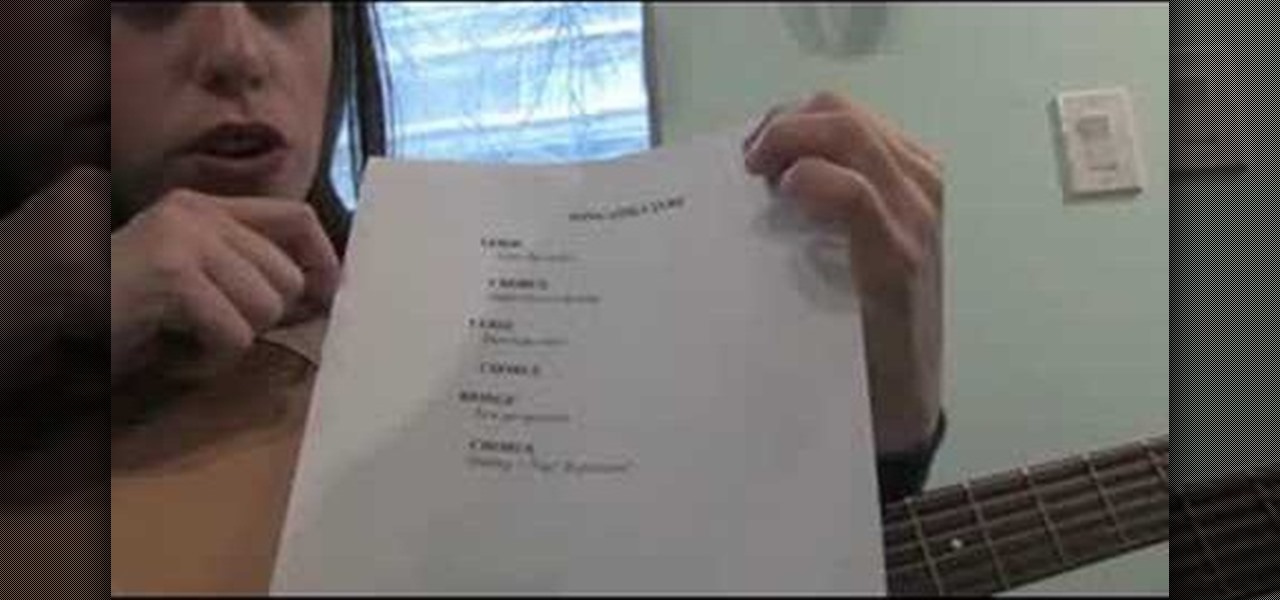
It's OK to break the rules of songwriting, but know the structure of a song first so that you can break the rules intelligently. Learn how to write a song in this free music video. Structure is important in every aspect in life, so why not your song?

Check out this instructional recording video that shows you how to mic a drum kit for a live performance. This uses a minimalist set up with the Shure drum microphone kit. The kit includes six mics and three clips. Record your drum kit during a live performance by learning how to mike it with this recording tutorial video.

Analog reel-to-reel tape is some of the most in-demand recording equipment today. Learn how to use a reel-to-reel tape machine in this free video series that will allow you to utilize this piece of musical recording equipment.

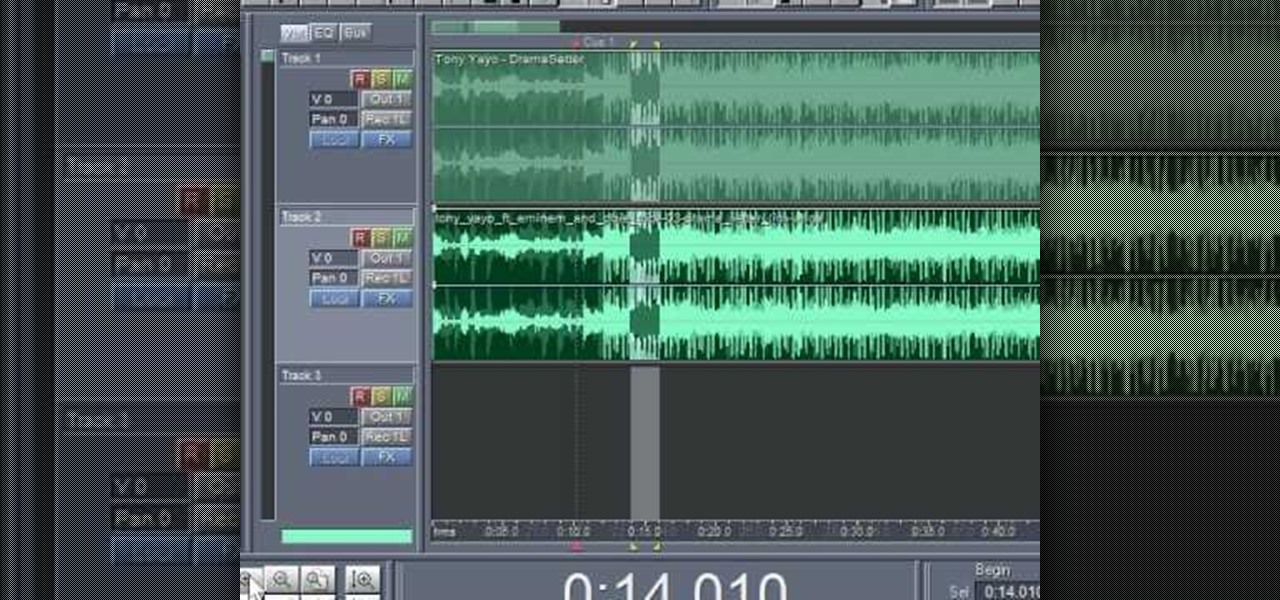
This shows you how to extract vocals from a song to create an acapella version using inversions. You need the full version of the song as well as an instrumental one.

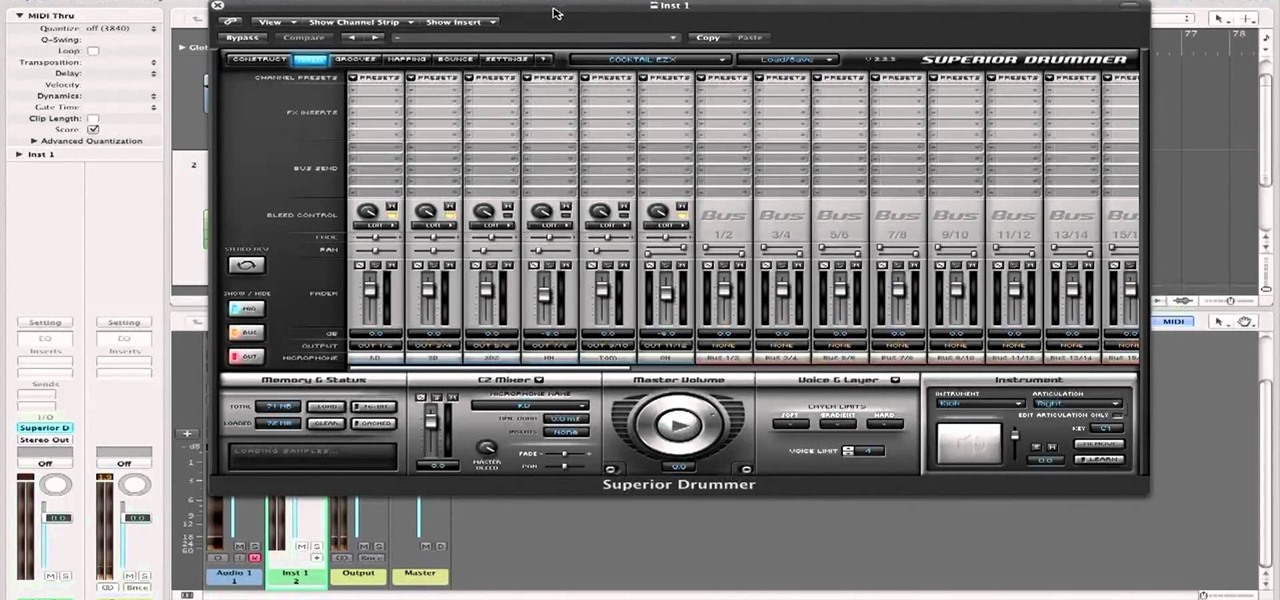
Utilize the mutli-out function using the Toontrack Superior Drummer plugin with the Logic sound program! This tutorial lets you create very professional sounding drums that you can add into your music projects. Select from a variety of different drum types.

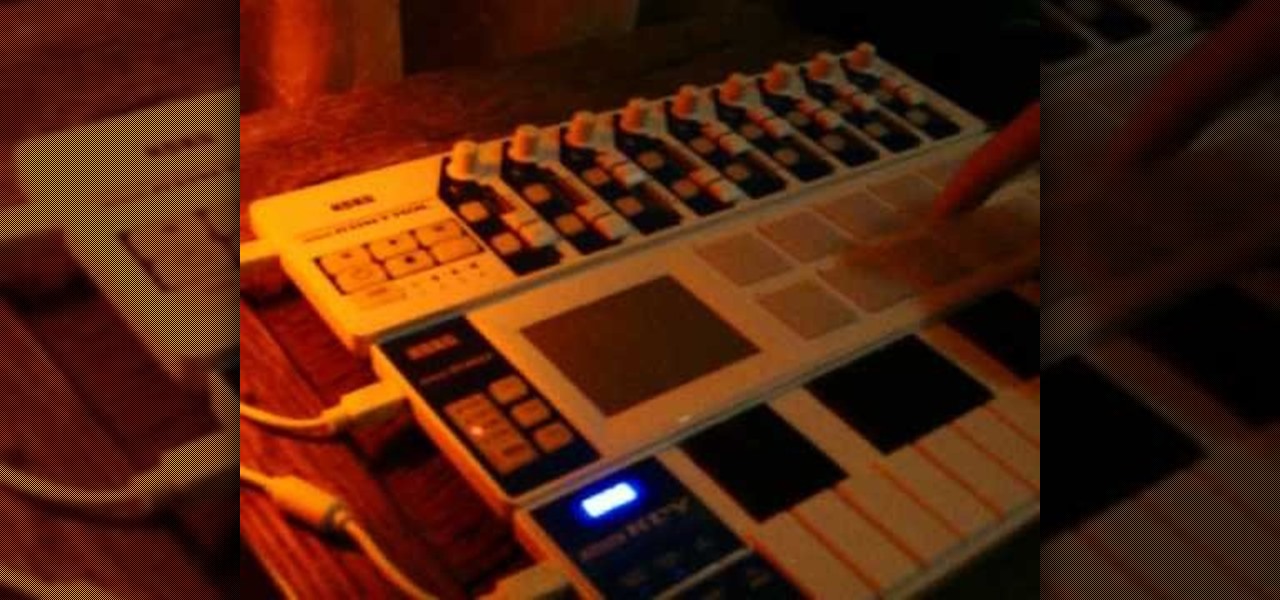
Ableton Live 7 is so popular mostly because it is easy to use on the fly, but it's still complex like everything else in electronic music. Watch this video to learn how to map a MIDI controller (in this case a Korg nano-series) in Ableton Live 7

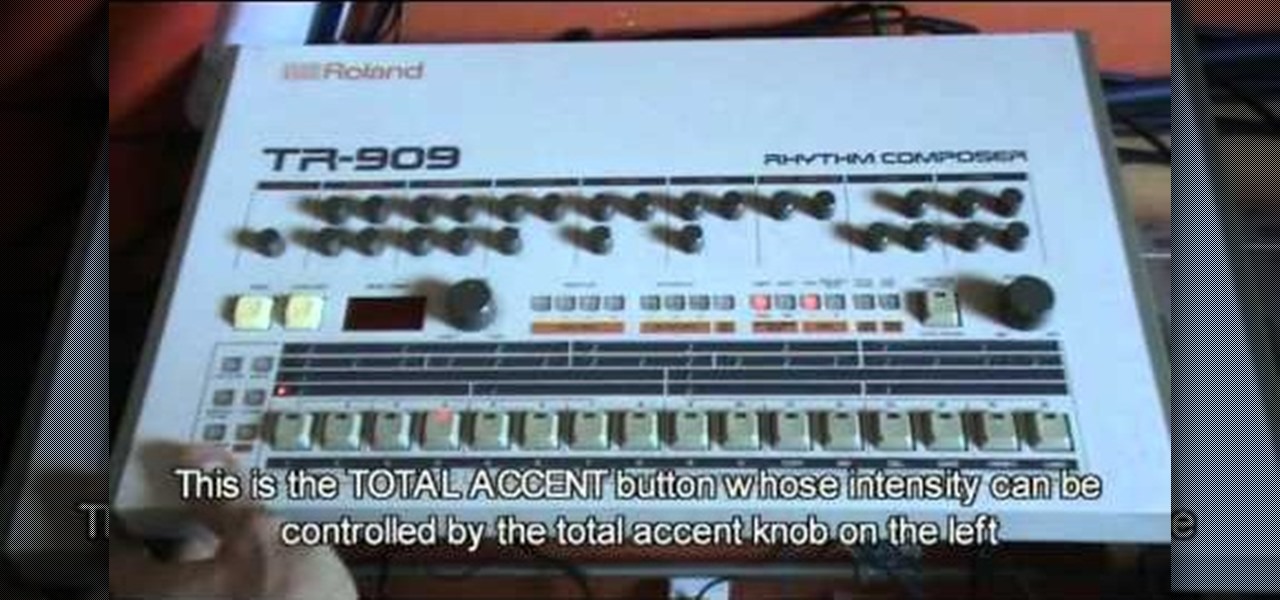
The Roland TR-909 Rhythm Composer is one of the greatest drum machines ever made, and one of the pillars of electronic music. If you're lucky enough to have one and aren't quite sure how it works (they are quite intimidating) watch this video to learn how to make a simple beat really quickly on your lovely 909.

The Roland TB-303 and TR-909 synths are two of the four most important pieces of gear in the history of electronic music, but every year they get older, more cranky, and further away from our contemporary ideas of what an interface should look like. They can be really hard to figure out how to use, but fortunately for you this video will teach you how to program both instruments and start creating the phat tracks these devices were made to create.

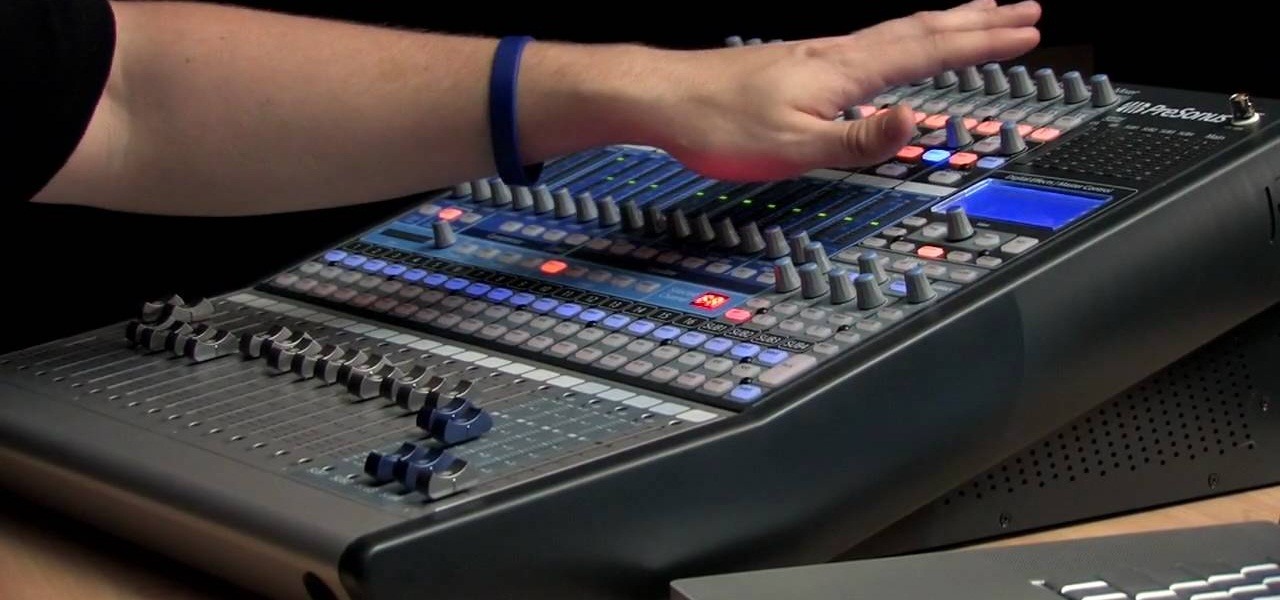
In this video, Rick show us how to cut monitor feedback with StudioLive 16.4.2. First, assign your microphone to ox 1. Then turn it up and go to the master output of Ox 1 and turn it up until you hear feedback happening. Then, hit the select button on Ox 1 and you can change the compression for any channel. Take out low rumble by putting the low band on and putting it in shelf mode. This will create a high pass filter. Take out frequencies below 130 hertz and then go back to ox 1 master and t...

In this video, we learn how about routing FX using the StudioLive with Brandon Hays. To recall an effect, select the effect button and then page down to gt the list of effects for A and B. Once it's been selected, hit the recall button and then find the mono delay for the vocalist in B. Now, send the channels to these effects and add a snare drum to channel two. Then, add send different levels of drums to channels six and seven. You have sixteen channels to assign different effects to. As soo...

In this video, we learn how to use automation in Studio One. Controlling is a system you use to control the devices that control the software. Control link has a window on the song interface in the upper left hand corner. You can quickly move parameters as you edit the automation. Make sure you change it if it's for an instrument or an audio track. Add an automation track to the window, by clicking the "A" button that will give you sounds for the same instrument. This will avoid automation en...

Band bios have a cherished place in the world of band promotional material. A killer one can do wonders for cultivating your image among your fans and potential employers. This video will give you tips for writing a killer band biography that will get you noticed.

In Studio One, you can drag and drop workflow. Open a song in Studio One. Here, you can isolate particular instruments. Alt + click, will allow you to isolate. You can search a list of plug-ins in the mixer or press F7 to open the effects browser. You can also drag and drop the gate onto a mix.

In this video, we learn how to mix your song in Studio One. First, press the F3 button to show all the instruments you have and then you can click on those to change the settings of how your music sounds. Create different noises and change the beat delay to create a unique sound. After this, you can change the one, beat, volume, bass, and anything else you want to in your song. You can use the compressor to change effects, then adjust any other settings that you would like! When finished, sav...

If you want to manipulate tracks you’ll want to cut a song into many separate sections so that you can work with each section as needed. This can be done on using a computer musical typing keyboard program and is important part of the process in hip hop music.

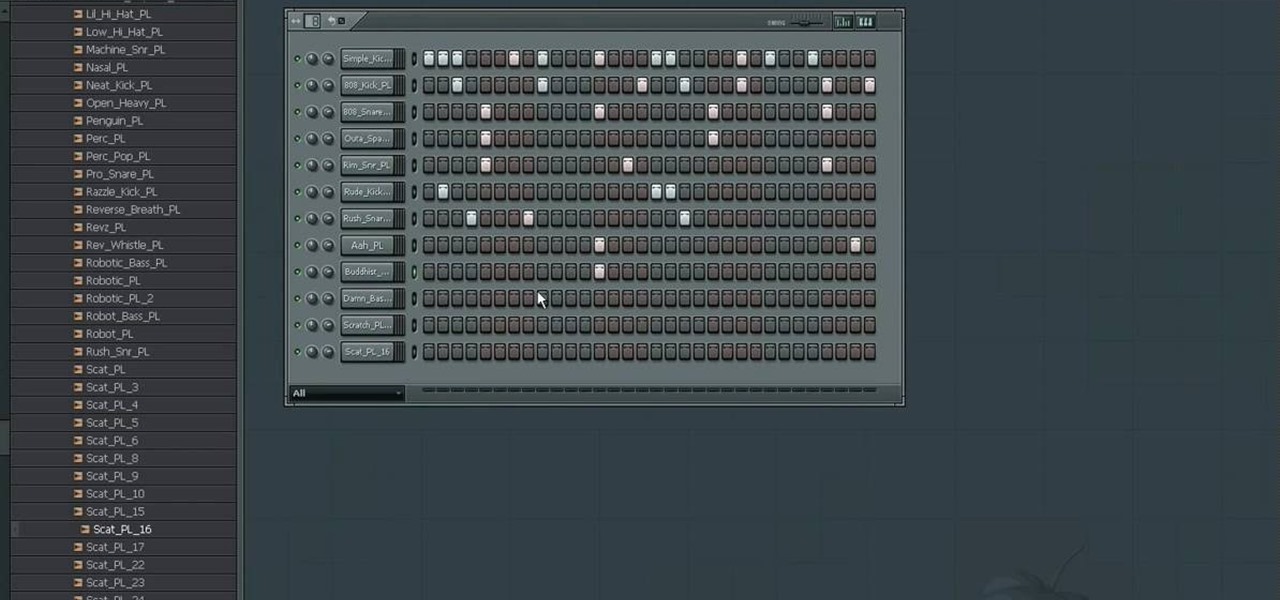
In this video tutorial from PrimeLoops, host Nick, teaches you how to create a beat, using beatbox samples, in FL Studio. You will learn how to drag samples from the browser interface to the channel interface, so that you can use them. As you follow along, Nick shows you how to lay down a beat, add effects to the sounds, how to re-level sounds to compensate for clipping in the peaks of the track, as well as how to automate some of the parameters.

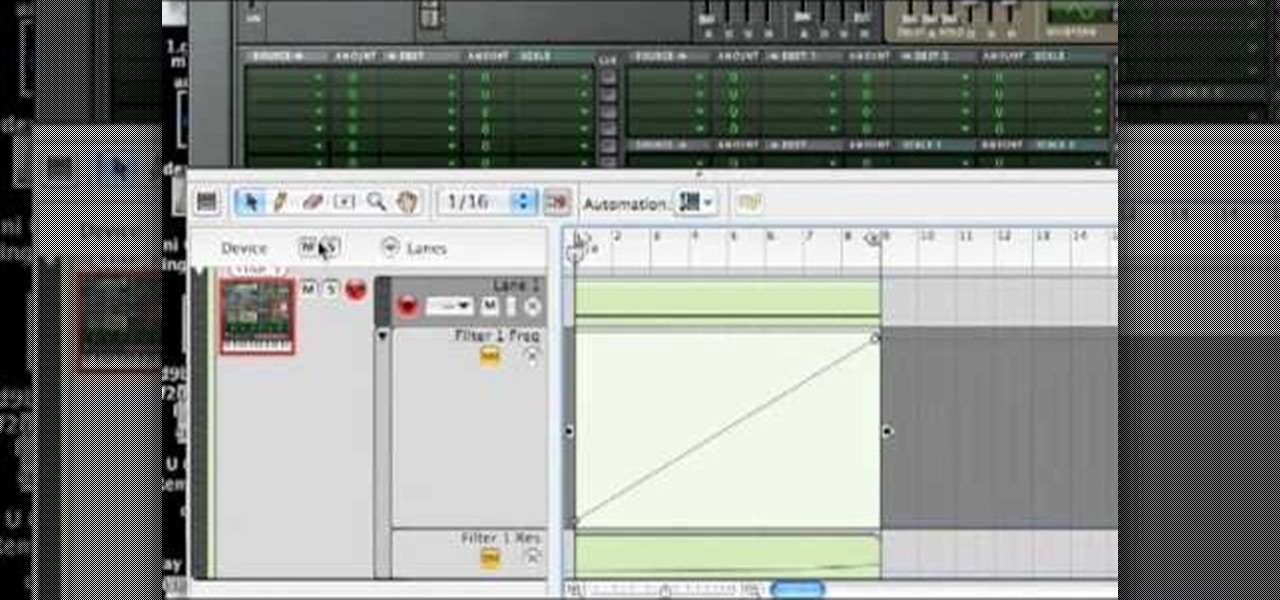
Reason 4.0 enables you to make all kinds of edits and create effects for the audio you record and edit with the program. One of these effects is to create a "sweep" in your track. You can achieve this effect by using a noise oscillator. There are many options for noise oscillators. The one used in this example is the low bypass filter version, which produces the richest noise available. This video will show you how to add a "sweep" effect in Reason 4.0 by using a noise oscillator.

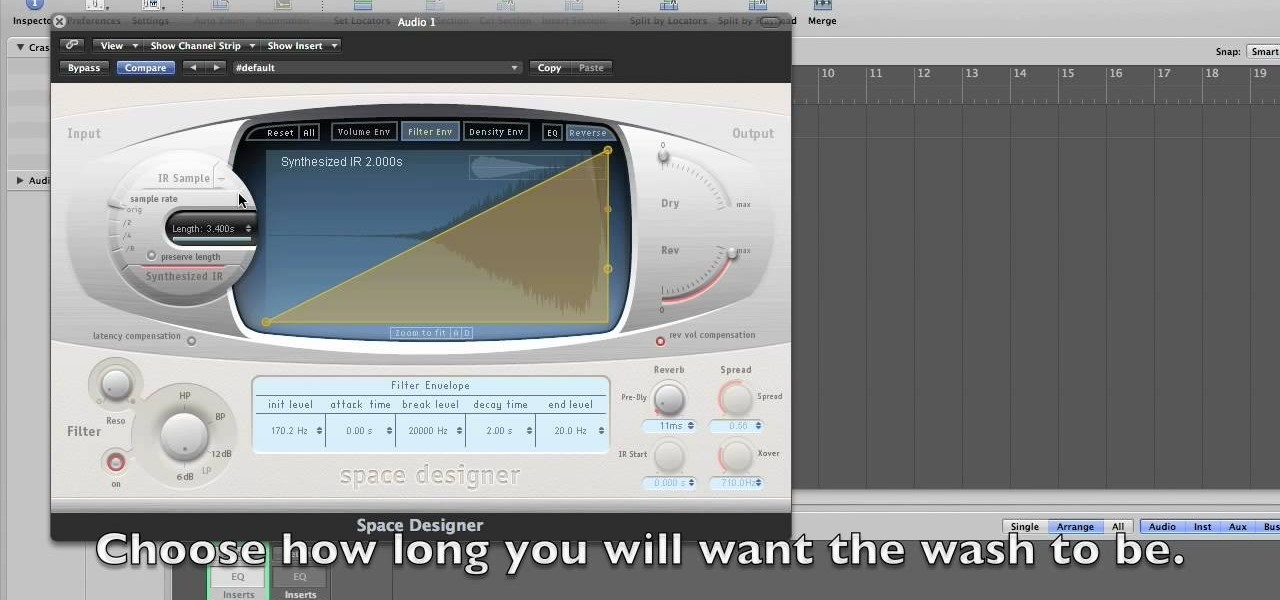
How to make cymbal washes is a tutorial on how to use Logic Studio to make the sound of a cymbal wash. The tutorial does not include any speaking. It is only a shot of the computer monitor of the instructor. The image from the instructor's monitor is very blurry, and the images on the monitor are very small. You'll have to watch this video closely to learn all about making cymbal wash sounds.

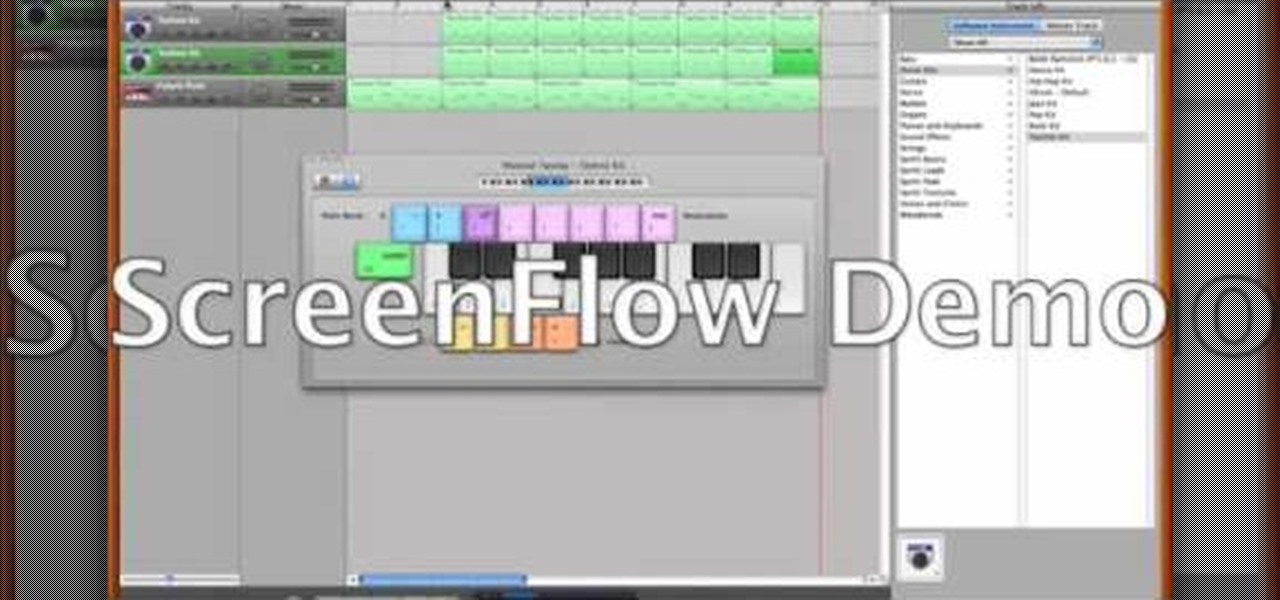
If you like techno music and want to create your own music, this video takes us through the steps of how to do that. Using GarageBand '08, you can create your own techno beat. All you need to do is create a new file in GarageBand at 140 beats per minute. The piano tool will need to be changed to techno kit and can be altered to different octaves moving higher or lower along the scale. You can then record your beats and perfect it for your own custom techno beat, and the best part is you don't...

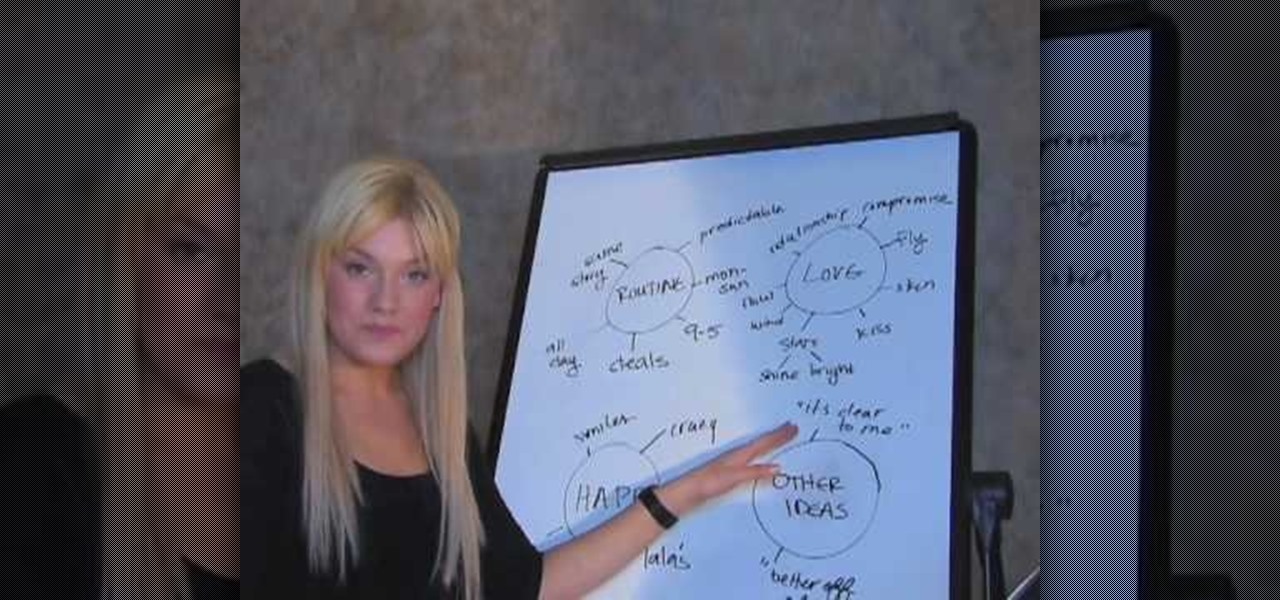
According to hit recording artist Zosia, writing a song is much like telling a small story. The first verse of a song should draw your listeners into the story. Next you'll want to build into a unique and catchy chorus, which will relate your main message. The second verse reveals more of your story and flows into the bridge. In your third verse, you'll want to bring the story to a resolve and summarize the feeling and tone, while leaving a lasting impression on listeners.

Discover how to easily mix and combine individual audio tracks into a single muli-track file using Adobe Soundbooth CS4. This video tutorial also demonstrates the program's fading options, providing an upbeat techno mix as an example.

With the growing popularity of digital downloads, it's important for aspiring musicians to have some sort of download available of their music. If you're an unsigned musician, selling your music on iTunes might seem daunting, but it's actually very easy! Learn how to do it in this video.

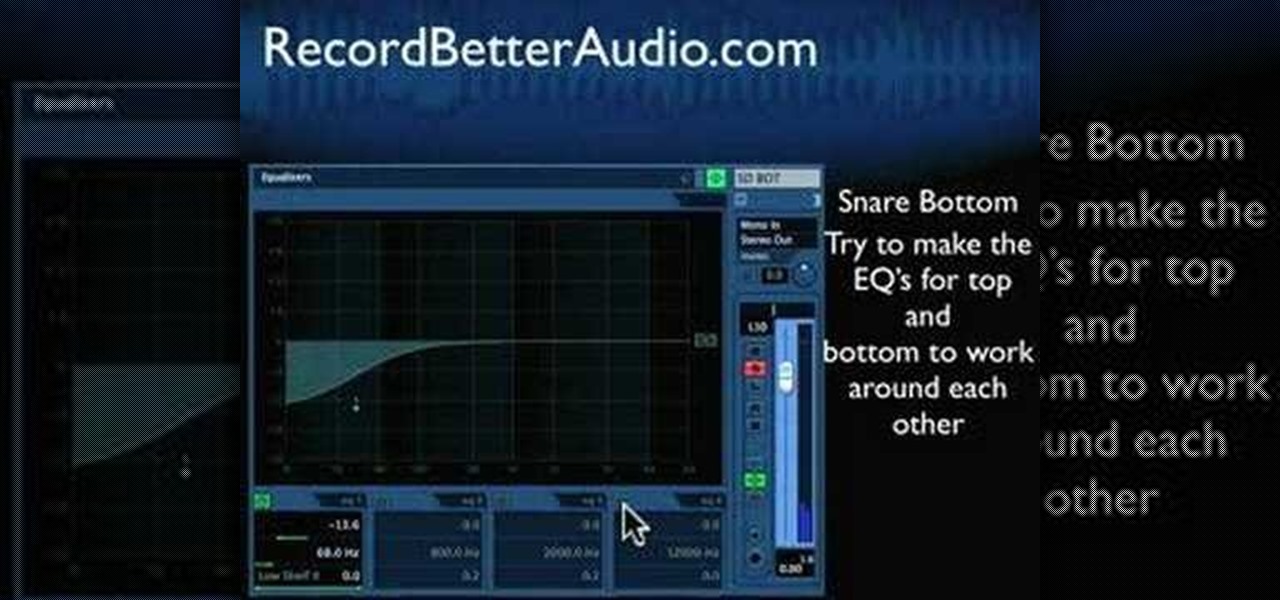
Check out this instructional recording video that demonstrates how to use Drum Clean Up. Before you mix and master the drums, take some time to clean up each track. This will save you time in the end. The Drum Clean up helps you prepare your drums for mixing. Learn a few tips about using Dream Clean up to prepare your drums for mixing by watching this tutorial video.

Check out this instructional audio video that demonstrates how to control the sound of your room with something called Baffles. Sound travels through vibrations in the air. When these vibrations leave your mouth, they travel over a thousand feet per second in a million directions. Learn about echoes, delays and reverbs by watching this video tutorial so you can better control room sound reflections.

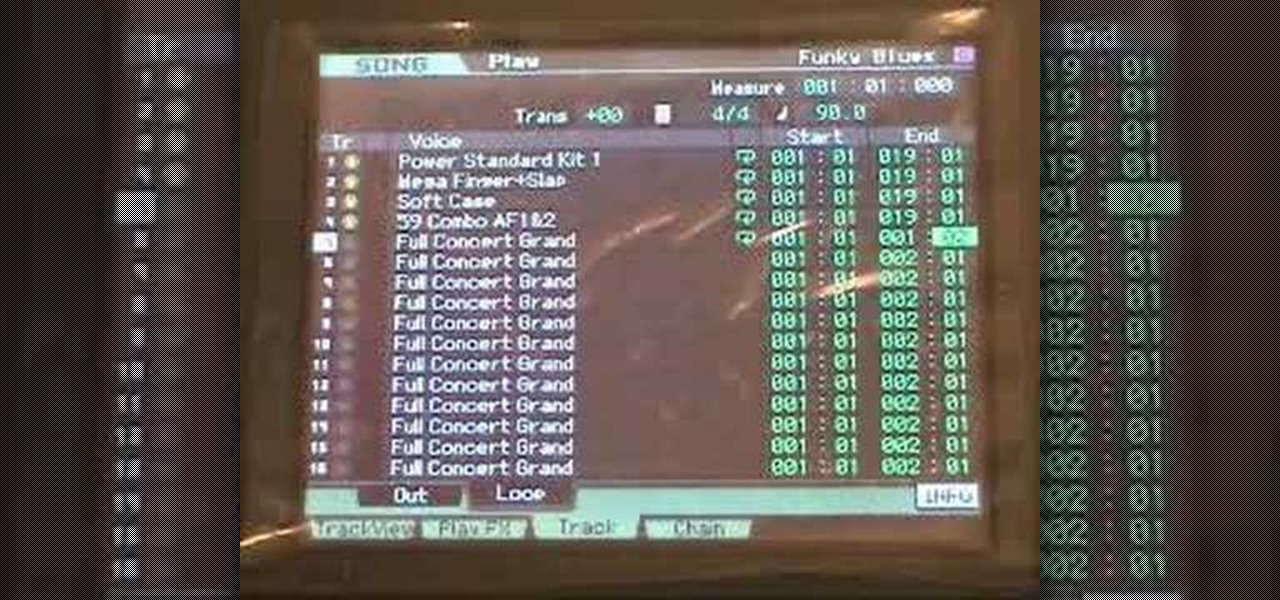
This tutorial shows how to connect and set up a device/instrument (in this tutorial it's an electric guitar) to your Motif XS audio input, how to apply two effects, how to record the audio together with a performance to a song or pattern, and finally how to export the whole song to your hard disk as a .wav file.

This is an in depth tutorial on how to use the Motif XS vocoder. Subjects covered are: which microphone to use for vocoding, how to connect the mic, how to set up the parameters from utility mode and a short demo of the 4 basic vocoder voices from the Motif XS ROM.

Learn how to layer sounds to make a phat beat with this animated video.

This 14-minute video explains the basics of room layout and acoustic treatment, and presents practical solutions to many common problems. The focus is on home theaters, but all of the information applies equally to professional recording studios and mastering rooms.

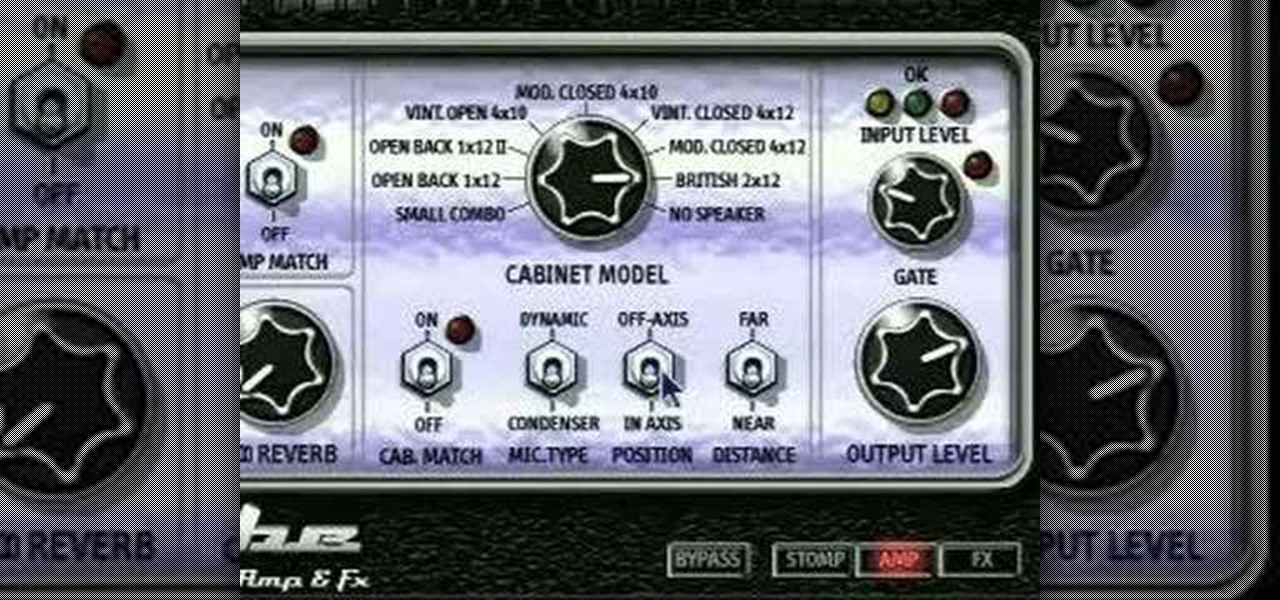
Customize every detail of your virtual set up and get your dream guitar tone right at your computer using Amplitube's Amp Simulator.

Fill up the empty space in your hit tracks with a nice full sounding rhythm guitar part by doubling tracks and adding layers of compression in Pro Tools.

Check out this video from Berkleemusic.com and watch as Berklee Professor Jeff Baust illustrates different ways for using the panning automation in Pro Tools software.

Check out this video from Berkleemusic.com and take your recording in a new direction and change the key of a certain section or the pitch of a note using the Transpose options in Digital Performer music software.

Check out this video from Berkleemusic.com and learn how to export audio files in Digital Performer and expose your music to the world in today's most accessible format, the mp3.

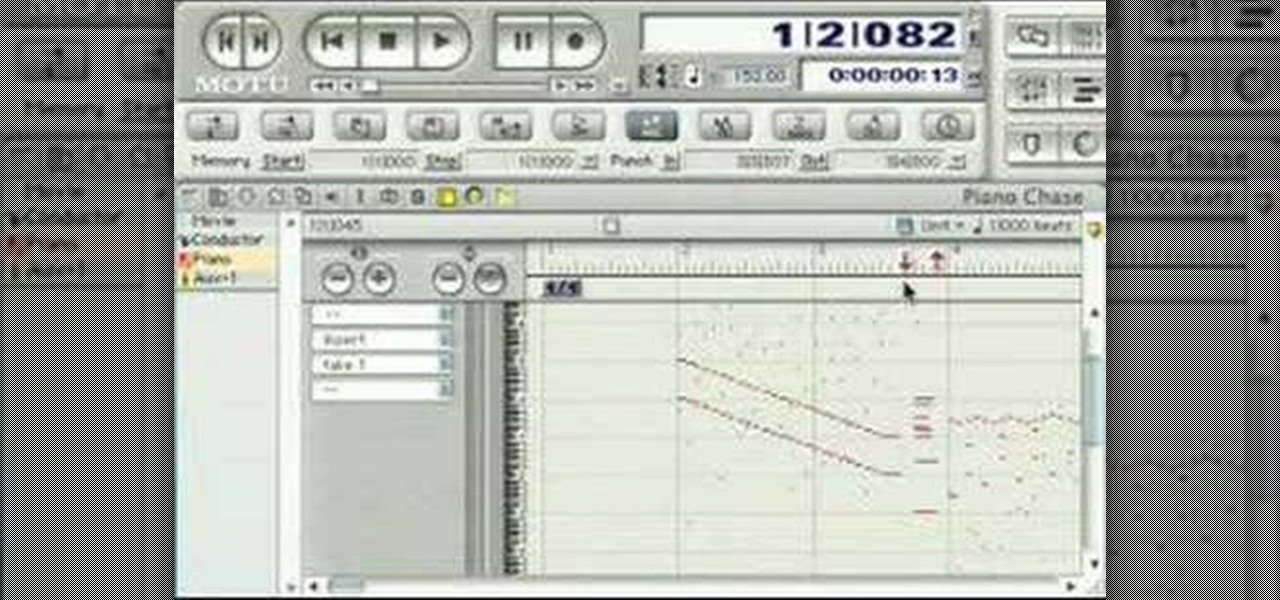
Check out this video from Berkleemusic.com and create flawless, professional recordings and correct any mistakes with ease using the Punch In/Punch Out and Overdub features in Digital Performer.

This video is a demonstration of how to reassemble a Shure SM 57 microphone. There is no dialogue in this video, so you have to learn by watching.
