
How To: Origami a pig head
Learn how to make an origami pig head. When doing this, instead of using the ordinary square origami paper you need a rectangular paper, so just cut the square in half in order to make an origami pig head.


Learn how to make an origami pig head. When doing this, instead of using the ordinary square origami paper you need a rectangular paper, so just cut the square in half in order to make an origami pig head.
Nothing to wear but have an old scarf hanging around? No problem! In a few easy steps you can transform that boring scarf into a cute, summery halter top!

Origami is an activity which brings life to paper and can be enjoyed by both adults and children alike. In this video, Ngai Chun Cheung demonstrates how to make a mobile phone stand using origami. He begins by folding a rectangular piece of paper at the center lengthwise. Next, he folds the outer open sides to touch the folded edge on one side, which forms a triangle. Then he flips the long rectangular side to form another triangle next to the first one. The paper is opened out and folded alo...
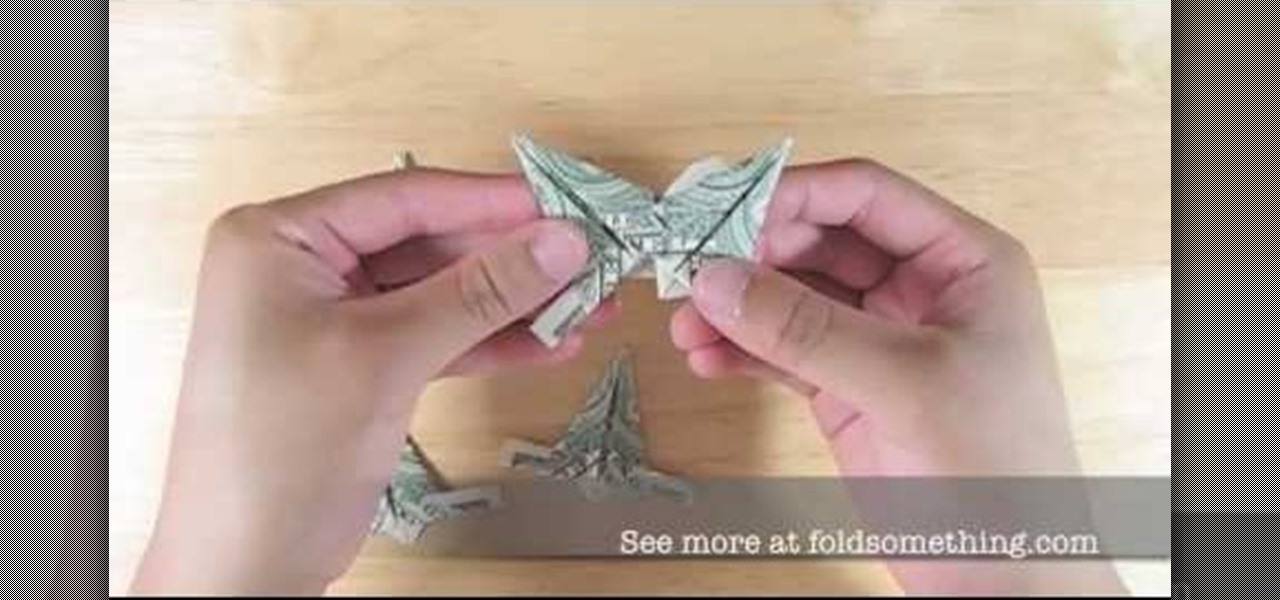
You're going to need a little money to make this pointed origami star, but not that much, unless you Mr. Moneybags or something. To keep this cheap, you can use dollar bills — five of them, which means five dollars. You can use five dollar bills, but that would mean you'd have a twenty-five dollar paper star, and unless you plan on selling it for fifty, you might just want to use some fake bills. Anything that is rectangular in shape will do. You can make a 5-pointed star or upgrade to the 6-...
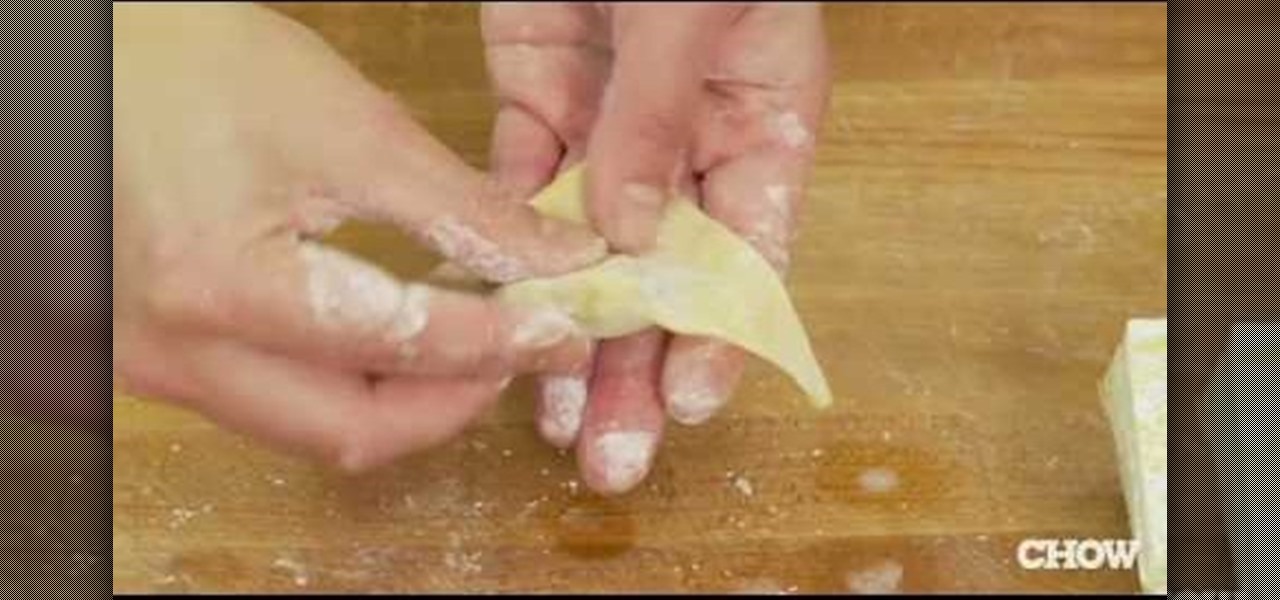
In this video tutorial, viewers learn how to fold won-ton. There are 3 basic won ton shapes: the triangle, flower bud and nurse cap. For the triangle shape, simply fold it diagonally in half to create a triangle and seal the edges. For the flower bud, begin with a triangle fold. Then fold up the spine and bring the 2 edges together. For the nurse cap, fold it horizontally to create a rectangular shape. Then bring the 2 corners together, similar to the flower bud. This video will benefit those...
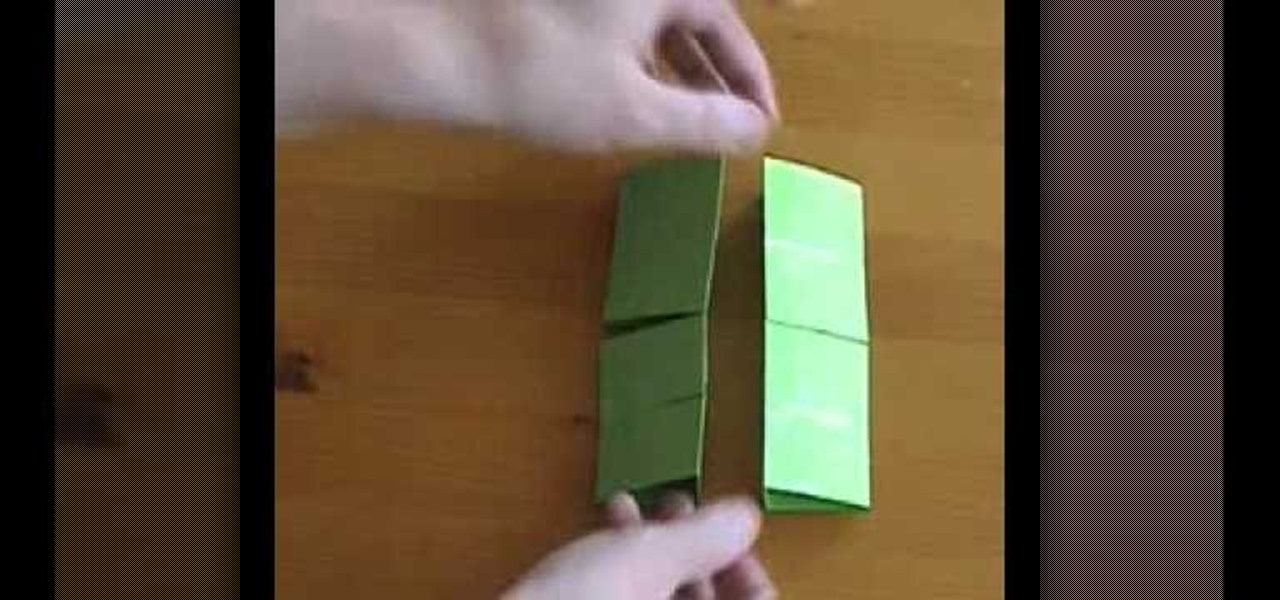
Called a "crazy paper thing" by the owner, the description is perhaps a little too vague to describe the sheer genius of this transforming paper module of cubes.
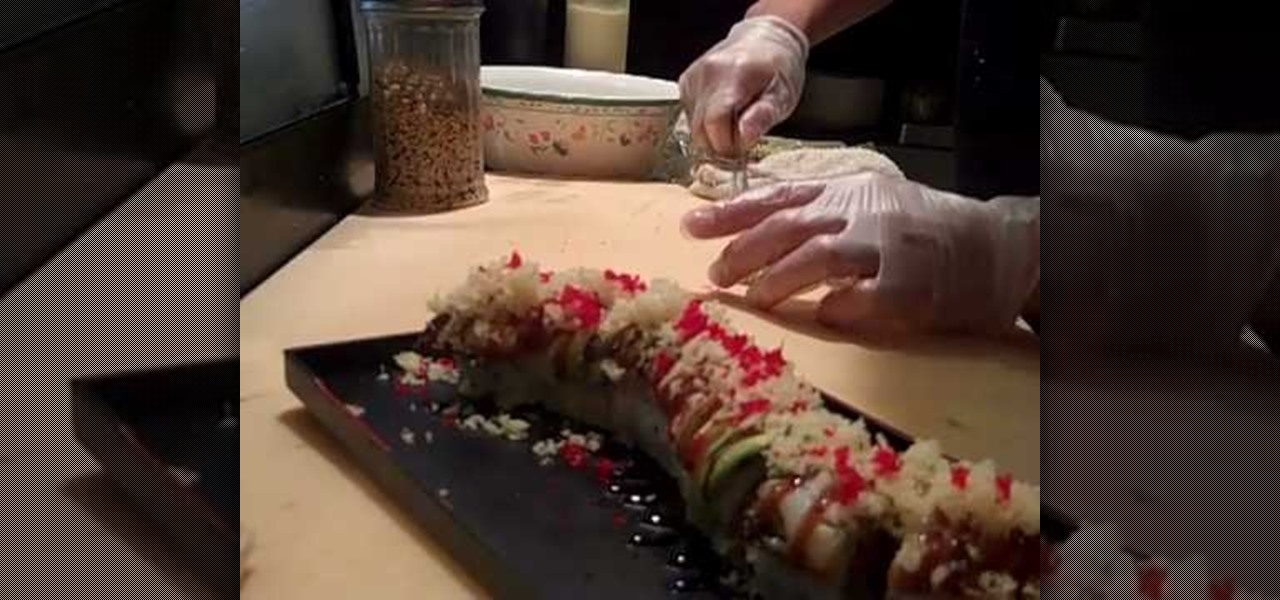
This video demonstrates how dragon sushi rolls are made. Rice is pressed onto a rectangular sushi wrapper. The wrapper is then turned upside down, and fillings are spread onto the other side of the wrapper. The roll is wrapped so that the rice is on the outside. Pieces of seafood are placed on top of the roll and it is garnished with flat strips of vegetable. The roll is covered with plastic wrap and then pressed into place. With the plastic wrap still on, it is sliced into pieces and pressed...
Taking screenshots in Windows isn't as easy as taking screengrabs in Mac OS X, but Microsoft sure is trying to resolve this issue. Their idea -- Snipping Tool. The Snipping Tool is available for both Windows Vista and Windows 7 operating systems.
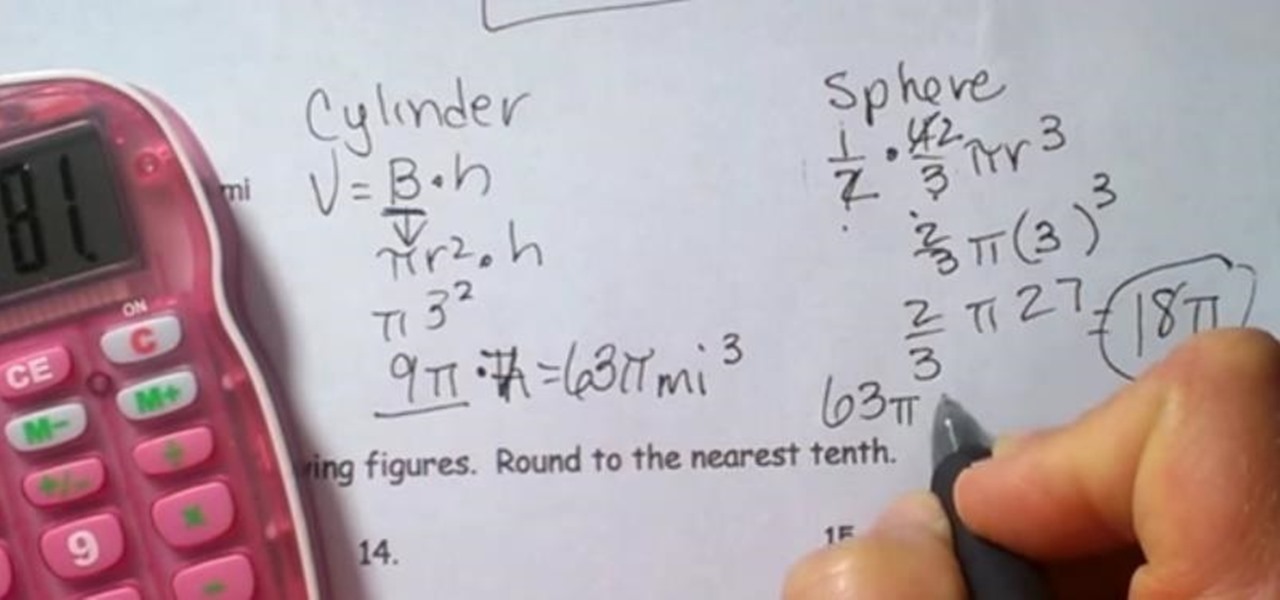
Composite figures are composed of several geometric shapes and are three-dimensional shapes. The first composite shape is a combination of a rectangular prism and a pyramid. To find the volume of the entire shape you find the volume of each individual shape and add them together. The second figure consists of a cylinder and a hemisphere. Check out the video below for the full lesson.
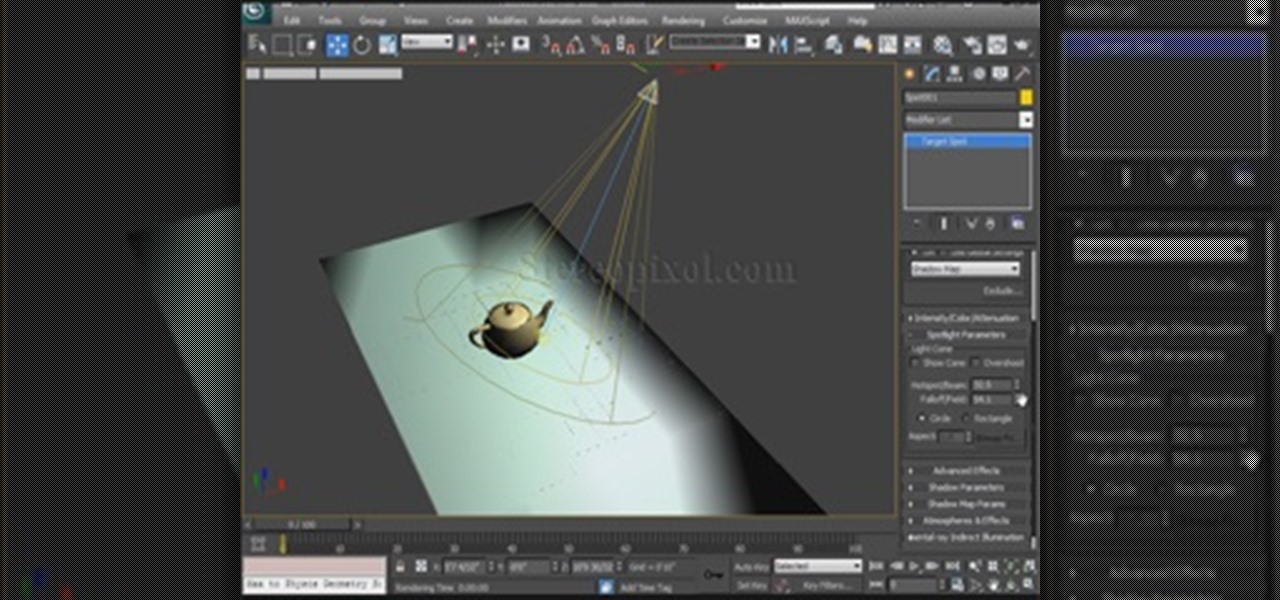
This 4th Chapter of Lights in Autodesk 3Ds max is fully concentrated on spot light. We will learn about the various spot light parameter of 3ds max like, Hotspot/Beam and falloff, then how to use overshoot or its limitations, how we can make the spotlight rectangular than circuler and many more. Hope you will enjoy.

For this hijab style, start with hair completely covered and a large rectangular pashmina scarf. Pull the scarf over the head with one side hanging longer than the other. Pull the scarf tightly over the forehead to the nape of the neck and pin it together at the nape. Take the shorter end of the scarf and tuck it back toward the nape of the neck. Then pull the long end under the chin and up around the head until it is tight. Secure the end with a pin. Earrings can be worn through the scarf as...

Dana Plazyk shows how to make a beautiful ‘Christmas Bow’, in this video. All that is required to make this bow are the following:•A decorative Ribbon•Toothpicks•A rectangular piece of foamShe begins by making a whole twist, near one end of the ribbon. The twisted part of the ribbon is placed right behind a toothpick, fastened on a rectangular piece of foam. She then fastens the ribbon at that point with a second toothpick, to hold it in place. A small central loop is created on the free end ...
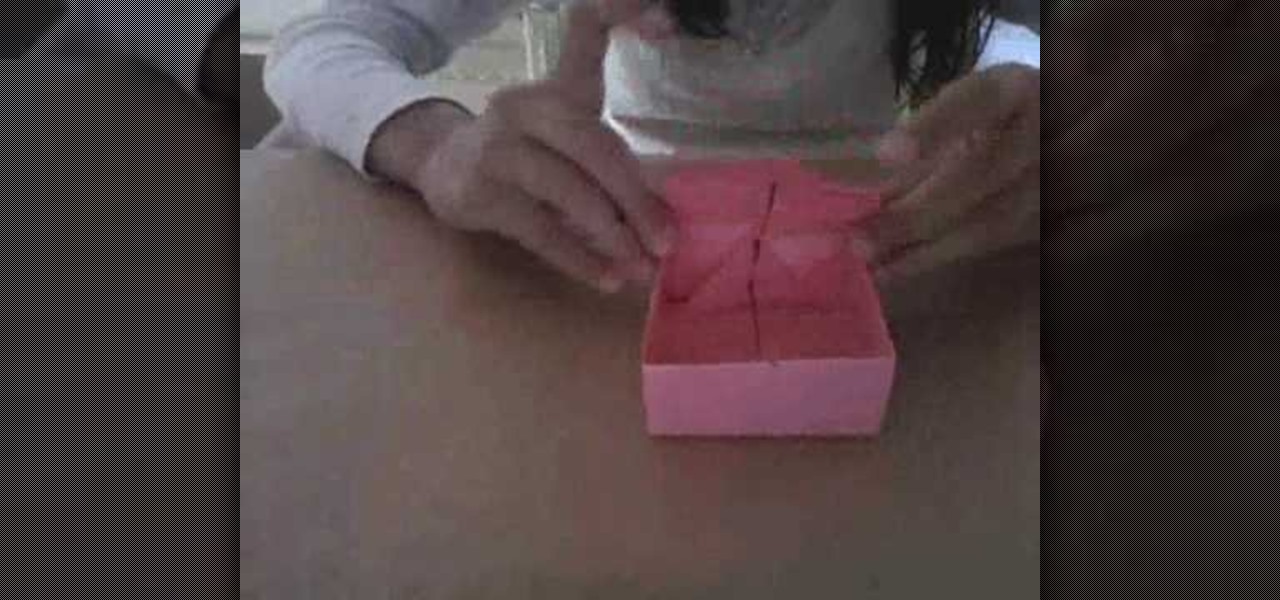
Learn how to make a paper gift box by following the steps in this video tutorial. The first series of steps shows you how to make the lid. Take an 11" by 8.5" piece of paper. You can use whatever color you want. Fold one corner toward the opposite end creating a triangular shape. Trim the remaining rectangular shape. Unfold the piece of paper and create another fold in the opposite direction. Take a marker to mark the center and bring all four corner to that dot. You will create an additional...
Enchiladas are a Mexican staple that can be made with chicken, beef, or cheese. This easy recipe makes a tasty and satisfying meal.
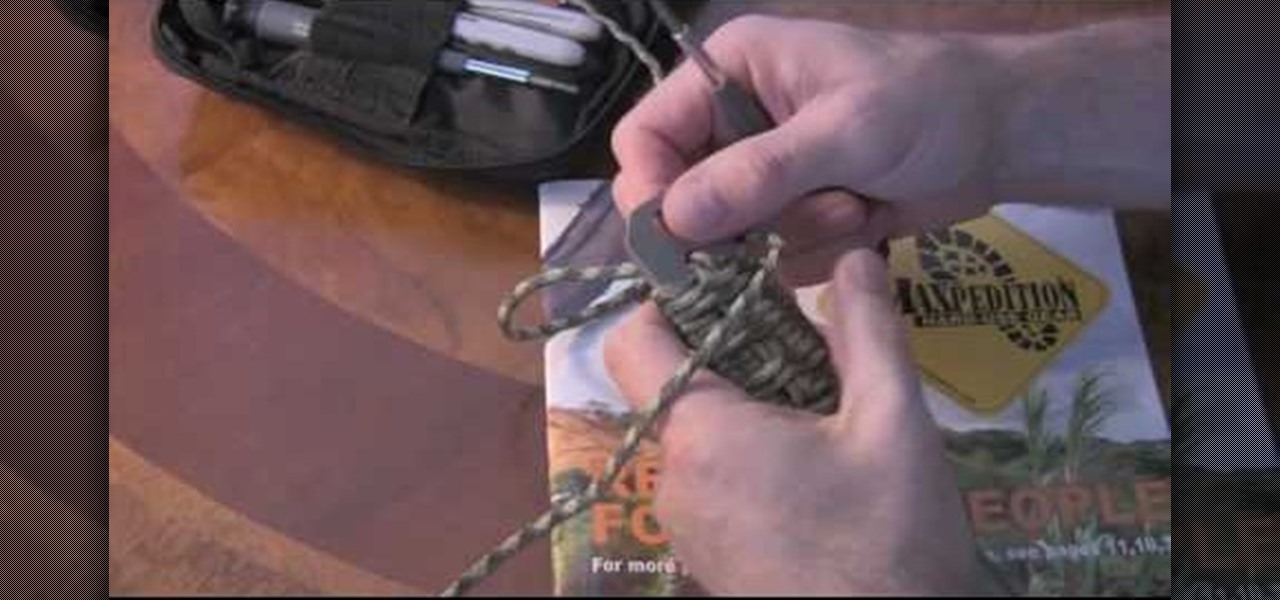
Breacher bars are like the much cooler older brother to the swiss pocket knife. In fact, there's little comparison between the two. A breacher bar, which is a rectangular shaped knife, is used by SWAT teams and bomb techs to easily and quickly cut through and pry open just about anything. But safety comes first.
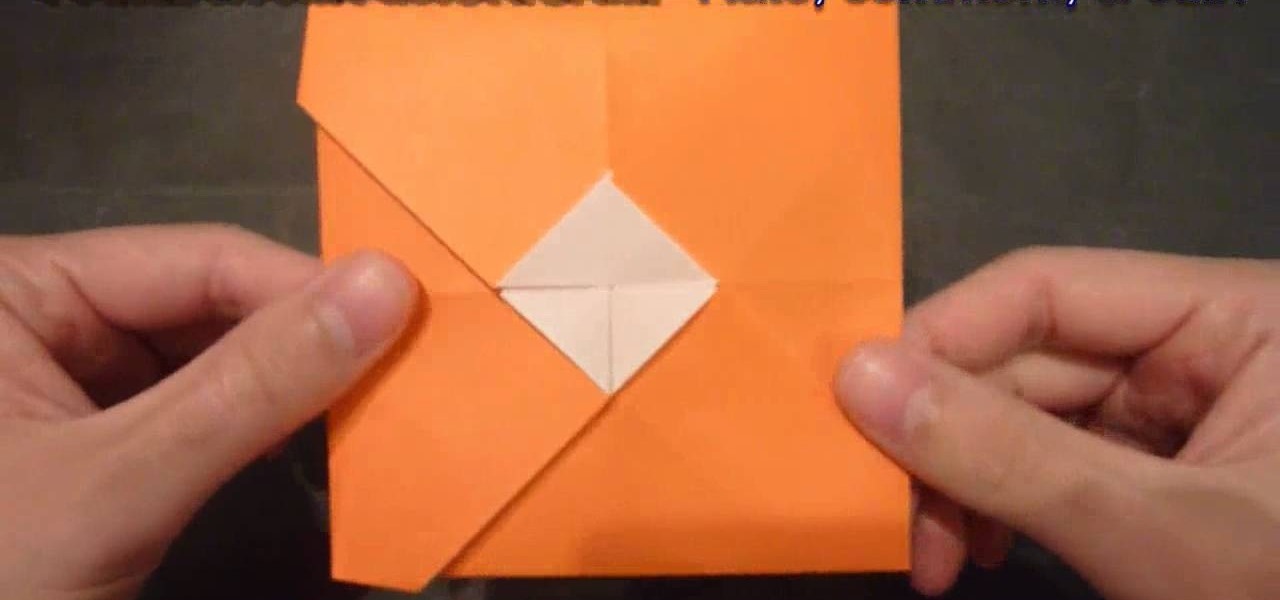
Do you know why we hate those envelopes that come with any greeting card you buy at Hallmark, Papyrus, or a drugstore? They're SO boring. Always the same rectangular shape, always the same opening mechanism, with the only innovation for each envelope being the color, which does vary to match the card.
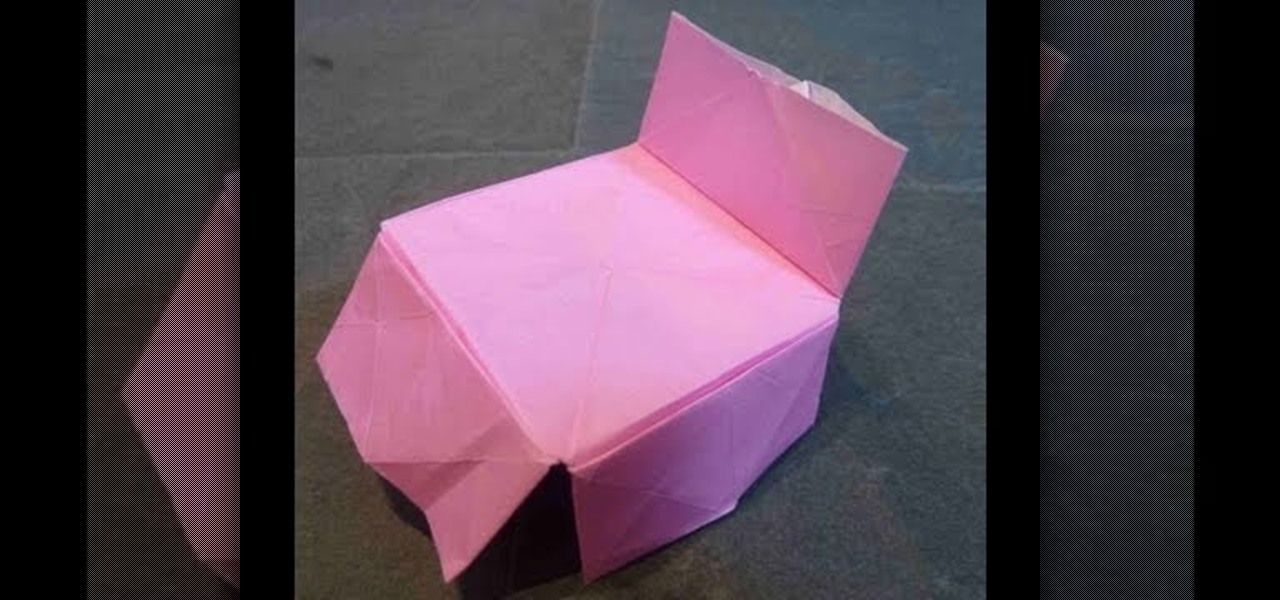
If you think about it, beds are a divine resting place. Free of outside distractions (we're hoping you don't bring your iPad and Blackberry into bed), warm, and cozy, a bad is the perfect place to just unwind, relax, and recharge.
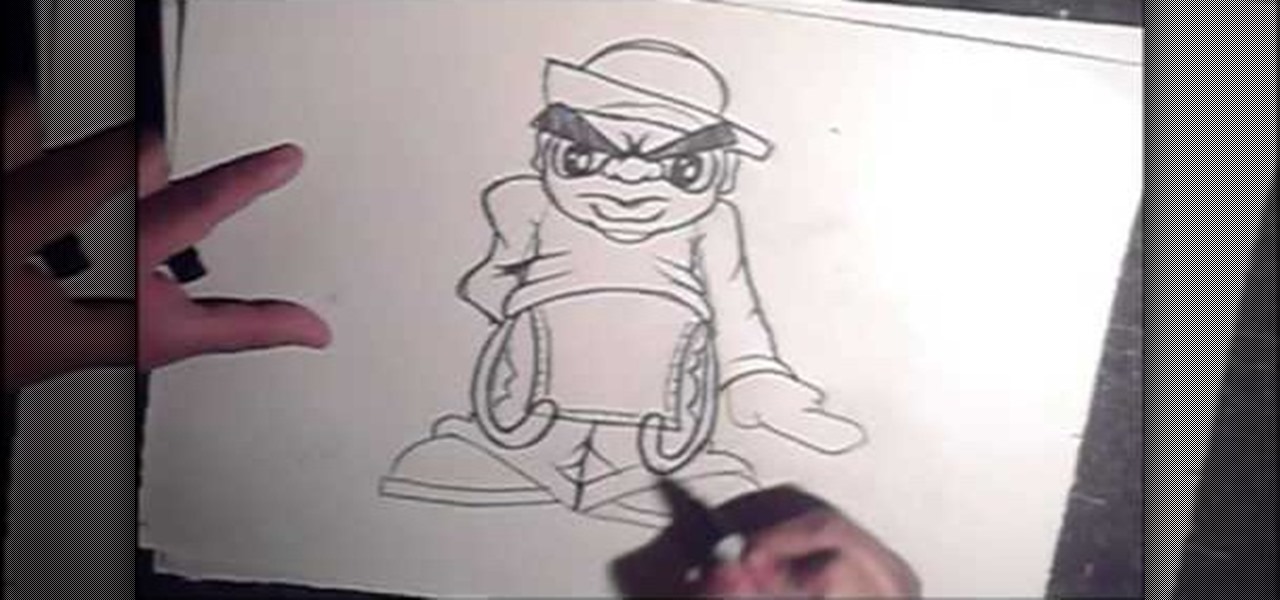
In this tutorial, we learn how to draw a graffiti style hip hop cartoon character. First, make a circle, then draw long triangles for eyes and a mouth plus a rectangular shaped body with very large feet. Then, draw in the arms with large hands and draw a hat on the top of the head. Then, fill in the color for eyebrows and fill in the pupils. After this, outline the character with a darker pencil or a black marker and fill in details for the outfit, like pants and a long sleeved shirt. To fini...
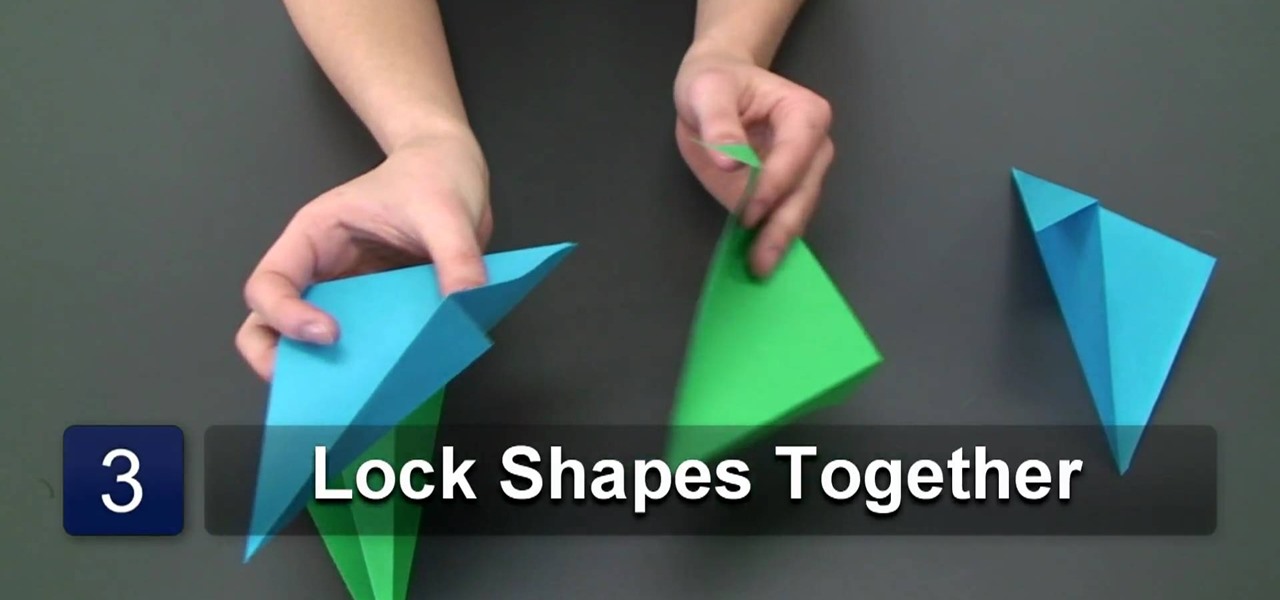
In this Arts & Crafts video tutorial you will learn how to fold a hanging origami ornament from Ana Maria, an Origami artist. You will need four sheets of rectangular paper of two different colors. Take one sheet and fold it diagonally. Flip the paper over and fold back along the same diagonal again. Now fold both the protruding corners back to match the edge of the paper. Repeat these steps with the other three sheets of paper. Then you got to lock the four folded sheets as shown in the vide...
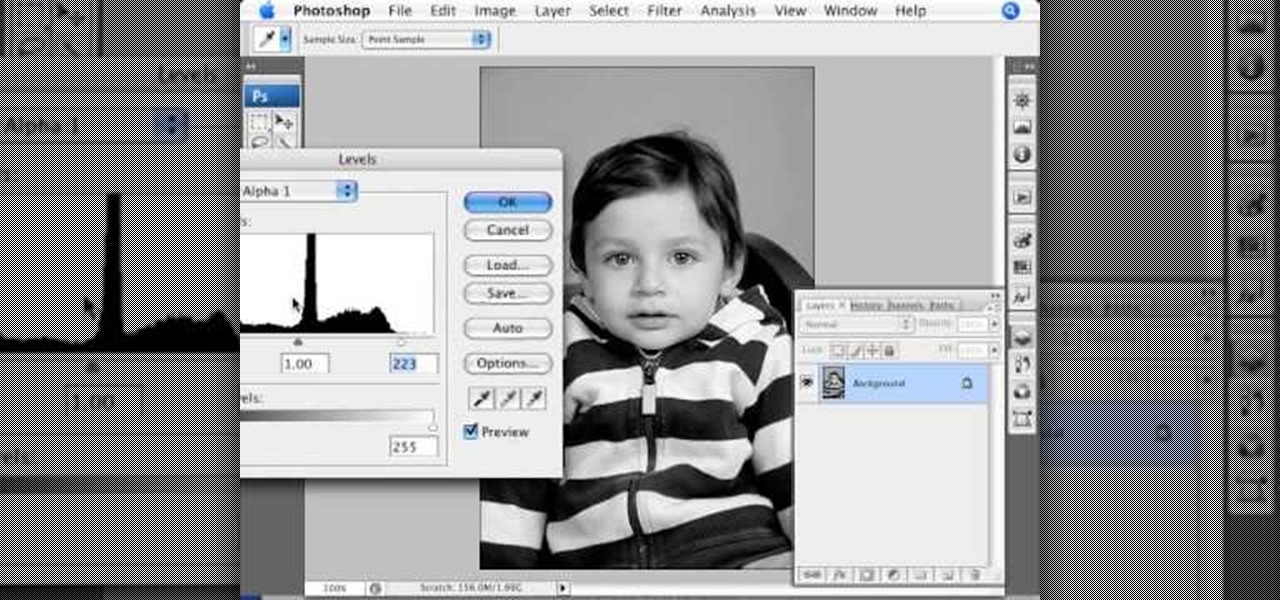
This video shows you how to create a realistic shadow of window blinds over the picture of a boy in a photograph that had no window blind shadows using Photoshop. Creating a separate layer, he creates shadows first by using the rectangular marquee, then filling in with black and copying the black stripes across the photograph. The opacity is set to 40%. The shadows look like a casting of the shadows of window blinds over the boy, but is not as realistic as he wants them to be. He then makes a...
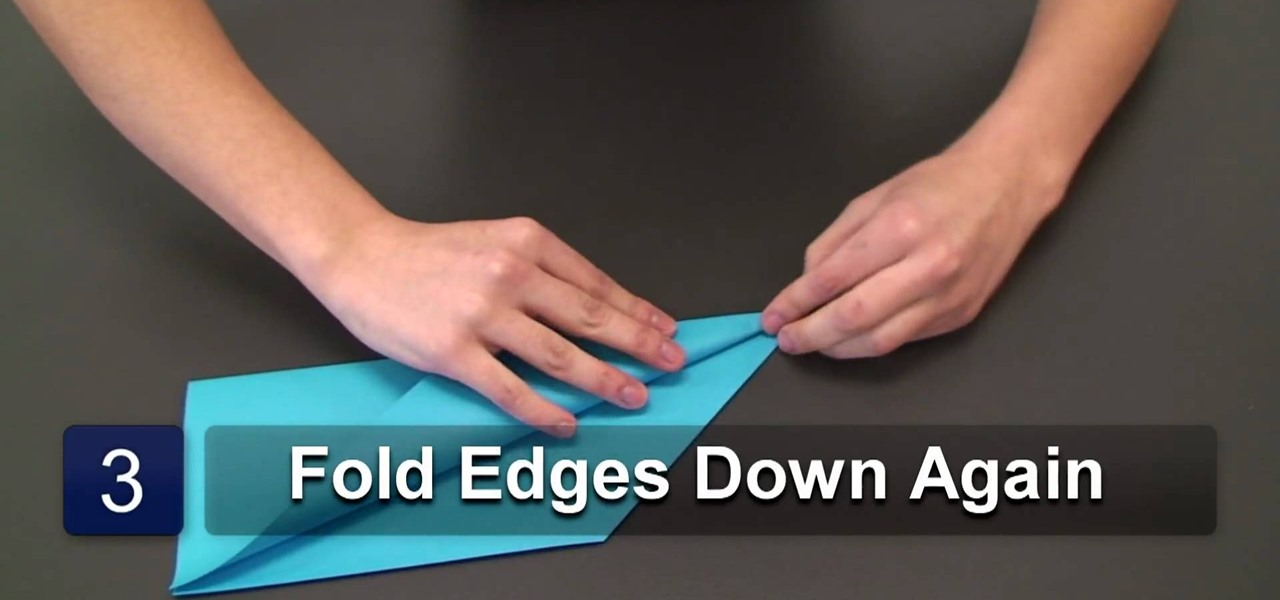
Origami artist Ana Maria shows us how to fold a reliable paper plane. Start off with a rectangular piece of paper and fold it down the middle. Then take one the of the edges and fold it in a way that it makes a triangle. After that repeat the process again folding the edges even further. Repeat this for the other side as well so that it is nice and even. After making all the folds properly open the page, not the folds made on the edges, then fold it again down the middle but now do it in the ...
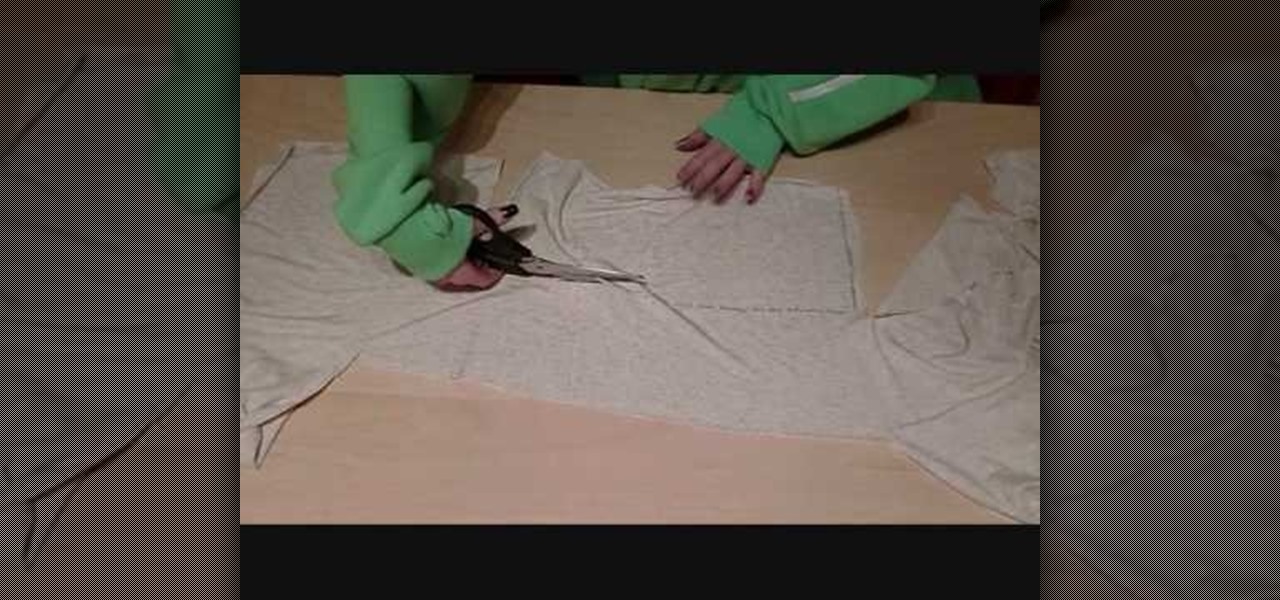
In this video, we learn how to make a feminine, long fitted sweater. First, lay out your fabric and use a pen to trace the lines for the sweater, measure it out so it's a good fit. Make sure to cut around the edges so you have room to sew. Now, sew along the edges and then turn the shirt inside out. Then, take extra fabric and cut out rectangular pieces that you will then attach to the bottom of the sweater by sewing them on. Once you are finished with this, try your sweater on to see how it ...
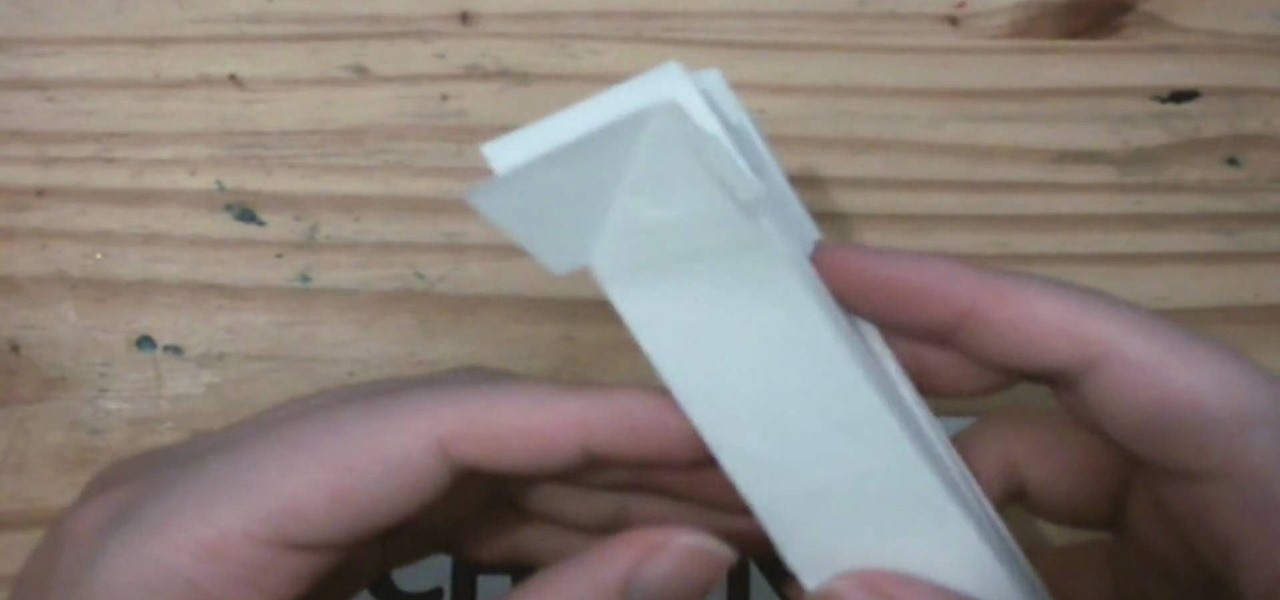
Another video in which the presenter Ngai Chen Cheung demonstrates his Origami skills. Again all you need is a blank sheet of paper. The first step is to create pre-creases which makes the later folding maneuvers a bit easier.
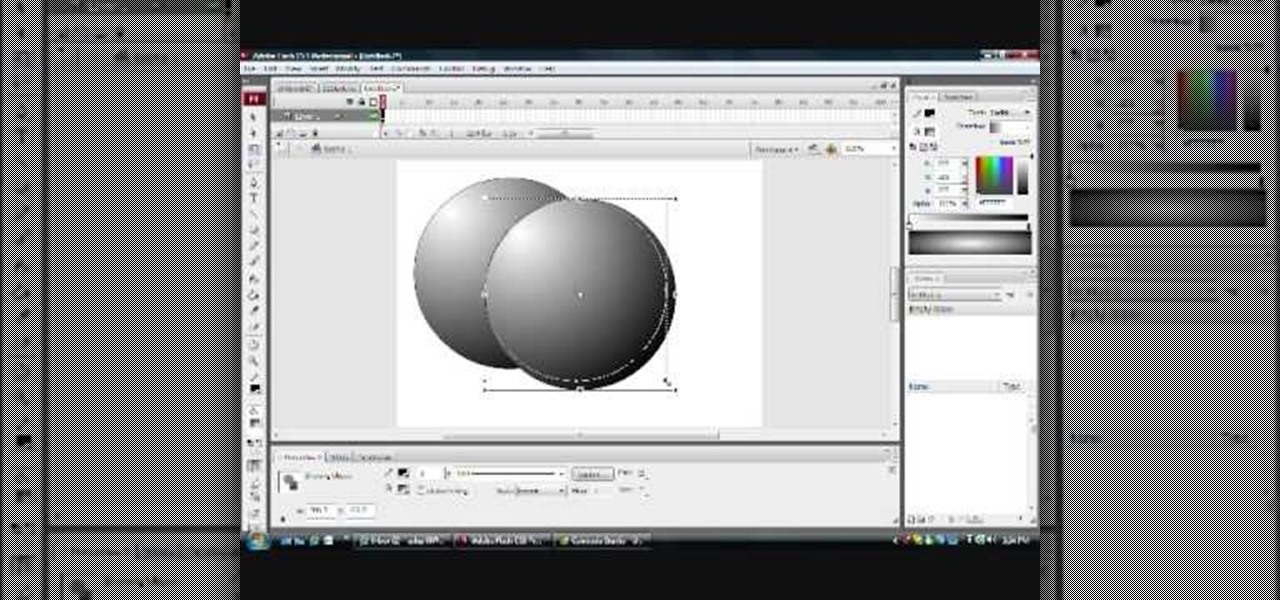
Want to create 3D shapes in flash easily, without doing any real 3D modeling work? Watch this video and learn a few basics. An Adobe Flash tutorial video that is essentially divided into three sections. The 1st section teaches how to create a rounded filled circle with spherical effect and depth. The second part teaches the same thing with rectangular objects while the third teaches how to create a cylindrical effect using a rectangle. The obvious uses of these methods is to create your own 3...
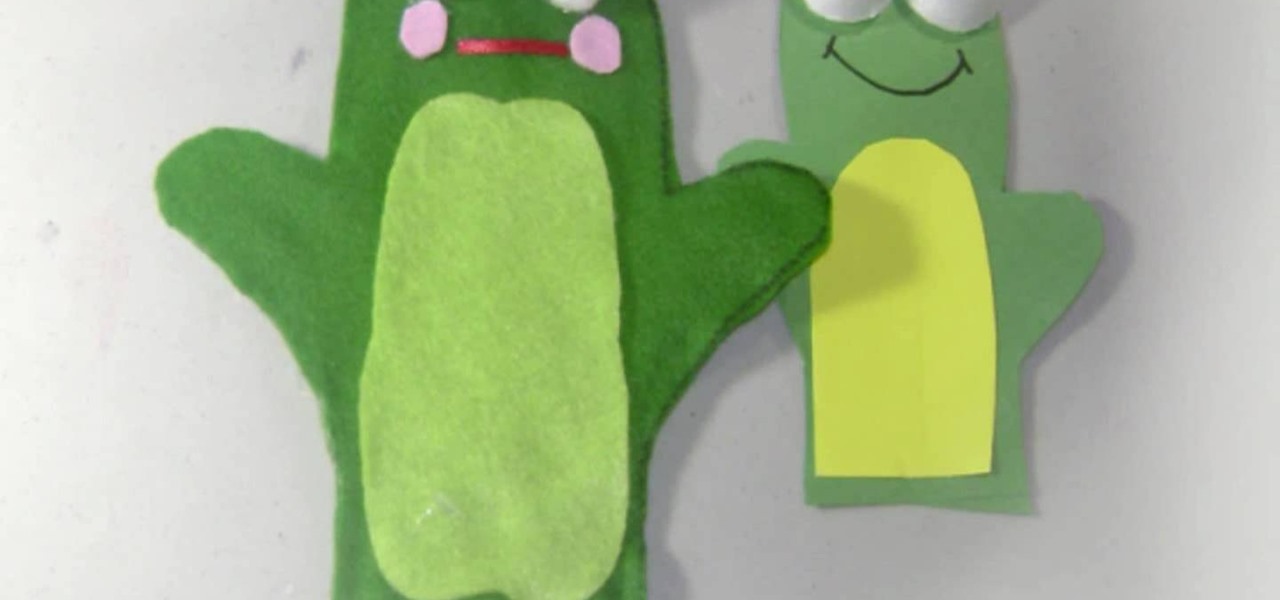
In this Family video tutorial you will learn how to craft felt frog puppets with your kids. The materials you will need for this are felt (pink, dark and light green), a piece of red lace, 2 large white pompoms, 2 small black pompoms, scissors, glue and marker. Take two layers of dark green felt and draw out the outline of half of the left palm. Fold the felts in half and cut out the outline. Stick the two pieces along the edges to make a glove. Next cut a rectangular piece out of the light g...
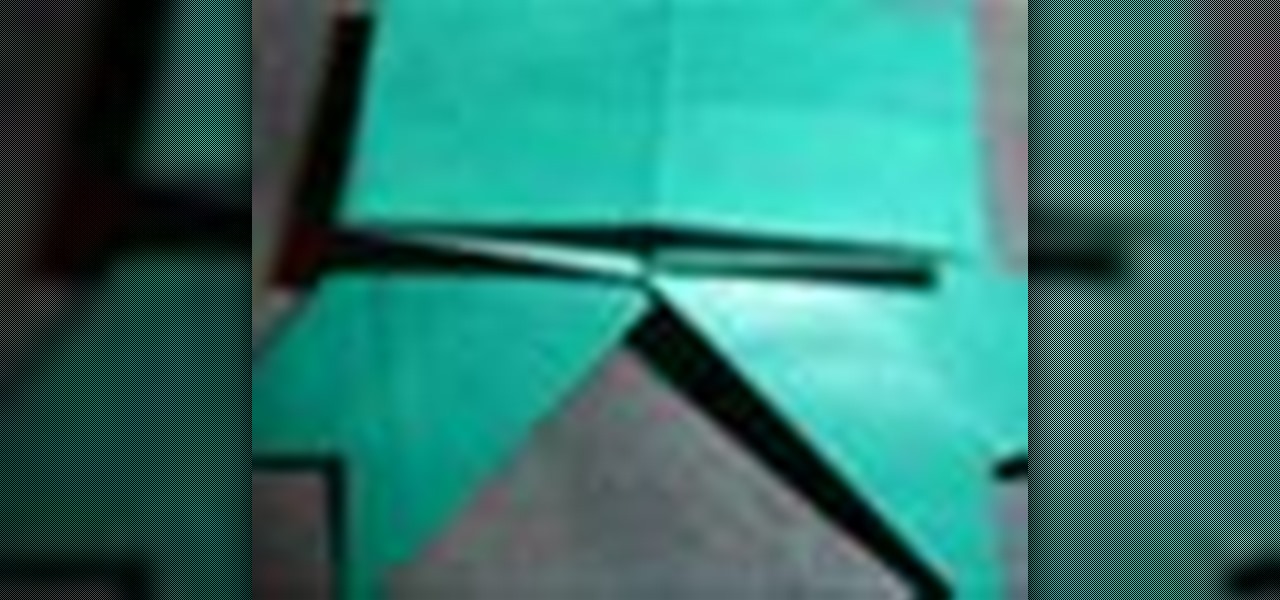
Sure, you could hit up Target and purchase a large bag filled with cookie cutter ribbons and bows, but why not adorn your next special gift with something a bit more, well, special? In this beginner origami tutorial, you'll learn how to craft a green ribbon banner that can be used to top anything from gift boxes to gift bags.

To straighten frizzy hair with a flat iron, first wash your hair and towel blot it dry. Then, part your hair down the middle. Massage a product like Chi Silk Infusion through your hair by first applying a little bit to your palm and then working it into your hair. Use a flat rectangular brush and blow dry your hair. Separate your hair into sections. Use a flat iron and a comb to straighten your partitions of hair. Tilt your hair straightener at an angle when straightening the ends of your hai...
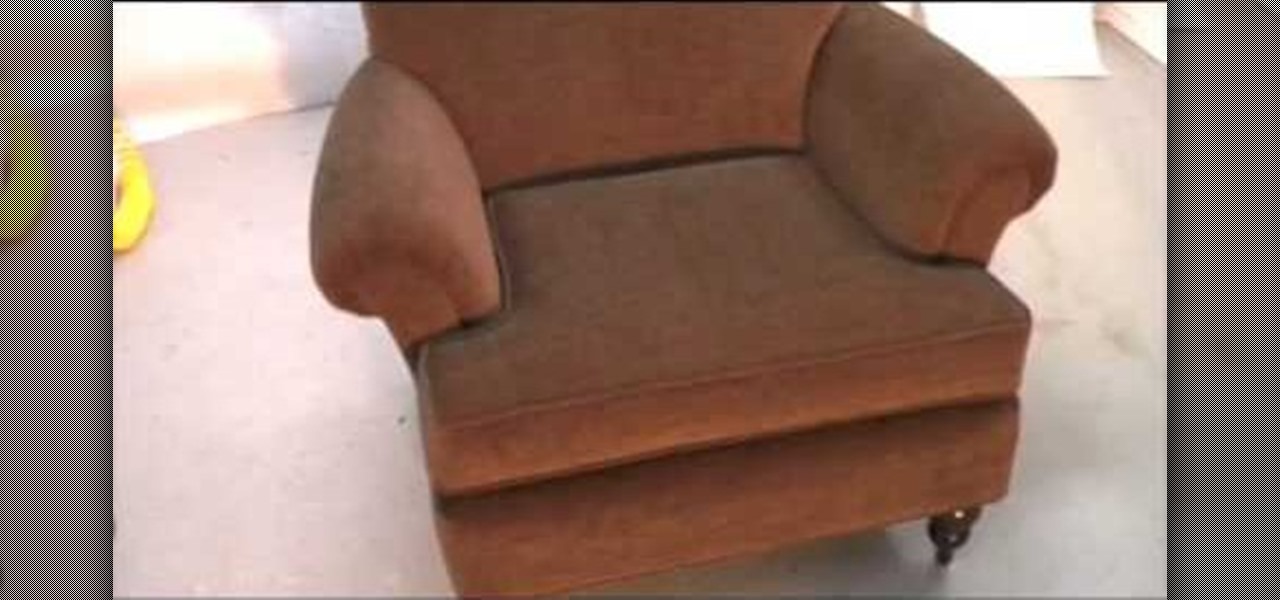
This is a demonstration of how to upholster full an occasion chair. First the seat upholster is removed carefully. The new cloth is cut accordingly to the shape. The edges are folded and stitched. The cloth is spread over the seat, tucked under the hand rest stretched to the bottom and nailed. For the hand rest a rectangular cloth of required color is cut. A piece of foam is spread over the hand rest and covered with the upholstery cloth and stapled at the sides and bottom. The back rest is r...
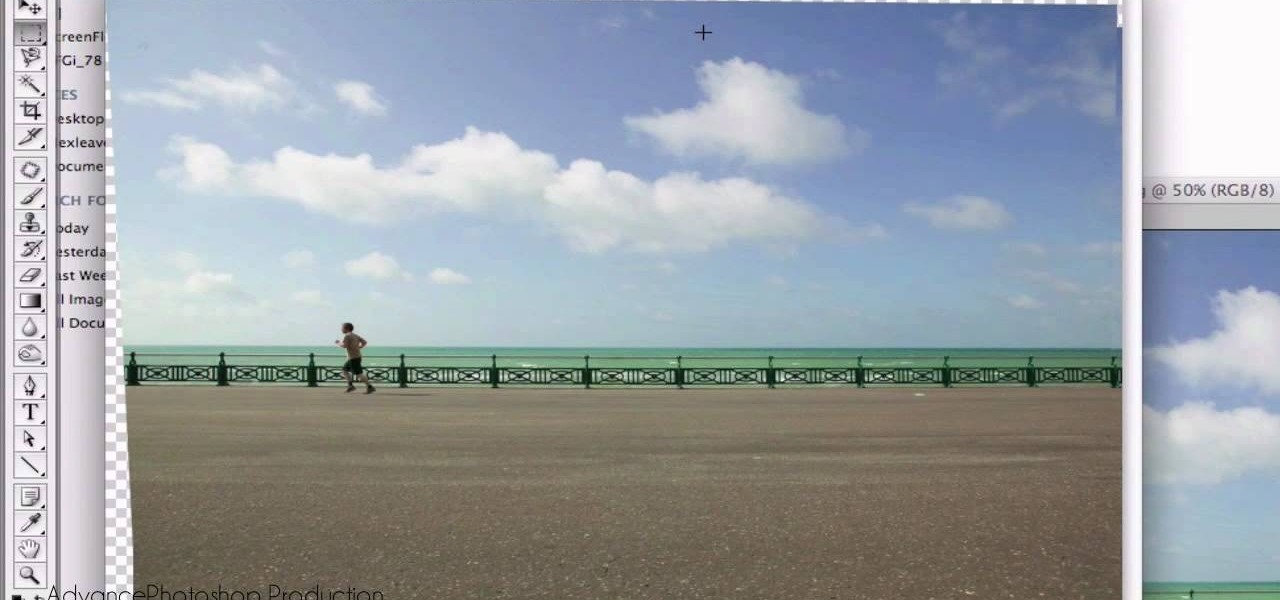
Open your first image and go to the rectangular marquee tool and select all of the image. Next click command or control C to copy image. Then go to your second image and click command or control V to paste the image. Select both the layers (hold down shift when clicking the layer), then go to edit, auto align layers and choose the top option then click ok. Last add a mask to your top layer, this is done by selecting the gradient tool (make sure its set black to white, the mode is normal and o...

In this video tutorial, viewers learn how to use the vanishing point filter in Adobe Photoshop. Begin by selecting the image you want with rectangular marking tool. Then hold Control and C to copy it. Now go to your 3D shape. Press on Filter and select Vanishing Point. Click on one of the corners and drag to each corner. Hold Control and drag it down to create another selection. Now paste the photo by hold Control and V. Then drag the photo to the selected shape area. This video will benefit ...

In this video tutorial, viewers learn how to tie a scarf into a bow. Begin by finding a long rectangular scarf of your choice. Now slightly twist it up a bit. Then put it on the neck and wrap it around from the back once. Finish the procedure by tying the ends into a bow. To make a bow, create 2 loops and cross them over each other. This video is very simple, easy and fast to do. This video provides step-by-step instructions for viewers to easily understand and follow along. This video will b...
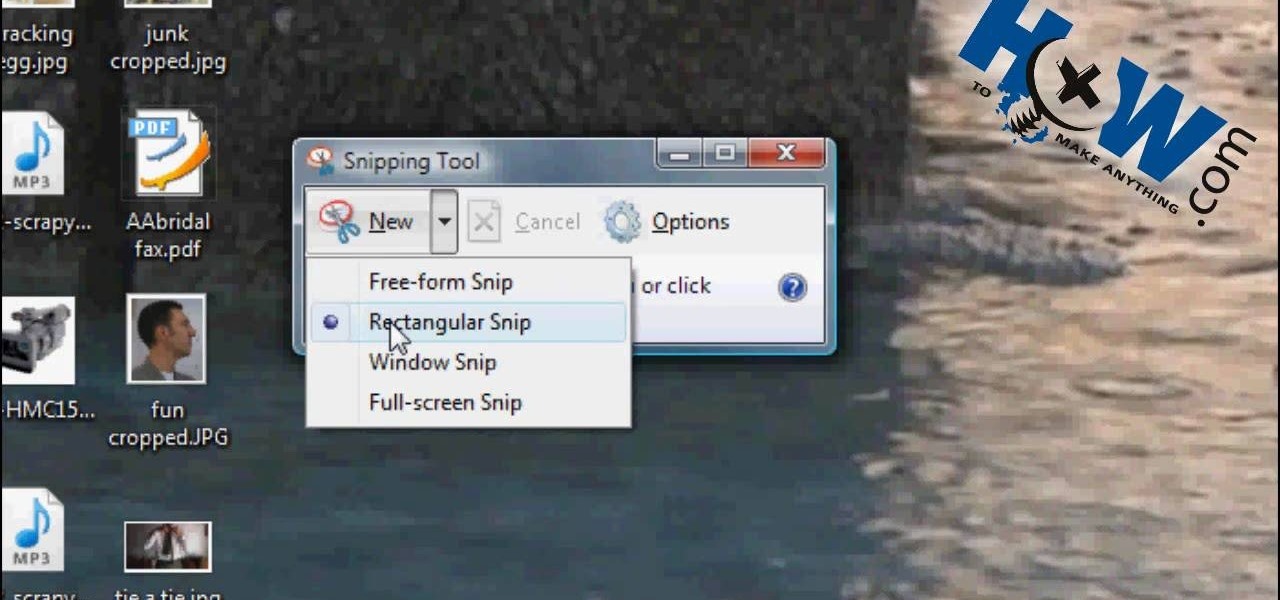
How to Make Anything demonstrates how to use Window Vista's snipping tool to make a screen capture. With previous operating systems, you'd have to install a third party application to make a screen capture. To find the snipping tool in Windows Vista, go to the start menu and type "snipping tool" into your search box. The snipping tool box will appear. Click on the options tab. In the next screen, tick display icon in the quick launch toolbar to enable the snipping tool in the toolbar. Click o...

Now you can easily animate gradient image using Flash. For this you need to open flash, and then import an image which you want to work with. Create a new layer. Draw a rectangular. Go to color option and choose liner. You have to keep alpha in one side of gradient. Ad few key frames and use motion tween. Now go to your picture. You also make the same key frames of that. So it will be regular. After watching this tutorial you will be able to make nice gradient animation using Flash.
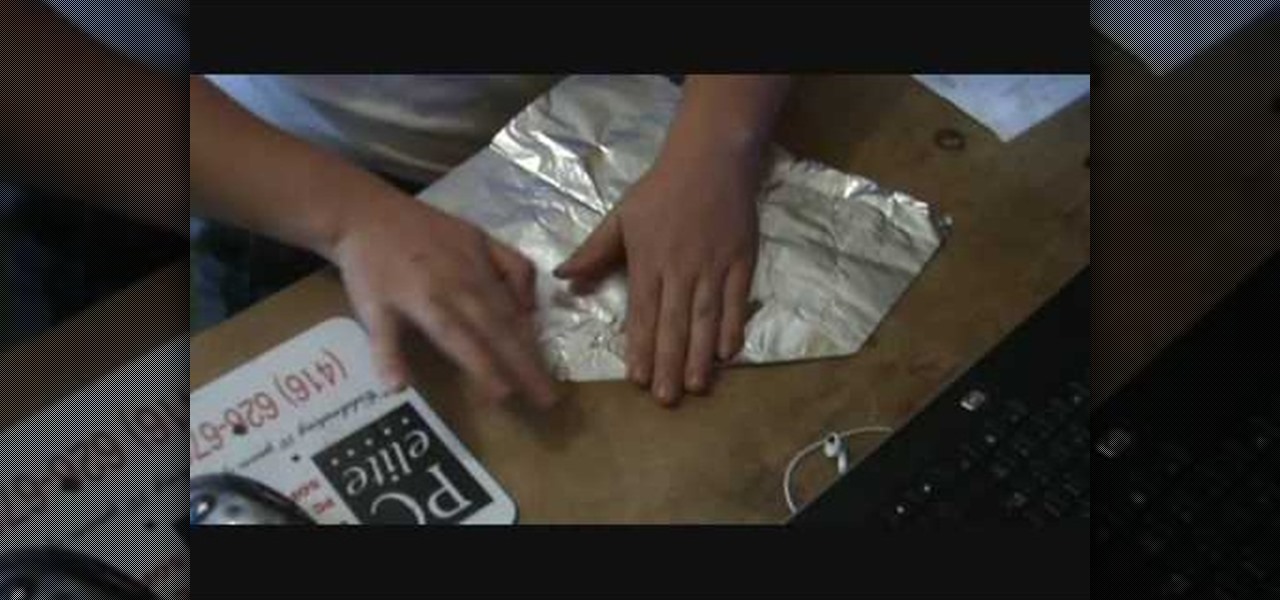
Learn how to make the perfect tinfoil airplane glider, every time. Obtain a rectangular sheet of tinfoil. Fold the shorter side of the rectangle foil in half and make a crease. Unfold the foil. Fold one of the corners into the middle crease. Fold the opposite corner into the middle crease. Fold the side into the middle crease. Fold the foil in half along the middle crease. Fold each side down so that it meets with the bottom crease and creates flaps. Press down on plane to strengthen the crea...

A hole in your wall may in fact be easier to fix than is seems. After cutting a rectangular piece of drywall to patch up the hole, cut out another thin piece of drywall to use as a backing. By inflating a balloon and placing it in the back of your hole, the pressure caused by the balloon will allow you to put your backing and piece of drywall in place effectively, allowing you to cover up and sand over any holes in your wall. Using this innovative method, anyone will be able to fix holes in t...
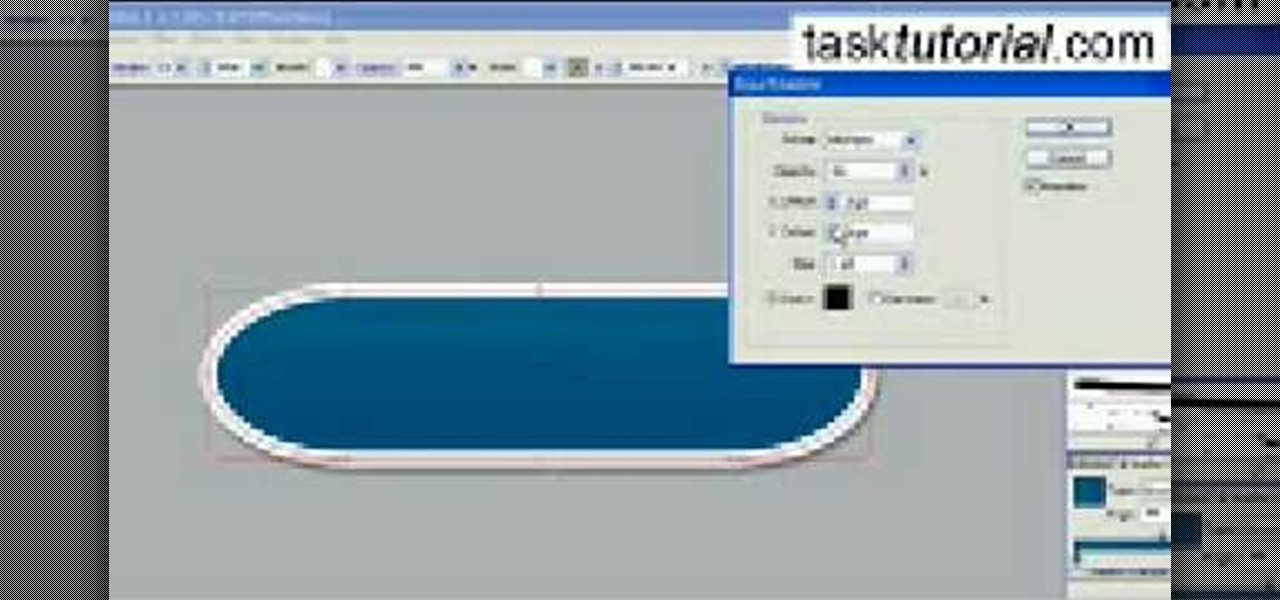
In this online video training tutorial, Task Training shows us, how to create a web button using Adobe Illustrator. The 1st step is to select the rectangular tool in Illustrator and set the size you want your button to be. The 2nd step is holding the shift key you can re-size your shape. The 3rd step is to give the button some color such as a gradient. The 4th step is to add a drop shadow to the button by going to Styles and then selecting Drop Shadow. The 5th step is add text to the button t...
The organizer pouch, a flat, rectangular, often multi-compartmented, nylon bag with zipper closure(s) is a great item that is becoming hard to find. They sometimes include see-through mesh panels, and are available in a variety of colors. These are terrific for avoiding what could otherwise be a cluttered mess in your bag. Give a little thought to organizing your belongings into categories and storing them in the pouches. This will help you keep track of those small items that have a way of g...

In this tutorial, we learn how to make a Deadpool sword. To do this, you will need: a marker, scissors, hard plastic, cardboard, silver spray paint, duct tape, saw, electrical tape, sandpaper, and hot glue gun. First, cut the plastic into three thin knife shapes. Then, use sandpaper to smooth edges. Then, use the cardboard to create three layers of a rectangle. Make the corners round and then tape around them with duct tape. Put a hole in the middle and then put it into the plastic. Now, glue...
Sometimes a good looking accessory can be made by using simple things and a little bit of your own ingenuity. This video is a perfect example of the same.
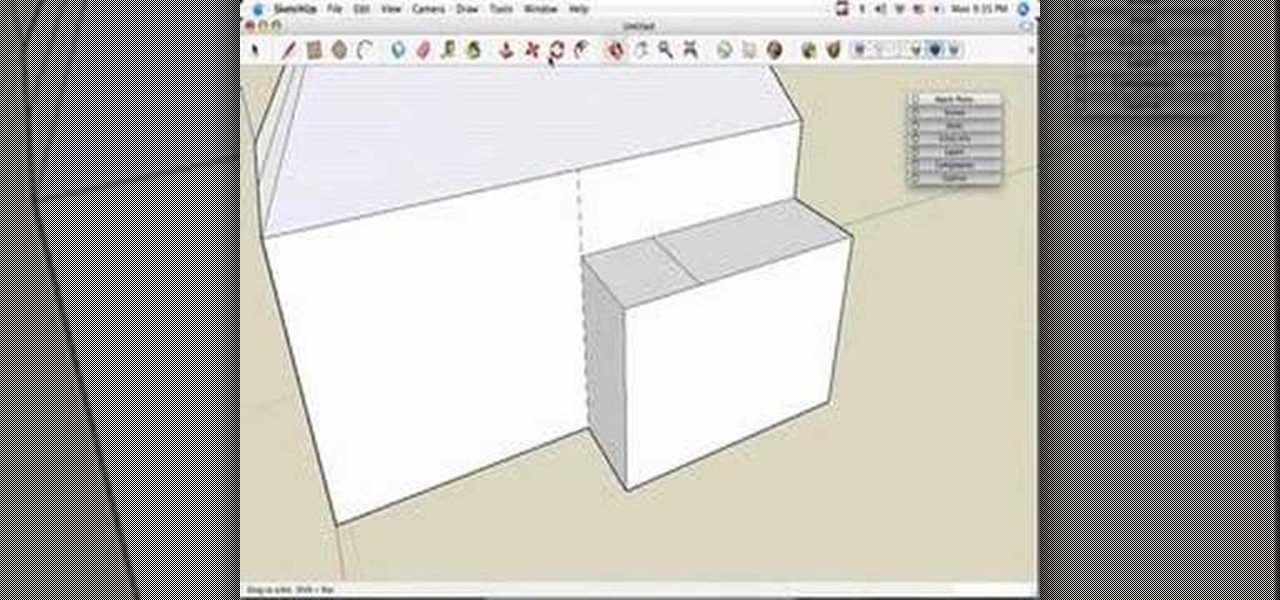
This video tutorial is in the Computers & Programming category which will show you how to build a simple house in SketchUp. Start with the floor plan, draw a rectangular main living space and attach a small extra room. Next you use the push pull tool and pull the house up to as high as you want. You can make it 21 feet. Now draw the roof line in the center of the house along the length and draw the lines for sloping part of the roof on either side. Now grab the center of the roof and lift it ...