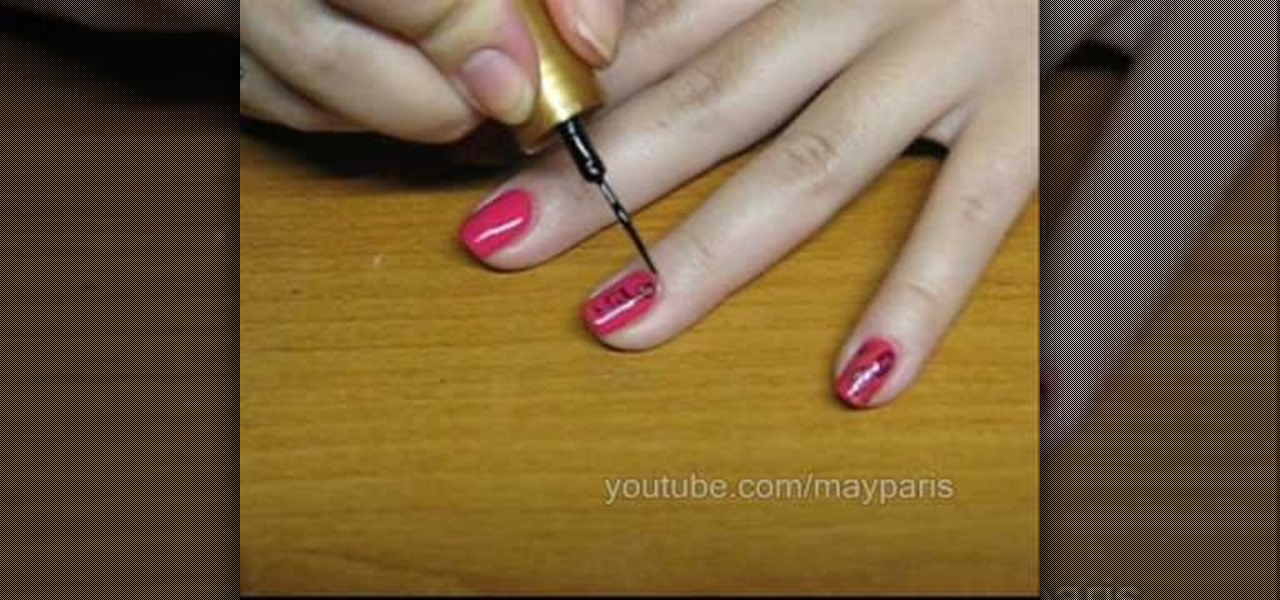
In order to paint a geometric, tribal, ornamental design for your nails, you will need the following: base coat nail polish, hot pink nail polish, a gold/brass/copper nail polish, a dark nail polish, and a clear top coat or a shimmer.
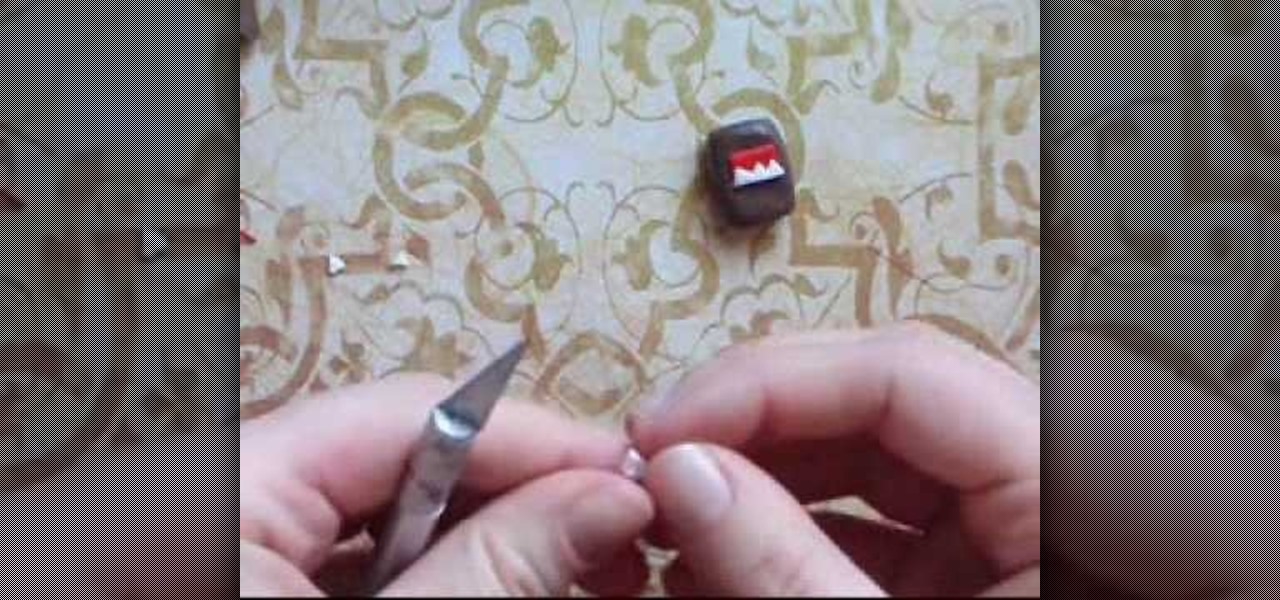
Domo Kun, also affectionately and poignantly known as Domo, is one well off Japanese cartoon character. While he's actually nothing more than Japanese TV show NHK's mascot, this rectangular shaped monster with a need for gobbling up yummy food has his own line of fan merchandise, including plushies, toys, t-shirts, notebooks, and really the list goes on and on. He's also the star of some stop-motion animation episodes by Tsuneo Goda.
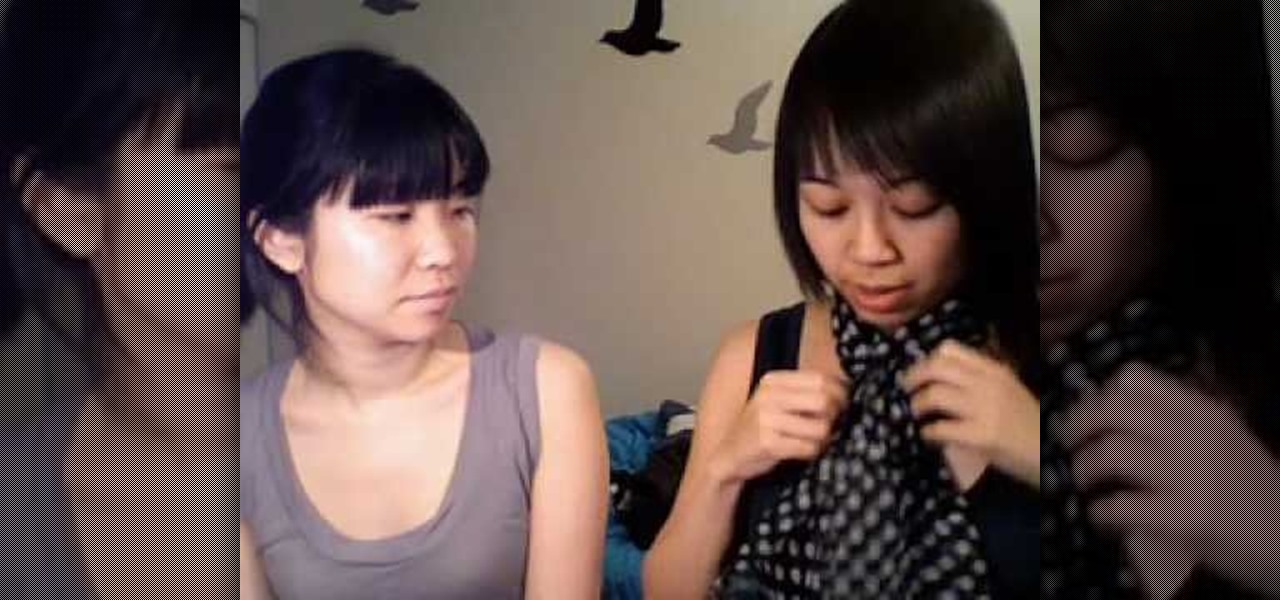
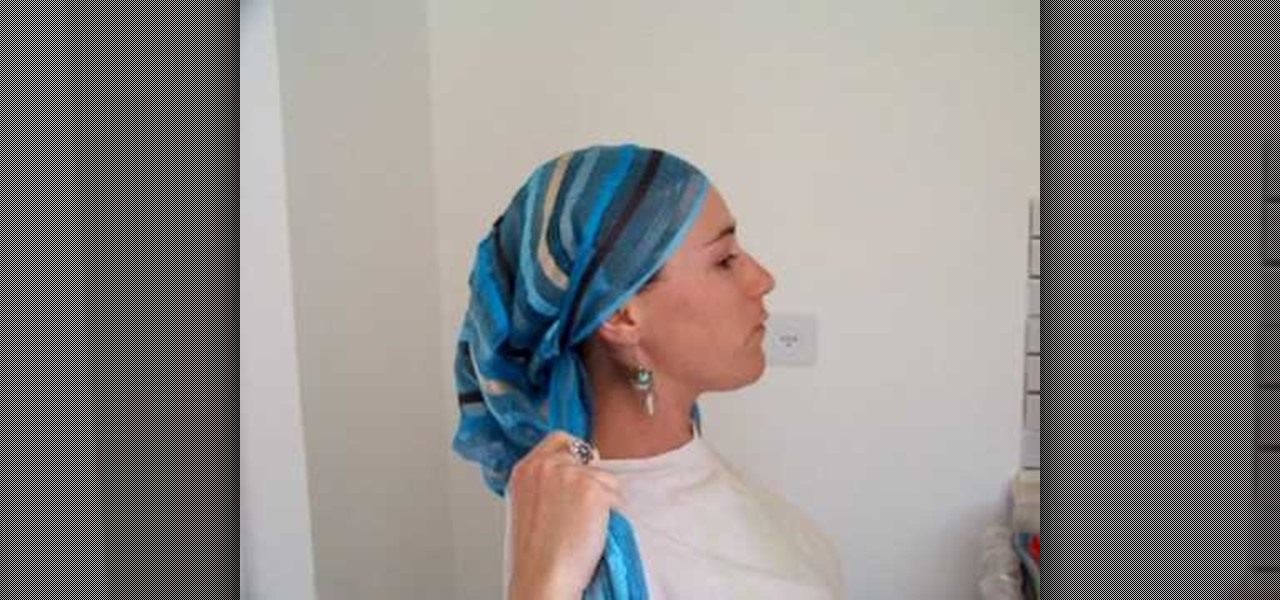
In this video, we learn how to tie scarves. The first way is to wear a scarf with tassels that is wrapped once around the neck with it's sides hanging down in front of you. With a skinny scarf, you can tie it around your head to make a headband or fold it in half and wrap it around a pony tail. If you have a rectangular scarf, you can tie it in a loop around your neck, or make a loose knot on your chest in front of you. If you want a polished look, tie a bow in front with the scarf. A square ...
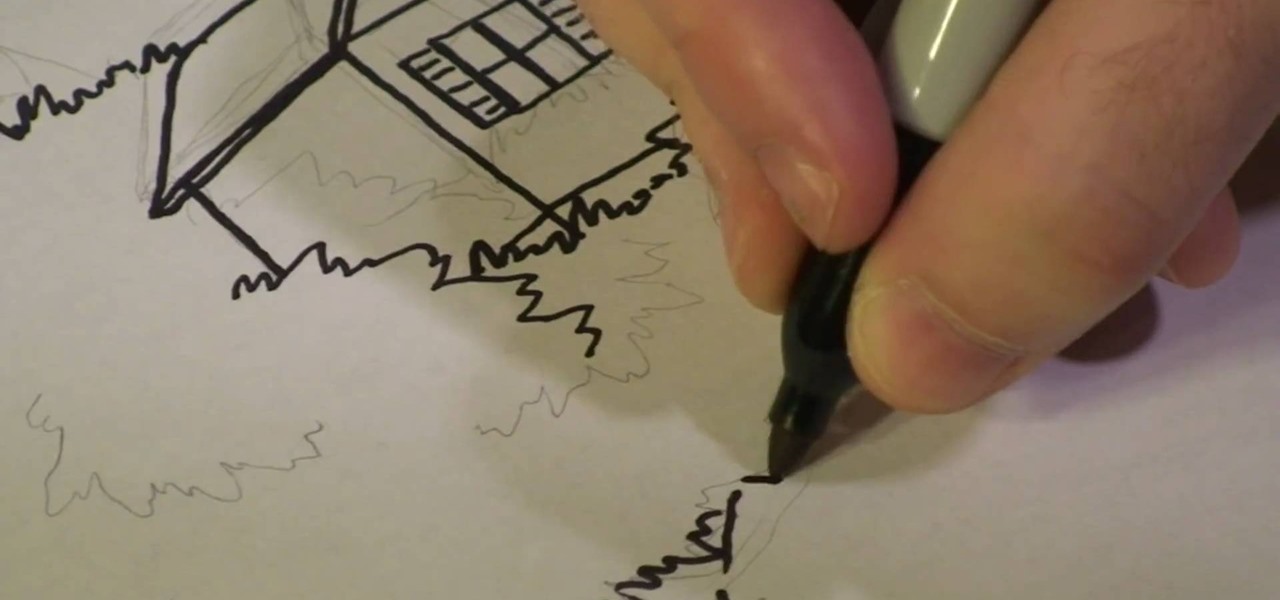
This video by Michael Weisner will show viewers how to draw a tree house using a white piece of drawing paper and a writing utensil. In order to save time, the drawing had been roughly outlined in pencil. A rough outline of the desired picture may help before you begin your drawing, otherwise, you may proceed without it. First, you should begin by drawing the base of the tree, which is a simple trunk with roots. Make sure to leave some space along the trunk in the form of missing pieces along...
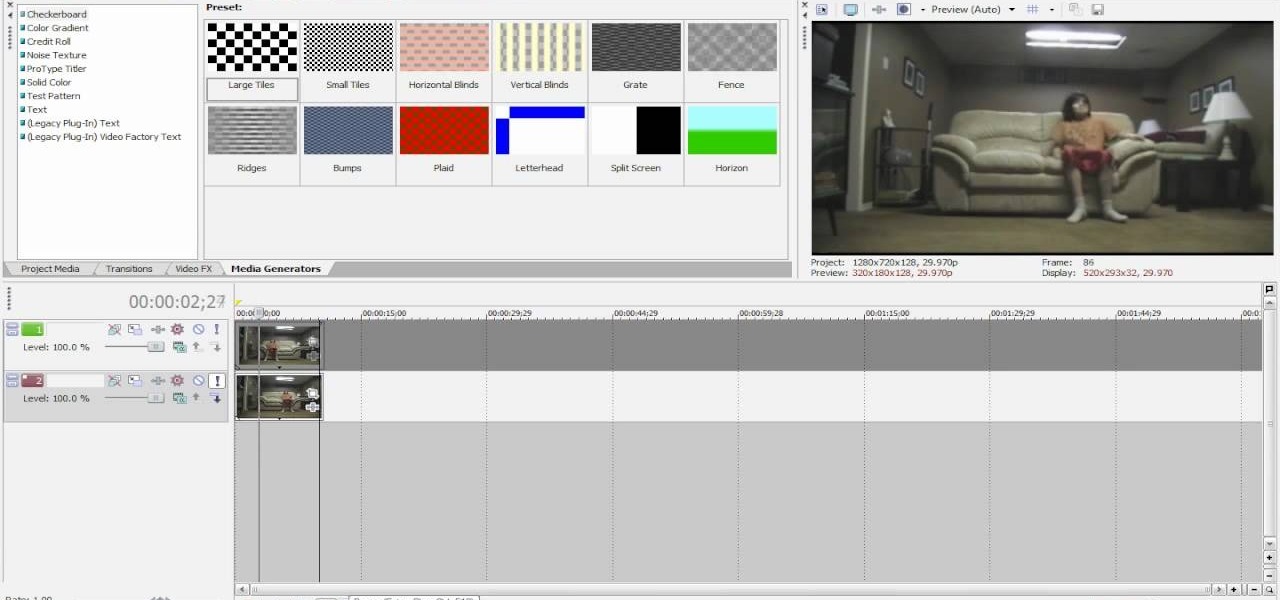
Prepare two video clips which are on entirely the same scene or spot. Shoot the first video clip so that the actor enters and leaves the scene from the left. Then, shoot the second video clip so that the actor enters and leaves the scene from the right. On your Sony Vegas Pro application, layer both video clips together. Create a rectangular mask on the first video to indicate which part of the scene should only be shown. Add a little bit of feather effect so that the first video will blend i...
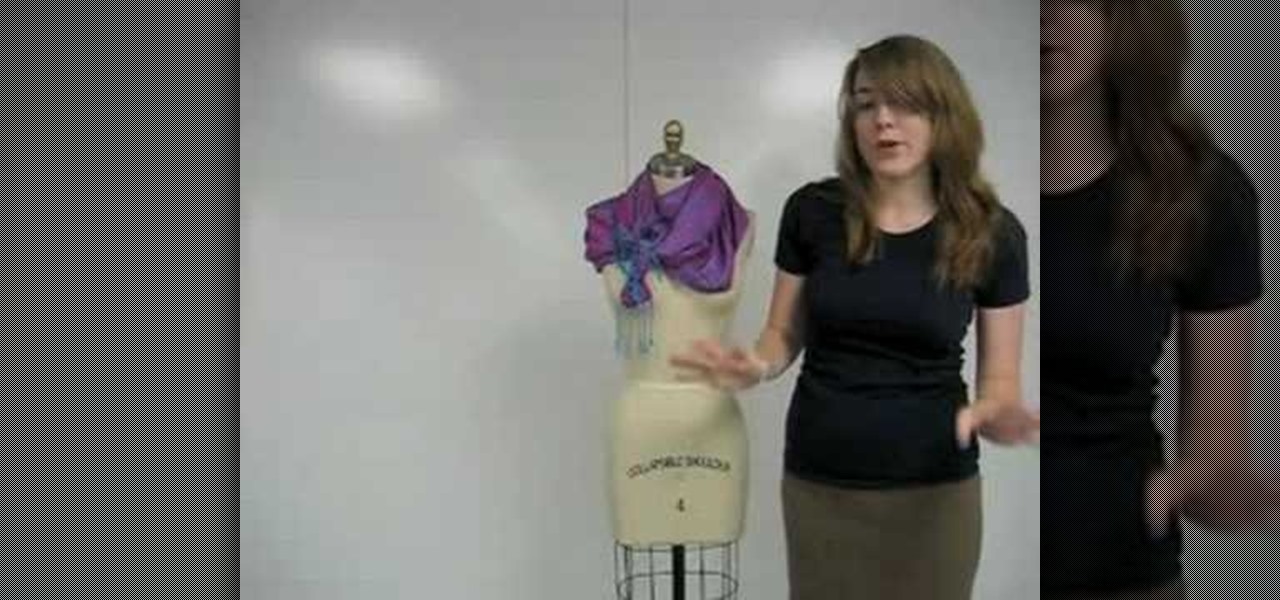
Scarves are some of the most fun accessories to have since they spice up any outfit. Whether they're long or short, neutral or graphic, made of light cotton or thick wool, they instantly tie all your clothes and other accessories together.

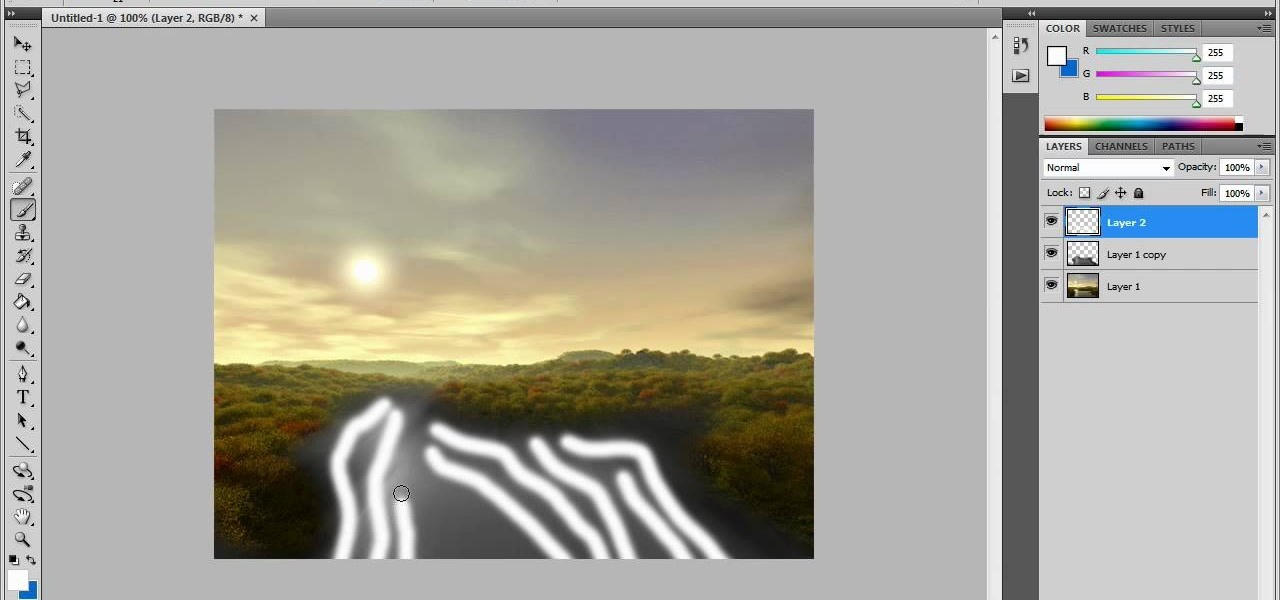
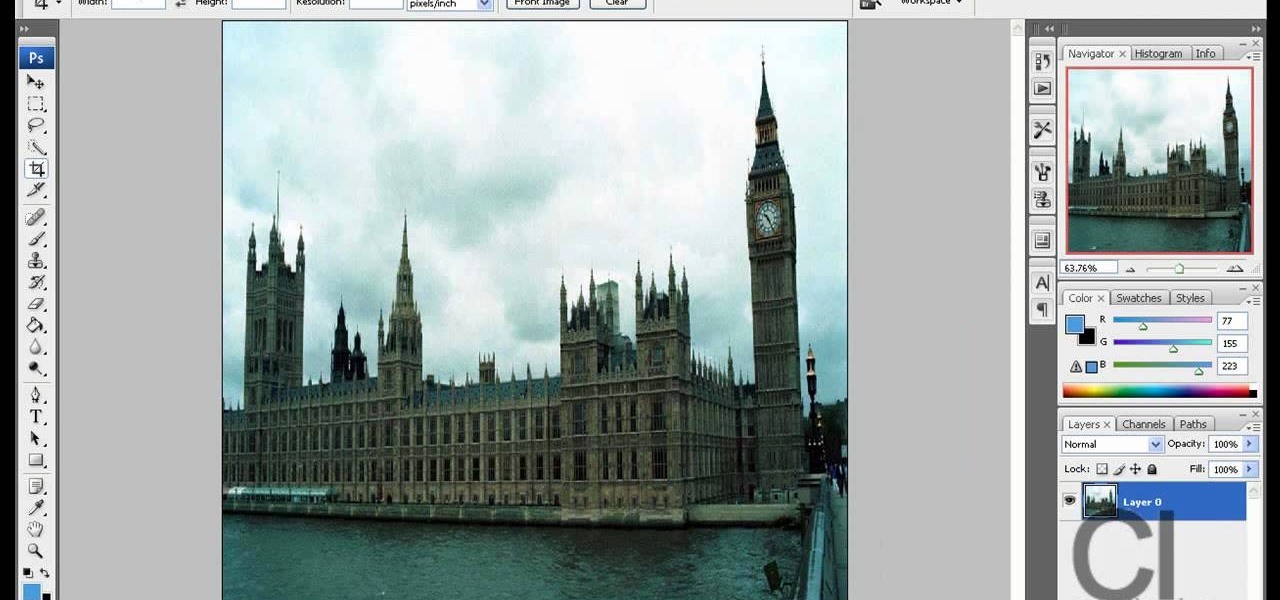
In this video tutorial, viewers learn how to create fog using Adobe Photoshop. Begin by importing the image into the program and duplicate the image. Now go to Filter, select Blur and select Radial Blur. Set the amount to 100, Blur Method to Zoom and Quality to Best. Now select the rectangular marking tool and select the sky. Then open the Hue/Saturation menu and set the Saturation to -100. Use the eraser tool to remove the gray from the edges. Now use the paint tool and paint white streaks o...

This is a video tutorial showing its audience how to link a button to external urls in Flash CS3. First create a exoscript 3 document with a rectangle textbox that says youtube. Next select your rectangular box and convert it to a button. Next name your button and click okay. Next give your new button an instance name, remember this name. Now click on actions and create your actions. Start with a stop action and then put the name of the button as an action. Next name your function that you wa...

In this video, we learn how to create a picture frame on a photo using PhotoShop. First, open up the program and open the picture that you want to change. Next, select the rectangular marquee tool from the toolbar on the side. Now, create a selection of what you want to frame. Then, click with the right key and select "inverse". Click again with the right key and choose "layer via copy". Now, click 2 times on the layer to open and the layer style menu will show up. Now put the contour to crea...

River City Graphix Tutorials demonstrates how to make a reflection in Photoshop. First, fill the background layer with black. Then, select the text tool and a color of your choosing. Type the words that you would like to reflect. Next, duplicate the layer to make a copy of the layer. Hold shift and bring it down, setting it on the bottom of the other layer. Select the rectangular marquee tool, right click to get the free transform tool. Right click again and then flip the image vertically. Se...

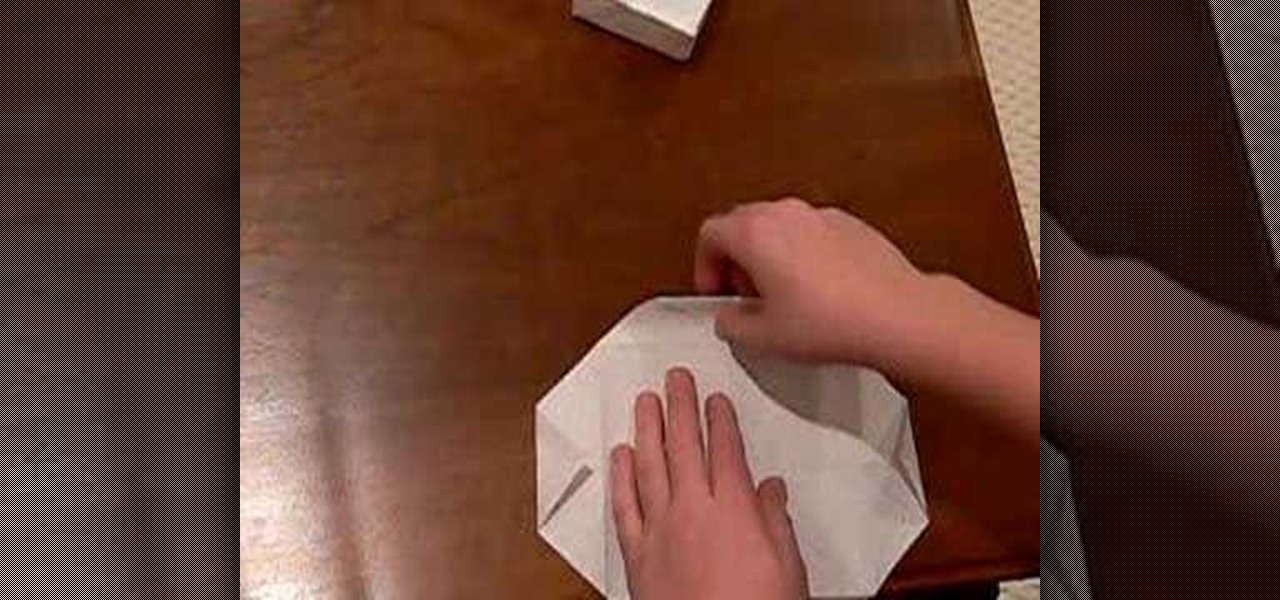
This video shows you how to make a simple paper popper in three simple steps. Take a rectangular piece of paper and fold one quarter over. Fold it over once again in the same direction. Flip the paper over and make it into a square by folding again. Open out the side just a little bit, so that you can see the fold still inside. Sweep your arm down from a height really quickly and you will hear the sound of a "crack" as the paper pops on the way down. You can do the same thing again if you ref...

Save some money on your energy bills by making an attic stairway box. For less than twenty five dollars, all you need is caulk, UL181 masking tape, insulated sheathing, and rubber foam sticky tape. Measure the width, the length, and the depth of the attic stairway opening. Lay the insulated sheathing down on the floor and get a straight edge. Take those measurements and create a rectangular box. Mark out six pieces to create the parts of the box – two large top pieces, and four shorter side p...

This how to video is for people looking to learn how to tie a scarf attractively. Get a long scarf for your head and place the middle of it on the top of your head. Gather each end in the hand closest to it in the middle. Turn it around by pulling it behind your head and tie the ends over each other. Next step tuck the scarf behind your ears if you like it that way. Then twist the left end around your head. Create a bun with your hair and the scarf in the back using the final side to tie it up.

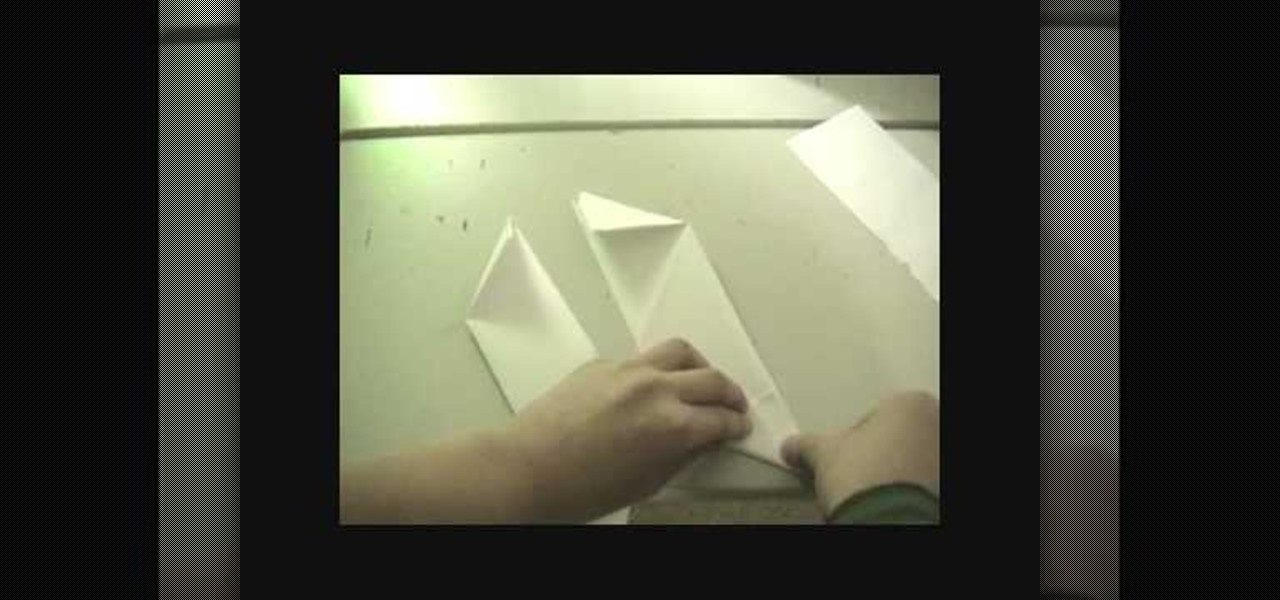
In this Weapons video tutorial you will learn how to fold a ninja star (shuriken) out of paper. Take a square piece of paper and fold it in half and tear it off to get two pieces of rectangular paper. Fold each piece of paper in half lengthwise. Then fold one end of each paper like a triangle. Fold the other end in the opposite way. Now fold both the ends to get a bigger triangles and the final shape of the paper should be like ‘Z’. Put both the pieces over each other in the form of a cross. ...

This video illustrates the method to Make a nuno felt purse. You need colored paper, a piece of cloth and a pair of scissors to make it. This process is comprised of the following steps -Step 1Cut a oval shaped figure from the sheet of colored paper. Make a crease in the middle and fold the paper.Step 2Cover the paper with the cloth piece. Stitch the end of the piece of cloth and cut the cloth in a proper manner.Step 3Make the oval shaped figure into a rectangular figure. Add some nuno paste ...

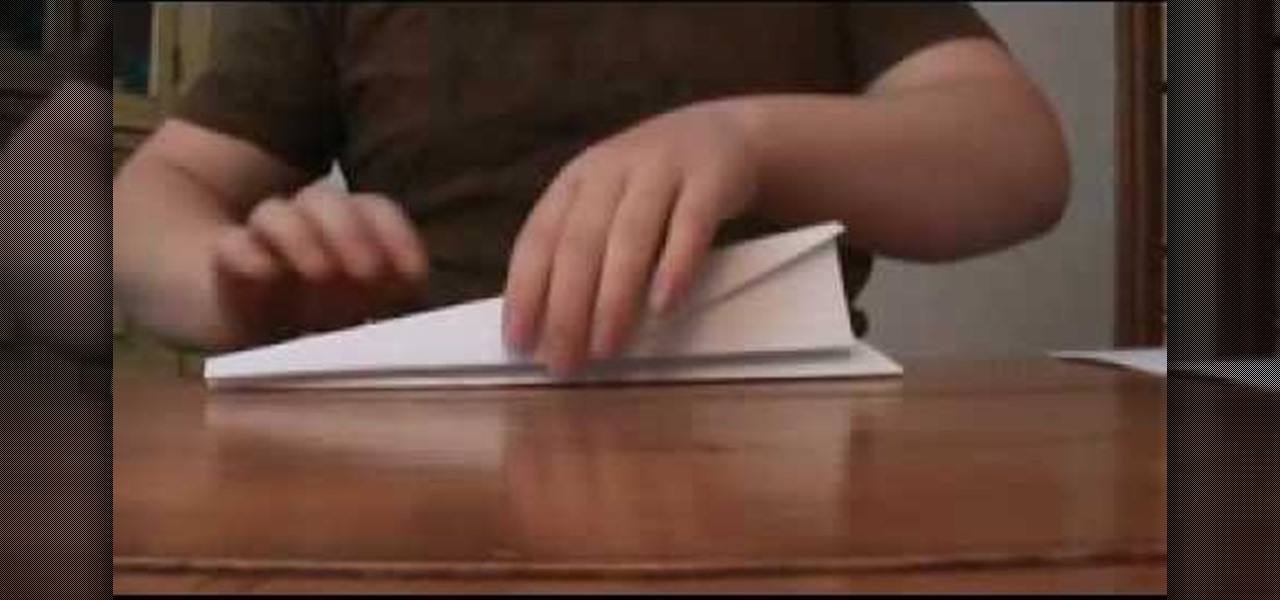
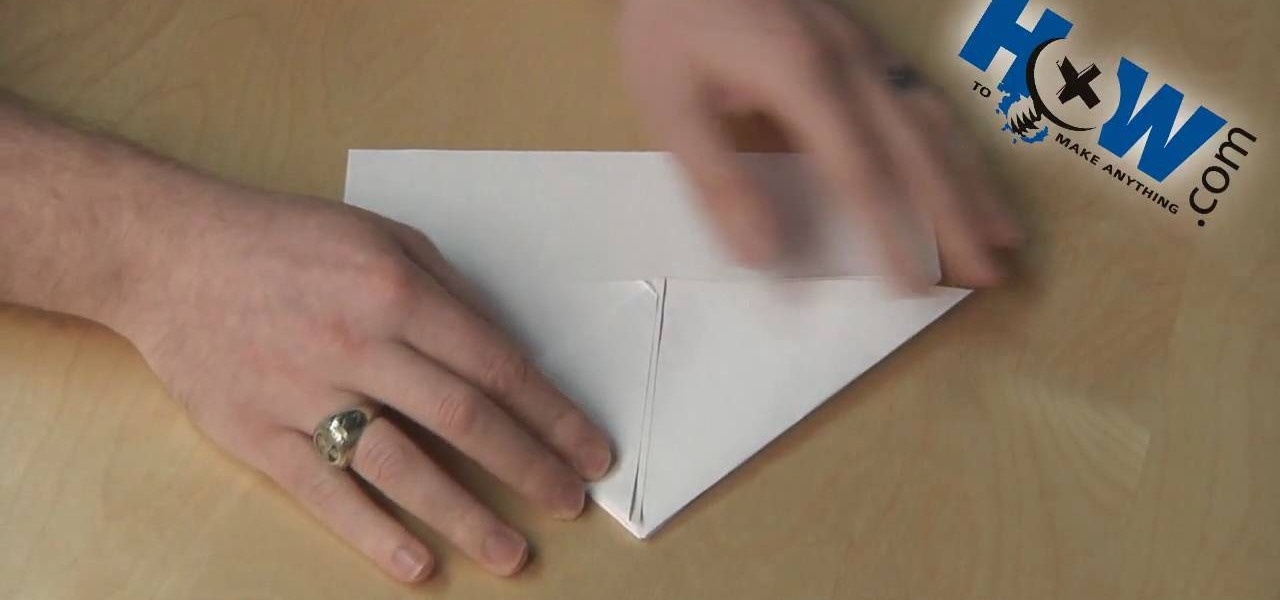
Making a paper airplane that will fly far is useful for throwing in a competition. If you want to know how to do that you should watch this. 1. Roll the right corner toward the middle of the rectangular paper and then flatten it. Do it on the left corner. 2. Fold the paper in half (lengthwise). You should have two big wings now. 3. Fold the left wing into half (lengthwise). Do it also on the right wing. You're done. After following these simple steps, you can now challenge your friends.

Folding fitted sheets is always trickier than folding a conventional rectangular sheet. First, throw the sheet onto the bed. Then use your hands to tuck all the corners in on themselves. Then lay the sheet back down and straighten it. It makes a horseshoe shape with its elastic. Then fold one corner over the top so that all your elastic hangs over one hand. With the other hand grab the other corner so you can lay it down flat in a half moon shape with all the elastic together in one place. Th...

This helpful video gives simple step by step instructions on how to find area and volume of prisms. To find the area of a prism you must first find the area of the base, it may be rectangular, triangular, or otherwise. You must then multiply the area of the base times the height. Examples of all types of scenarios are given to better explain the method of finding the area. To find the volume of a triangular prism you must first find the area of the base. The next step is multiplying the area ...

First of all take a rectangular sheet of paper. Now take a corner and fold it across to meet at the corner. Now crease it. Now take another corner and fold it over to the other side and crease again. Now bring in the x as shown so the sides are drawn inside and they form a triangle. Now crease it. Now take one corner of the triangle and bring it to the top. Now crease it. Now do it similar for the other corner. Now fold the bottom piece over and bring it to top. Then fold once again as shown....

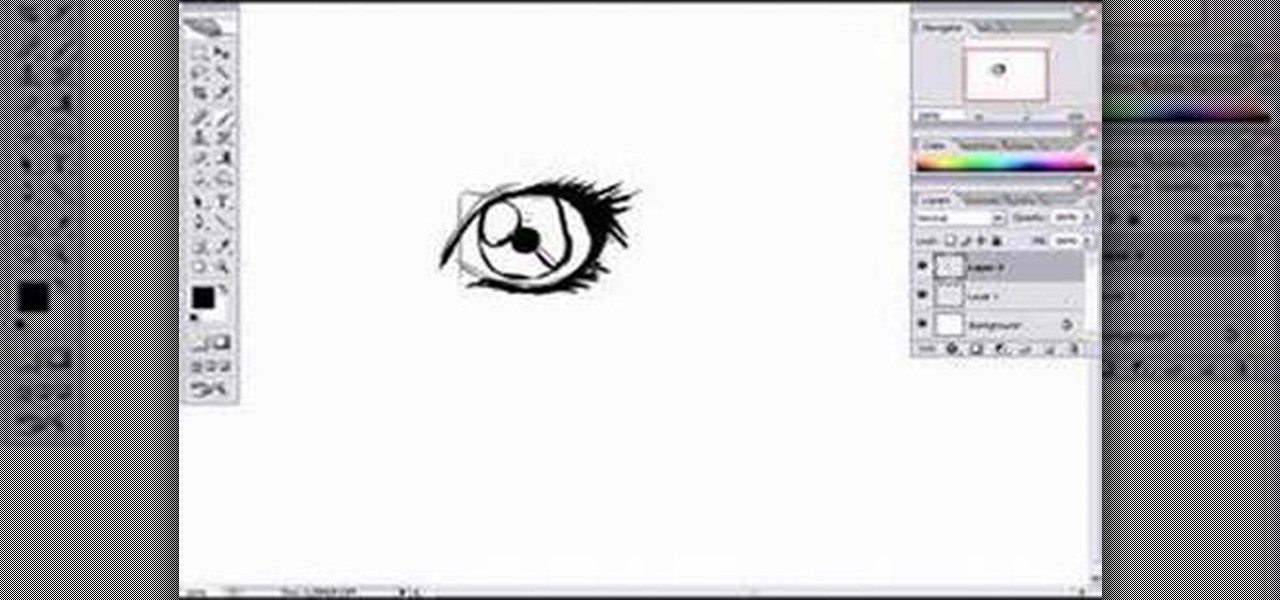
In this video tutorial, viewers learn how to draw a female eye using Photoshop. Begin by creating a rectangular box. This will contain the eye. Now draw the shape of the eye in the box. Now add in the details. Draw in the shape, eyelashes, eye brows, eye lids and eye ball. When drawing the lashes, draw them as a mass instead of individually. Then add the eye lids with a few lines above the eye. Then draw two circles for the eye (eye ball and pupil). This video will benefit those viewers who e...

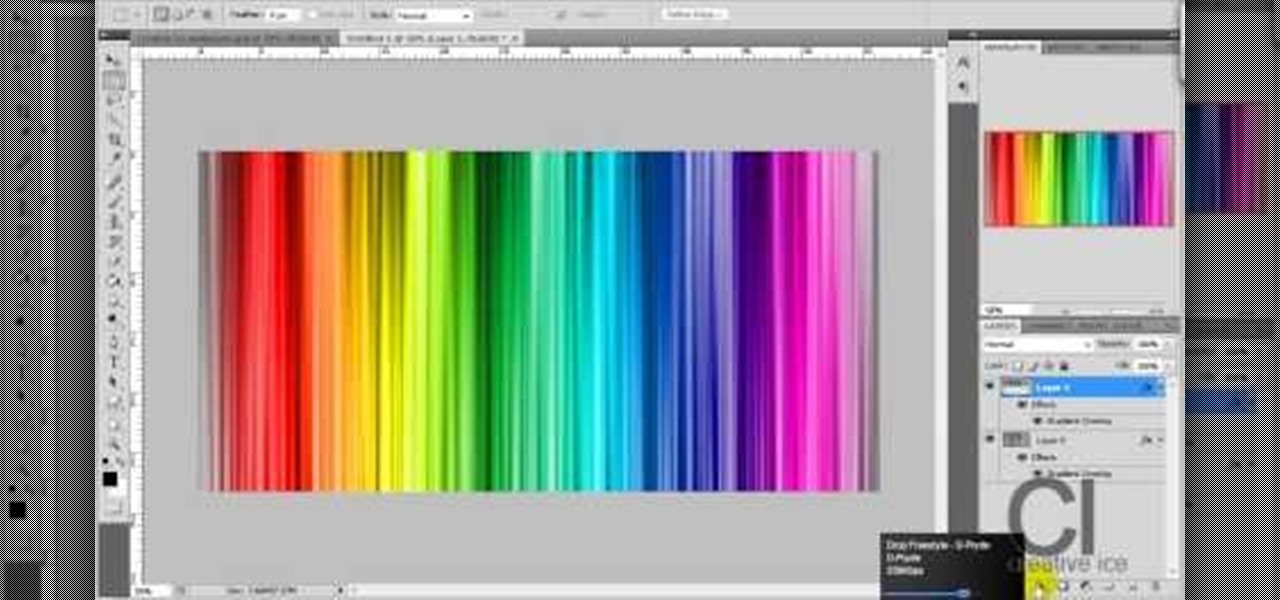
Adobe Photoshop CS4 lets you create images and graphics that represent your personality. This video tutorial demonstrates how to make a quick, cool, and easy wallpaper design for your personal computer desktop. Either copy the provided example, or make your own tweaks and come up with a cool custom design.

In this video tutorial, viewers learn how to draw the character Sokka, from the show Avatar and the Last Airbender. Begin by drawing a circle for the head and a rectangular torso. Add the arms and a boomerang in one hand. Now add the legs and feet. Draw some guidelines on the face and add the hair. Draw the face and start outlining the whole image. Add the details while you outline. Erase the guidelines and start adding the color. This video will benefit those viewers who enjoy drawing in the...

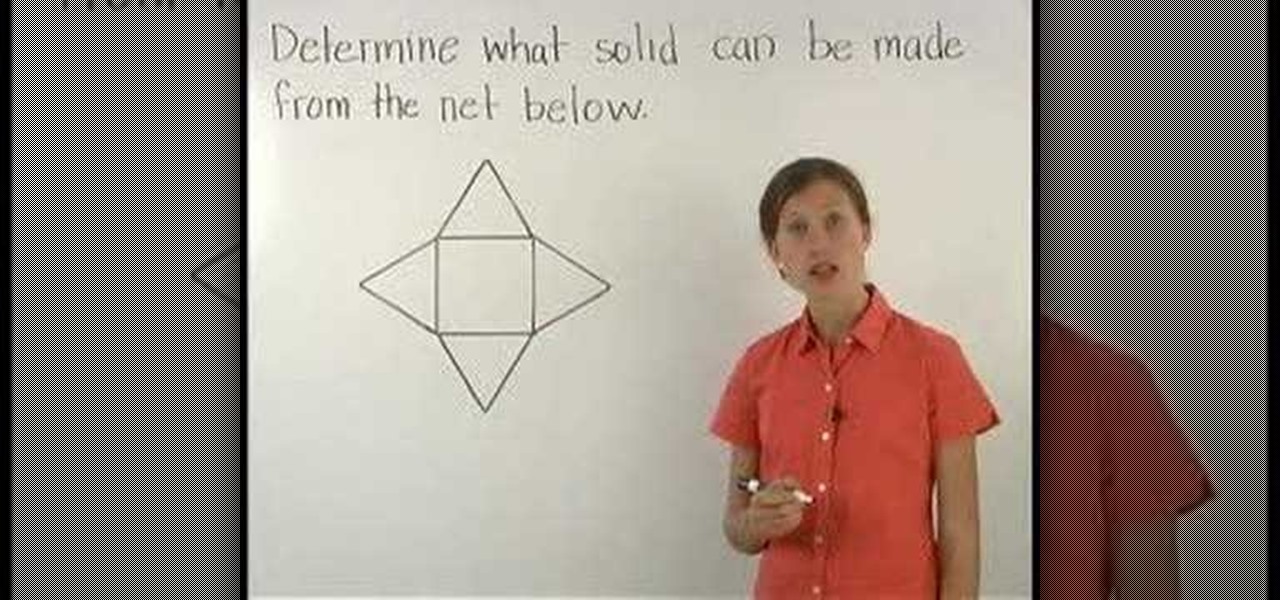
Viewers learn that a net is the shape formed by "unfolding" a 3-dimensional figure, so a net shows all the faces that make up the surface area of the figure. Viewers are then asked to determine what type of 3-dimensional figure can be made from a given net (note that a cylinder has 2 circular bases, a pyramid has triangular faces, a cone has 1 circular base, and a prism has rectangular faces). Students are also asked to determine if a given net can be used to make a cube. This video will bene...

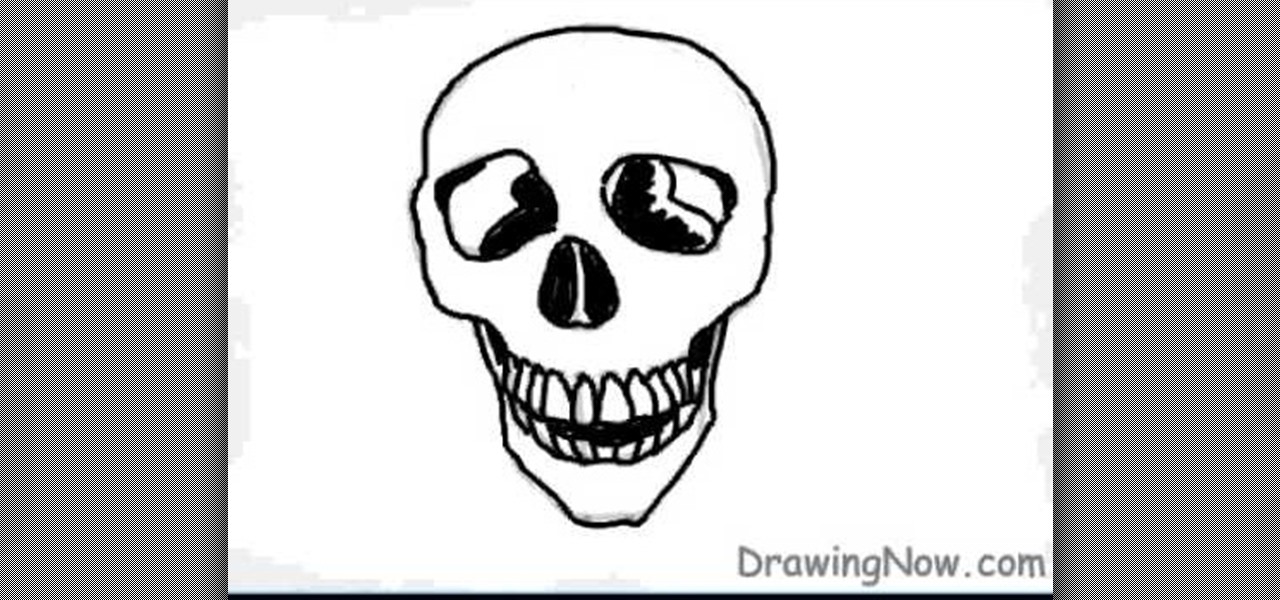
In this video tutorial, viewers will learn how to draw a skull using a computer. Start by drawing a circle for the head and a rectangular shape at the bottom. Draw a line in the center as a guideline. Then draw the eyes, nose and mouth. Now outline the skull and add the details. Shade in the eye sockets, nose and mouth. Now you can erase the guideline. Start coloring the skull to a preferred color. Then add in a darker color around the skull to shade it. Finally, outline the skull and color t...

In this video Danny Lip ford is showing how you can convert an old sponge mop into an inexpensive pole sander for your household purposes. For this, take an old sponge mop and remove the sponge from it by loosening the screws. Then cover the rectangular sponge fully with the sheet of sand paper. Now screw back the sponge with sand paper to the head of the mop. You can do your sanding in the wall very easily now. If you were to use just a sheet of sandpaper and sand the wall, it would take a l...

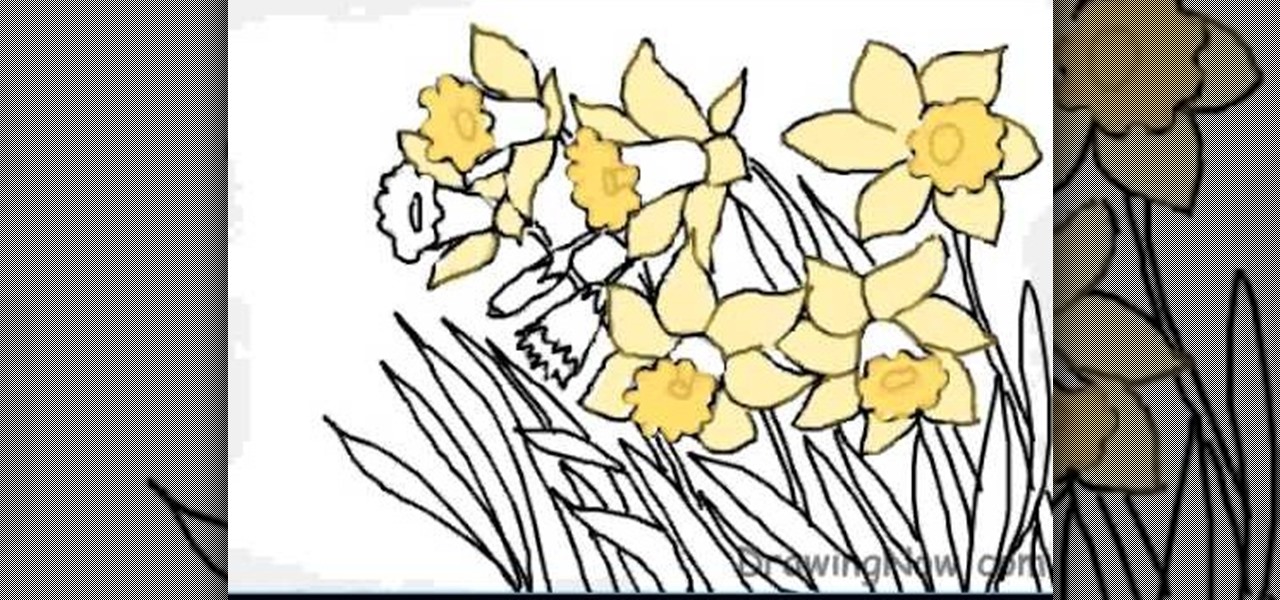
The first step is to draw the daffodil's outer parts carefully. The second step is to draw the circle shape for inner surface of flower.

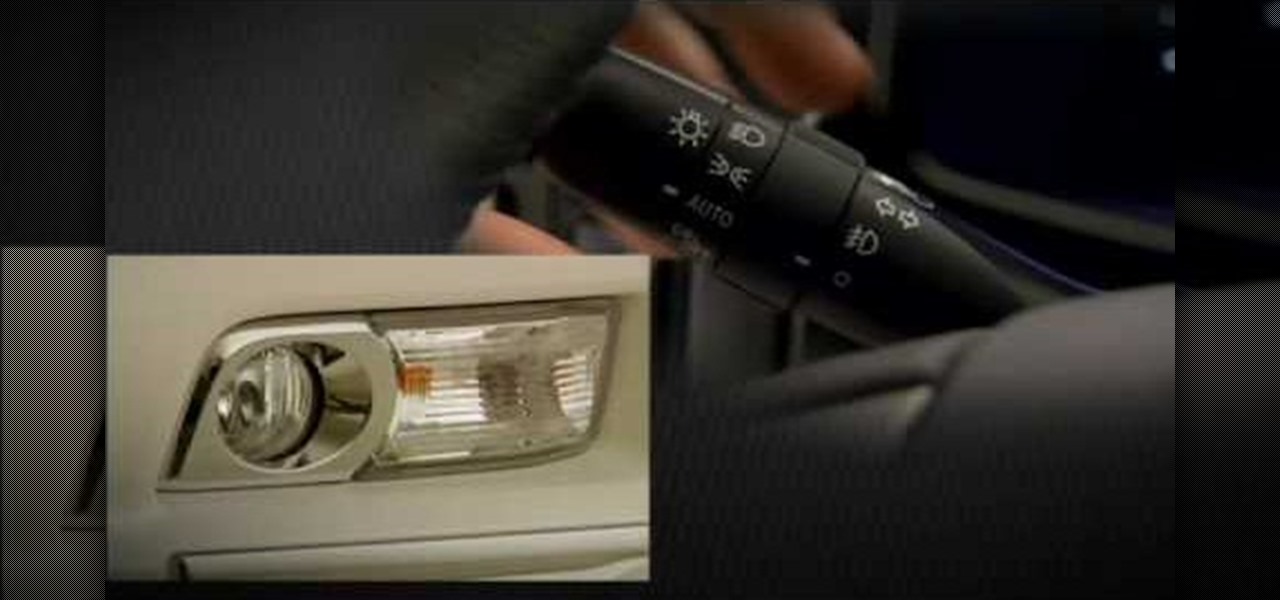
This video shows a quick demonstration of how to turn the fog lights on in Toyota 4Runner. If using fog lights, they're turned on by rotating by rotating the inner control ring on the handle with the light controls on it, to the left of the steering wheel. Fog lights will only come on when the headlights are on low beam. The fog lights are the circular lights on the front of the vehicle, next to the rectangular headlights. If you have a new Toyota 4Runner, this video will show you where the f...

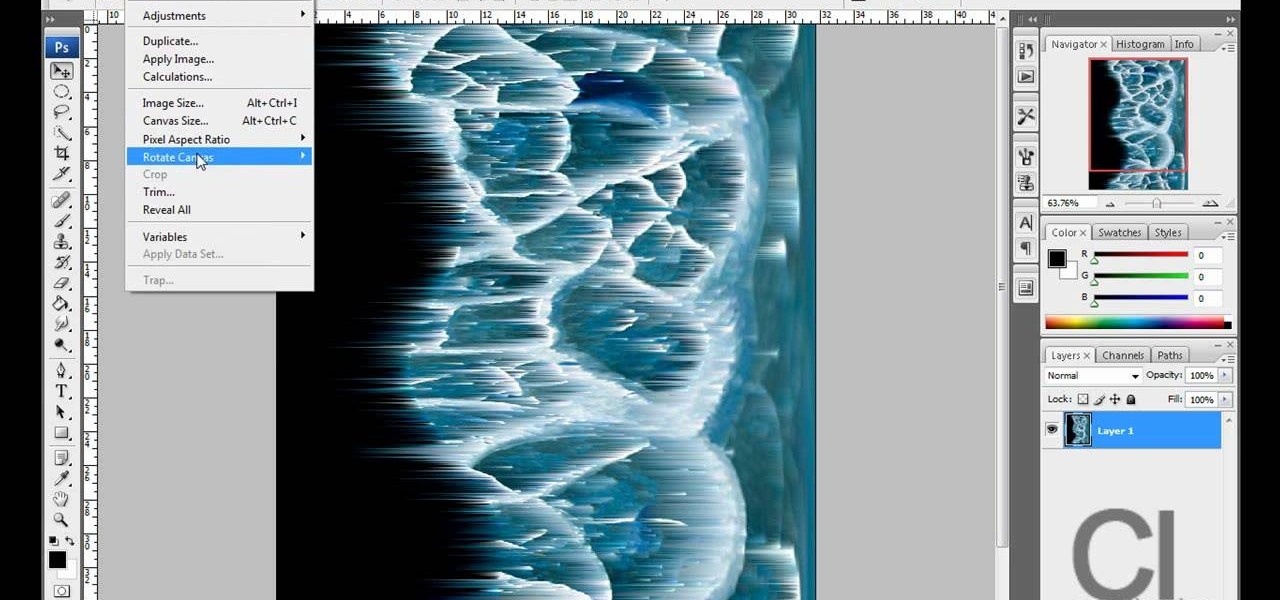
Watch this video to learn how to make a little planet effect in Photoshop. Go to Image>Image Size and resize the picture making the width and height equal . Don't forget to unmark the "Constrain Proportions" option. Now that you have a squared photo go to Image>Rotate Canvas>180. Go to Filter>Distort>Polar Coordinates and select the option "Rectangular to Polar". Now rotate as you want to and remove any failures.After you select the picture, make sure the sides are alike and that the horizont...

Mind you now, that using a normal rectangular piece will not give you the desired results. You must use a square piece of any size. Start by making two diagonal folds for each corner to corner cross section. Now do two hot dog folds, like wise, then take each corner and fold it into the middle so it resembles triangular tabs. Now take these tabs and once again fold them in half but up to the outside of the paper, resembling another triangle. Fold Over, and do as shown in the video for the bes...

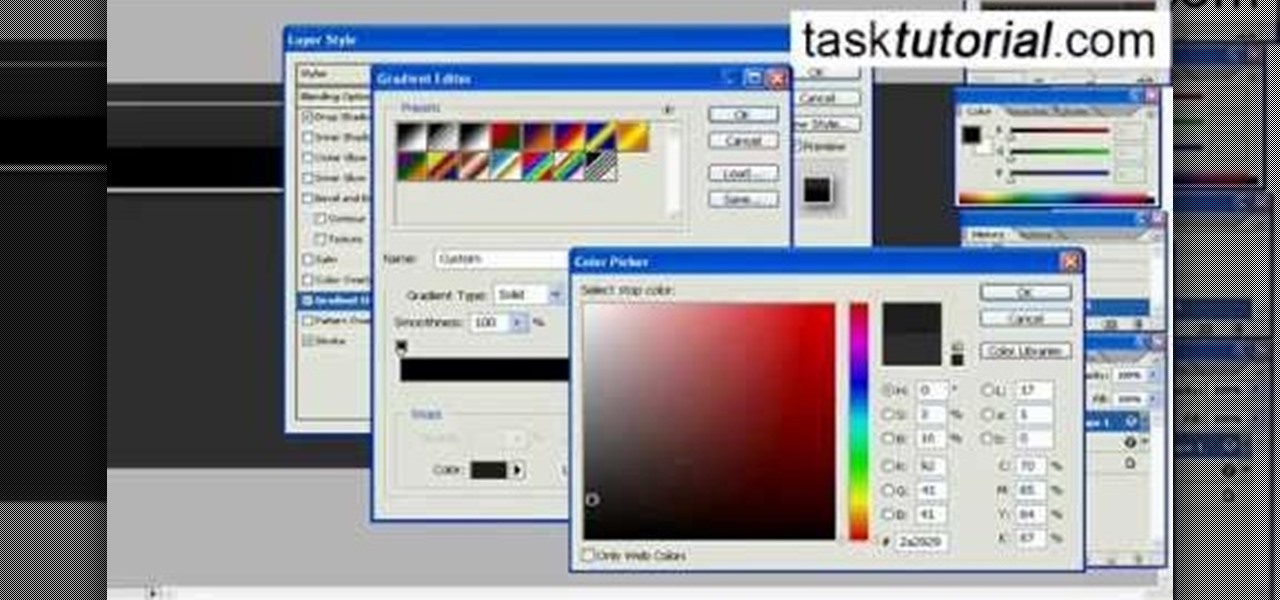
This video instructs you on how to make a stylish bar with metallic text in Photoshop. First, you create a rectangular bar. Then create a layer with a stroke size of two pixels and a white color. Using the drop shadow on the menu, you set the opacity to sixty percent, distance to five pixels and size to about fifteen pixels. You will select gradient and create a gradient overlay. Then adjust your gradient and the text. Move it to the place you like best and you will have a bar with metallic t...

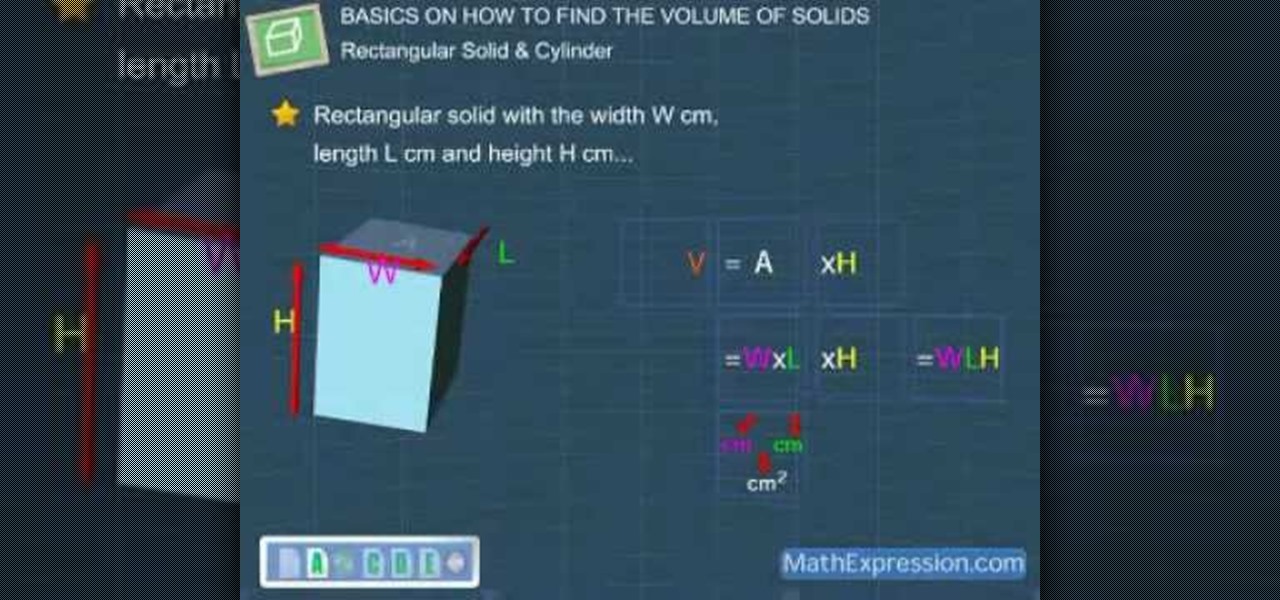
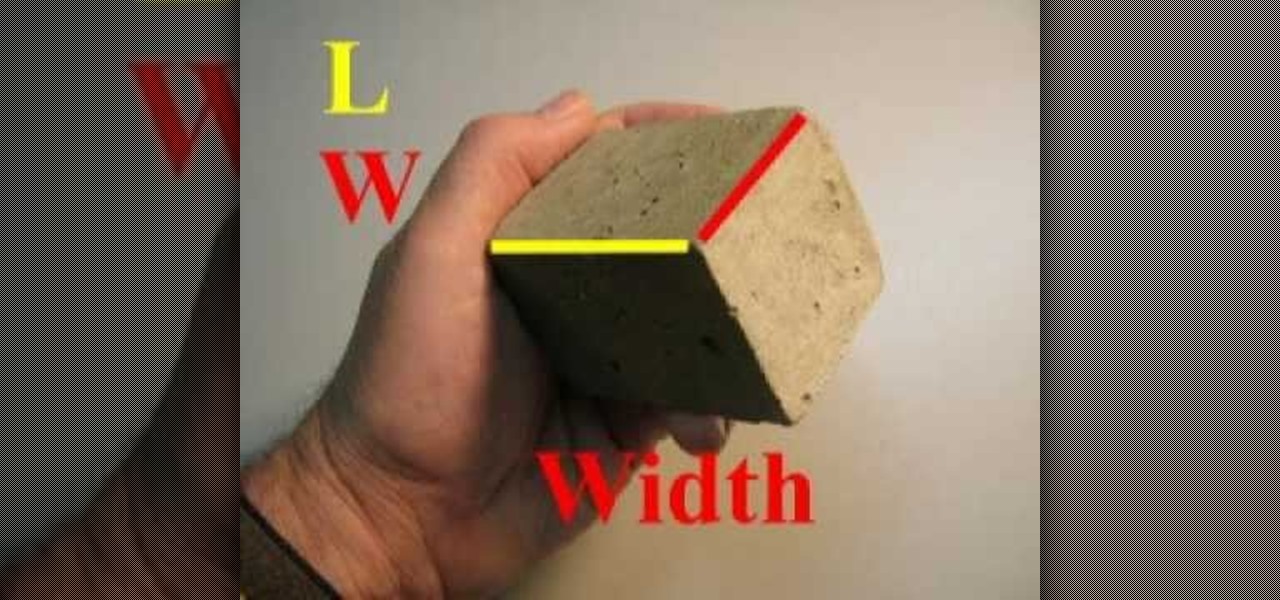
This video shows the process of finding the volume of solid. The video is simple and easy to comprehend. The video takes the example of a rectangular solid and a solid cylinder to explain the method to find the volume. The video shows the step by step method to find the volume. The first step involves finding the area of base. After this, the area is multiplied by the height to find the volume. The unit of measurement is also taken into account in the video.

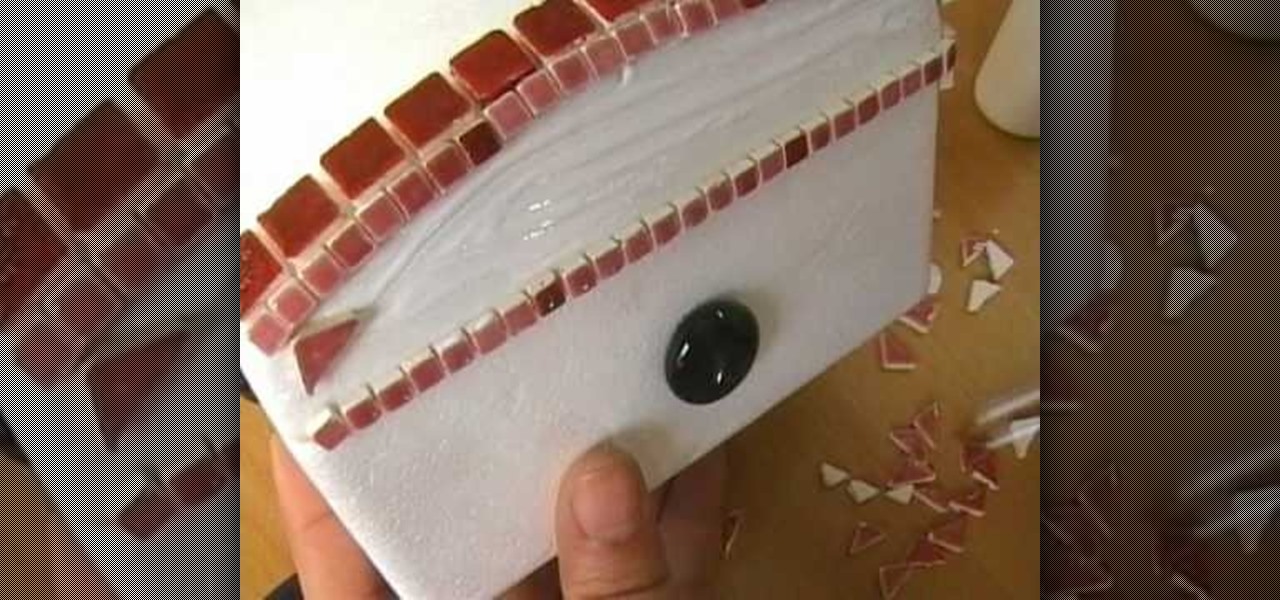
This video demonstrates making a mosaic jewelry box. A plain jewelry box is decorated using different shaped pieces of glass. First, round flat glass pieces are glued in the center of the top and sides. Then a ring of glue is put around the circle and rectangular pieces are glued around that. Square tiles are used around the top edge, and odd shaped pieces are used to fill in the rest of the surface area of the box. After it has dried for two hours, a glaze is applied to the entire box. This ...

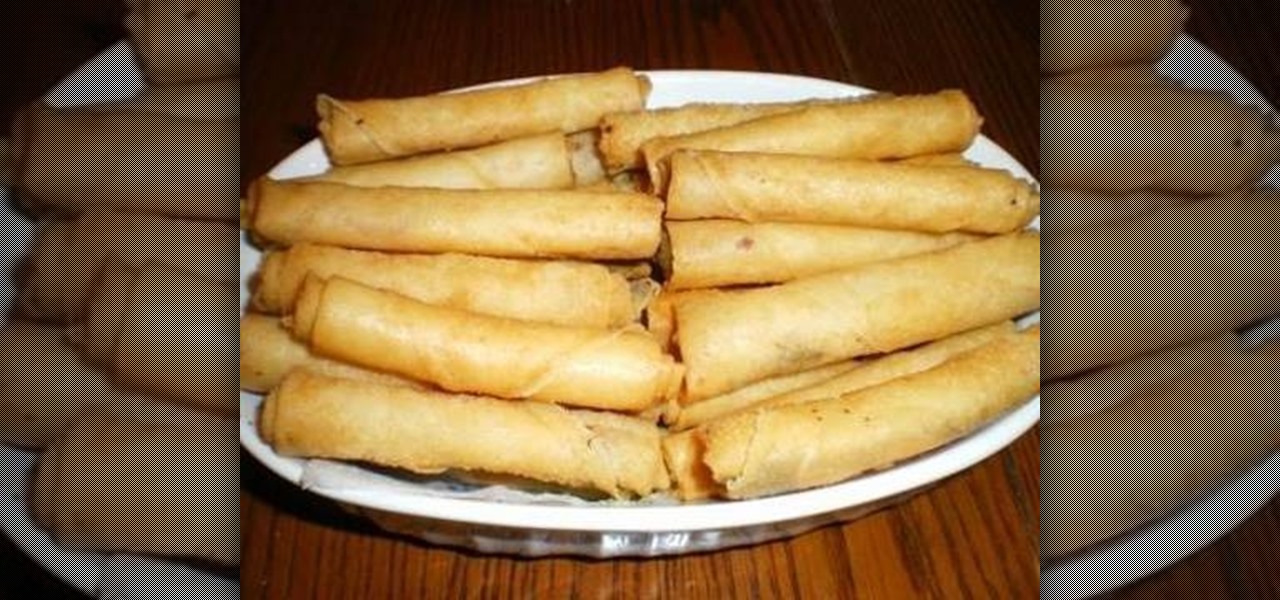
This recipe shows how to make Pinoy cheese sticks. You will need spring roll pastry wrappers, cooking oil, and cheddar cheese. Place a wrapper on a plate and add a rectangular piece of cheese diagonally closer to one end of the wrapper. Fold the ends in, then fold and roll up the cheese stick like an egg roll. Seal the end with a little oil. Assemble all the cheese rolls the same way, then deep fry in hot oil until they are golden brown in color, which takes about four minutes. Remove them an...

This science video explains the relationship between buoyancy and density using hot air balloons, fish and cruise ships as examples of objects using buoyant force. This video tutorial also includes instructions for calculating the density of a rectangular prism and a liquid. If you like science experiments, you can't miss this one.

Take a lesson in architecture from renowned architect Doug Patt by watching this video tutorial. If you want to learn about drawing and designing, without going to school, Doug's just the teacher. Watch to see how to design and draw an architectural bridge house.

The Galaxy S9 and S9+ have terrific cameras that are packed with awesome features. But if you've grown tired of taking and viewing photos on only a part of your screen, Samsung has built in settings to let you take full advantage of their flagships' Infinity Display.

Open another canvas. It doesn't matter what size you make it, as long as it is the same size or bigger than the area you want it to cover on the image. Open a new canvas by going to "File" and clicking "New." Select your dimensions and click "Okay."

Planet are cool and explosions are awesome so what could be better than an exploding planet. This tutorial will how you how you can create an exciting and adrenaline invoking exploding planet in Adobe Photoshop without too much work.

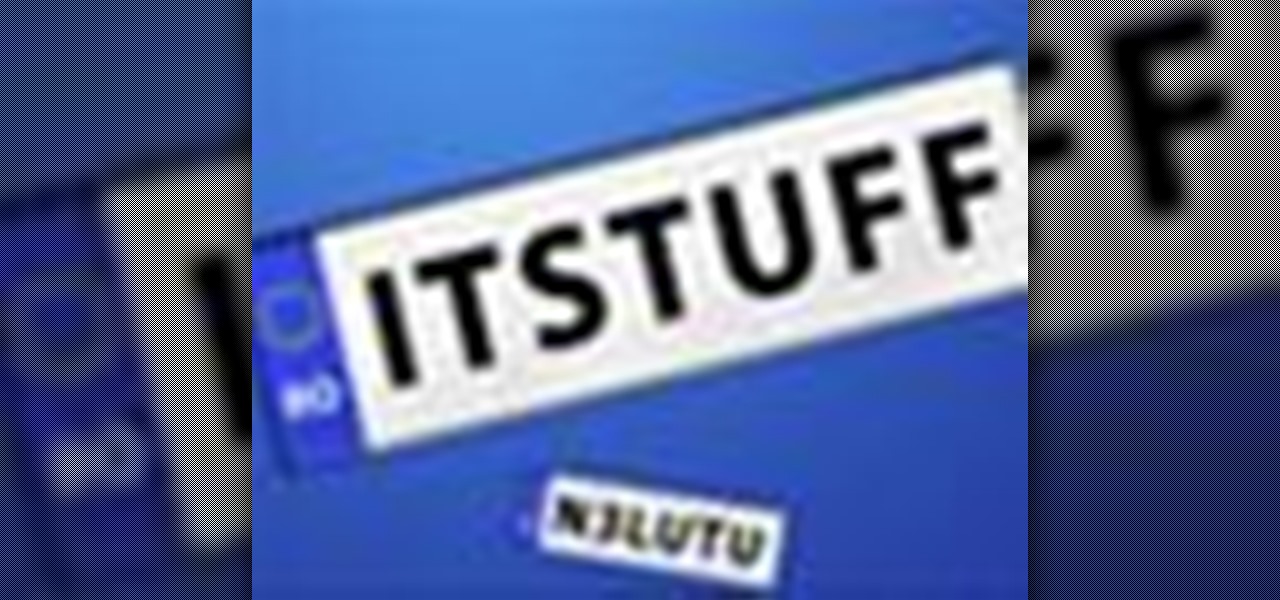
In this video you will learn how to design how to create a license plate in Adobe Photoshop. To do that that just follow these instructions: Create a new file with 1000x1000 px. Then create a new layer, pick a white color and make a rectangle with the rounded rectangle tool. Use the Rectangular Tool to create a new rectangle on a new layer like in the video. Now color the rectangle and merge the layers. Add the effects for the layers and make a new layer to create the stars for the license pl...

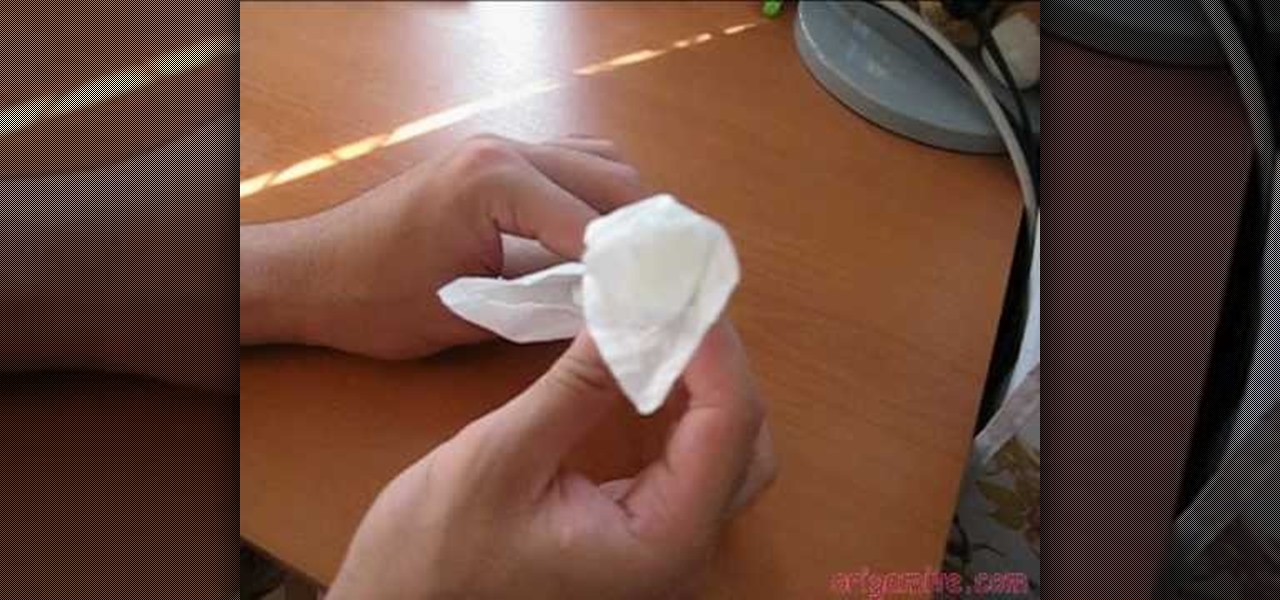
-Fold up along the length of a spread open tissue about 5 times until you get a long rectangular shape.


