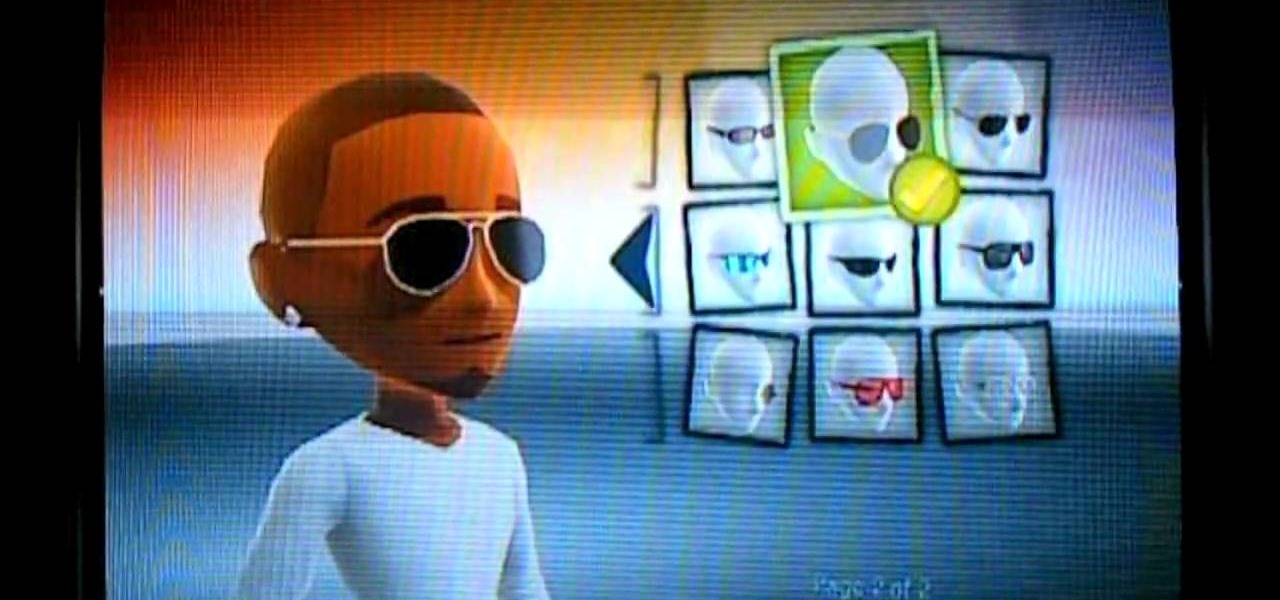
T.I. is finally out of the joint and back on the hip-hop scene. What better way to celebrate in your own home for free than making an XBox 360 Avatar in his likeness? This video will show you how to use one set of clothing pieces to make a pretty spitting image of the rap star.
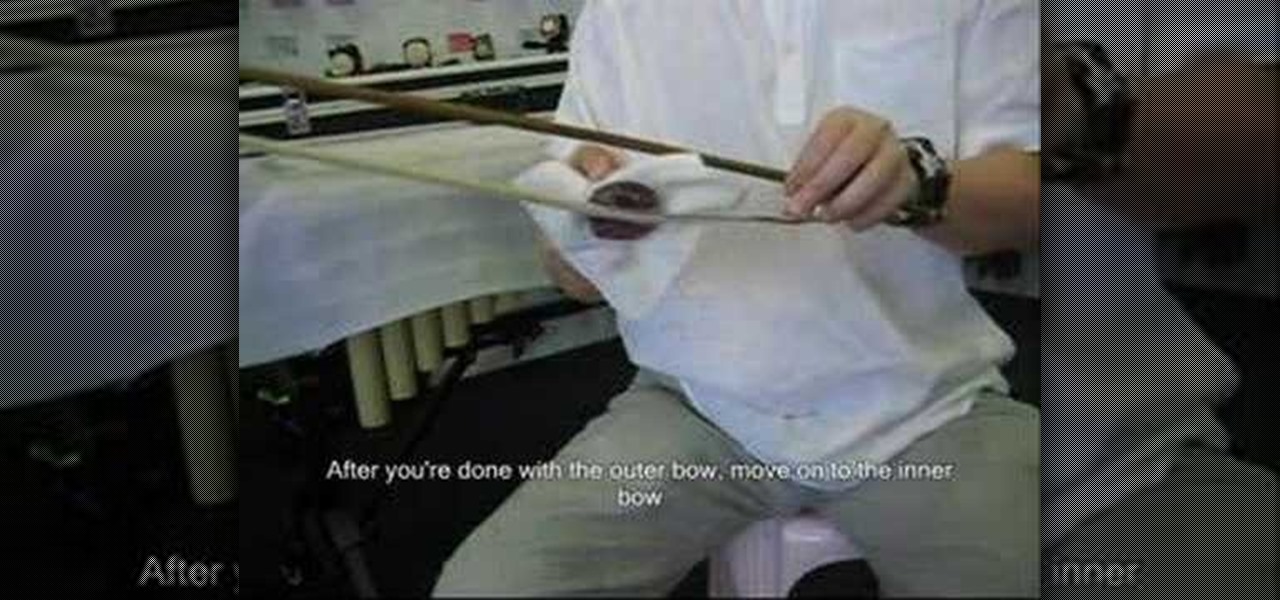
You can easily rosin your erhu bow. To do this first take the cake of rosin and rub it back and forth on the one part of the bow until you get rosin powder on the hair of the bow. Now go the next part of the bow and do

What's the secret to Victoria's Secret hair? Not much, really. Sure, Victoria's Secret Angels make everything about them - including their perfect wavy hair - seem way out of our reach in all of their bodily perfection, but their hairstyle is easier than you think to achieve.
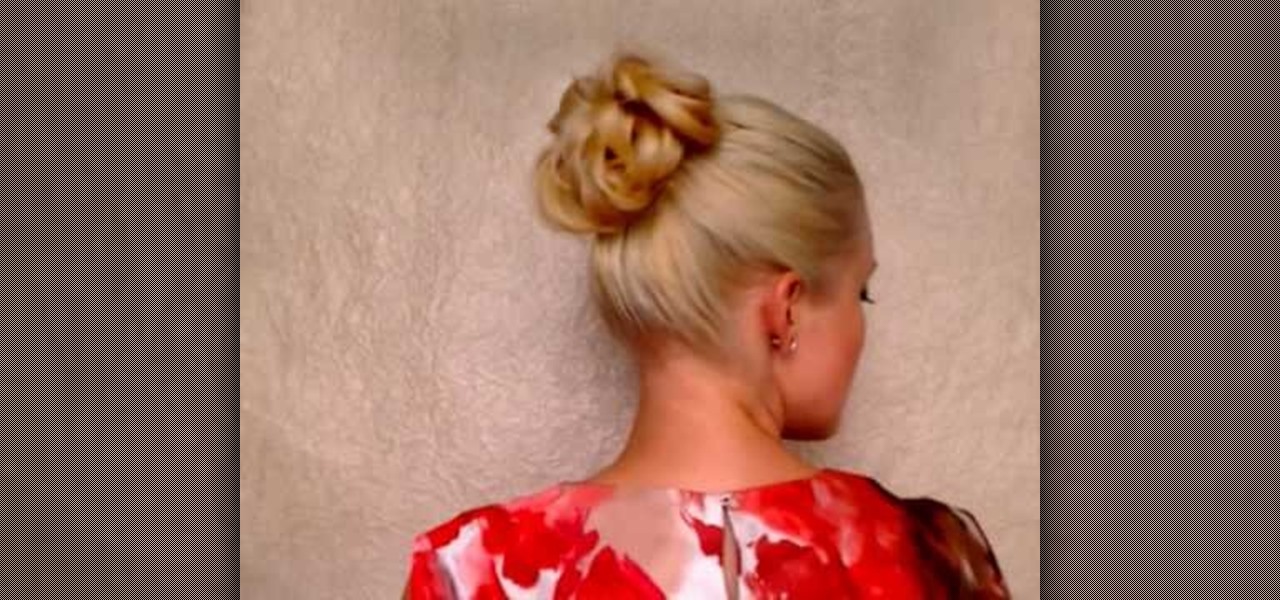
Short on time and cash? No problem! It doesn't mean you have to be short on celebrity style!
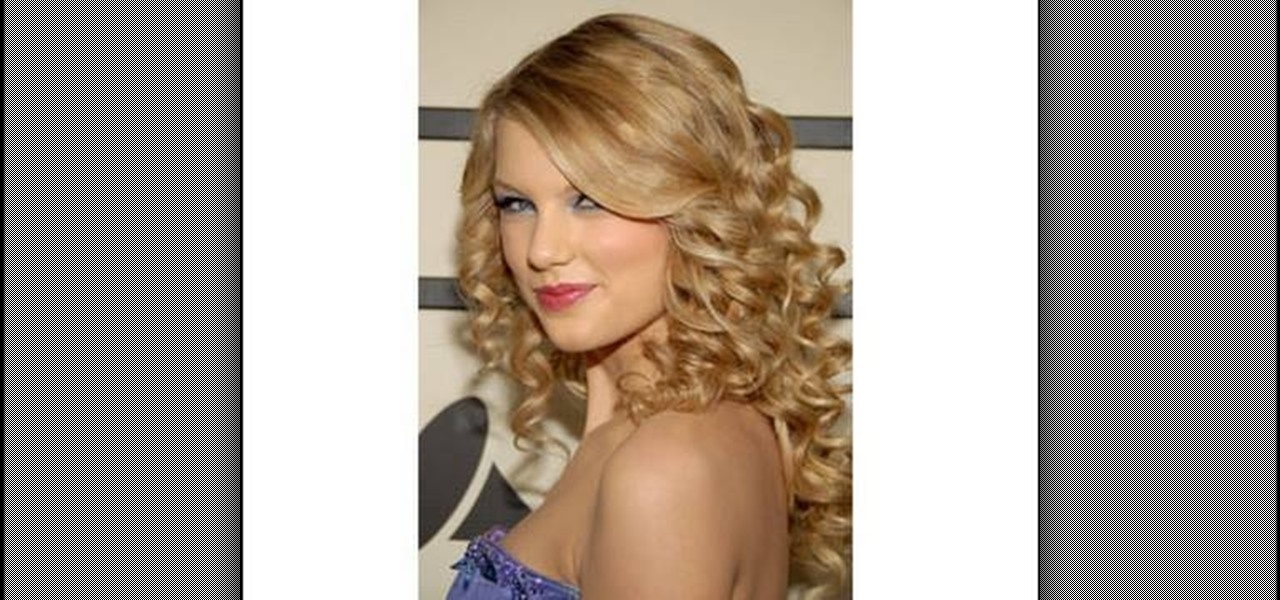
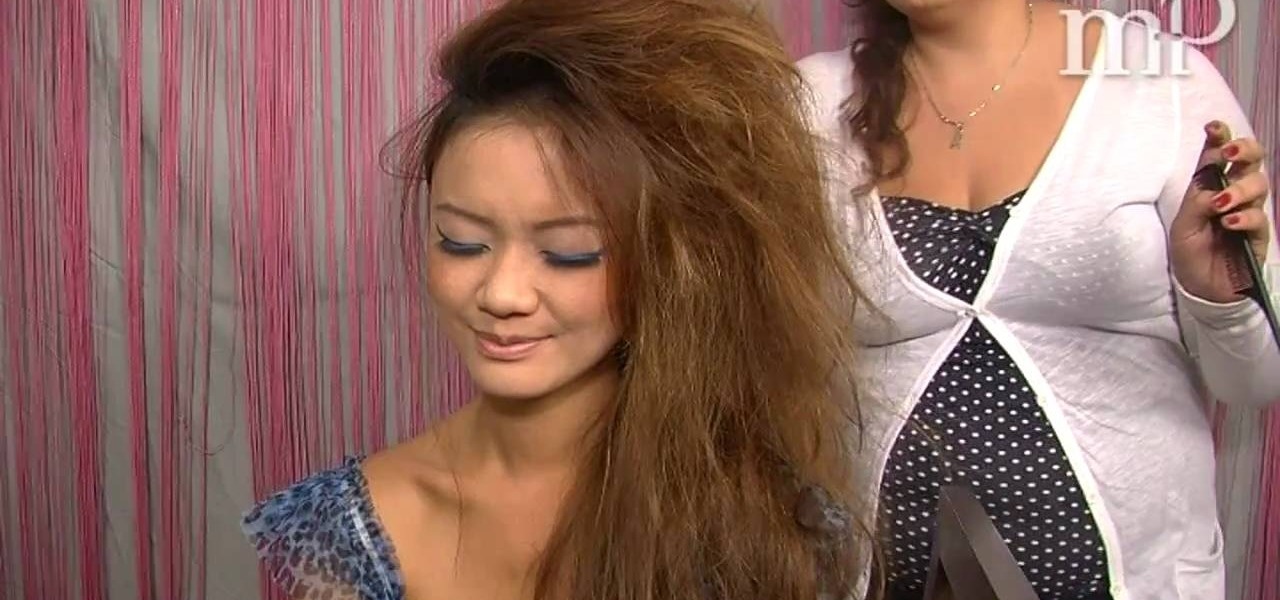
In Hollywood, not many celebrities embrace either their natural hair color or their natural hair. So starlets who have naturally curly locks (think Nicole Kidman and AnnaLynne McCord) straighten them and starlets with naturally straight locks (think Hayden Panetierre) love curling them up for extra volume.

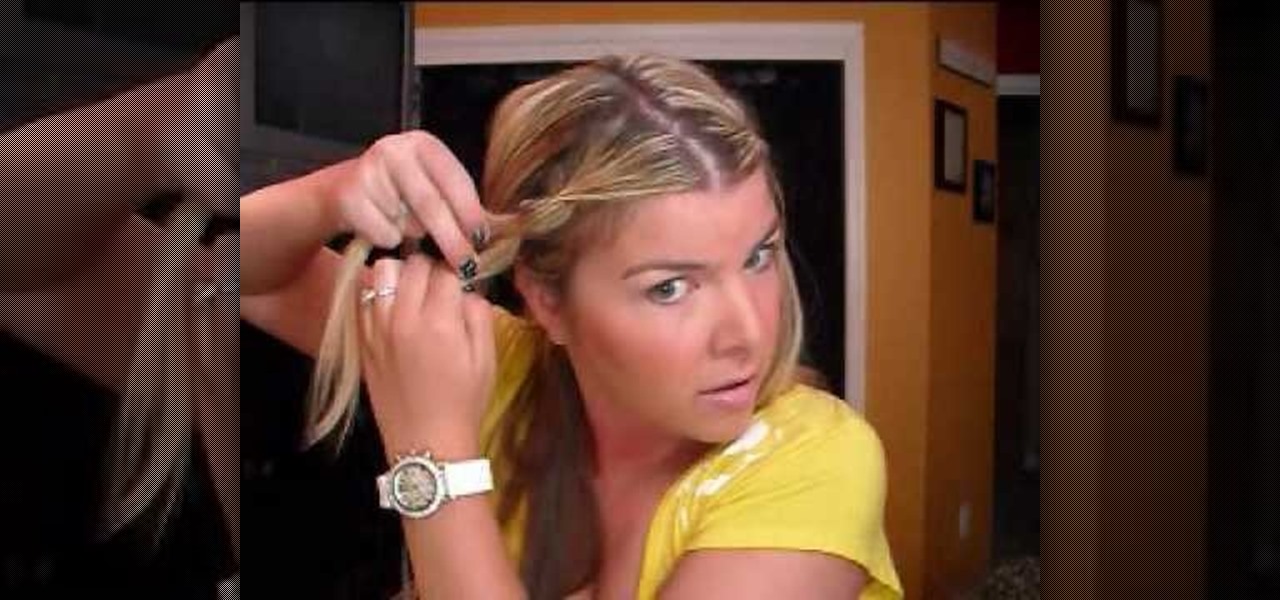
Need some help figuring out how to use a curling iron when styling your hair at home? It's easy! And this clip will show you how it's done. So easy, in fact, that this home beauty video tutorial can presenta complete and thorough overview of the process in about a minute's time. For more information, including detailed, step-by-step instructions, watch this handy hairstyling how-to.

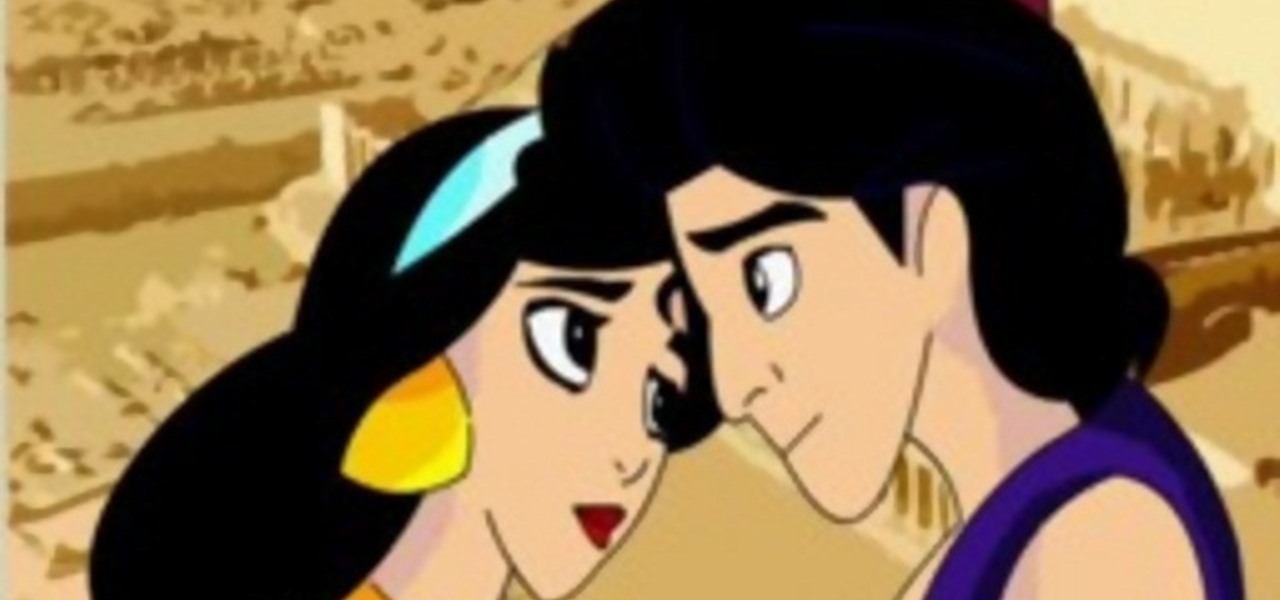
In this tutorial, we learn how to draw Aladdin and Jasmine. Start by drawing Jasmine, draw her hair on first, then start working on her face and head. Add on her earrings, eyebrows, and mouth. Make sure to pay attention to details and use a picture as a reference to what they should look like. Fill in Jasmine with the colors she wears in the movie, and then start to work on Aladdin. Draw in his hair to start, then make sure to draw on his hat on the very top of his head. Draw his face, giving...
Ponytails are often hairstyles associated with summer because they're super easy to do, take care of, and wipe all the pesky hairs off your face so you can focus on more important things like swimming and sipping your margarita and looking cute doing it in front of the cabana boy without all your locks humiliatingly dunking into your drink.
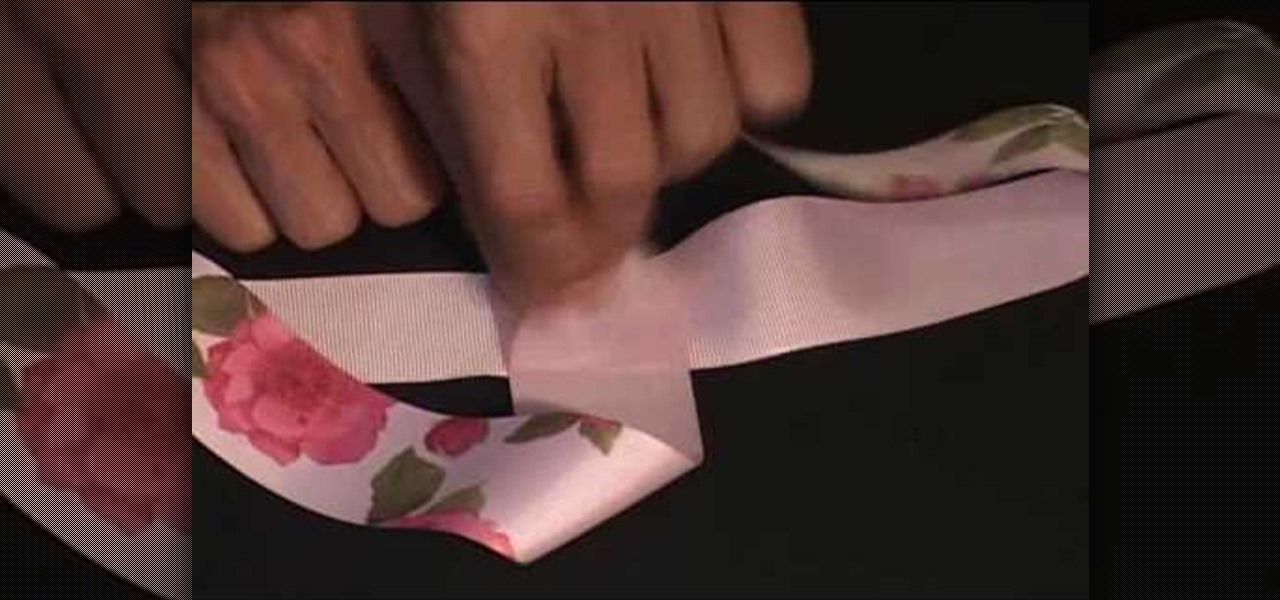
get a long piece of ribbon, put the ends together and make a crease at wear the ribbon folds, that'll be your center point. Now get one end of the ribbon, and without it flipping over, bring the end to the center of the ribbon and lay it perpendicular to the direction of the ribbon. Also bring the other end of the ribbon to the center of the ribbon but from the other direction. Hold the ribbon together using a gator clip. Obtain a piece of string or plastic strip, tie the folded ribbon tightl...
In this tutorial, we learn how to wear a bandanna "homegirl" style. First, lay your bandanna out flat then fold a triangle in the bandanna so it has a slight border around it. Now, do your hair how you want to style it. Fold the bandanna over a few different times, making sure it is thick. Now, place it over the back of your neck and tie at the top with two knots. You can do this a different way by flipping it over and just placing that on your head, folding the corners into your hair and mak...
Show off your cool skills to your friends by learning how to make a rubber band or hair band jump. This trick is easy and sure to throw people off. The first step is to put the rubber band (or hair band if you life) on your pinkie and ring finger. Now, close your hand and get the band onto all four of your fingers. All you have to do now is open your hand and the rubber band will have jumped.
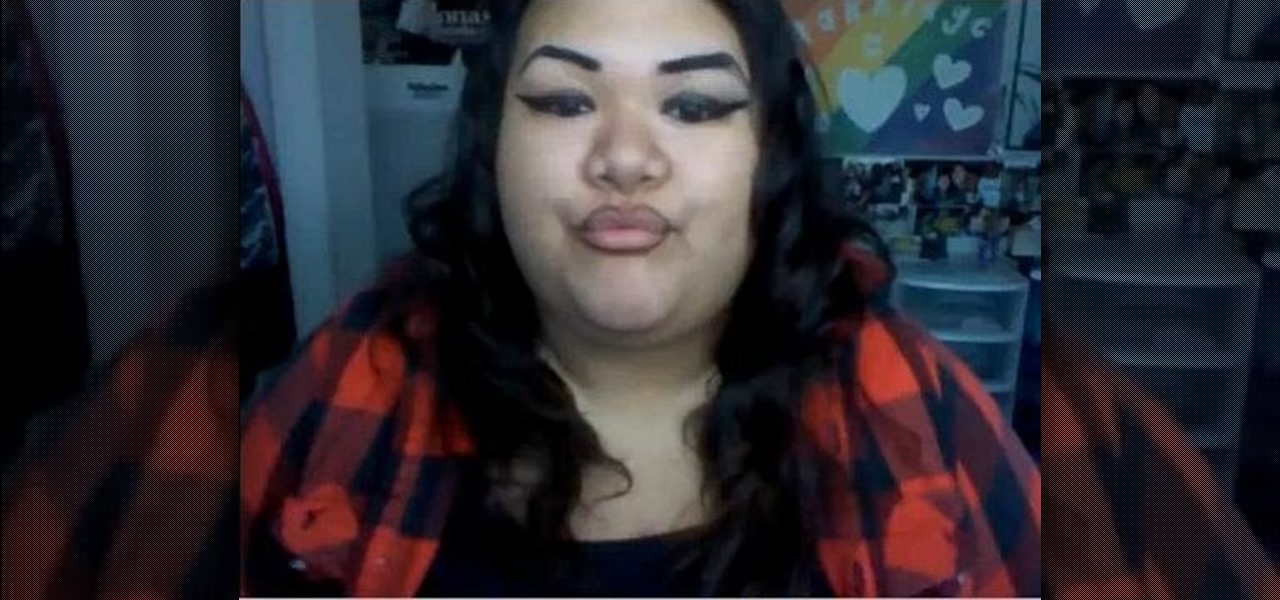
Learn how to get a chola look with your makeup. - Once your hair is wet, shake your hair.
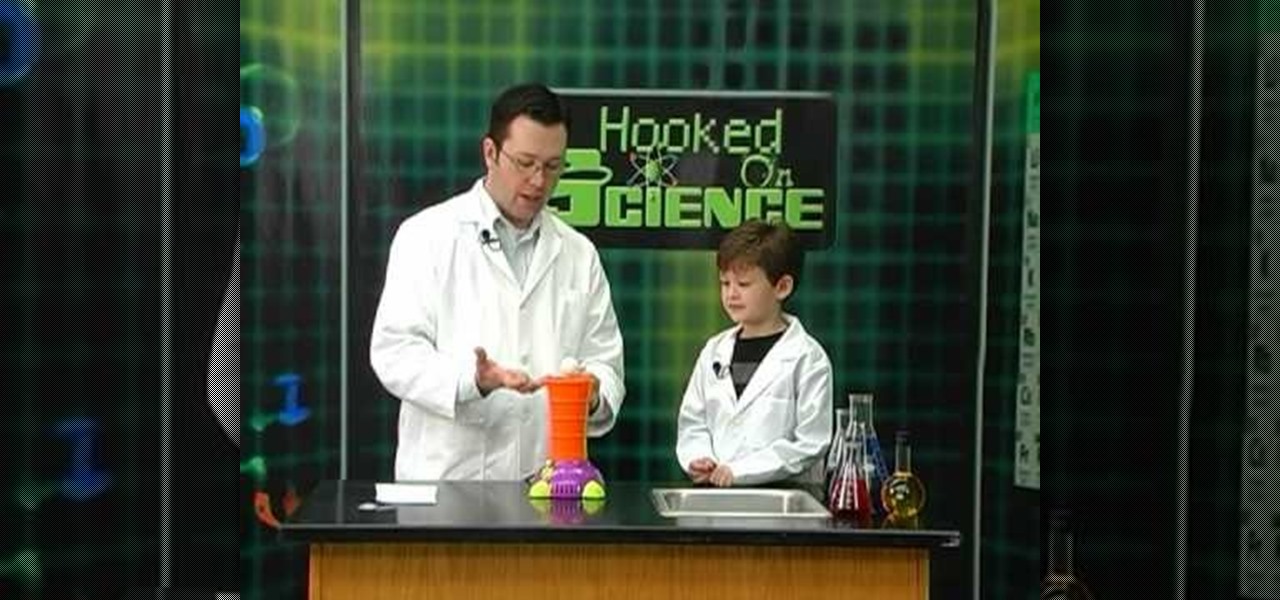
Can you float a ping pong ball in mid air? According to Outreach Science Educator Jason Lindsey you can and all you need is a hair dryer. This is a great way to demonstrate wind and gravity with household objects.
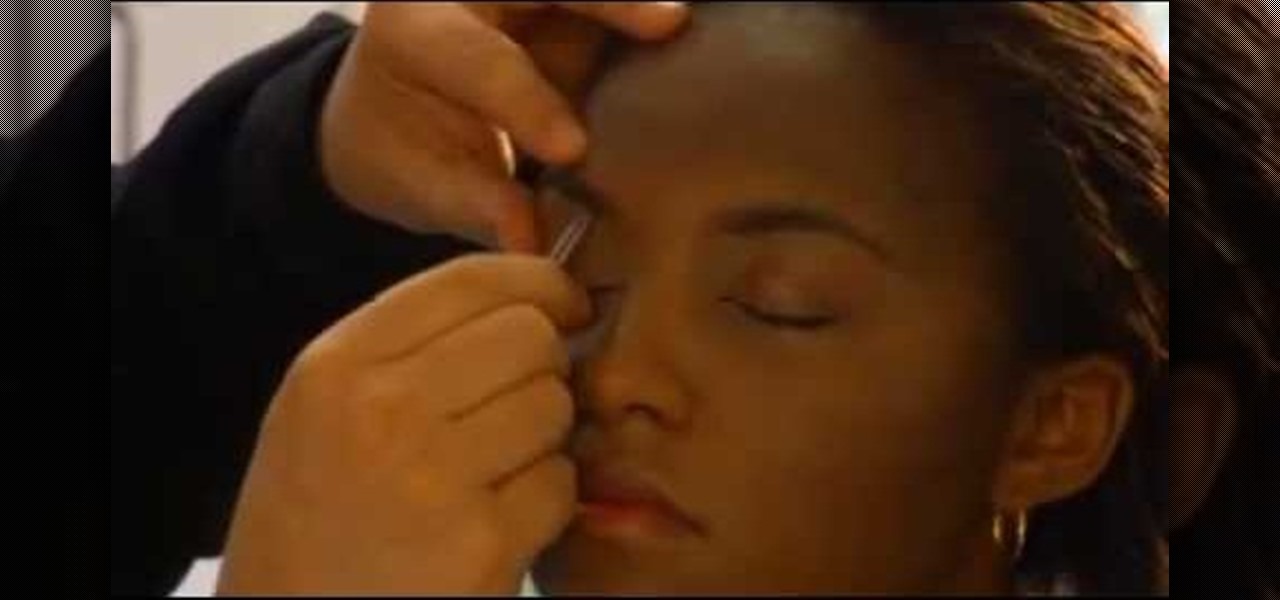
Well-shaped eyebrows will give you a sharper, sleeker look. Eyebrow guru Ramy Gafni takes us through the nuances of the art of shaping eyebrows.
It doesn't get any girlier than feathers and flowers. While it's fine dressing like all the other girls in your school, why not be the Katy Perry to their Blake Lively by dressing up your noggin' in a spectacular, colorful work of art?
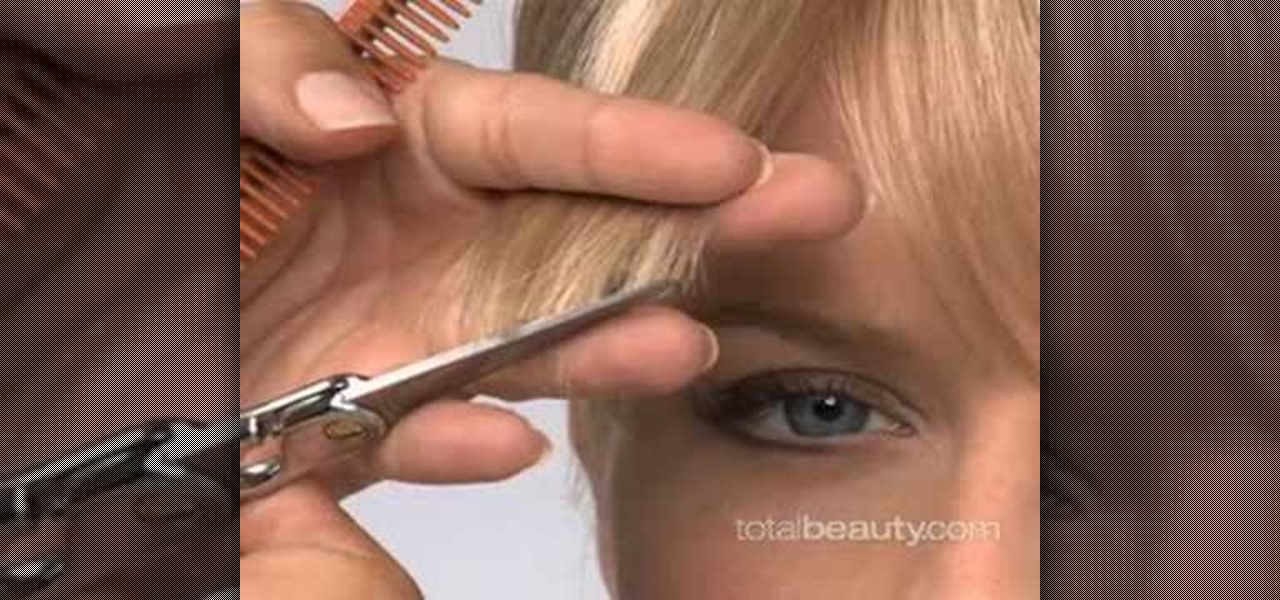
Bangs are one of the easiest and quickest ways to change up your look. Even if you're going from slightly overgrown bangs that graze your cheekbones to blunt cut bangs on your forehead, the change is instant and can do wonders to flatter your face shape.
You know how some women won't leave the house without at least some rouge and red lipstick on? We're pretty sure that Nicole Richie can't leave the house without at least one bohemian hairband in her hair.
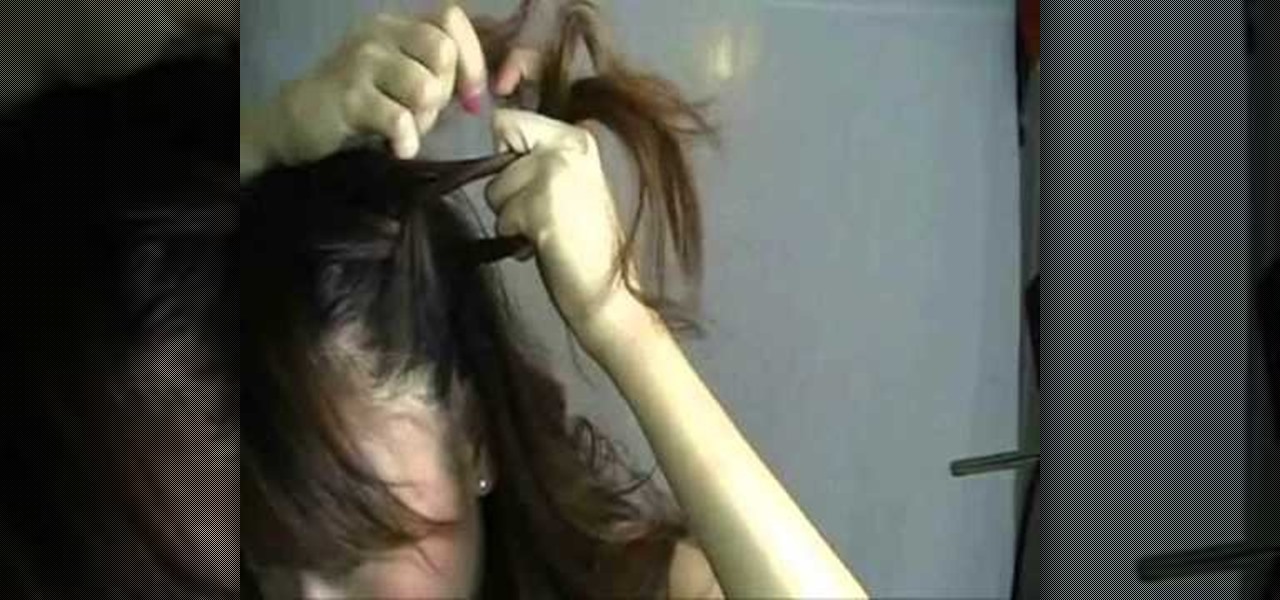
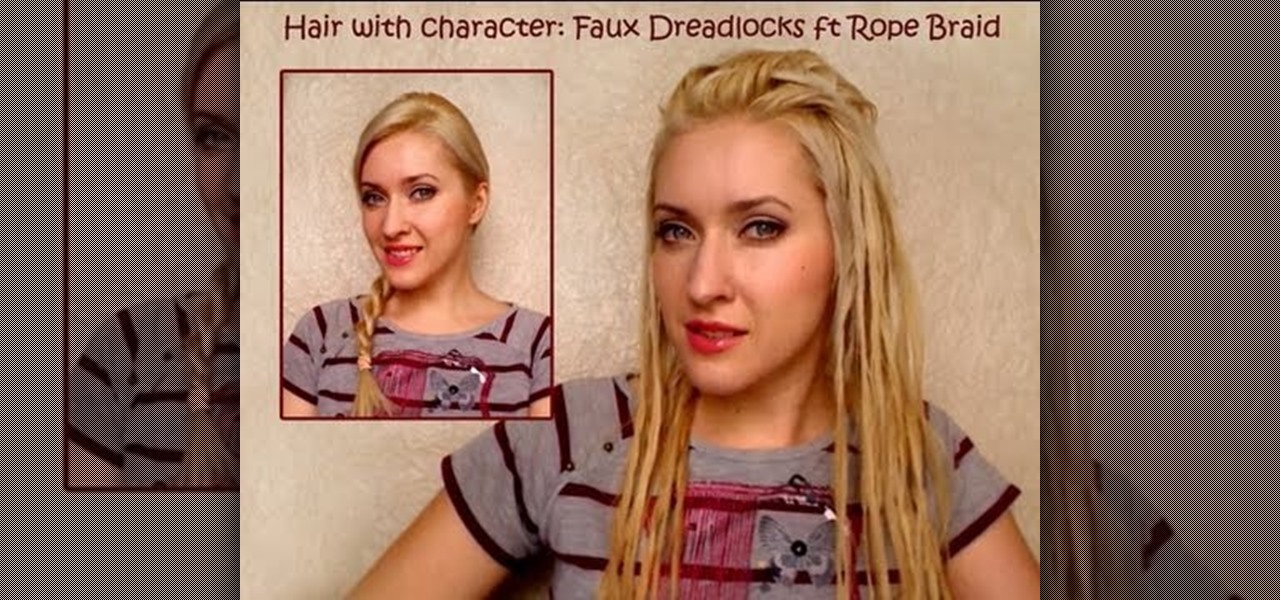
You don't need to stop washing your hair for a year and pour on texturizing balm daily to get punky dreadlocks. In fact, if you've ever wondered how you'd look with this funky hairstyle, all you need to do is braid your hair.
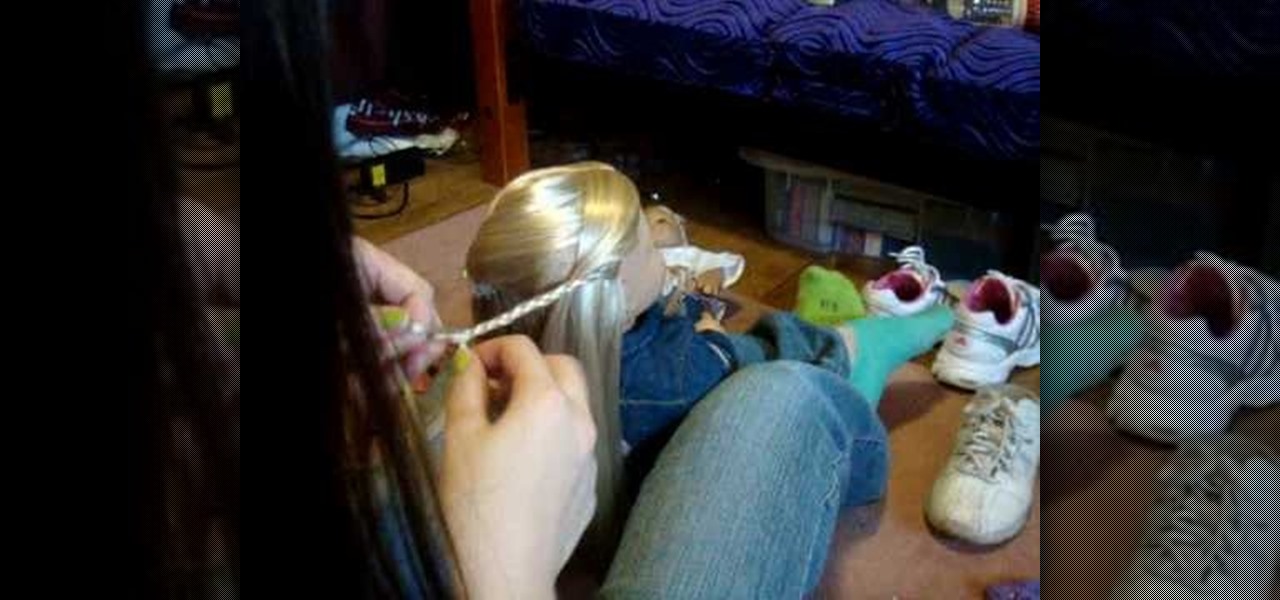
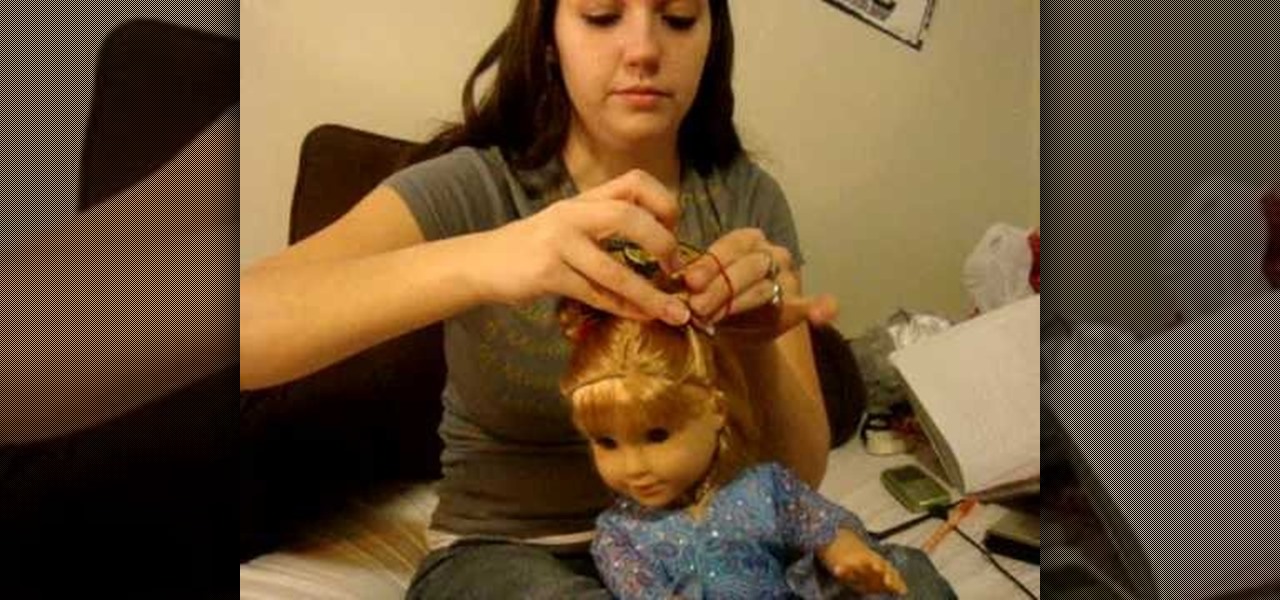
In this video from stephenswodadancer we learn a new hairstyle for your American Girl doll. You need 4 clips and a brush. Take your thumbs in her hair and wrap a circle in the crown of her head. Brush that part out, twist it around, and poof it up. Take the clips and put it on either side of the poof you've just made. You can leave it like that if you want or continue and take a small piece from the side of her hair and begin braiding it. Bring the braided piece across the back and clip the b...
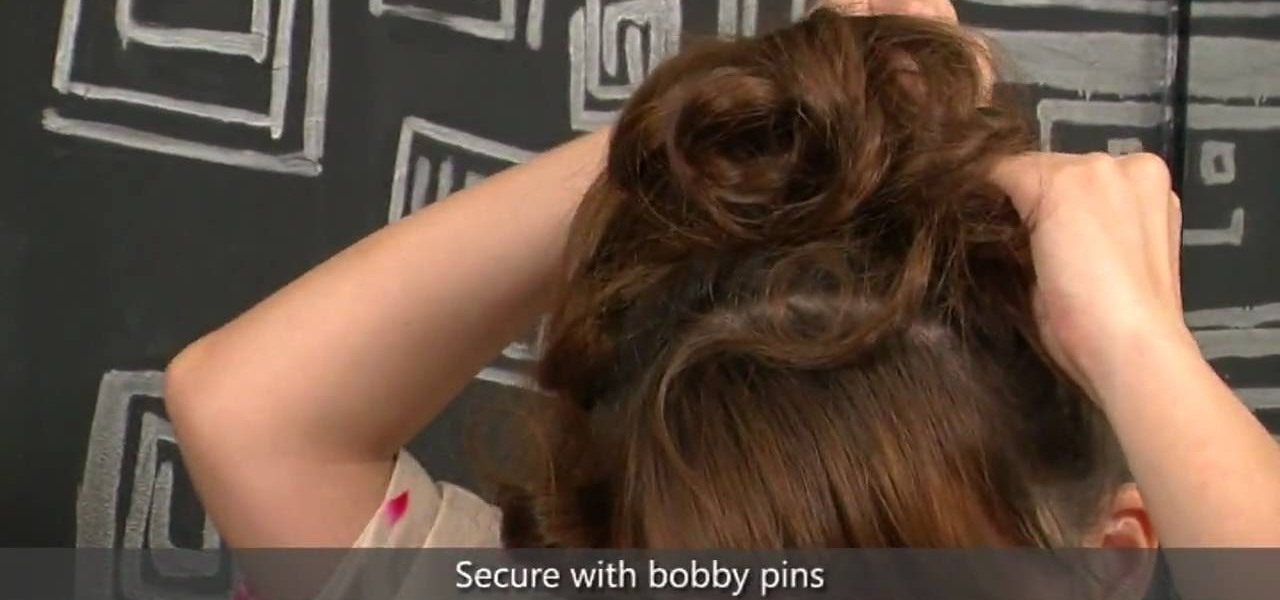
In this video from stephenswodadancer we learn how to do a clipped bun on an American Girl doll. Start with your doll's hair in a pony tail. Right at about the crown of her head works. Take the piece of hair from the top and curl it and fold it under. Clip the part that you curled to her head. You can go all the way around until you get to the bottom and keep clipping. Repeat this process all around her head until it is to your liking. This will need lots of clips so make sure you have them!
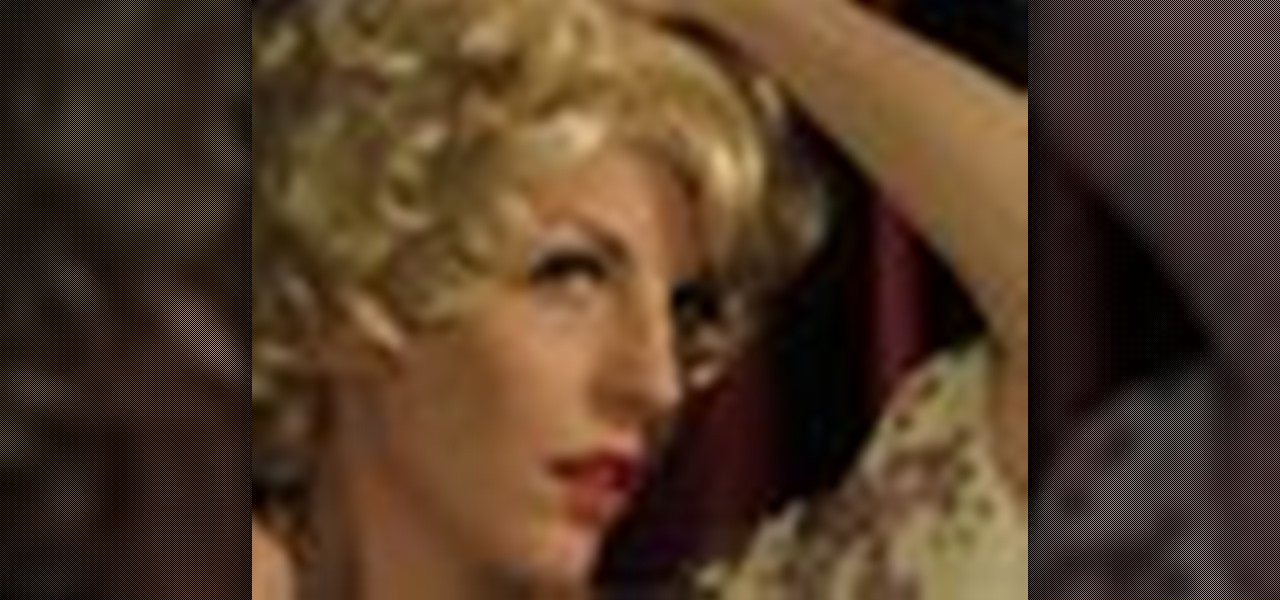
With the movie "Burlesque" coming out soon, the interest in the retro, pin up girl style has rocketed to an all-time high. And the great news is that you don't have to be starring in a movie or dressing up for Halloween to look retro fabulous.
In this video, we learn how to do a hippie hairstyle on your American Girl doll. To start, you will simply take the side of the hair and braid two braids into it. Pull these across the back of the head and then repeat on the other side of the head in the same exact braid. Next, you will pull these braids all together and then braid these together going all the way down to the bottom of the hair. Tie this off with a rubber band at the bottom. This will finish up your hippy hairstyle, enjoy and...
In this video we learn how to do a ponytail veil on your American Girl doll. To start, you will take the top front section of the hair, then brush it back. After this, you will tie it in a rubber band and then repeat these steps on both sides of the head. Then, you will take the hair that's in the ponytail of each one and split it into two. From here, you will tie these with another piece from another side and then tie together with a rubber band. do this once more on the very back and then t...
In this video, we learn how to draw the classic Sonic the Hedgehog character. First, draw a round circle for the head. Then, draw in the eyes and the hair around the head in big huge lines. After this, sketch in the rest of the body. Then, start add details to the head, drawing in the eyes, mouth, and hair lines. From here, draw in the details of the body and then create the leg and feet clothing as well. Draw a bold black line over all of it, then you will add in shading to finish up this dr...
In this video we learn how to draw Neji Shippuuden. First, draw the outline for the head, use lines in the middle of the face to figure out where to place the facial features. After this, use a pencil to draw on the hair around the face and then draw on the headband. From here, add on the details to the hair and then start to add in shading around the face to make it look more realistic. After this, draw in the shoulders on the side and then draw in the rest of the details of the face. Finish...
In this video, Tonya shows us how to make whipped shea butter for your hair. Ingredients are: organic shea butter, green tea butter, aloe vera butter, peppermint essential oil, tea tree essential oil, and rosemary extract essential oil. Pour all of your ingredients into a large bowl and then mix together with a spoon until it's well combined. Use as much of each ingredient as you want to make the right consistency for you. After this, use an electric mixer to mix this all together until it's ...
In this video, we learn how to draw Ino from Naruto. Start off by drawing a circle for the head, then drawing lines in the middle to create reference for where the facial features will go. After this, draw in the hair on the top of the head along with the eyes, eyebrows, and creases of the eye. Then, draw the jaw line around the face and erase the lines you used for reference. After this, add in additional lines and hair to make it look more realistic. Use shading around the face to show ligh...
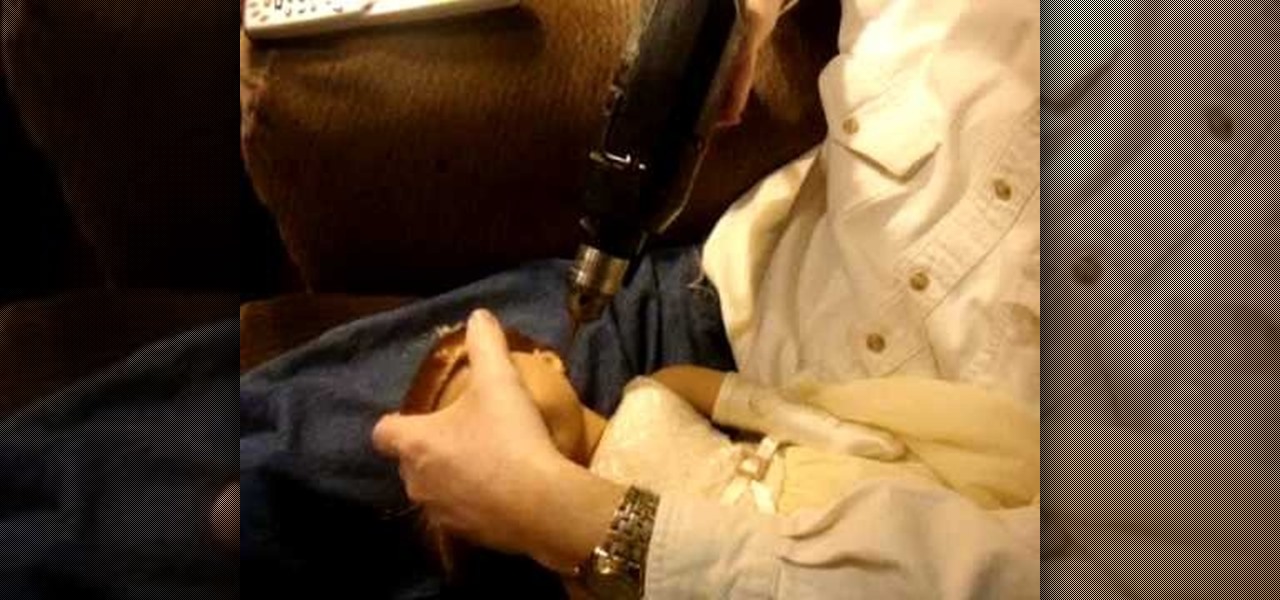
In this video, we learn how to pierce your American Girl dolls' ears! Start out by taking a pencil and marking the ear where you want to pierce it at. Then, take a thumb tack and poke it through the ear where you marked it with the pencil. Then, pull it out and do the same process to the other ear. To help, pull the hair up in a ponytail so the hair is out of the way while you're doing this. Next, give the doll to an adult and grab a #42 drill bit. Put the drill into the same hole and then ge...
In this tutorial, we learn how to do a cute Easter updo on your American Girl doll. To do this, you will first take the hair from the top of the head and section it off into smaller pieces. Then, repeat this same step throughout the head of hair until you have a bunch of different ponytails. From here, you will need to braid these together using three of the ponytails. When finished, you will tie the ends with rubber bands. This will complete your cute Easter look for your American Girl Doll!...
In this video, we learn how to do mini buns on your American Girl doll. Firs, you will grab a section from the top half of one side of the head. Then, you will put a rubber band around the hair. From here, you will twist the hair around the make a bun, then secure it with another rubber band. Repeat this on the other side of the head so there are two buns on the top of the head. This will look cute on the front and the back! If you want, you can keep going and make two more so you have four m...
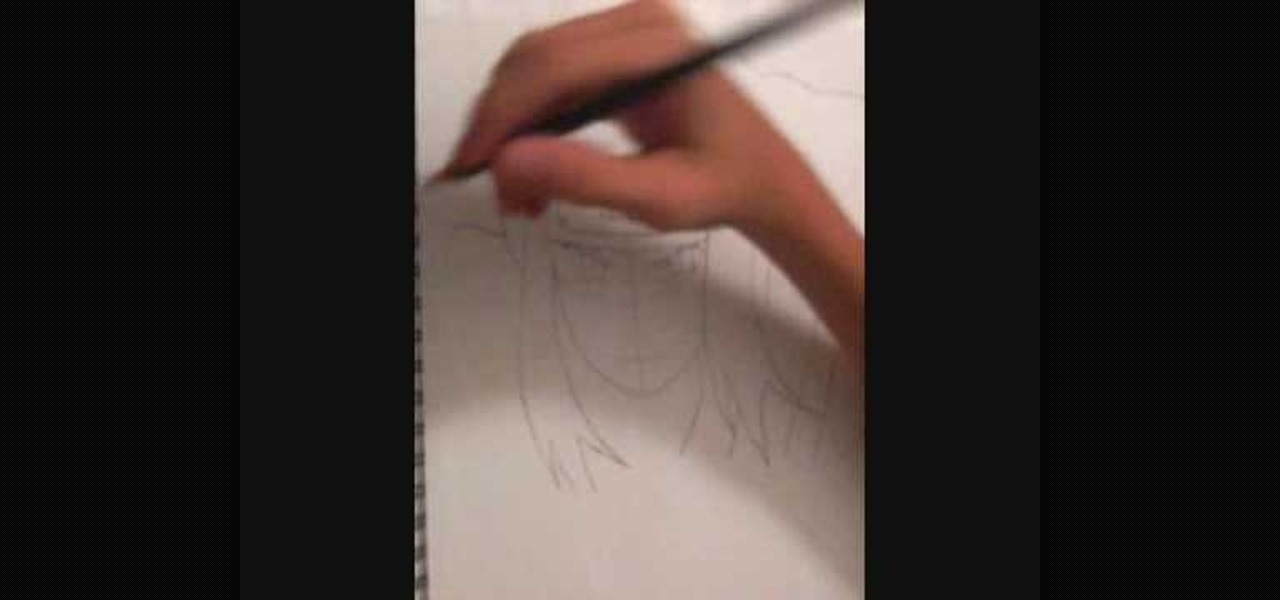
In this tutorial, we learn how to draw portraits. First, you will use a light touch of the pencil to draw the outline of the face and hair. Make sure to include the jaw bone and create a line for the chin. Next, use the side of the pencil to draw on the shading underneath the features of the face, which you will gently outline with the pencil as well. As you add more detail, you will increase the color with the pencil to create a bolder image. After this you will draw in the ears and the hair...
You don't need to lop all your precious long locks off to achieve Rihanna's signature hairstyles. While the lady currently has a short, choppy cut, she wears looks (like faux hawks) that can be replicated on longer hair.
We have nothing against posh, elegant romantic curls or modern pin-straight hair, but don't you ever miss the days when you were just a kid experimenting with her mom's drawer of hair goodies? Creating crazy styles was so fun and the results were always unpredictable.
In this tutorial, we learn how to draw eyebrows and eye lashes. First, sketch out the basic shape of the eyebrow. Cross edge with a 2B pencil, then blend it in to lighten in and act as a skin tone. Then, draw the actual hair with a B pencil, going upwards with the pencil strokes in the front area. For eyelashes, you will sketch out the outline with a 2H, then draw the eyelid and the hairs for the lashes. Draw in the direction and the shape of the eye to give off the illusion that it's round. ...
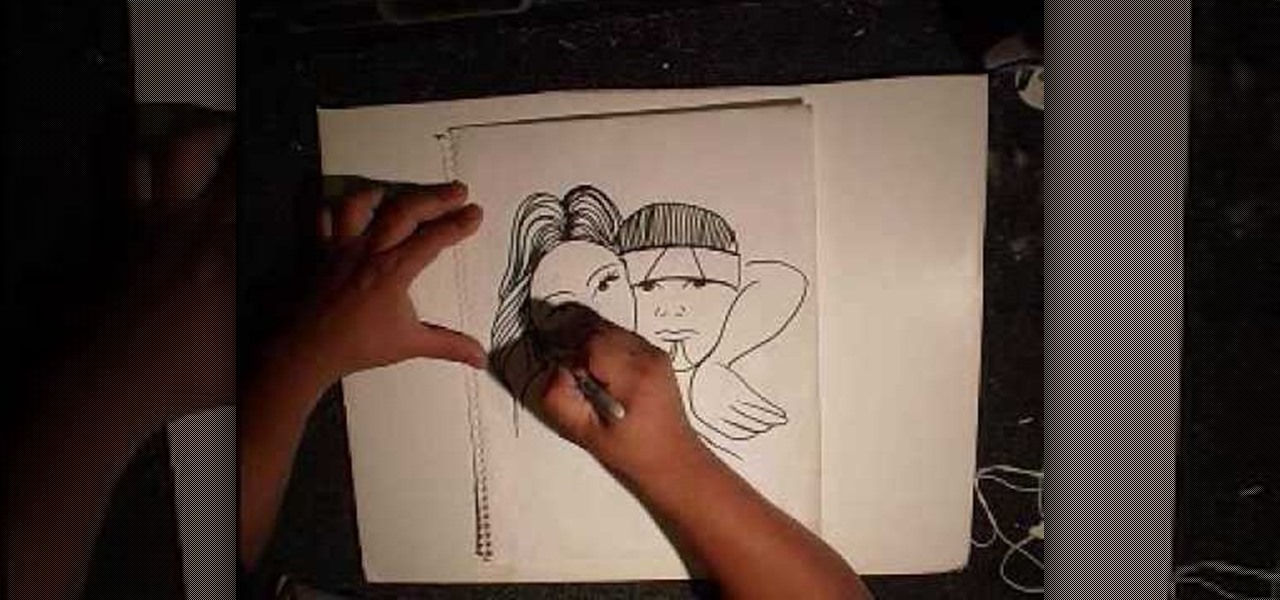
In this tutorial, we learn how to draw a gangster graffiti couple. First, draw in the eyes on the piece of paper. Then, draw in the nose and the mouth, adding in details to make it look more realistic. Draw in the hair for the woman, then draw in the details for the man's face right next to the woman's. Draw in the rest of the face, then add in the hair with a band around the head. Draw an arm coming from the side of the woman and another on the neck of the man to show them hugging. Add in de...
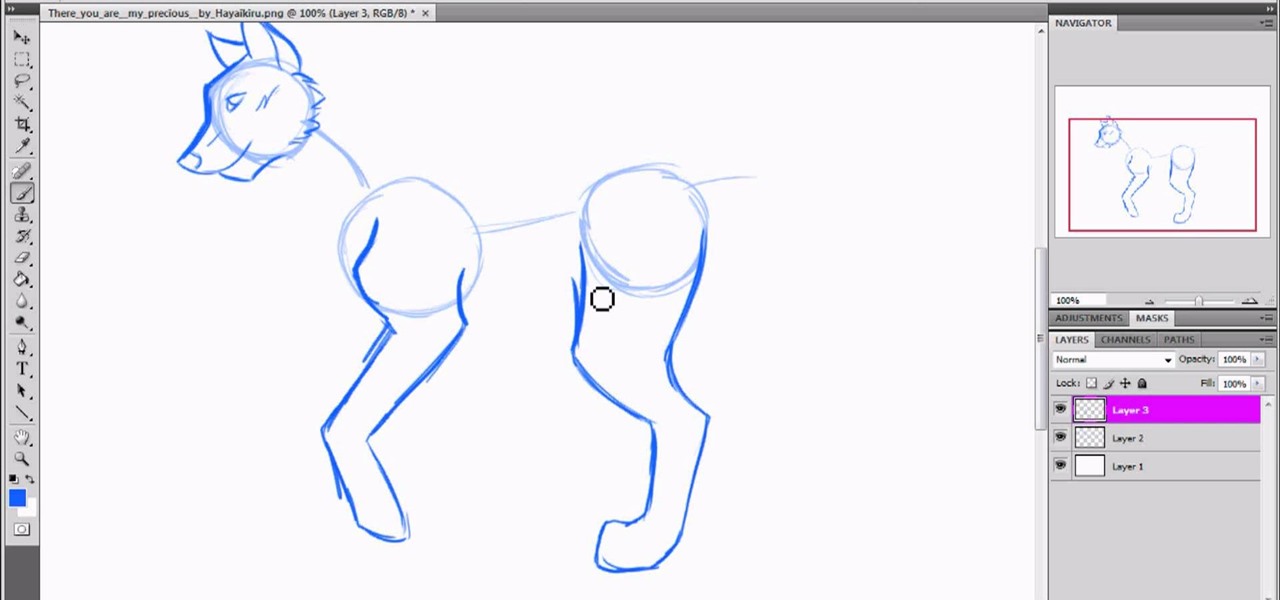
In this tutorial, we learn how to draw a wolf with basic guidelines. First, draw in circles from where the main sections of the wolf is. Now, draw a line connecting all of these and draw in the details of the face. Now, draw the back legs starting with the front leg and then the back leg. After this, draw in the stomach and the main part of the body. Erase the circles and background lines, then draw in the hair of the wolf and the stomach. Create a tail on the back, then add in the ears and t...
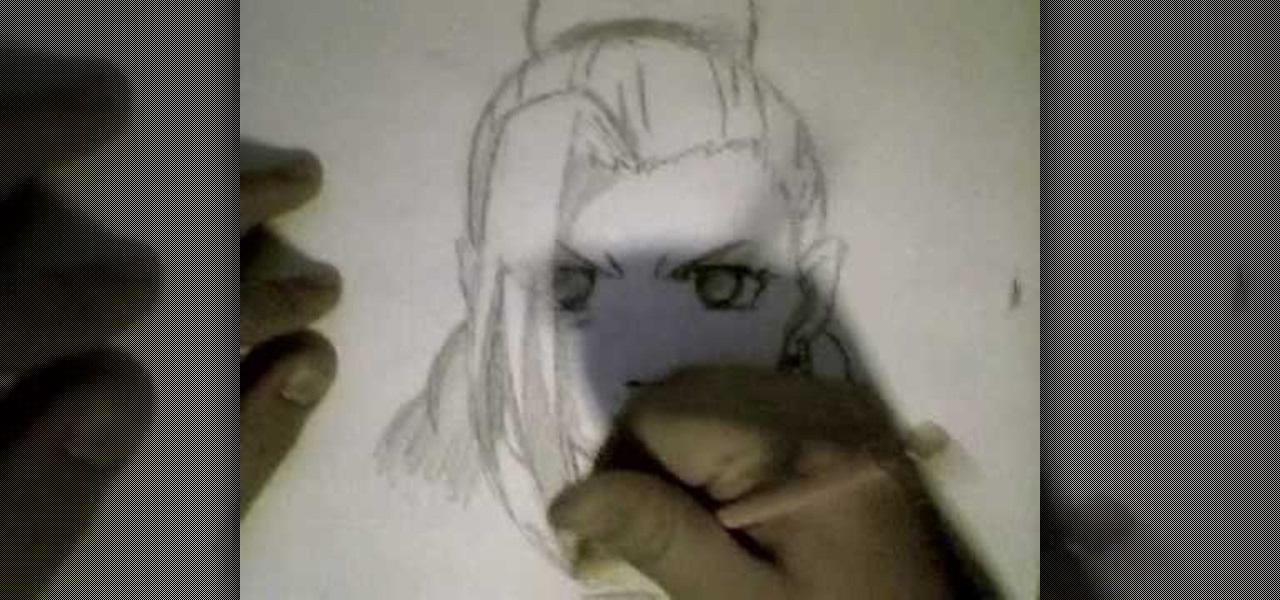
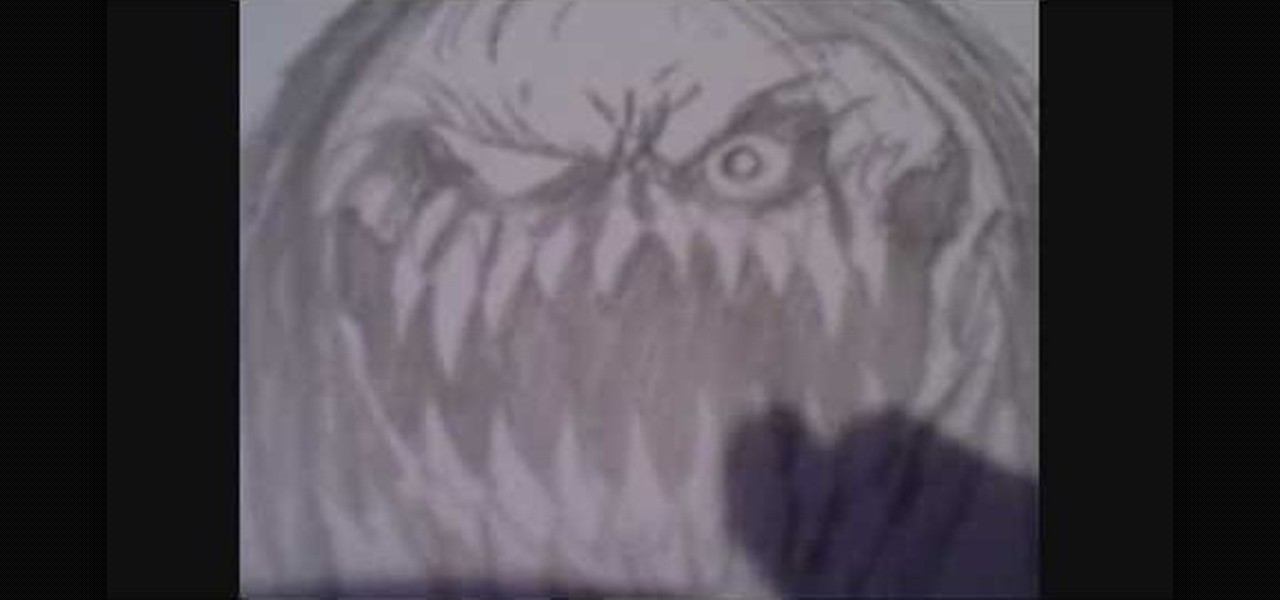
In this tutorial, we learn how to draw a scary demon mother. Start off by drawing a circle for the face with huge sharp long teeth and small evil eyes. Add in details around the face to create a more realistic feel and creases in the eyes. Next, draw in the hair by using your pencil and just drawing in straight and straggly hair. After this, add in additional details to the eyes and the rest of the face, creating a nose and other features you want. After this, draw in lines on the bottom of t...
In this video, we learn how to draw Rukia. Start out by drawing a circle with a triangle shape at the bottom. Then, draw reference lines in the face to measure where the features of the face are going to be. After this, start to draw in the details of the face. Draw the eyes, mouth, nose, eyebrows, and any other details you need. Make sure the eyes match the original character and leave white for the pupils to show. Draw in the hair to finish up the drawing, making sure to draw the eyebrows a...
In this tutorial, we learn how to draw Marik Ishtar. Start with the outline of the head (in a circle shape) and draw the reference lines around the front of the face. After this, draw in darker lines around the features of the face and start to add in details throughout the entire head. Draw in hair, a nose, eyes, ears, and everything else. Once you have finished with this, draw in the neck of the character and then the shoulders. After this, finish the hair off on the back of the had, then a...
In this tutorial, we learn how to draw Tohru Honda. Start out by drawing a circle for the head, then lines on the face to reference where the facial features go. After this, draw a stick for the body alone with a neck. Draw in circles where the shoulders go, then start drawing around that to create the body. Draw on the school uniform for her, then draw on the ear and additional details for the uniform. After this, draw on the bangs and the hair, then add on the bows to the hair. Then, draw o...