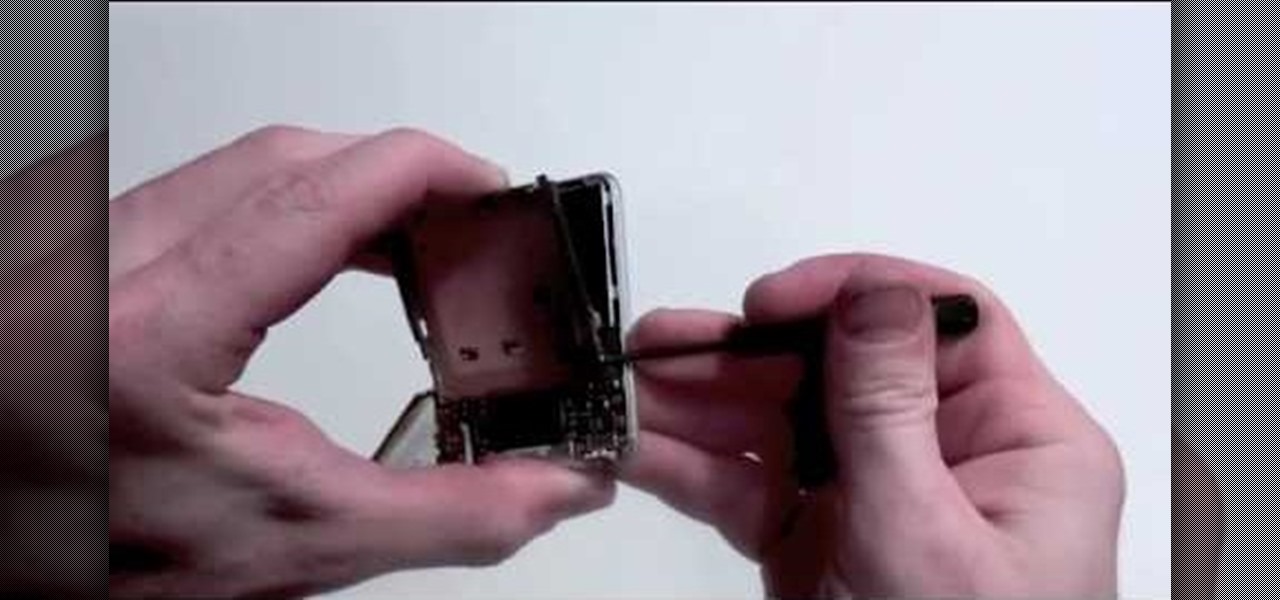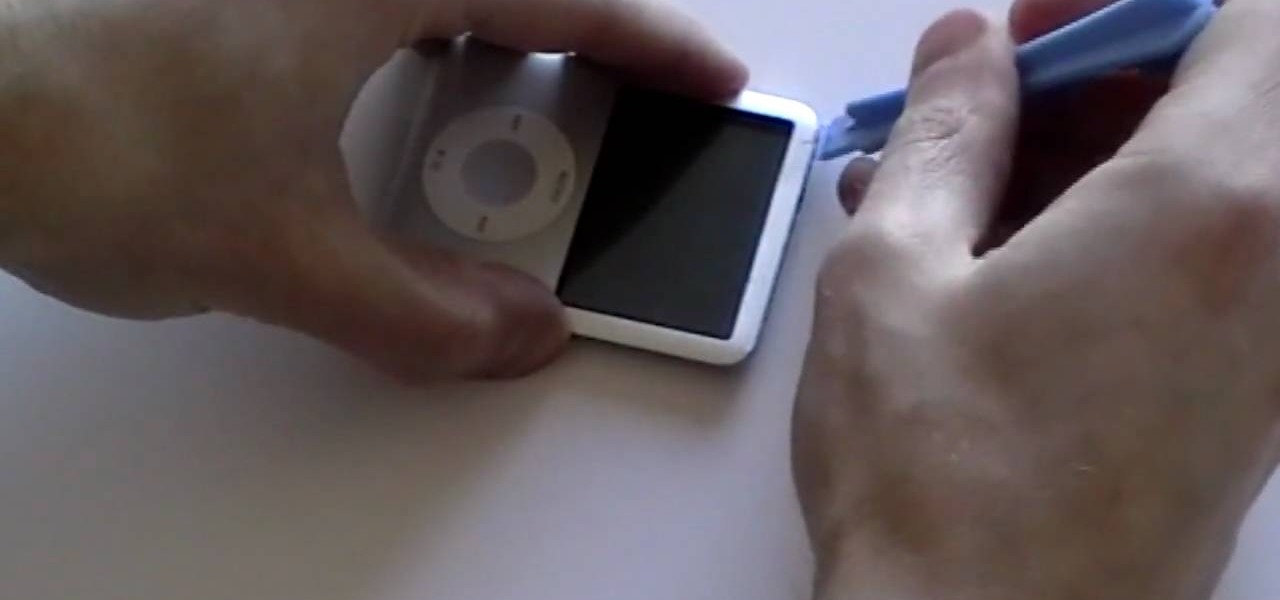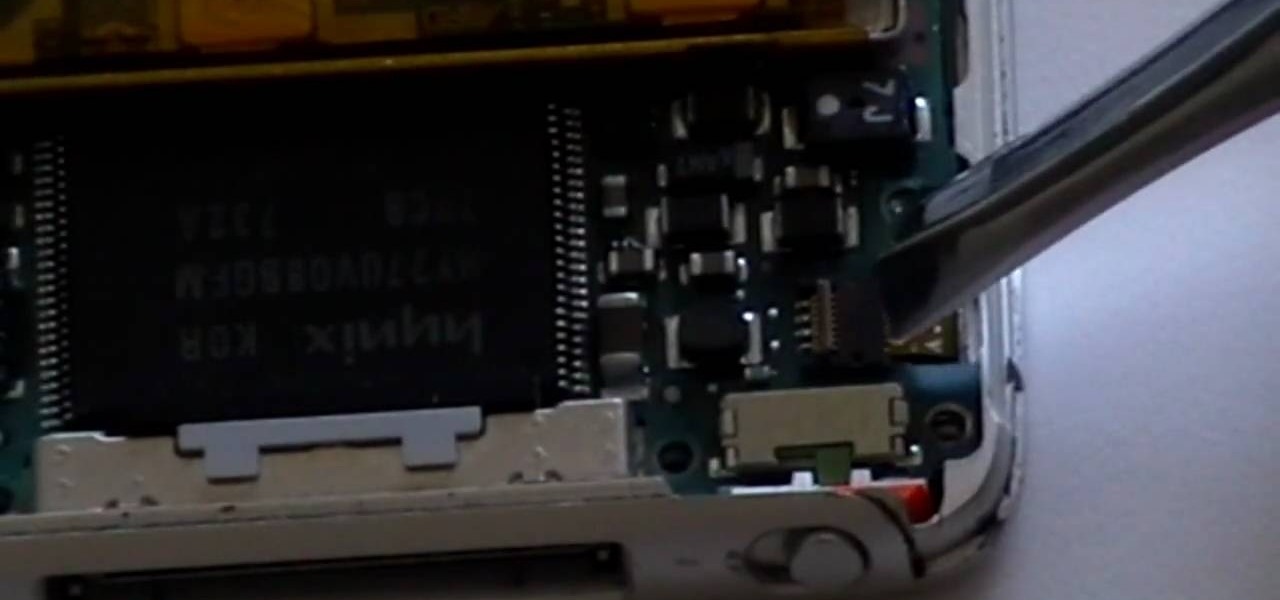
In this how-to video, you will learn how to dismantle an 80GB Microsoft Zune and remove the hard drive. You will first remove the cap at the end. Remove the screws at the bottom. Next, unclip the sides, top, and bottom of the Zune. You can use a prying tool to help you with this. Do this slowly, as you might damage the Zune. Once you can remove the back cover, you will have access to the internal parts of the mp3 player. Remove the tape holding the components together. Next, remove the screws...
Suspect something's amiss with your desktop computer? Has your Microsoft Windows PC felt slow and sluggish as late? Don't take any chances: check your computer for spyware, trojan viruses and other forms of malware. This free video tech tutorial will walk you through the process.

Hit a plateau with the Microsoft Windows Vista operating system? If so, give this free video tutorial a go. It'll teach you how to "downgrade" from Vista to the comparably stable Windows XP OS.

This is a do-it-yourself video of how to unclog your sink when it is clogged up. First plug the sink stopper so that no water flows into the drain. Now place a bucket below the U-bend and remove the bend by rotating the coupler. If there is any water in the bend it will fall into the bucket. Remove the clogging waste with the help of a twizzer or any other contraption. Check if the vertical pipe from the sink is clogged or the outlet in the wall. Clean all the venerable point so that it allow...
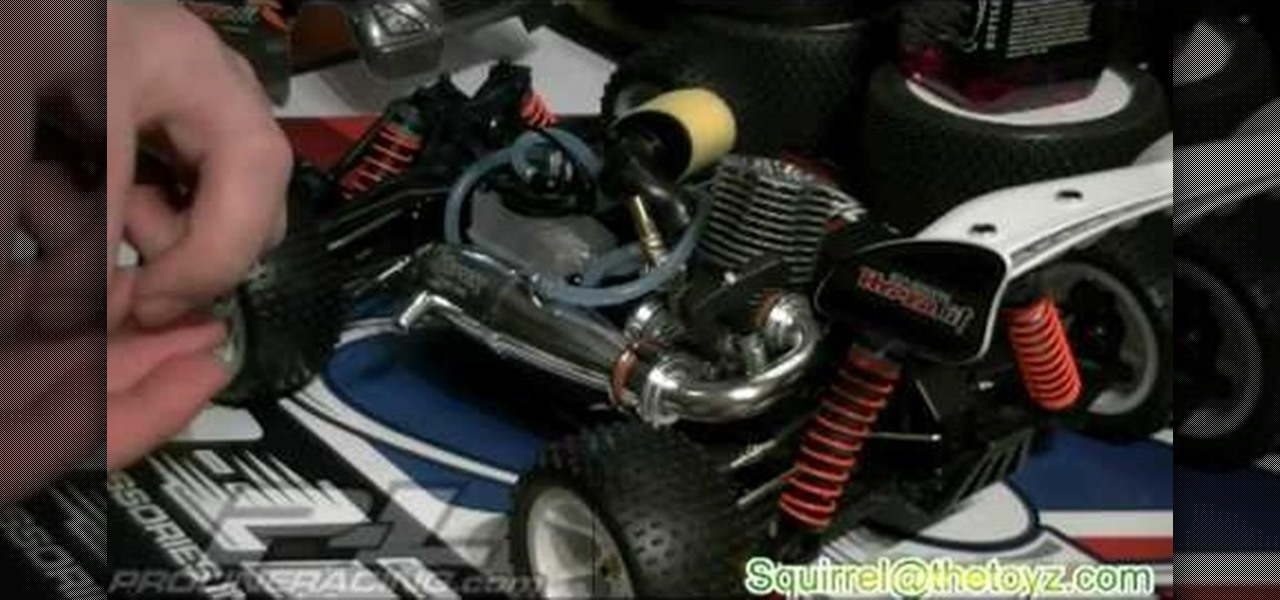
In this video you will learn how to remove a nitro engine from a remote control vehicle. One way you can do this is by removing your mount from the bottom, this can be done by removing the screws on the bottom. Another way to this is to remove the engine from the mount. Aside from the tools needed to remove certain parts, a lot of the pieces are easy to remove as all you need to do is slide them out or pop them out. Squirrel says that its fairly easy to remove but putting them all in is anoth...

A quick tutorial on how to effectively removed corrupted files from your USB pen drive Insert USB drive into computer. Click on "My computer". Right click on your USB drive (e.g., Removable Disk Drive E: )Go to "Properties" and select "Tools". Under "Error Checking" select "Check now". On the "Check Disk Options" menu select "Automatically fix file systems errors and scan". Click start. Once completed the corrupted files should be removed. It is advisable to also get virus software to scan yo...

This video has in depth information about removing temporary files from your computer, which everyone should know about. Not only does it tell you how to remove them, but also how to eliminate them in a safe and legal manner.

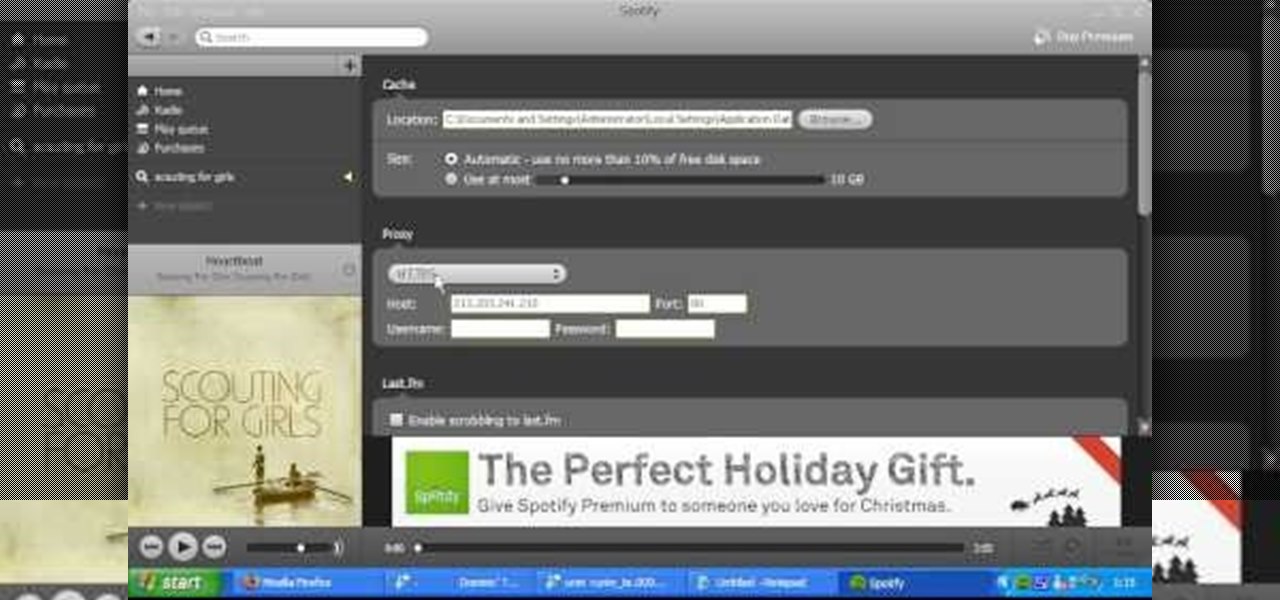
Love free streaming music but hate the annoying ads that come with it? There might just be a solution to that. Use this video to learn how to remove the ads from Spotify. Just follow along and set the Proxy to the following:

Don’t throw out that banana peel—or that overly ripe banana. Put them to good use around your house instead.

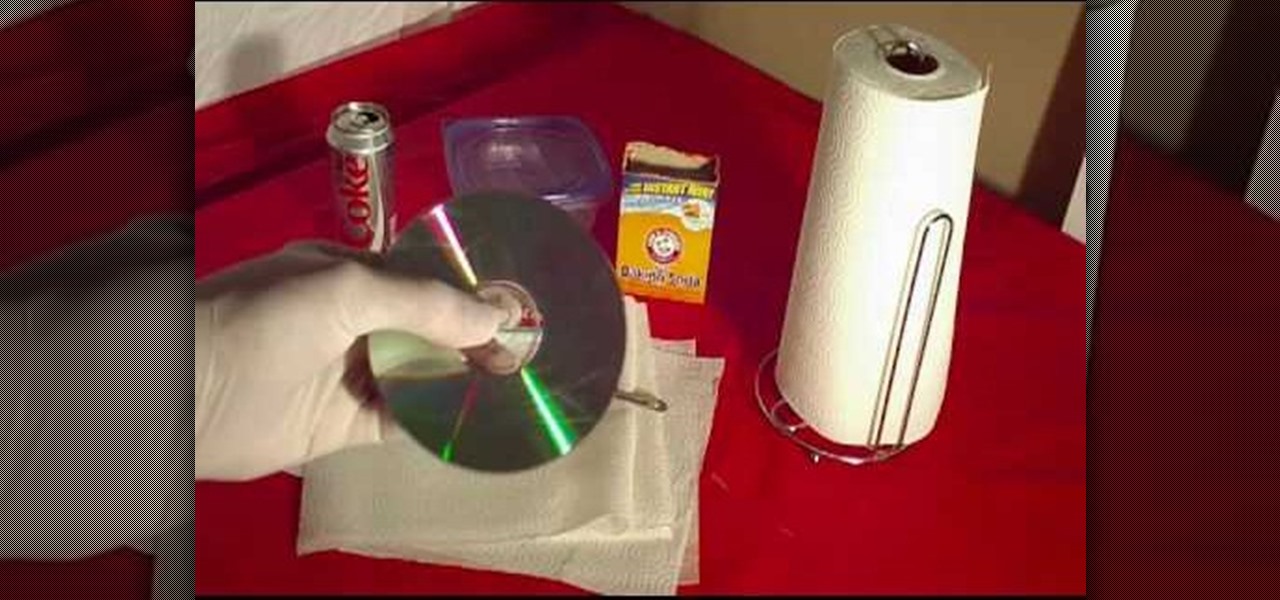
In this Household Hacker experiment, we'll demonstrate how to completely remove scratches from your CD or DVD media.

Recycling old jars into vases or containers is a good way to reuse them, but sometimes it seems like an impossible task to get the sticky labels and goo off of the glass. Check out these all-natural, easy tips, and you'll be label-free in no time.

Azaleas are relatively care free. To ensure they look their best they require adequate moisture. Make sure the roots in particular get plenty of water especially during the first year or so. Mulch is important, two or three inches of horticultural mulch like straw or pine bark will help protect their roots, which grow close to the top of the soil. They don't need to be pruned. If you want to shape or remove dead wood, wait until after they bloom. By doing it at this time the dead wood is easi...

In this tutorial, we learn how to take apart an iPod Nano 3rd generation for repair. First remove the back casing using a guitar pick. Next, use a flat tool to lift up the battery carefully and remove it from the casing. You will see three wires that lead to the launch board, which are soldered into place. Now, use the flat tool to remove the back of the battery casing from the device. Now, remove the logic board by removing the 6 small screws inside of it. Next you will remove the LCD by lif...

In this tutorial, we learn how to safely remove a tick. Using professional tweezers that are pointy are the very best for removing ticks. Blunt tweezers will tear the tick. First, use the tweezers to grab the tick on it's skin in the front. Then, pull up and slow to remove the tick from the skin. Have a steady hand so you don't drop the tick or tear it in half. You can purchase tweezers that are made specifically for removing ticks from CVS stores. Give the area 24 hours to heal after you hav...

In this how-to video, you will learn now to dismantle an iPod Nano 3rd Generation. First, run a plastic tool on both sides of the device. Once this is done, remove the back cover with your fingers. Next, unscrew the six screws on the circuit board. Store them in a place where they will not be lost. Next, remove the click wheel ribbon cable from the jaw connector. Lift the jaw connector with the tool and use a pair of tweezers to gently remove the cable from the jaw. Next, remove the small met...

Repairs Universe demonstrates how to replace the LCD screen on the LG Xenon GR500 cell phone. First, remove the battery and the SIM card from the phone. Then, use a small phillips head screwdriver remove six screws from the back of the phone. Next, use a safe pry tool to release the clips by running it along side of the phone. Remove the back layer. Remove the two screws on the inside of the phone. Also remove the volume key, the hold button and the camera button. Slide the phone to the side ...

In this tutorial, we learn how to install a replacement LCD screen on a Blackberry Pearl. First remove the cover and battery from the phone. Then, you will take a tool and remove the clips from the left and right side of the back to remove the bottom. You will now find two more screws that need to be removed from the phone that are on the top. Once done, you will nee to pry open the top and bottom of the phone and take it apart. You can now remove the motherboard from the casing which is wher...

This video shows you how to take apart a Microsoft Zune HD. To take it apart, you will need a tri-wing screwdriver. Using the screwdriver, remove the four screws at the corners. Once the screws are removed, you can easily remove the back cover. To remove the bottom cover, slide it off with your fingers. Next use a T5 screwdriver to remove the three screws, one on each side and one in the middle. There is one more tiny screw near the bottom that has to be removed. Using a prying tool to remove...

This video shows you how to replace the LCD screen on a third generation iPod nano. Using a plastic safe pry tool, run it along the edges of the iPod, releasing the clips. Once the clips have been released, you should be able to remove the back cover. There are six exposed screws on the bottom of the inside back cover, remove all of them. Next remove the click wheel ribbon cable from the jaw connector. To do this, use the pry tool to lift the connector. Use a pair of tweezers to gently remove...

This how-to video is about how to enable the commenting tools in the free Adobe Reader using Acrobat 9 Pro and Acrobat 9 Pro Extended.

Don’t squeeze that blackhead! There’s a gentler way to get rid of it, and several steps you can take to prevent new ones from forming.

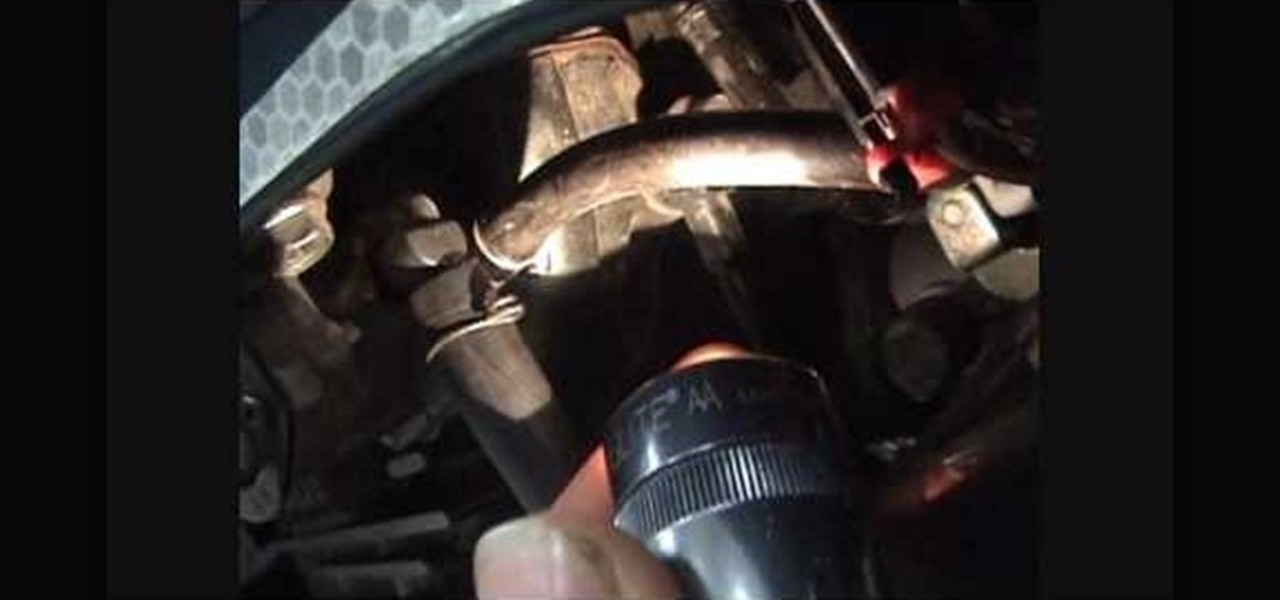
This motorcycle maintenance tutorial will show you how to remove and then reinstall body work on a Kawasaki KLR650. It is necessary to remove the body work any time you need to do repairs or maintenance such as oil changes or fluid replacements. If you plan to work on your KLR 650 at all, you definitely want to watch this video and learn how to remove the body work first.

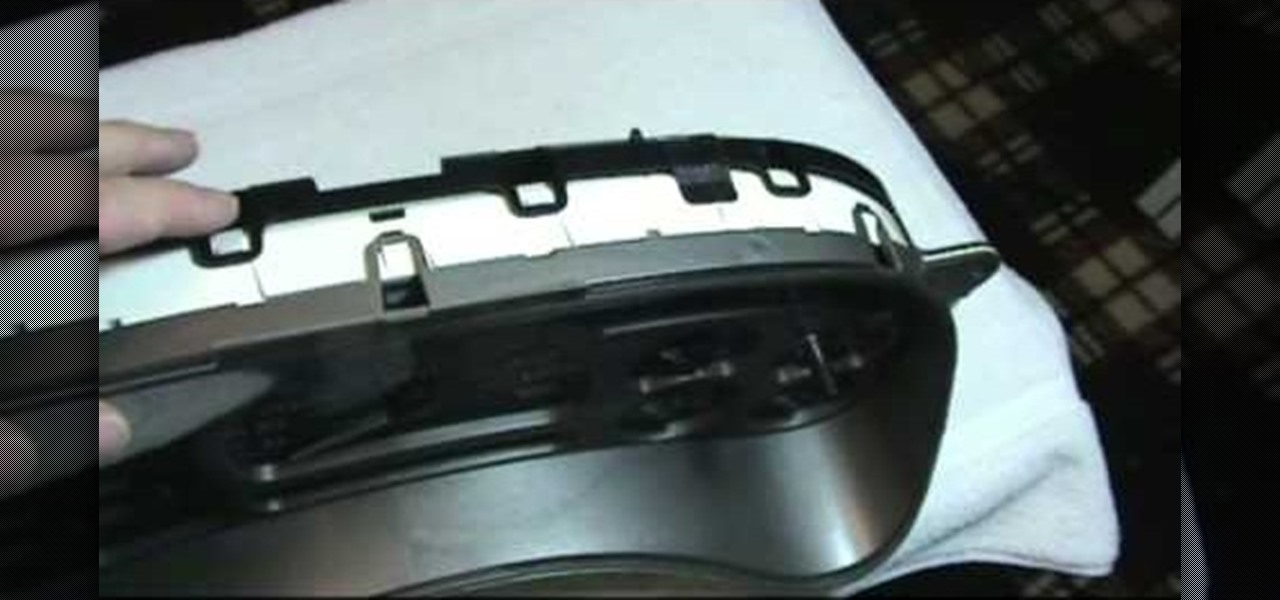
GM cars might be the flagship of American industrial production, but they are not very reliable for the most part. If something is wrong with one of the gages or instruments in your instrument panel cluster, you have to remove the panel and fix it. This two-part video will show you how to do that on most GM vehicles.

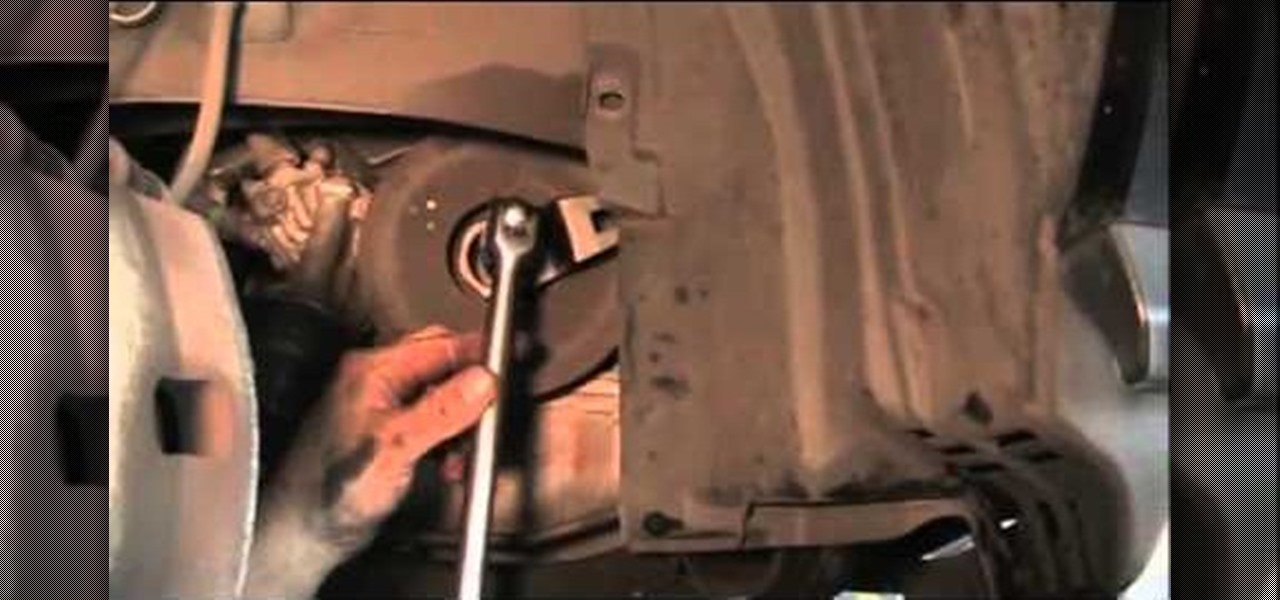
Acuras, like their Honda brethren, are blissfully easy cars to work on. If the timing belt on your 2001 MDX has gone bad, you've come to the right place, because this two-part video will show you how to remove the broken one and install a new one.

In order to cut into a fresh pineapple, you will need a sharp knife and a cutting board.

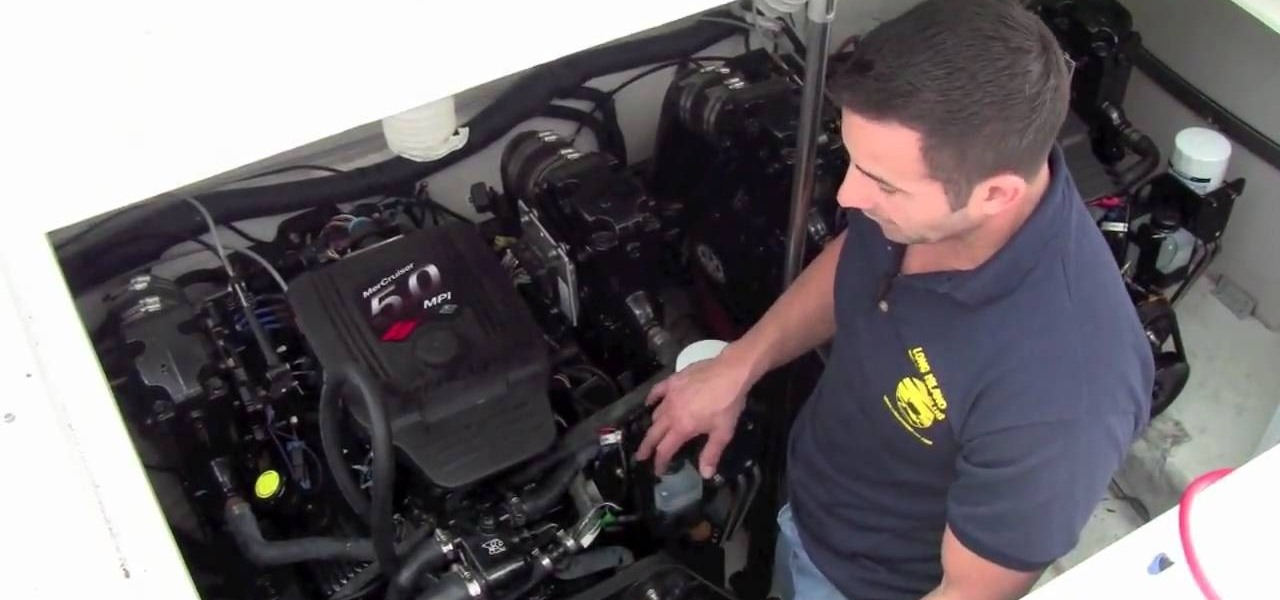
In this Outdoor Recreation video tutorial you will learn how to winterizing your boat engine block. For this you will need some screwdrivers, compressed air and a flexible hose if you have a hot water heater system on the boat. First you got to drain out all the water inside the engine. Remove the two plugs from the block and one plug from the sea pot as shown in the video and drain out all the water. Be careful and don't drop the seals while removing the plugs from the engine. While the wate...

If you need to remove vocals from a song in Pro Tools first you need to open Pro Tools and load the song. First, you need to split this track so go to Track and click split to mono. Now, mute this first track. Next, you want to remove the stereo by panning each the bottom to 0. Now, flip the phase by going to the bottom clicking EQ plugin. Now the vocal is pretty much gone.

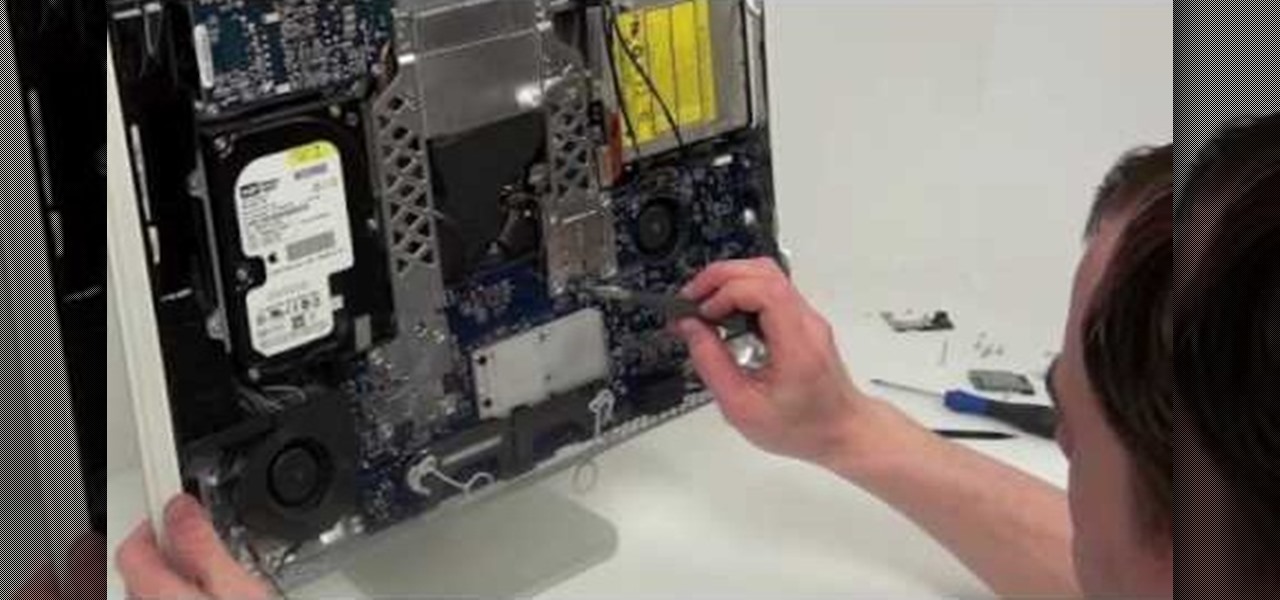
In this how to video, you will how to remove the logic board from the iMac G5. First, get the t6 screw driver and remove the screws in the corner. Unplug the airport card. Now, unplug all the cables connecting to the logic board. Now, unscrew the torx screws located on the logic board. Unplug the optical drive cable by unscrewing the 2 torx screws holding it. Next, unscrew the torx screws located near the center top of the board. You can now remove the logic board. However, there is a hard dr...

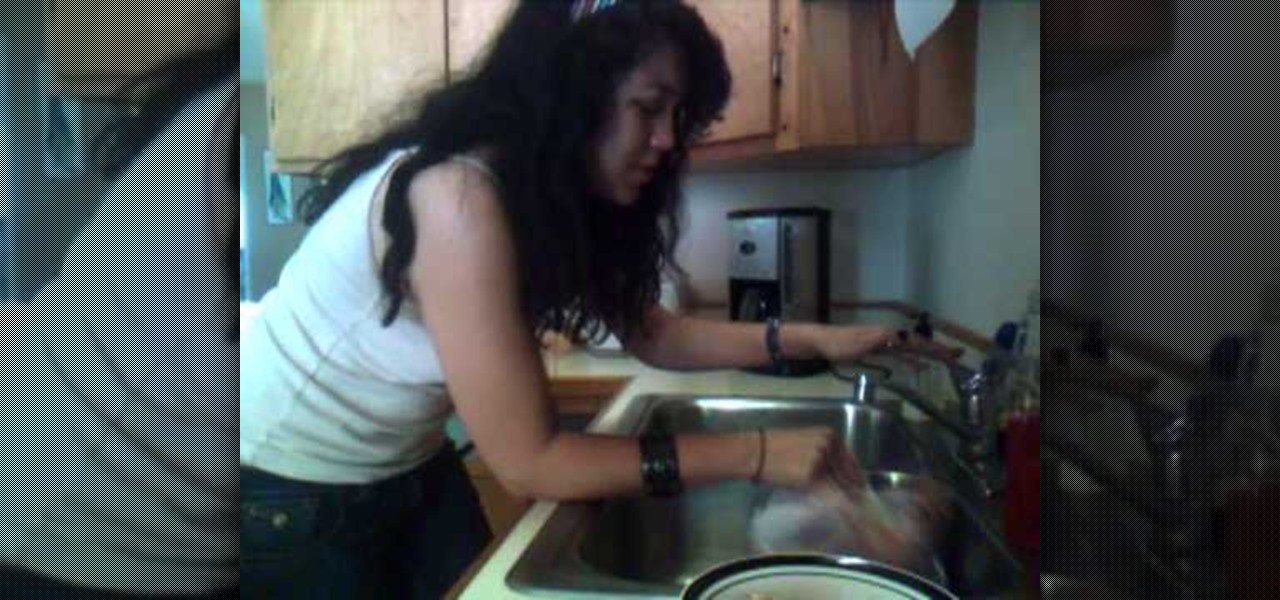
This video shows you how to clean a Thanksgiving Turkey. For this, you will need a turkey. Place the turkey in a clean sink. Remove the plastic bag. Carefully remove the contents from the belly of the turkey. Reach into the belly of the turkey, with your hand and remove the packets. It will likely contain the turkey’s heart, liver, giblets, and neck. When you remove these items, set them aside to be used later. They can be incorporated into the other Thanksgiving recipes, including dressing/s...

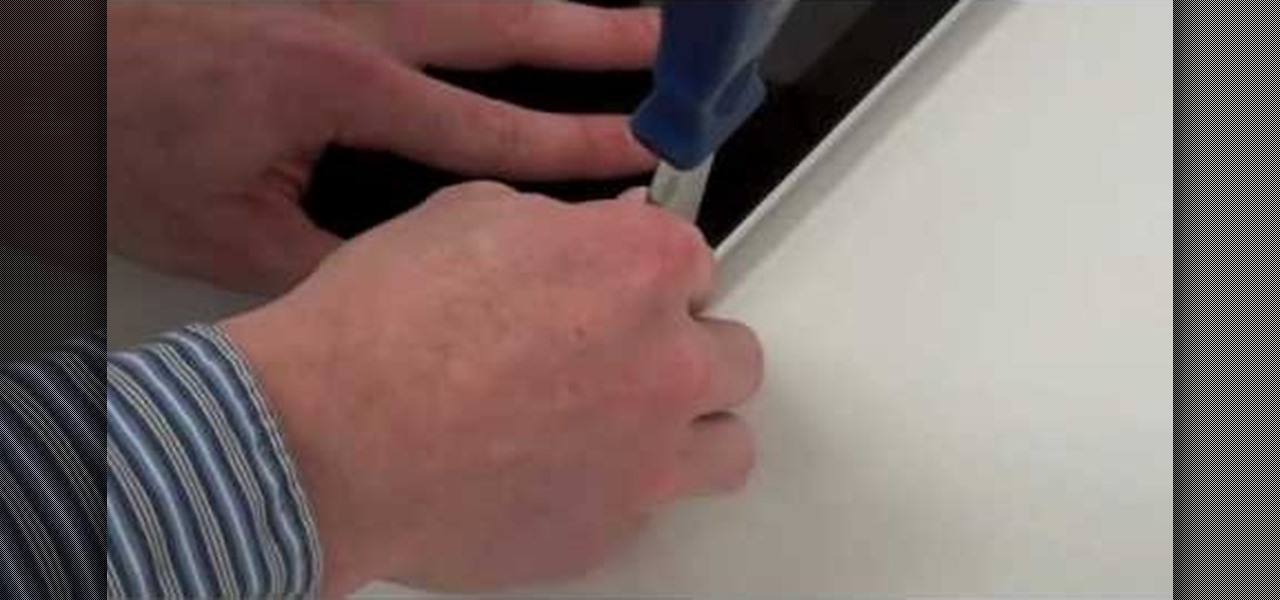
So, you've just got yourself an Apple iPad, but it already needs fixed, or you want to check the innards out for yourself, you're going to have to know how to open that sucker up. This video tutorial will show you how to do just that.

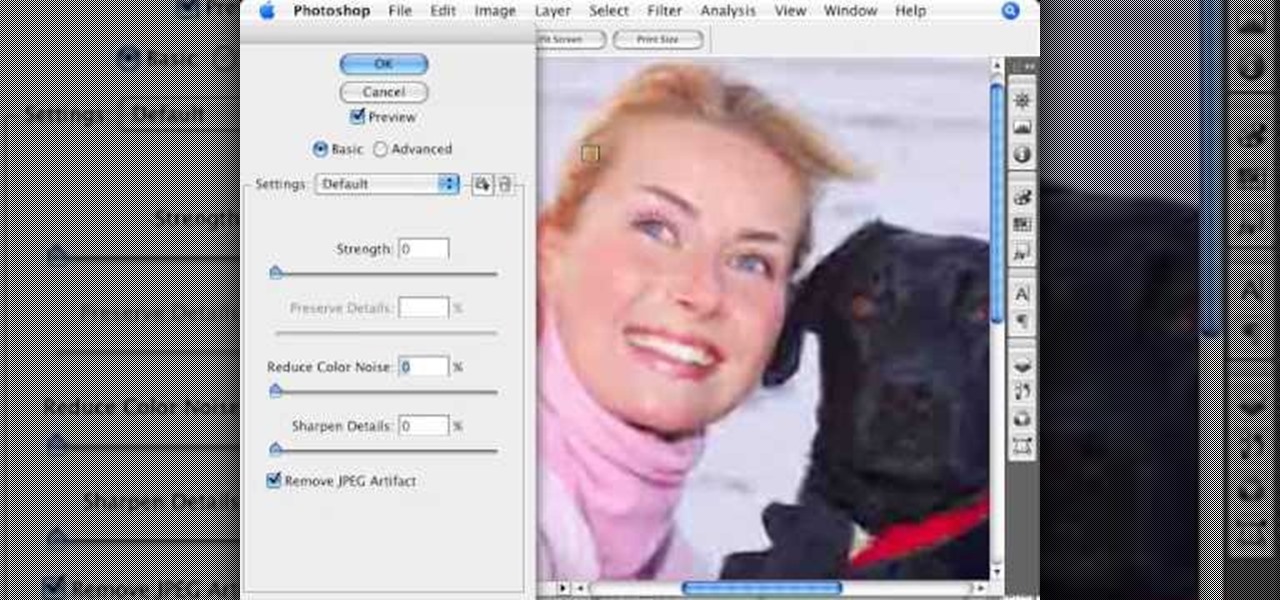
Photoshopuniverse shows how to remove JPEG Artifacts in photoshop. It's simple. Sometimes it happens that, you get the best picture which is related with your work, but unfortunately its low quality or small. If you zoom in a small picture it will pixilated. You will see some blocks. Luckily there is a way to remove it from photoshop. Go to- filter, then noise, then reduce noise. There will be an options of removing JPEG artifact. Check that. After watching the video you can remove JPEG artif...

This video speaks about removing sensitive information in Adobe Acrobat 9. The viewer might get a very obvious idea of removing sensitive information by redaction. Redaction is the process of permanently removing sensitive information from a PDF file. This is done by opening the Advanced menu, clicking "Redaction" and then clicking "Show redaction tools", which can be in any format, images or text. The viewers will definitely get a clear idea of removing such sensitive information by redactio...

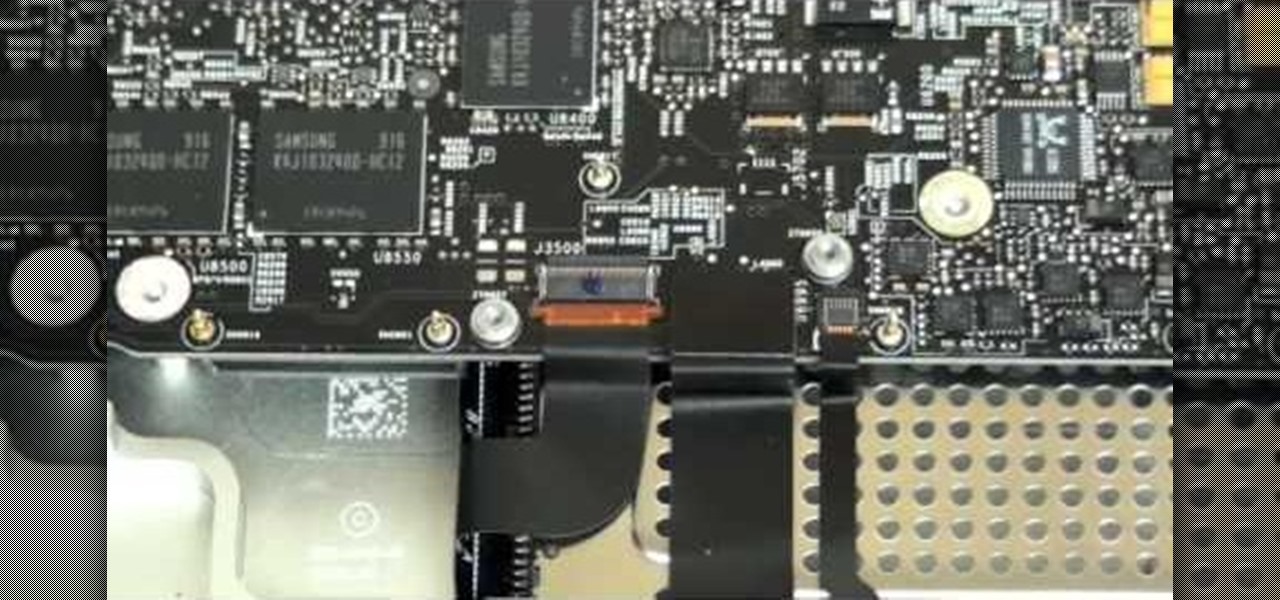
The logic board was a common malfunction in the old PowerBooks, but hopefully the unibody MacBook Pros are a little more resistant to failure, but if you have to get a new one, do it yourself. See how to remove the logic board on a MacBook Pro 17" Unibody laptop.

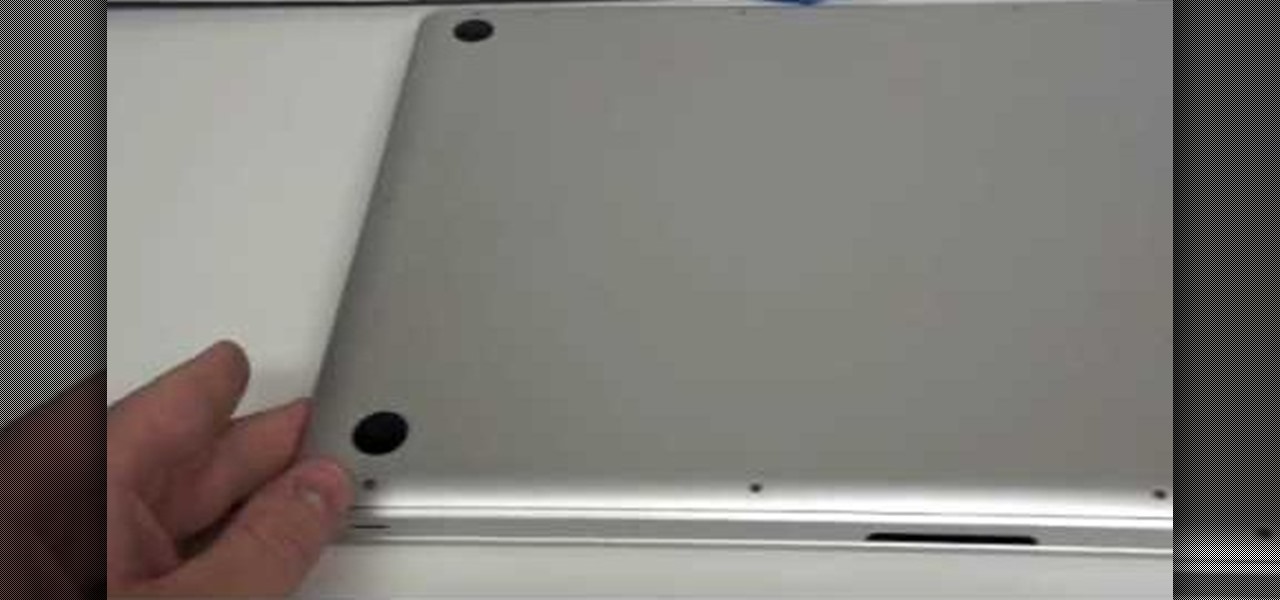
One of the first things you'll have to do when repairing and opening up your MacBook Pro 17" Unibody is taking off the bottom case. This is where you'll access all of your guts. See how to remove the bottom case on a MacBook Pro 17" Unibody laptop.

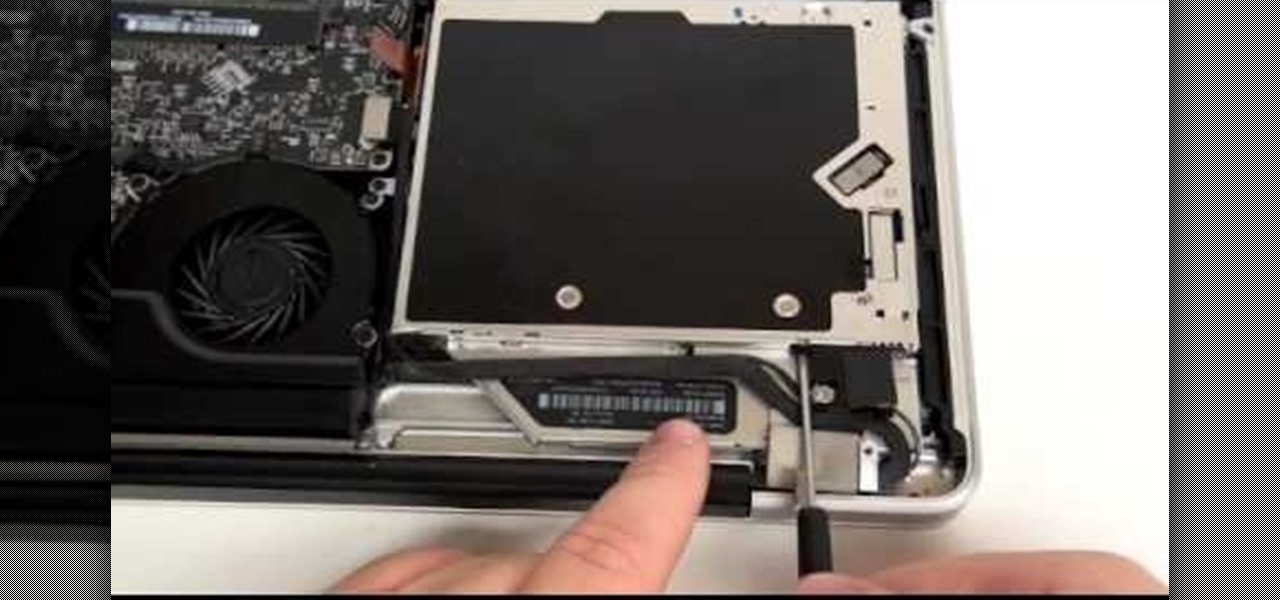
The new Unibody MacBook Pro's are a little different in design than the older MacBooks, so it may be a little confusing on how to see the innards of the laptop. Watch this to see how to remove the hard drive and battery of the MacBook Pro 17" Unibody.

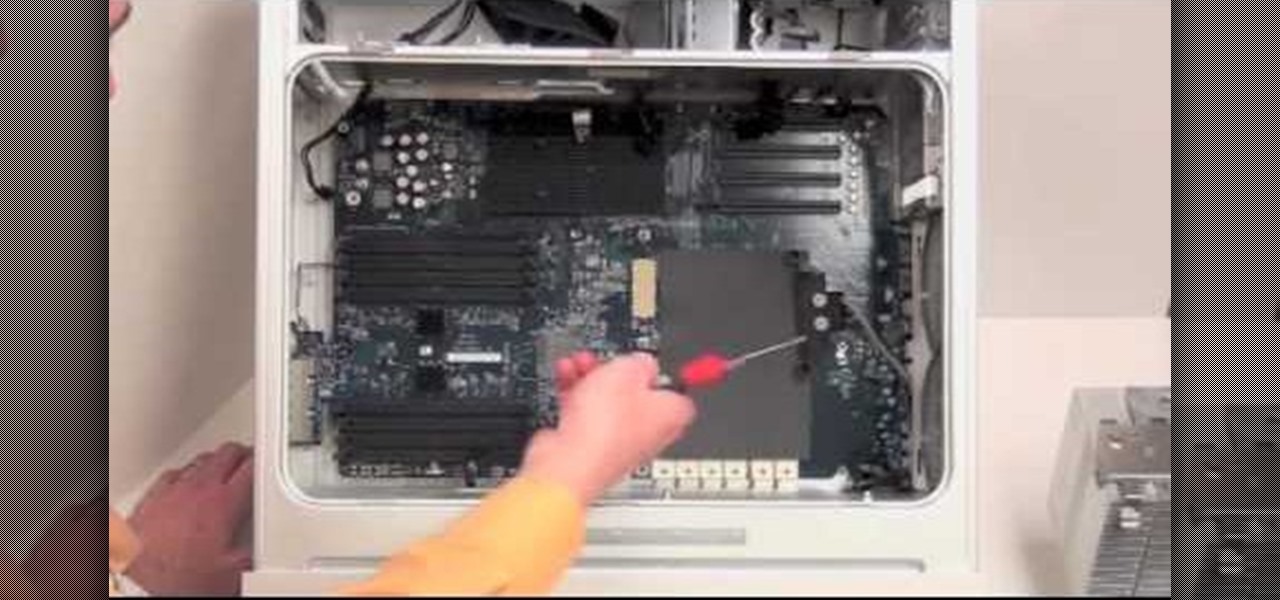
Is your motherboard toast? If your logic board has burned out, it's a sad thing, but you're going to have to replace it. See how to remove the logic board from the Power Mac desktop computer.

Can't turn on your computer? The power button might be broke. If so, you're going to have to replace it, and you can do it yourself. See how to remove the power button from the Power Mac desktop computer.

Is your computer overheating? It may be because of a faulty fan. See how to remove the fan in the Power Mac desktop computer.

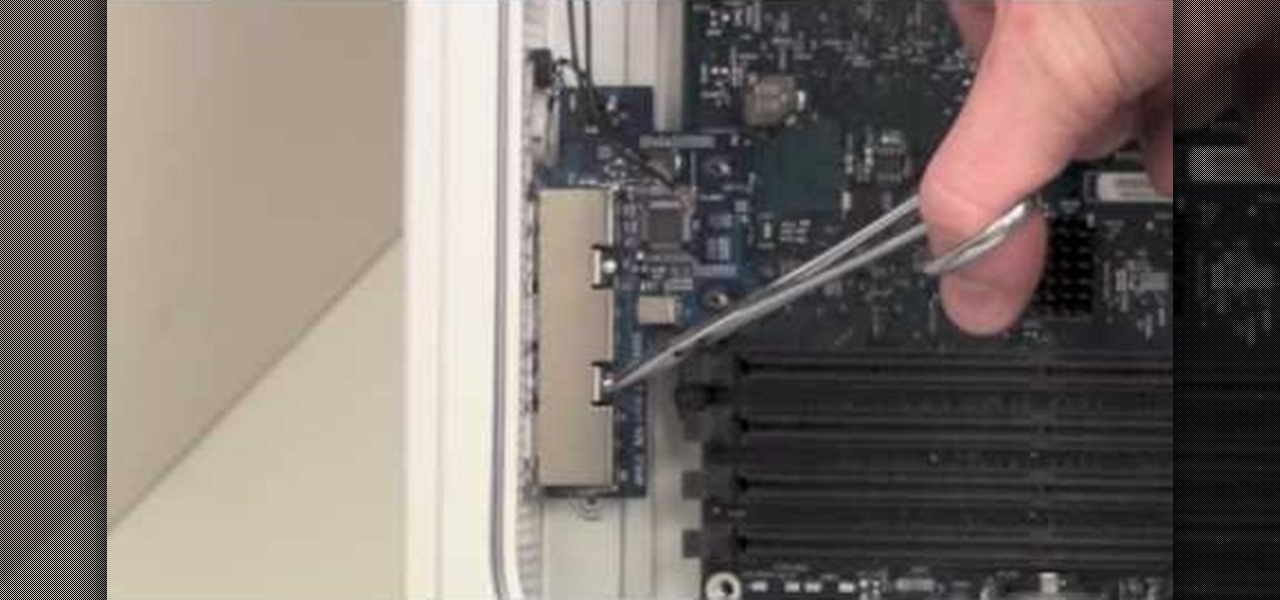
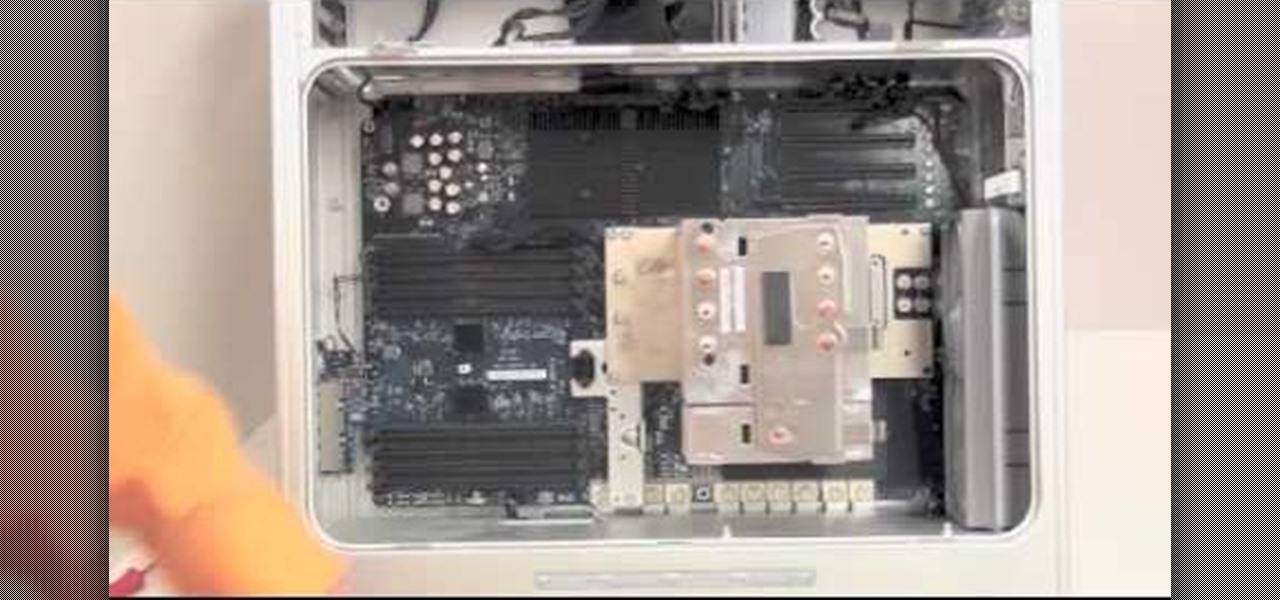
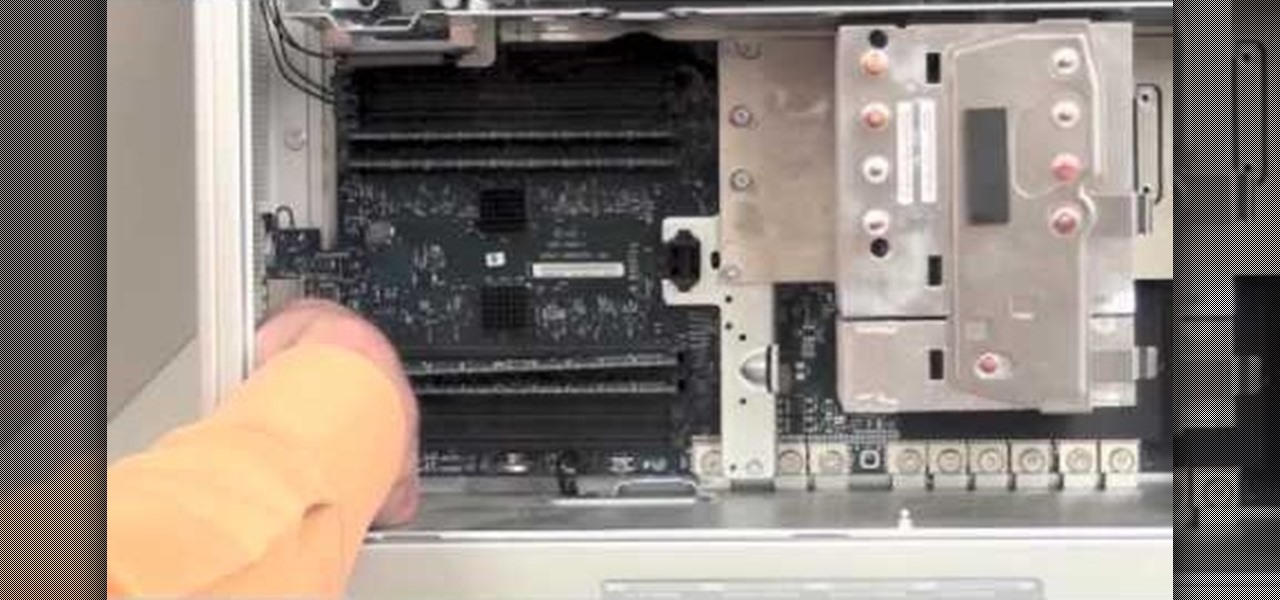
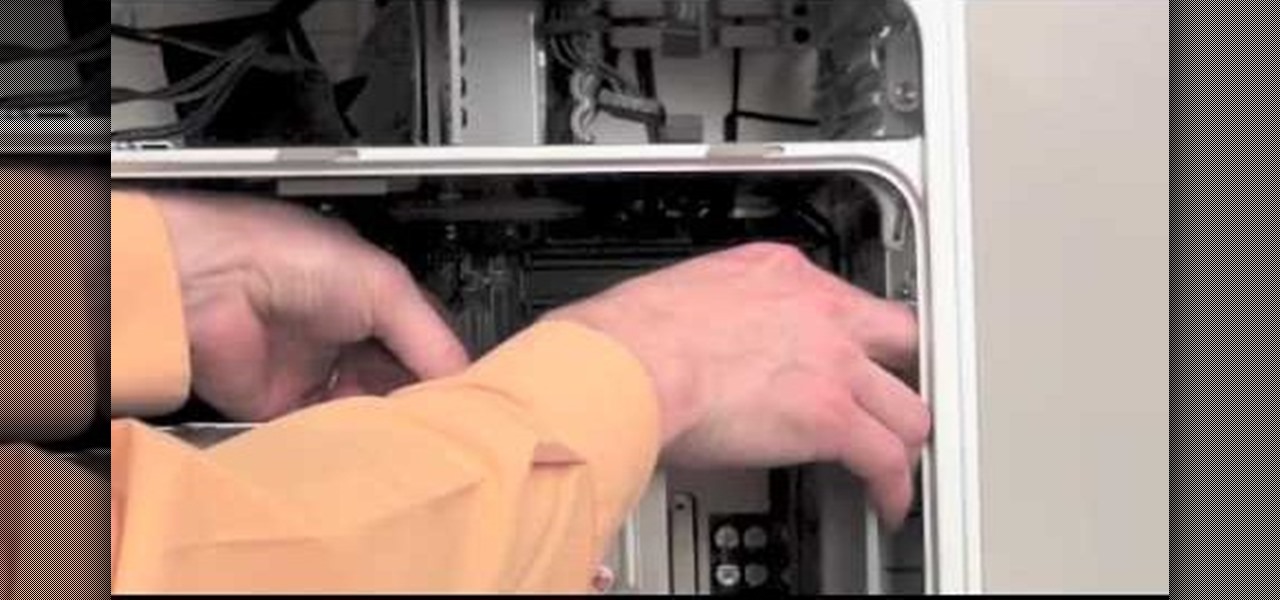
Maybe you only have 1G of RAM in your Power Mac. Maybe you ace some bum memory. Maybe it's just time to upgrade. Either way, this RAM upgrade video can help. See how to remove the RAM memory from a Power Mac desktop computer.

Your graphics card may be a little outdated in your Power Mac, so upgrade it to a one that can handle all of your gaming needs. See how to remove the graphics video card from your Power Mac desktop computer.


