Does you puppy keep you up all night with it's barking and tiny bladder? There are ways to minimize the problem. This video will give you some easy things you can do to make sure your puppy sleeps soundly through the night.

If you're having trouble sleeping, work through this video, Tapping (EFT or Emotional Freedom Technique) can help! Stressful feelings cycling through your mind keep you awake. When you release them with EFT you will sleep more soundly.
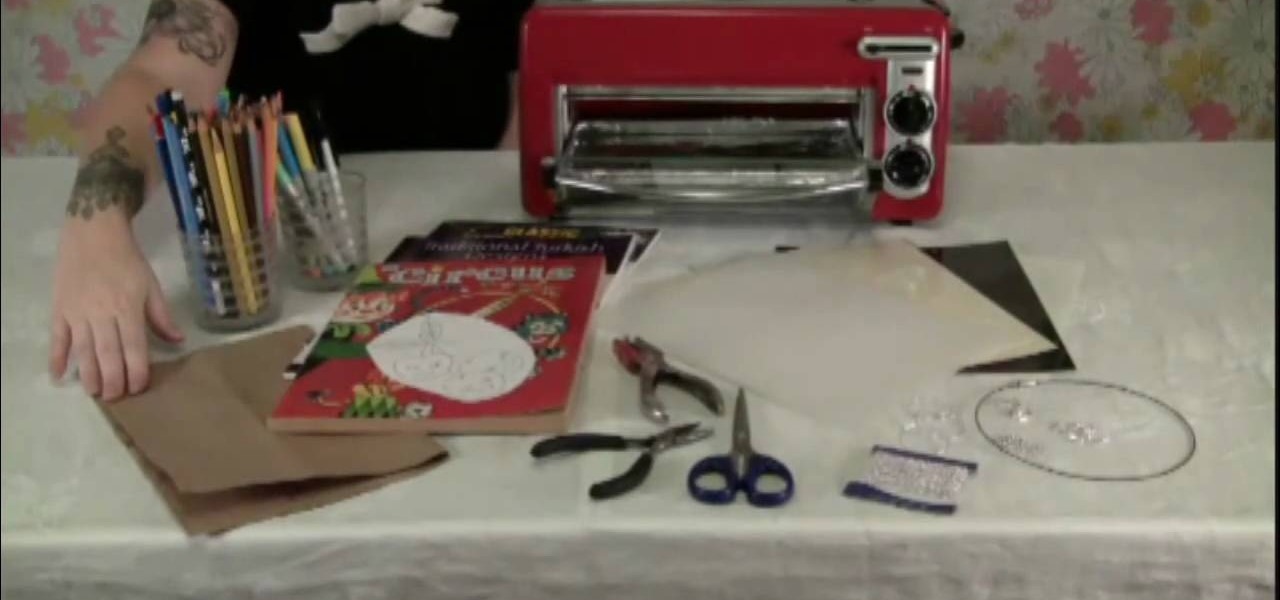
If your little girl loves jewelry making but you're scared she's going to poke her eye out with a wire when you're not looking, sleep soundly at night by teaching her how to craft shrink plastic jewelry. Perhaps the safest and easiest forms of jewelry making, it involves only shrink plastic and a mini oven (which you would help out with).
Are you sick and tired of staring at that water damage on your ceiling? There’s no need to sleep staring at that annoying water spot on the ceiling when it's so easy to get rid of! Loose the spots with the easy steps listed in this video.

Finding your arm going numb under partner? Can't him/her to MOVE! In the wild a wolf will gnaw its own leg off to escape a trap. This is not the wild and you are not a wolf. Get your arm back the human way.
Learn how to relieve insomnia with acupressure. Get to sleep fast with a massage technique from the ancient Chinese healing art acupressure.

Before you go out to protest, understand what you are facing. Sometimes these demonstrations become infected with looters and rioters, which could mean interaction with law enforcement and potentially arrest. And if your phone is on you, it can be used as a tool against you.

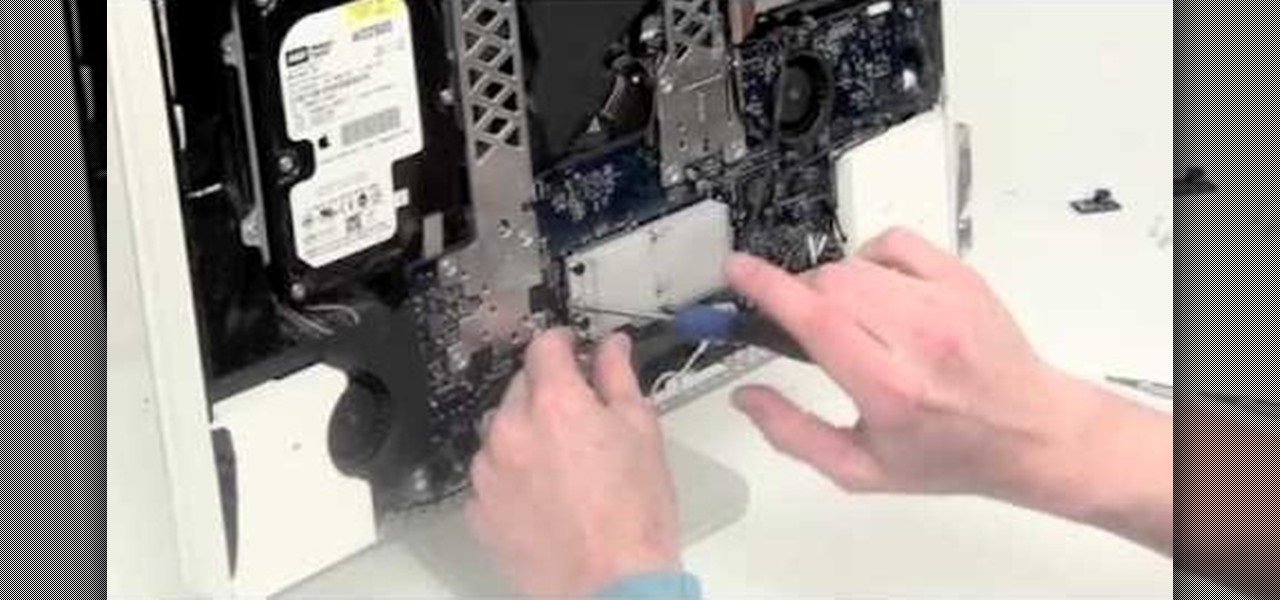
In this video tutorial, viewers learn how to remove the speakers on a G5 i-Mac computer. In order to remove the speakers, user will need to first remove the ambient light sensor. Remove the 2 torx 6 screws and remove the middle bracket. Now on each speaker, users will need to remove 2 torx 8 screws. Once the screws are removed, the speakers simply slide out of place. Under the right speaker, there will be a cable that will need to be unplugged from the logic board. This video will benefit tho...

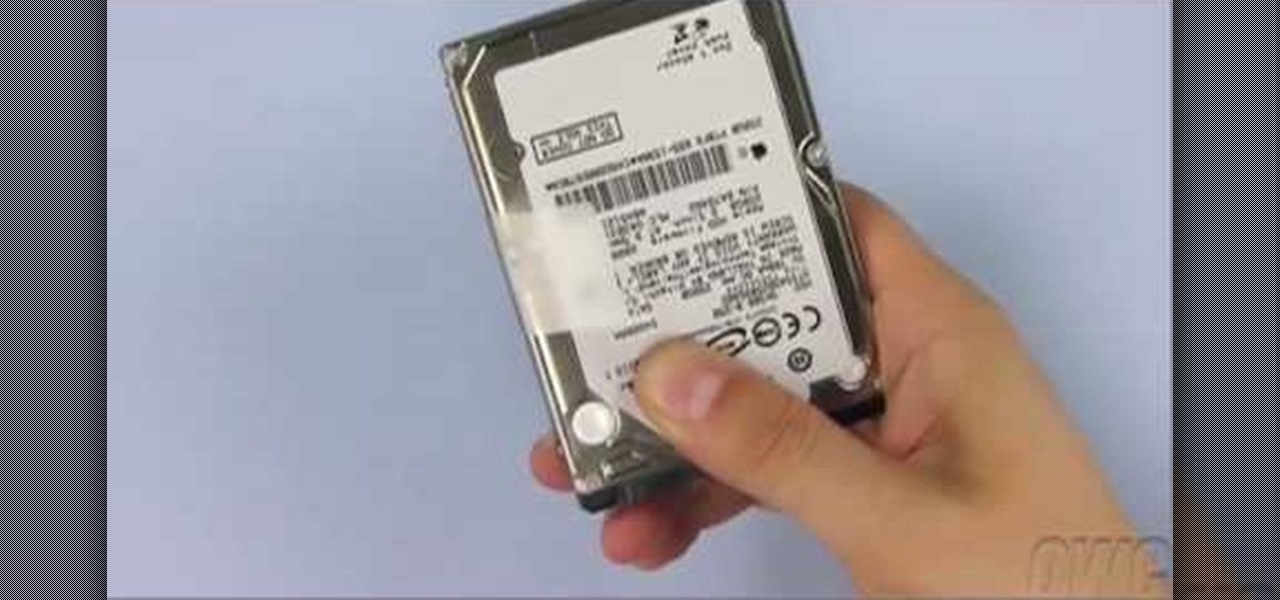
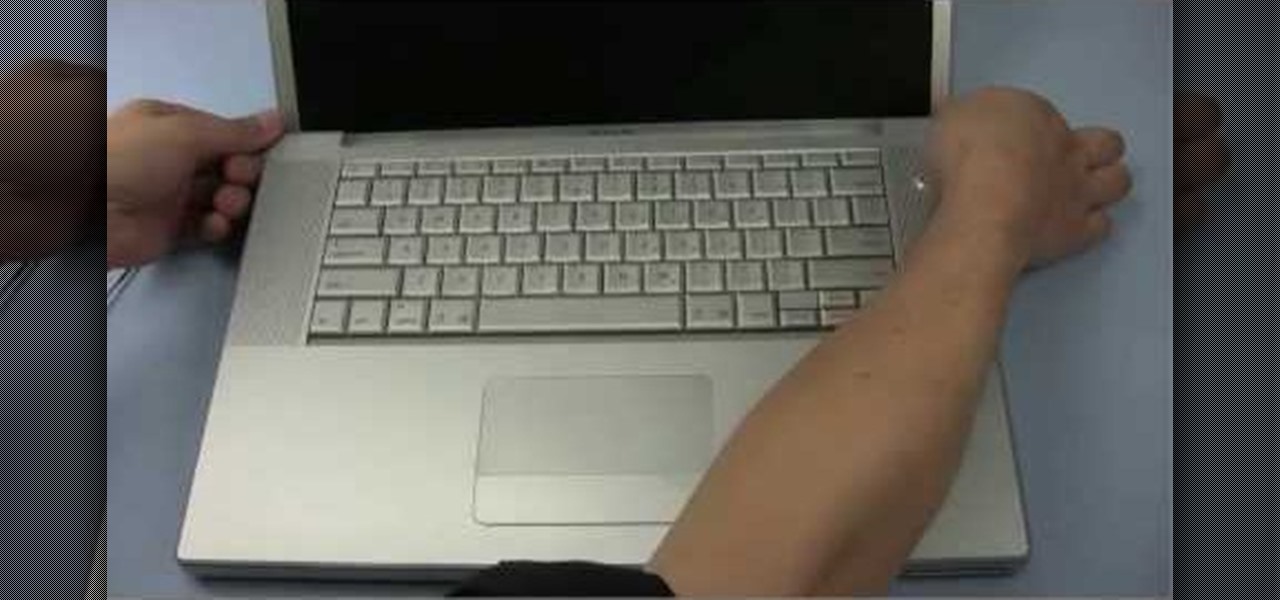
In this video from MacOSG we learn how to install a hard drive in a 15" Macbook Pro from around 2009. For this you need a #00 Phillips head screwdriver and a T6 Torx screwdriver. Make sure you use proper anti-static precautions with this. Transfer your data to the new drive before installing. To remove the hard drive, flip over your Macbook. Use your Phillips to remove the 10 screws. Remove the 3 at the right which are longer than the other screws. Then remove the left most screw which is the...

The video starts by informing about the basic safety precautions, tools needed and backing up data prior to hard drive replacement. There are a series of screws which need to be removed in the following order.1. Removing the battery from the back and then remove three screws thereby removing the RAM cover.2. Two more screws to be removed under the RAM cover.3. Two screws from inside front edge.4. Four screws from the bottom rear.5. Two screws each from the slim sides.6. Two screws near the hi...

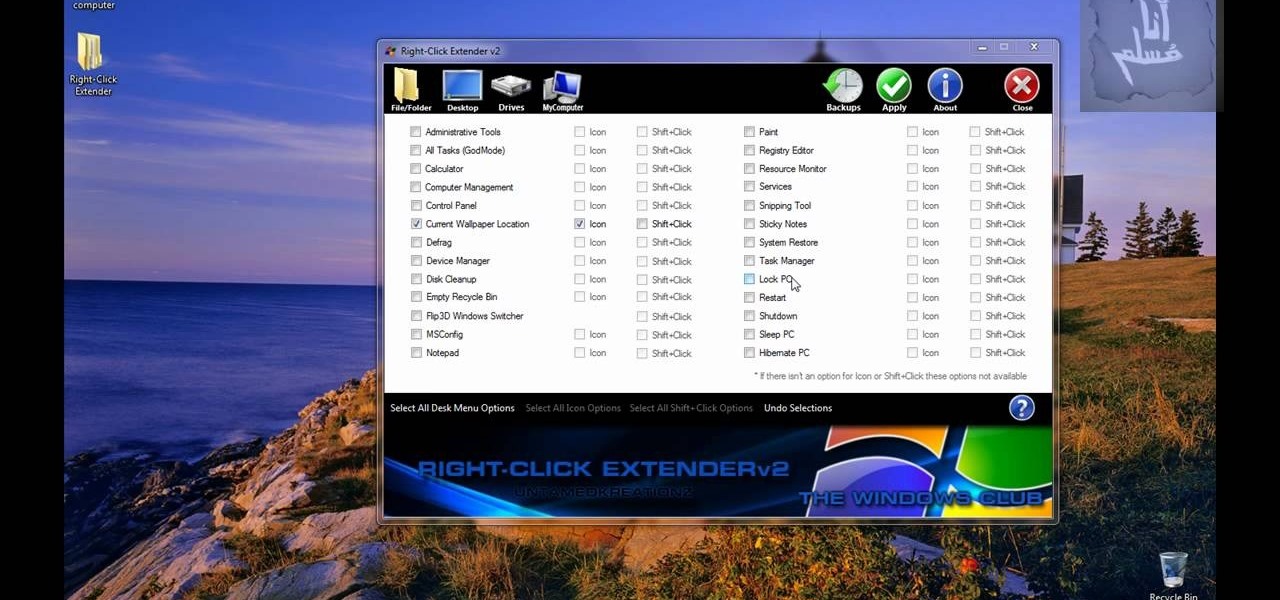
Tired of being limited with your right-click options in Microsoft Windows? There's a program that could help you out, and it's called Right-Click Extender. Insert many different additional items to the right-click context menu.

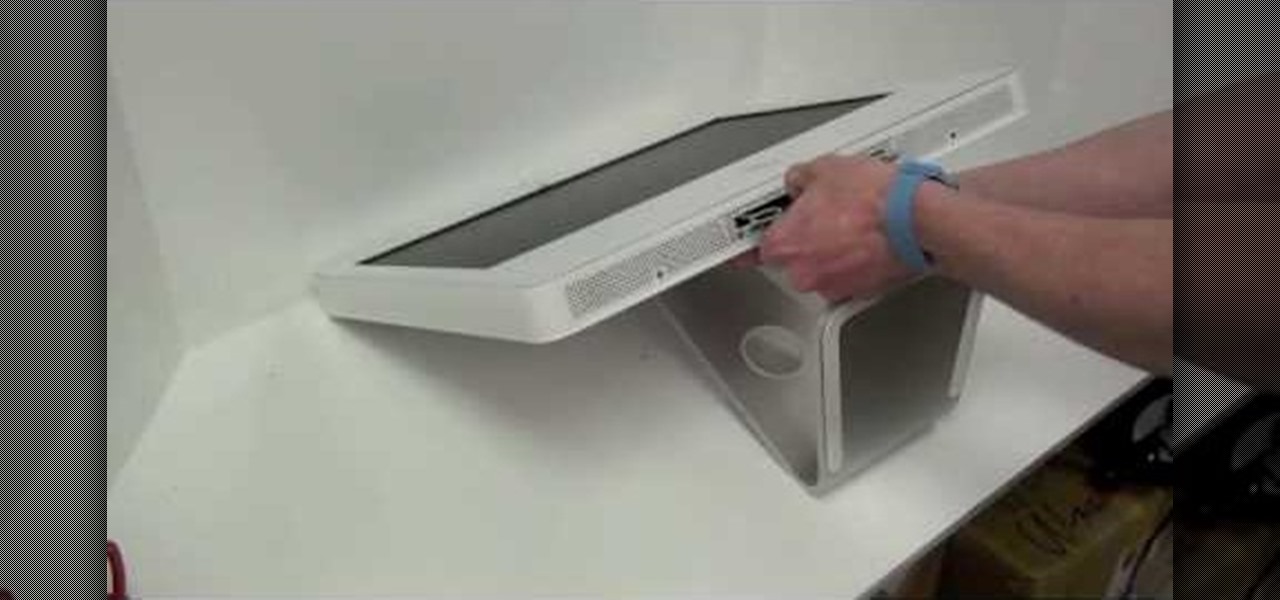
In this how-to video, you will learn how to remove the front case of an iMac G5. First, lay the case on its back. Remove the screws in order to get the ram bay cover off. Once this is done, pull on the release tabs to remove the ram modules. Next, remove the torx screws on the bottom side of the casing. Once these are removed, work your way around the casing to remove the front from the back. Do not pull too far as you might damage the wires to the camera. Unplug the camera once you are able ...

In this how-to video, you will learn how to remove the vocals on songs using Ableton. First, open the tracks you want to remove the vocals from. Go to utility and select the preset difference. Drag it to the audio track. This will remove vocals.

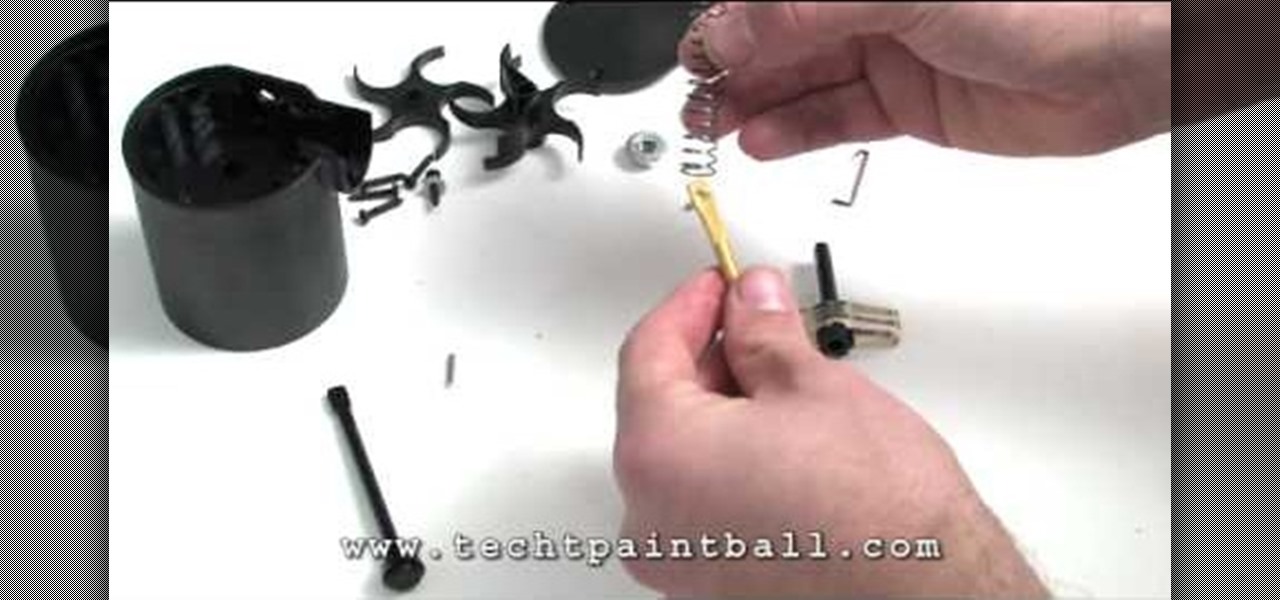
In this video, our author, KRASHARPSHOOTER, shows us how to install a TechT Lightning Rod. First we remove the screw on the underside, and turn it over and remove the four base screws. Now lift up on the piston housing and remove it. Then, remove the nut and the tension guide. Now you can remove your ratchet axle and rod. Now remove the pin that hoods the ratchet rod and axle together.

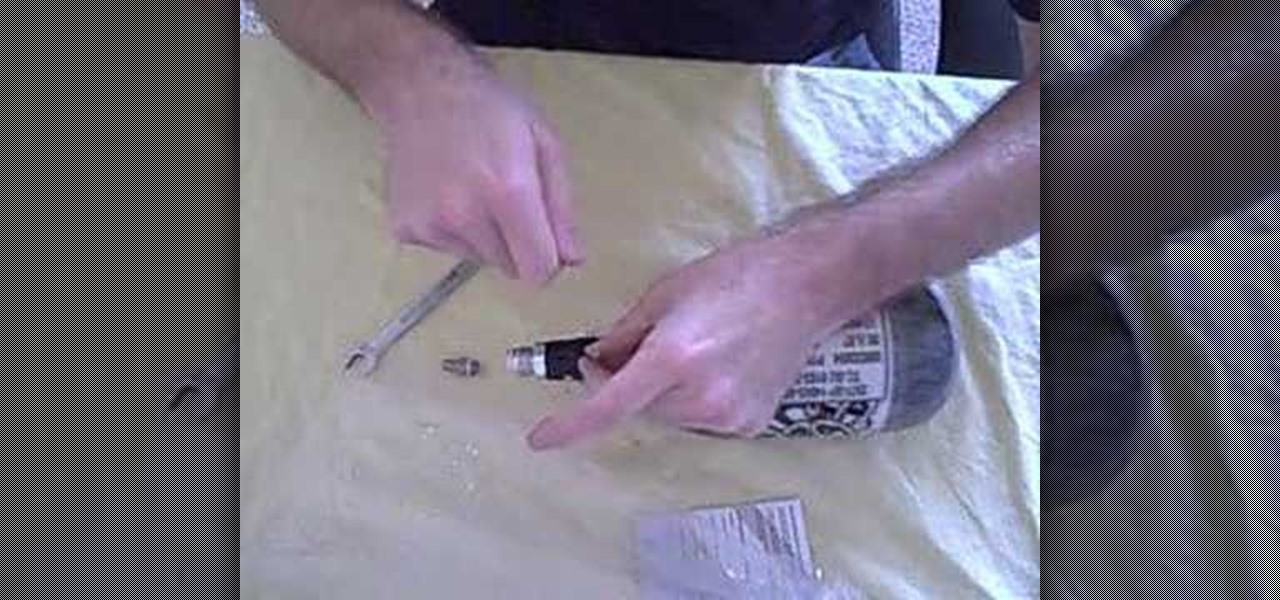
Custom Products Paintball Tanks come with a fill nipple filter. This causes the tank to fill up EXTREMELY slow. To remove the filter, simply remove your fill nipple, and tap out the filter.

When you remove the multifunction switch from your Saturn S-series car, be sure to disconnect the battery and remove the airbag fuse so that you can safely interact with the switch.

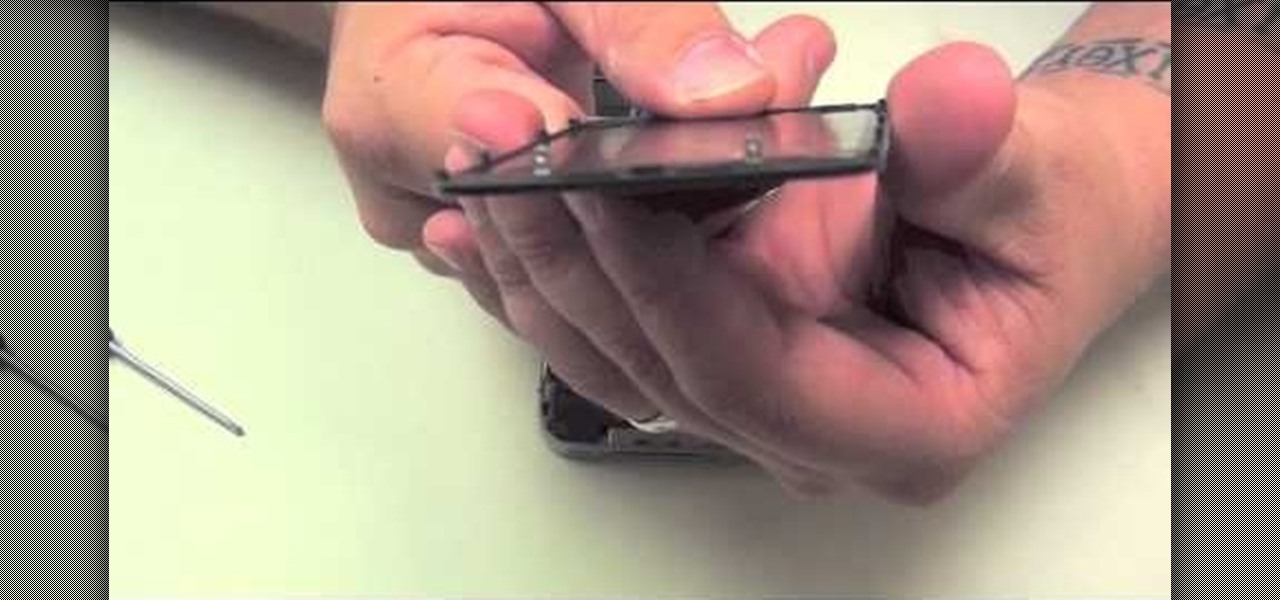
Well, Apple may not want you to do it but you just can't help yourself, you want to get inside that beautiful iPhone 4 and see what's inside. This clear, detailed guide shows how to remove the back panel, safely get inside your iPhone and remove your battery as well.

In this video, we learn how to remove an automobile headliner on a Saturn S-series. First, you need to remove the back cushion and then take the back rest on the seat, then lay it down. After this, remove the dome light and remove all the grab handles from the vehicle. Next, remove both visors and screws, then remove the mouth on the seat belt and bolts. After this, remove the cover on the back brake light, then the trim that runs along the side of the inside of the car on both sides. Once yo...

In this video tutorial, viewers learn how to remove a BMW E46 ignition/valve cover to access ignition coils. Begin by removing the center section of the factory strut braes. Then remove the 3 twist locks, take the cover off and remove the cabin air filter. Before removing the housing, users will need to remove the plastic cover that holds the positive cable. At the bottom of the cabin air filter, users will need to remove the 4 screws. Now users will be able to remove the entire cabin air hou...

In this how-to video, you will learn how to dismantle an 80GB Microsoft Zune and remove the hard drive. You will first remove the cap at the end. Remove the screws at the bottom. Next, unclip the sides, top, and bottom of the Zune. You can use a prying tool to help you with this. Do this slowly, as you might damage the Zune. Once you can remove the back cover, you will have access to the internal parts of the mp3 player. Remove the tape holding the components together. Next, remove the screws...

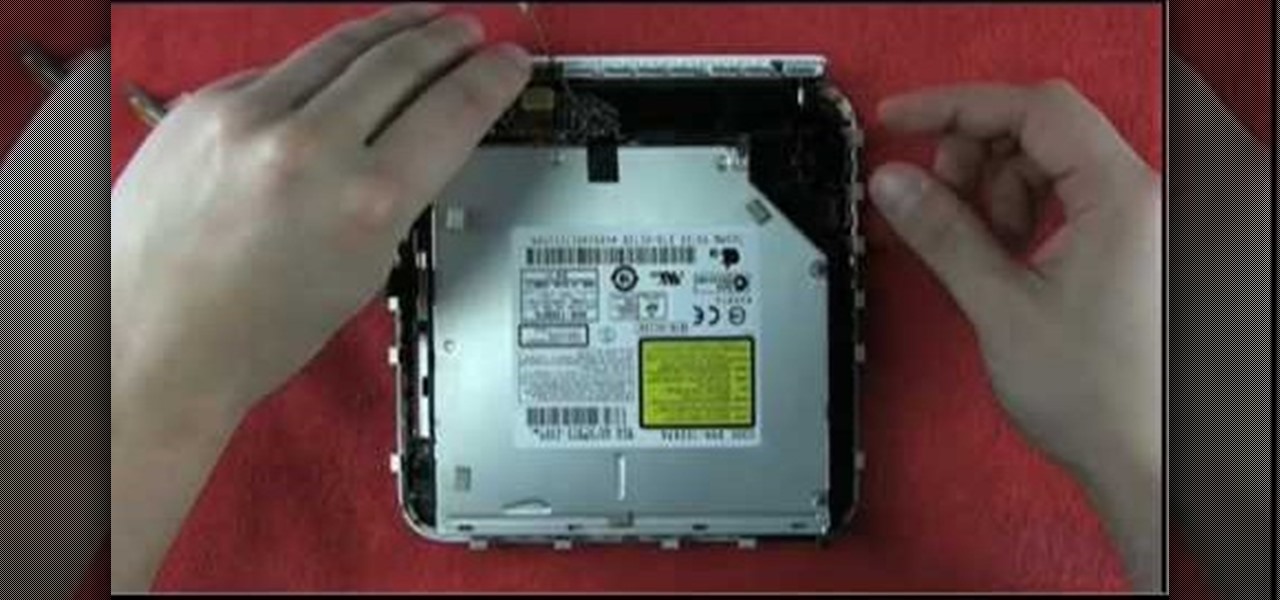
This video demonstrates how to install memory step by step in a Mac mini (2009), as it is a complicated method; it is advisable to watch through the process then attempt to do the same. First step is to remove the old memory from the Mac Mini. Shut down and unplug the Mac mini and place it on a soft cloth to prevent any scratch. Turn-over the mini to get into it using a small buddy knife. Carefully place the buddy knife between the inner and the outer case. Try to detach the inner clips using...

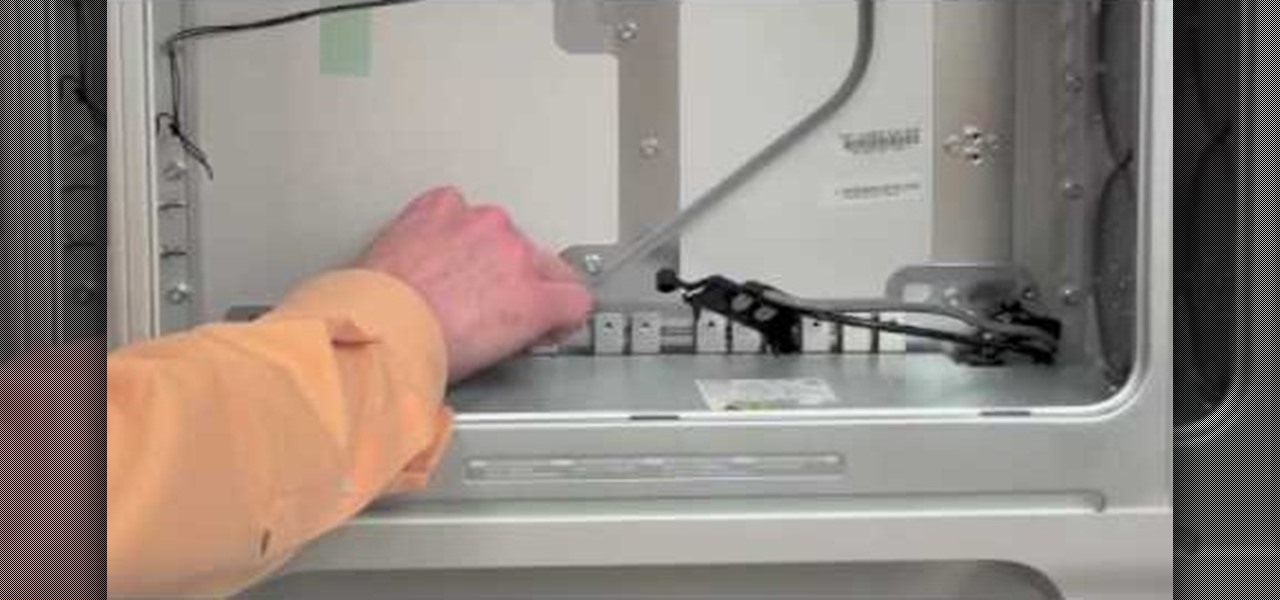
Your power supply on the bottom of your Mac may need to be replaced. If you're not sure how to remove it, no problem. See how to remove the power supply from the Power Mac desktop computer.

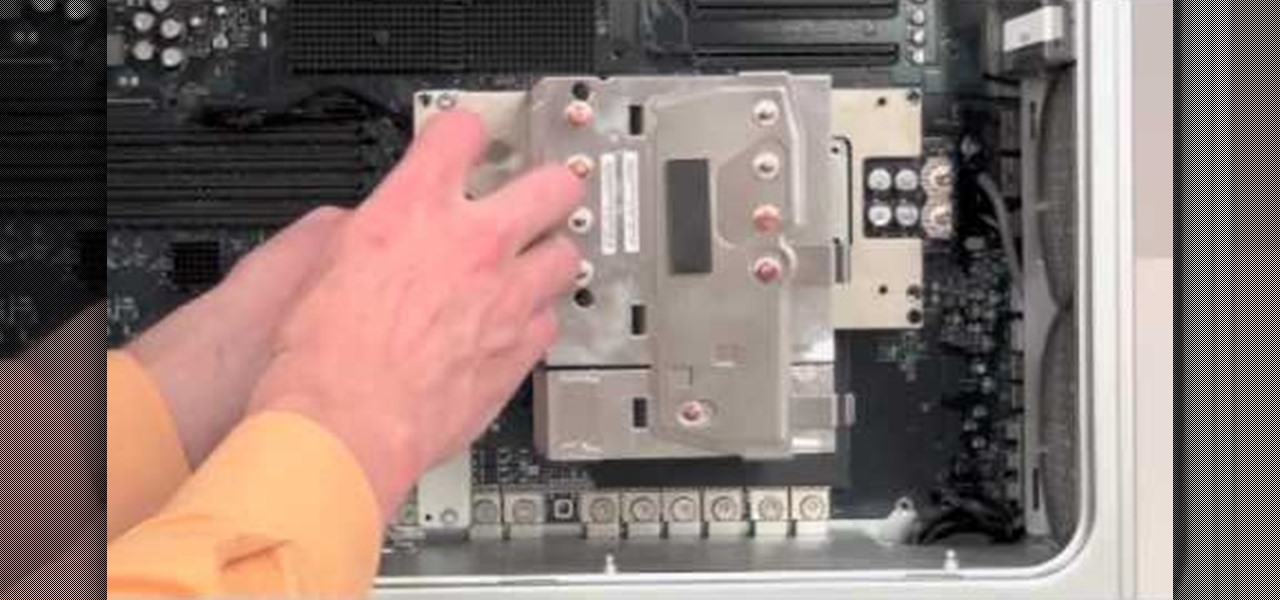
For some reason or another, you might have to remove the processor from your Power Mac. If you don't know how, see how to remove the processor from the Power Mac desktop computer right here.

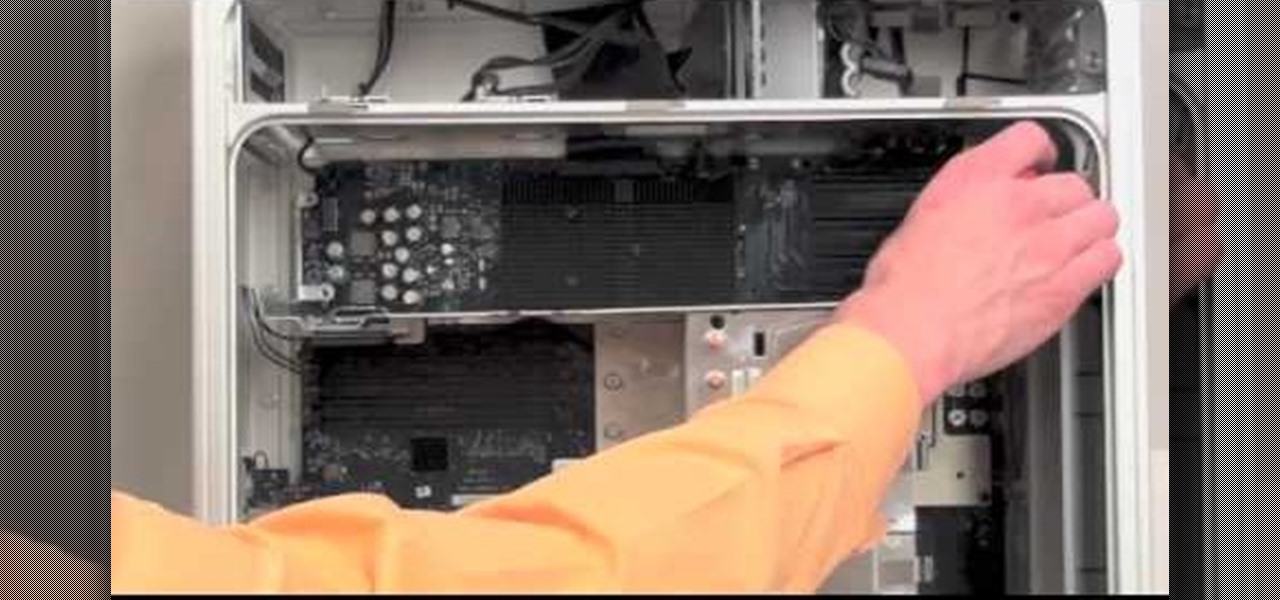
To remove your airport card from your Power Mac, you're going to have to know what you're doing… see how to remove the airport card from the Power Mac desktop computer.

This image editing software tutorial teaches you how to remove fringe left over from masking on a monster image in Photoshop CS3. Discover three distinctive ways to remove the ugly fringe that can ruin any good masking project. These Photoshop techniques are specially designed for working with detailed hair (like a monsther!), in Photoshop masking projects.

Swimming season is here! Learn how to treat the water in your swimming pool when opening it for the summer season in this pool care video from our swimming pool expert.

First of all you have to check the three red lights as shown because it indicates that the Xbox is broken and needs repair immediately. However if you open the Xbox the warranty is invalid and it takes six weeks to get it repaired. So go to eBay and buy the repair kit with printed manual for ten dollars. Remove the top and the bottom covers. It shall make a loud slap and it should be expected. Now use a key to unscrew the top cover and then remove it. Now remove the white color fan part. Now ...

In this tutorial, we learn how to take apart an iPod Nano 3rd generation for repair. First remove the back casing using a guitar pick. Next, use a flat tool to lift up the battery carefully and remove it from the casing. You will see three wires that lead to the launch board, which are soldered into place. Now, use the flat tool to remove the back of the battery casing from the device. Now, remove the logic board by removing the 6 small screws inside of it. Next you will remove the LCD by lif...

Repairs Universe demonstrates how to replace the LCD screen on the LG Xenon GR500 cell phone. First, remove the battery and the SIM card from the phone. Then, use a small phillips head screwdriver remove six screws from the back of the phone. Next, use a safe pry tool to release the clips by running it along side of the phone. Remove the back layer. Remove the two screws on the inside of the phone. Also remove the volume key, the hold button and the camera button. Slide the phone to the side ...

This video shows you how to replace the LCD screen on a third generation iPod nano. Using a plastic safe pry tool, run it along the edges of the iPod, releasing the clips. Once the clips have been released, you should be able to remove the back cover. There are six exposed screws on the bottom of the inside back cover, remove all of them. Next remove the click wheel ribbon cable from the jaw connector. To do this, use the pry tool to lift the connector. Use a pair of tweezers to gently remove...

If you're in a show choir like the kids on "Glee," then often times you love how a song sounds but in order to sing along with it you need to remove the lyrics.

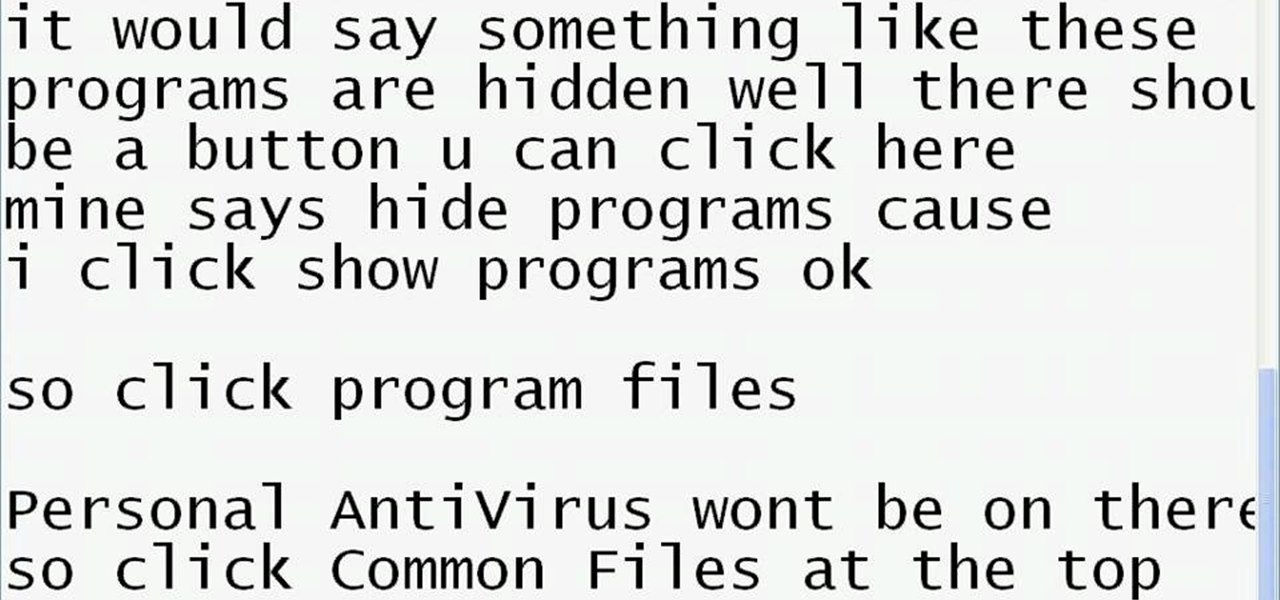
See how to remove Personal Antivirus from your Windows PC. The Personal Antivirus malicious software is a tricky malware to remove. This is the easiest way to remove Personal Antivirus from your home computer, so watch and get rid of it!

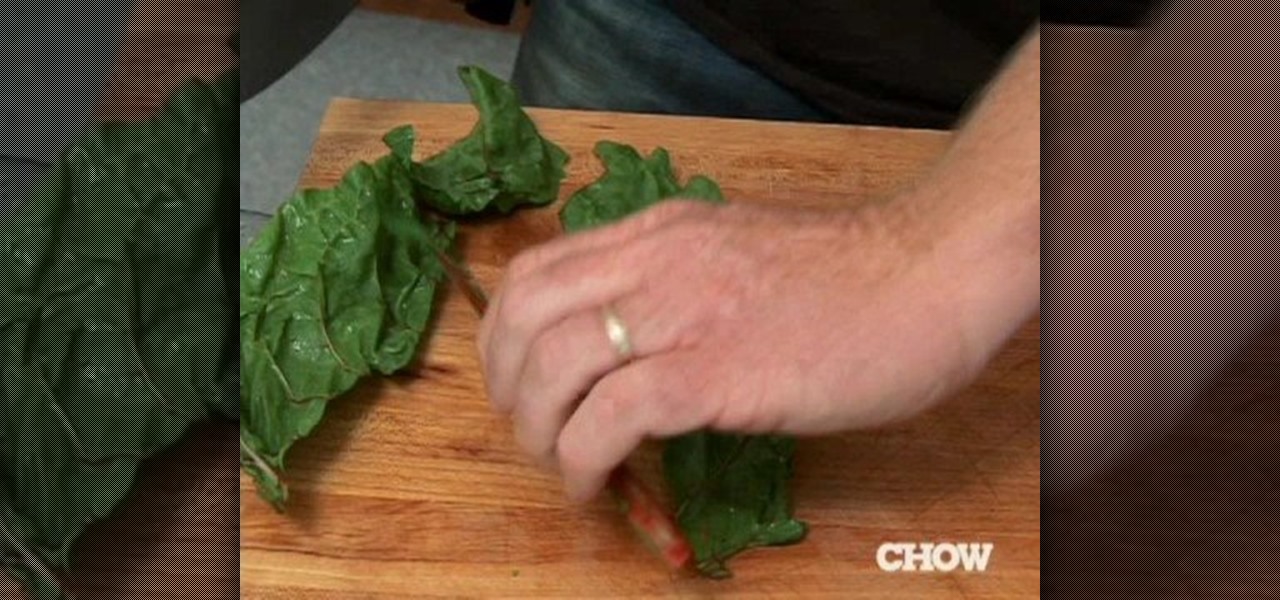
Daniel Duane removes the stalk in the fastest way possible. He shows you how to remove the ribs of leafy greens by stripping them like a zipper. Follow along with this cooking how-to video to learn how to remove the ribs of leafy greens without a knife.

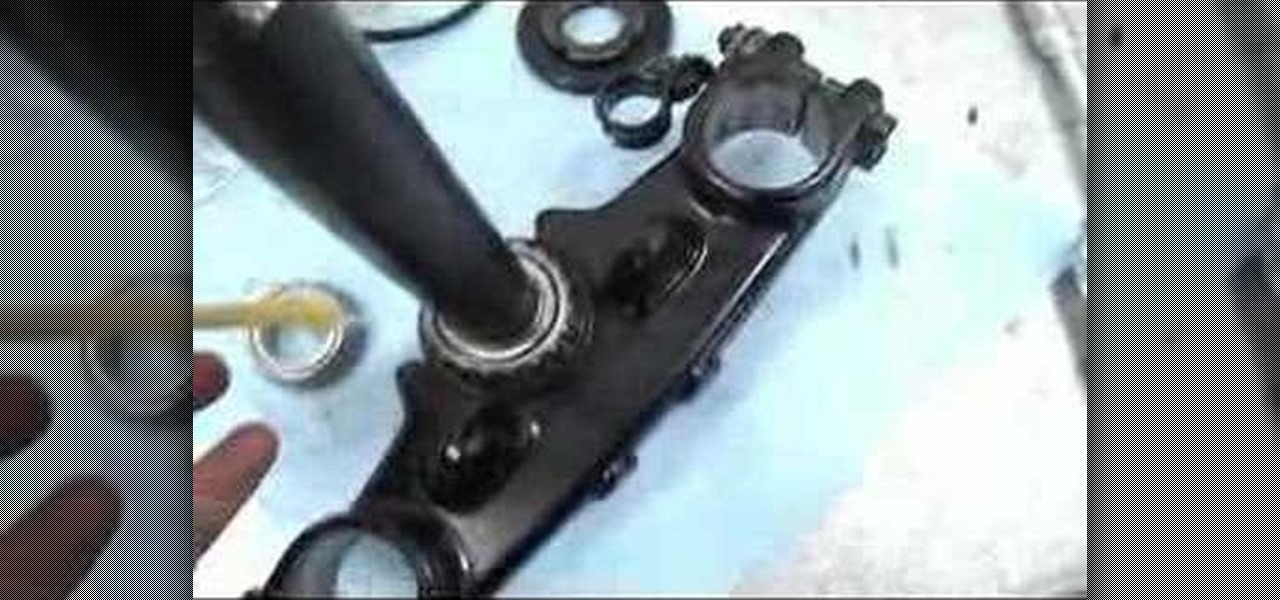
This motorcycle parts tutorial shows you how remove the steering stem (fork and triple tree) on a Kawasaki KLR650 bike. If you are replacing the steering stem or just doing work on your KLR 650 and need the steering stem off, this video will show you how to remove the steering stem. Make sure the front wheel is removed before starting.

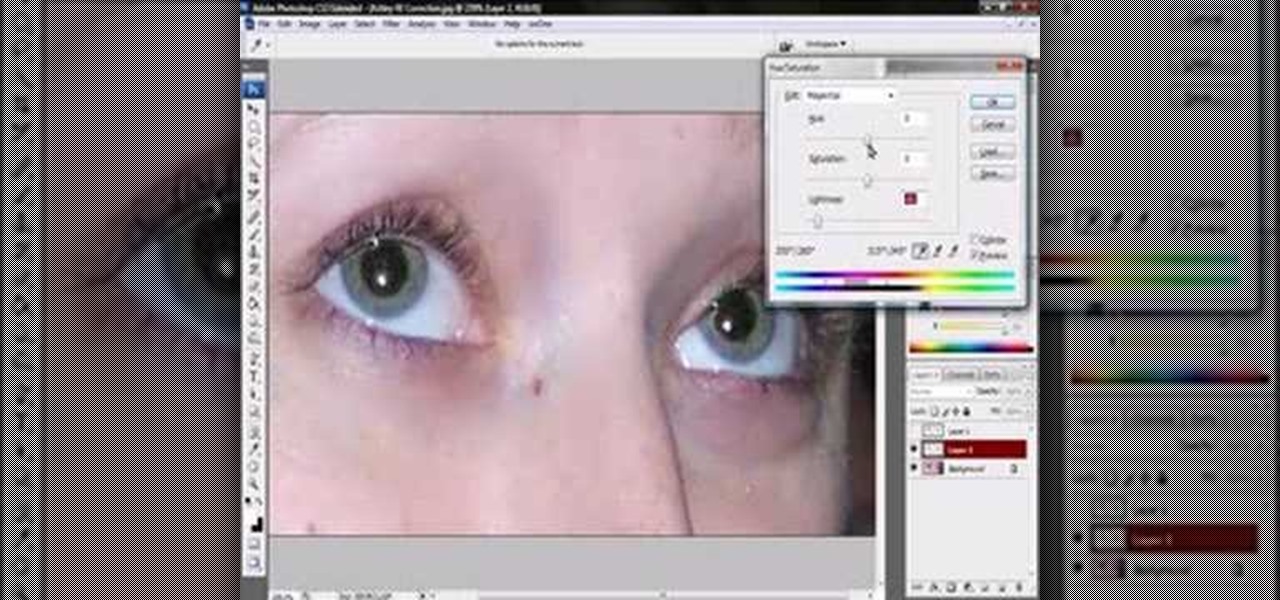
Jordan shows us a simple way to remove the red eye created by the flash of a camera using Adobe Photoshop. No matter where the red eye came from, you can remove it easily from any picture after watching this Photoshop tutorial. There are many ways to remove red eye and some are dirtier than others, but this method will give you a nice natural looking pupil in the end.

In this tutorial, we learn how to replace a side mirror on a 1995 GMC Sonoma. First, take a wooden wedge and shove it in the switch inside your door so you don't kill your battery. Now, remove your window handle by sliding a tool inside and popping the handle off. Now remove the panel inside the handle of the vehicle and remove the screws surrounding it. Next, remove the trim clip behind the handle and pry off the trim from around the door handle. Now, remove the door petal and the entire sid...

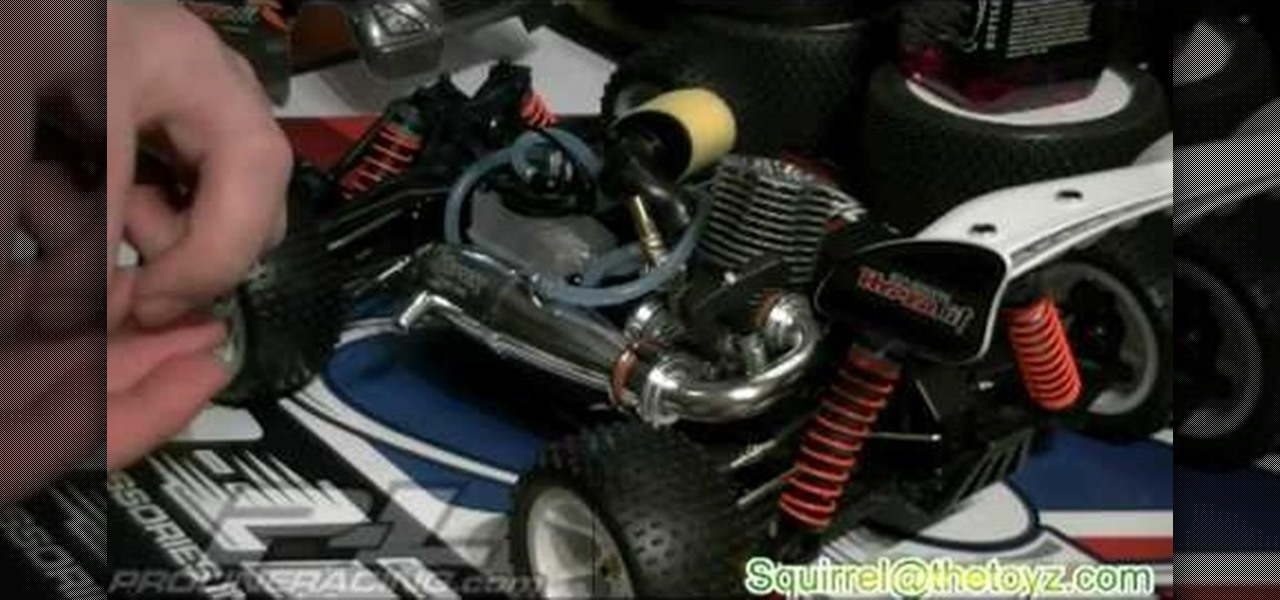
In this video you will learn how to remove a nitro engine from a remote control vehicle. One way you can do this is by removing your mount from the bottom, this can be done by removing the screws on the bottom. Another way to this is to remove the engine from the mount. Aside from the tools needed to remove certain parts, a lot of the pieces are easy to remove as all you need to do is slide them out or pop them out. Squirrel says that its fairly easy to remove but putting them all in is anoth...

Installing a new light fixture is an easy home improvement task. Learn how to properly remove and install a light fixture from a professional handyman in this home improvement video series.

This video series shows you what program is the best free anti-virus program, where to get it, how to download it, how to install it, how to run the scan, and how to remove the viruses. A complete tutorial on how to remove viruses.

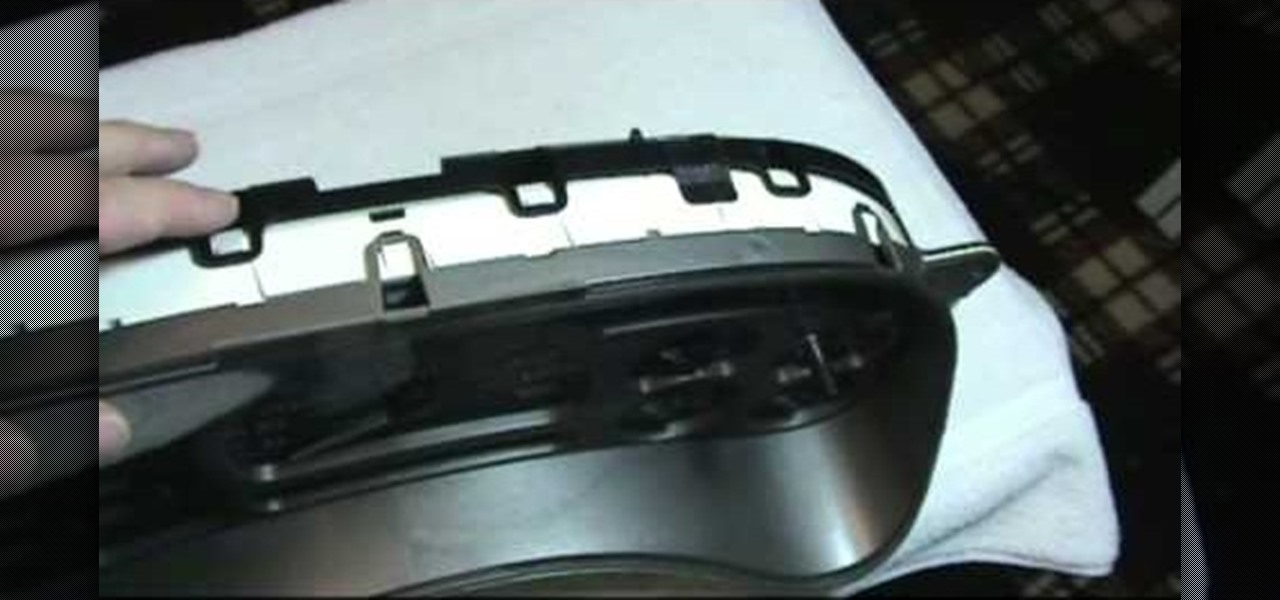
GM cars might be the flagship of American industrial production, but they are not very reliable for the most part. If something is wrong with one of the gages or instruments in your instrument panel cluster, you have to remove the panel and fix it. This two-part video will show you how to do that on most GM vehicles.


