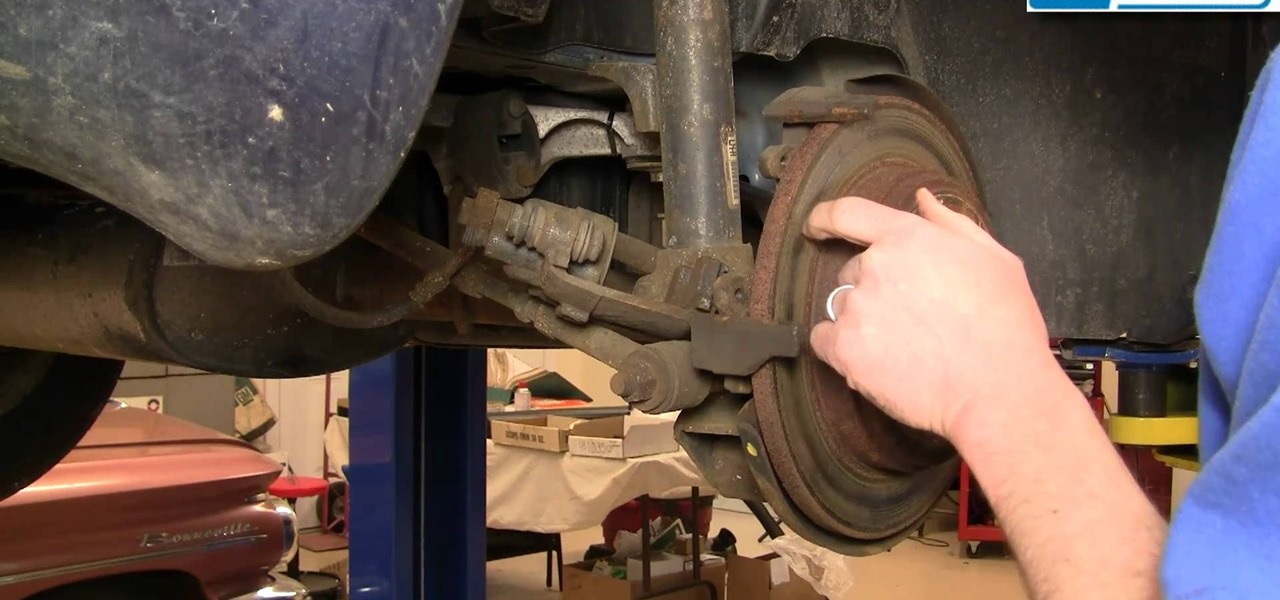
Good brakes are essential to safe driving. Keep your brakes in top condition by replacing the discs and shoes before they wear down. You can do this auto repair yourself by following the instructions in this video, which demonstartes the procedure on a 1998-2004 Dodge Intrepid.

Don't throw out your holey socks! You can use a technique called darning to repair them. You don't even need yarn - you can use embroidery floss or another sturdy thread to create the darn and extend the life of your socks.
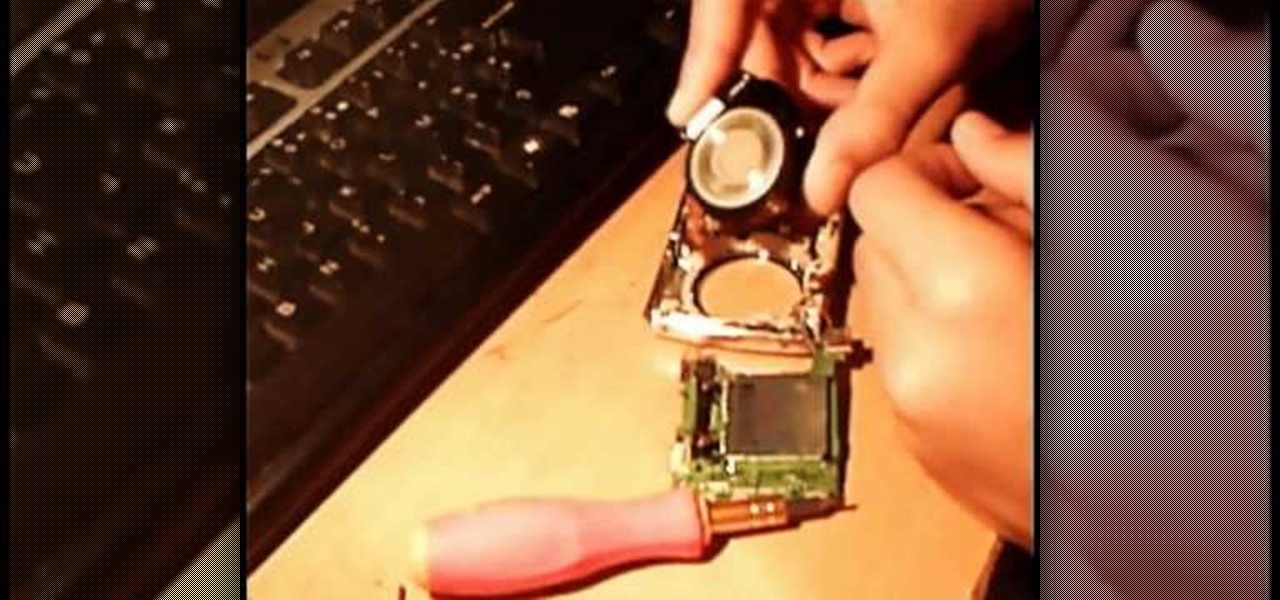
If you like to use your Nikon Coolpix S200 outdoors or in dirty places, you may have encountered this problem. If dirt, sand, or other particles get in your lens they can prevent it from opening, and thus prevent you from taking pictures. Watch this video for a guide to cleaning the lens and repairing the problem.

Are your rear brake shows worn out and making noise? Well, then today's you lucky day, because Scotty Kilmer is going to show you how to change brake shoes on a car. First, you'll need to jack up the car a few inches from the ground. Take of the wheel, then get a big hammer and whack the drum a few times to loosen it up. Take it off. For the rest of the repair instructions, watch the full video!

There are seven NPCs who are able to repair your gear in Fallout: New Vegas, and this video shows you where you can find all of them, in chronological order by quest. You can gain fame and infamy from some of them, depending on faction.
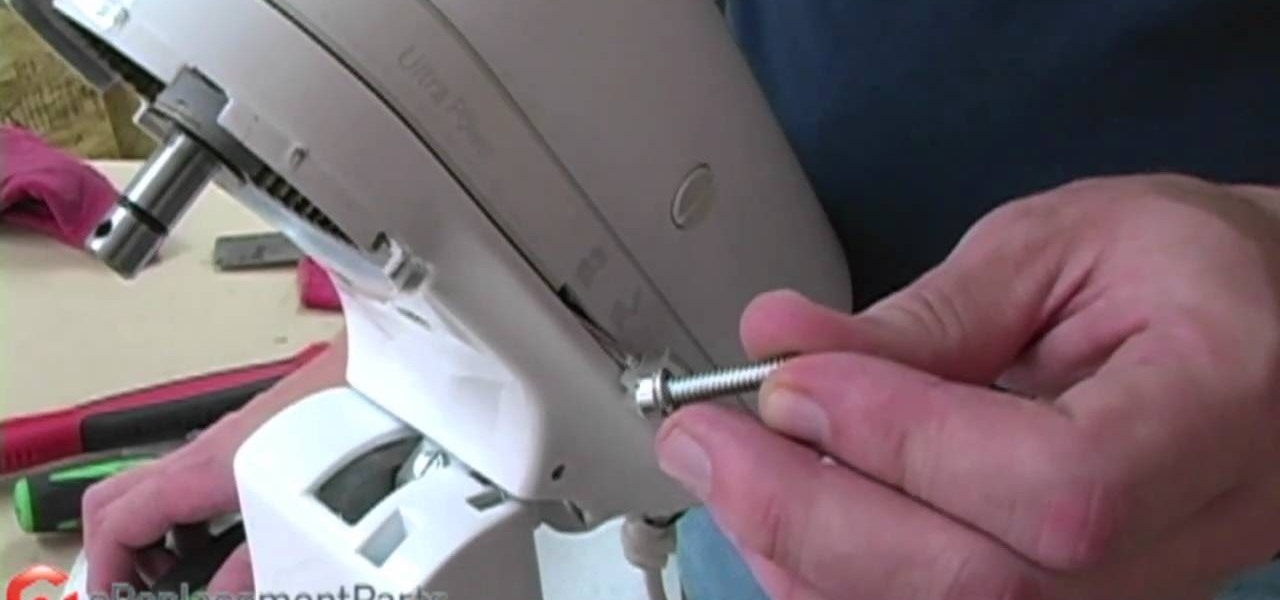
In this DIY guide from the folks at the eReplacementParts], we learn how to repair an oil leak on a KitchenAid stand mixer. It's easy! So easy, in fact, that this clip can present a complete overview of the technique in about two minutes. For all of the details, and to learn how to repair a leaky KitchenAid mixer, take a look.

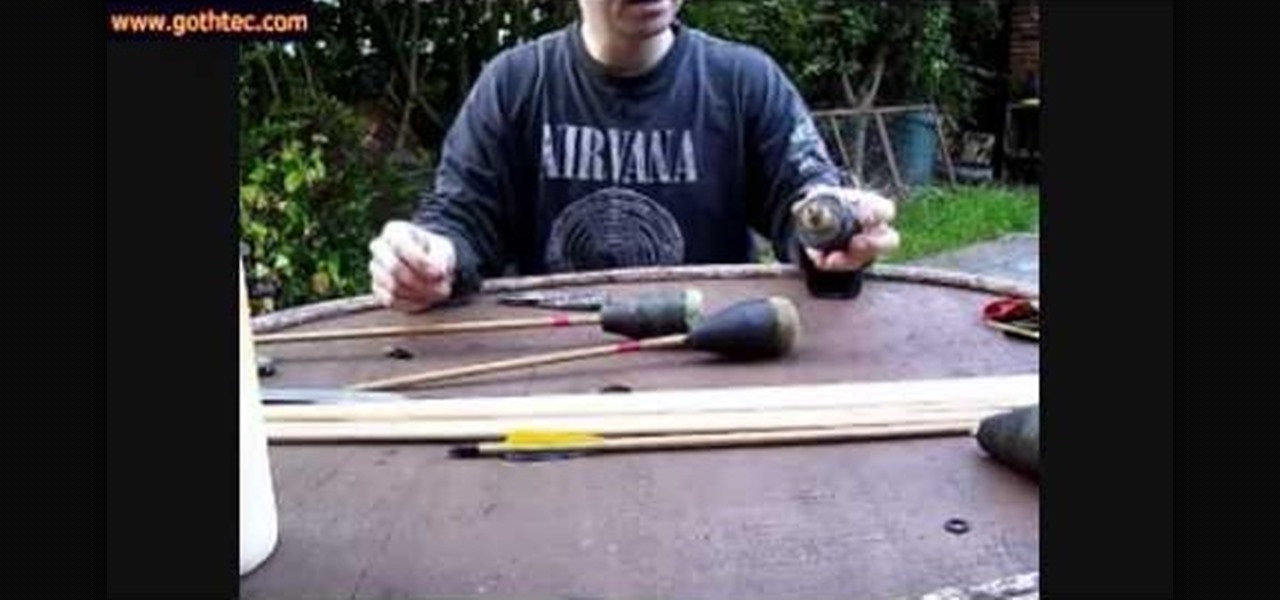
This tutorial shows you how you can take arrows which may be damaged, or just not up to spec, and repair or recondition them. The tutorial takes apart an arrow, which can give you some good ideas on how to construct them as well.

In this tutorial, we learn how to repair the Vivitar 285's Flash Foot. First, remove the flash foot using a soldering iron. Melt the solder just enough, don't ruin the wires or the backing. Now, set the iron down and then short the wires out, you will see the flash go off when you do this. Trim of the exposed wire from the end, then wrap a small amount of electrical tape around the wires. After this, you will repair the metal around where the wires were connected. Then, solder the wires back ...

When replacing your brake pads on your Ford Explorer, you first need to jack up the vehicle and remove the tire. This will give you access to the brakes. Locate the caliper, remove the two bolts and slide the caliper off. Inside the calipers are the brake pads. Pry out the outside brake pad off first, then the inside pad. Then it's time to reverse the process!

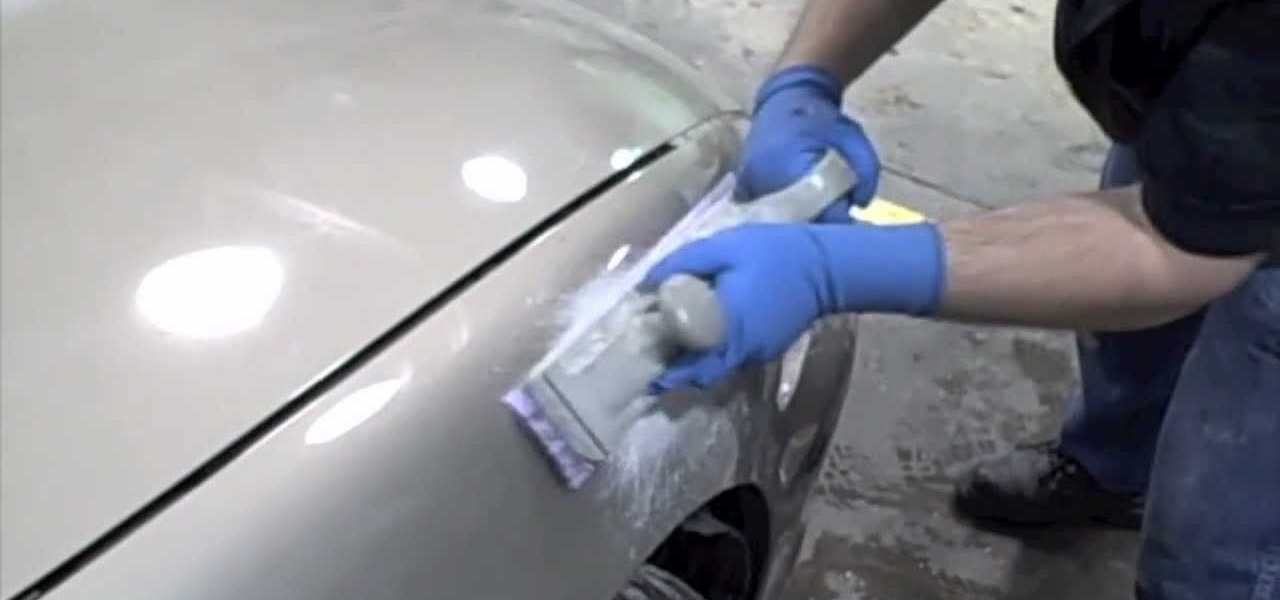
In this thorough 30 minute video tutorial, Donnie Smith shows you a method of repairing a minor dent on a car with body filler and also shows you how to block sand the filler. For the novice who wants to learn more about car maintenance, this is the perfect tutorial.

In this video, you are shown how to apply epoxy to your car area after it's been repaired. Epoxy is a great primer because of its advantages in adhesion and corrosion protection. You can apply one or two coats if you so desire. Watch this video and you'll learn all about the advantages of epoxy primer.

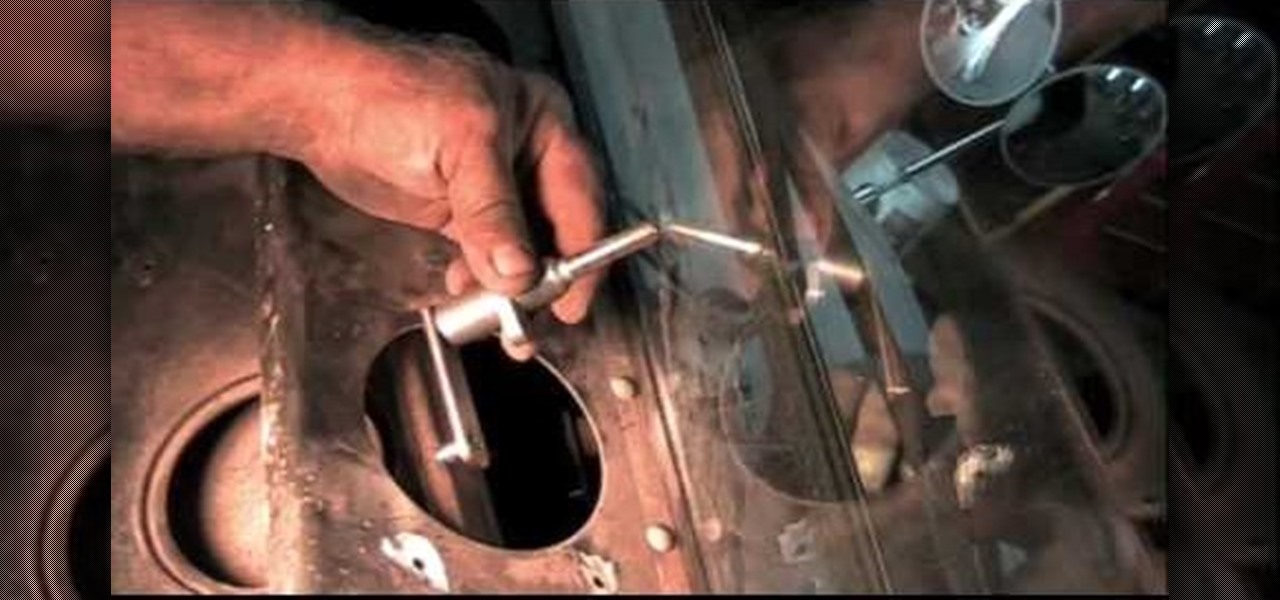
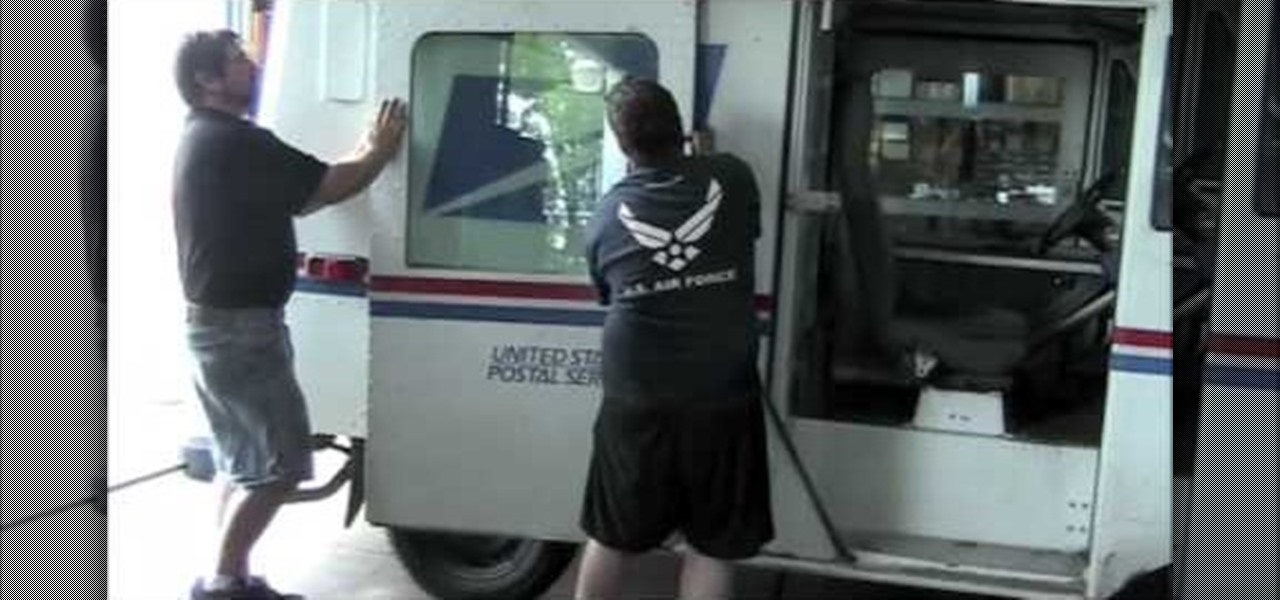
Unlike other automobiles, the LLV (Long Life Vehicle) postal truck is driven on the right side of the vehicle, not the left. This can complicate repairs for any mechanic if they're not familiar with these trucks which carry mail across the country by the United States Postal Service (USPS). One repair that isn't easy is replacing the windshield wiper pivots. Actually, the driver's side (right) wiper pivot is pretty easy, but the left side is quite a chore. If the one's you're working on are w...

In this tutorial, we learn how to repair an iPod Nano 4th Generation. First, remove the top and the bottom bezel from the device using a small and flat tool. When these are removed, switches will fall out, make sure to set these aside in a safe area. Now, remove the Philips screws that are in the top and the bottom of the device and set them aside. You will be able to take apart the top from the bottom now. The dock connector will be inside where the motherboard and circuits are at. Repair th...

A frequent repair on the Grumman Long Life Vehicle (LLV) is changing out the window regulator on the side door of the postal truck. The United States Postal Service (USPS) uses these trucks for mail delivery, so the window regulator goes through a lot of use. The first thing to do on this repair is take the door off. Watch the video to find out the whole procedure.

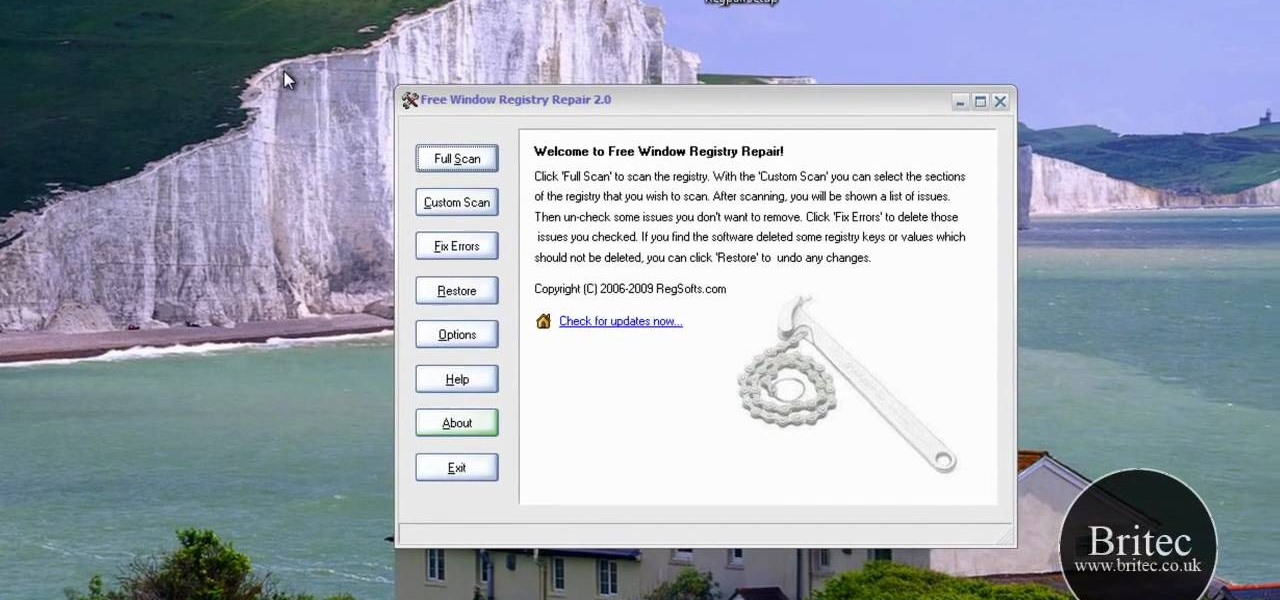
Looking for a tool with which to clean your Microsoft Windows 7 Registry file? With the Free Window Registry Repair application, it's easy! So easy, in fact, that this home-computing how-to from the folks at Britec can present a complete overview of the process in just over five minutes. For more information, including step-by-step instructions, take a look.

If you have a broken washer machine and the agitator isn't working properly, this tutorial is what you'll need. In the video, you'll see how an agitator works and the parts inside can easily be replaced. It's a project that can take about an hour or two to complete and will save you hundreds of dollars in repair costs. So good luck and enjoy!

Not many experience this, but when they do it can be quite annoying: wiper blade chatter. This takes place when the blade makes a noise that is very painful to listen to and occurs pretty frequently for some cars. In this next tutorial, you'll be finding out how to repair the chatter to a wiper blade on a Mini Cooper easily. So good luck and enjoy!

Has your broken garbage disposal got you down in the dumps? Be your own repair man with this free handyman's guide, which will help you troubleshoot and repair a broken garbage disposal. For more information, and to get started diagnosing and fixing your own broken disposal, watch this handy how-to.

This video is about repairing 3 Red Lights of Death Rrod X-Clamp Fix of XBox 360.The video begins with a warning saying that people need to careful while handling electronics and to use a proper size screw driver for the purpose and take it apart. Remove the old thermal paste and make use of come use of common goo removal stuff to clean the CPU and GPU. Finish the cleaning with alcohol to get shine on them. Make use of #8 washers from home depot and you can use smaller washers too. Put one wa...

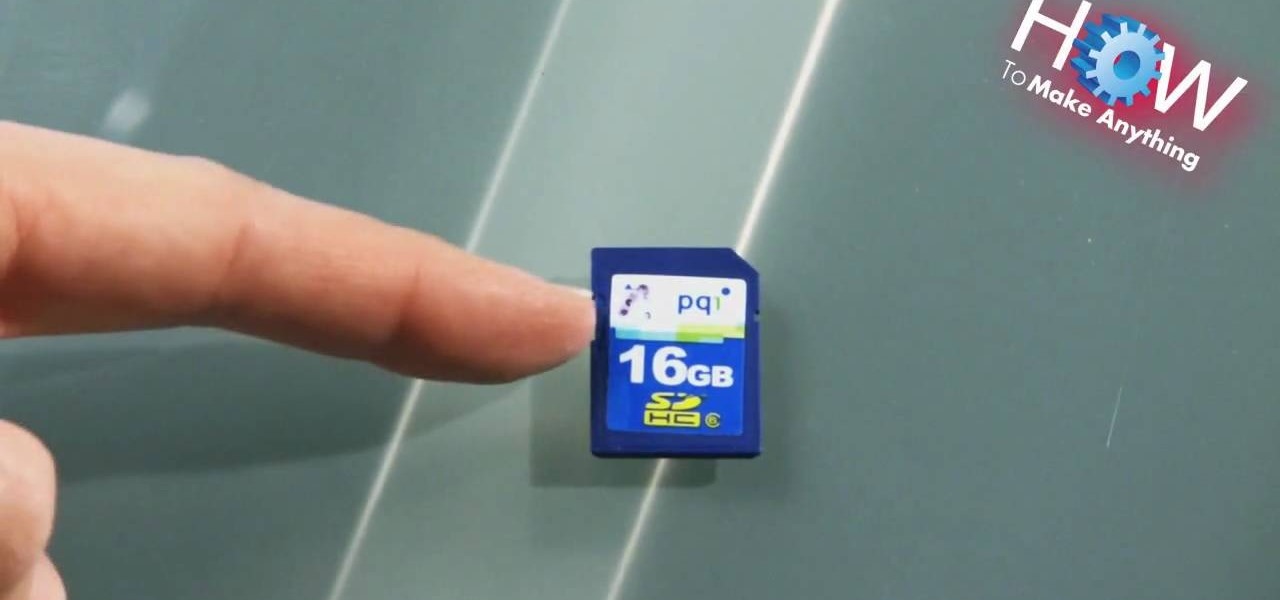
In this video tutorial, viewers learn how to repair the write protect on an SD card. An SD card is a non-volatile memory card format that is used in portable devices. If the write protect on a SD card is broken, the user cannot record any files onto the card. To fix this, viewers will need a small piece of scotch tape. Put the tape on the notch of the SD card. Do not cover the metal tabs at the back. This video will benefit those viewers who have a SD card and would like to repair the write p...

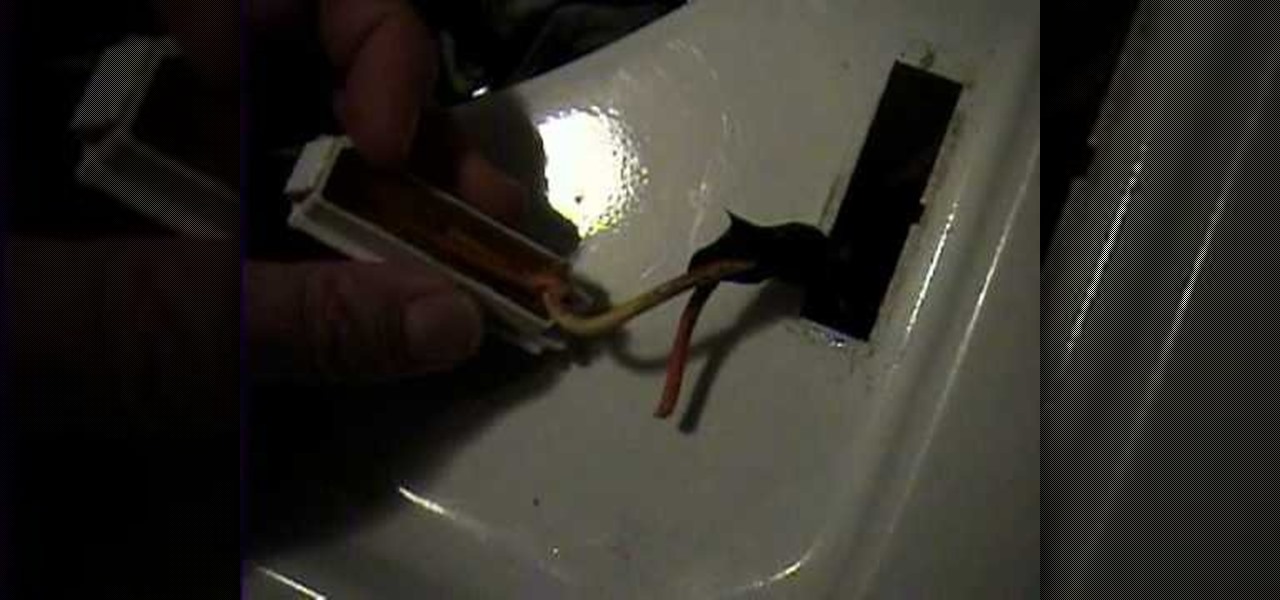
This Home and Garden video tutorial shows how to repair a wash machine lid switch. This video is on a GE Prodigy machine. Looking inside the machine under the switch, she finds that two wires are broken. Take a screwdriver and press down the clip of the switch from underneath. One end will come out. Then, pull out the switch. After that it is very simple. Cut off a bit of the plastic coating from the ends of the wires, connect them to the switch and put some electrical tape around them. Now y...

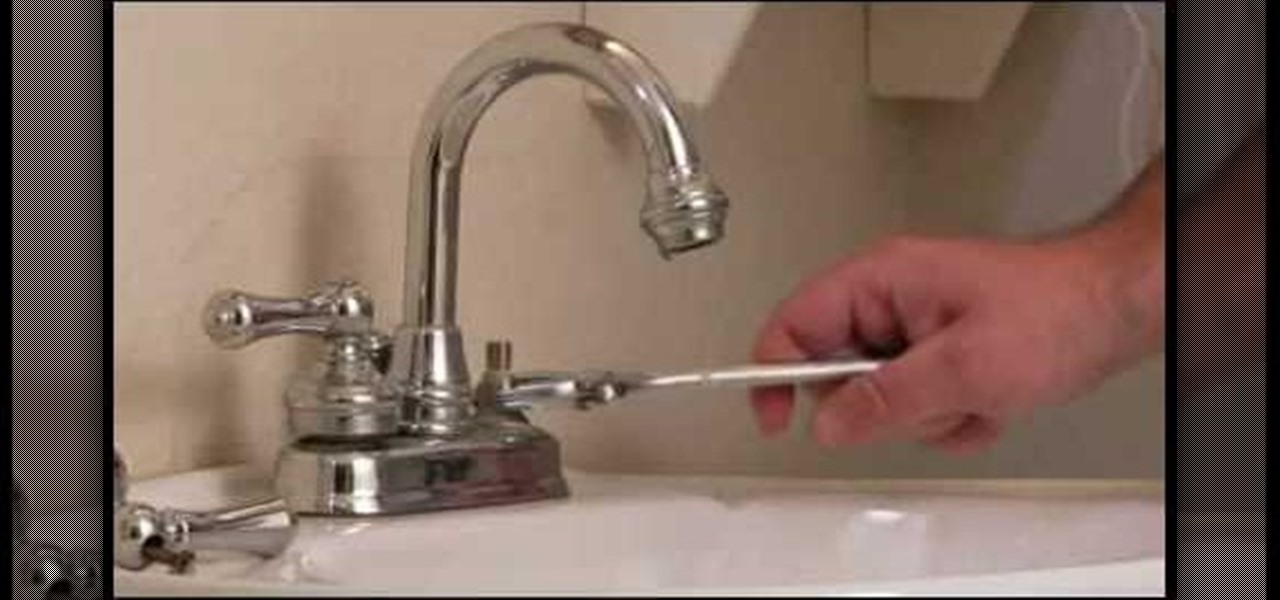
James from J&C Home Repair explains how to fix a bathroom faucet. He shows how to turn off the water supply to the faucets and tells you exactly what tools you will need. He demonstrates how to remove the faucet handle and the valve using common household tools, and recommends taking the parts to the hardware store to make sure you get the correct replacement parts. This video shows that repairing a faucet is a simple job that anyone can do. You don't need to call a plumber for this!

It is a compulsory work for every one who owns cars to arrange emergency kits for the car. For the first step, you should keep food items like water and food material. Keep the emergency book which contains what to do when a car goes into repair. Then carry a radium type object which will shine in the night during the repairing of the car. Then arrange the emergency lights near the back part of the car for repairing of the car.

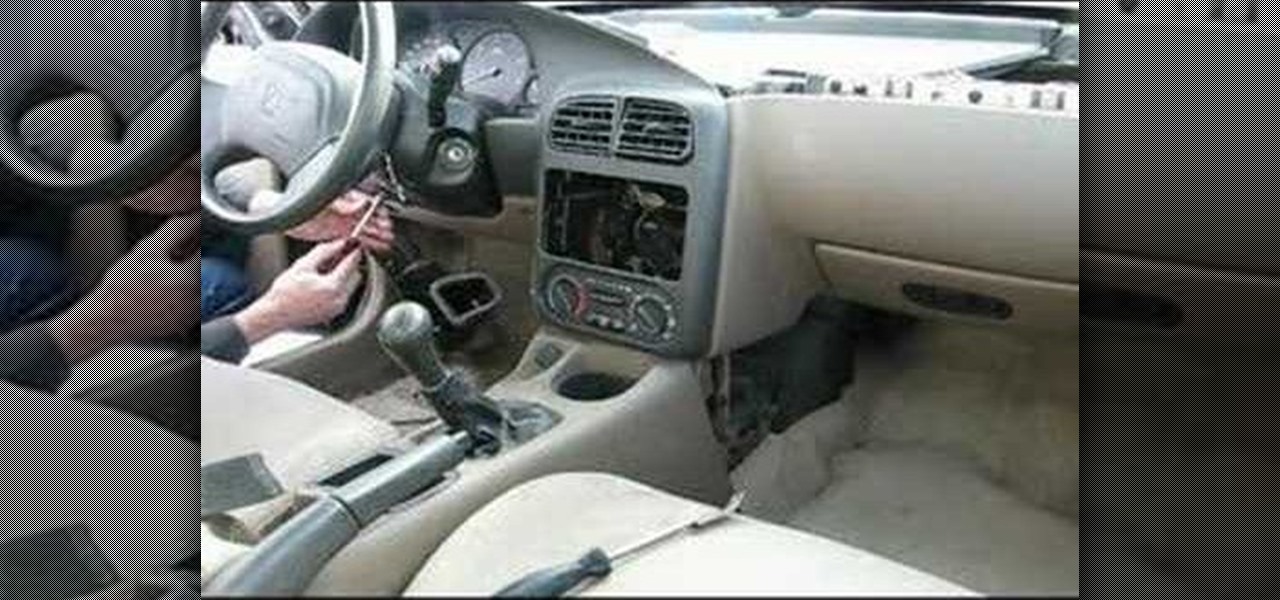
In repairing the dash pad, once you remove the dash pad it rips the metal clip off, where it is connected to the car. You can do this by using a j-b weld solution. After you mix the j-b weld, apply it to the broken stub and place the metal clip, with the ripped plastic, correctly on top of the j-b weld. Then wait until it dries.

In this video tutorial from the Mountain Equipment Co-Op, we learn how to repair a broken bike chain. Jeff has broken his bike chain on his way to work, and he needs to make a hasty repair. He breaks the process down into three quick steps.

A cracked driveway blacktop isn't just an eyesore. If you leave little cracks in your blacktop driveway alone, they can become bigger problems later. In this video, Tim Carter, of Ask the Builder, will teach you will teach you about blacktop repair.

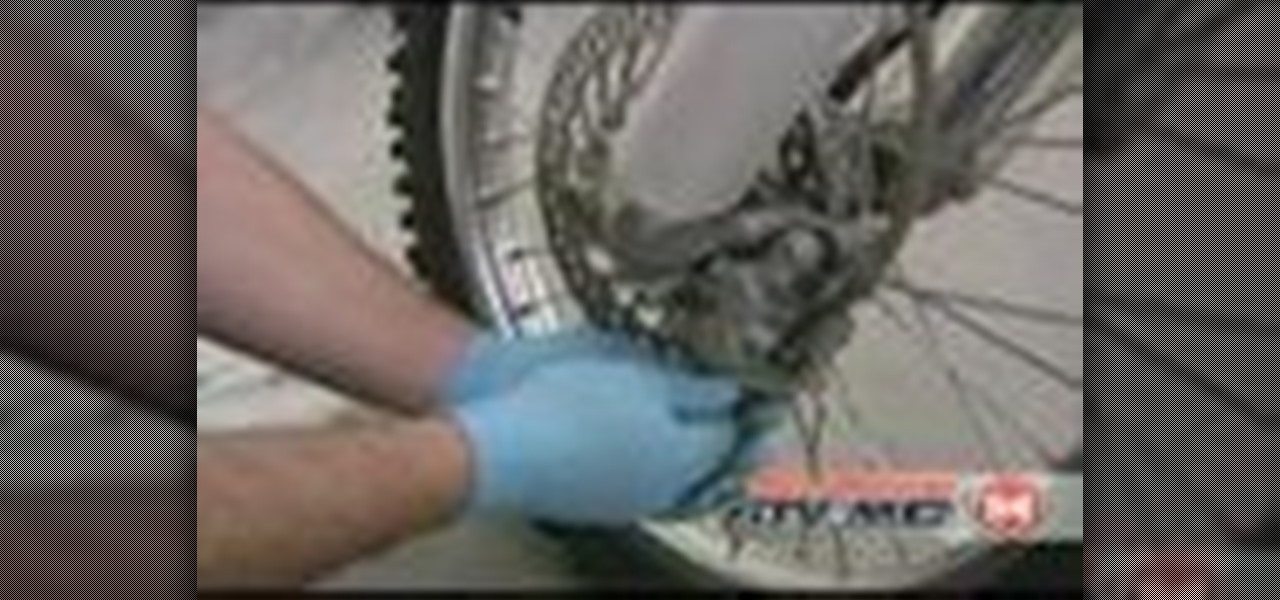
How to replace brake pads on modern off-road motorcycles. Change worn brake pads with Tusk brake pads from Rocky Mountain ATV/MC. Repair brakes.

Try these simple fixes to salvage your specs. Learn how to fix your eyeglasses with this helpful guide.

One day, your car may break down and you won't be able to afford to hire a mechanic, so what do you do... you look on the web for some how-to vehicle repair videos and become your own car mechanic, that's what. You don't need any advanced training to perform repairs and simple maintenance on your automobile, but you may need a few tools. Invest in the basic tools and you'll be prepared for just about any car malfunction you can think of. These tutorials will help get you on your way, as long ...

Depending on the job at hand, you're going to want to choose the right drill glue. There are different adhesives that will work better with metal, wood, glass, ceramic tile, or anything else you might need to bond, and that have different techniques for using. Watch this video home improvement tutorial and learn how to pick the right glue for the repair job at hand.

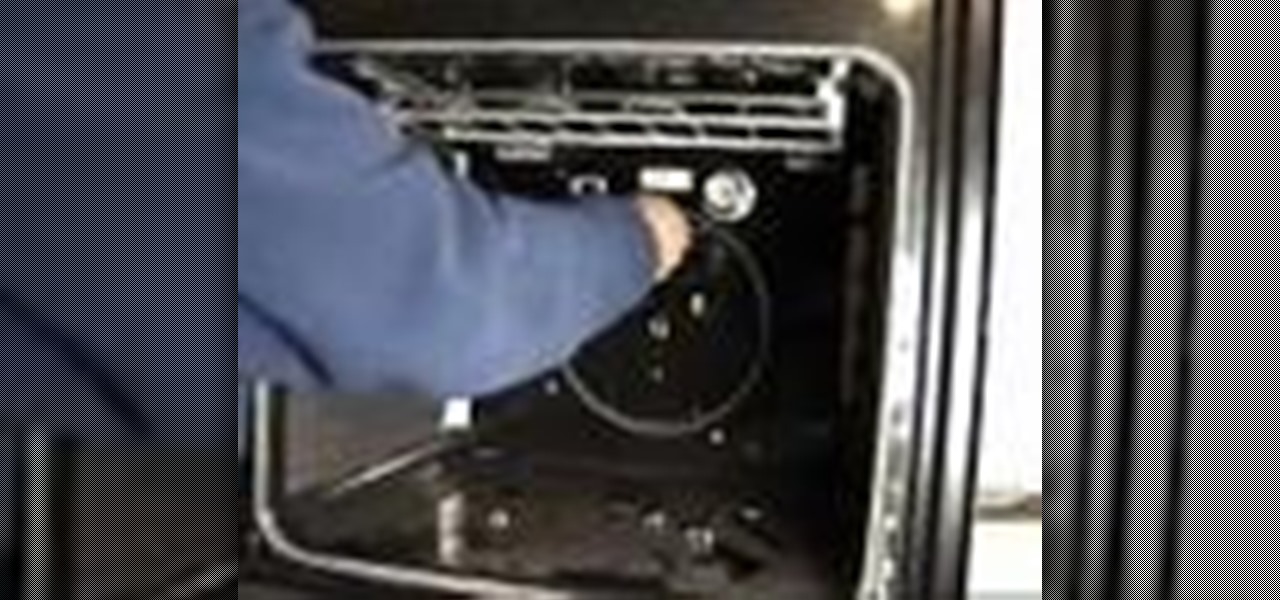
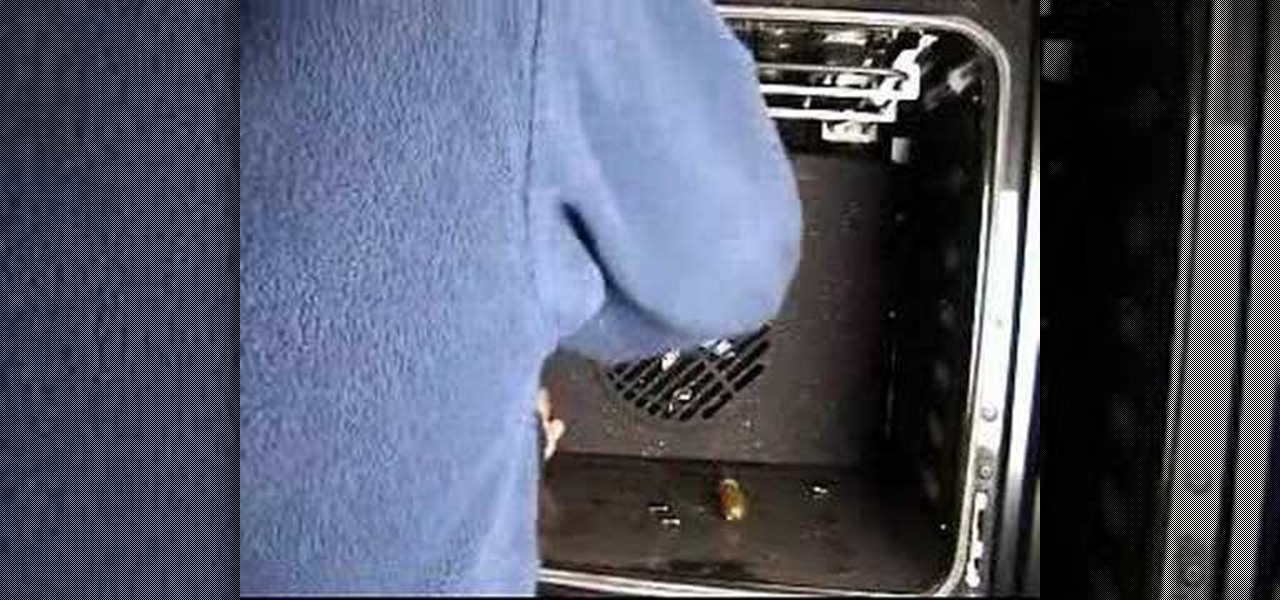
Is your Belling cooker on the blink? Fix it with this home appliance repair tutorial, which demonstrates how to remove, and change, a Belling fan oven element in a typical Belling cooker. For more, including detailed, step-by-step instructions on the repair process, take a look.

Find yourself faced with a dead channel on your headphones? Before them out, you might take the opportunity to see what you can learn from trying to fix them yourself with a soldering iron. The repair can often be straightforward. For detailed step-by-step instructions on resoldering a broken connection on your own cans, watch this headphone repair tutorial. Take a look.

Is your disposal not working? Follow the few steps outlined in this video and perhaps you'll be able to avoid calling that service person out to your home. For step-by-step instructions on troubleshooting, and repairing, a faulty garbage disposal, watch this handy home how-to.

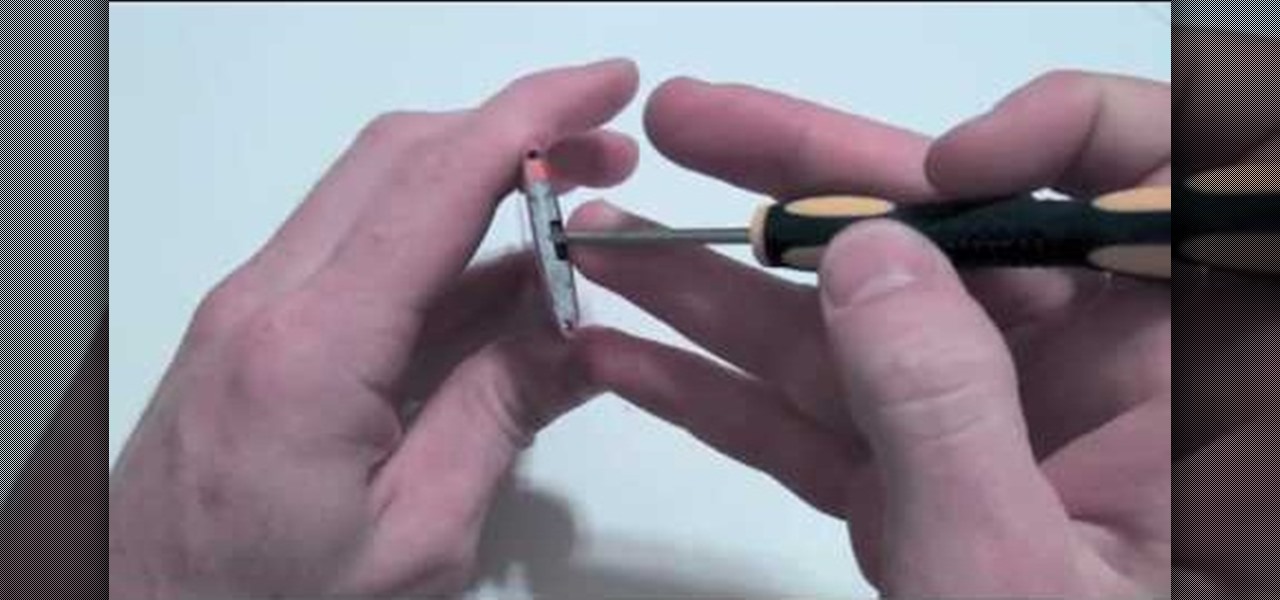
If your film camera shutter has stopped working, chances are that the shutter spring has become detached. This photography tutorial shows you how to disassemble the Lomography Diana Plus shutter assembly and re-attach the spring. You will need a small screwdriver to make this camera repair.

Check out this home repair tutorial video that demonstrates how to change a Dyson DC01 vacuum cleaner hose. Follow the step by step instructions in this domestic appliance repair video to properly troubleshoot the Dyson vacuum's lack of suction. Please note that all work should be performed by a qualified person. Make sure to take the necessary precautions to ensure a safe removal of your Dyson vacuum cleaner hose.

Check out this home repair tutorial video that demonstrates how to fit and replace a Hotpoint, Belling, Cannon, Creda, Homark, Indesit, & Jackson fan oven element. Follow the step by step instructions in this domestic appliance repair video to remove your fan oven element. Please note that all work should be performed by a qualified engineer. Make sure to take the necessary precautions to ensure a safe removal of the fan oven element.

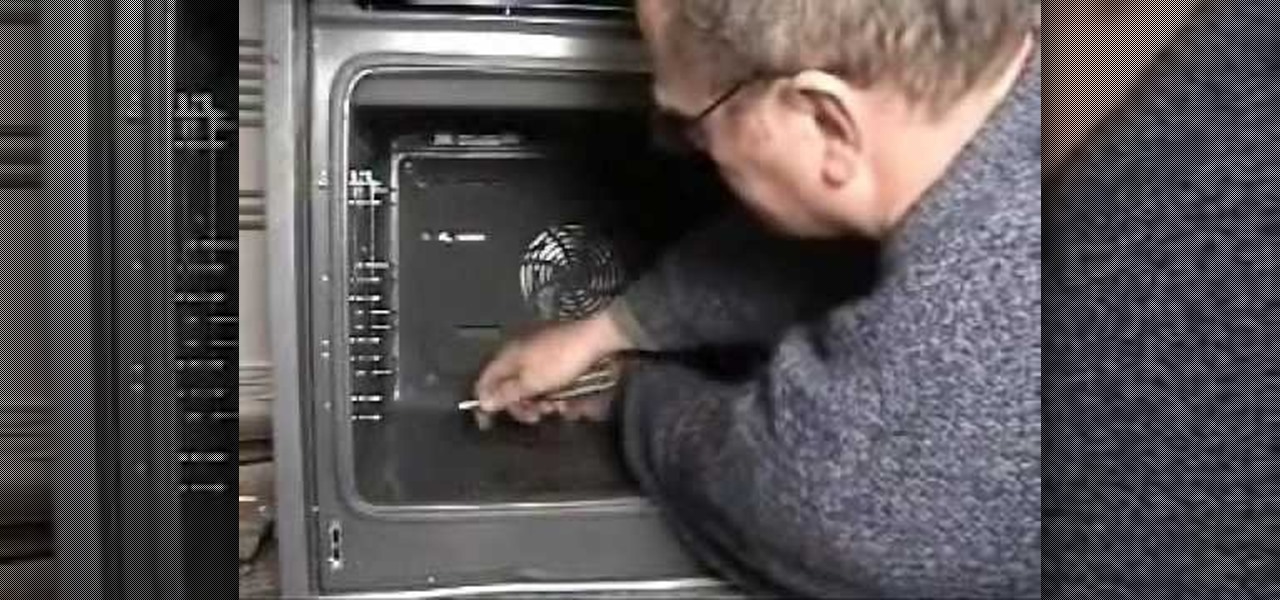
Check out this home repair tutorial video that demonstrates how to fit and replace your fan oven element in a Neff & Bosch appliance. Follow the step by step instructions in this domestic appliance repair video to remove the fan oven element. Please note that all work should be performed by a qualified person. Make sure to take the necessary precautions to ensure a safe removal of the fan oven element.

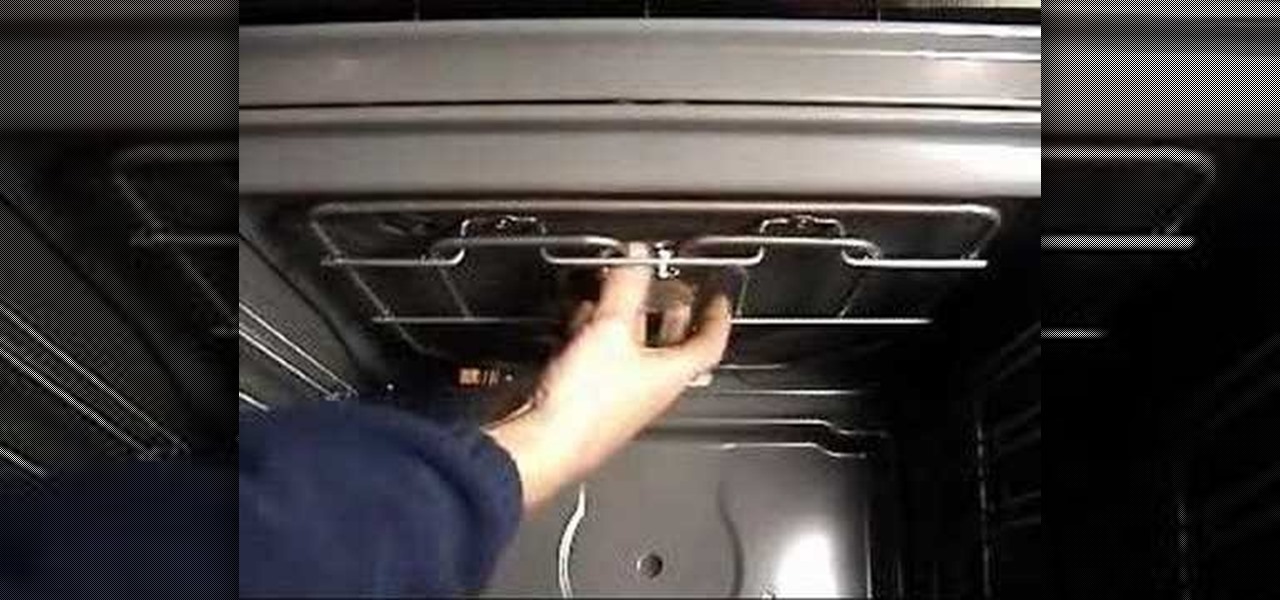
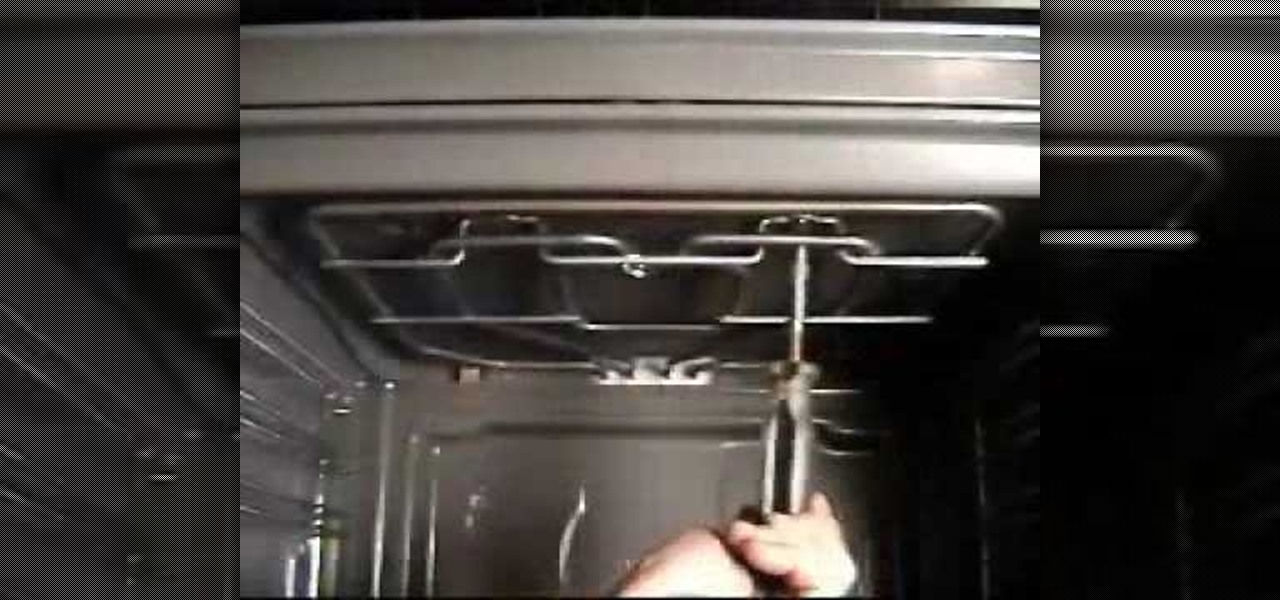
Check out this home repair tutorial video that demonstrates how to fit and replace your grill oven element in a Bosch and Neff. Follow the step by step instructions in this domestic appliance repair video to remove your oven grill element. Please note that all work should be performed by a qualified person. Make sure to take the necessary precautions to ensure a safe removal of the Bosch oven grill element.

Check out this home repair tutorial video that demonstrates how to fit and replace your grill oven element in a Bosch and Neff. Follow the step by step instructions in this domestic appliance repair video to remove your oven grill element. Please note that all work should be performed by a qualified person. Make sure to take the necessary precautions to ensure a safe removal of the oven grill element.

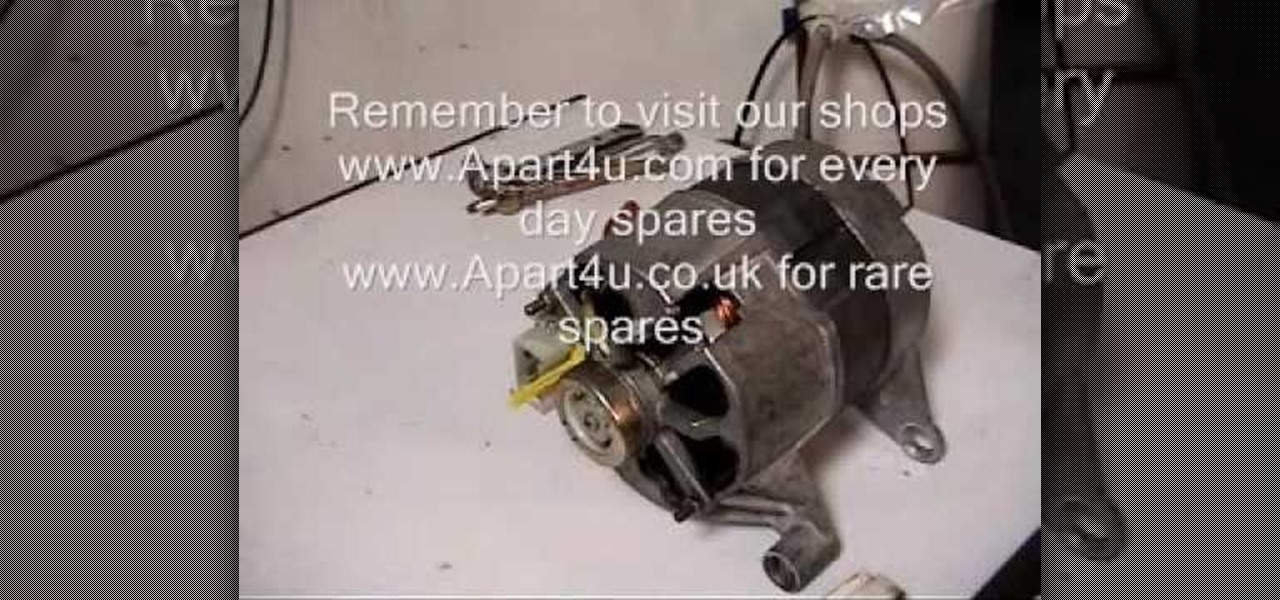
Check out this home repair tutorial video that demonstrates how to replace your Creda carbon brushes in your washing machine's motor. Follow the step by step instructions in this domestic appliance repair video to remove your washing machine's Creda carbon motor brush. Please note that all work should be performed by a qualified engineer. Make sure to take the necessary precautions to ensure a safe removal of the carbon motor brush in your washing machine.


