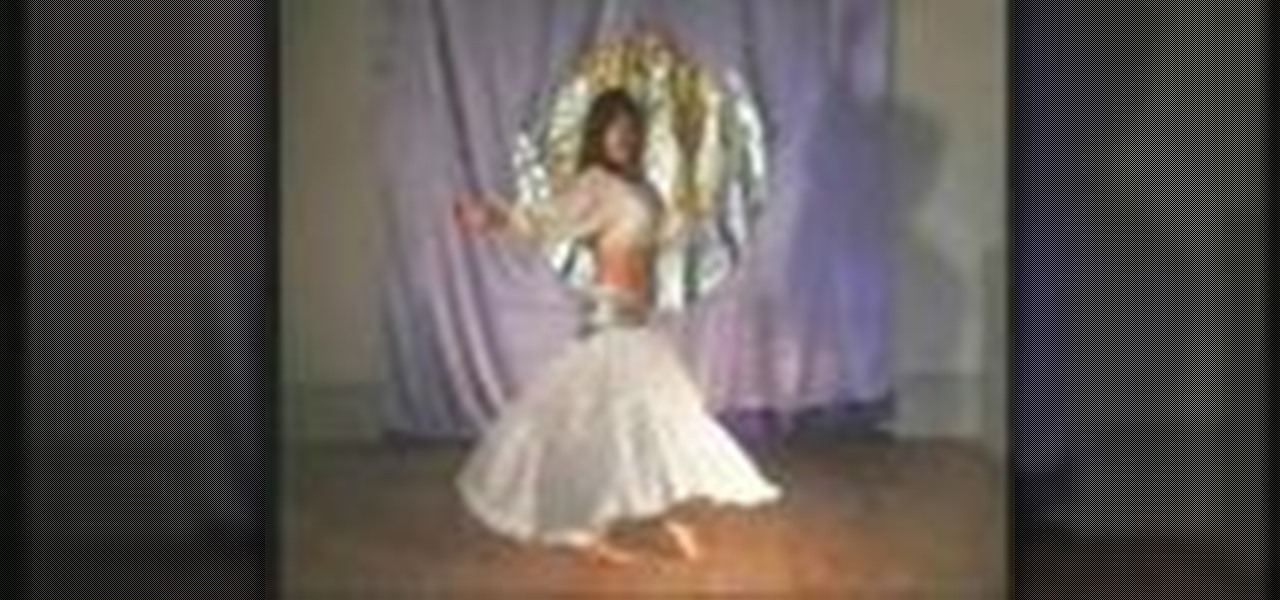
If you are new to belly dancing, this video shows how to do some basic steps and arm positions. The basic turn sequence is step, behind, in front, and close. You should practice this sequence of turns very slowly and then learn how to speed up your moves in time with the music. This sequence of steps is then followed by another sequence: step, step, step, and then lean slightly in the opposite direction. These two sequences can then also be repeated from the back (with one's back to the audie...
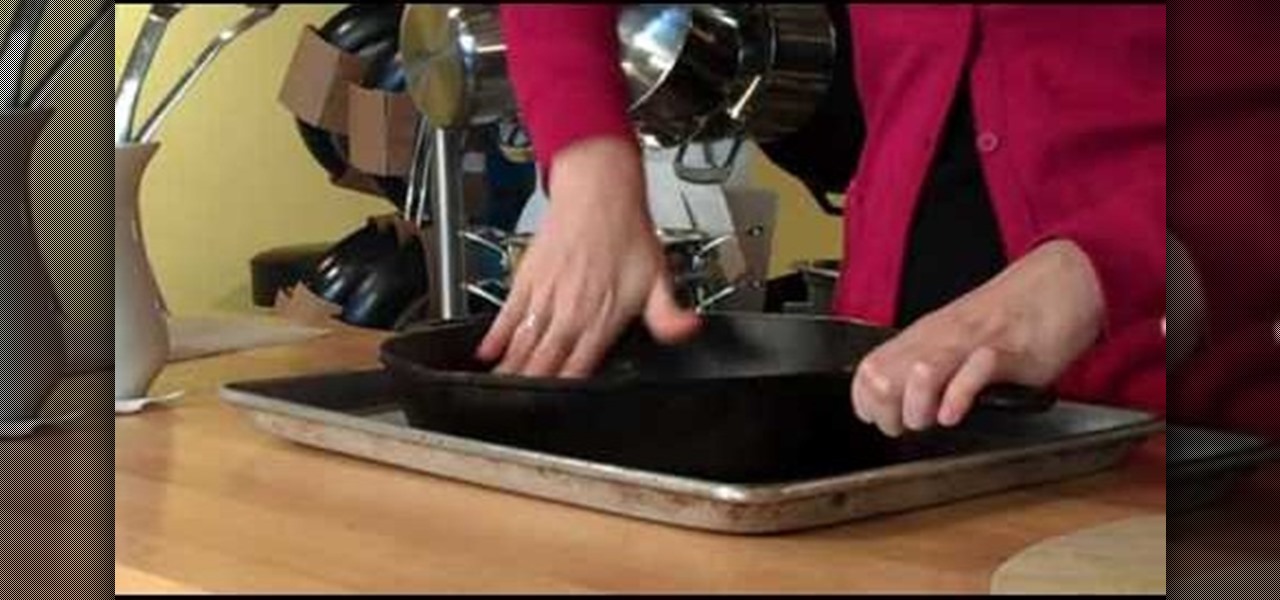
A Food Network chef gives the low down on seasoning a cast iron pan. Cast iron pans need to be seasoned before use because it will make your pan stick resistant and last a lifetime. Another plus of seasoning your cast iron pan is that you will not have to use any additional oil when you are cooking. The cast iron is a great heat conductor and the whole pan heats evenly instead of just in spots. To season a cast iron pan you will need to take a neutral oil, vegetable oil works fine, and rub it...
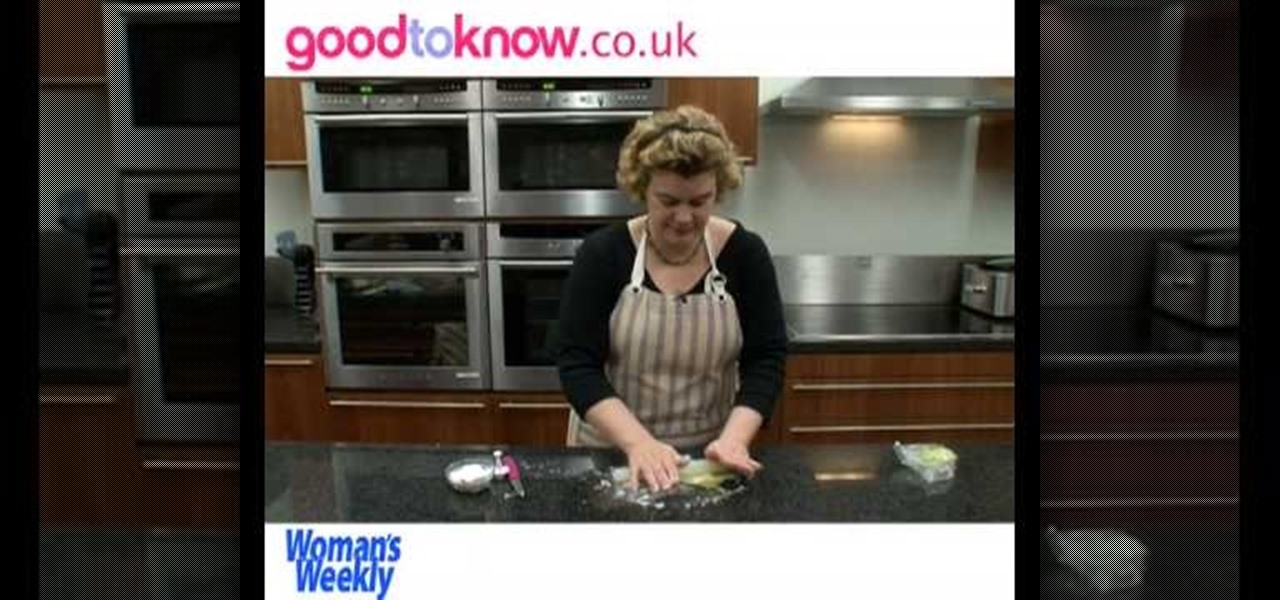
This tutorial shows how to make tiny molded roses and leaves that you could put on cupcakes. To start you only need a few ingredients: icing sugar, water, paste coloring, fondant icing sugar, and a piping bag (optional). Mix all ingredients together, then put them in a bag so they stay soft. Make the color of the rose or petals any color you want. Knead the dough so that you will have the color you would like. Next, break off a piece of the kneaded dough and form it into a cone shape. Break o...
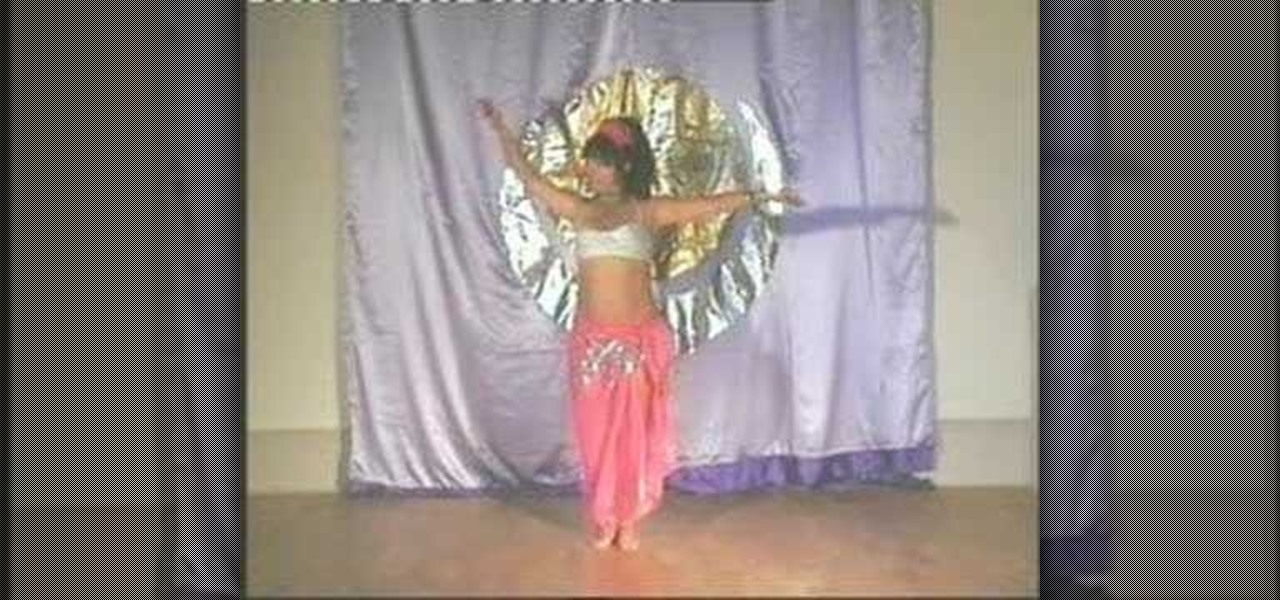
The movements of your arms in this dance allow your hands to become more flexible. Movements will also tone and strengthen your arms. First, you lift your arms up and then bring them down in a curvy manner. Then raise them back up to release the energy. You then repeat bringing your arms up and bringing them down in a curvy way. Snake arms, start with you hands and make them form a wave, then let the movement go into the arms also. For the snake arms, you need total concentration. Then, move ...
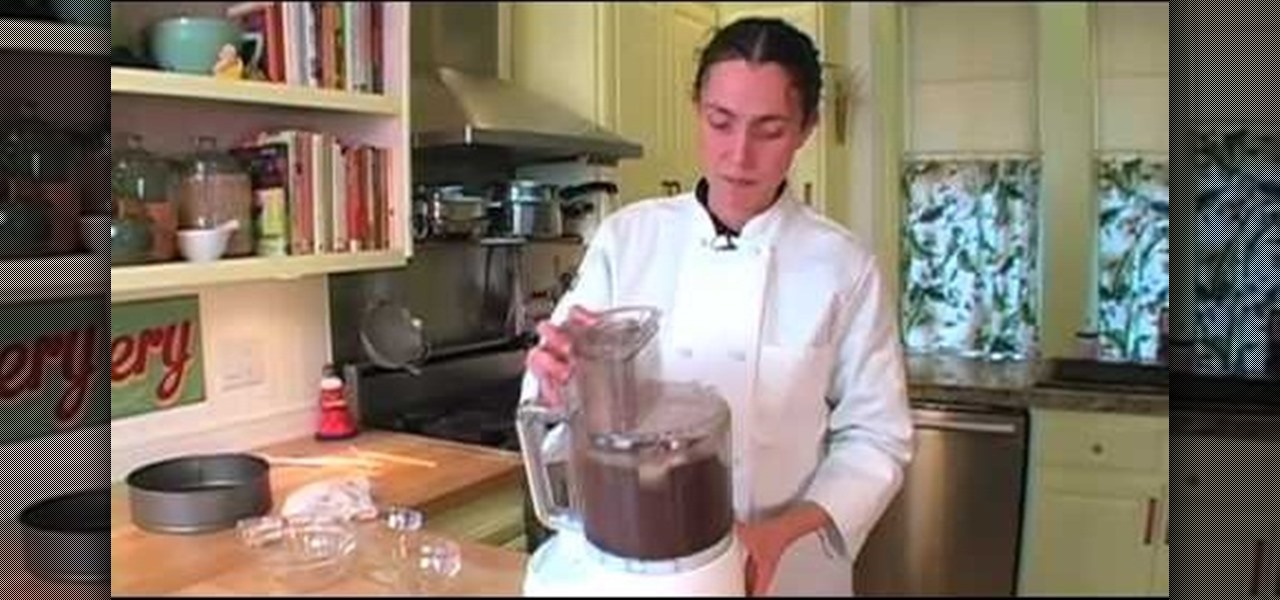
Chaya Ryvka from Raw living foods teaches to make raw chocolate-pecan crust. You will need: pecans, raw cocoa nuts and powder, dates, vanilla, salt and food processor. First put the pecans into the food processor. Later add the raw cocoa nuts (make sure its raw ) and raw cocoa powder. At last add some fresh organic dates and a pinch of salt in the food processor. Now process all the ingredients until the crust starts to rise and repeat the process until all the nuts are broken down. Now add t...
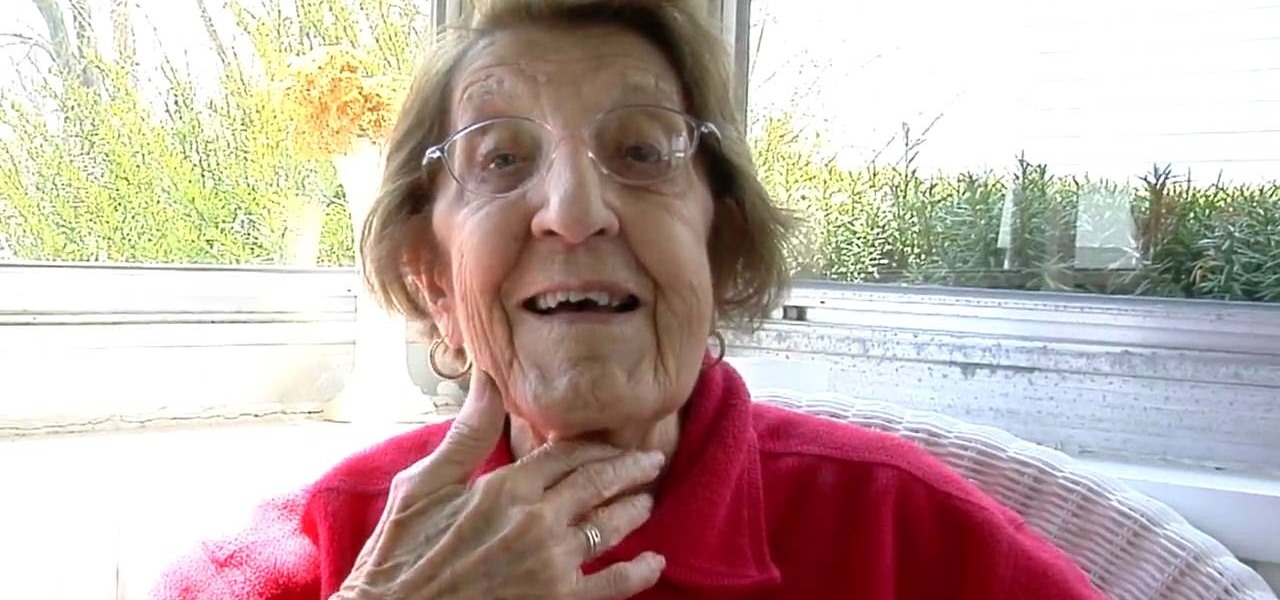
94-year-old Clara shares economical and delicious meals from Depression-era American homes. This episode: Dandelion Salad! Dig up dandelions and discard flowers, roots and dead leaves. Soak in clean water and rinse 3 times. Repeat twice more, if necessary. Dry leaves once they are clean. Arrange leaves in bowl. Pour lemon juice and olive oil over leaves. Mix salad with a spoon or your hands. Enjoy! Follow Clara's instructions and you will have a fresh, delicious and very economical salad stra...

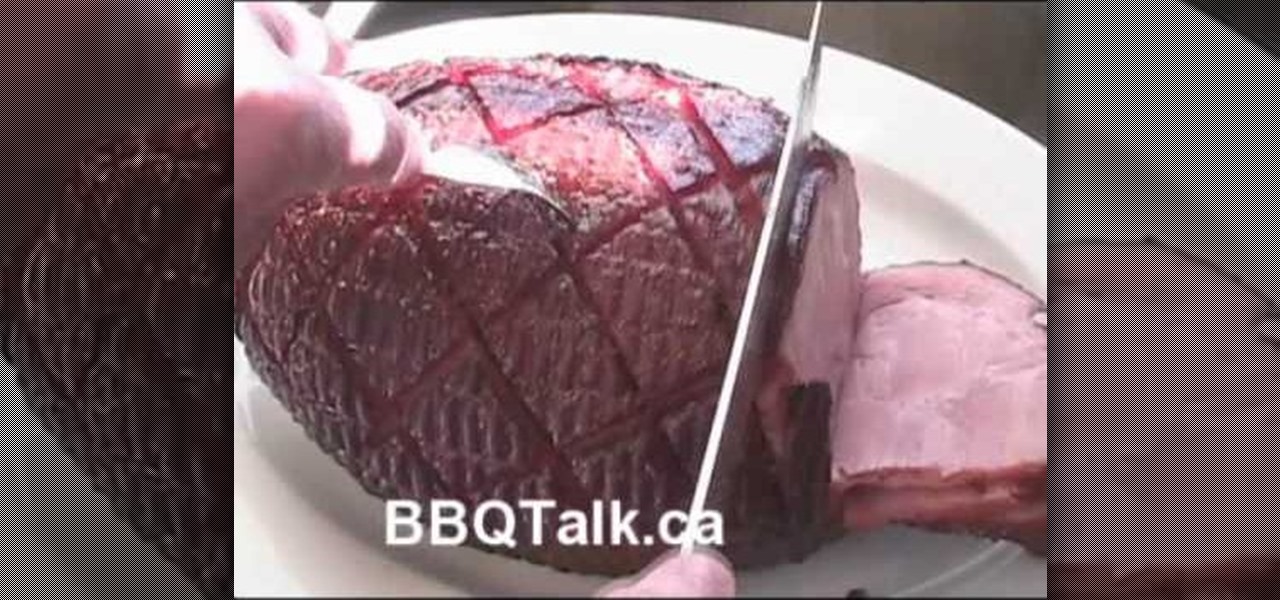
This video shows the secrets of smoking a ham in simple steps. An excellent summary is given below. First slice the ham for about 1/4 inch, turn over and slice it in a criss-cross pattern. Turn over the ham, repeat the same process and place the ham on BBQ with 250 set in it. For the paste add pineapple juice, BBQ sauce, mustard, maple soup and stir them well. After an hour apply the paste on the ham nicely into the sliced areas and all over it. After cooking slice down the ham carefully and ...

An interesting party decor idea is to place balloons inside other balloons. This can be accomplished easily by first inflating a large balloon. Using a small stick, push a second, smaller balloon inside the larger one and then inflate the smaller balloon while it is inside the larger one. You can then tie up the second balloon, leaving the smaller one inside the large balloon. This can be repeated with multiple small balloons, so your balloons will have a unique and interesting look. This tut...

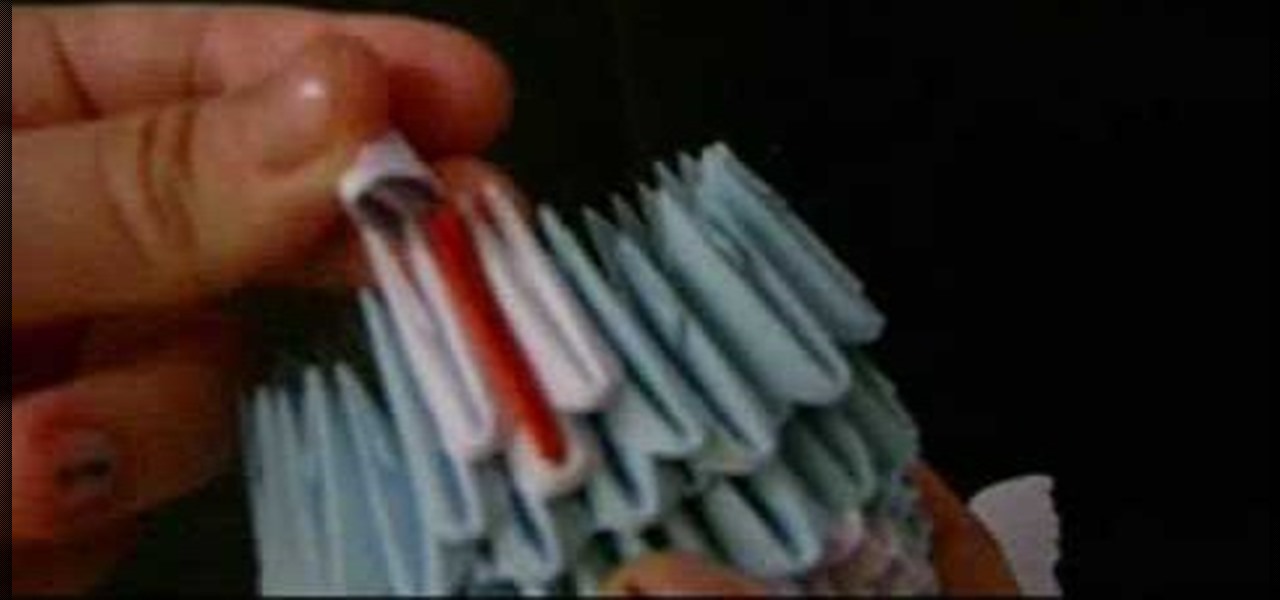
In this video, Jewellia describes how to create a 3 dimensional origami teddy bear. First, she lists the materials needed and the quantities necessary. She then begins the actual process of building the teddy bear, which is broken into steps. Step 1 is "creating the base". You will create 18 "pairs" out of origami paper which you then put small blue origami triangles on top. It looks circular. She then demonstrates how to repeat this circular pattern of triangles upward until you have a cylin...

This video is about how to make a duct tape purse. For this, you will have to remember only a few easy steps that are the following. Take two different colors of tape, from first take some strips and start joining one after the other; repeat same at the back side also. Fold its end; join the ends with the help of tape. Remember not to paste from the upper side as it is a purse. Take a strip of second color tape on its back side also. Paste the ends into the purse formed.

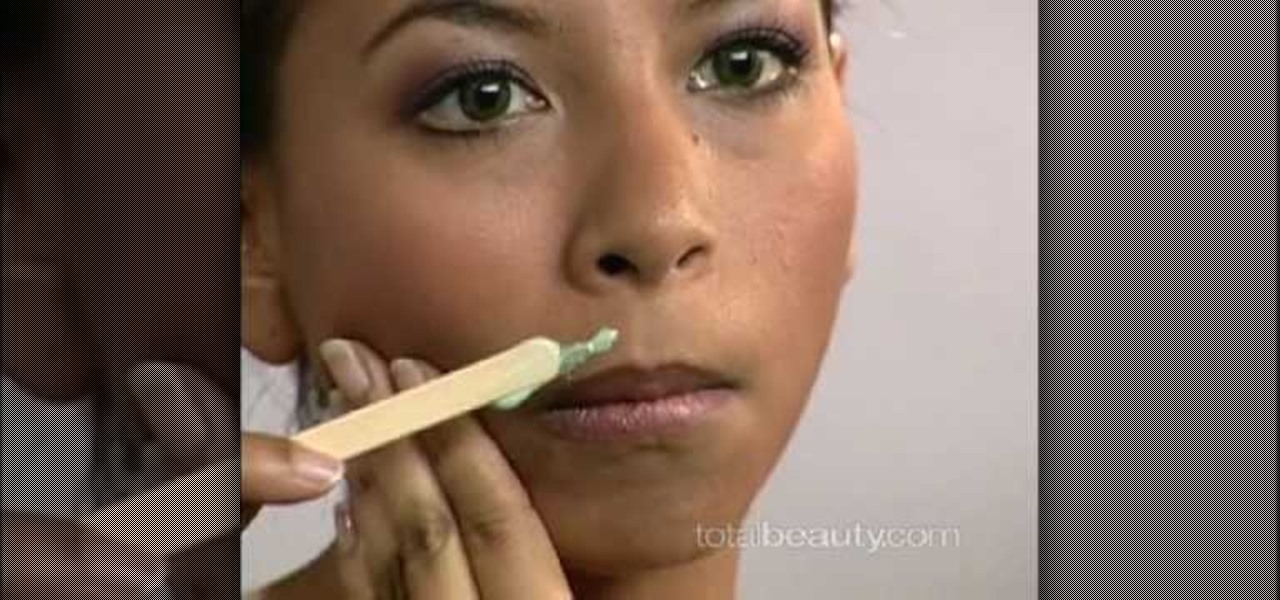
You can remove upper lip hair easily and safely in a few minutes. You must clean the upper lip first remove the oil and makeup. Put a small amount of wax on your hand using a flat wooden stick to test the wax temperature. Hold your skin towards your ear and apply a small amount of wax downward to one side of the lip. Place strip over the wax and press gently a few times. Remove the strip upwards removing the hair. Repeat as necessary. Do the same procedure with the other side of the lip. Remo...

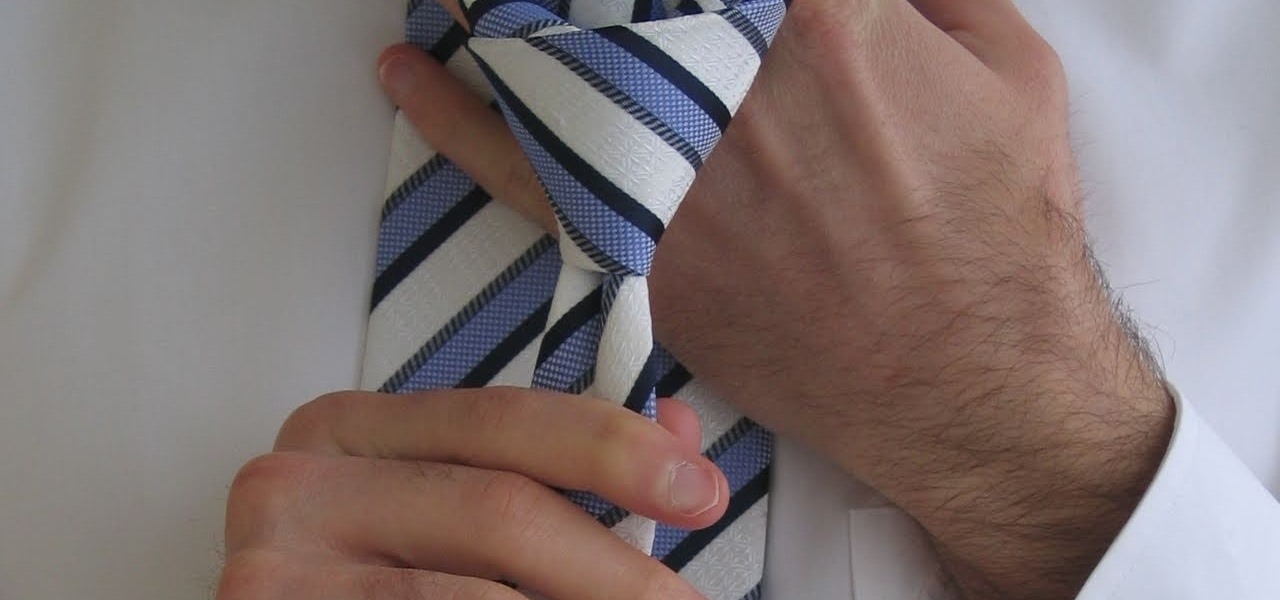
Tying a tie is a very useful skill, in this video, we are shown how to tie a Double Windsor knot, a very popular knot due to its symmetry. After placing the tie around your neck, if you are a right-handed person, make the thicker side the longer side on your right and pass this longer piece over the other one. Place the tie behind the other end and pull it through the hole and down, forming a small knot. Twisting the tie around itself backwards, pull the longer edge through on the other side ...

Want to forget about always pulling out your credit card to purchase something on your BlackBerry? There's a little application that can do it all for you? But how? Best Buy has answers. The Best Buy Mobile team explains how to use the BlackBerry Wallet application. This application can store personal information such as credit card information and shipping addresses on a secure website for easy access when shopping online.

Looking to fix your iPhone home button? Do you have a broken HOME button on your iPhone? In this video, learn how to get around it with an application called "mquickdo", formerly known as iHome for jailbroken iPhones. This also works for iPhone 1G or 2G and iPod 1G or 2G. Mquickdo allows you to use a series of finger swipes to function as the home button. This includes putting your iPod to sleep, going back to the home page, the double tap music menu, exiting an application, and more.

In this video, we learn how to tie a left half knot spiral for hemp jewelry. First, get two bead carriers in the center and have one strand in each hand. Then, take the left hand and place it over the bead carrier. Then, take the right hand and go over the cross section. Tie these up to the top loop tightly and then repeat doing this. This will make the spiral shape once you have created enough of the knots. As you are working it, you will have to spin it a bit in order to keep it curving rig...

Dogmantics dog trainer Emily Larlham shows us some exercises that should be repeated once a day in the first sixteen days of your dogs life to create a super puppy!

Tinkernut shows you how to repel steam from mirrors and windows by using shaving cream. Believe it or not, shaving cream is an excellent way to prevent mirrors or windows from becoming fogged over. Just smear shaving cream over the window/mirror and wipe it off using a damp cloth. It should now prevent the window/mirror from becoming fogged over from steam. If it wears off, just repeat the process. Use this as inspiration for one of your April Fools Day pranks!

Stretching the hip flexor is important when strength training the legs and hips. Learn how to do hip flexor stretch exercises in this stretching and flexibility video. Take action: cradle one foot with both arms and lean back, curl up other leg for advanced stretch, twist right leg over left hip, and repeat on both sides. Tom Clifford, the instructor in this how-to video, has a degree in physical education, fitness and health from Eastern Michigan University, where he ran track and cross-coun...

Stretching the hamstrings is important when weight training the legs or before exercising or sports. Learn how to do standing hamstring exercises in this stretching and flexibility video. Take action: cross right foot in front of left leg, bend down in front and exhale, switch feet and repeat for other leg, remembering to keep knees straight. Tom Clifford, the instructor in this how-to video, has a degree in physical education, fitness and health from Eastern Michigan University, where he ran...

Cat and camel exercises are great for stretching and strengthening muscles of the back, especially the lower back. Learn how to do cat and camel exercises in this strength training video. Take action: get on hands and knees, arch back like cat, flexing abs, let the back sag, sticking out butt, holding each position for 3 seconds, and repeat for 5 reps. Tom Clifford, the instructor of this how-to video, has a degree in physical education, fitness and health from Eastern Michigan University, wh...

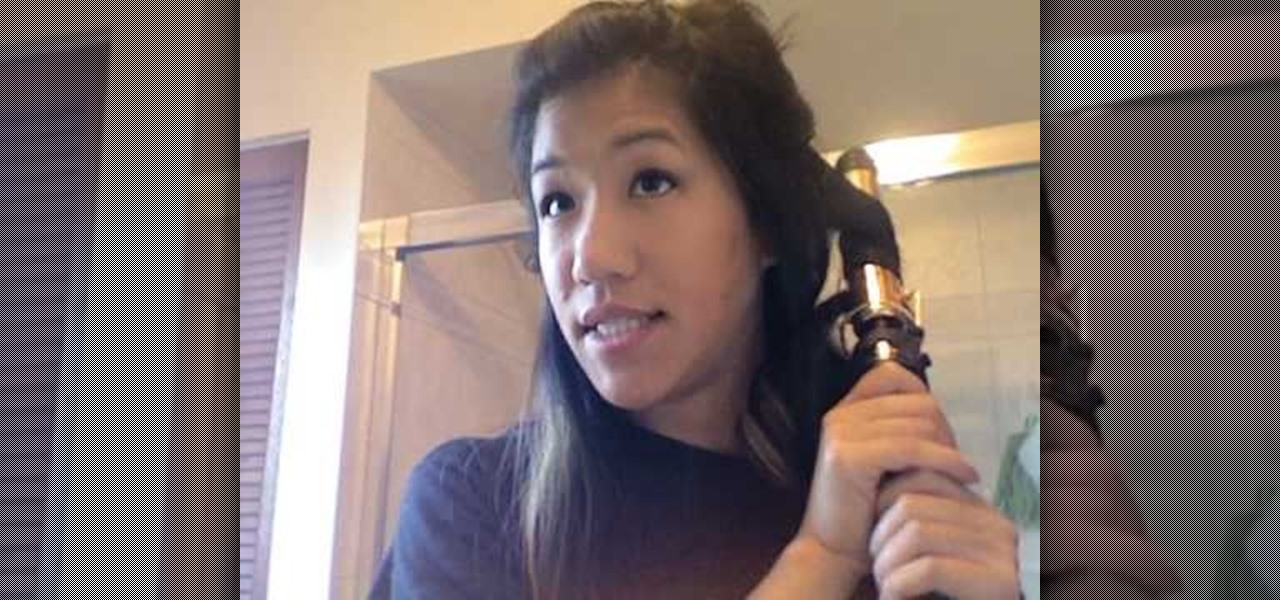
In this tutorial, we learn how to curl your hair perfectly with a flat iron. First, brush your hair out and then spray in some heat protector to all of it. From here, you will section your hair off into small sections and then heat up your iron. Now, clamp the iron to the root of the hair and then twist it 180 degrees. Slowly pull the iron down from the hair. The slower you pull the hair, the tighter the curl is going to be. When you release it, curl the hair with the finger and then move on....

In this video, we learn how to curl your hair with a 1-inch ceramic plate flat iron. First, spray heat protector on your hair and plug in your flat iron to heat it up. After it's ready grab the front section of your hair and then put the top of the hair into the iron. From here, you will be able to pull the iron straight down to the bottom of the hair very slowly. When finished, your hair will be in a cute curl! Repeat this process all the way through your hair until you've curled it all and ...

In this video, we learn how to clean skates or rays. First, use a sharp knife to remove the roughness from the top of the ray. After this, stick the knife in both of the sides and cut all the way down. From here, you should just have the middle left and the two sides should go in a bath of clean water to get the dirt off. Continue to repeat this process for all of the rays that you have. You can cook however you want when you are finished cleaning. Make sure you cut the right parts off, the m...

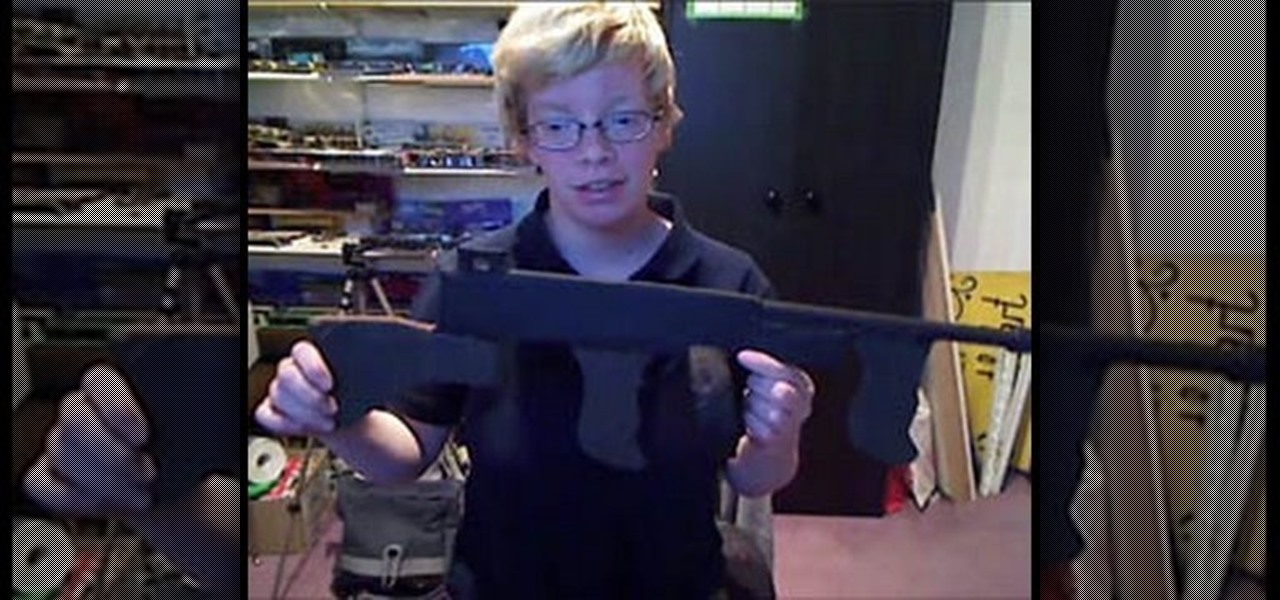
This video begins by showing the necessary tools needed to make a prop tommy gun out of a cardboard base. The first step is to trace a simple handle shape on the cardboard and repeat eight more times until you have eight exact copies of the handle. Then using an image of a tommy gun make an outline on the gun to cut in another piece of cardboard. You must cut and make eight more copies of the entire gun body to have the appropriate thickness for realism. The handle must be glued to the gun bo...

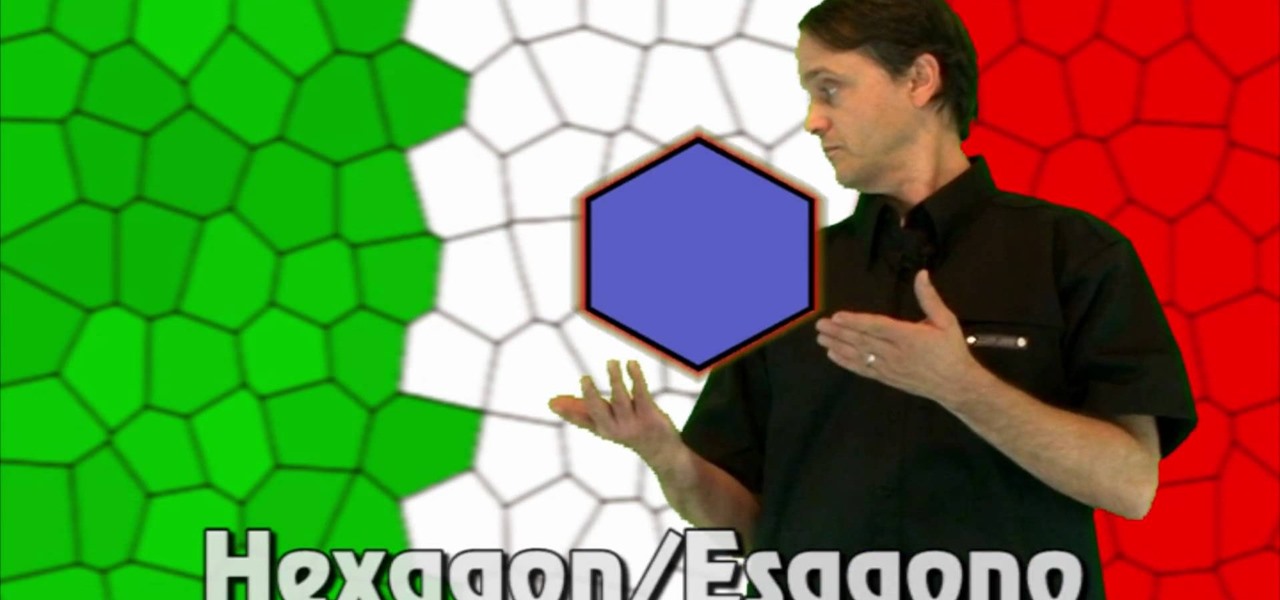
Another Italian language video that teaches some of the other basic words in the language. The knowledge of shapes too is essential when conversing in any language.

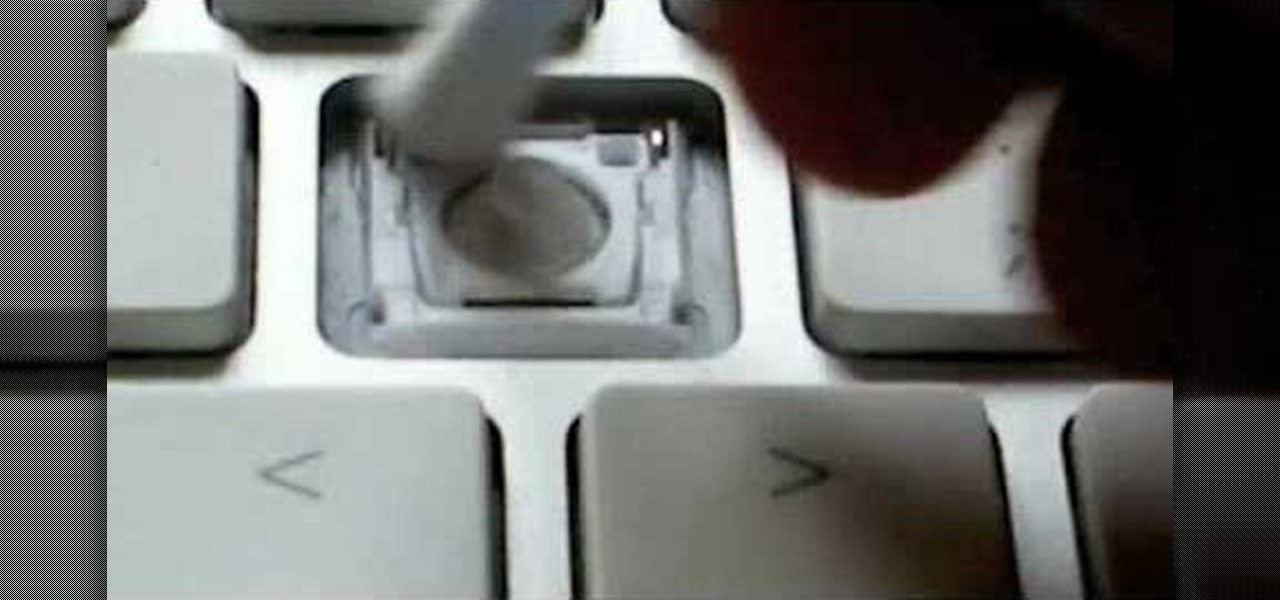
In this video, we learn how to clean your Mac computer keyboard. You will need to have iKlear and iClean to do this, along with a microfiber cloth. To start, you will take off the tops to each of the keys one by one. After you remove one, you will place the cloth over the top of it and then spray it. From here, you will clean the key off and then replace it back on the keyboard. After this, repeat for each of the keys until you have cleaned the entire keyboard. Give it one final wipe and then...

In this tutorial, we learn how to curl your hair with perfect curls using a flat iron. First, pull your hair up so you are just left with the bottom area of the hair. Next, take a small section and place the straightener into the top of the piece. Wrap the hair around the iron and then pull the iron straight down to the root. Repeat this for all of the sections of your hair, until you have curled all of the different pieces. Take the top section down and then curl that. From here, you will be...

In this video, we learn how to give yourself loose, casual curls with a curling iron. First, you need to put heat protector in your hair and make sure it's straight enough to curl. After this, break your hair into small sections and heat up a large barrel curling iron. Next, put the curling iron in the section of hair and stop when you reach the root. Hold the curling iron in place for several seconds, then release the hair. When it comes out, it should be a loose curl. If it's too tight, bru...

In this video, we learn how to talk about things in a kitchen in Italian. Learning Italian around the kitchen can be easy, you just need to make sure you say the words our right. Sugar in Italian is "zucchero", coffee maker is "caffetiera", cup is "tazza", and plate is "piatto". Remember if you are talking about bigger or smaller things, the word will change. Just by learning these basic words in Italian, you can better understand how to speak Italian and be on your way to learning more! Pay ...

Learning a few basic sentences or phrases in any language can be helpful sometimes in certain situations. This is particularly important when considering words like "hello", "what is your name" or "my name is" etc. There phrases find their use in everyday interactions.

In this video from AbcSchoolOfPolish we learn various phrases that you can use to compliment your partner. The phrases are read out loud in Polish twice and shown on the screen so you can learn them. Here are the phrases we learn:

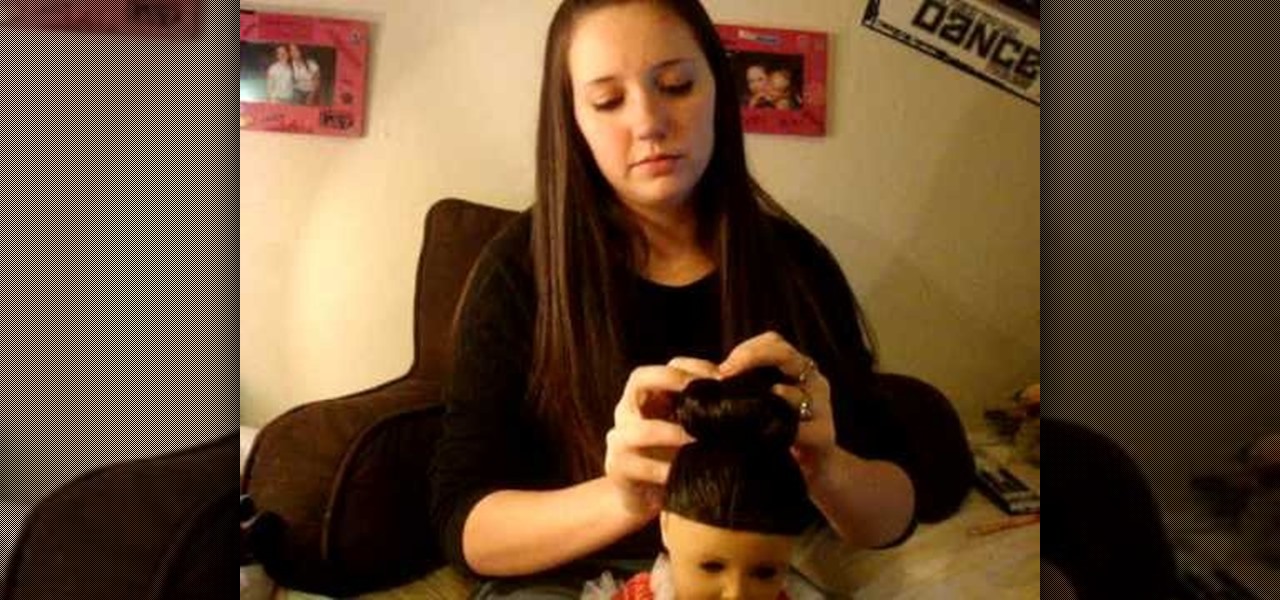
In this video from stephenswodadancer we learn how to do a clipped bun on an American Girl doll. Start with your doll's hair in a pony tail. Right at about the crown of her head works. Take the piece of hair from the top and curl it and fold it under. Clip the part that you curled to her head. You can go all the way around until you get to the bottom and keep clipping. Repeat this process all around her head until it is to your liking. This will need lots of clips so make sure you have them!

In this video, we learn how to do cowgirl pigtails on American Girl doll Nicki. First, brush the hair out and then make a part down the middle so you have hair on both sides. Then, put one of the pigtails to the side. After this, go to the other side and brush it out again. Make this low and then tie a rubber band around the pig tail. To make it curly, you will take little pieces of the hair and curl them up with your fingers. Repeat this on the other side and then you will be finished with t...

In this video, we learn how to paint your American Girl dolls' nails. First, stand your doll up and then dip a tiny paintbrush into nail polish remover. After this, put some nail polish onto another tiny brush. Then start to paint the toes using the tiny paintbrush. If you make a mistake, just use the other brush to remove the nail polish. Don't put too much polish on the brush, or it will get messy and turn out badly. Repeat this process on the fingernails when you are done with the toes. Fr...

In this video, we learn how to do a hippie hairstyle on your American Girl doll. To start, you will simply take the side of the hair and braid two braids into it. Pull these across the back of the head and then repeat on the other side of the head in the same exact braid. Next, you will pull these braids all together and then braid these together going all the way down to the bottom of the hair. Tie this off with a rubber band at the bottom. This will finish up your hippy hairstyle, enjoy and...

In this tutorial, we learn how to make an array of paper roses. Use any colors of paper you want with this to add a special touch to them! Now, you will take the pattern or color of your choice and fold it up into a square. after this, fold it into a triangle and then cut the edges of this off. After this, cut the bottom off and open it up, it should be a flower shape with a hole in the center. After this, repeat with several other papers and then cut the flowers up into halves. From here, yo...

In this tutorial, we learn how to weave ribbon into your American Girl doll's hair. First, grab the hair in the front of the head on just one side. After this, you will tie it with a rubber band. Next, repeat this same process on the other side of the hair. Then, do this again behind the first rubber band on each of the sides two times. Tie these together in the back, then tie in with a ribbon of your choice. Make a bow and then use another piece of ribbon to tie into the hair, finishing at t...

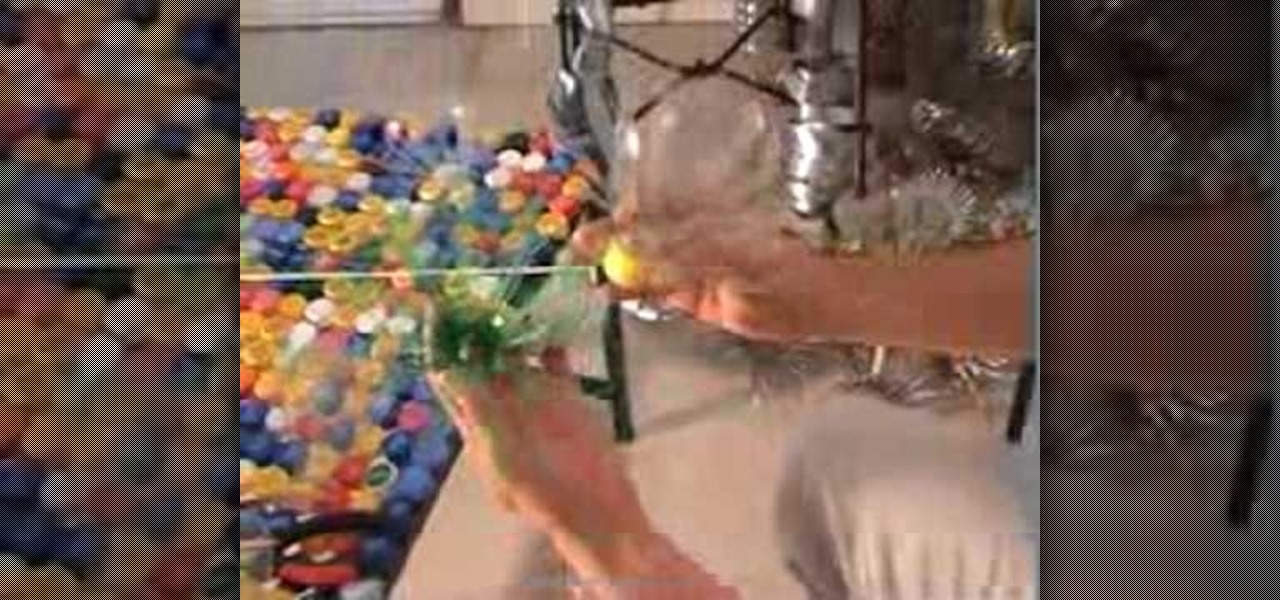
In this tutorial, we learn how to recycle plastic bottles and make decorative flower art. Start out by cutting around the cap of the bottle until the body is cut off. Then, cut small slits in the bottle until it's completely cut up. From here, you will spread these out so they are opened up like petals. Take different colored plastic bottles and repeat this process. When you're finished, you will then attach these together using heat and use them as decorative art for your wall! This is great...

In this tutorial, we learn how to do a twisty updo on your American Girl doll. First, brush your dolls hair into a ponytail. After this, take a piece of the hair and twist it around with your finger until it curls. Then, take a clip and clip the twisted hair into the ponytail. Now, take another piece of hair and do the same thing. Continue to clip the hair up and repeat doing this on all the pieces of the hair until there is no more left. You will have some hair at the top and it will look cu...

In this video we learn how to do a ponytail veil on your American Girl doll. To start, you will take the top front section of the hair, then brush it back. After this, you will tie it in a rubber band and then repeat these steps on both sides of the head. Then, you will take the hair that's in the ponytail of each one and split it into two. From here, you will tie these with another piece from another side and then tie together with a rubber band. do this once more on the very back and then t...


