In order to do the fork and apple trick, you will need the following: a fork, and an apple. Reveal the fork to the audience. Next, reveal the apple. Taking a bite out of the apple is a good way to demonstrate that the apple is real. Place the apple on the tip of a fork. It should be tossed from resting on the tip of the fork. Then, toss the apple into the air and catch it with the fork. When the apple is caught, it should be skewered, by the fork. Take a bite out of it to demonstrate that it ...
In this video, we learn how to draw a horse. First, draw the outline of the horse's body. Start with a circle for the head and wispy lines for the rest of the body. Make large shapes that connect to see where the mass of the body will be. Next, draw in the head, tail, back, and legs of the horse. After you have the outline finished, erased the lines inside of the picture. Now, draw in details on the horse. Add in lines to show where the hair is, then draw in the nose and eyes to the face. Als...
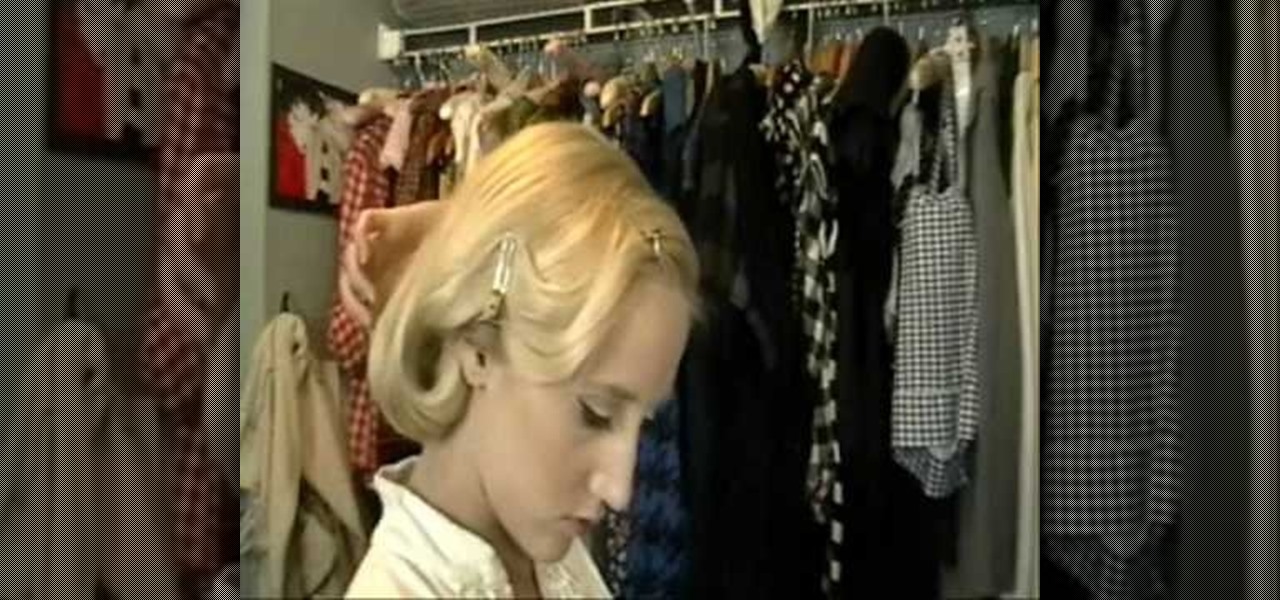
Be as lazy as you want the rest of your life when it comes to makeup and hair, but on your wedding day you better be amping it up in the style department. If you're looking for a not too hard hairstyle to sport on your big day, check out this elegant side twist updo. You've probably seen it on the likes of old Hollywood-inspired stars like Gwen Stefani and Rachel McAdams.
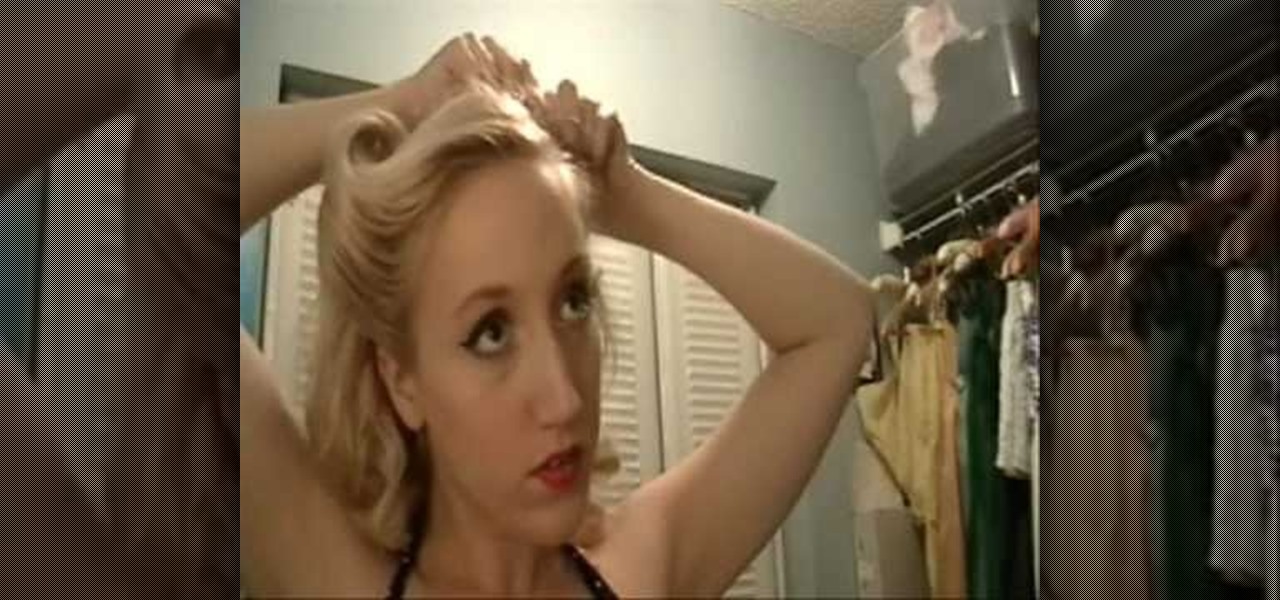
Victory rolls may not sound like a familiar term these days because almost no one does them anymore. But you'd sure recognize them if we showed you some photos from the 1940s and 1950's: Actresses like Rita Hayworth and Katherine Hepburn loved wearing them, and as they did so did the rest of the nation who looked to them for beauty inspiration.
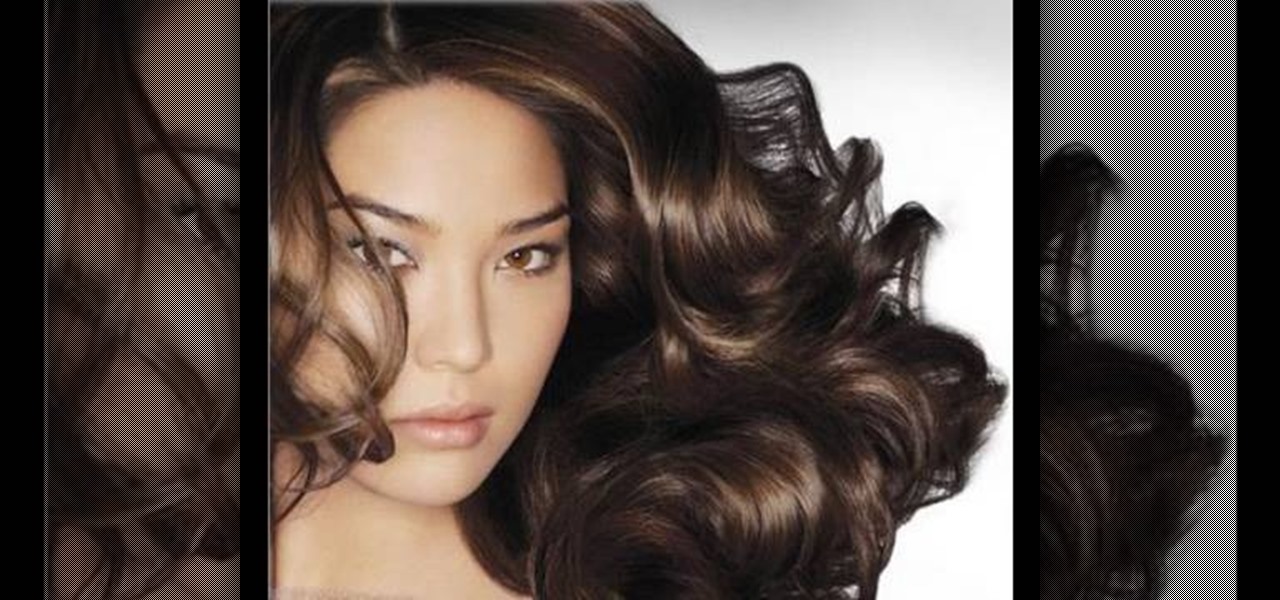
If you were blessed with a natural mane bursting with shine, volume, and movement like those chicks in Pantene commercials, then we don't like you. Just kidding, but if that is your lot then you really don't have to check out this tutorial.

In this tutorial, we learn how to tune your car in Photoshop. First, open up the image of your car and then add in a picture of different wheels. Then, place these wheels over the existing ones on the car and blend them in, then change the color as you prefer. Do this for the wheels that you are able to see on the image. After this, lower the car and add in a bumper to the front of the car, importing images in from various sources. Continue to add in parts to the vehicle, using shading and bl...

In this video, we learn how to draw Naruto. Start out by drawing a circle as the outline. After this, draw the jawline. Next, draw lines in the middle so you know where you are going to draw the eyes and the rest of the facial features. Next, define the features on all the different parts of the face. Start to add in shading to the face, then draw in the hair. Next draw in a hair band at the top of the head, followed by spiked hair coming out of the top and ears on the side of the face. When ...
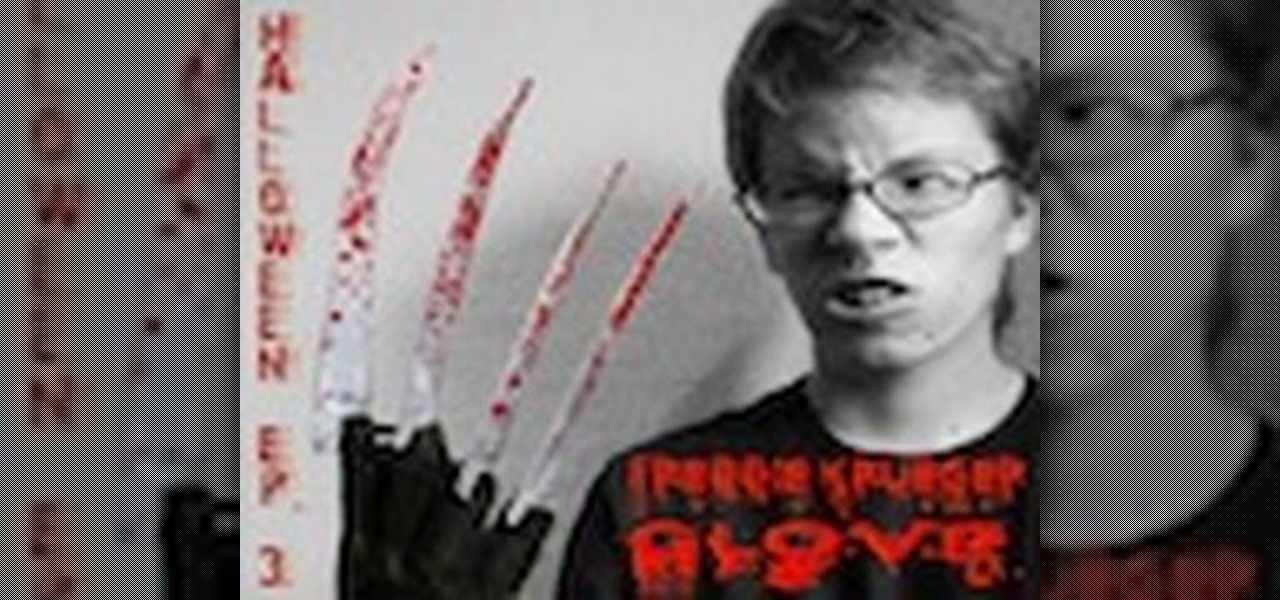
In this tutorial, we learn how to make a Freddie Krueger glove. You will need: a saw, sandpaper, silver spray paint, black paint, brown paint, old glove, tin from a can, plexi glass, shiny cardboard, and a hot glue gun. Start off by using your paper roll to cut off a strip of it that will start on the joints of your hands, then cut this in half. After this, make a cut in the top of it and on the sides of it. Do this again for the four fingers, then wrap it around the glove fingers. After this...
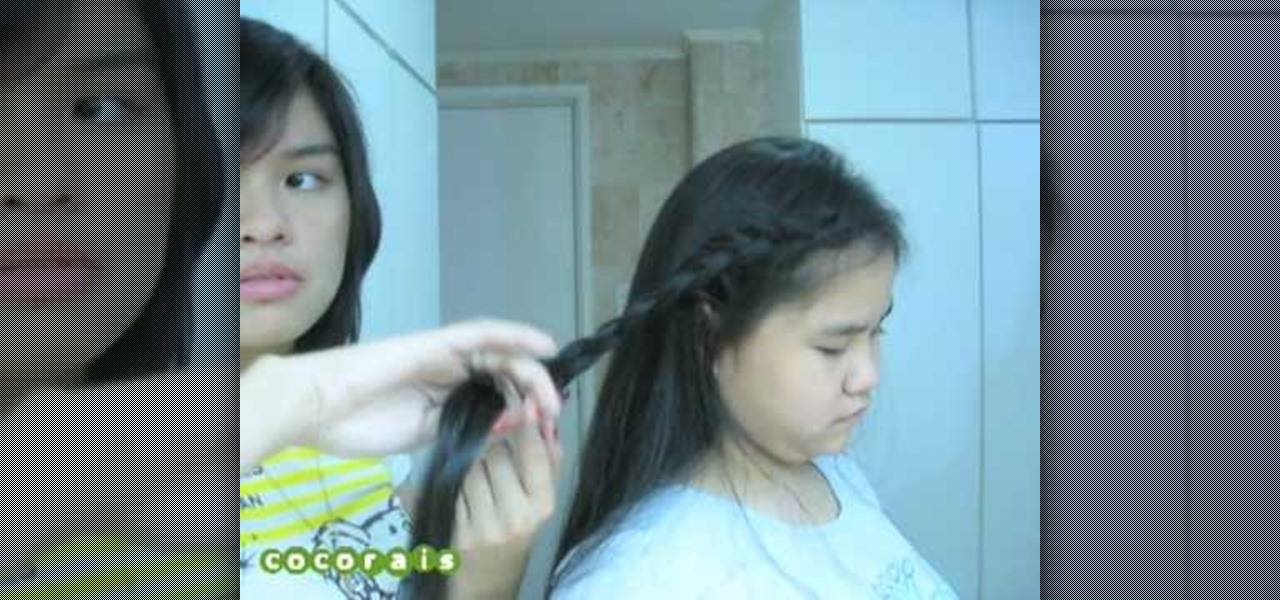
The great thing about braids is that they're so incredibly versatile. Spin a single braid through the crown of your hair and let the rest of your locks loose and you've got a pretty Lauren Conrad, girl next door look going on. Or add a few curls using a curling iron and tie your hair up into an updo to create an elegant look befitting of a formal affair.
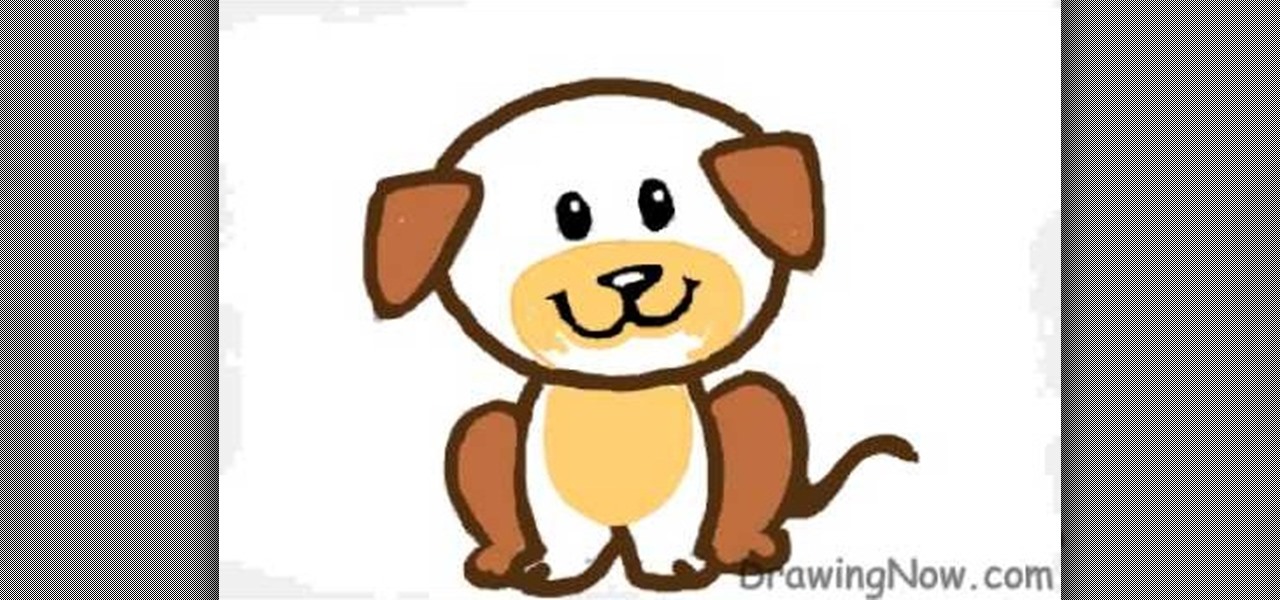
Michael Weisner teaches us how to draw an adorable little puppy in this tutorial. Start out by drawing the outline of the dog, drawing in all the details as well as the body. After you have the base done, grab a Sharpie and start to draw the top of the head and the ears. Make lines on the top to make it look like the dog has fur and don't forgot the eyes and nose on the face. After this, trace out the rest of the body, including the front and back paws. Make sure to add in any shading you fee...
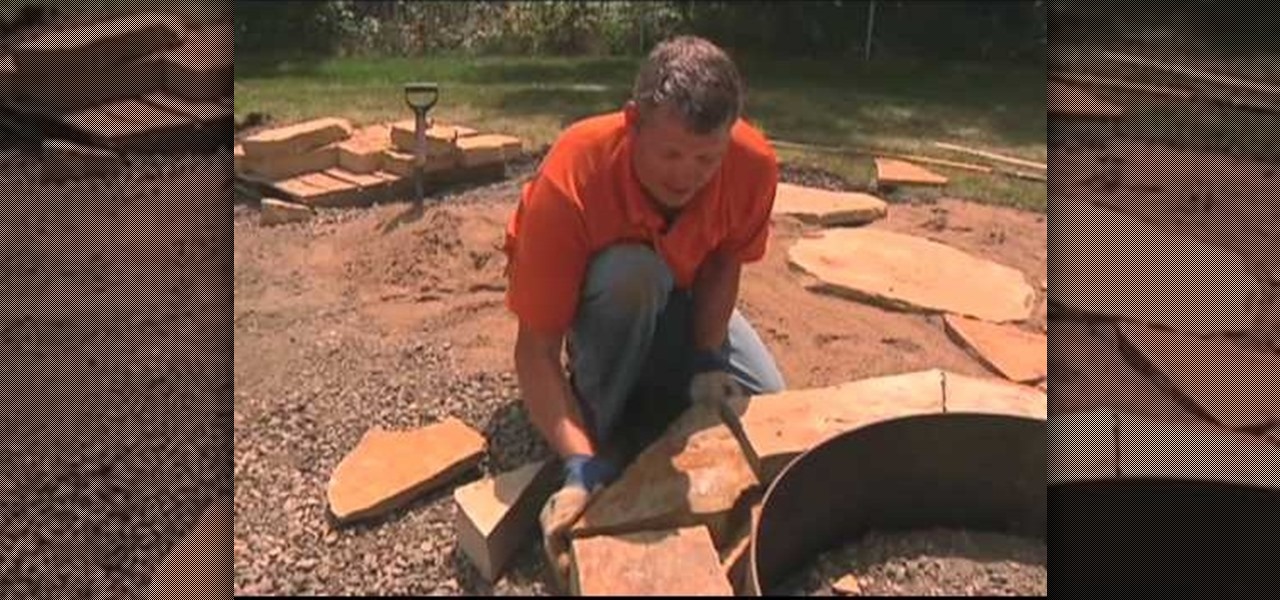
In this tutorial, we learn how to properly build a firepit. First, prep your base by filling it with dirt and small rocks. After this, set your ring down onto the dirt and make sure it's level. You can also raise it up if you want a foot rest or beverage holder. Next, apply your stone around the ring and then mortar it. Make sure all the pieces of stone fit nice and tight together. After you've done this, lock in all the joints on the stone patio by using sand and brushing it into the middle....
In this video, we learn how to draw a wolf step-by-step. First, draw out an outline of the body using circles and lines to show where the legs will go. Next, make the snout for the nose and then draw in the ears and the eyes. Next, draw in lines around the outside of the wolf to show that it has fur. Next, use a darker pen to outline the wolf, then add in details to the legs and the rest of the lower body. Add in a tail that is curved but not high in the air. When you are done, you will have ...
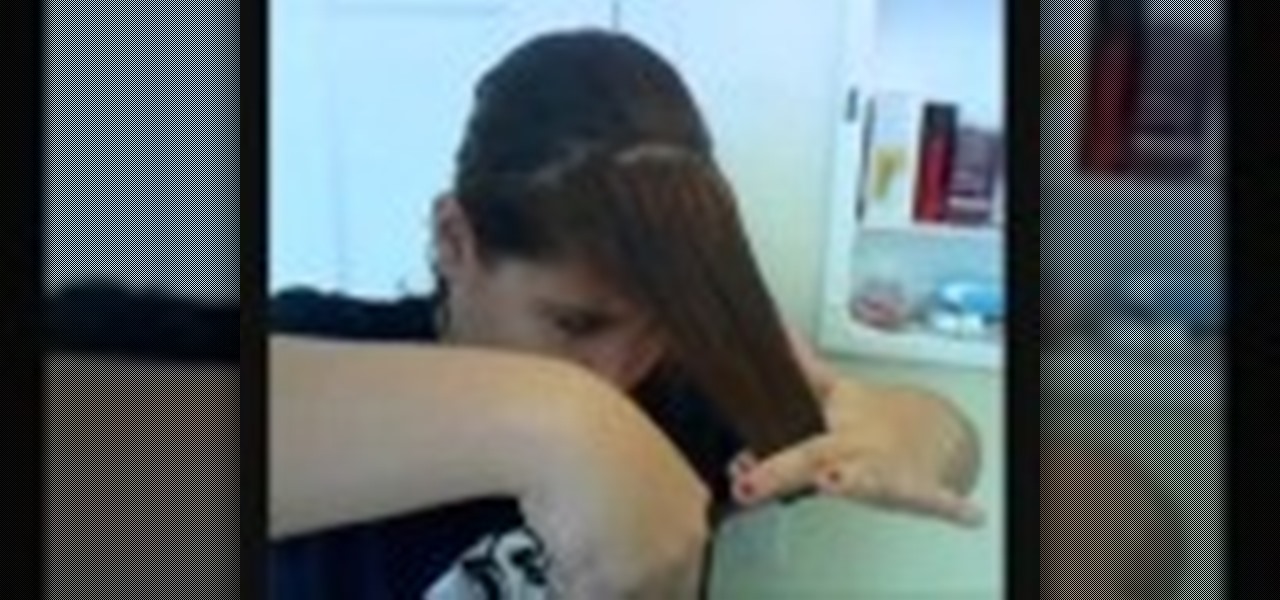
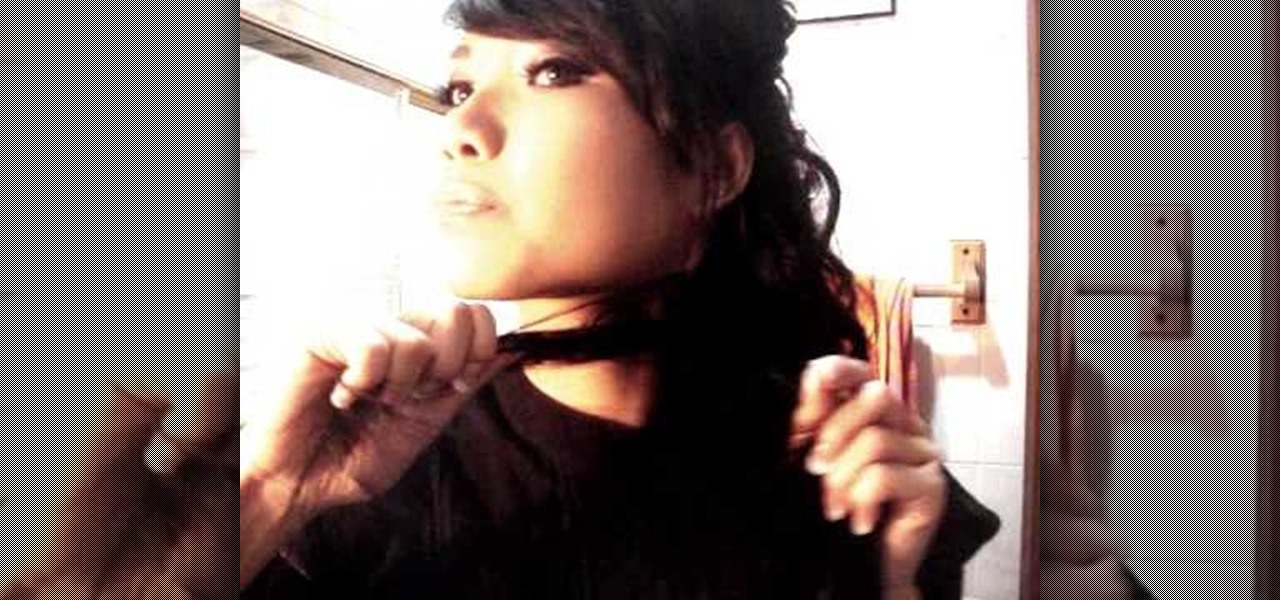
In this video, we learn how to easily cut your bangs. First, you will want to take a shower and have your hair went and brushed out. Next, part your hair so that your bangs are in the front and the rest of your hair is tied back behind you. After this, grab your scissors that are for hair cutting, and then level your hair out in front of you. Be sure to hold your head up straight and don't look too far down or up. Next, cut the bottom of your bangs where you want them to be at, then continue ...
In this tutorial, we learn how to draw Shadow the Hedgehog. Start off by drawing the head and then add in the spiked hair. After this, draw in the details of the eyes and continue down to the arms and the rest of the body. Draw in the feet and a gun in the character's hand. Now, use a pen to start drawing the outline over the pencil marks that you just made. Continue on to draw in details on the picture that make it look more realistic. After this, color in the picture with colored pens and u...
In this tutorial, we learn how to count to 100 in Polish. You will start with "jeden" which means one, then move on to the rest of the numbers. It's very important to take your time when you are learning each individual number, so that you know how the accent should sound and you know how to say it properly in different sentences. It will be extremely helpful if you try and listen to an audio recording while you are saying the numbers so that you learn exactly how to say it. Continue to learn...
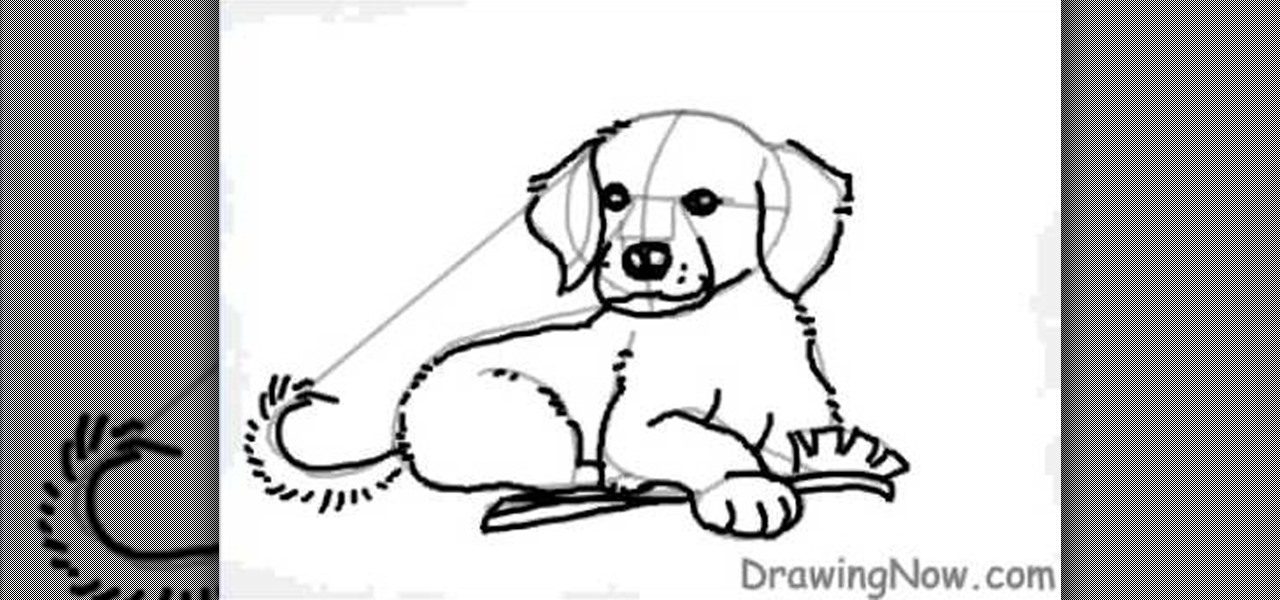
In this tutorial, we learn how to draw a cartoon golden retriever puppy dog. Start off by drawing the face with intersecting lines on it so you know where the nose, eyes and mouth go. Then, keep outlining the rest of the body including the legs and tail. Next, use a darker brush to go over the lines and make more of a detailed outline, including fur and eyes. Make sure to use lines on the side of the dog to make the hair look more realistic. After this, paint the inside of the dog using a lig...
In this video, we learn how to install a dishwasher. First, take out your directions from the package and throw away the rest of the packaging. Also, discard your old dishwasher if you don't need it. Next, attach the PVC hose to the water supply, making sure it's turned off, then connect the valve to the hose. Next, attach the outlet hose to the waste water pipe so the dirty water won't go back into the machine. This only takes around an hour and is a home project that you can do by yourself....
This video tutorial belongs to the Computers & Programming category which is going to show you how to reformat a computer. For doing this you will need your computer and the operating system CD. Turn on the computer and load the CD. Then keep tapping f8. Your computer will now load from the CD. When the set up options page comes up, select the 'set up windows' option. Thereafter select the number of partitions that you want to create in your hard drive. The hard drive is now reformatted and t...
In this video, we learn how to draw Charmander. Start off by drawing the large eyes with lines inside of them. After that, you will connect the head around it, followed by the nose. Next, you will draw in the rest of the body including the feet. Draw in the tail with flames coming out the end of it. Add in lines around the body to make the figure look more realistic, then draw in pupils for the eyes. When you are finished, you can color the character or just leave it how it is and shade in on...
In this tutorial, we learn how to do a messy fishtail braid. First separate your hair so the bottom layer is exposed, then place on volumizing mousse and hair spray to this layer. Now, expose the rest of the hair and add the mousse and hair spray to this layer. Next, curl your hair with a 3/4" to curl the hair away from your face. When finished, section your hair so the upper half is in the back of your head, then clip this securely. Next, start doing a fishtail braid by braiding the outer si...
In this tutorial, we learn how to remove a scar in Photoshop. First, select the magnifying glass to zoom in on the area you are working on. Next, select the paperclip icon, the select the second brush. Now, come to the edge of the scar and drag across the around the entire scar. Come back around, then the scar will be highlighted. Now click down and hold the image highlighted, and you can smooth out the skin and it will disappear. Next, do this on the other side of the face to remove the rest...
In this video, we learn how to do a yukata inspired hairstyle. First, brush out the hair, then bring the top section of the hair and start to braid it. Continue to braid it until you read the end of the hair, then tie it at the end. Now, set the braid aside and put the rest of the hair up in a pony tail. Push the hair together in a bun, then pin it together with bobby pins. After this, take the braid and wrap it around the bun, then secure it with more bobby pins. To finish the look, add in a...
In this tutorial, we learn how to draw a simple cartoon dinosaur. Start by drawing a rectangle and give it eyes on the upper right hand corner, then nostrils. Start drawing a body that has a jelly bean shape. Now, create small arms on the side of the body, that are smaller than the rest of the body. These arms should have a cylinder kind of shape to them. Now, draw some legs onto the bottom, using large cylinder shapes and little pointy toes. There should be adequate space in between each of ...
In this tutorial, we learn how to do a half up and half down hair look. First, grab the top middle of your hair and comb it up, then hair spray it and tease it up. After this, curl while still holding up, the repeat this for the rest of the hair on your head. To finish, spray hair spray all over the hair to keep it in place. Next, pull half the hair up and push upwards, then use bobby pins to clip it into place. Check in the mirror to make sure it's even and move your head to make sure it's s...
In this tutorial, we learn how to draw a cartoon puppy First, draw the oval head, followed by triangles for ears. next, draw the body underneath with four legs coming out of the bottom like the dog is sitting down. Add on a squiggly line for the tail next to the leg. Now, color the ears and back legs light brown, then add eyes, a nose, and a mouth onto the face. Draw a circle around the nose and mouth, then color in with lighter brown/tan color. Now, color the rest of the dog a darker shade o...
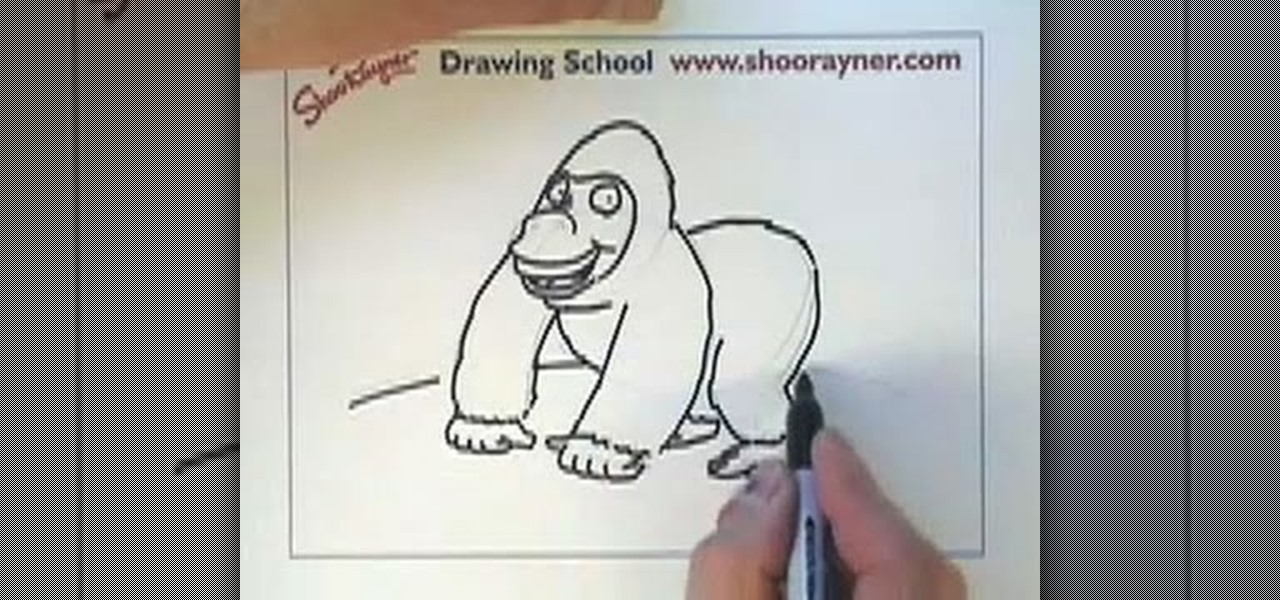
In this tutorial, we learn how to draw a gorilla. Depending on what type of gorilla you want to draw, there are various ways to change the look easily. To start, draw a bean shape that will be the body. Next, draw a smaller bean shape for the head on the side of the other shape. Now, draw the middle of the face, making eyes in the middle underneath the brow bone. Now, make the nose and mouth of the gorilla. After this, continue back down on the rest of the body and draw arms and legs for the ...
In this tutorial, we learn how to make your first graph in Microsoft Excel. First, open a new graph and enter in your data. Click and drag down from the original date you enter to have the other dates automatically entered in. Enter the rest of your information, then highlight all the data. Go to the menu and click "insert", then "chart". Now, go through the chart wizard to select what kind of chart you want to make. When you are finished entering all your preferences, change your values so t...
In this video, we learn how to sing in the vocal fry style. Start by using your throat to sing higher with music notes being played on the piano. You will make a noise with your throat that is similar to Elmer Fudd the cartoon. Don't worry about how your pitch sounds with this, it's just about getting your voice stretched out to have a more full sound. You want your voice to sound creaky and weird, as you keep going higher with your voice. After, start doing the opposite and singing down in t...
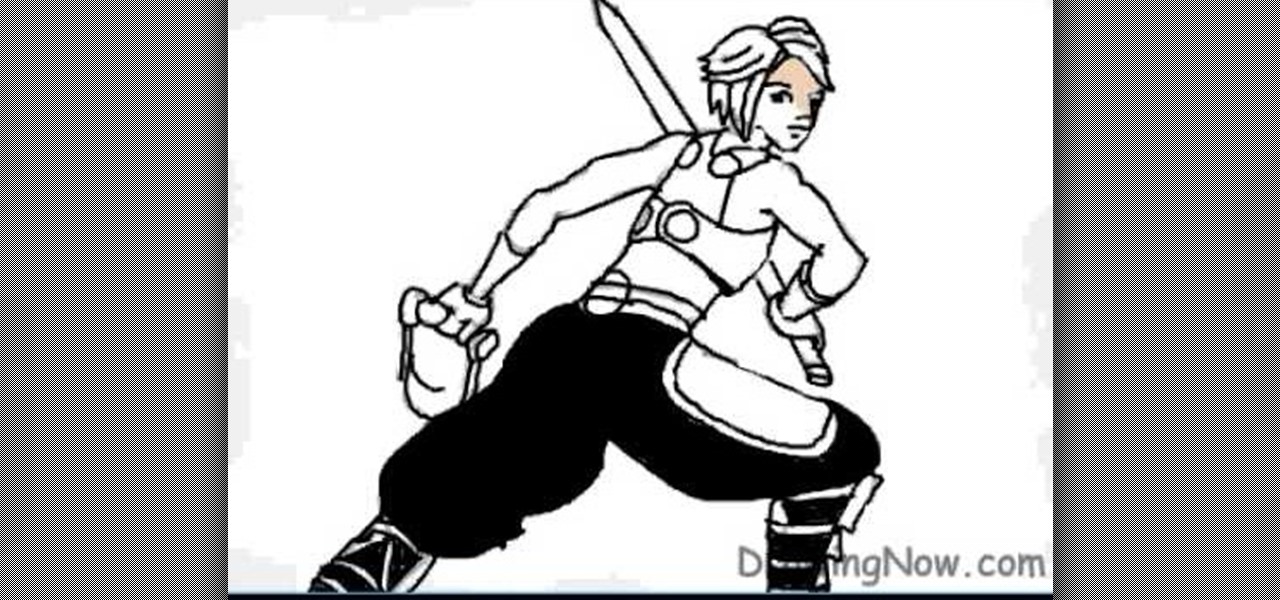
In this video, we learn how to draw a Final Fantasy character. Start out by drawing a rough outline of the entire body, starting with the head then doing the rest of the body and ending with the hands and arms. After this, draw over the initial markings with a black paint brush. Draw in eyes and hair, then start to draw in the details of the body armor and clothing. Make sure to draw on pants and make a sword that the character is holding. After this, fill in the painting with different color...
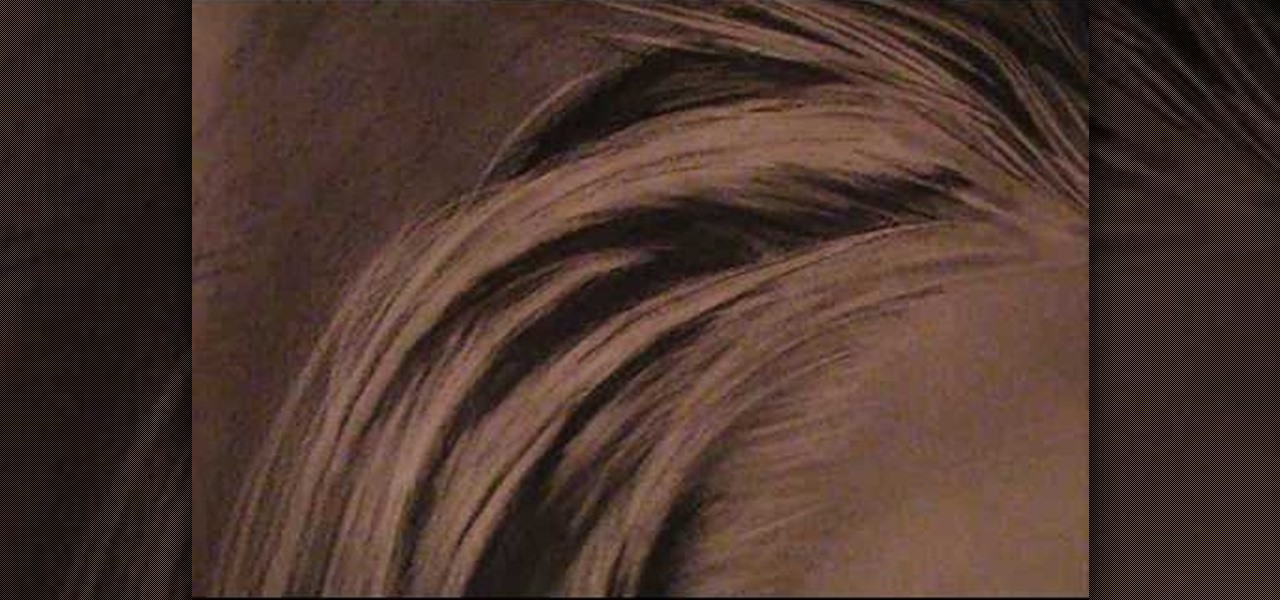
In this tutorial, we learn how to draw realistic hair. Start out with a rough outline and look where the hair is clustered together. Draw the clustered area first. Then, cross hatch over the entire surface of the area and blend in. Add hair to the forehead area, then use a darker pencil to form the shape of the hair. After you do the clusters, start to draw the hair that is separated from the rest. Keep looking at the picture you are drawing, then use an eraser to change the drawing to match ...
This is a quick tutorial on how to create kind of a cool looking color splash on your videos using Sony Vegas Pro 9. Choose a certain color to stand out in the video all while the rest of the video is in black and white. Whether you're completely new to Sony's popular nonlinear editor (NLE) or are a seasoned digital video professional simply looking to pick up a few new tips and tricks, you're sure to be well served by this free video software tutorial. For more information, including detaile...
In this tutorial, we learn how to make one spoonful of cookie dough. First, clear off an area to work. You will need: butter, brown sugar, sugar, vanilla, flour, and water to this. First, place 1 spoonful of all the items into a mixing bowl and mix together until the dough reaches a nice consistency. This won't make you allergic since there are no eggs in it. You can add chocolate chips to this mixture if you want something different. Store the rest in the freezer if you aren't going to eat i...
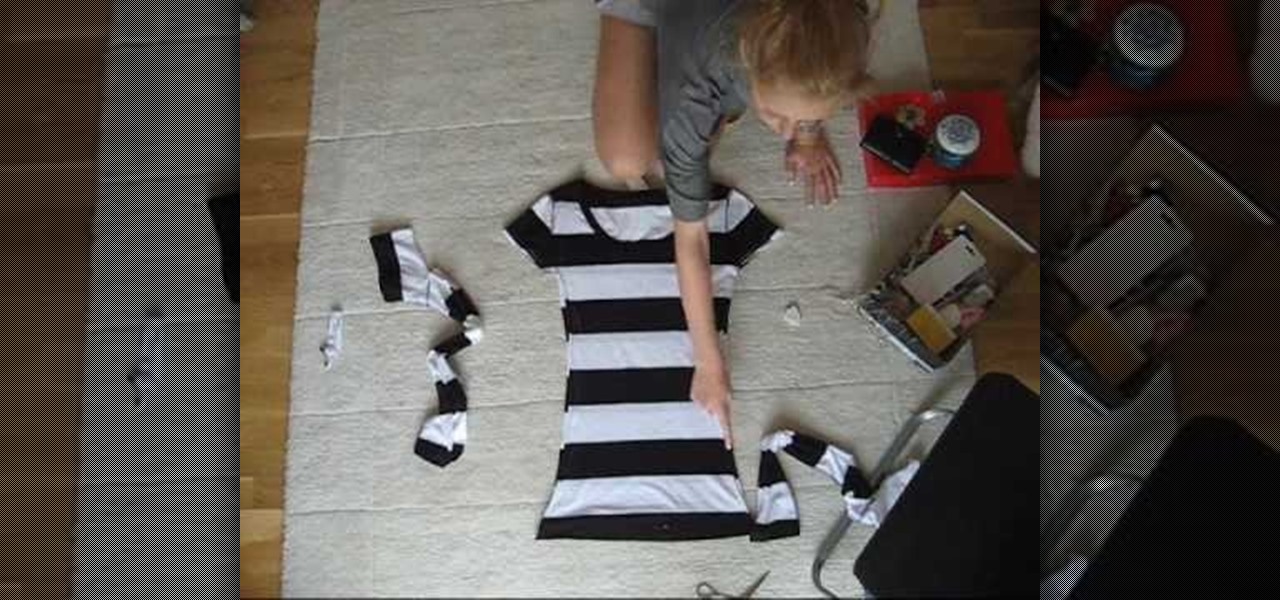
In this tutorial, we learn how to make a t-shirt. First, measure around your waist and your bust, as well as around the hips. Now, take your old boxy t-shirt and flip it inside out. Now, place your measuring tape on the shirt and pin it where your measurements are. Draw out your measurements so you know where to cut. Once you have the new shirt drawn out, Cut out an inch out of the lines and toss the rest of the cloth in the trash. After this, sew the shirt on all the open sides. To finish, t...
In this video, we learn how to properly wear a pashmina scarf. First, wrap the scarf around your back and let it rest around you before you get to the place you are going, if you are going to a different country. You can also place the scarf over your shoulder to give a different look. Another way is to tie it in the middle and pull it down off the shoulders. During cold weather, you can tie the scarf around your neck to wear with a long jacket and keep your neck warm. The last way to wear it...
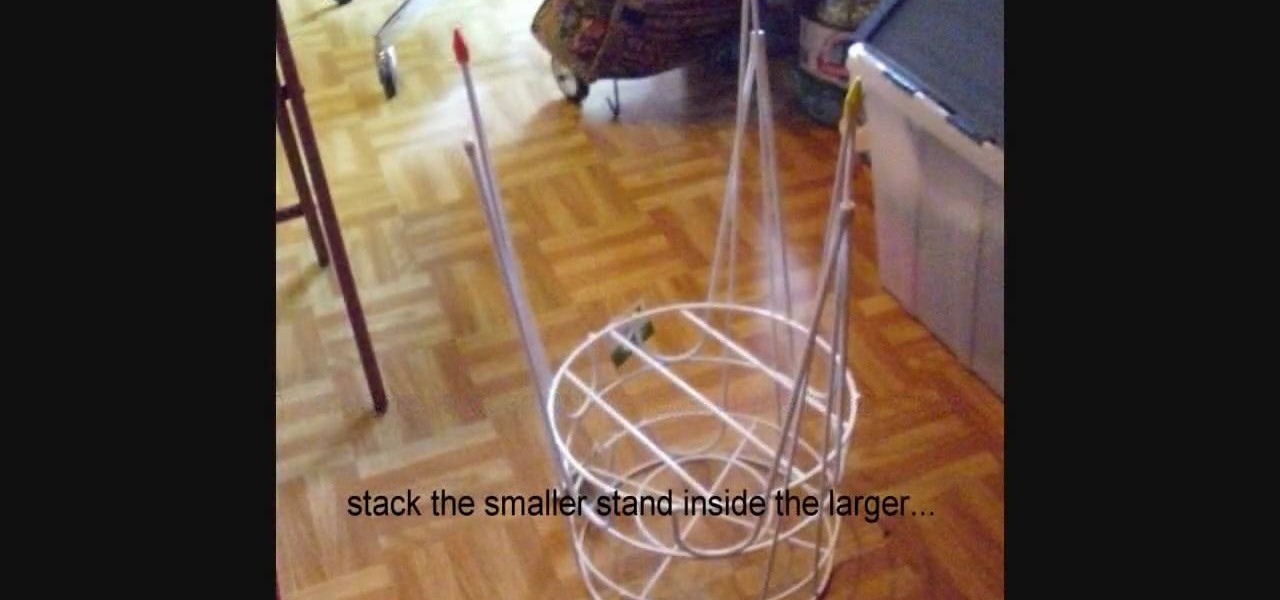
Knitting when you're sitting at your table is usually a cinch, since you can rest your elbows on the table when you're tired and also place your knitting needles and yarns closeby within reach. But staying in one place all day long can be boring.
In this tutorial, we learn ten different ways to wear a beret. The first way is to wear the hat with the long side on the forehead going down on the rest of the hair. The next way is to do this same look, except move the hat to the right. Next, place the hat in the middle of the hair with your bands on the side. Next look is in the middle to the left. You can also wear it in the middle with pigtails or to the left or right with pig tails. Wearing with a side pony tail is also another great op...
Hacking the Wii is a fun, easy, and rewarding process for any of the more geekily-inclined. This two-minute video will walk you through the whole process except for the first bit where you copy the files here to an SD card and insert it into your Wii. This video will get you the rest of the way, which is pretty simple and should allow you to do all sorts of fun new things with your Wii. Check this out and crack your wii console today!
For many, taking a bite out of a red velvet cupcake is a delicious treat, and even a present of sorts, especially if you generally deny yourself of such sweets during the rest of the week. So why not make your next batch of cupcakes look like literal gifts by adding a bow on top?
Jtagged XBox 360's are the kings of the modded 360's, allowing you to do all sorts of quasilegal things with you console. This video will teach you how to install the USB SPI Jtag in your XBox 360r. Check the related videos for how to do the rest of the process!
In this tutorial, Sarah Sheppard teaches us how to conduct a closed suction procedure. First, wash your hands, apply gloves, and identify yourself to the patient. Now, you will do vital signs such as, heart rate, respiratory rate, and lung sounds. After this, check the suction pressure and it should be around 80 to 120. Now, perform the rest of the closed suction procedure by inserting your standing needle and turning it off, then turning on the 02 sensor. This will give your patient two minu...