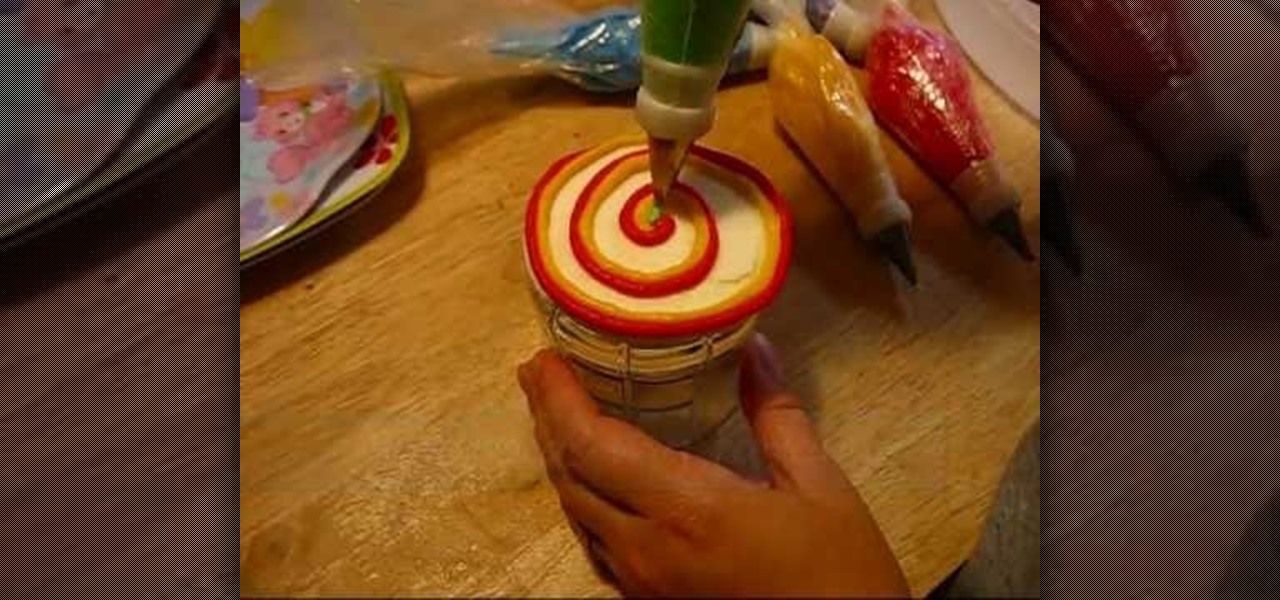
Before this video we had no idea you could tye die cakes (sort of). While tie dying t-shirts, linens, and other wares requires several colors of fabric dye and scrunching up the fabric, tie dying cake involves no toxic chemicals.
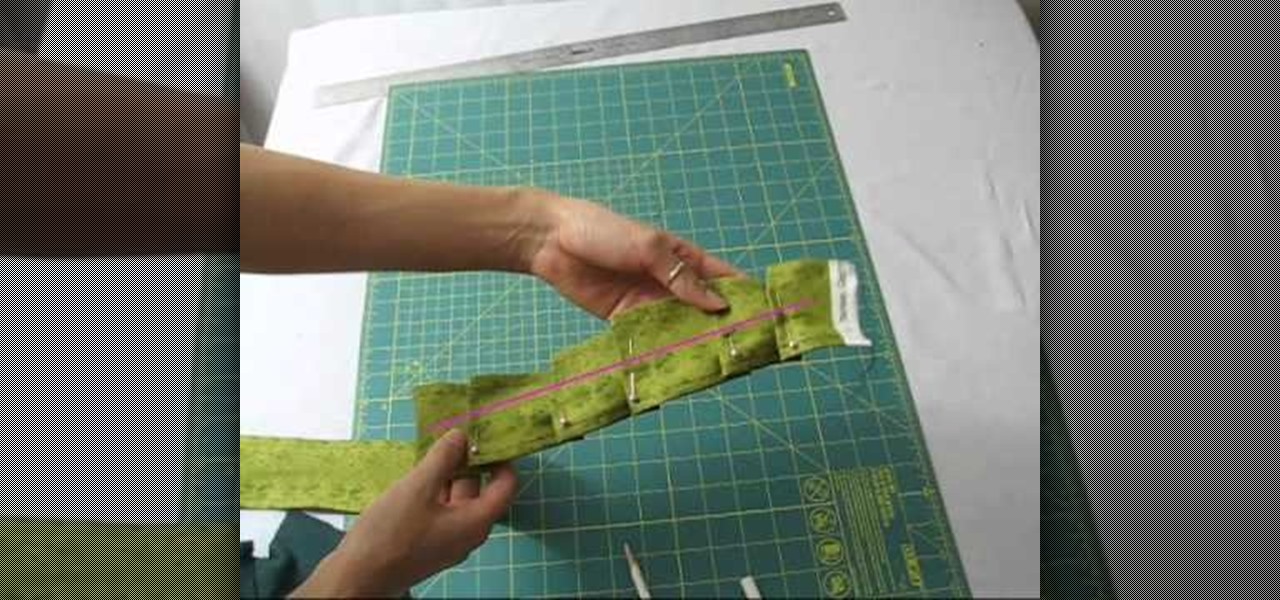
Before Christian Bale and Christopher Nolan there was the original "Batman" with with George Clooney as the masked hero and Uma Thurman as the villainous Poison Ivy. While the movie is ranked as one of the worst superhero flicks of all time, Uma Thurman's getup was probably one of the most fascinating and beautiful superhero costumes we've ever seen.

In this tutorial, we learn how to make a hedgehog plushy. First, choose a fabric to use, then cut out the shape of it. Once you have done this, cut it out again and pin the two pieces of fabric together. After this, use a sewing machine to sew all of the sides together, leaving a hole in the bottom. Now, turn the hedgehog inside out and then iron him flat. Place some stuffy cotton into the plushy until it is as full as you would like it. Then, sew the hole together so none of the stuffing can...
This crafty project is inexpensive, it's easy to do and it's really handy for attaching things like letters, photos and to-do lists. This isn't like a cork memo board, because you won't need any push pins or cork pins! Watch and learn how to make this French memo board. This is the pretty alternative to drab store-bought memo boards.
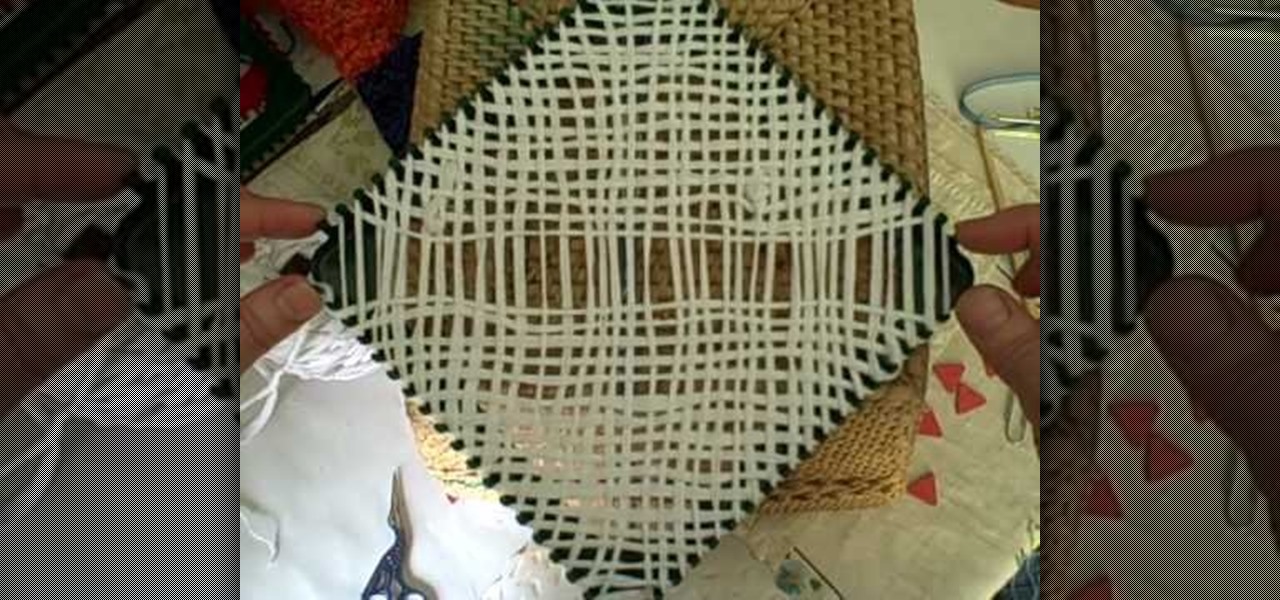
A potholder loom is a square-shaped loom that allows you to weave thickly woven fabric, but often if you're not careful you can create gaps in between the yarn. But that problem will be completely solved in this video, in which you'll learn how to bypass the gaps. The result will be a basket weave-type fabric that's thick yet lightweight enough for summer scarves.
Due to the downturn of the economy, many smart shoppers have turned into smart crafters instead. Whether it's making crafts for your home or for friends, crafting saves money (we're talking a $2 craft versus a $50 present for a friend's birthday present).

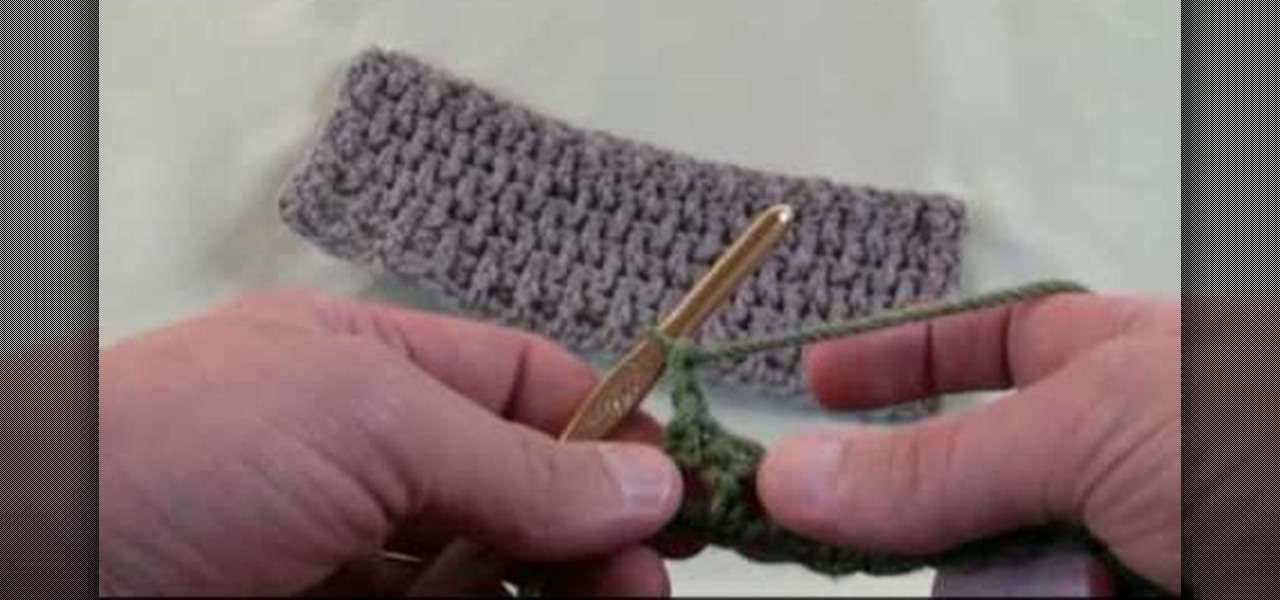
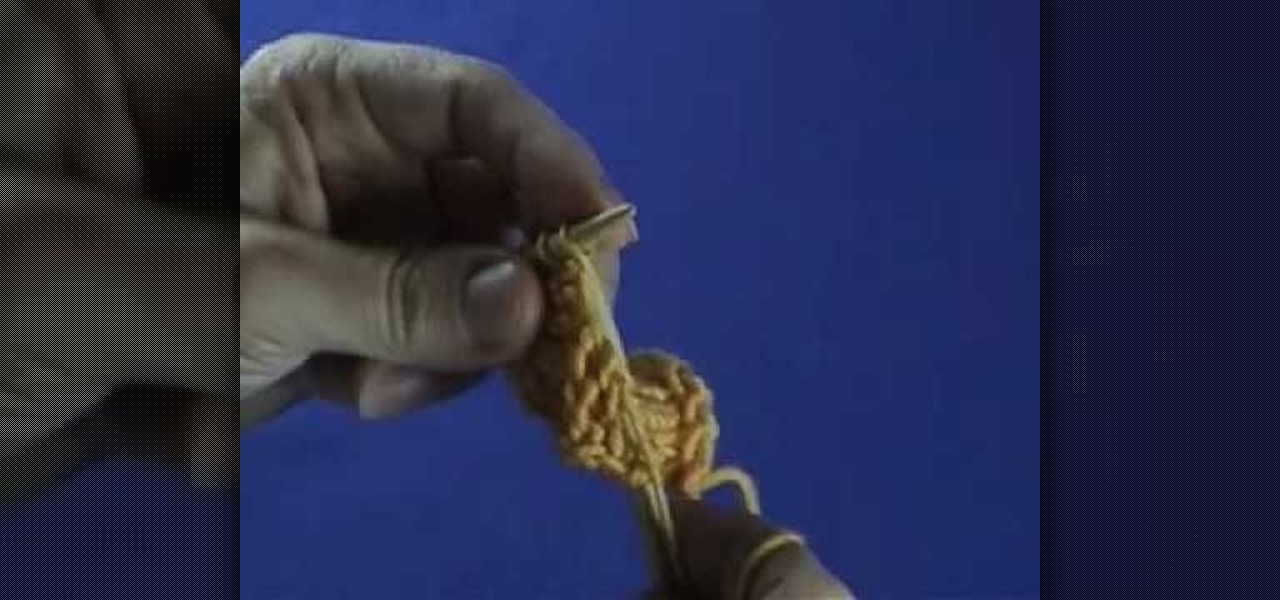
Expand your crocheting repertoire by learning how to crochet a crinkle stitch, which does indeed replicate fabric crinkles. With very hole-y yet tightly woven vertical lines of yarn intersection with horizontal ones, this type of stitch creates excellent warm fabric for scarves and cold weather gear.

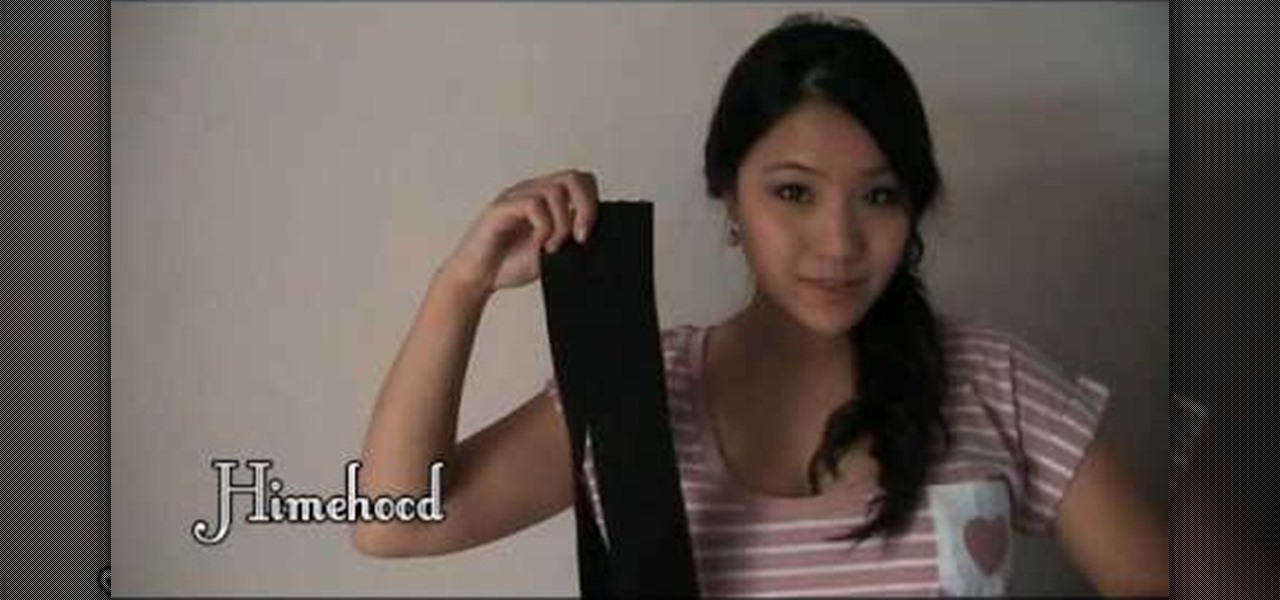
Belts make almost any outfit look better, especially dresses that are a little too loose in the midsection or need some extra tucking in to really underscore your beautiful hourglass shape. Belts come in all sorts of colors and shapes, but a scrunchy belt is among the most comfortable belts to wear.

Tired of carrying that purse around while you are trying to have a conversation or dance the night away? How about a cute little handbag to swing around while you maintain your social life.

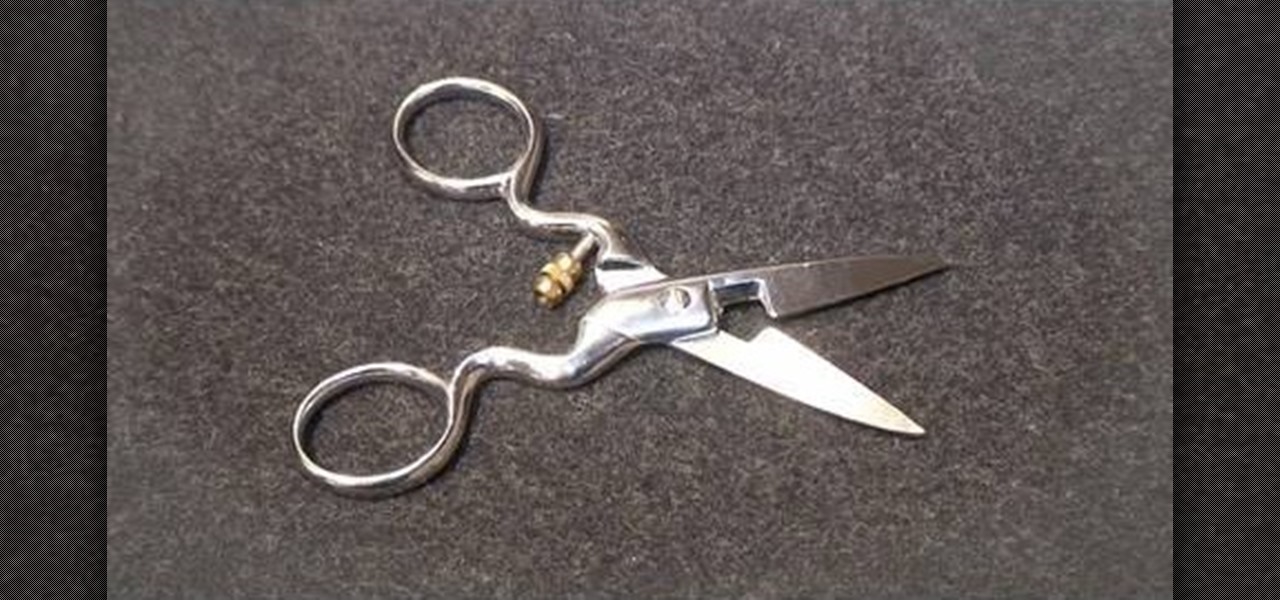
Couture designer Kenneth D. King is an expert in what you would need to fill up your sewing box. Here, he discusses buttonhole scissors. Buttonhole scissors are made for making buttonholes without stretching or damaging the fabric. By watching this video you can learn how to adjust your buttonhole scissors so that you can make different size holes. Make sure to never to use these scissors to cut through paper as it will make the scissors dull and make it a lot harder to cut through fabric.

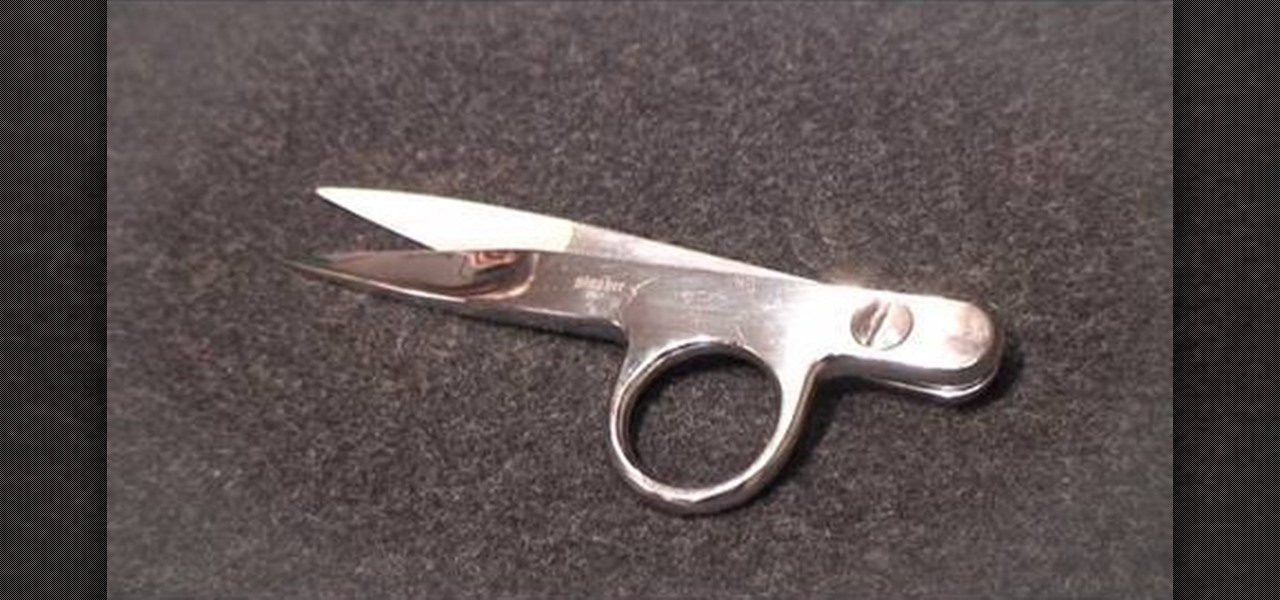
Thread banger, Kenneth King shows you how to save your good fabric scissors by using thread snips, a simple but important tool you must always have in your sewing workshop. Thread snips are small pairs of scissors that are specifically used for trimming off any excess thread in your material. Kenneth explains that using fabric scissors to trim these excess threads eventually causes them to wear dull spots. Always keep your thread snips handy and do all your thread trimming at the machine.

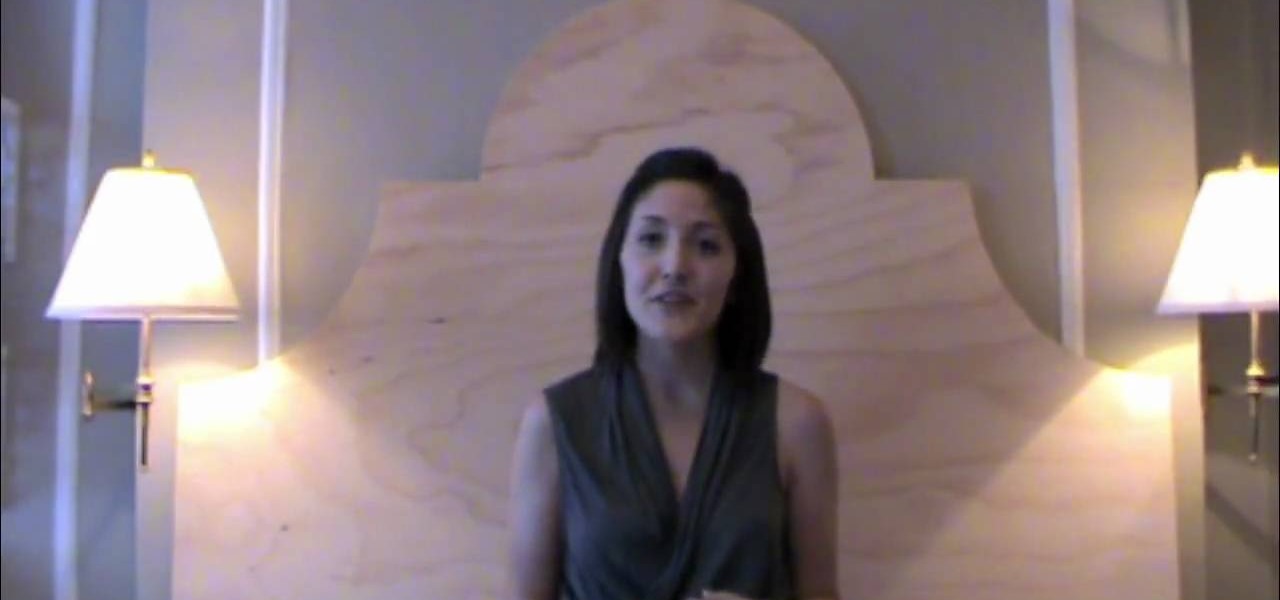
Grace Bonney shows us an easy way to create an upholstered headboard for your bed. Using a low-end easy budget, you will be able to create a elegant looking headboard using wood, foam, batting, fabric, scissors, a utility knife, a staple gun, and flush mounts. After cutting out the shape of your headboard or starting with an existing headboard, cut out a piece of foam that is the same size. Pull batting over the foam to even out the surface, and then put the fabric onto the headboard. With th...

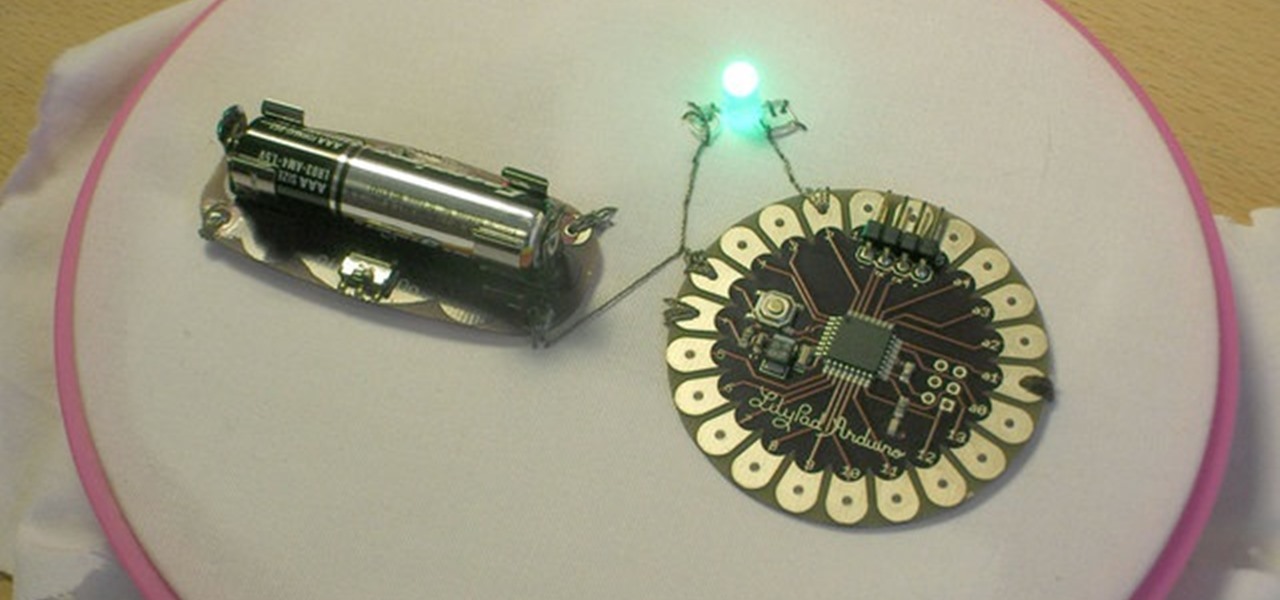
Get started with the LilyPad Arduino! It's a sewable microcontroller that lets you embed lights, sounds, sensors, and much more into your wearables, perfect for clothing and accessories. In this Make Magazine video tutorial, you'll see how to attach the LilyPad and power supply to each other, and upload a basic program that blinks an LED.

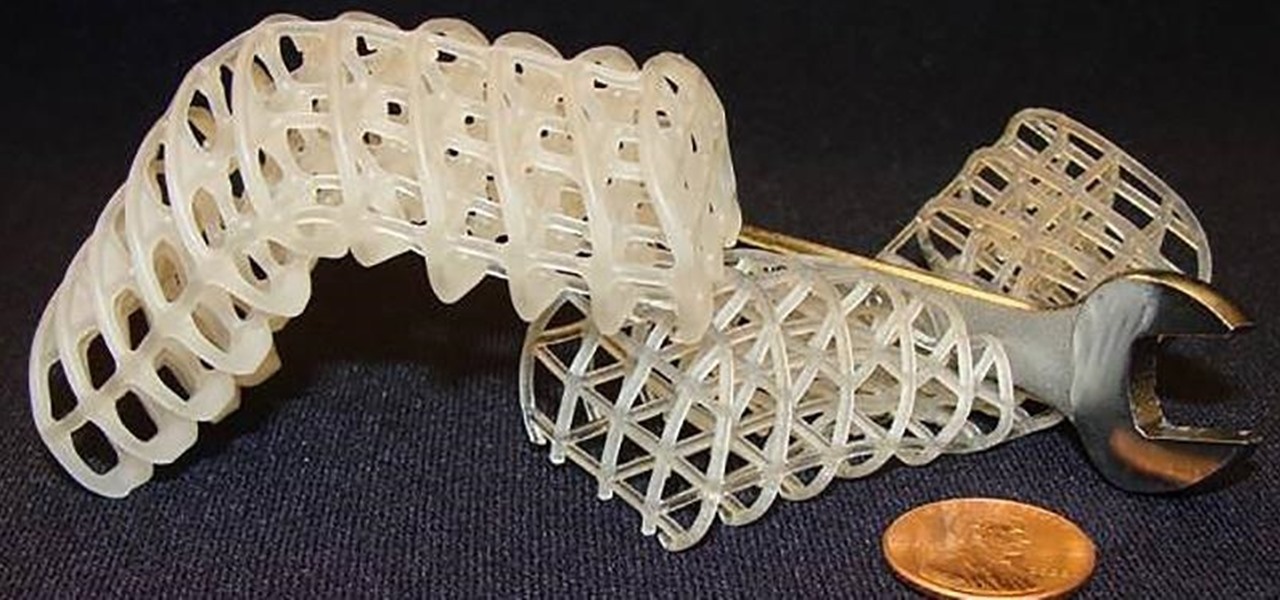
Say goodbye to the age of metal robots—C-3PO and K9 are a thing of the (future) past! Anette Hosoi, Professor of Mechanical Engineering and Applied Mathematics at MIT, and her former graduate student Nadia Cheng, have created a robotic material closely resembling human skin.

You hunt and you hunt, but you can never find the right pillows to go with you couch. Even your reupholstered chair needs a little pillow love, but it seems impossible to find the right color and design to make a perfect match. That's when you know it's up to you save the day. Why settle for simple decor when you can make your own chic throw pillow to match any room?

You don't need to be an expert designer to make your own clothes, only the patience to work step by step. This video will show you how to follow a sewing pattern.

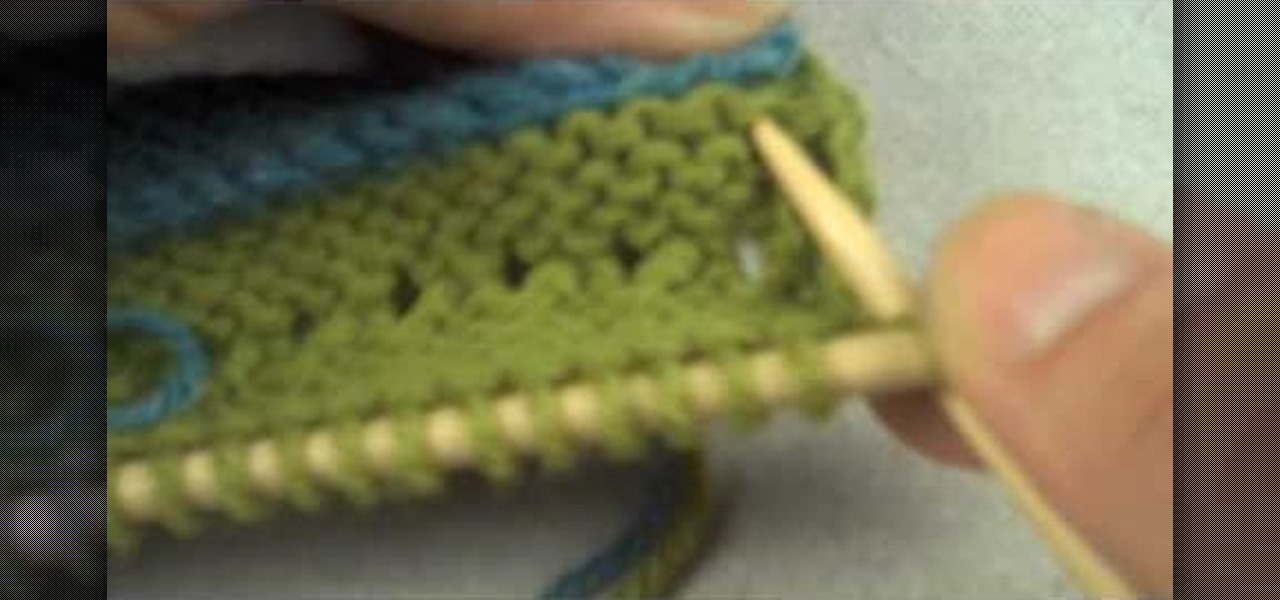
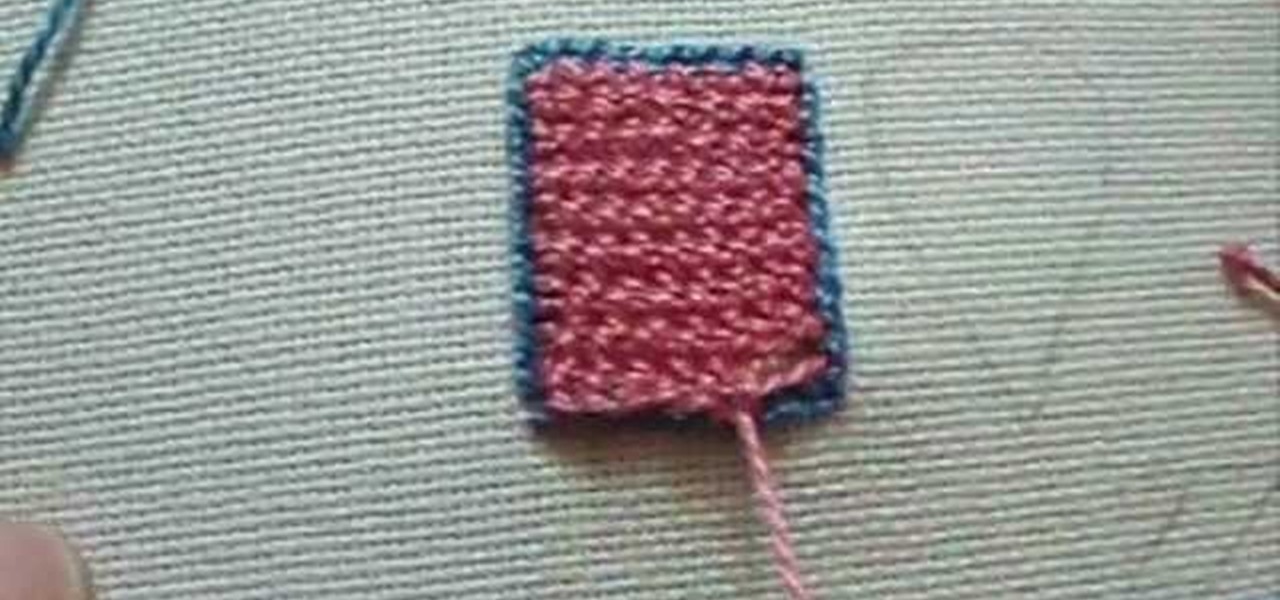
This video begins with examples of different finished welt techniques being shown. A piece of finished cloth is then folded over twice and then held in place before stitching. The first knit is started on the left side of the cloth and continued until reaching the opposite side of the fabric. A wooden needle is then used to weave from right to left until the wooden needle is pushed all the way across the fabric for support. This step is repeated three times until the welt is visible and stabl...

With a little practice a cushion cover can be made at home easily. The materials/equipments required are as follows: fabric of your choice (having appropriate dimensions) to make the cover, scissors, measuring tape and ruler, needles, threads, sewing machine and an iron.

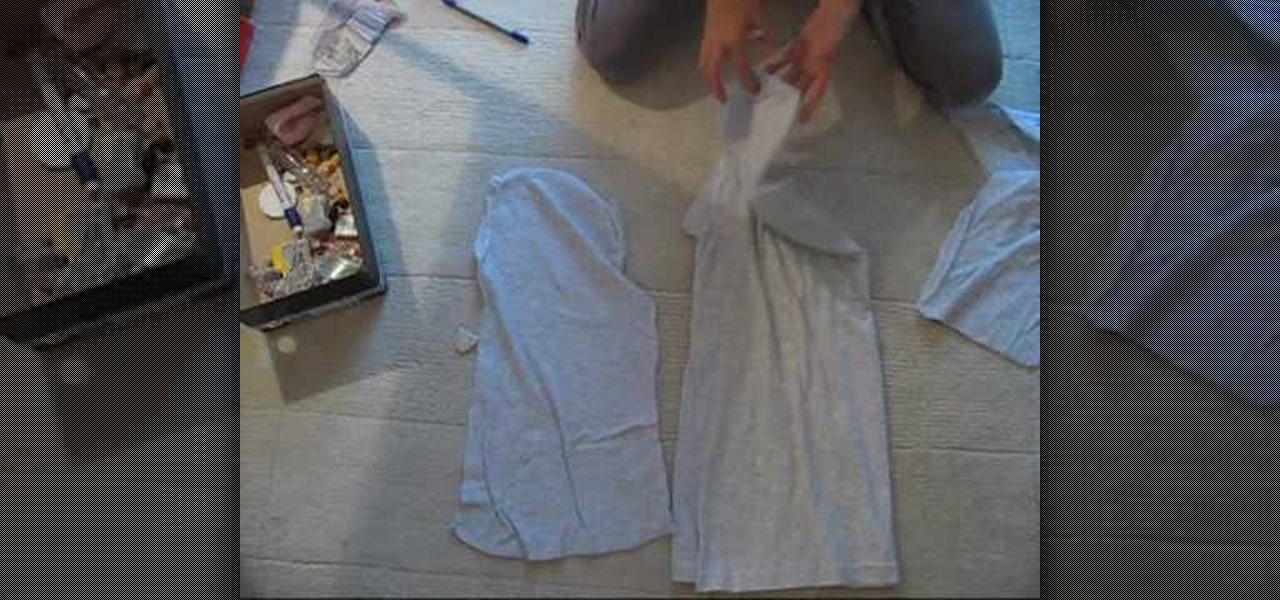
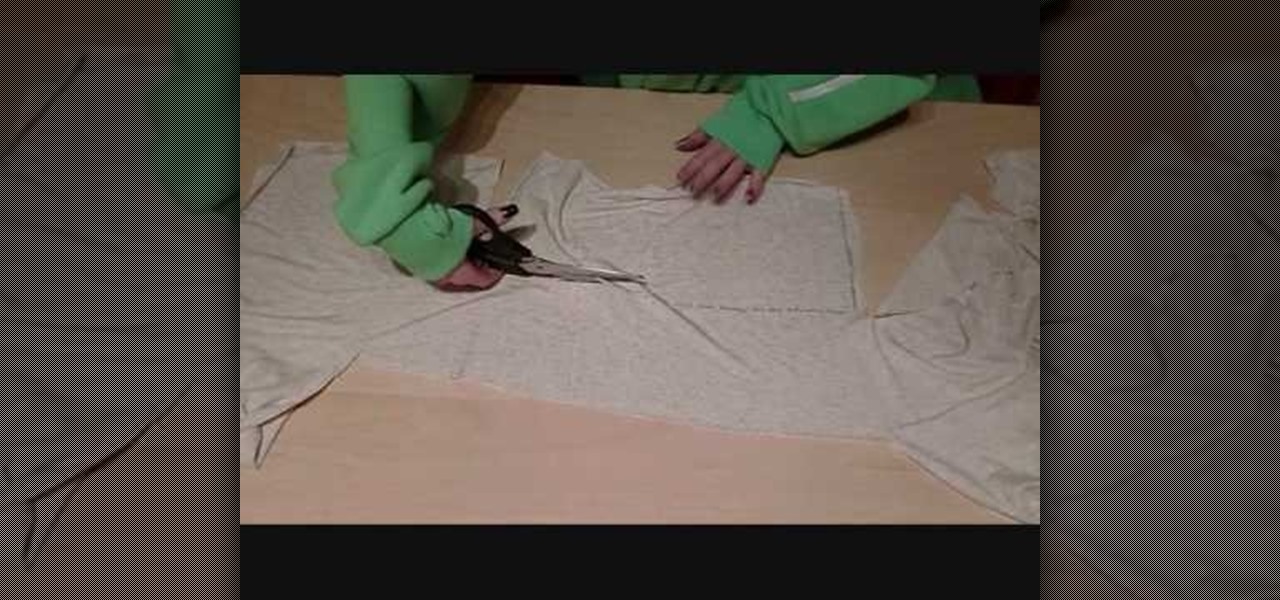
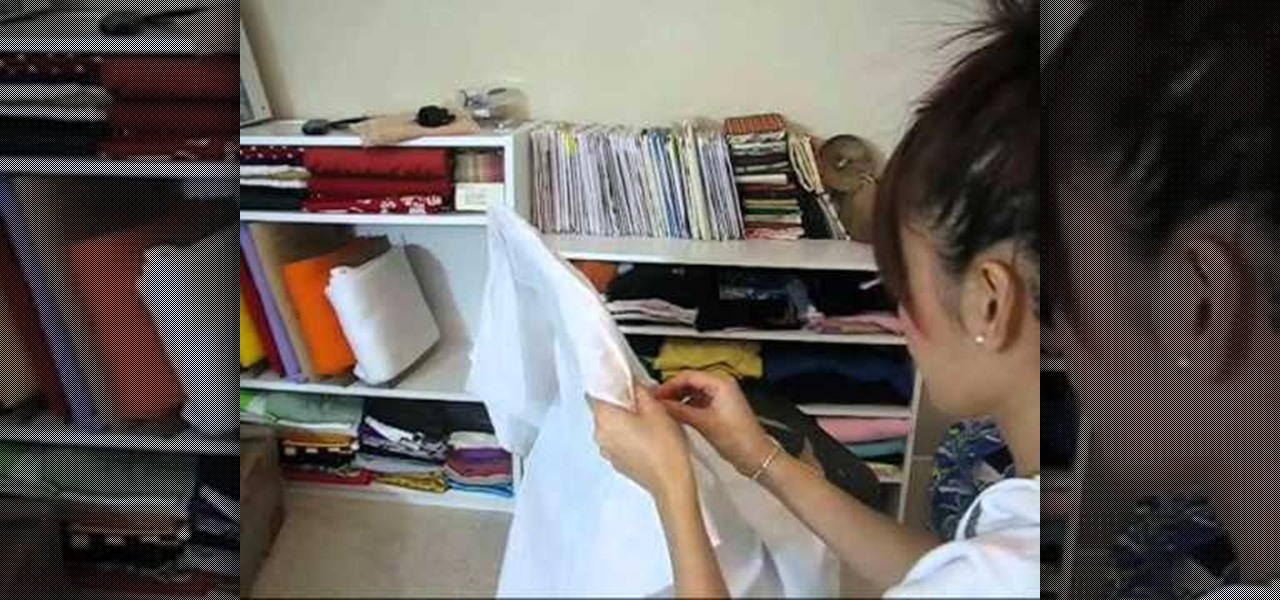
In this tutorial, we learn how to make a hip dress or tunic. First, take an oversized shirt and fold it in half. Next, you will cut the sleeves off and the collar around the neck. From here, you will take the excess pieces of fabric and use those as a guide to cutting out the same shapes from another piece of fabric. Now, turn the shirt inside out and sew it. Measure around the neck, then sew the neck and the sleeves so they are ruched. After this, you will add a ribbon on to wear around your...

In this video, we learn how to make a feminine, long fitted sweater. First, lay out your fabric and use a pen to trace the lines for the sweater, measure it out so it's a good fit. Make sure to cut around the edges so you have room to sew. Now, sew along the edges and then turn the shirt inside out. Then, take extra fabric and cut out rectangular pieces that you will then attach to the bottom of the sweater by sewing them on. Once you are finished with this, try your sweater on to see how it ...

Halloween abounds in spooky costumes and even spookier makeup and accessories. But if you've had enough of ghosts and goblins and want to go for an entirely different look this year then check out this tutorial for creating a teddy bear/mouse look for Halloween.

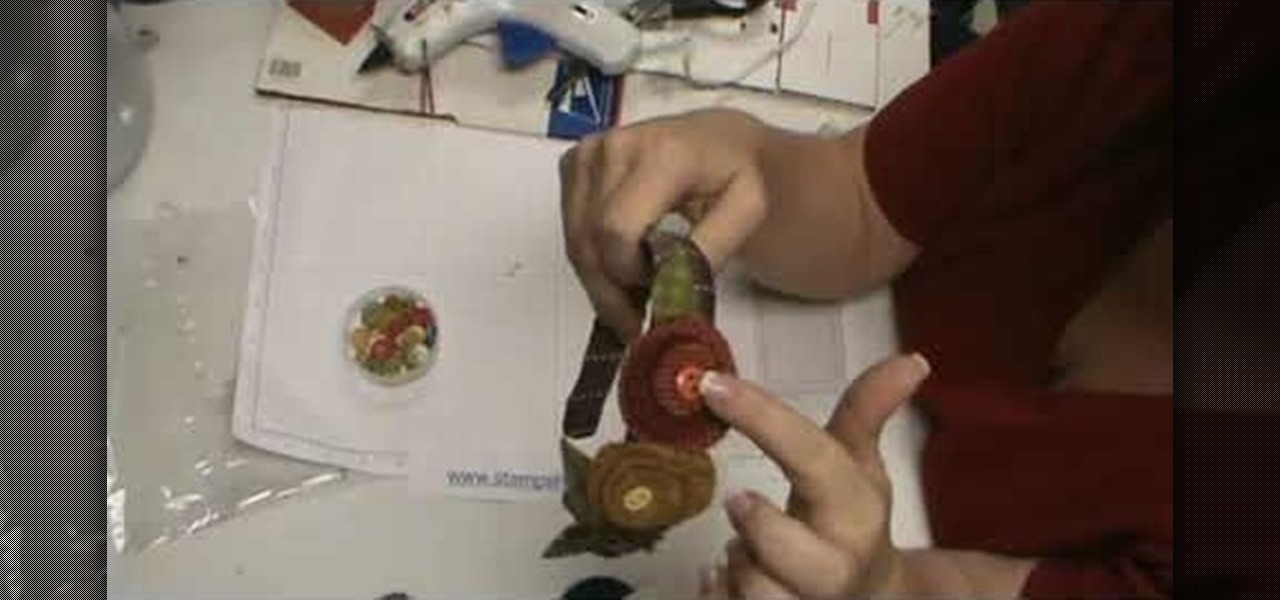
In this video, we learn how to make lollipop flowers out of fabric. First, start out with dye that has four circles in different sizes. You will also need the Big Shot to cut out the circles and wool cut out to fit on the cutting board. Put the board through the machine and your circles will be cut out. After this, start with the largest circle and start to add the other circles on top with a hot glue gun. Now, add a button to the middle of the top smallest circle using a hot glue gun. Add a ...

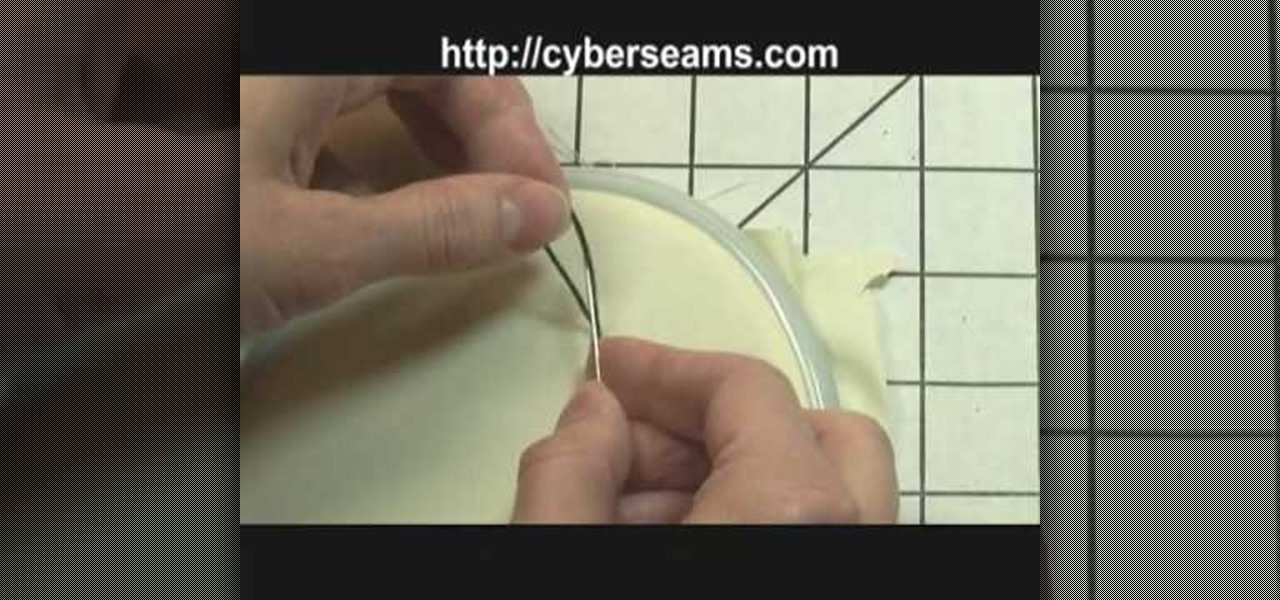
In this video, we learn how to tie off when sewing by hand. First you want to sew your fabric and complete your desired project. Next, you will push the needle into the bottom of the fabric where you won't be able to see the tie off from the front. Now, loop the thread and push the needle with thread through it, before you finish, push the needle through one more loop. Now, pull tightly until there is a tight knot at the bottom of the thread. Now, take your scissors and cut tightly next to th...

Chances are you have a pile of old, unused clothing lying somewhere in your house. You're sure as hell never going to wear any of it, but you also don't want to throw anything away just yet. So how do you eliminate the unsightly pile without completely tossing it into a trash can?

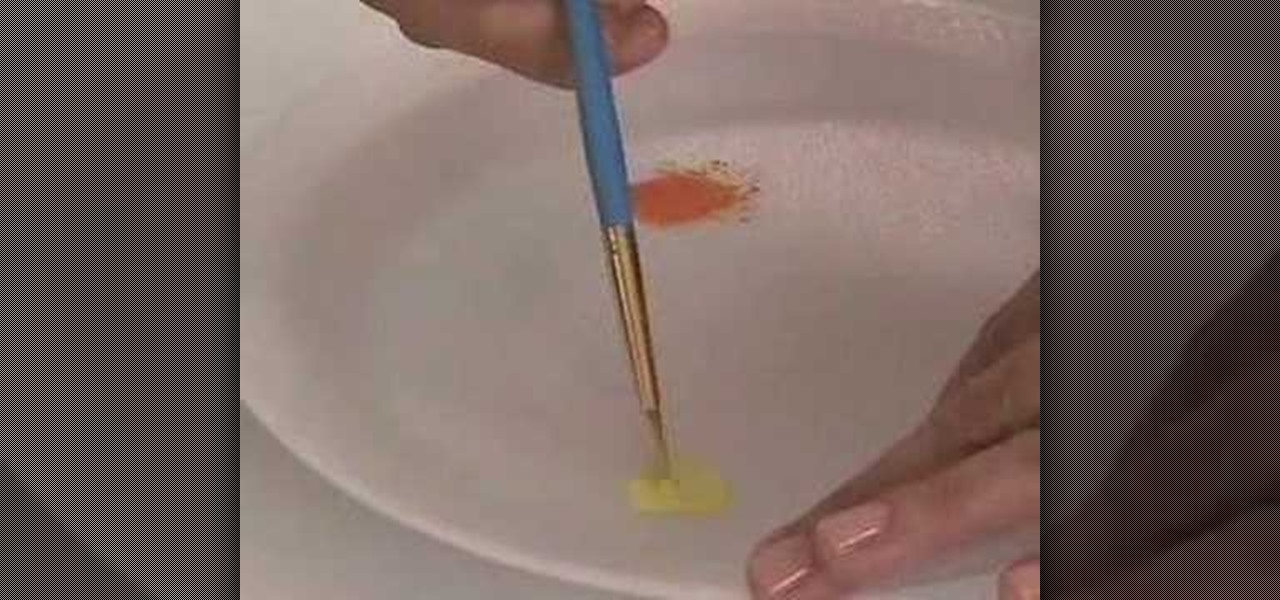
In this Arts & Crafts video tutorial you will learn how to use the cross stitch 'n paint technique. It combines simple back stitching and water color painting. Most of the materials are found in your kitchen. You will need wax paper, paper towels, and a plate to use as your paint palette, some water colors and paint brushes. After choosing your design, back stitch the outline on the fabric. Place the white paper towel over the wax paper and spread the stitched fabric over it. Now you are read...

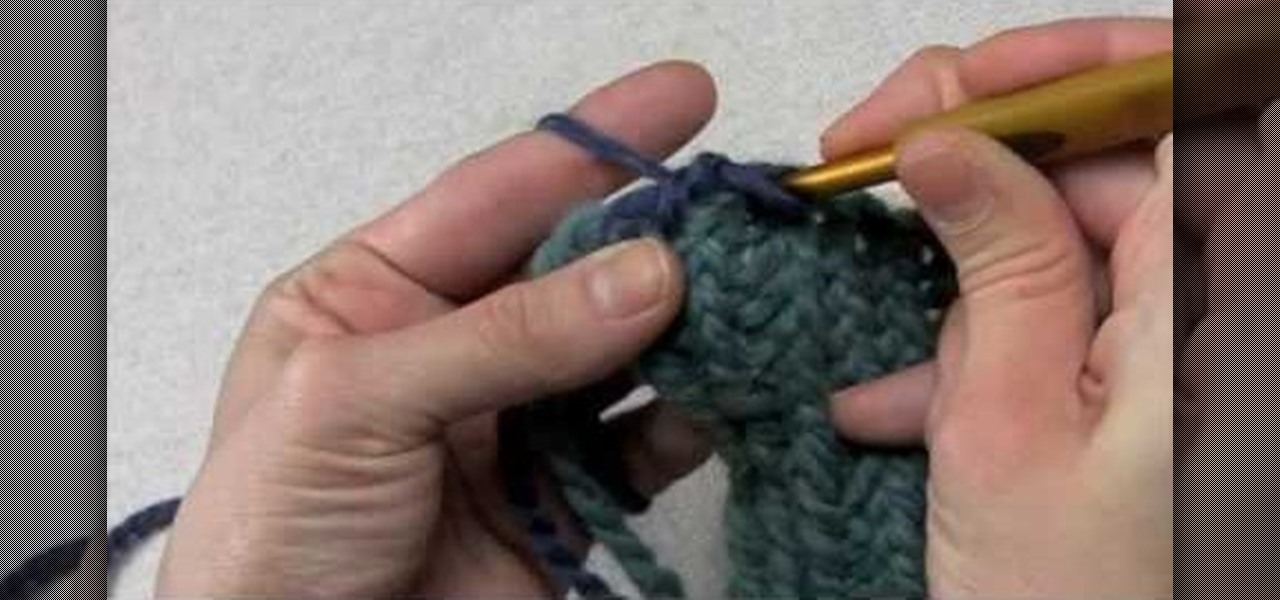
In this video, we learn how to edge a knitted piece with a crab stitch. First, attach your yarn to the left edge of your work. After this, work one chain stitch, then go backwards with the hook. Insert it into the fabric and grab the yarn and pull it through the loop. Go around the yarn again and pull it through again. Keep going backwards and grabbing more yarn as you go in reverse. You are working with one loop on the needle while going into the fabric. Make sure you're consistent with the ...

Expand your crocheting repertoire by learning how to crochet a crinkle stitch, which does indeed replicate fabric crinkles. With very hole-y yet tightly woven vertical lines of yarn intersection with horizontal ones, this type of stitch creates excellent warm fabric for scarves and cold weather gear.

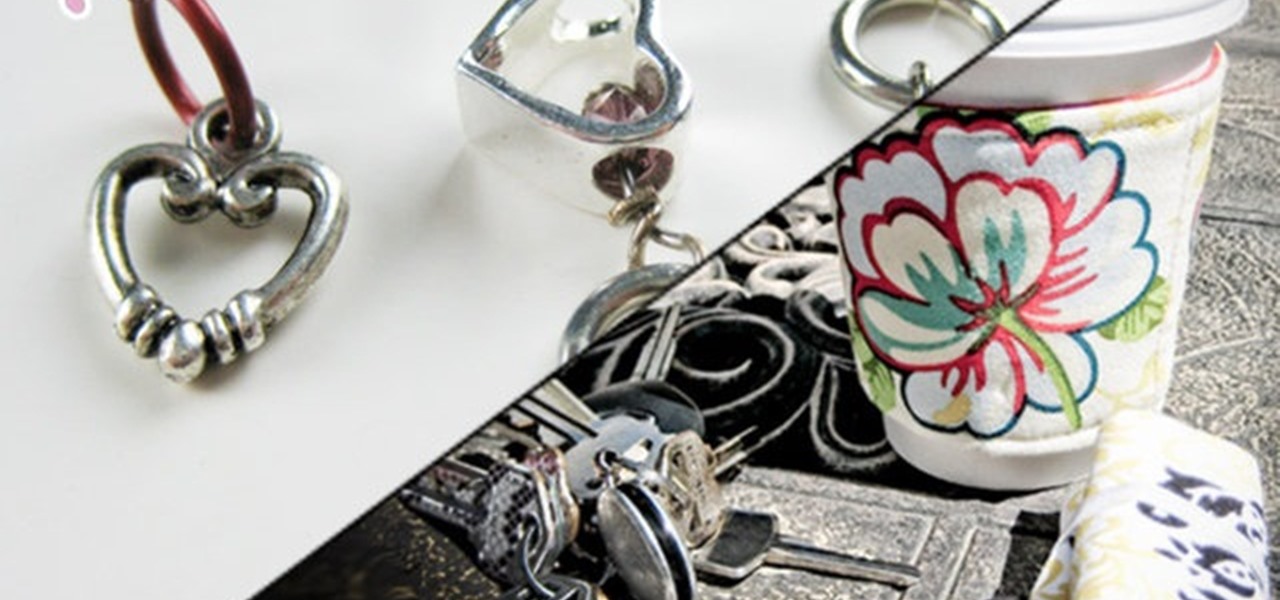
In this clip, you will get a double lesson. You will learn how to create a cute sleeve for your coffee cup out of fabric so you don't burn your hands as well as a homemade stitch marker with a fun heart design. The sleeve is not only stylish, but also saves all that cardboard you waste every day at places like Starbucks. So, follow along and make your very own accessories to help you get on with your day in style.

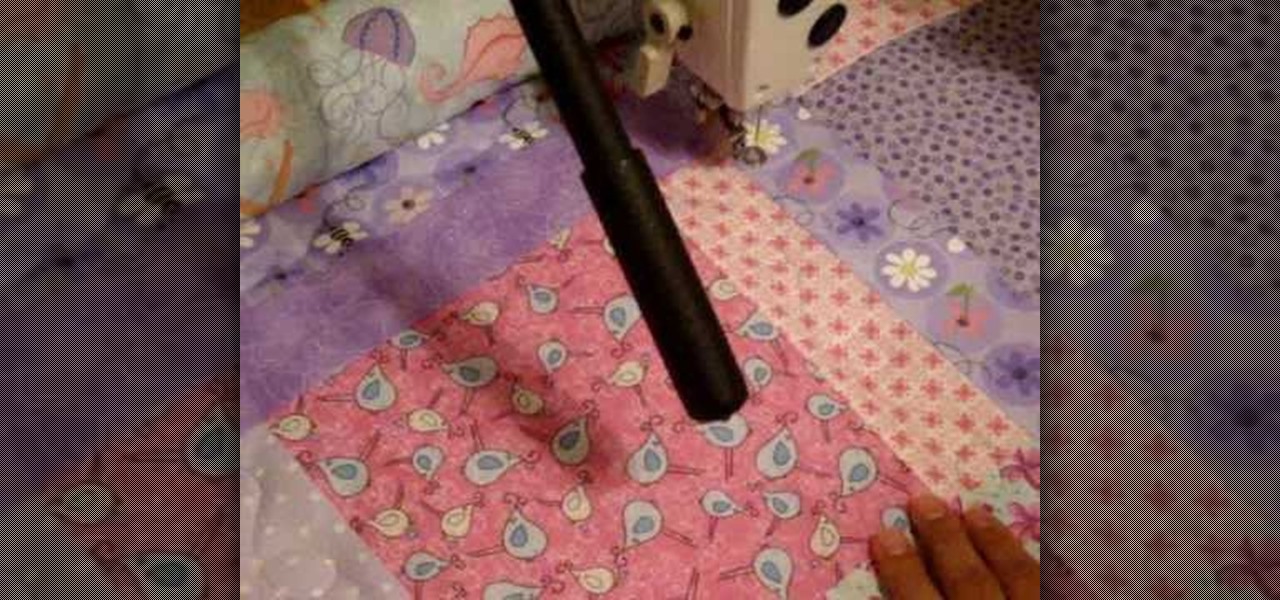
In this Arts & Crafts video tutorial you will learn how to baste a quilt for free-motion quilting patterns. This video is presented by craftygemini. This method of loading your quilt onto your quilting frame is known as floating where the quilt top and the batting are floated. Neither the top nor the batting are rolled and pinned onto leaders like a backing fabric. First go to the top center point of the quilt top, put the pressure foot down and take a stitch. Bring the bottom thread up, hold...

This video teaches how to hide an ending knot in your quilt in order to keep it looking neat. You wrap the thread around the needle, pull it tight, push the needle through about a half inch of the surface of the quilt, and once it comes out the other side, tug on the string gently. There should now be a knot underneath the top layer of fabric. Cut off the tail end of the thread. If the piece of thread is showing through the fabric, poke your needle inside the quilt and push it past the thread...

This video tutorial is going to show you how to make miniature ghost animals. For this you will need some animal figures, cheese puff and some fabric stiffener. Take the cheese puff, put it over the animal figure and measure how much you need. Cut off the cheese puff and put it over the animal; covering it fully. Then, take the fabric stiffener, apply it over the cheese puff and put it over the animal. Wrap it up nicely and let it stand for sometime to dry. But, don’t put it under the animal....

Purling through the back loop has never been easier now that this video has cleared up the confusion. Most standard knitting practices have you purl through the front, but when it calls for purling through the back this video describes in detail how to successfully complete the task. After watching this video, you will be able to follow step by step on purling through the back loop. When you purl through the back loop the fabric twists and creates a stronger fabric. Watch and learn first hand!

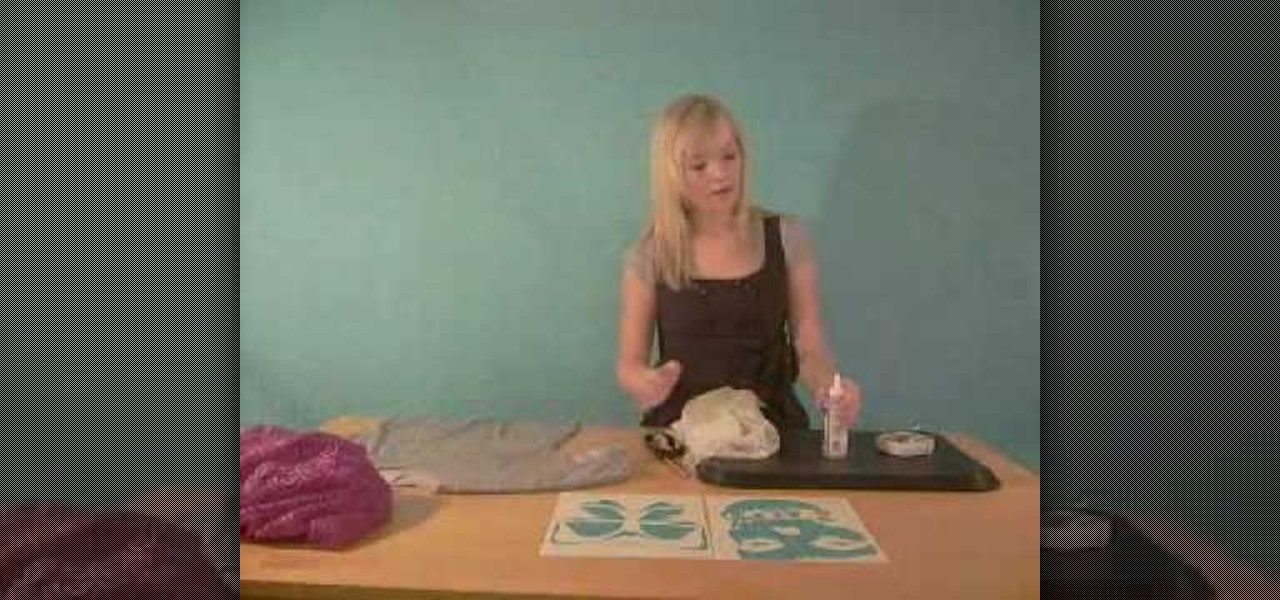
Watch this video to learn how to make a tank top or shirt with lace and a print. You need a template with the picture of your choice, some lace, some fabric glue and fabric pins or safety pins, and a flat board about the size of a meal tray. Slide the board into the shirt. Put the template on top of the lace, then pin it in place. Next cut out the lace along the lines of the template. Arrange the lace on top of the shirt in the desired shape and glue it in place. Wait 48 hours before washing....

If you don't have Stampin' Up's Big Shot yet, you will definitely want one after watching this video! In this video you will learn to make a rosette using this machine. You can make them out of paper, fabric or any of a number of mediums. These rosettes are great embellishments for many things such as scrapbooks or gift cards. If you are really adventurous you can even use fabric to make rosettes to adorn your table or maybe make hair decorations for a special little girl.

In detached buttonhole filling, you don't pass through the fabric as you work the buttonhole filling. In attached, you do. Attached buttonhole filling gives you more scope for varying the placement of stitches, so that you can create effective filling patterns. The detached buttonhole, though, gives you a bit more room for dimensional effects, since you can take out part of your foundation fillings and fold the buttonhole area back on itself - or make petals or leaves that stand away from the...

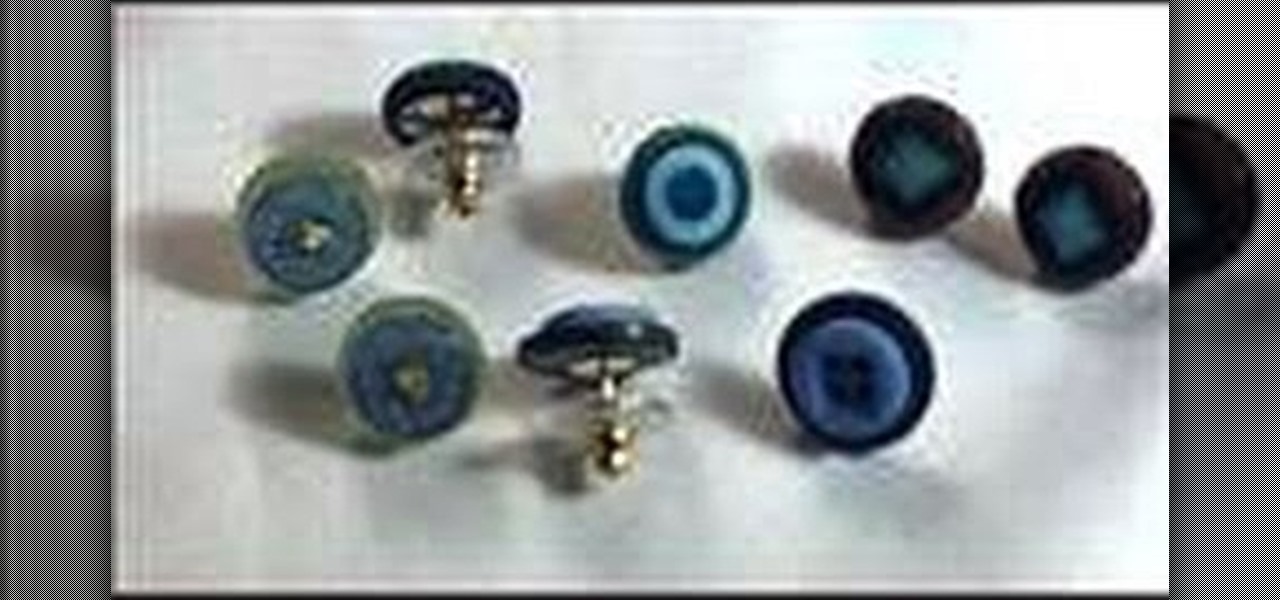
Make your own earrings out of buttons! Use some vintage buttons, or cover some regular buttons with pretty fabric. All you will need are the buttons, some hot glue and a few basic jewelry making supplies (earring posts and backings).

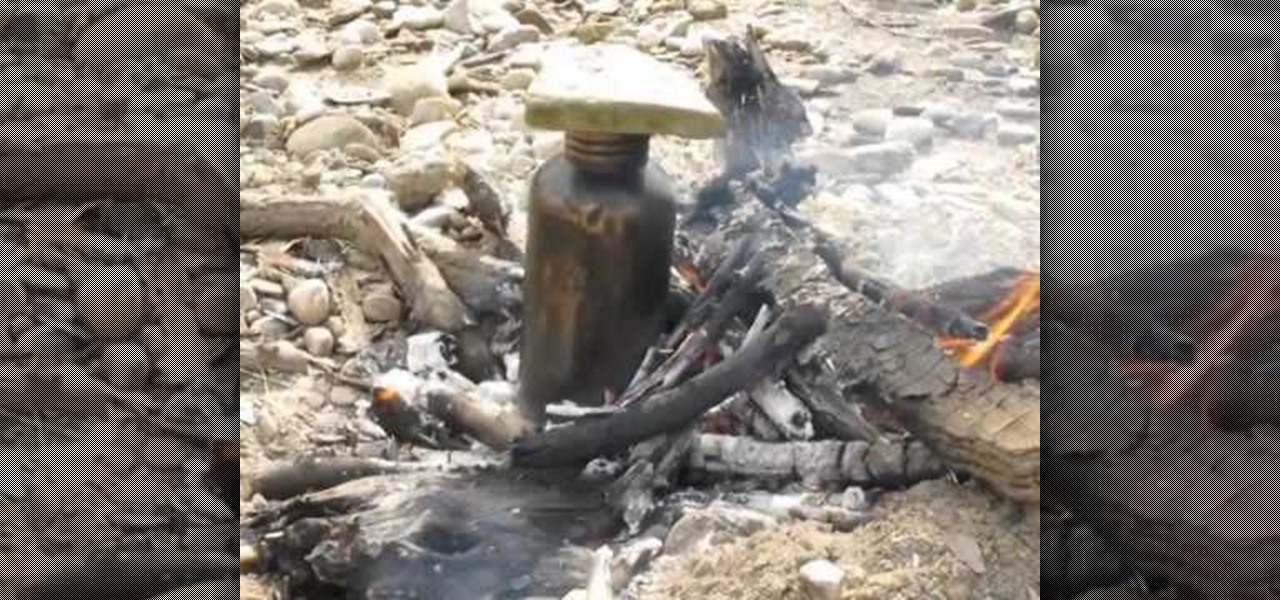
Lighting a fire in the wilderness can be tricky, but having a piece of charcloth can make the task easier. Charcloth is carbonized cotton fiber, which lights easily when exposed to a spark, making your task of lighting a fire in the wild, much, much easier. You'll need a fire, a metal container with a lid and a piece of cotton fabric. Voila, charcloth!

What do you look forward to most during the holiday season? Sugar cookies sprinkled and iced into a cute snowman shape are always enjoyable, but for us it's all about the decorating. There's nothing quite like putting on Bing Crosby and affixing ornaments onto the tree while sipping hot cocoa.

In this video we learn how to knit a scalloped edge. This forms a shell along one edge! First, attach your needle to the yarn on the right edge. Then, make a slip stitch and yarn over. Then, stick then needle through the fabric and yarn over again so you have three on the hook. Then, yarn over and pull through the first two loops in the hook. Then yarn over and go into the fabric and over again. Pull through a loop and then yarn over through all the loops on the hook. Now, do another one foll...

In this tutorial, we learn how to make your own high waisted skirt. First, you will need to sew the skirt on the sides. After this, you will need to cut some additional fabric that is the same color. Then, you will need to sew the waist of the skirt onto the skirt on the top. Once you have sewed this so there are no frays on the side or on the top, you can wear it! Make sure the fabric is all the same size all the way around. When finished, enjoy wearing this with a simple tank top or dress s...


