How To: Fold a t-shirt
The T-shirt may be the king of casual wear, but take care of it like your finest dress shirt and you'll be able to stay casual a good long time.


The T-shirt may be the king of casual wear, but take care of it like your finest dress shirt and you'll be able to stay casual a good long time.
This video knitting tutorial shows how to attach an I-Cord onto another knitted piece. Start by picking up stitches along the edge to which the I-cord is to be attached. Break the yarn, and cast 3 stitches onto a double-point needle. Slip these stitches onto the front end of the needle that is holding the edge stitches, such that the working yarn is 3 stitches in, next to the first edge stitch. Begin by knitting 2 stitches, pulling the working yarn across the back, as for regular I-cord. The ...
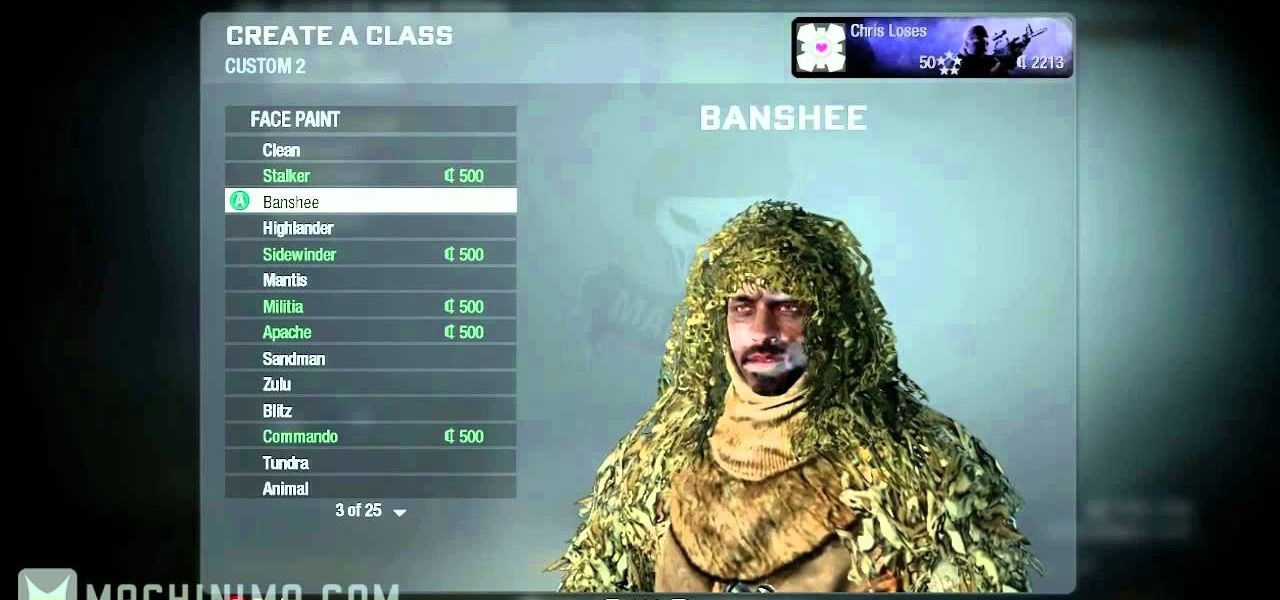
Anybody can run around killing people in Call of Duty: Black Ops, but if you want to go for an entire round in hiding then check out this video. This video will tell you what class to use and how configure your perks to go an entire round unnoticed in COD: Black Ops.
Did you lose your key or forget the combination to you lock? This tutorial is here to help you with tips on how to pick just about any combination or padlock without breaking them. All you need is a few household items and a bit of patience and you will be on your way!
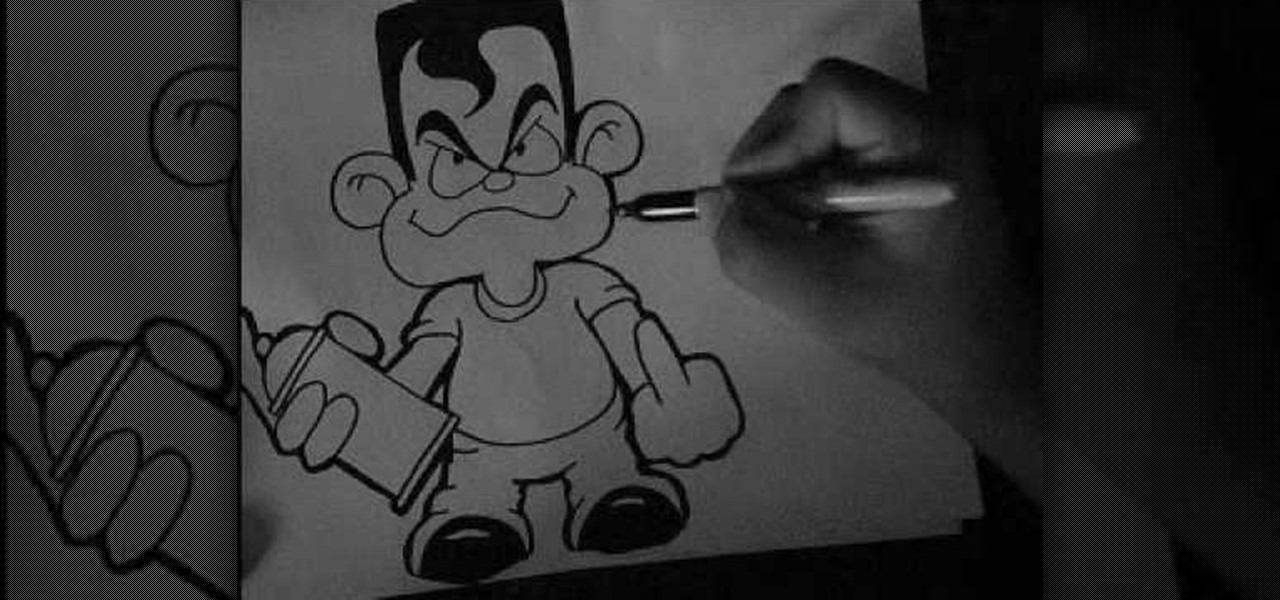
In this tutorial, we learn how to draw a graffiti cartoon character on paper. First, draw the outline of the head and then draw in a waved line for the mouth. From here, draw a circle nose and then round eyes with curved eyebrows. Draw big round ears on each side. Then, draw in the hand holding a spray paint can and draw the body around this. The character should be wearing a short sleeved shirt and the other hand should be flipping off the screen. Draw in the pants and shoes, drawing lines o...
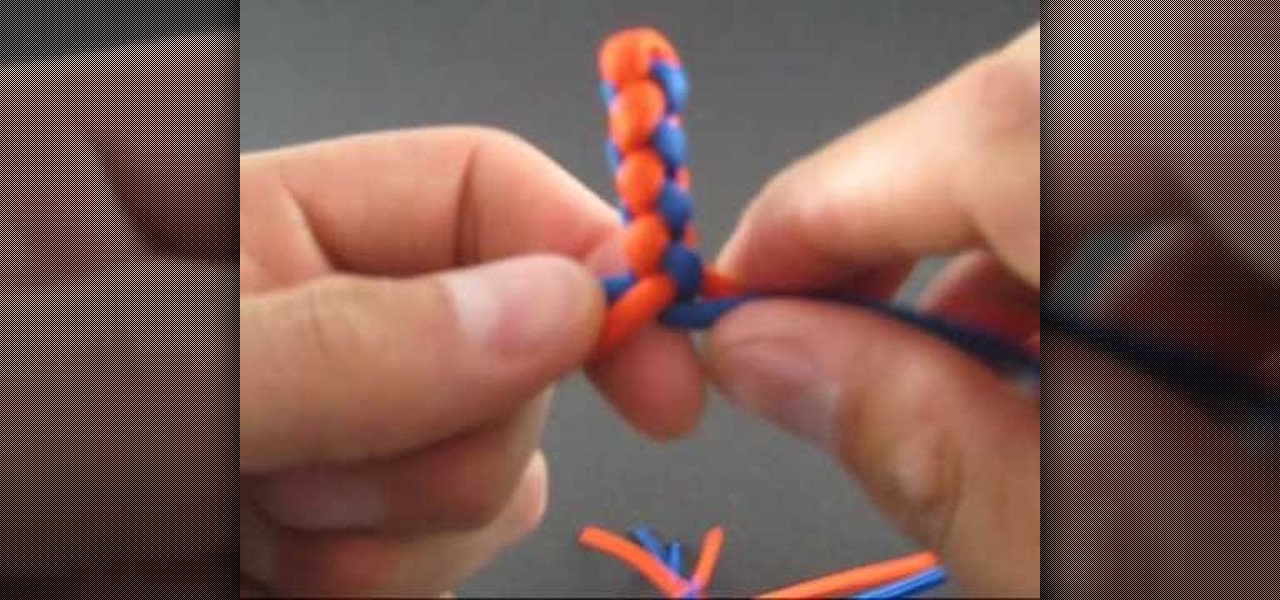
If you are interested in tying something cool just for fun, check out this next tutorial. In the video, you'll be finding out how to tie a four strand round braid easily. There are many tutorials on how to tie a four strand braid, but they can be very confusing and that's no fun.

How to keep your pansies healthy year round
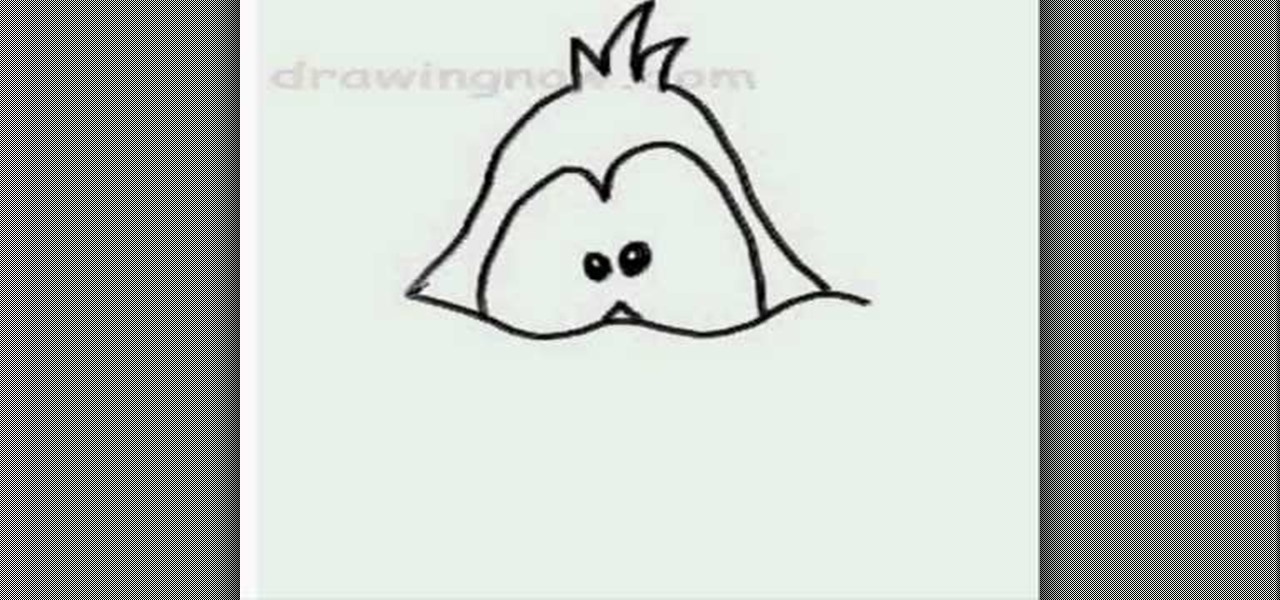
First of all you have to draw the two big eyes and a curved line supporting them. Now draw and darken the two eyeballs. Draw the top portion of the head and make some curves of hair at the top. Draw the round cheeks on both sides. Now you have to draw the round beak and the mouth as shown. Then draw the narrow neck and then draw two lines around it. Draw two nostrils over the beak and then also draw the two eyebrows. Now color the drawing as shown. Fill in black color in the face and neck. Le...

The augmented reality industry has an insatiable lust for 3D content, which makes an investment of $48 million into Matterport a no-brainer for investors.
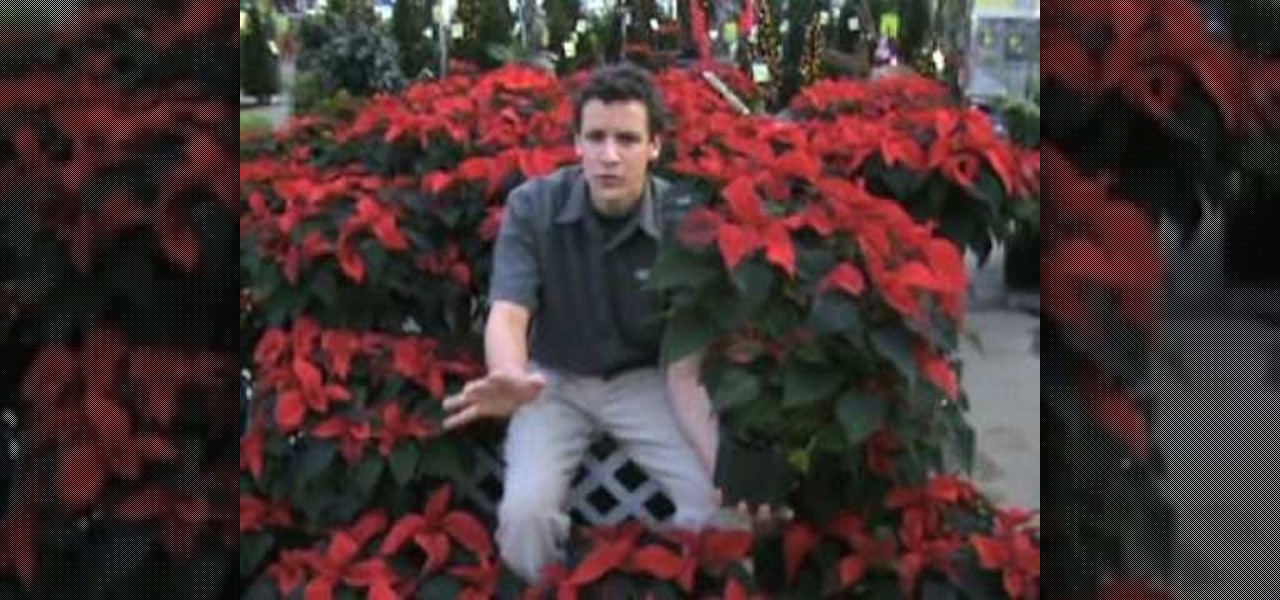
More likely than not this holiday season you'll either be buying a poinsettia plant or will receive one as a hostess present. Rather than letting yours wither away and die as you forget repeatedly that it may need a little water to survive, check out this gardening tip video to learn how to take care of them year round.
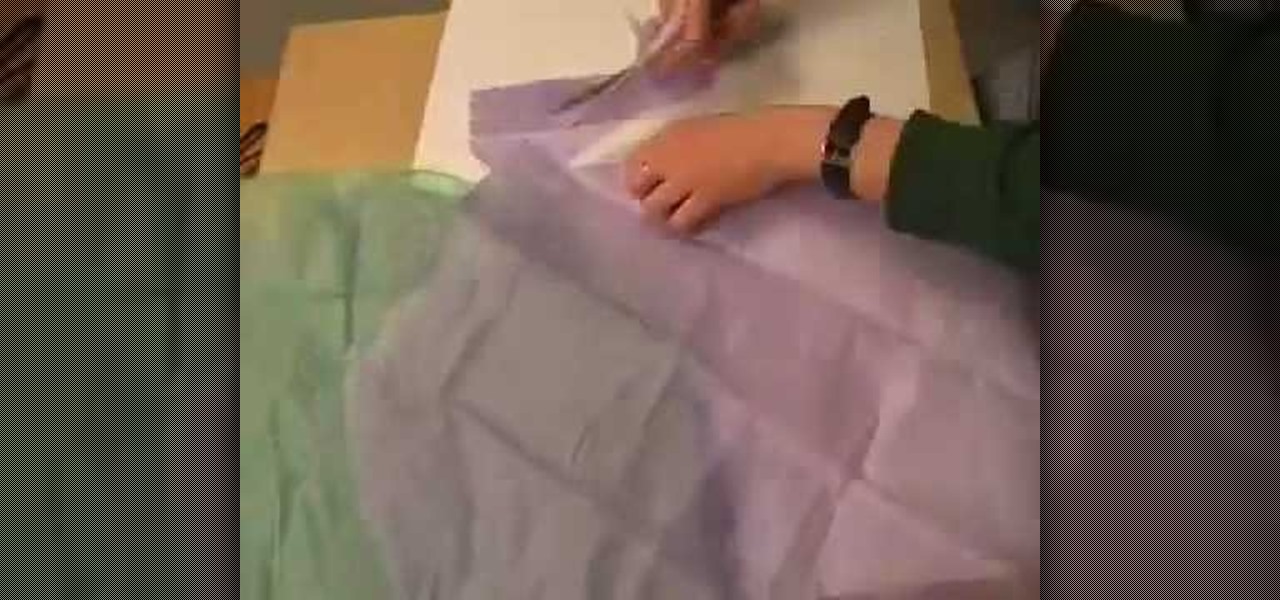
You know those oddly shaped presents that ordinary wrapping paper just can't maneuver around without awkward bulges or rips? Rather than trying to wrap up your chocolate orange in traditional wrap, why not try tissue paper instead?

Survive to Round 40 and beyond! This tutorial focues especially on the Kino Der Toten map in Call of Duty: Black Ops. If you're fond of playing either one person or two person games, this video was made for you!
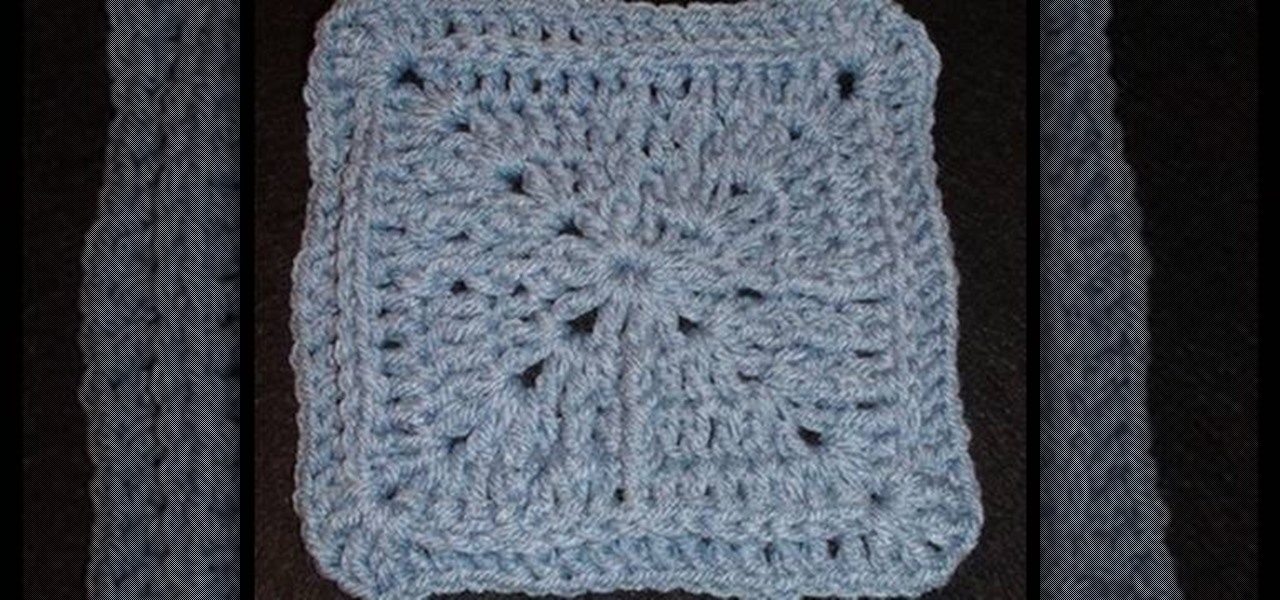
In this tutorial, we learn how to jacmel crochet a granny square left-handed. In round 1, you will chain 1, then work 3 double crochets. Then, chain one four times from the original stitch and end with a single crochet. For round 2, you will chain 1 and work 2 double crochets in the same space. Next, work a double crochet in the next stitch and work over the next stitch. Work in 2 double crochets in the next chain 2 space, then chain 1 and chain 4 times ending with a single crochet. For the n...
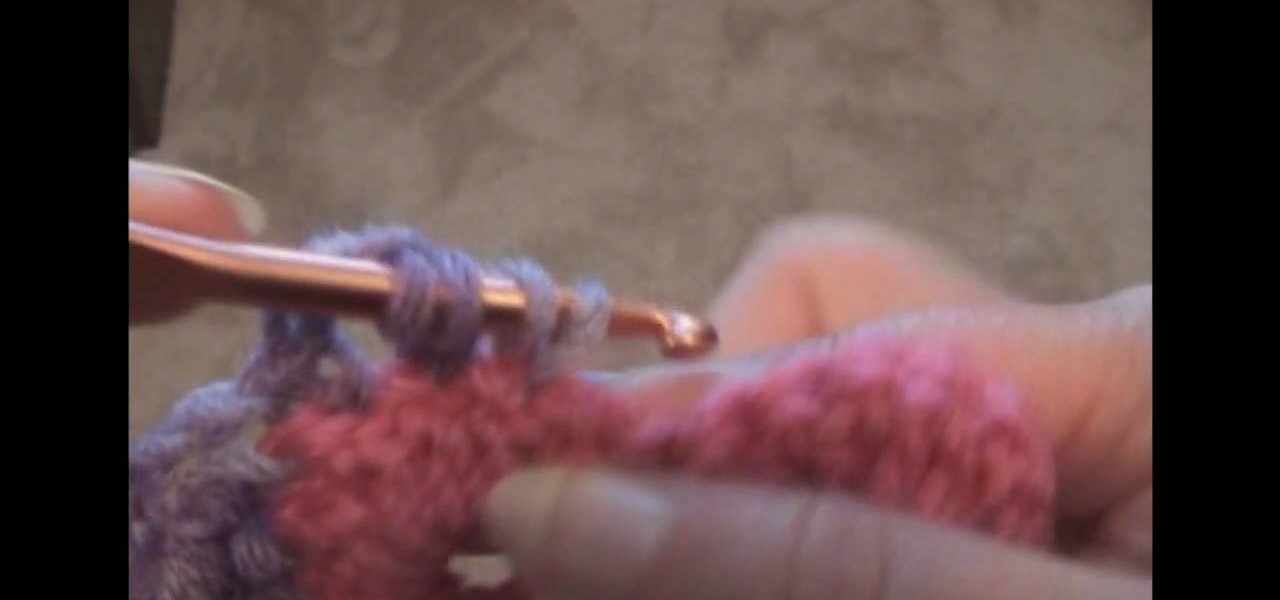
In this tutorial, we learn how to crochet a round shell Catherine's Wheel left-handed. For the first round you will start by doing four single crochets after the slip stitch. After this, do seven double crochets, then a single crochet followed by seven more double crochets. Make two more chain stitches, then a single crochet and three double crochets. After this, start the next row which will be a chain stitch, then three double crochets. Next, you will do seven double crochets, followed by a...
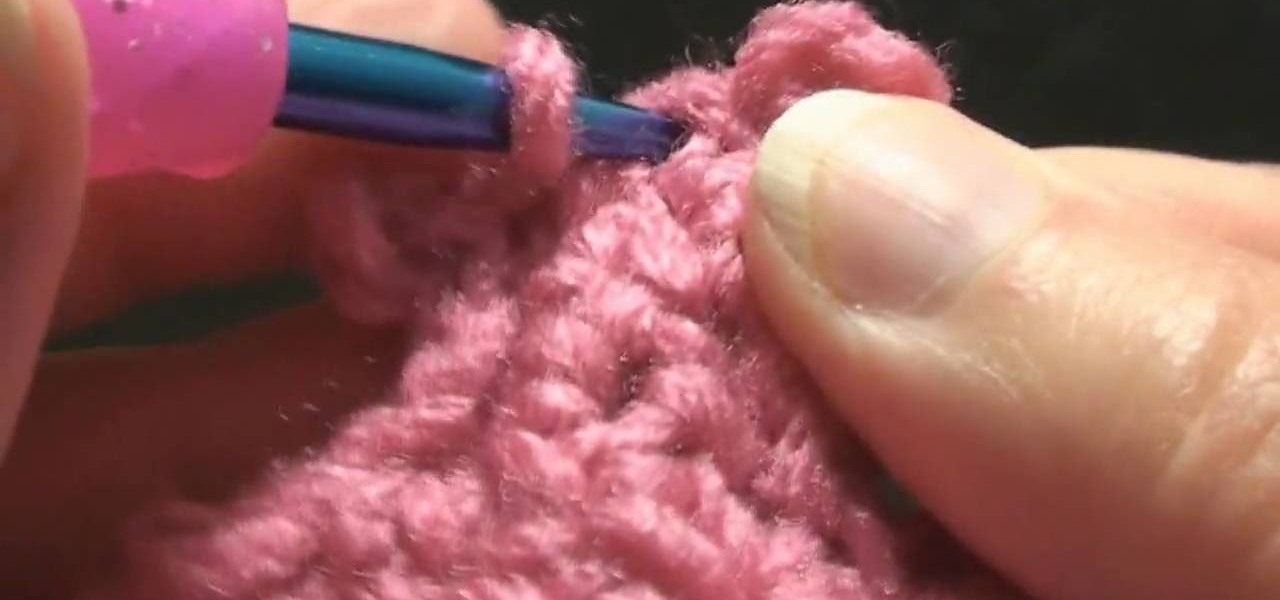
In this video, we learn how to join a crochet round left-handed. First, join with the top level of the crochet. After this, half double crochet of the shell and join with the beginning of the shell. Now, join with the beginning of the double crochet. Go around to the beginning and join with the beginning of the single crochet using a slip stitch. Then, slip stitch between the joining. Now you will want to join with the slip stitch in the beginning of the double crochet. To finish, join with t...

In this video, we learn how to write numbers in calligraphy copperplate. To write the number five, you will simply make the shape of the number, but add in a thick edge to the bump and curved edges to the end. To write the six, use a thick line on the side of the number and a thin line for the circle in the middle. To make the seven, the top should be curved and thick, and the lower line should be very thick with a straight edge. To make the eight, draw the number so that the left edge is thi...

In this video, we learn how to join a crochet round. First, you will join with the beginning double crochet. Now, go to the beginning and join with a single crochet doing a slip stitch. Then, slip stitch between to join the two together. Go in with a slip stitch in the beginning, then double crochet. After this, join again with a slip stitch, then go to the beginning of the whole crochet again. By following these steps, you will learn how to join a crochet round in no time! Practice with seve...
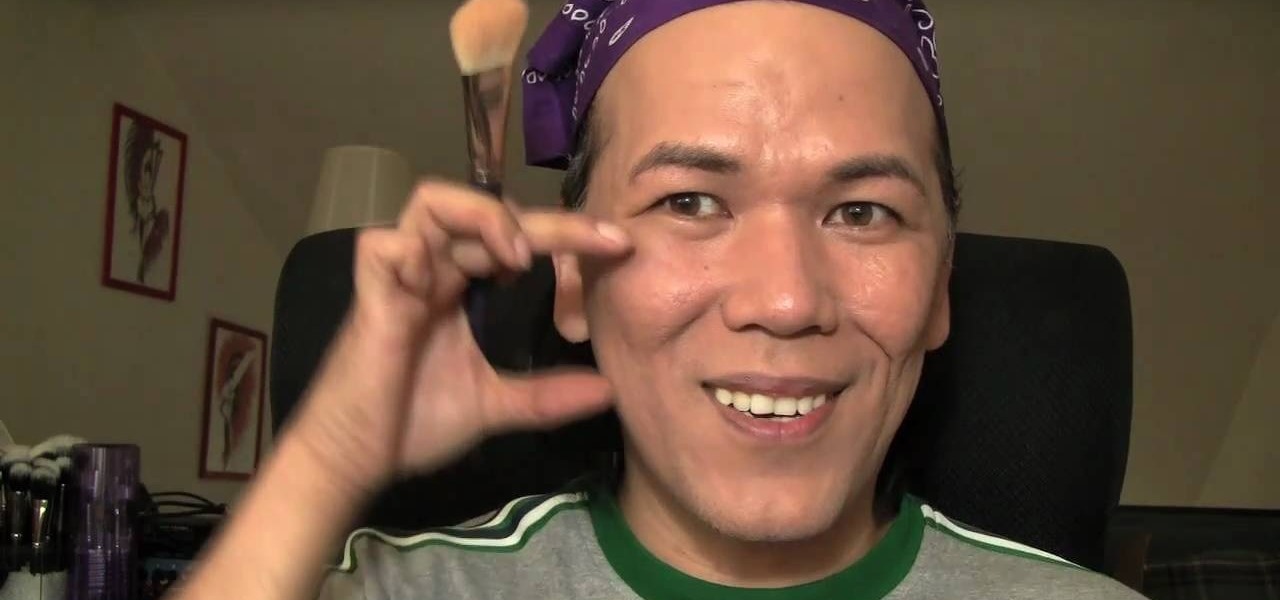
Thanks to the anorexic waifs who predominate the modeling industry, we have been led to believe that blunt, so-sharp-you'll-cut-your-finger-on-them cheeks are the Holy Grail of cheekbone shapes. So many of us spend money purchasing bronzers and dusty rose blushes hoping to fake those cheekbones if we don't have them.
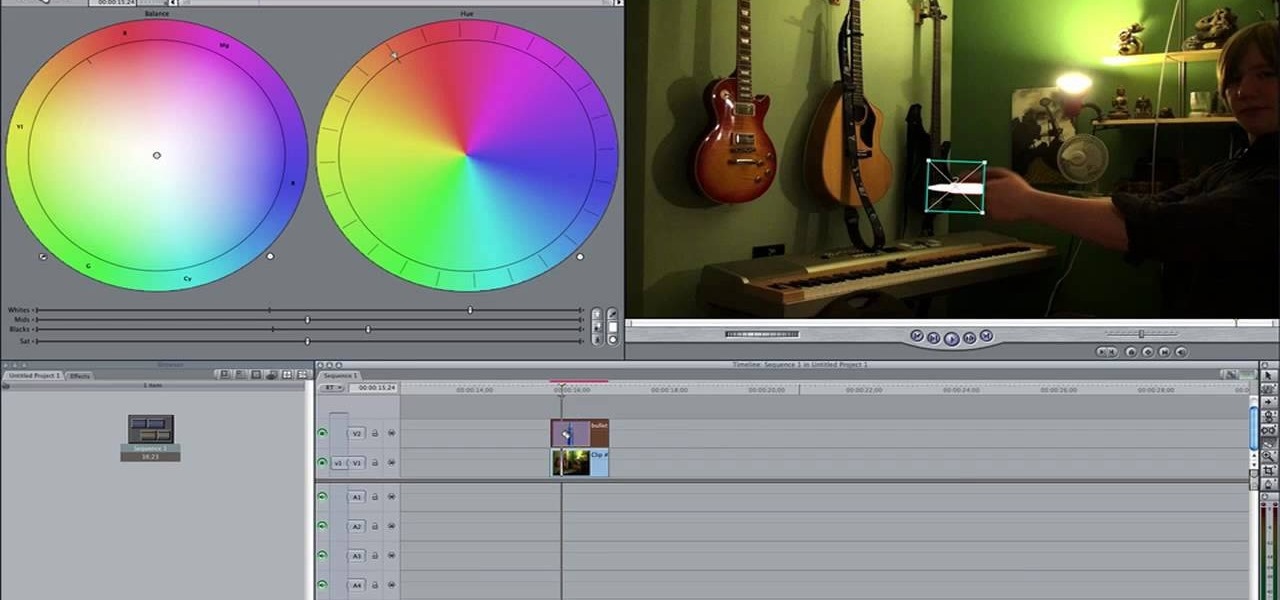
Want to create a cinematic tracer round effect in Final Cut Pro? Learn how with this clip. Whether you're new to Apple's Final Cut Pro non-linear video editor or just want to better acquaint yourself with the Final Cut Pro 6 workflow, you're sure to benefit from this video tutorial. For specifics, and to get started using this effect in your own projects, watch this FCP lesson.
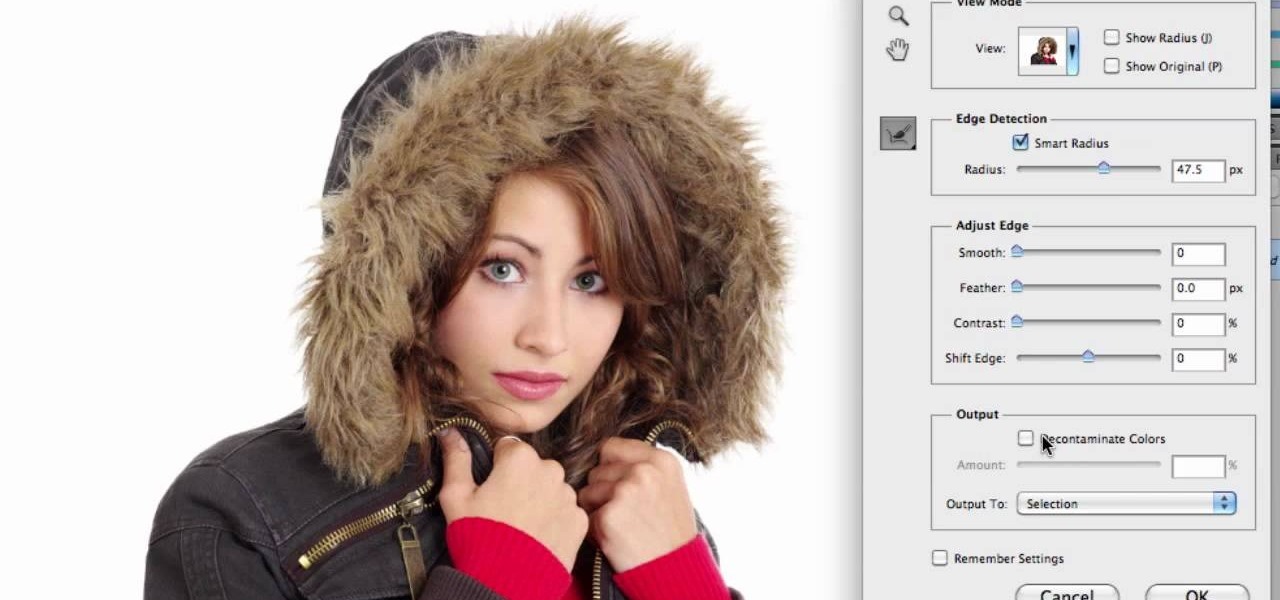
Adobe Photoshop CS5 brings a very welcome change to Refine Edge. Edge Detection will help with much more detailed selections such as hair or fur. Whether you're new to Adobe's popular image editing software or a seasoned graphic design professional just looking to better acquaint yourself with the unique features of Photoshop CS5, you're sure to find something of value in this free video tutorial.
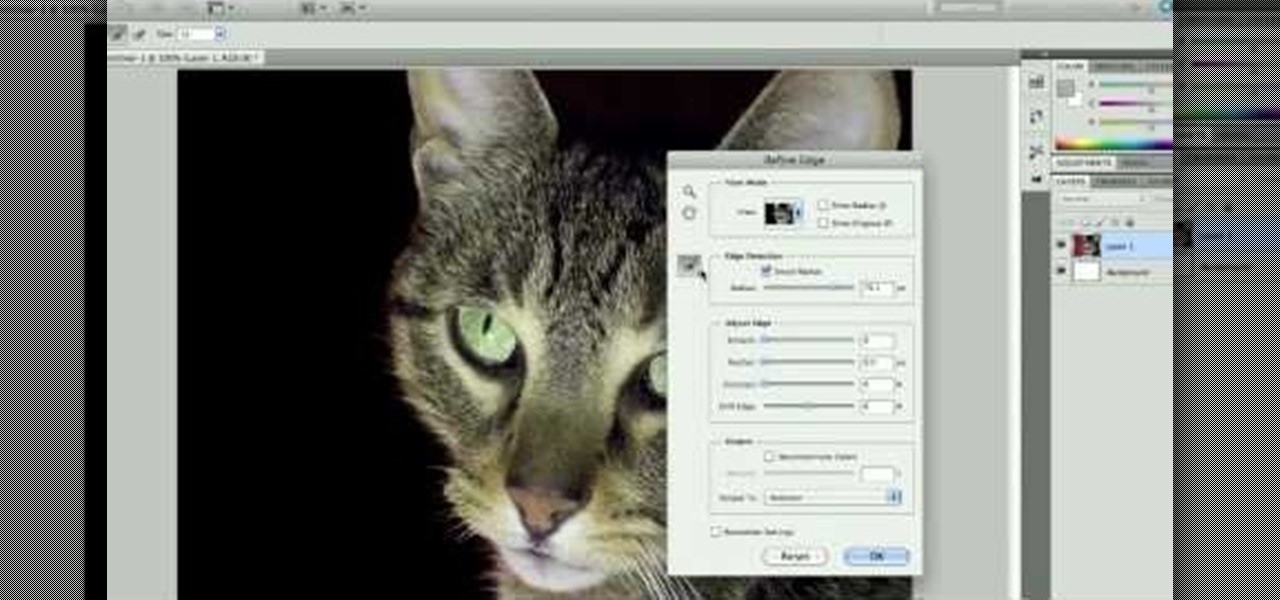
Take a look at some of the awesome new improvements to Refine Edge in Adobe Photoshop CS5. Whether you're new to Adobe's popular image editing software or a seasoned graphic design professional just looking to better acquaint yourself with the unique features of Photoshop CS5, you're sure to find something of value in this video tutorial. For more information, and to get started taking advantage of the new, improved Refine Edge tool, watch this video lesson.
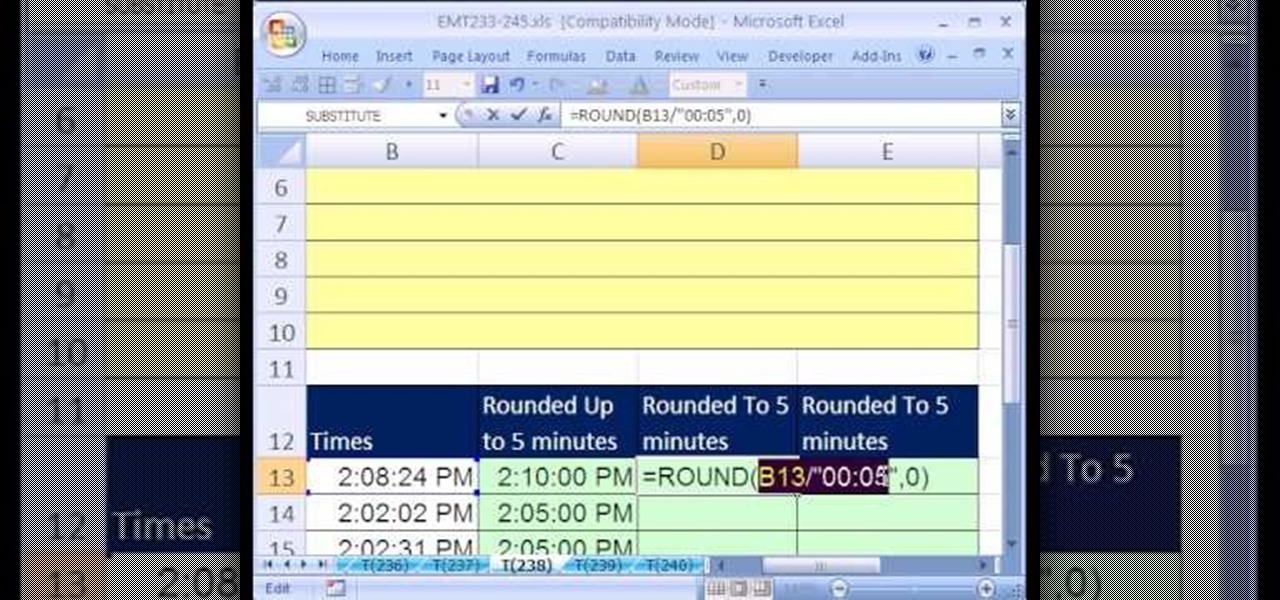
New to Microsoft Excel? Looking for a tip? How about a tip so mind-blowingly useful as to qualify as a magic trick? You're in luck. In this MS Excel tutorial from ExcelIsFun, the 238th installment in their series of digital spreadsheet magic tricks, you'll learn how to round times to 5 minutes intervals using the CEILING and MROUND functions.

In this how-to video, you will learn how to get toe side leverage with this edging drill. This will teach you how to edge properly toe-side. If you are edging out in a bad position, this will cause you to use a bad position with muscle memory. If you edge out properly, you will reinforce a good habit so that you naturally use the position. First, stay outside of the wake. Remove the lead and grab your board shorts so you're forced to edge with your rear hand on the handle. You will have to ed...

Adding formatting to plain Excel spreadsheet is a wonderful way of increasing the readability and improving the overall look and feel of your data. With this software how-to from ExcelIsFun, you'll learn all about using the Microsoft Office program's formatting features. As an added bonus, you'll learn about the ROUND function, which is also useful for cleaning up charts where great precision isn't required.
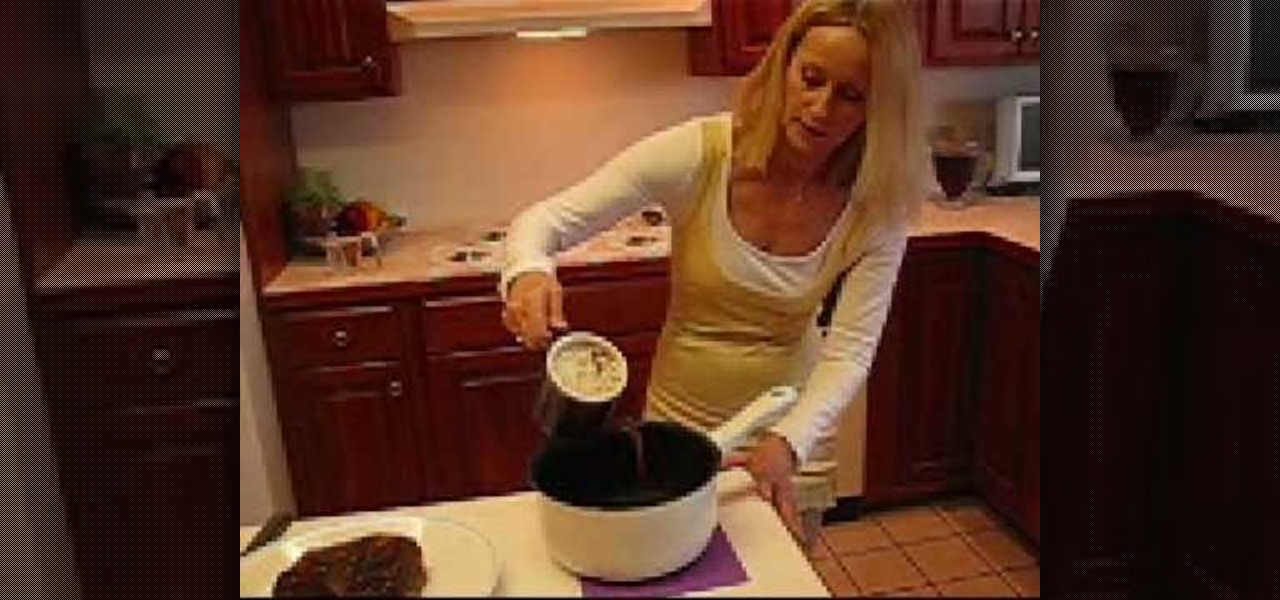
In this video, Betty shows you how to make a great eye of round roast beef in a crock pot. It's so simple: you prepare it in the morning and it's ready to eat when you return from work or school.
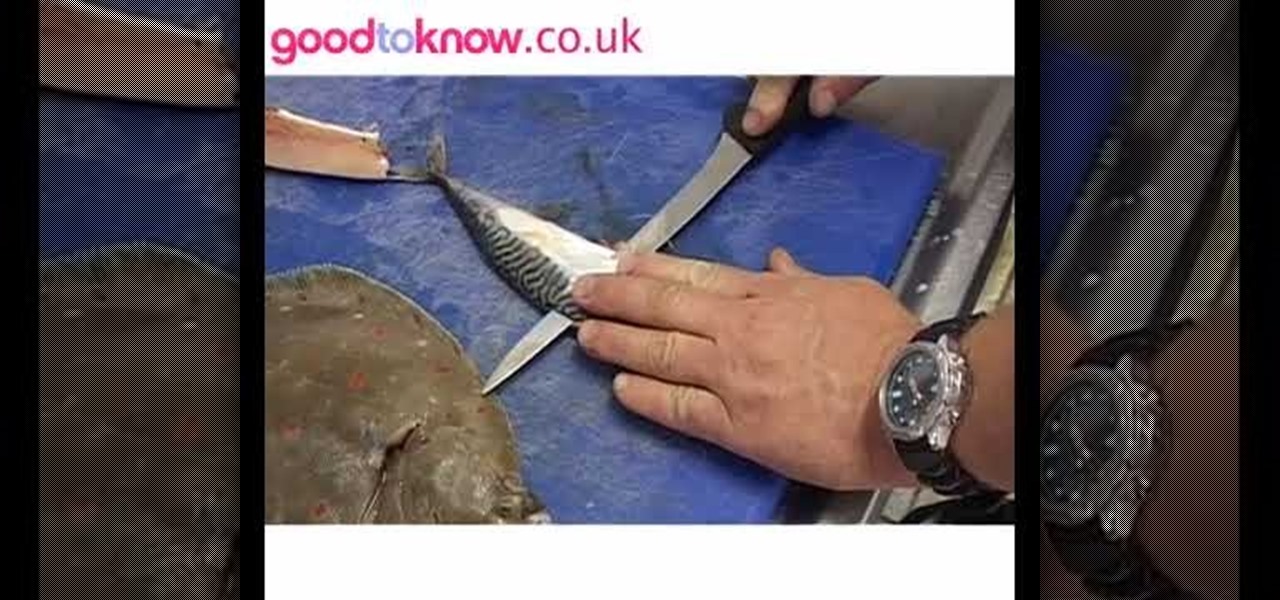
There are two classical fish cuts. There is a flat fish and a round fish. Having a sharp knife is important, because a work done by a blunt knife does not look good and it might look like a laced curtain at the end of the day. You cut a line parallel across the fish's gills. Then you dig in a little bit and cut across the body of the fish down to the fin. Then you take that piece aside and trim off the stomach area. Thus, you have one piece of fillet! Do the same procedure for both sides of t...
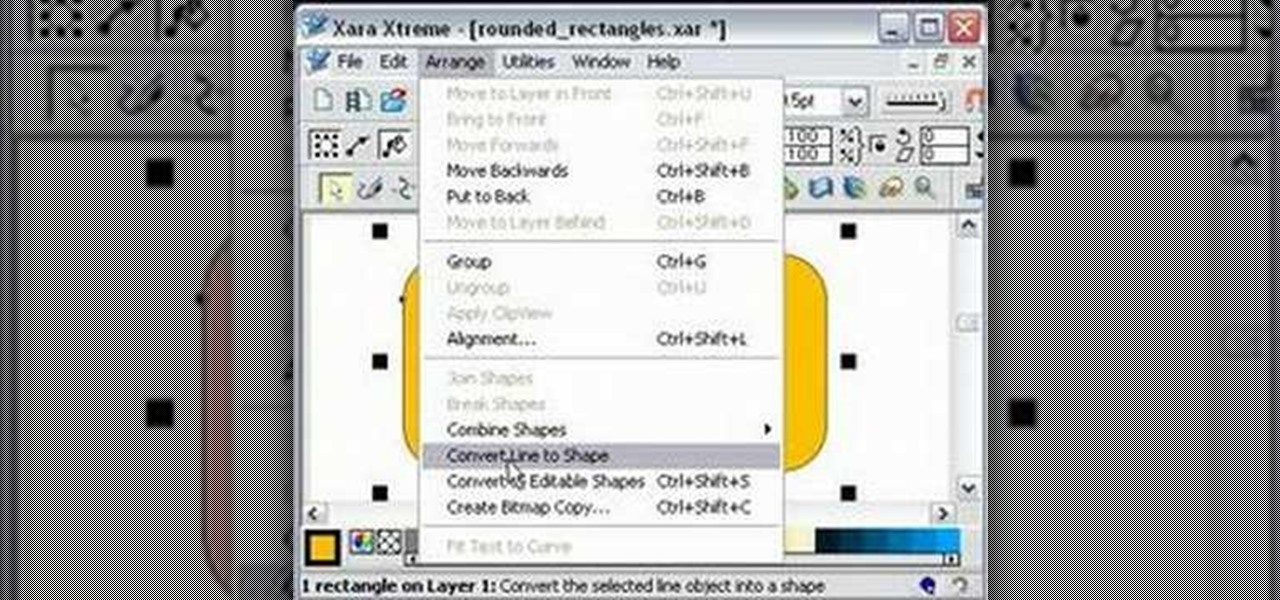
One must have often wondered how to create rectangles with smooth rounded corners. Open Xara Xtreme and create a rectangle on the stage. To change it to rounded corners, click on 'curved corners'. Then one can edit how much curve is required on the rectangle. If we scale the rectangle, then it will lose the curve path. So it should be converted to 'editable shapes'. This will maintain the curves, even if scaled from one angle. This will be helpful to create those party fliers.
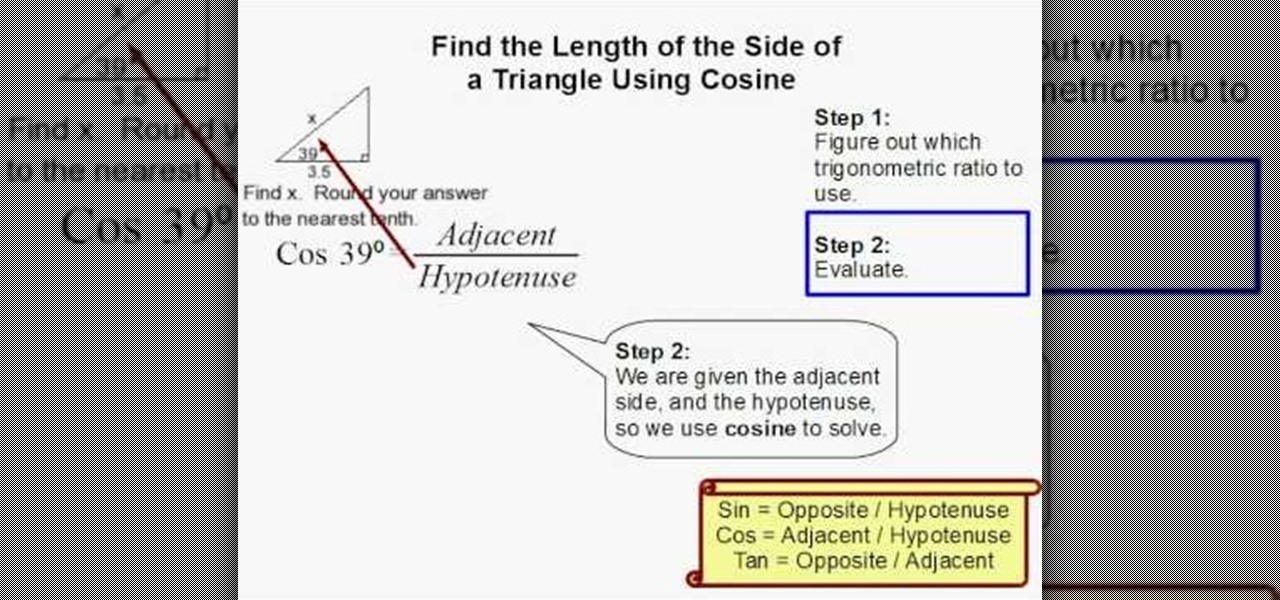
To find the length of a side of a triangle using cosine, you first need to find the angle and which sides are given. After you determine the angle and given sides, you'll need to figure out which trigonometric ratio to use. If you are given the adjacent side and the hypotenuse, you need to use cosine to solve. The degree equals adjacent divided by hypotenuse. In the example, Cos 39=3.5/x. After simplifying the equation, we found x to be 4.49. If the directions ask you to round, be sure to rou...
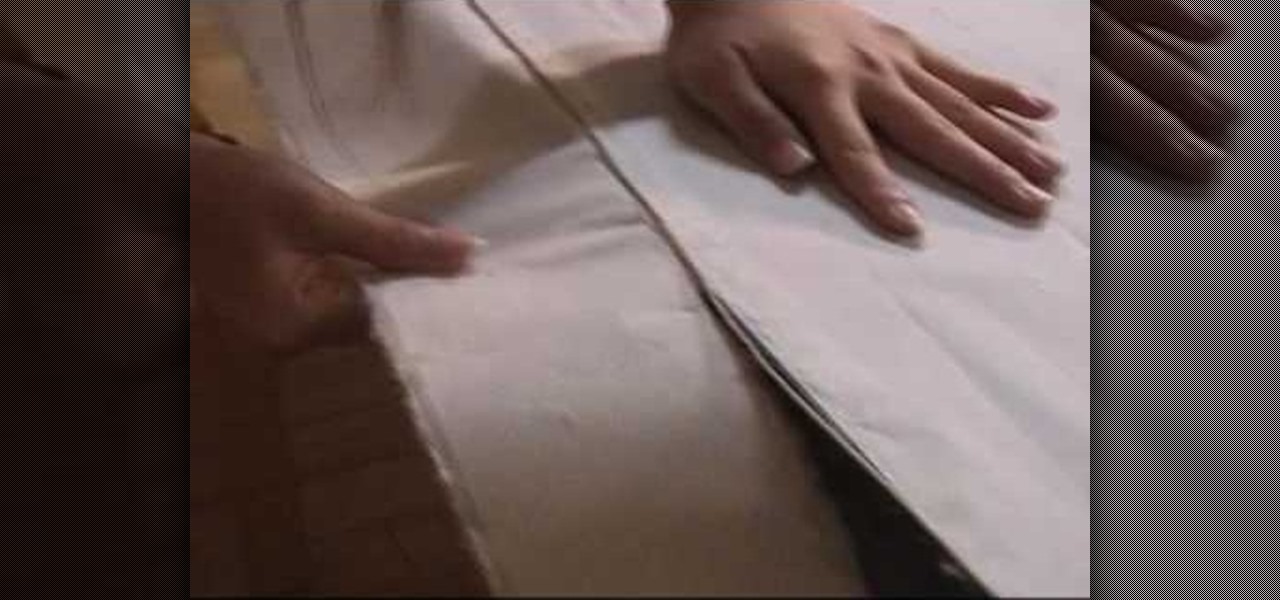
-Fold paper where you want it cut -Take a wet piece of string and insert it in the fold, pressing it firmly

Want to add volume to your hair? The answer may be as simple as a blow dryer and a hairbrush. Blow drying your hair with a round brush is the perfect start to any hairstyle. It creates lasting volume and smoothness. In this video tutorial, Jennifer Pompa from HairTalkTV walks you through her steps for blow drying with a round brush.

Learn how to tie a Round Turn and Two Half Hitches - a quick and secure way of attaching a rope to a railing or other fixed object. This is a good knot for sailing, boating, general outdoors and even bondage.

Learn how to play "Gamma Ray" by Beck, an acoustic guitar tutorial. Follow along with this demonstration, tabs and lyrics here:

In this two-part song tutorial, you'll learn how to play Aerosmith's "Livin' on the Edge" on the electric guitar. While this tutorial is best suited for intermediate and advanced guitarists, players of all skill levels can play along. Watch this lesson to get started playing "Livin' on the Edge" on your guitar!

In this tutorial from the Scrollsaw Workshop, Steve Good discusses inlays, and demonstrates one of the simplest inlay types, the bevel inlay. Watch as Steve guides you step-by-step through the cutting of his inlay box on the scrollsaw. As always, the pattern is available, free of charge, through Steve's blog, scrollsawworkshop.blogspot.com.

Wire spirals are quick to make at home, and can be added onto any jewelry. To make wire spirals, you'll need soft round wire, bent chain nose pliers, round nose pliers, a flush cutter, a spiral maker, and a WigJig Olympus or Delphi. Learn how to make wire spirals by watching this video jewelry-making tutorial.
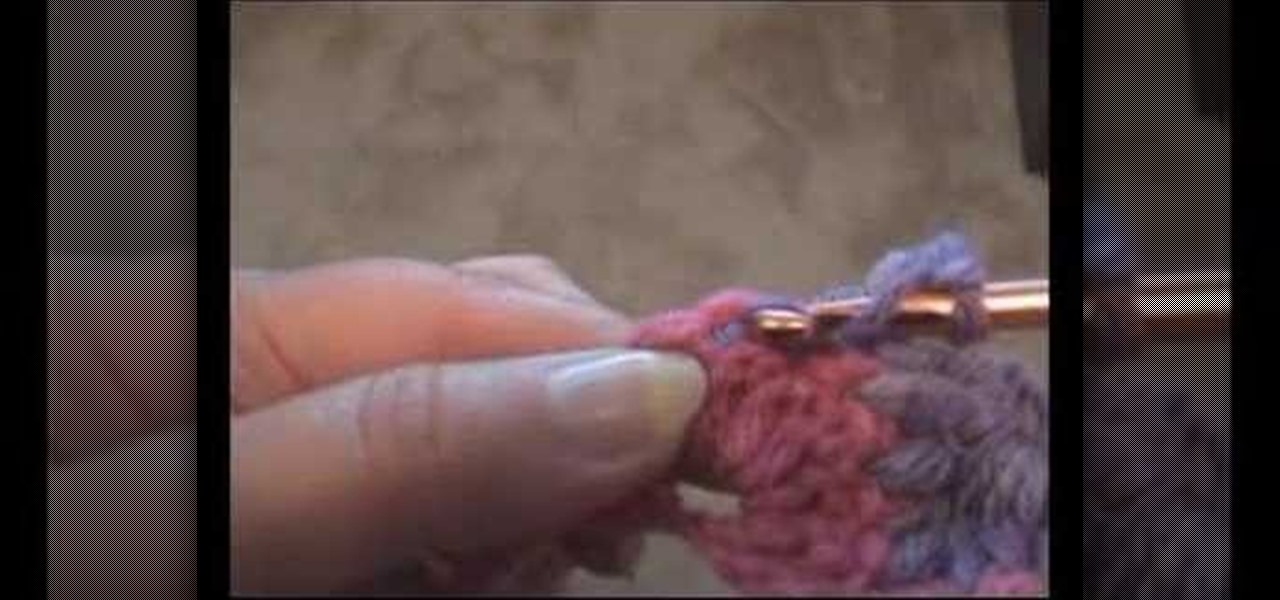
The Catherine's Wheel is a great technique to add to your crocheting repertoire, and it's easy to learn as it's just a variation of the more basic round shell stitch. Learn how to crochet the Catherine's Wheel pattern by watching this handicraft how-to video.
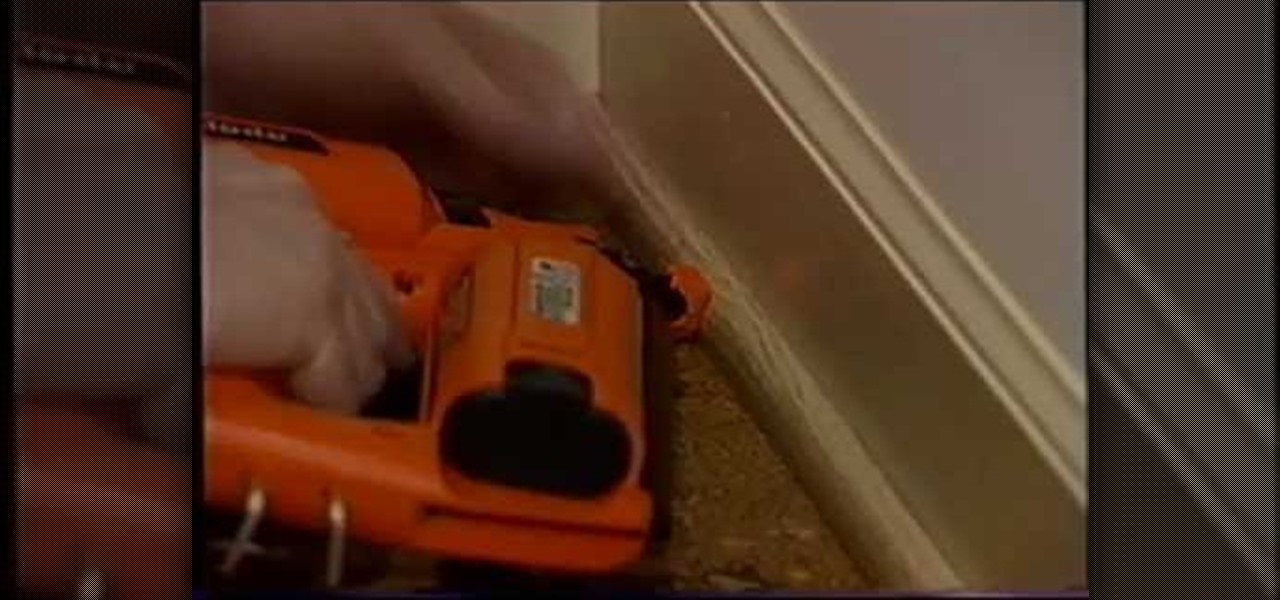
Tim Carter demonstrates how to install quarter round to hide that ugly looking gap between baseboards and flooring. Tim's use of the toe-strip shows beautiful results in the molding.
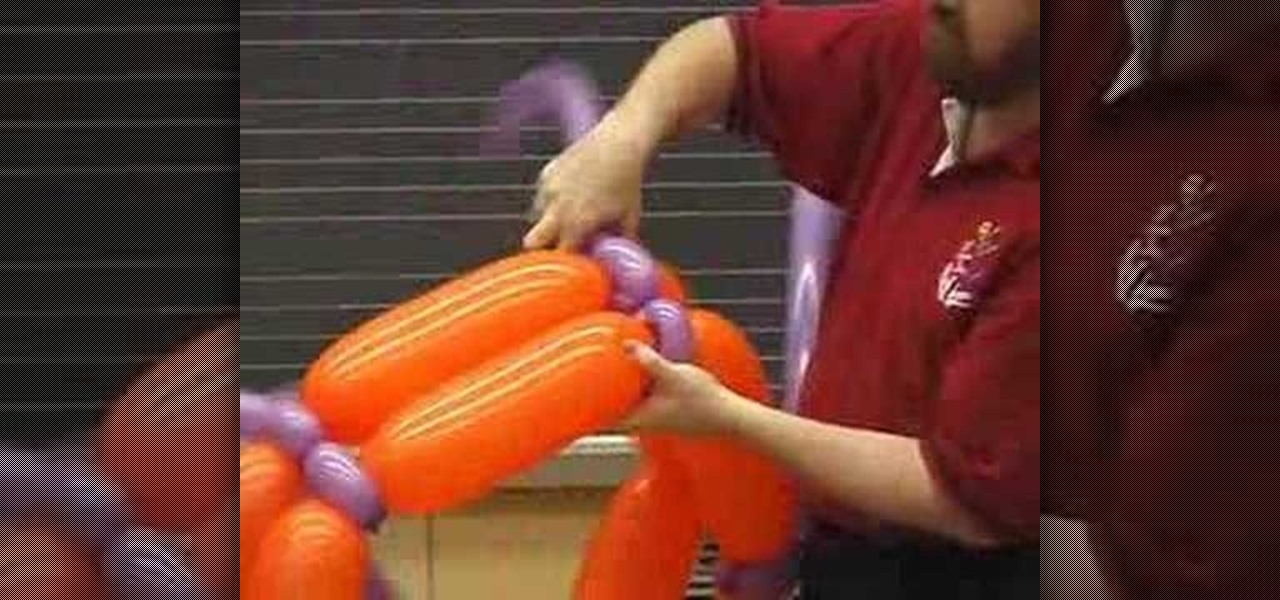
This balloon wall building technique shows you how to stack walls with all non-round balloons.
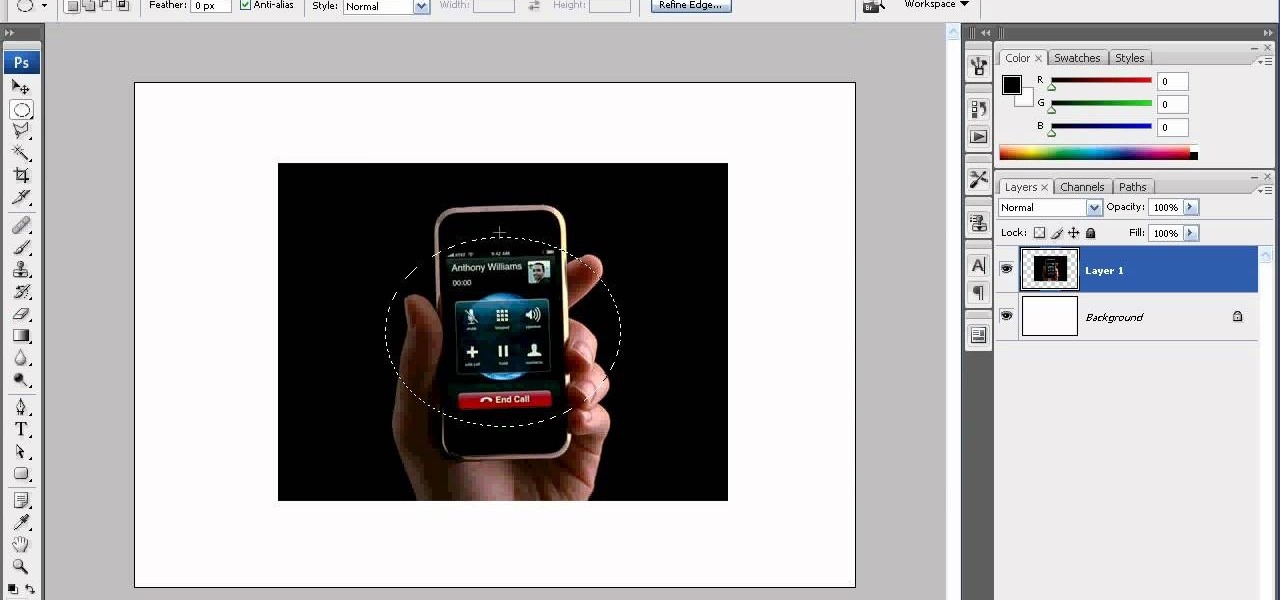
We don't know why exactly, but somehow fading the edges of a photograph makes it look more sentimental. Maybe it's because faded edges remind us of old timey photographs that have yellowed and softened with age, or maybe it's because faded eges endow a sort of dream-like atmosphere to your picture.
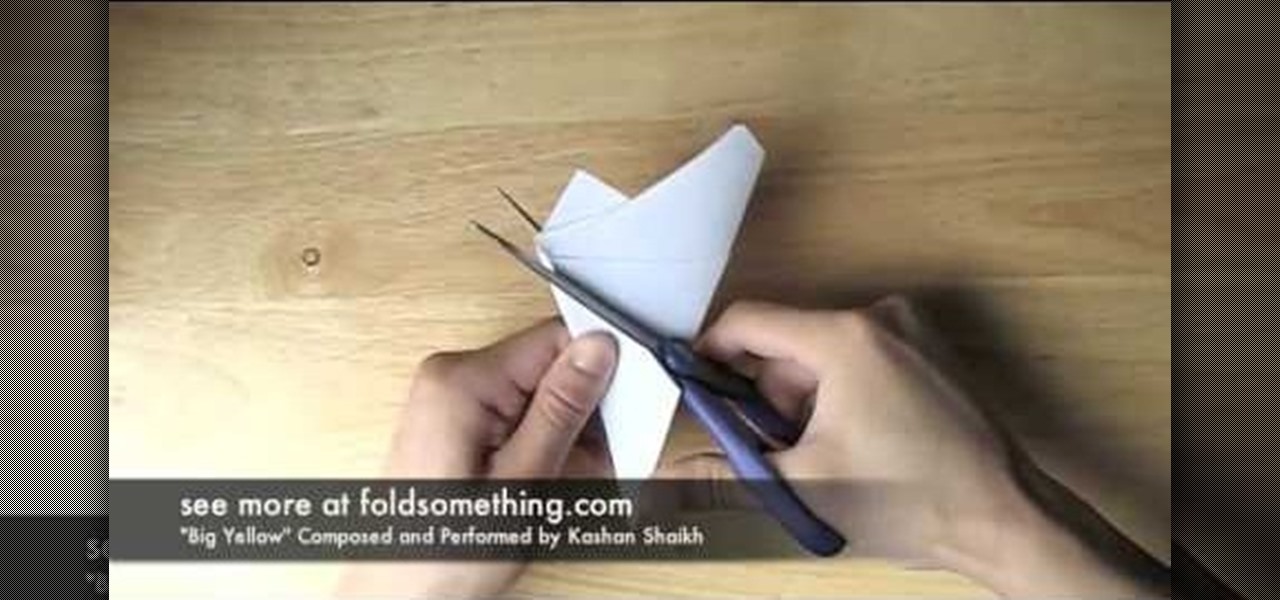
This is a video tutorial in the Arts & Crafts category where you are going to learn how to fold a five-point paper barn star. You will need a square sheet of paper. Fold it in half to make a rectangle. Take the right folded corner and fold it up to the left edge of the rectangle. Place the corner about 1/3 from the top edge and fold the sheet. Next take the left corner and fold it over the edge you just folded. Finally take the flap on the right and fold it over to the opposite side. Now cut ...