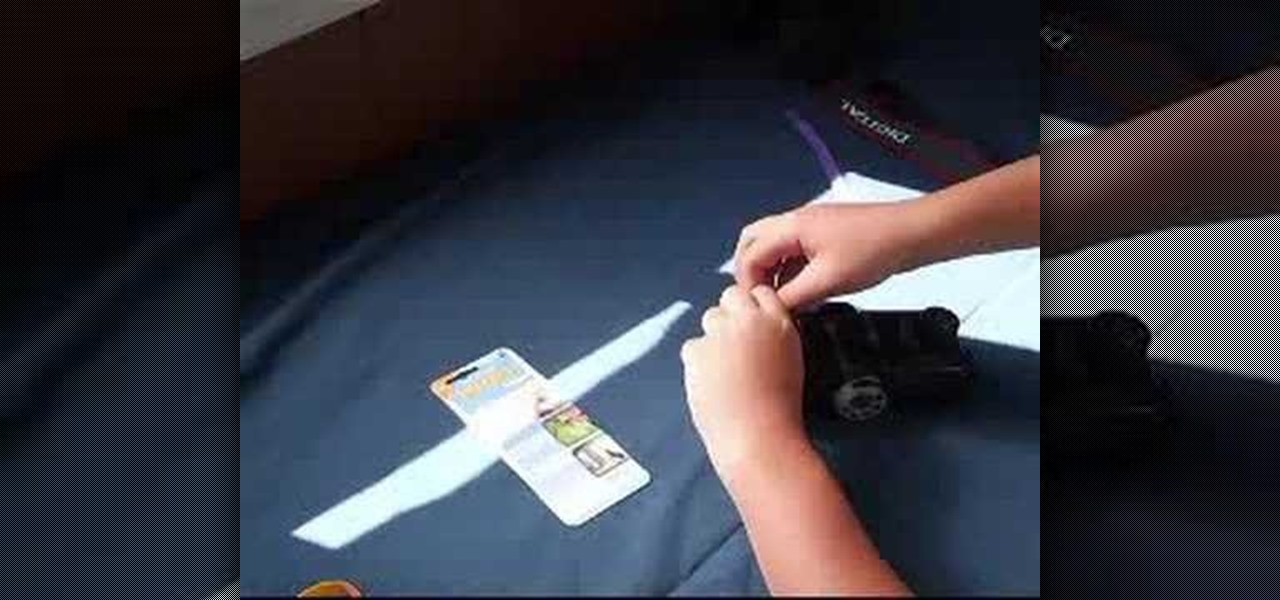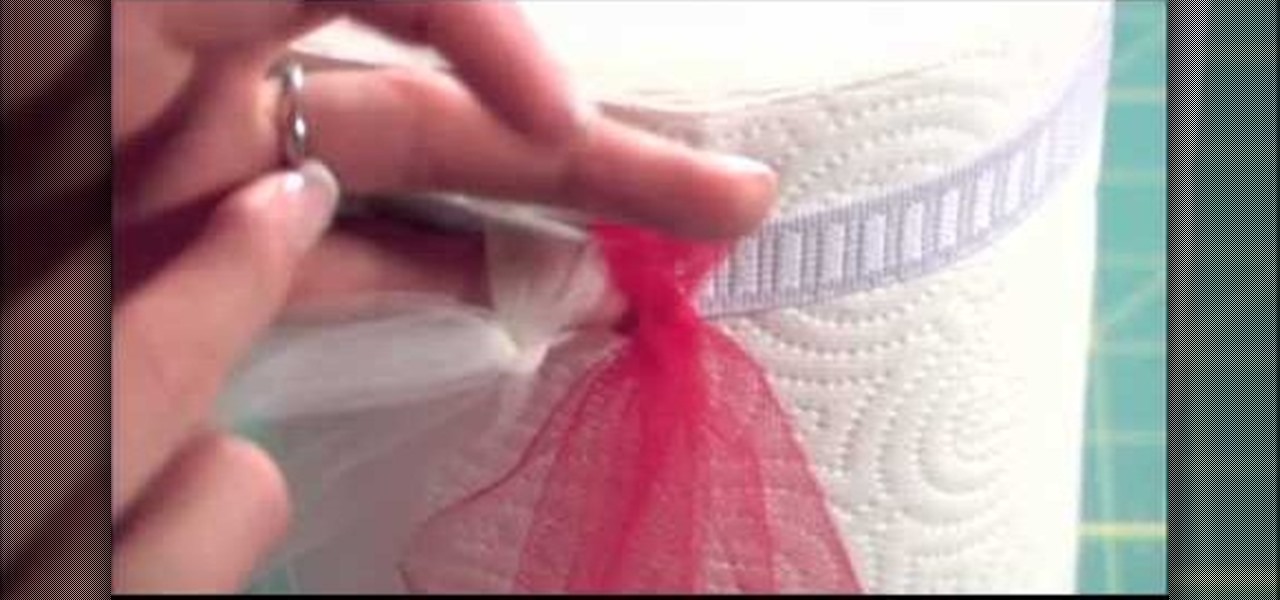
In this tutorial, we learn how to make a tutu. First, you will need to grab a rotary color and some tulle, along with an elastic band for the waist. Now, measure out the tulle for how long you want your tutu to be. Now, cut out the measurements you have made. Gather up the tulle together in different colors, and then grab the elastic. Tie the top of the fabric onto the elastic, then secure it. Once finished going all the way around the elastic, tie the waistband and then you will be ready to ...

In this tutorial, we learn how to draw Tenten. To start this character, draw a light circle along with lines in the middle for reference points. Use a bolder line to draw the chin and then the eyes, nose, and mouth. also make sure to draw in slight eyelashes and eyebrows above the eyes. After this, draw a line around the head and erase the background lines. Draw ears on the top and then start to fill in the hair for the bangs on the front of the face. Finish this off with a headbands, then dr...
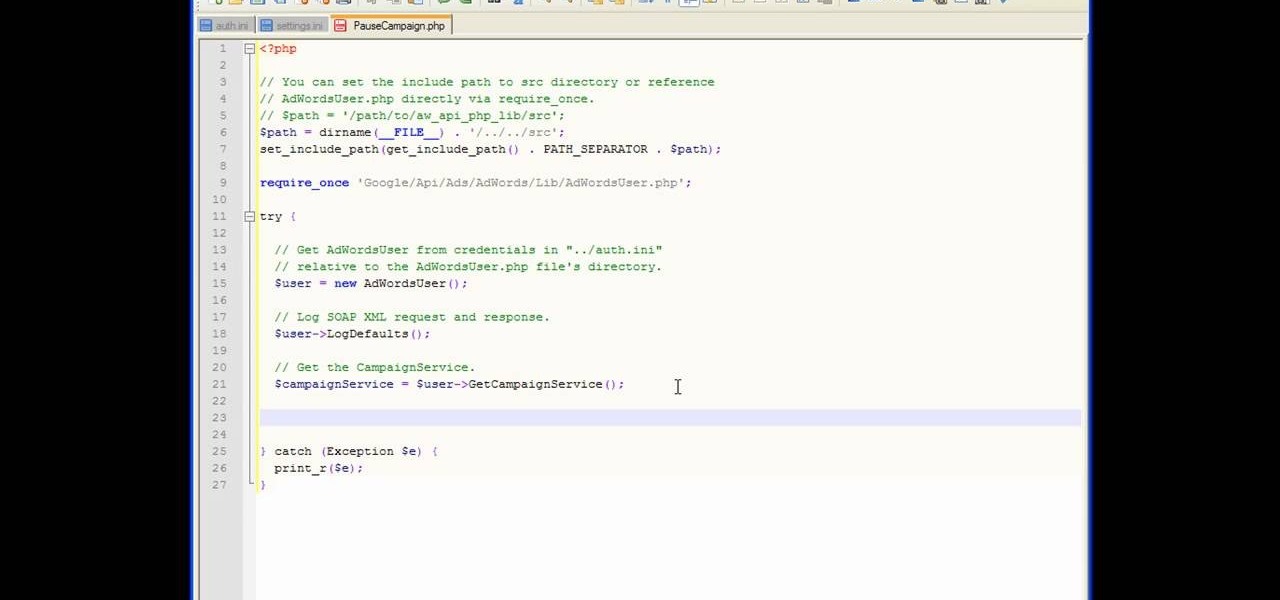
In this tutorial, we learn how to get started with the AdWords API PHP client library. First, download the library by going to the API documentation online. From here, set the authentication information and then open up the library. Now, save the changes to the file and use a sandbox environment. The examples folder has all versions that the API library supports. You can browse the campus folder with the search button, just type in the command of what you want to see. After you do this, you c...

In this tutorial, we learn how to draw the Black Queen of Chess. First, you will need to draw the outline of the character using a light pencil on paint or another drawing program on your computer. After this, use a dark blue pencil to draw the outline of the body on darker and to make it more detailed. Next, add in the details to the drawing all over the entire body. Make sure to draw on the clothes after you do this. Once finished, you will need to draw on the facial features and the hair, ...
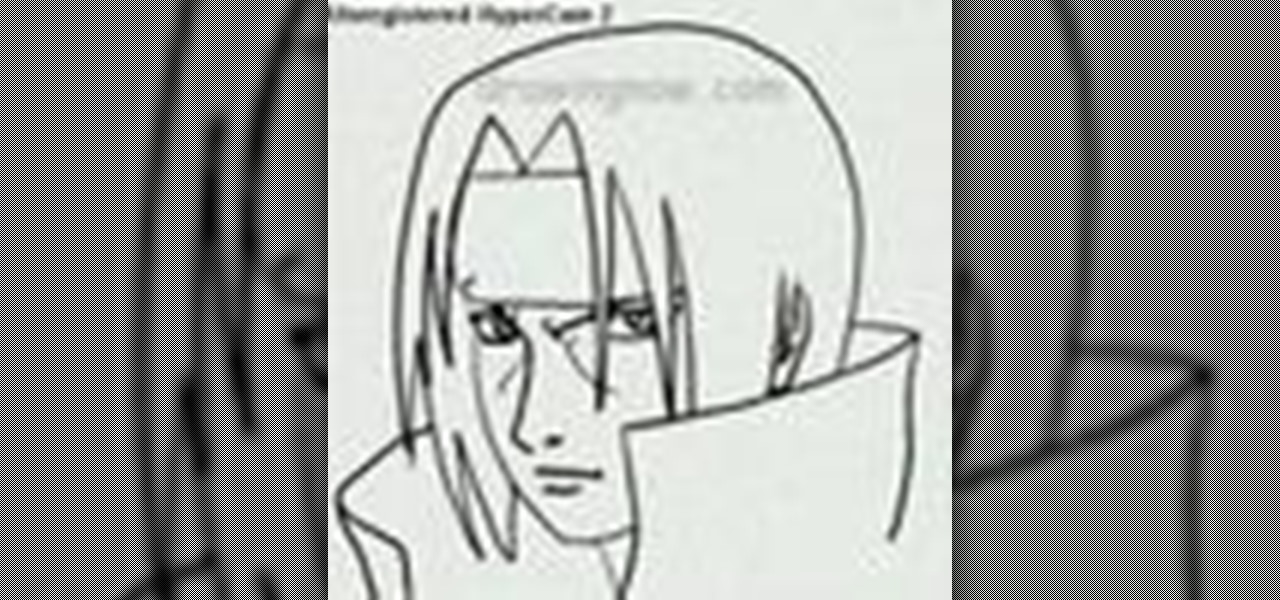
In this tutorial, we learn how to draw Itachi. First, draw your reference lines on the head so you know where to place the features of the face. Draw in the eyes, adjusting them so they are more towards the left of the face than the right. After this, draw in the bridge of the nose and the nose, as well as features of the cheeks. Next, draw in the nostrils and the mouth, as well as eyebrows and creases around the eyes. After this, draw in ears on the side of the head, then start to draw in th...
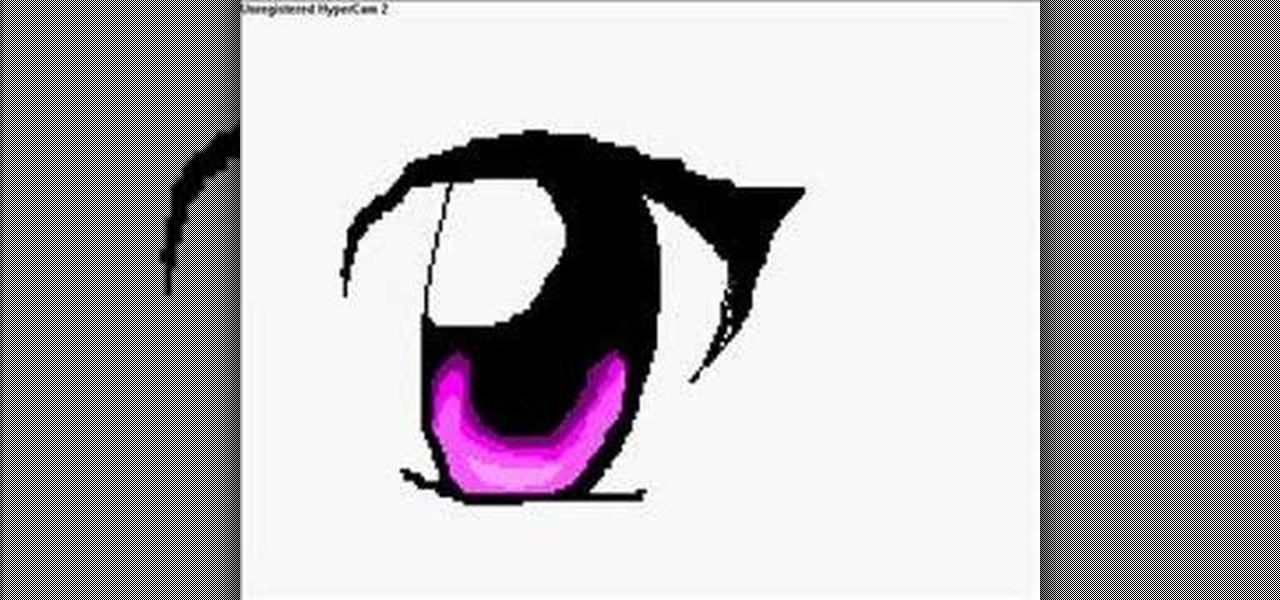
In this tutorial, we learn how to draw manga in MS Paint. Start by drawing false eyelashes to case the eyes inside of. Next, draw the false eyelashes underneath the eye, then draw the actual eyes in. Make sure to give them large pupils. Add in a bright color for the rest of the eyes, then add a lighter shade of the color at the top for a highlight. You can copy and past one eye, then flip it to make them both exactly the same. After this, draw the nose and the mouth underneath, making them mu...

In this tutorial, we learn how to draw Dialga. Using a pencil on a white piece of paper, use a light touch to create the outline of Dialga. After this, draw in the small details on the inside of the body. Use shading and lines to make it look just like the real character. Continue to draw down the entire body until you reach the feet. Make sure to draw the spikes on the side and add in the proper lines to make it look like the real character. Add in more details if you would like, then save t...

In this tutorial, we learn how to draw Ino Yamanaka. Start off by drawing the head, drawing lines in the center to use as reference points. After this, draw the rest of the body, including the hands, torso, and neck. Now start to draw in all of the details. Draw the eyes evenly apart, then add in frown lines, a mouth, eyebrows, and any other details of the face to make it complete. Next, start to erase the reference lines and draw in the hair of the character. Draw around your basic outline t...

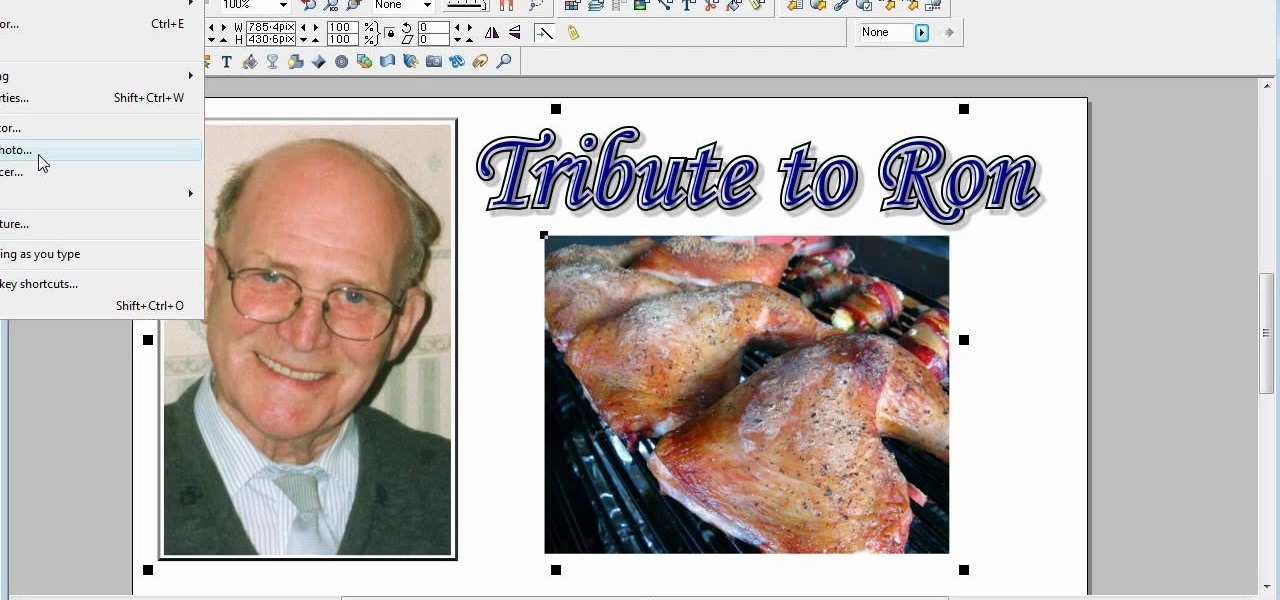
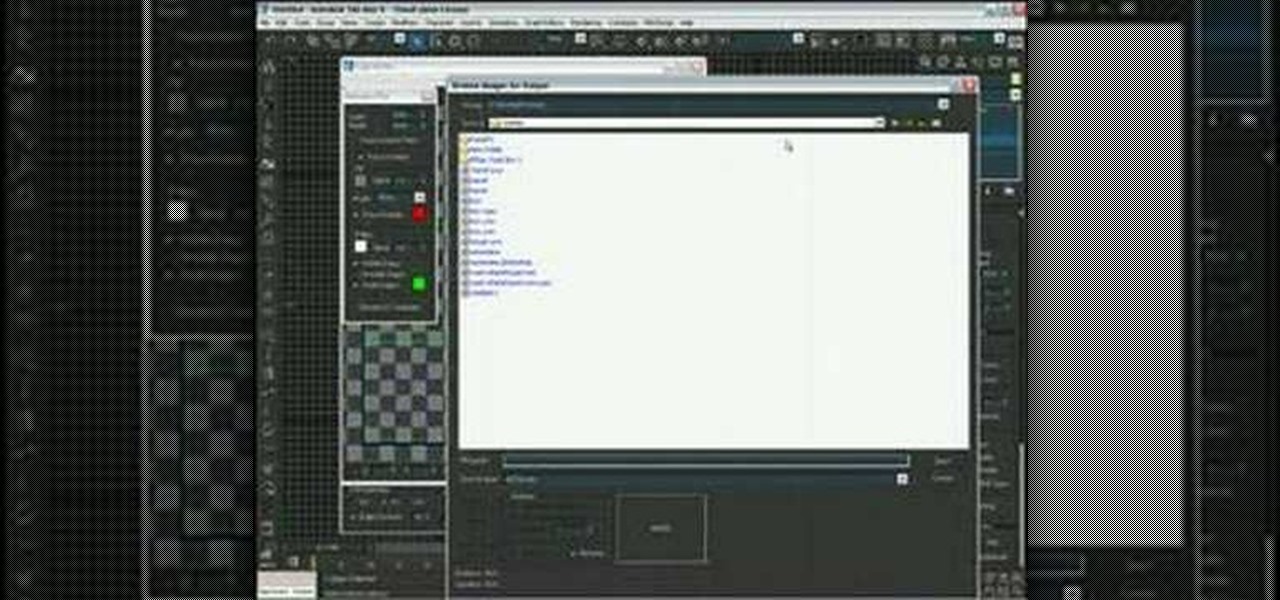
This is a video tutorial in the Software category where you are going to learn how to optimize photos in Xara Xtreme / Xara Web Designer. This is really very easy and simple to do and takes practically no time. Open up Xara Xtreme and go to the object gallery and select a photo that you want to work on. You can now resize the image by simply stretching or shrinking it in any direction. You can also drag and position the image at any part of the canvas that you desire. You can now go to file a...

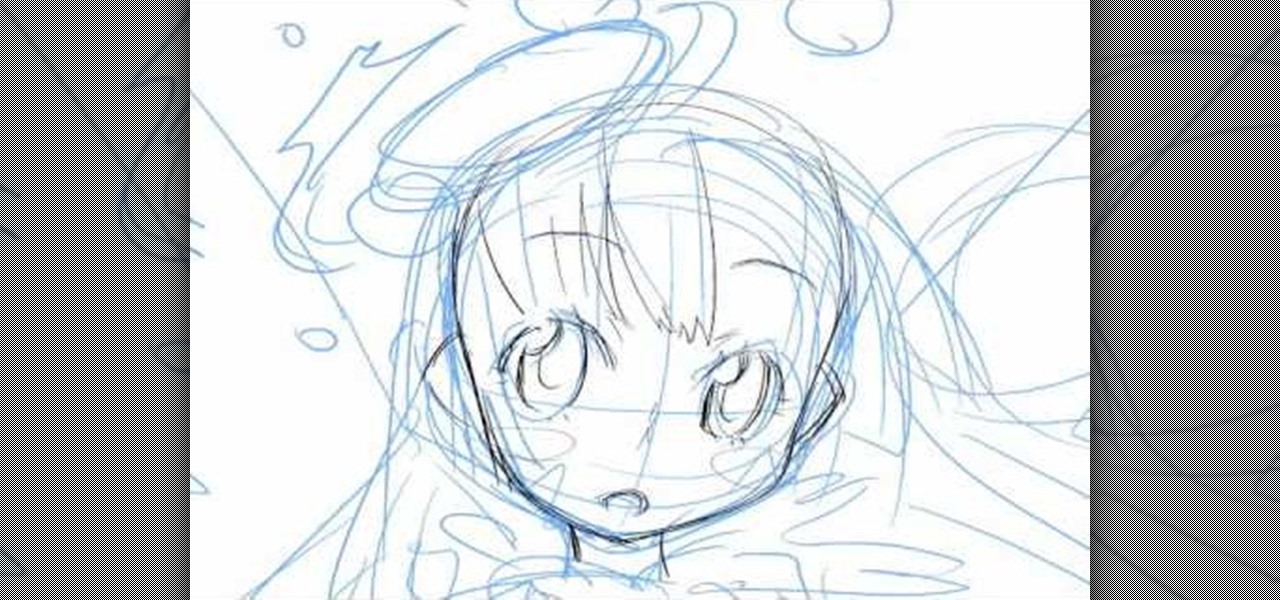
In this video, we learn how to draw a cherry fairy. First, sketch the entire picture before you start to draw in any detail. After this, draw in darker lines where you want the features of the body to go, then start to add in features of the face. Next, add in color to the face and to the outfit of the fairy. Make sure you give her hair and bangs that are surrounding her face as well. Once you have the color completed, create a white light coming from the bottom of the fairy and going up into...

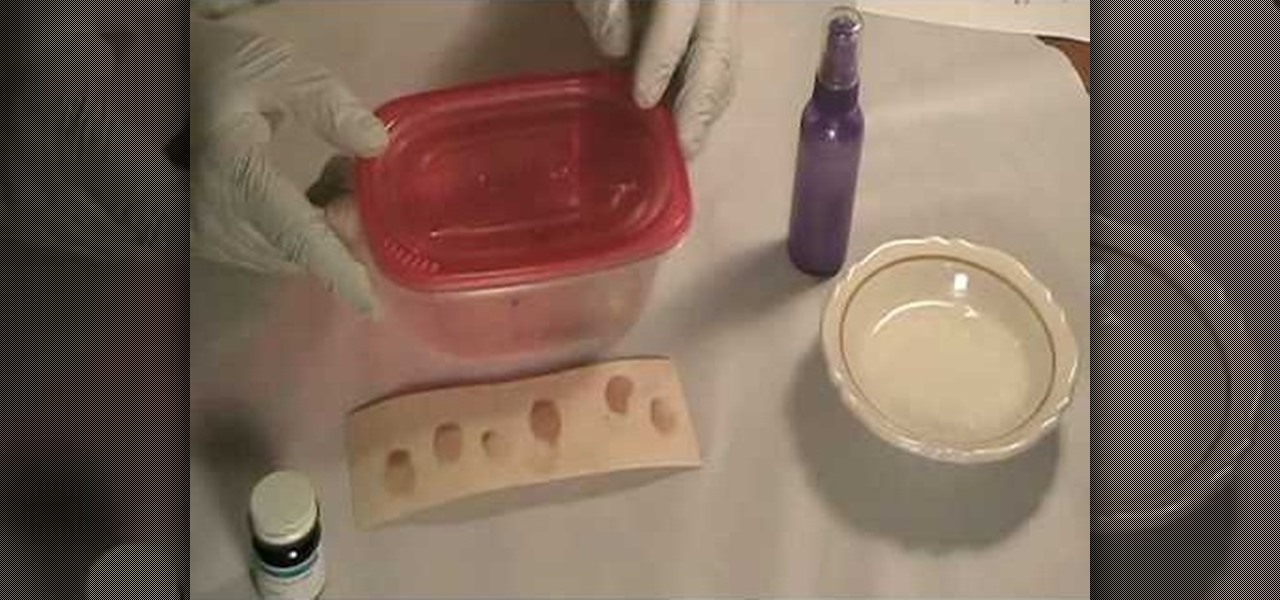
In this tutorial, we learn how to reveal latent fingerprints on paper & other surfaces. The item you will need to do this is crystal iodine and plastic sheeting to protect your work surface. Place your specimen into a plastic container with the iodine, then put the top on and let sit, placing your hand under to warm it up. Within a few minutes you will see a violet color vaporizing in the container. When finished, you will be able to take out your specimen and see the fingerprints that are al...

In this tutorial, we learn how to draw Rock Lee. First draw a circle for the head, making a chin underneath and using lines to reference where the facial features will go. After this, draw eyes that are slightly aligned to the left hand side of the face. The right eye should be larger than the left, both off center. Then, draw two dots for the nose and a "u" shape for the mouth. After this, draw a larger circle around the head and then draw in angry eyebrows above the eyes. Start to erase the...

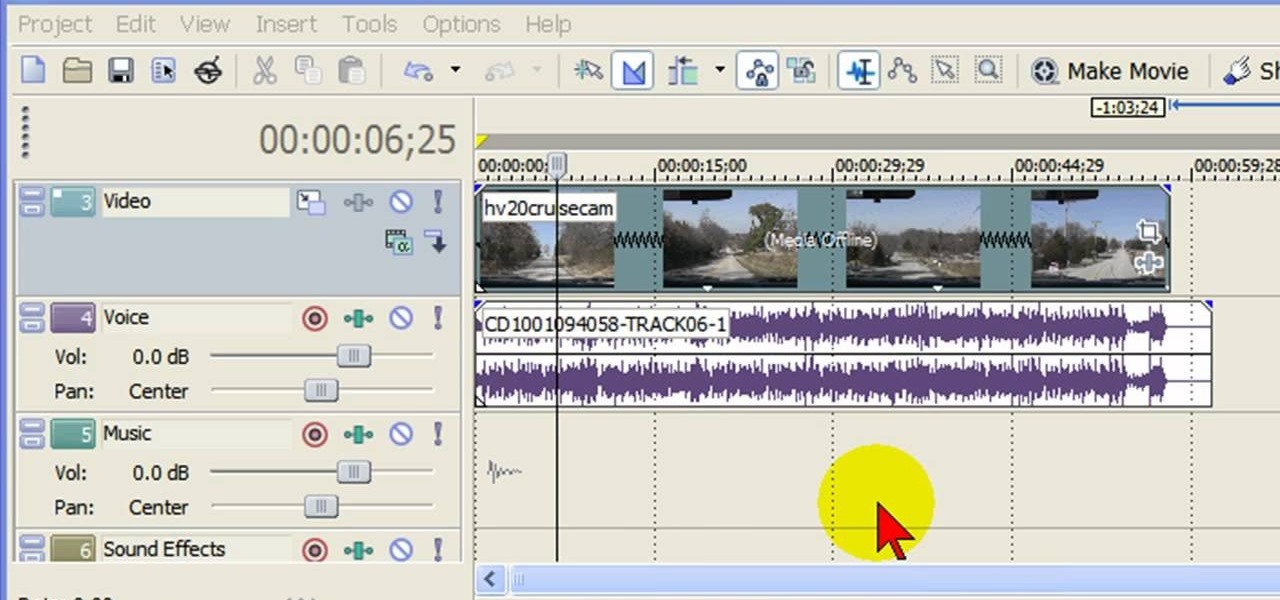
In this tutorial, we learn how to remove audio, record voice over, unlock audio in Vegas. First, load a video clip to the time line. Then, remove the audio by right clicking on the track and going to "group" and "remove from" Once you remove it, you can delete it and then add in new audio or a voice over. Just import media if you have an audio track you want to add into the time line. Drag and place it, just make sure it's not muted and play it. You can also record a voice over for the time l...

In this tutorial, we learn how to sketch a female face. Start with an upside down egg shape for the face, then draw in the contours of the chin. Use reference lines on the face to help you place where the eyes, nose, and mouth are going to go. After this, start to draw in the additional features, using a lot of lines to contour the face and make it look as realistic as possible. It's very important to use the lines in the background of the face so everything is even and lined up. After this, ...

In this video, we learn how to repaint your car in Photoshop CS4. First, open up Photoshop and open up the car you want to change. Now go to image, adjustments, then hue/saturation. After this, choose a yellow hue and click on different areas to change the colors that you are seeing. You can choose a different color if your vehicle is blue, brown, black, etc. After this, move the bar on the hue lever and you can change the entire color of the car. You can change it from purple to pink to neon...

In this tutorial, Simon Leach teaches us how to double dip or glaze ceramic. This trick will save you a lot of time, just make sure you practice a lot. First, mix your glaze up in a large bucket and grab your pot that you want to glaze. Now, place your piece into the glaze and then flick the wrist to lift the piece up quickly. Don't let the glaze go over the base of the piece or it will become too messy. Now, dip the piece back in, getting some glaze on the inside and swishing the liquid arou...

In this tutorial, we learn how to draw an anime or magna illustration on your computer. To start out, you will open up a new draft and start to create the outline of the anime together. As you continue, you will draw in darker lines that will be the outline and the details of the character as well. Erase any background lines from the drawing that don't fit in, then create new additional lines. When you're done, start to add in the facial features and details, then add in the hair and clothing...

In this tutorial, we learn how to sync iPhoto albums with Facebook. First, open up iPhoto on your computer and highlight all of the pictures that you want to import into Facebook. Once you've done this, go to the top of the window and click on "share". Next, click on "share with Facebook" and then choose who you want the pictures viewable to. After this, click on the "publish" button and wait for the program to load the pictures. After this, go to your Facebook account and see the pictures th...

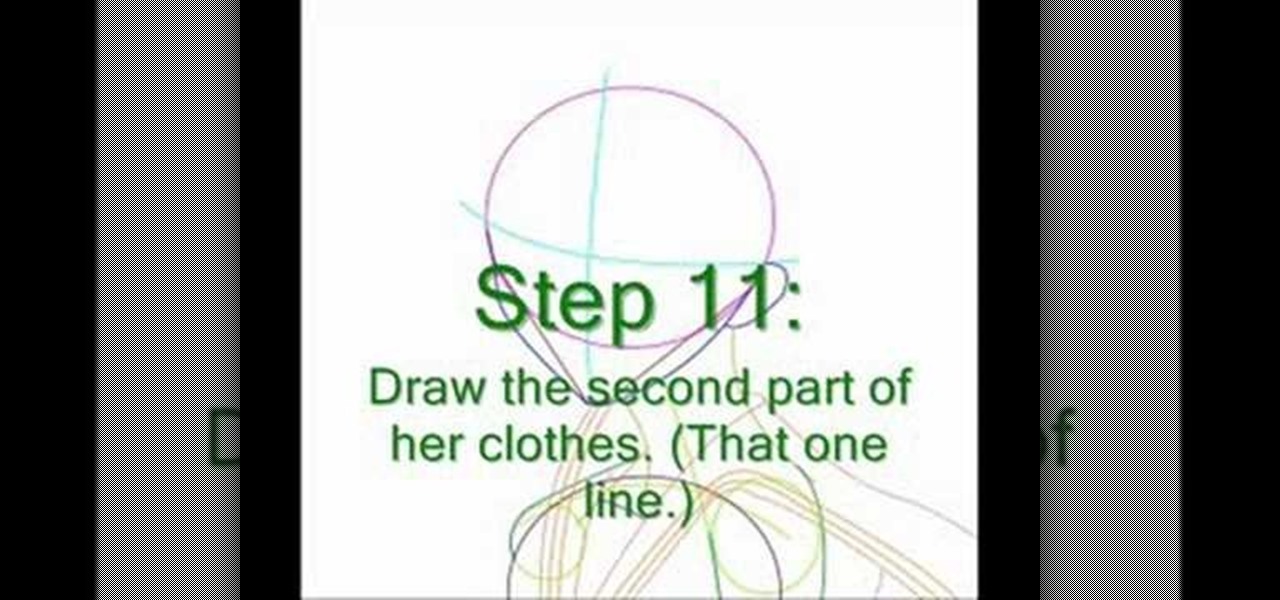
In this tutorial, we learn how to draw Tohru Honda. Start out by drawing a circle for the head, then lines on the face to reference where the facial features go. After this, draw a stick for the body alone with a neck. Draw in circles where the shoulders go, then start drawing around that to create the body. Draw on the school uniform for her, then draw on the ear and additional details for the uniform. After this, draw on the bangs and the hair, then add on the bows to the hair. Then, draw o...

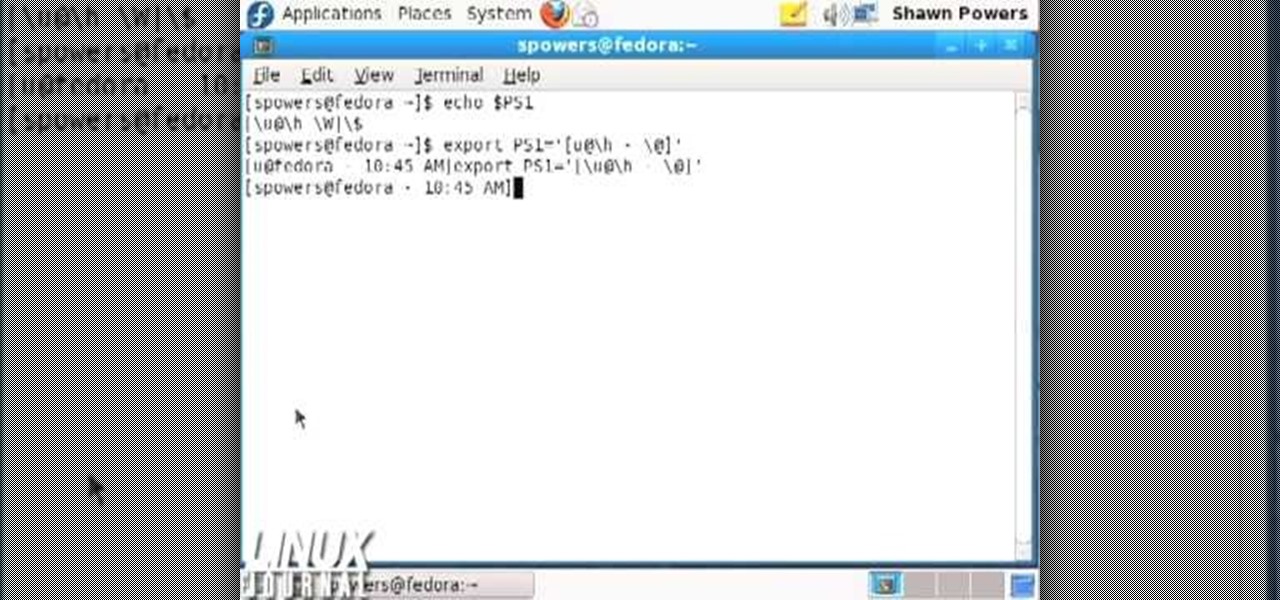
In this tutorial, we learn how to customize bash prompts with the PS1 variable. The PSI variable will say what something does. You can change this using the export command. Basically, you just type in the same thing and add in something. You can do this by simply typing it in using your keyboard. After this, press enter on your keyboard, then continue to change more things. There are a ton of different things you can do with this. You can find more from the website: http://pastebin.com/f2309f...

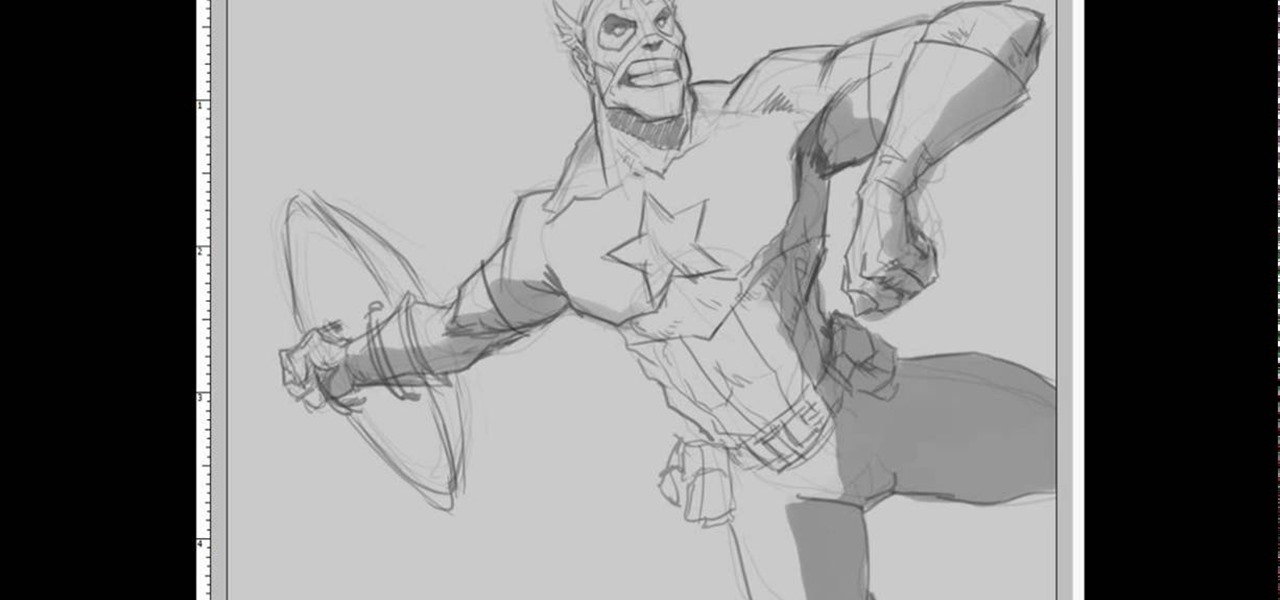
In this video, we learn how to draw Captain America in an action pose. Start out by drawing the torso, then the rib cage and pecks. Continue to draw the outline and small details of the rest of the body. Draw in arms gong out of the body so that they are spread apart, then draw in the head. Draw in lines for where the muscles are, then start to draw in the mouth, nose, lips, eyes, and other facial features. Once you do this, start to add in even more details of the outfit that the body has on...

In this tutorial, we learn how to make your own DIY camera speed strap. It can save you a lot of money to make your own camera strap, all you need are some thick rubber bands. First, wrap some thick rubber bands around the lens of the camera. Then, take a strap with holes in it, and wrap it over the top of the rubber bands. Tighten this up, then you will be able to use it for all of the different lenses that you want to use! If you have a certain cover, this will keep it in place and help spe...

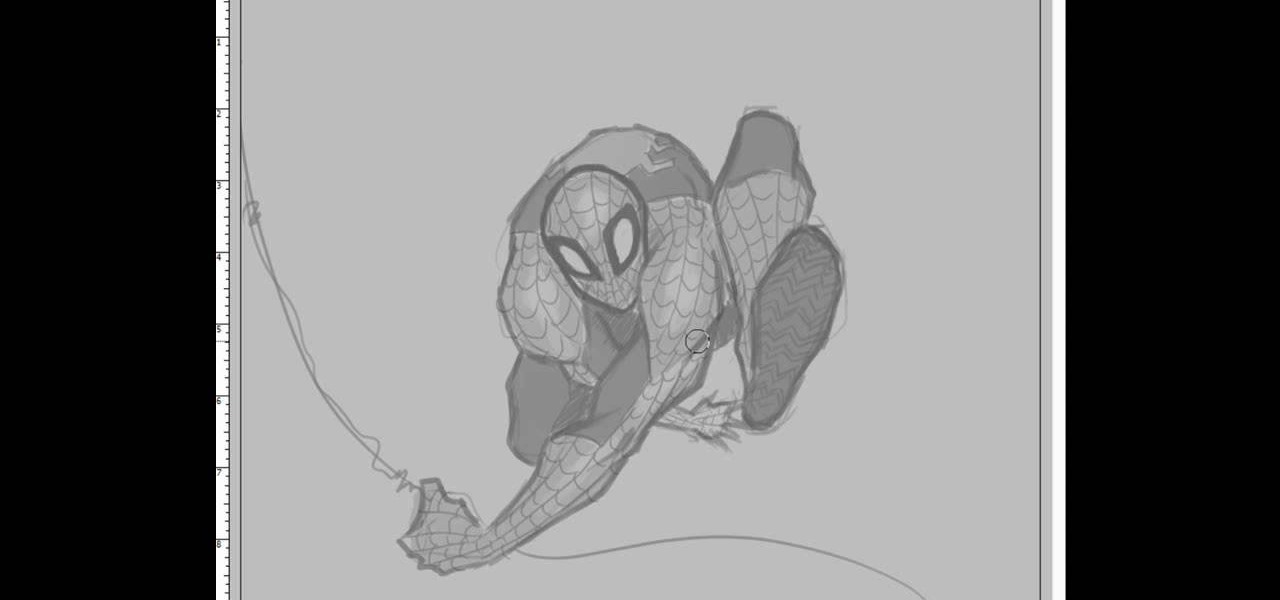
In this tutorial, we learn how to draw Spiderman. First, draw the outline of Spiderman's body while hanging from a web up in the air. Then, use a darker line to draw over the original sketch of the body. Start to fill in details of the entire body and the face of the character. Next, fill in the small details of Spiderman. Draw the details down to what the bottom of the shoes on his suit look like. Make sure the face has all the right details, then add in lines to the web to make it look more...

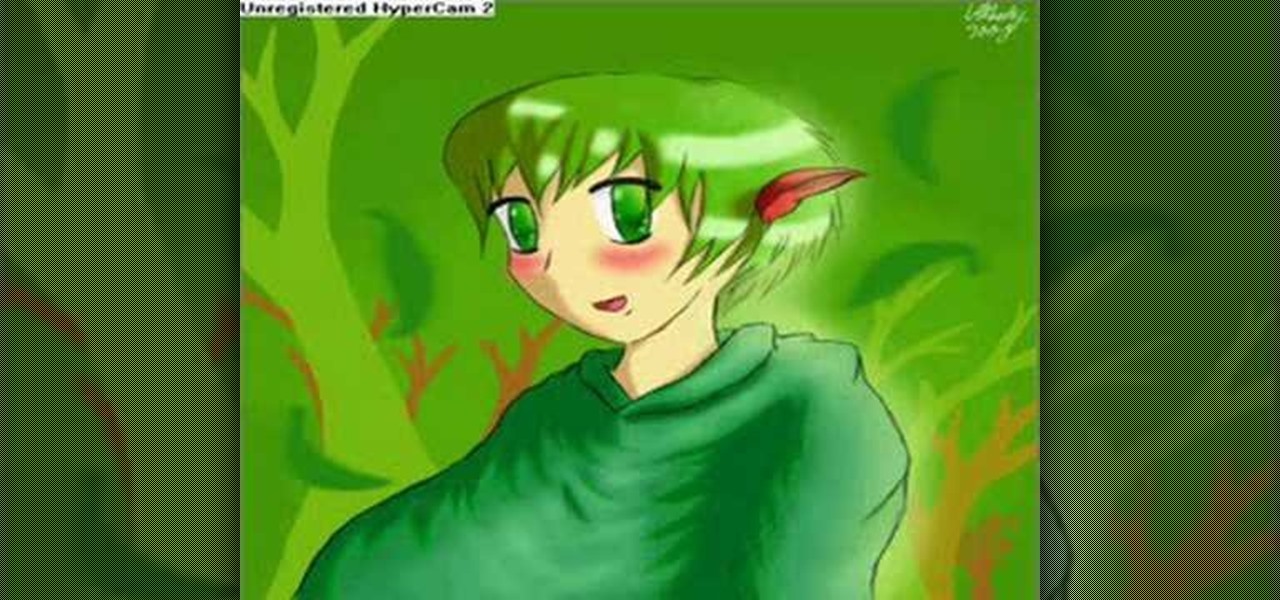
In this tutorial, we learn how to draw anime. Start off by drawing the outline of the anime, then color in the face, hair, and clothing. Add in the ear on the side of the head, then add in the features of the face. Next, add in shading to the face, hair, and clothing to add dimension to the drawing. Next, add in details to the face to make this look more realistic. Then, draw in trees and leaves for the background of the drawing and color them green and brown. After this, add in a light sheen...

In this video, we learn how to easily make a tutu. First, you will need to gather all your materials, then cut the length of the ribbon or elastic you need. Then, grab your materials and cut out strips of it to place onto the elastic. After this, tie the tulle onto the elastic going from color to color as you continue. Once you reach the end of the skirt, you will have a cute tutu that is ready to wear. Making this yourself can save you a lot of money, and it can make several rather than just...

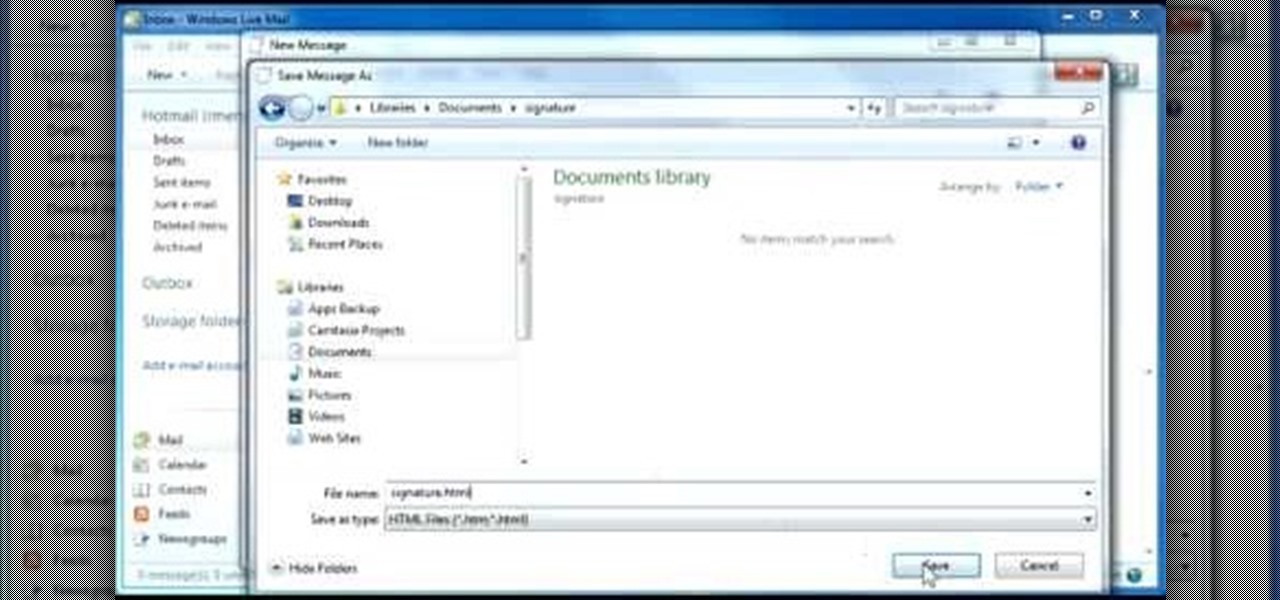
Whether you own a business or work for a company, you probably send out millions of emails every day corresponding with clients, PR, and whoever else you have to deal with. It's hard enough making sure you get around to all of them, but what's more is that even after you've finished composing the message you have to add your name, company name, phone, etc.

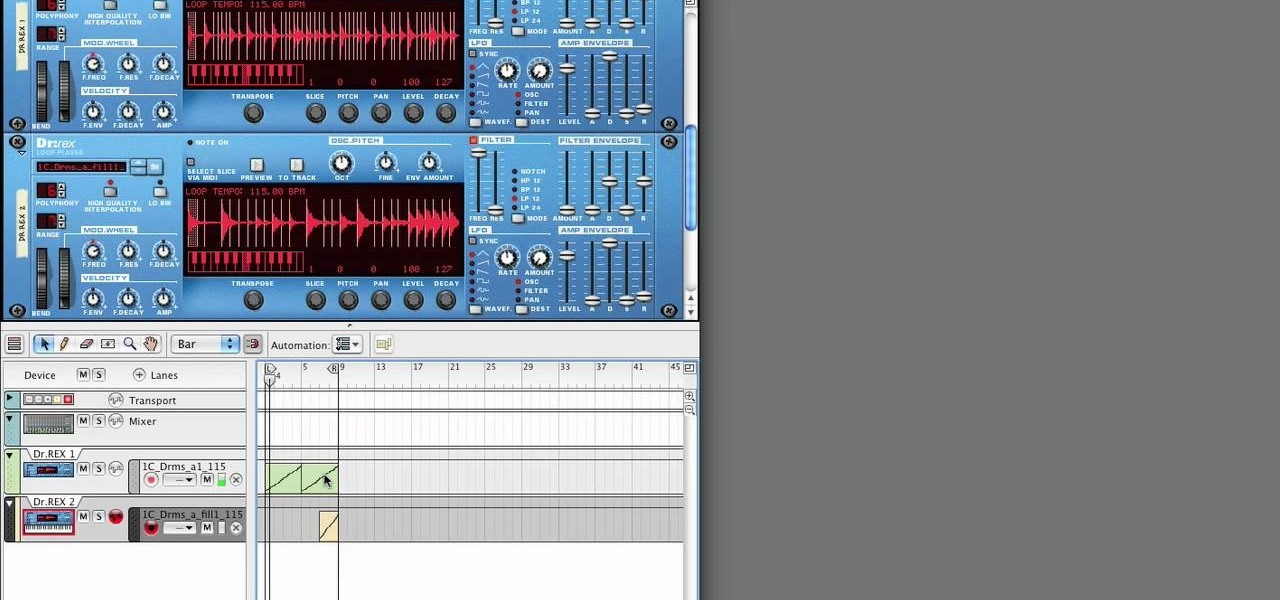
In this tutorial, we learn how to use Reason Soul School. First create a Doctor X loop layer. After this, browse for a loop and search through the different folders that contain loops. These will mimic different sounds depending on which one you want to use. Each category contains drums, bass, tempos, and more. Load the different sounds from the folders as you would like. Then, when you have your desired sounds, start to edit them and change how they sound. You can then add in new loops to th...

If you've gotten the store-bought instant gravy as a way to save time but have found that the taste just isn't up to what you'd really like it to be, there's still a way to get that savory homemade taste with just a few extra ingredients! In this video, you will learn how to combine things such as mushrooms, sherry, and other great things to make a great-tasting gravy!

In this video, we learn how to use the UVW unwrap function in 3D Studio Max. First, go to the UV modifier wrap and select all the faces. Once here, edit the parameters and then go to the mapping menu. After this, you will be able to change the object as you would like. After you are finished with this, save your object to your computer in a spot you won't forget it. You can create several different layers and change the colors as you prefer. You can completely customize your experience on thi...

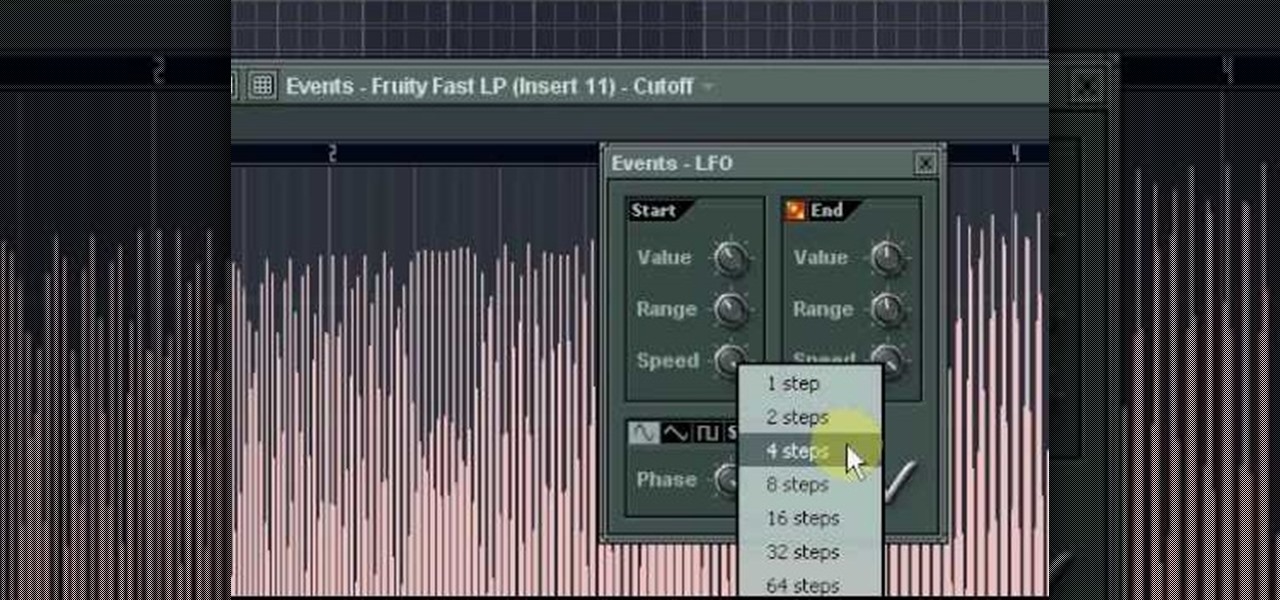
In this video, we learn how to make an effective dub bassline in FL Studio. Use a normal bass and add effects to make this. Add in different effects on the bassline, then go through the drop down menu to add in Fruity Loops fast LP. This will enable you to change the wobble on the beat as well as the cutoff. When you change this, you can control the sound by editing the knob until it's how you like it. After you edit the events, you can create the beat how you want it, then save it and use it...

In this tutorial, we learn how to create a Lomo effect in Photoshop. This is a contrast that gives the photo a "cool" vibe and change up the effect that you see. First, load up your picture into Photoshop and then go to adjustments, then curve. From here, add a slight s-curve and then add a green channel with the same s-curve that you just created. Go to the blue channel and create the opposite s-channel from the others, then click "ok". Now, go to layer, new adjustment layer, then gradient m...

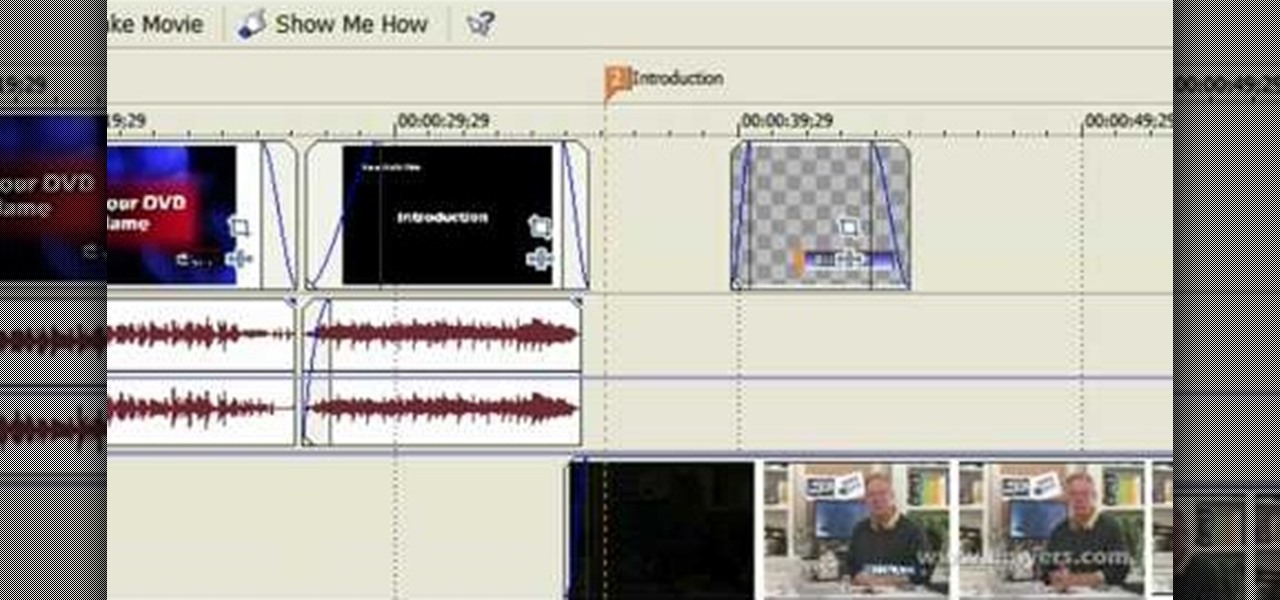
In this video, we learn how to edit with Sony Movie Studio / Vegas Video. You will be able to see all your tracks to open up when you are in the program. First, open up all the elements you will need in your media pool. After this, add in transitions from each of the different slides and add in music as well. Place the slides next to each other to easily create the transition without getting the different slides confused. Play the preview to the slides to see how they look as you are creating...

In this tutorial, we learn how to clone yourself in GIMP. First, open up GIMP on your computer and then open the picture where you want to clone yourself. After this, open the other picture where you want to copy yourself and right click to copy it. Now, create a new background layer for your main picture. Use the lasso tool to cut out one of yourself inside of a picture, then transition it into the main picture. Exit out of the other image, then start to edit the colors and opacity in the fr...

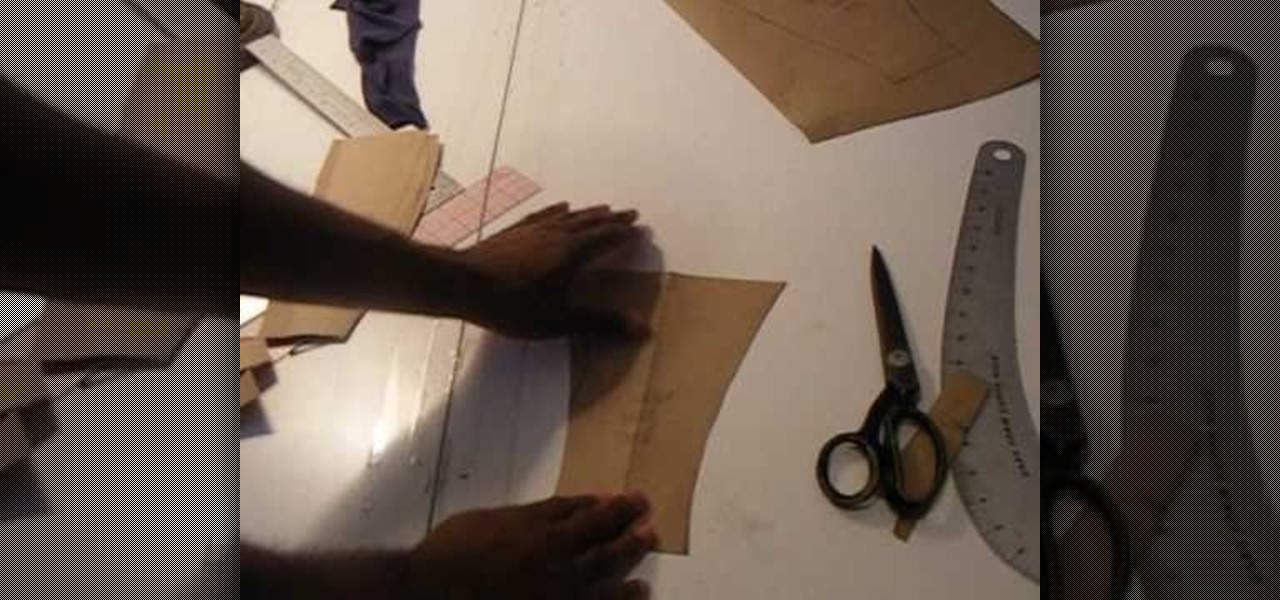
In this 3-part video, Chris White shows you how you can take an old pair of boxer briefs, make a pattern for new boxer briefs, and then create an entirely new one. You'll need some tools, and materials, including elastic, sewing machine with zigzag, serger, stretch fabric, pattern paper, scissors, thread, pins, rulers, and a pencil. Save some dough and make your own underwear that actually fits properly!

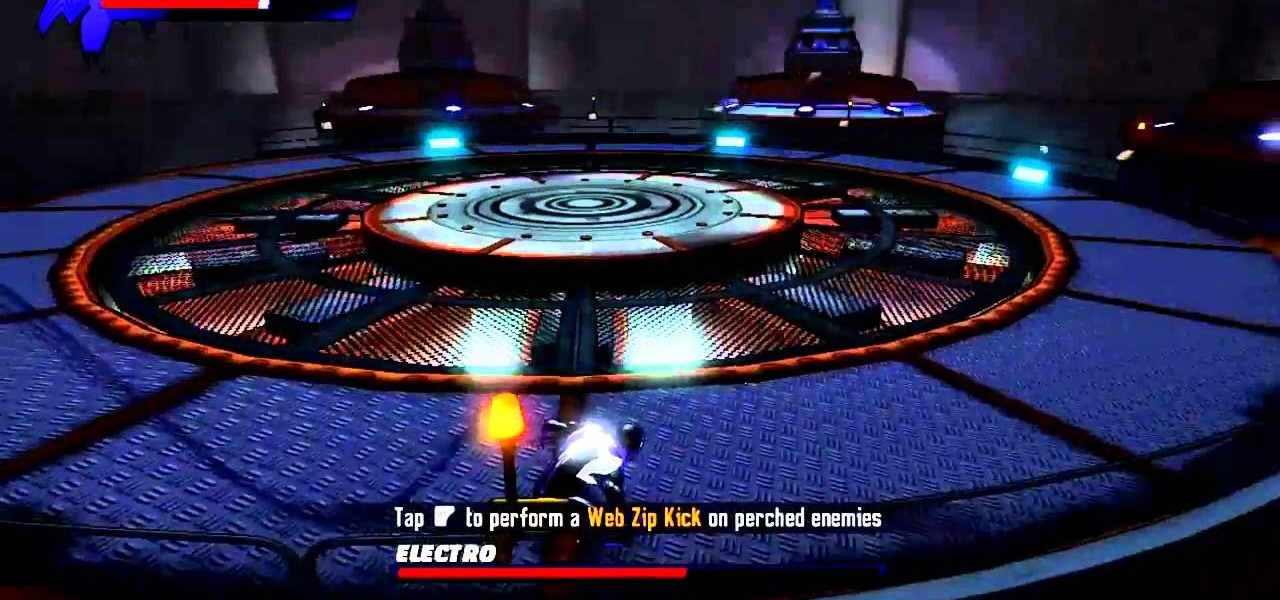
Black Suit Spidey, on the hunt for a fragment, and running out of options. That is, until he stumbles into an over electrified power station. You guessed it, it's Electro, and he's feeling a little more...juiced up than usual, and he's got a fragment. Guess it's up to Spidey to save the day again, all in a days work. In this video you will get a full walkthrough of the entire chapter along with the final boss fight.

During Halloween, party planning can get really hectic. Between baking and cooking party food to picking up plates and utensils at the store to putting up black and orange streamers, there's more than enough stuff to do to give you a panic attack.

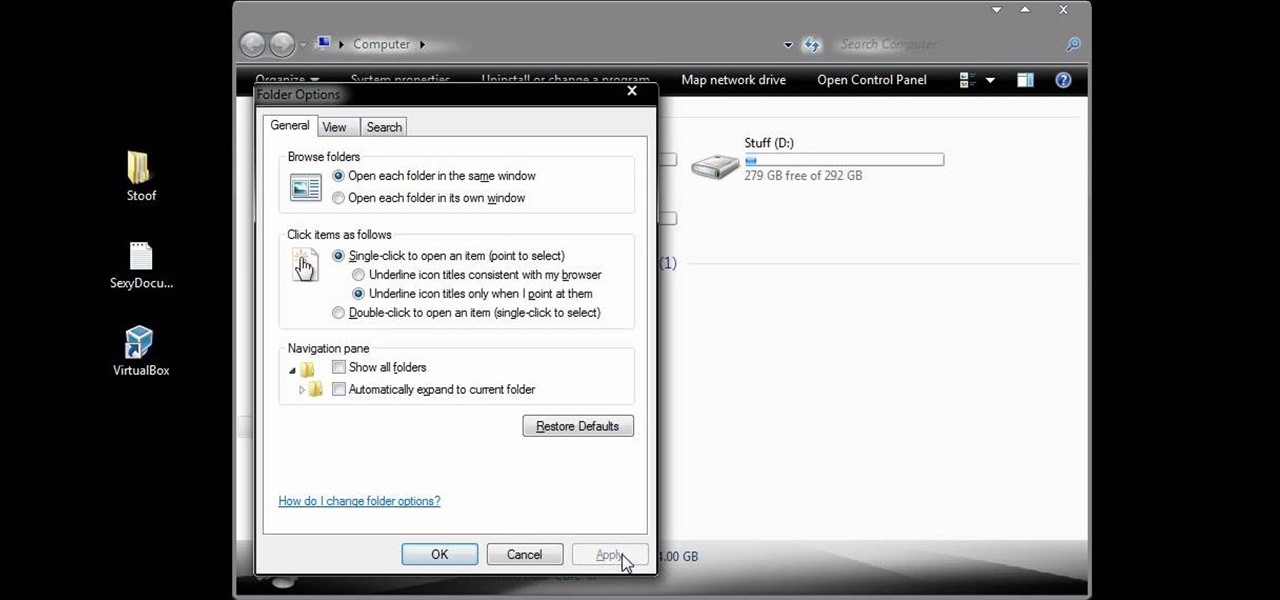
In this video, we learn how to open files/folders/programs with hyperlinks. First, go to your computer, then go to tools, and folder options. Underneath the section that says "click items as follows" you can change your preferences for how you want items to appear and pop up, then click ok. Now, go to your web browser or a different page with a link and click on a hyperlink. Once you do this, you will get to see how your settings have changed how this looks and opens, then change your setting...

In this video, we learn how to remove acne spots with Photoshop. First, open up the picture and zoom in on the acne you want to remove. Now, unlock the layer by right clicking and unlocking it. Next, use the clone stamp tool while pressing alt to clear the skin where the blemishes are at. Click constantly on the acne until all of it is done. You want to click as many times as possible to get the best effect in removing this. When you are finished with this, duplicate the layer, then change th...

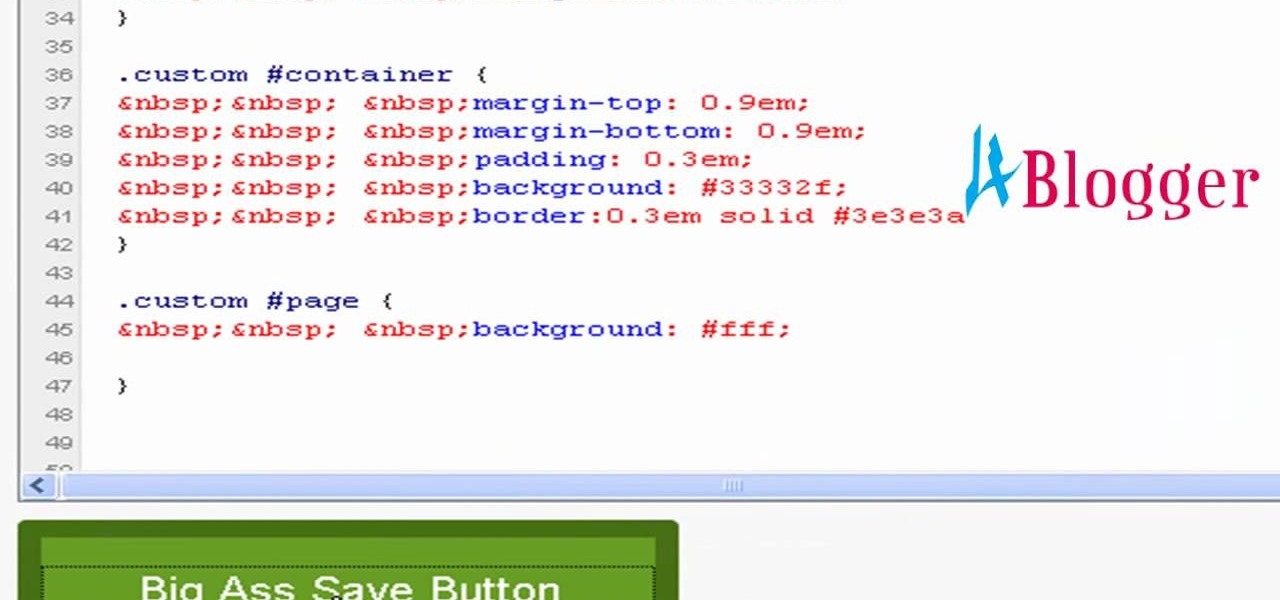
You can change thesis theme background color and size in Wordpress blog to do this first you need to go to your word press admin. And then you have to click custom file editor. There you will see the "Thesis custom file editor". Now you have to select custom.css in edit selected file menu. Now you will see there a code box. Here you will have to past the background changing code. The code is showing in the video you can type it and then copy and paste it in the place of the code box which is ...

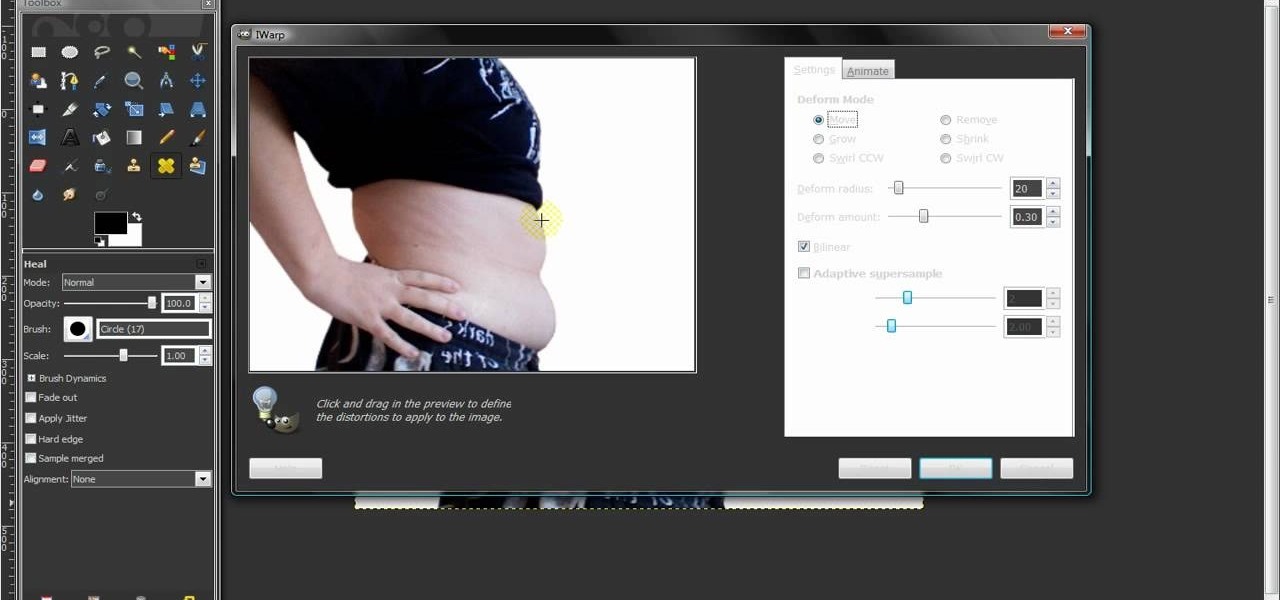
In this video, we learn how to remove body fat or stretch marks in GIMP. First, go to filters, then distort, then warp. When you are in this window, you will be able to see all the different distortions that you can do. To help you remove the fat, use the "move" tool and a proper sized brush. Now, press on the stomach and slowly press down on it until you see the part of the body start to become smaller. Don't do it too quickly, or the picture will look fake. When finished, save your new pict...


