In this tutorial, we learn how to make the perfect hole for your destroyed denim. First, you will need to grab a pair of sharp scissors. Make small horizontal cuts around 1 cm apart. Once you have made as many cuts as you want, you will use tweezers to pull out the fray that is on the bottom of the cuts in the jeans. To create nicks and grindings, use a Dremmel tool on the jeans. This will help you sand down the area of the jeans you want the hole to be and create a distressed look. When fini...
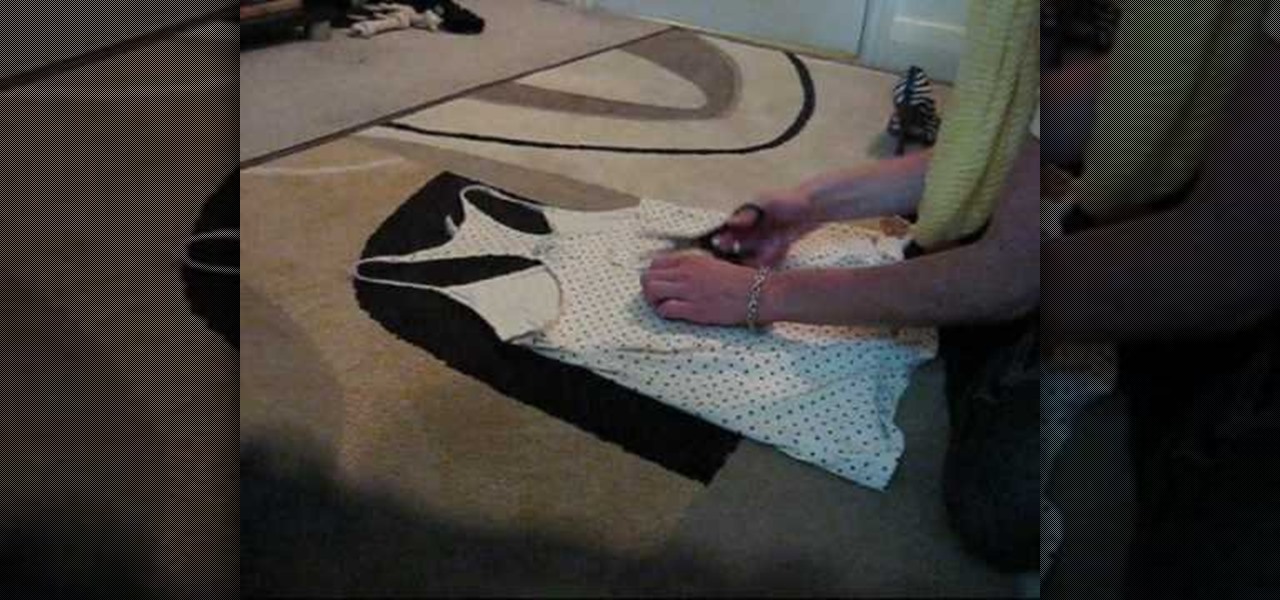
Your tanks and your tees aren't fitting just right, don't throw them away or toss them in a storage box just yet. Grab some scissors and cut that sucker up, then mold it in a better fitting, unique and cute shirt. The easiest part is simply slicing up the back up the shirt, but then comes the strings. Watch and see for yourself. This is a great way to transform a normal T-shirt or tank top into something more creative.

This video will show how to decorate duct tape creations with Japanese Kanji characters, which are Chinese-based characters. After creating your duct tape stencil which will serve as a backing, you should go online and find a Kanji character which you would like to copy, print it out on paper, and cut it out with scissors. Place the characters on your duct tape and trace around the character, making a stencil of the character you would like. Finally, you need an X-acto knife, which you will u...
In this tutorial, we learn how to build your own lunar city model. You will need: toilet paper tube, bottle caps, CDs, sheets, and scissors. Now, cover your table area with the bed sheet so it's completely covered. Now, star tot arrange your lunar city model. Place the CDs on the table and stack them, placing bottle caps in between. After this, cut the toilet paper rolls in half and lay them flat on the ground. After this, place cups lid down on the table and then add CDs on top of them. Now ...
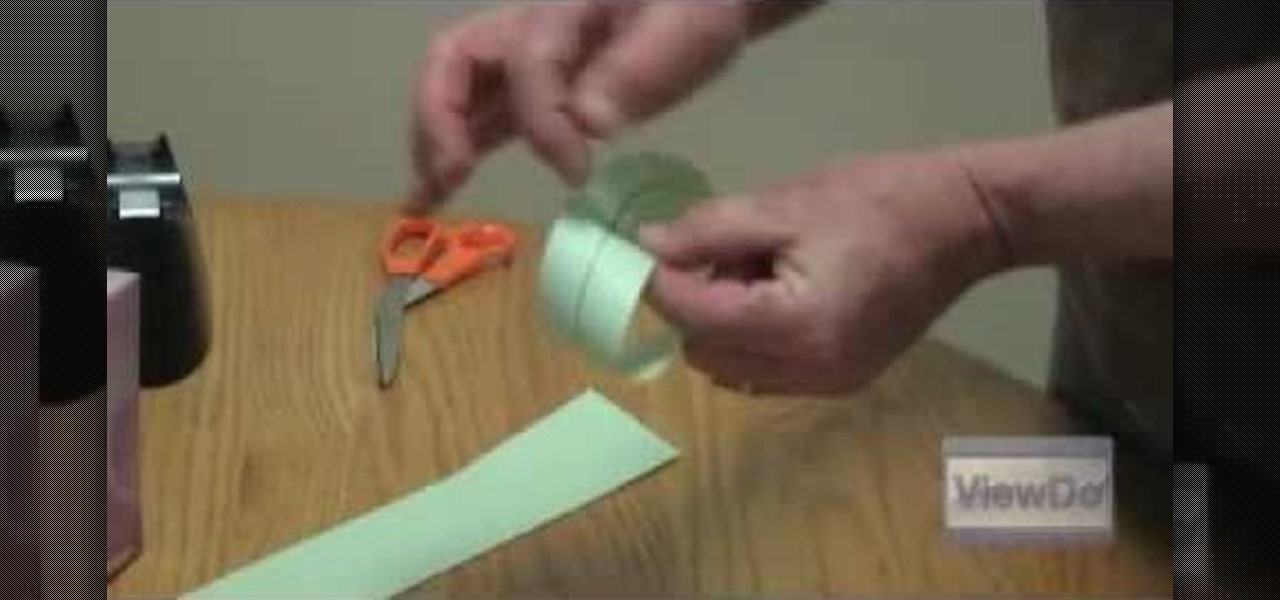
This video will show you how to make a 2 dimensional object in a 3D world. A well-known example of this is a mobius strip, which can be made with a strip of paper, scissors, and some tape. After cutting out a long strip of paper, you should take the strip of paper, give it a half twist and tape it together, making a loop. This loop, or mobius strip, exists in a three dimensional world, where by following the loop, you seem to always arrive at the same point. Furthermore, the loop can by cut d...
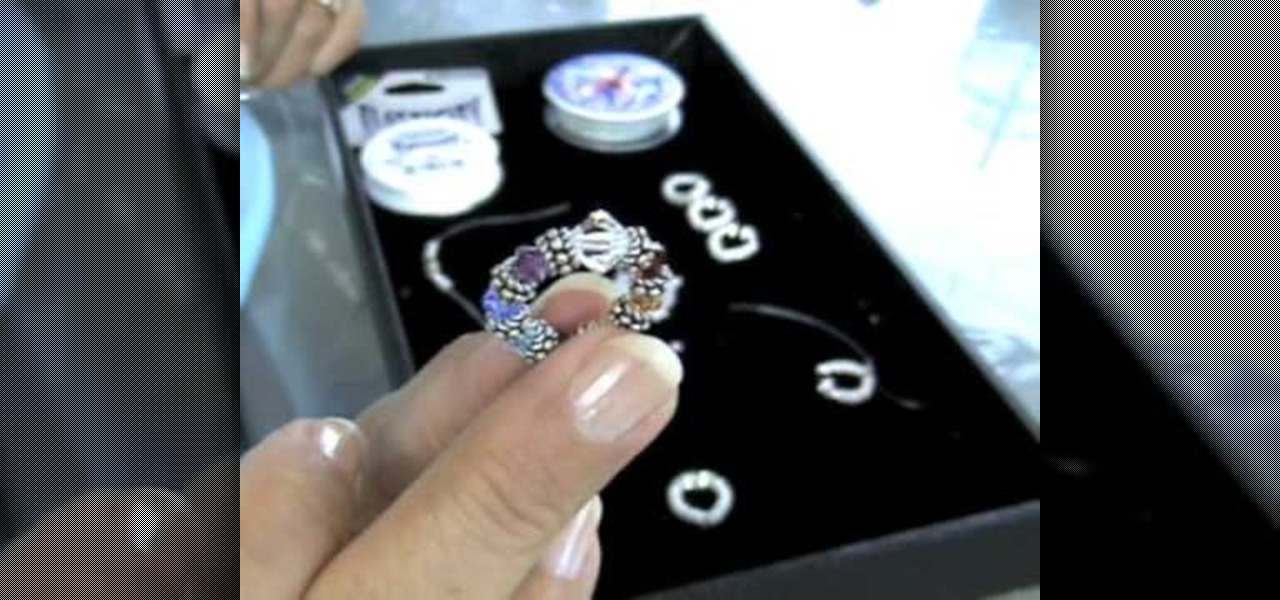
In this tutorial, we learn how to make an elastic Bali bead & crystal ring. First, you need to get all of your supplies together, which include: elastic cord, crystals, glue, beads, and scissors. Start by cutting a 6 inch piece of the elastic cord, then string a bead to the middle of it. Then take a crystal and string it onto one side along with another bead and a silver bead. After this, place more beads around the other side of the middle bead then put it around your finger to see if it's t...

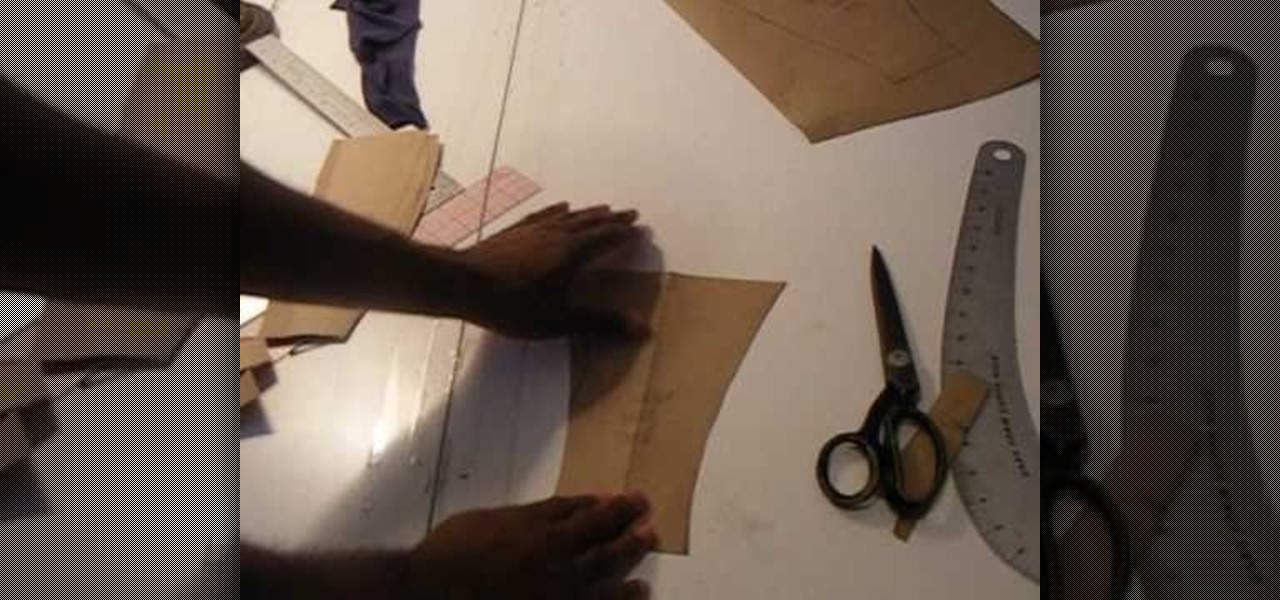
In this 3-part video, Chris White shows you how you can take an old pair of boxer briefs, make a pattern for new boxer briefs, and then create an entirely new one. You'll need some tools, and materials, including elastic, sewing machine with zigzag, serger, stretch fabric, pattern paper, scissors, thread, pins, rulers, and a pencil. Save some dough and make your own underwear that actually fits properly!

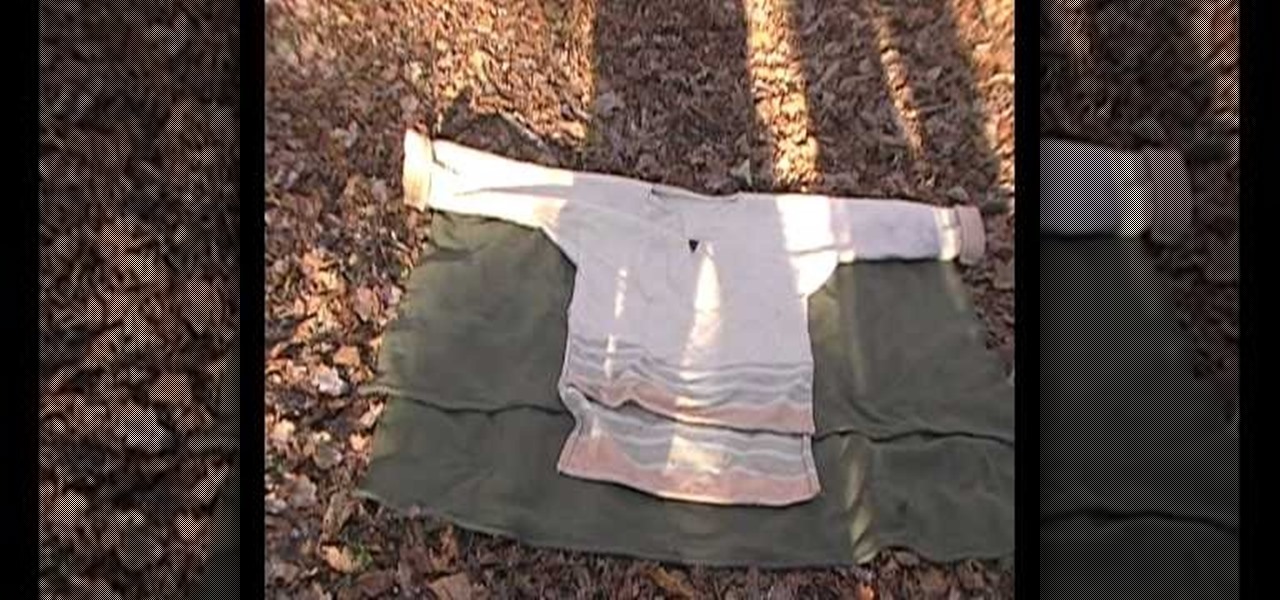
In order to pattern a wool blanket shirt, you'll need a blanket, scissors, a needle, and thread.

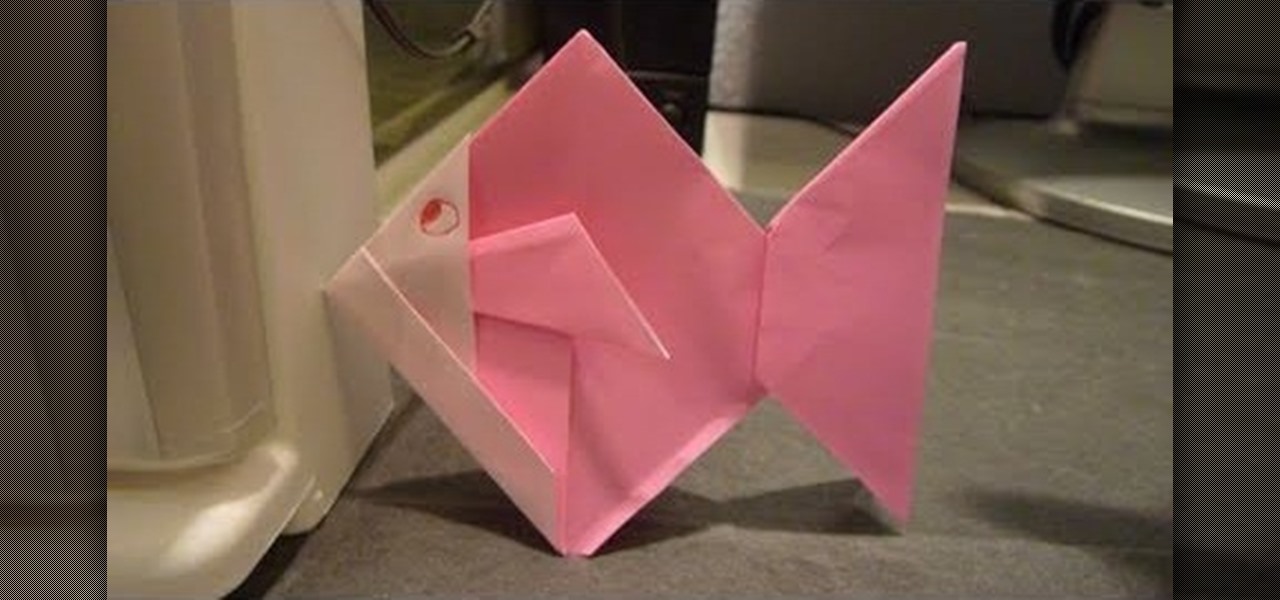
Okay, so we have to admit something to you: This isn't actually an origami craft in the strictest sense of the term. Origami dictates that an object be folded into being from a single sheet of paper, but for this goldfish we take a bit of a shortcut, literally. Instead of folding to get all the pieces in place, we make a few cuts to facilitate the fish-forming process.

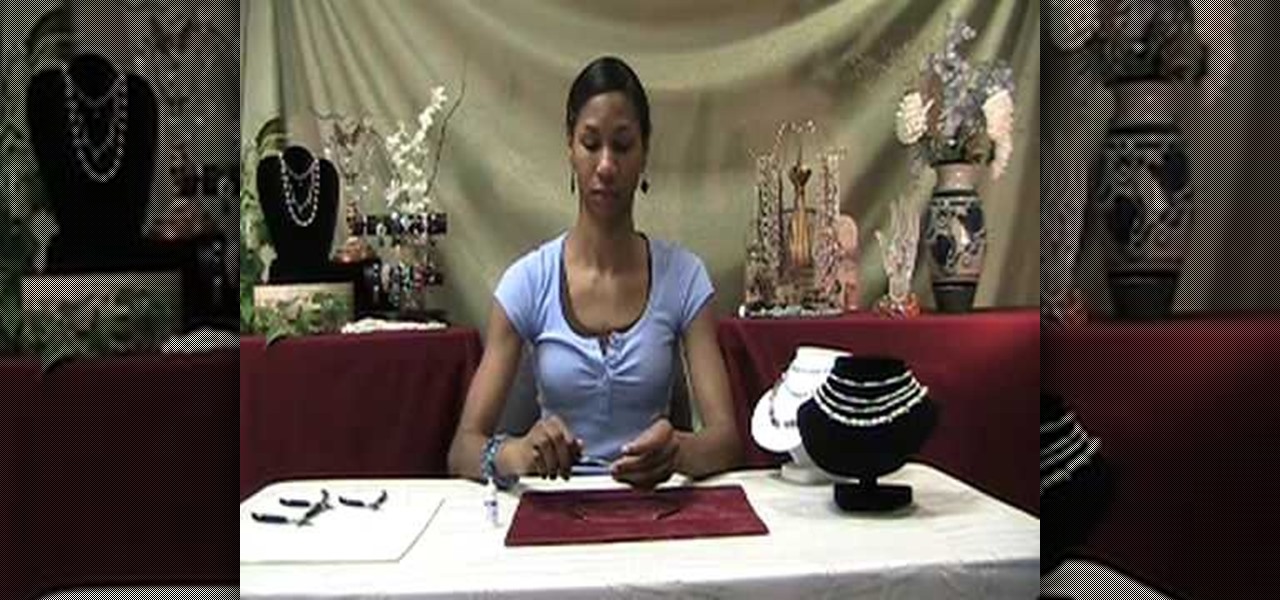
In order to make a neoprene necklace, you will need the following: neoprene, scissors, end caps, clasps, glue, and 2 pairs of pliers.

Bobs, both long (affectionately termed blobs) and short, are the hottest hair trend in Hollywood right now. A-listers like Eva Longoria and Victoria Beckham, who love the liberated, "modern girl" effect a bob tends to give off, have made the haircut high in demand at major salons.

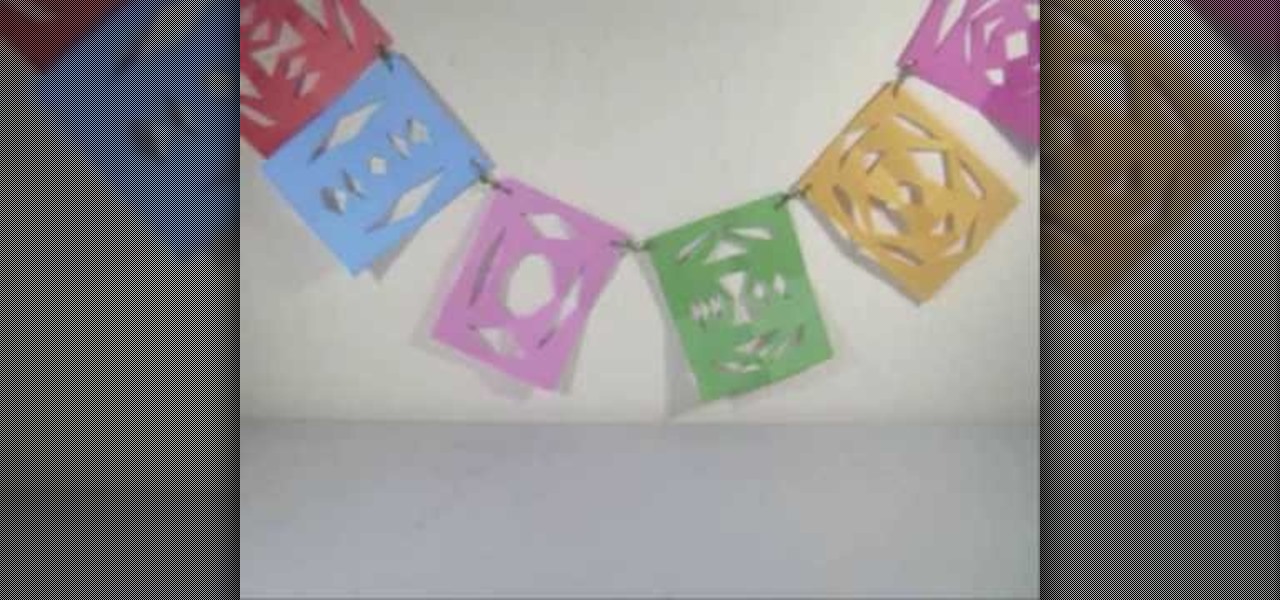
In this video tutorial, viewers learn how to make a colorful paper banner. This task is very easy, fast and simple to do. The materials required for this project are: construction paper, yarn, scissors and a hole puncher. Begin by folding the construction in half. Then fold it in half on again. Now cut pattern on the side edge of the paper and repeat this process for additional paper. Open the paper to reveal the symmetrical cut out pattern. This video will benefit those viewers who are inter...

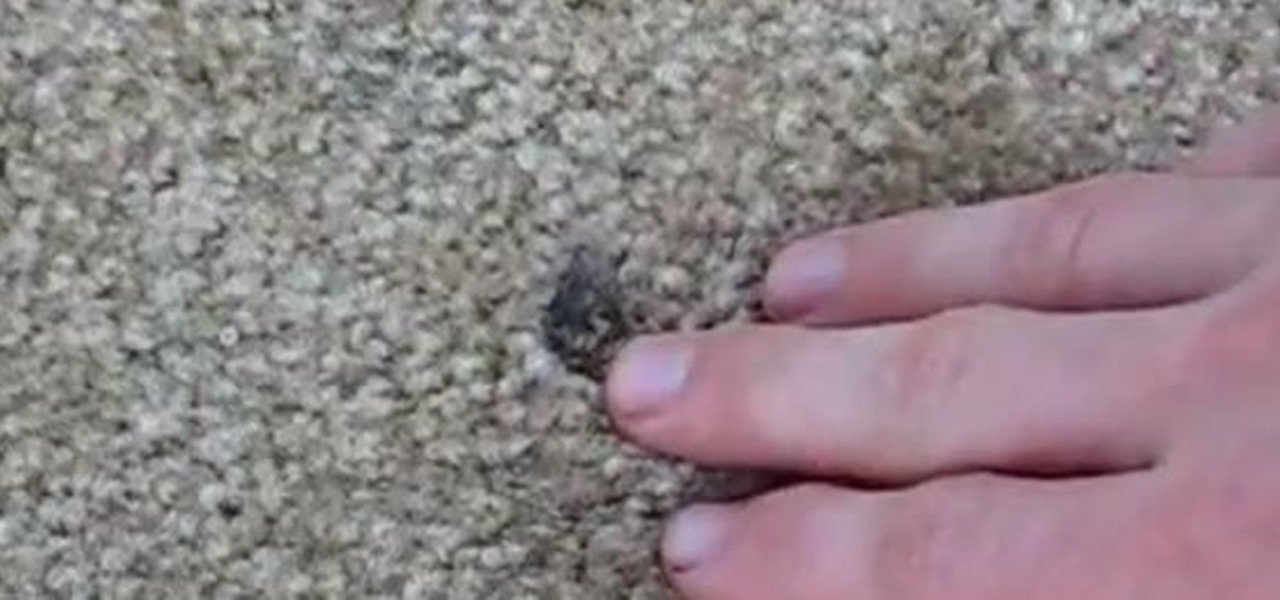
In this tutorial, we learn how to repair carpet burns. First, take some tongues and ruff up the surface to break up the burnt pieces that are inside the carpet. Next, take some Resolve and spray it onto the spot, then brush it with a handheld brush. After this, blot the area with a towel until it's nice and dry. Next, cut out a small piece of spare carpeting and then open up the area that was burnt. Cut it out with scissors, then replace this with the new carpet.

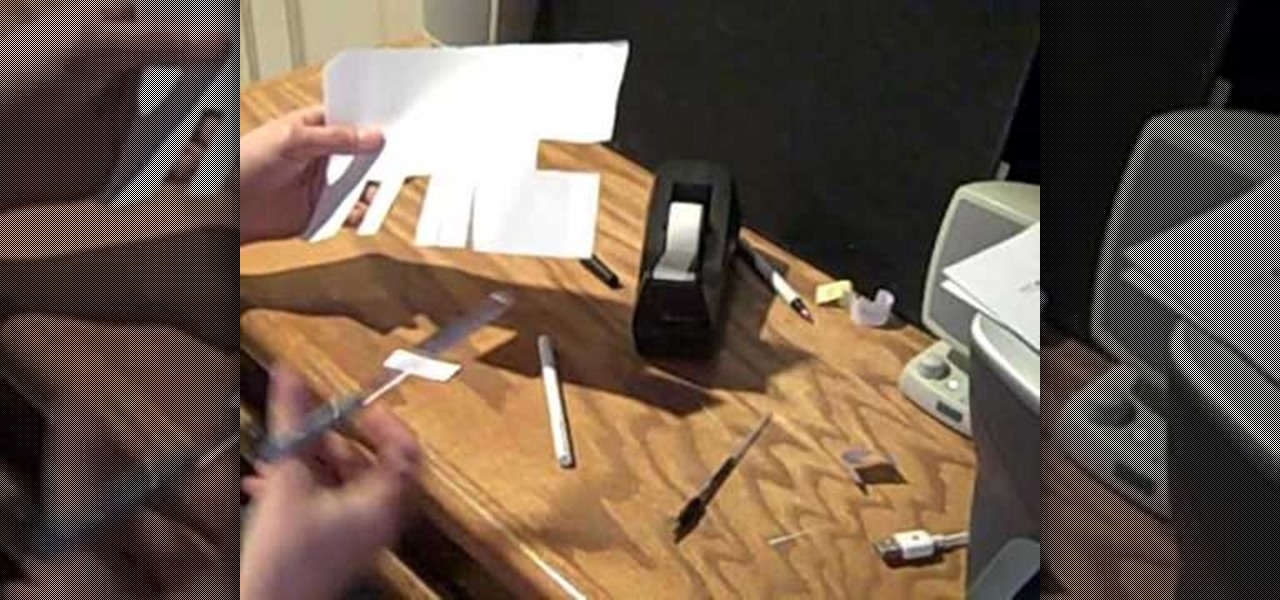
In this tutorial, we learn how to cheat on a test with a hollowed pen. First, grab your pen and take the top off the ink of it. Now, cut a small slip of paper out of a piece of copy paper. After this, write down the answers that you need for a test. Next, use the scissors to cut the side of the pen and make a slit in it. Now, attach the answer strip to the ink of the pen and place it back into your pen and put the top back on. Now, the sheet of paper that has the answers on it will hide in th...

In order to make a ribbon tree, you will need the following: 50 2" pieces of ribbon, scissors, a hot glue gun, hot glue sticks, and a floral tree.

Kameron Kay teaches us how to make a floating flower crystal toe ring in this tutorial. You will need: stretch cord, large crimp bead, flat nosed pliers, flat backed crystal flower, glue, and small scissors to make this. First, cut out your chord to the exact size that you need. After this, use glue to attack the ring into the middle of the string. Place a crimp bead on the bottom to help the bead stay in place, then glue these together as well. Next, tie this together and attach an end to th...

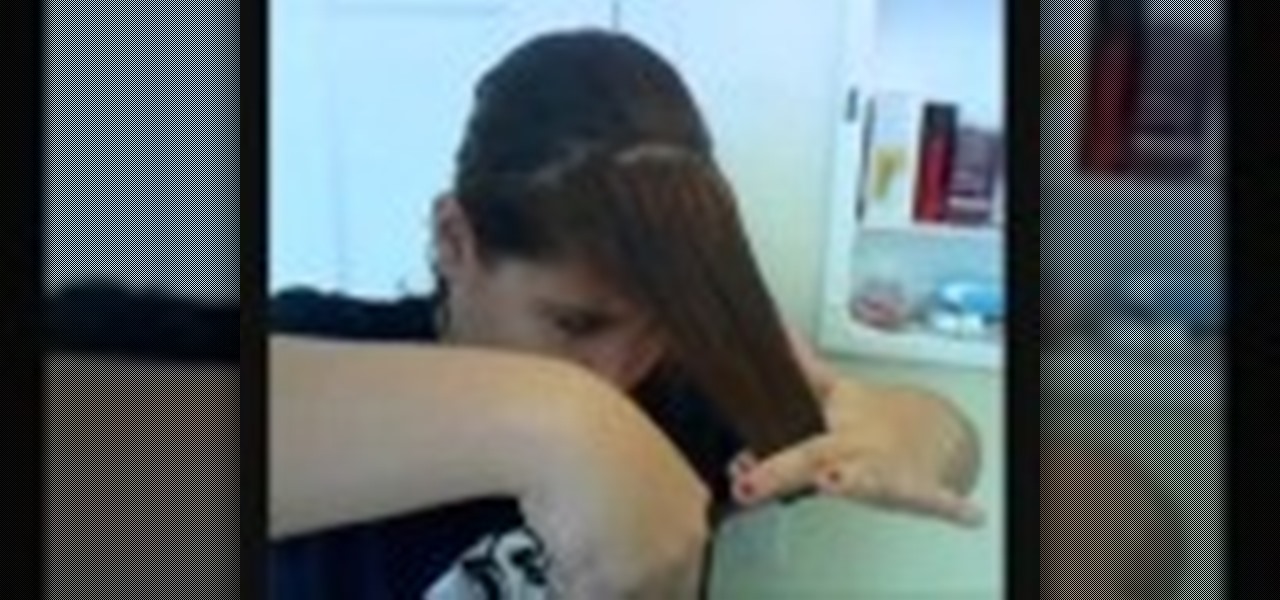
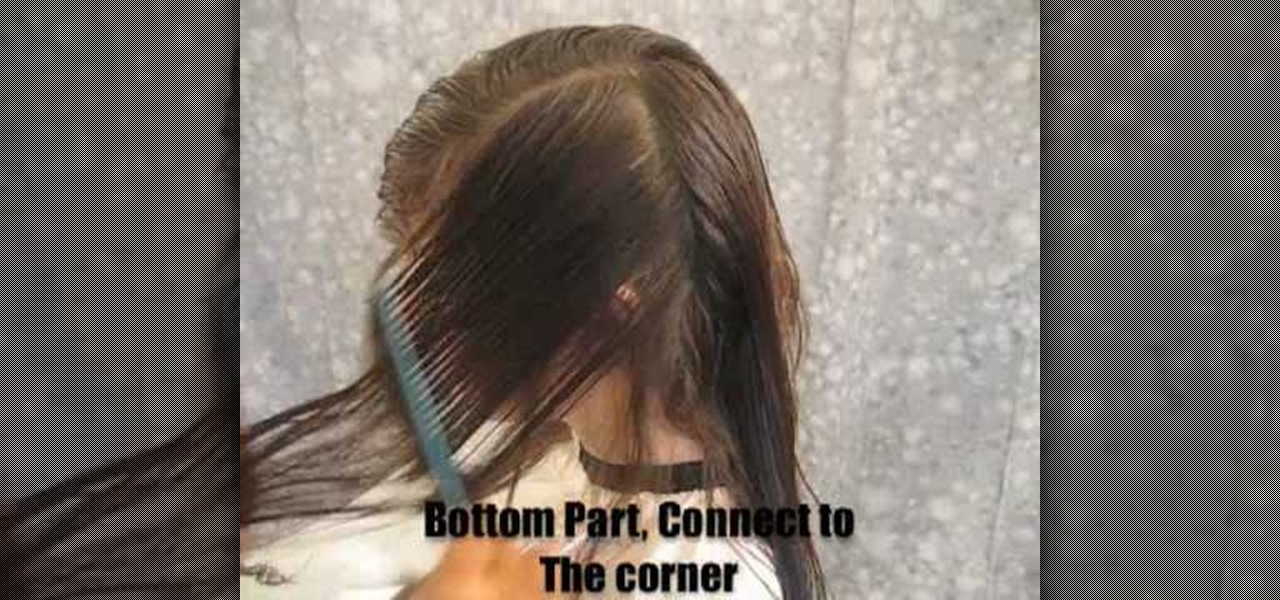
In this video, we learn how to easily cut your bangs. First, you will want to take a shower and have your hair went and brushed out. Next, part your hair so that your bangs are in the front and the rest of your hair is tied back behind you. After this, grab your scissors that are for hair cutting, and then level your hair out in front of you. Be sure to hold your head up straight and don't look too far down or up. Next, cut the bottom of your bangs where you want them to be at, then continue ...

In order to make your own envelopes, you will need a piece of paper, glue, scissors, and optional decorating tools/stickers.

In order to make an "I love you, Mommy" pop-up card, you will need the following: scissors, card stock, glue, and markers.

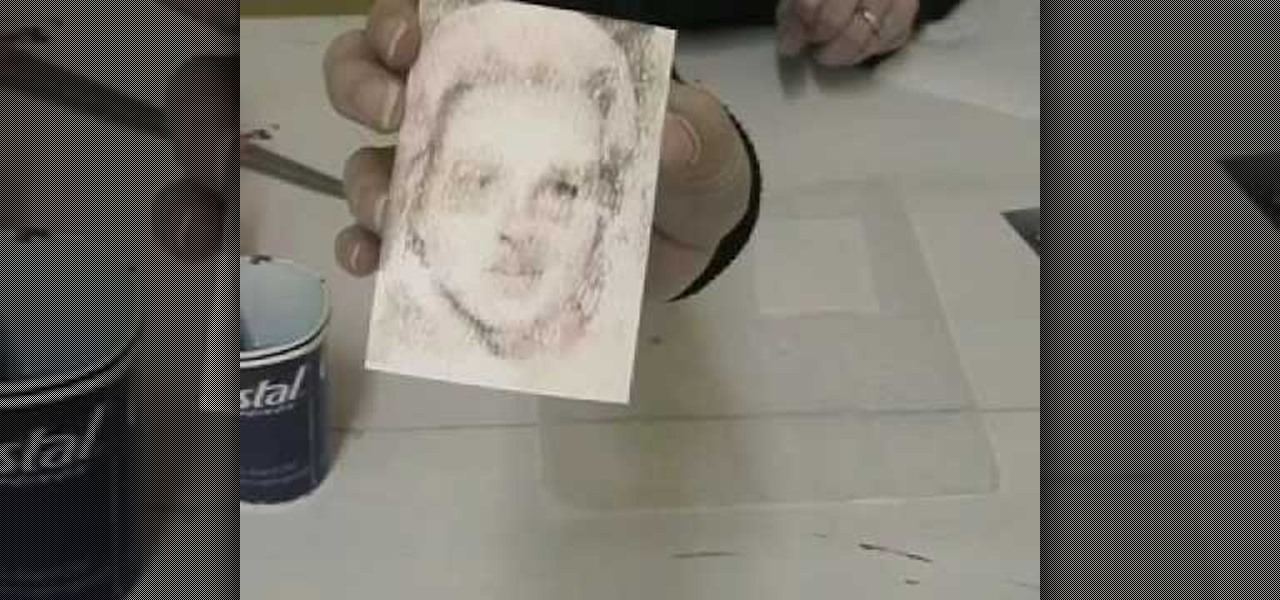
Make homemade trading cards of your family! These won't look exactly like baseball cards, or even feel like them, but they're cute and somewhat artsy depictions of your favorite photographs. You only need a few items (listed below), but make sure you have a nice photograph to transfer over. It won't look exactly like the picture, but it will look roughly hand drawn, but not quite. Definitely an interesting paper craft. Try it out. Experiment.

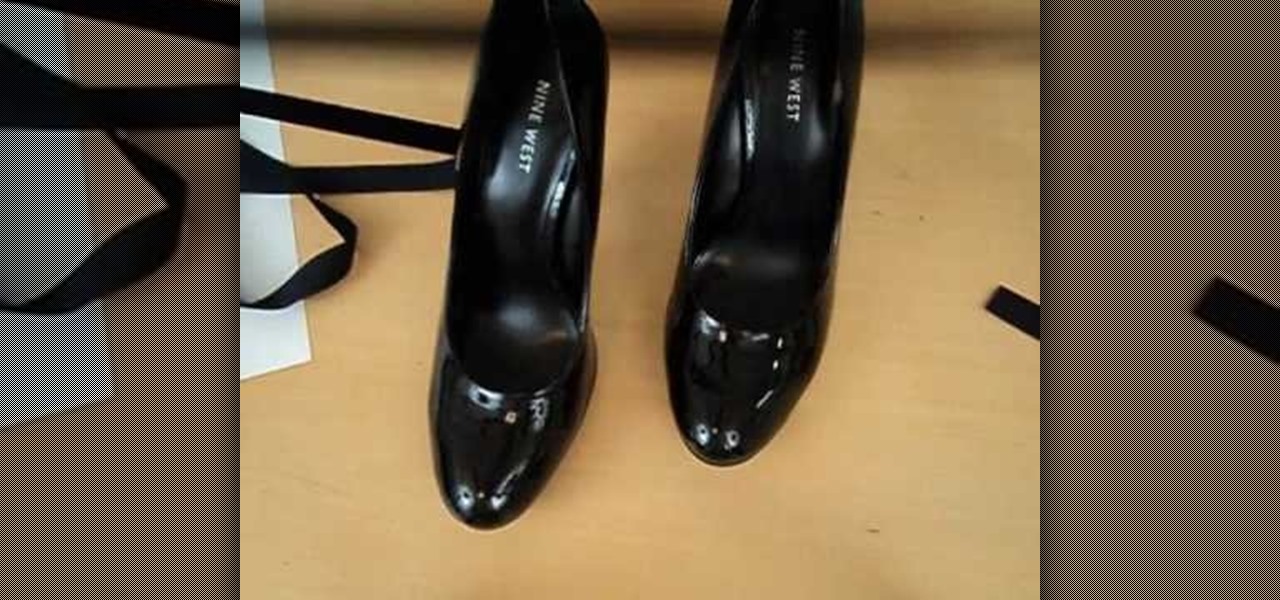
As kids, we had dreams of becoming a prima ballerina and dancing for the New York Ballet Company (while we loved dancing around our house in our skivies, we think it had more to do with the pretty tulle skirts and beribboned toe shoes). Dreams discarded, we are nevertheless still in love with any combination of ribbon and shoes.

In this tutorial, we learn how to do an arrowhead stitch when embroidering. Start off by pushing the thread through, then pulling it under, then back through at a diagonal angle. After this, thread it back through, making the same angle on the opposite end. As you continue to do this, you will start to see arrows forming after two stitches. Place the arrows one in front of the last to make the stitch complete. When you are done, you will thread the needle through the bottom and tie it. After ...

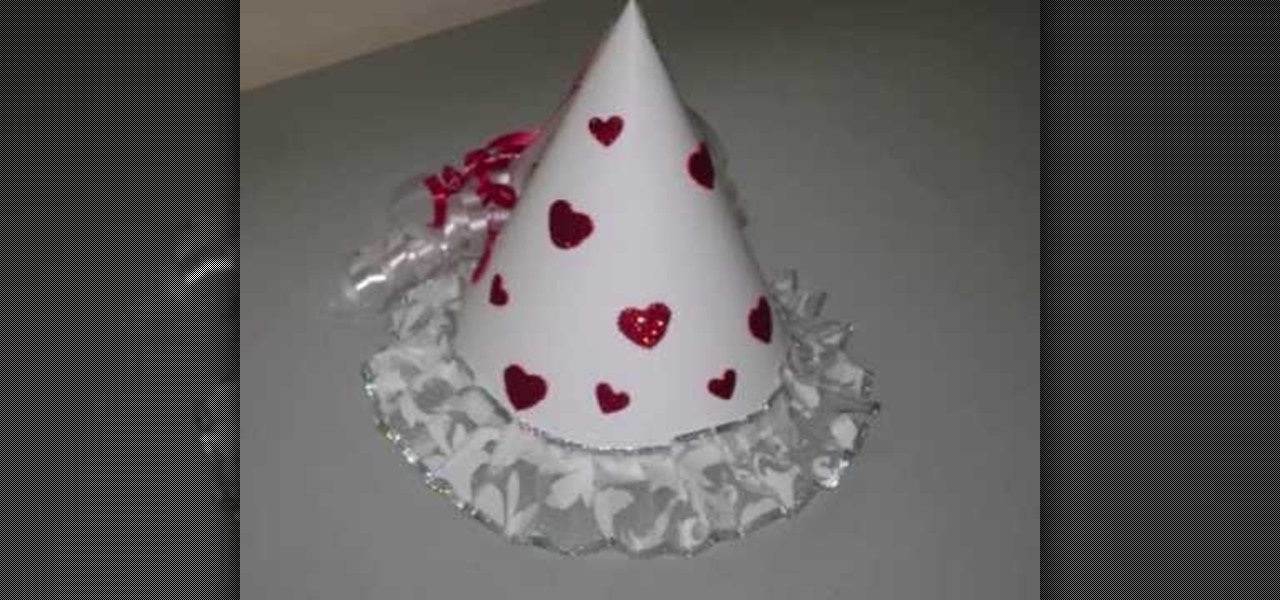
In this video tutorial, viewers learn how to make a fairy princess hat. The materials required for this project are: white cardboard/postcard, glitter stickers, glue, white lace/ribbon, red and white thin plastic ribbons and scissors. Begin by folding the white cardboard into a cone shape and glue it together. Trim the bottom of the cone. Then scrunch the lace ribbon to an accordion style fold and glue it to the bottom of the cone. Now decorate the cone with stickers or paint. Then glue the r...

Jim teaches us how to punch down a 24 port patch panel in this tutorial. You will need: cable scissors, a punch down tool, and 24 port patch panel. Now, strip the cable by cutting it and stripping down the wires. Now, attach the wires to the port punch panel by following the pattern of where the different colors are at. When you have these connected, use the punching tool to punch the wires down, then it will cut off the excess wire from the panel. When this is all done, you will want to tie ...

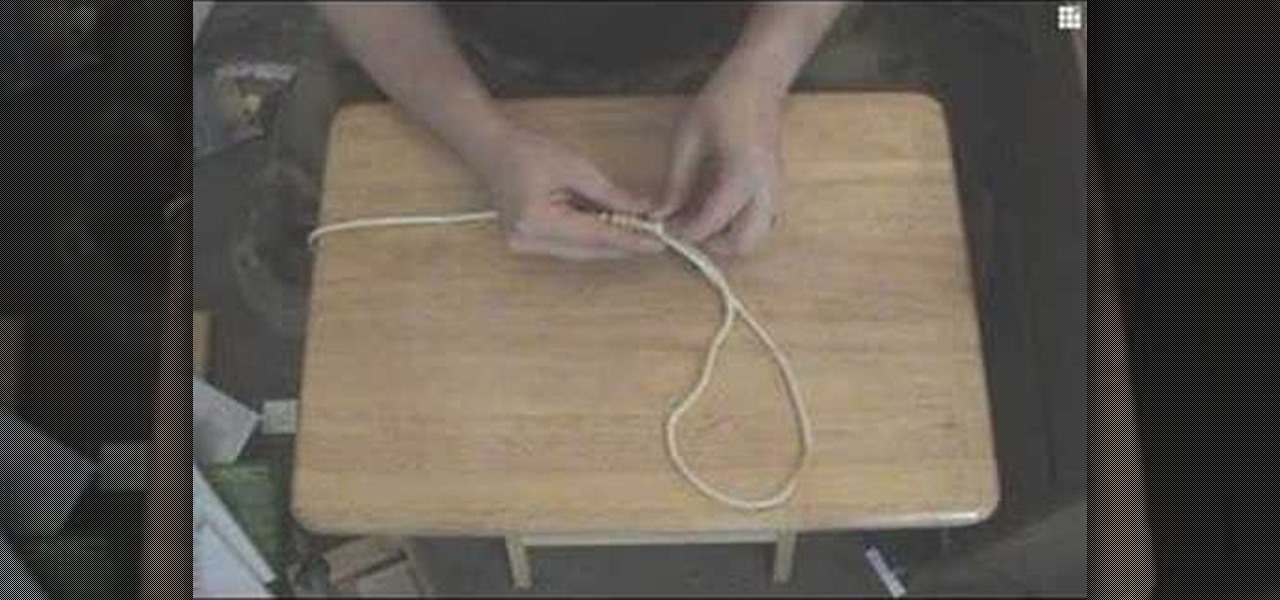
In this tutorial, we learn how to tie a decorative noose. First, form a loop and then and wrap the end around the loop thirteen times. Next, take the loose end and stick it into the coils you just made. Use a pencil and long scissors to help you do this. After you are done with this, tie a knot at the end and pull so the loop is tight. You can also clip off the loose end and pull the loop to make it larger if you prefer. When finished, use this as you wish but do not use it for violent activi...

In this tutorial, we learn how to make a lily out of paper and pipe cleaner. First, lay your hand flat on a piece of copy paper. Next, trace your hand with a pen or pencil, then cut it out with scissors. Now use a pencil or pen to curl the ends of the fingers you just cut out. After this, combine two pieces of gold pipe cleaner together and bend in half. Then, place a green pipe cleaner in the middle and make a twist to keep in place. To finish, wrap your paper hand cut out around the gold pi...

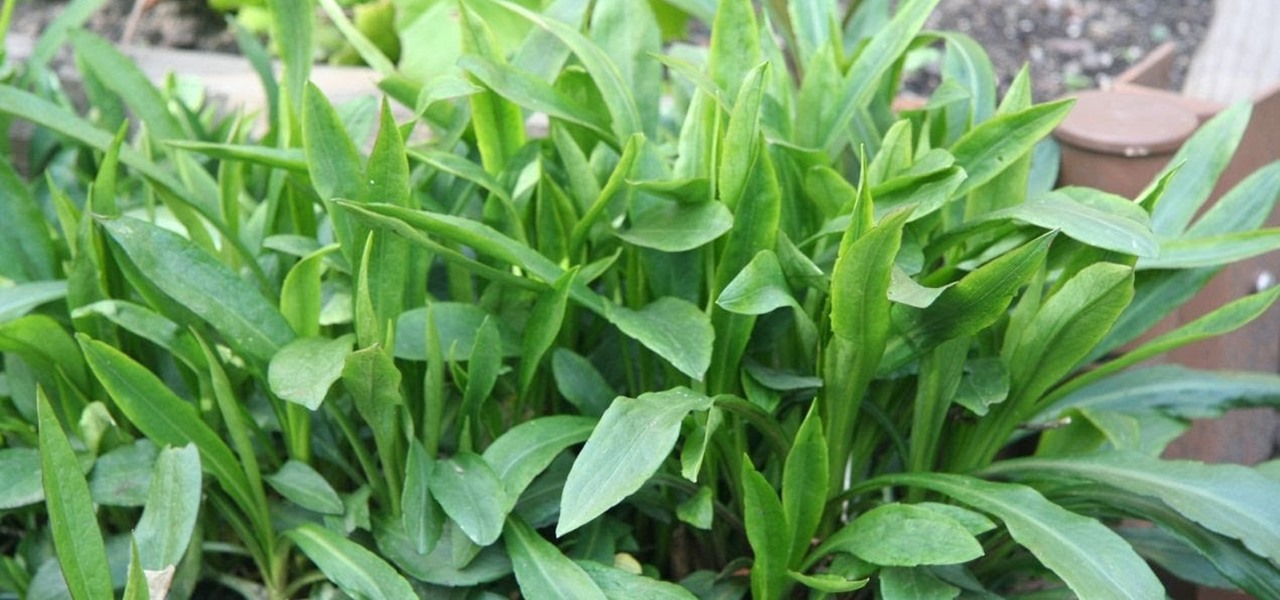
In this tutorial, we learn how to preserve and dry herbs. First, you will want to cut your herbs fresh from the garden. Next, use scissors to cut the herbs into small pieces. After this, place the herbs on a piece of wax paper on a plate. Now, place the plate into the microwave on half power for three minutes. Look at the herbs to see what they look like when they come out of the microwave. If there is still moisture in them, place them in a microwave again. Adjust the power and time you cook...

In this tutorial, we learn how to make a Victorian hat from a lampshade with Gwen. You will need: a lampshade, scissors, acrylic paint, paint brushes, glue, a compass, and cardboard. First, take the compass and make the circle as wide as you want your hat to be, then trace your lampshade on the cardboard. Now place the small end of the lampshade around the large circle that you drew. Next, cut these circles out of the cardboard. Leave extra room, don't cut it out exactly on the line. When fin...

In this tutorial, we learn how to make a paper turkey. You will need: a pen, tape, scissors, and papers. First, outline your hand on all the pieces of paper, then cut them out. After this, stack them together and then tape them. Next, cut out and apply the wattle of the turkey. Next, draw in eyes and feather details on to the turkey. When you are finished, you will have a cut turkey made in just a few minutes. This is a great project to do with children and only takes a few short minutes. Whe...

Got a bag of old t-shirts that have been with you too long that you don't want to throw them away, but are piling up too fast that you're tempted to toss them on the counter at the Salvation Army? Keep your old t-shirts by your side without compromising storage space by making tarn.

In order to cut a long layer haircut, you will need a good pair of scissors. You must stay in the exact same standing position the entire time. Bring all of the hair together on each side, in order to cut it.

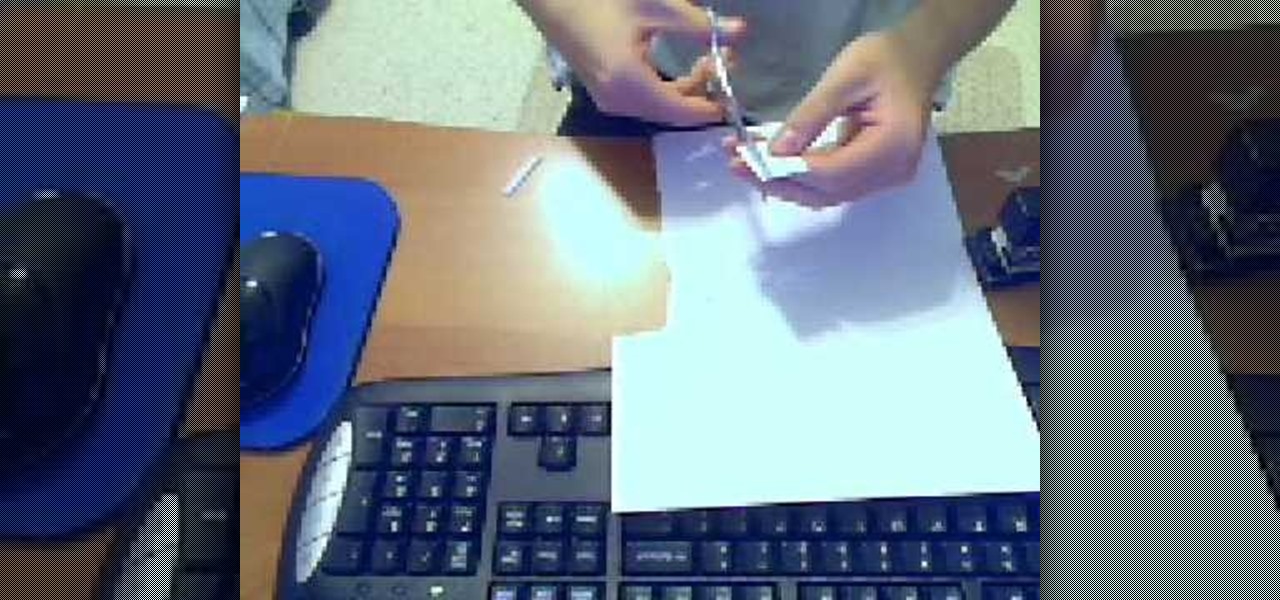
In this tutorial, we learn how to cheat on a test with a small paper. To make this, you will need printer paper, scissors, and a stapler. To start, cut a strip of paper out of the sheet, then fold it up into a small booklet and staple it together at the top. Cut off any edges to make it fit into the palm of your hand. After this, you will have a booklet that pulls apart and you can write inside of. Write answers to tests in this, then to hide it, place it in the palm of your hand between your...

In this video, we learn how to groom men's eyebrows with Aaron Marino. You will need: high quality tweezers, small scissors, fine tooth comb, and a pencil. First, use the pencil and place along the inside and outside of your eye to know where your eyebrow should start and stop. Now, take your tweezers and pluck the middle of your eyebrows, as well as the outside and underneath of the eyebrow. Next, take the comb and brush against the grain. Trim the hairs that come up at the top, making sure ...

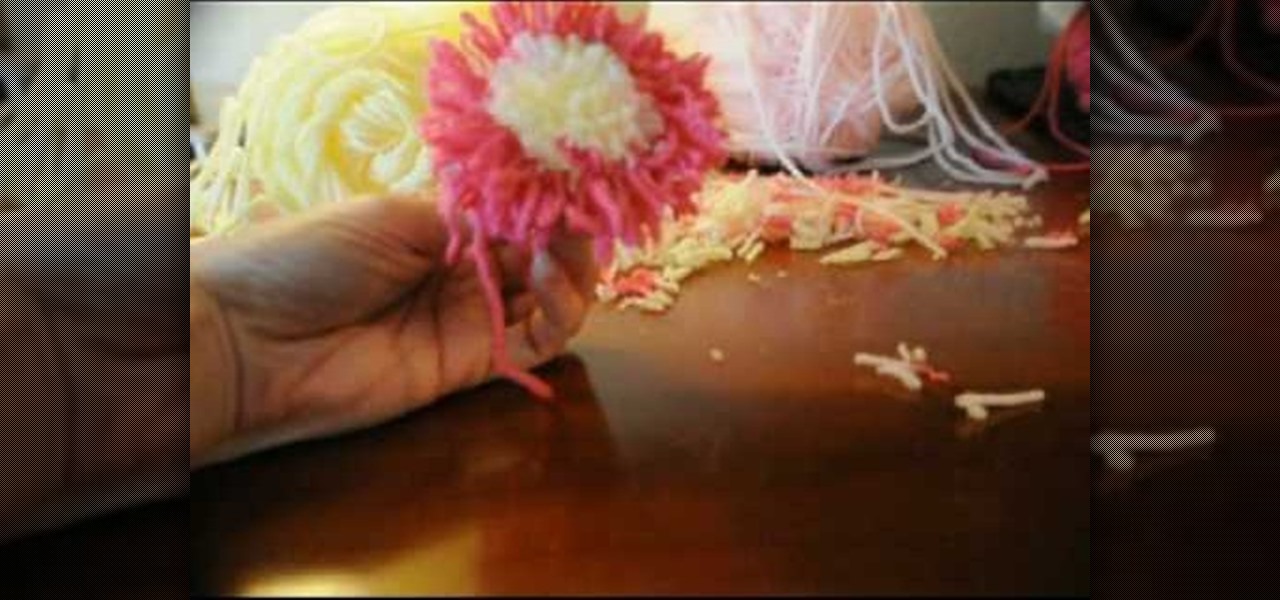
Tracey shows us how to crochet an easy pom pom flower in this tutorial. First, wrap your yarn around four fingers several times, and then wrap another color around as well. Last, wrap one last color on top of the middle color still wrapping around your fingers. Now pull the yarn off your fingers and tie a piece of yarn down the center of the wrapped yarn. Pull this as tight as you can and make as many knots as possible with this piece of yarn. Now cut your loops open with scissors through the...

In order to make trendy hair bows for your hair, you will need the following: ribbon, scissors, a hot glue gun, and hair clips or bobby pins.

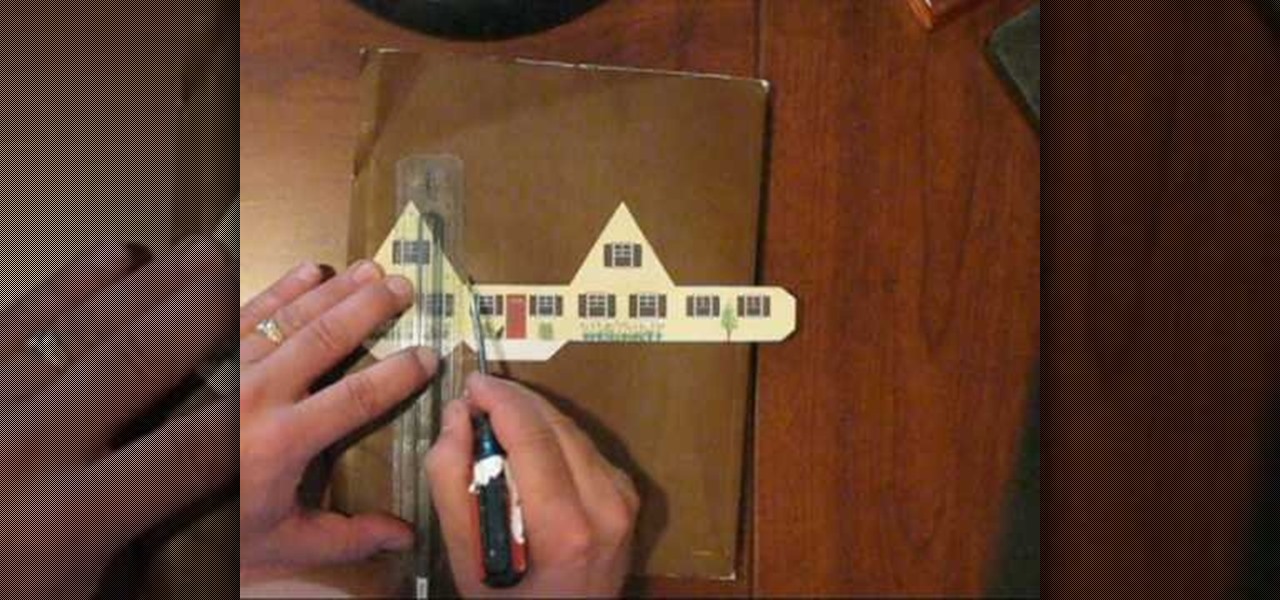
To make a Cottage Pop-Up Card, you will need the following: the printable pattern available at Victoria Norman Home , scissors, a ruler, cardstock, glue, and a flat head screwdriver.

In order to make a Shaker card, you will need the following: a 2" square punch, scissors, card stock, clear plastic, paper, glitter, beads, decorative cutouts, and 2 sided tape.

This video shows us how to make a DIY long vest out of a scarf in no time! You will need: a wide scarf, matching thread, other colored thread, safety pins, needles, and scissors. First, measure yourself shoulder to shoulder and add 15cm to that number. Next, measure 30cm on each side from the very middle of the scarf. Now, mark that spot with a safety pin and measure out another 30 cm on both sides, marking those spots as well. Now, bind the last two safety pins and sew from the bottom up to ...

In this tutorial, we learn how to make a tissue paper flower. You will need: pipe cleaners, scissors, and tissue paper (three different colors). First, twist three pipe cleaners together to make a stem. Next, cut your tissue papers all into the same size, mix colors to get a prettier flower. Now, layer the sheet and fold the papers as many times as possible. Cut the ends in a triangle shape, then spread the papers again and fold up again in the alternate direction. Now using your papers and p...

In this video tutorial, viewers learn how to make a stencil. The materials needed for this project are: contact paper, scissors and a pencil. Begin by drawing the design, shape letter or number on the contact paper. Make sure to draw the stencil on the back of the paper and make it reversed. When finished drawing, carefully cut out the design. To use it, simply peel off the invisible paper and place it onto the surface of the artwork. Then trace over it. This video will benefit those viewers ...


