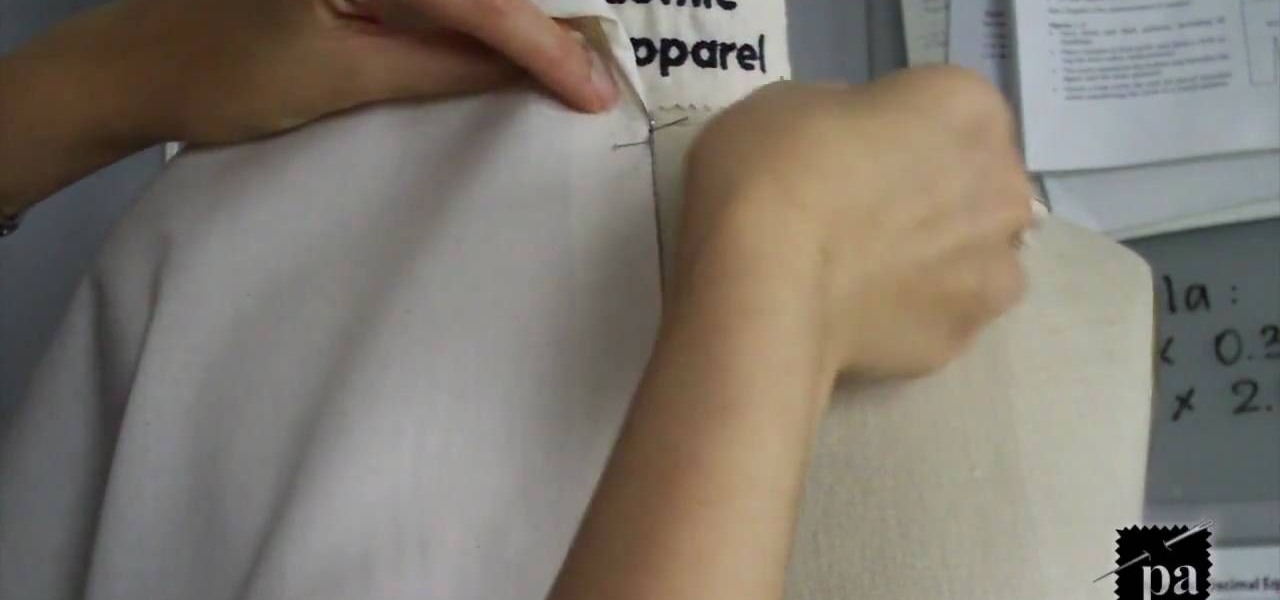
For beginners, sewing can be a confusing a difficult hobby that requires patience and the right tools. Whether you're adding a button on a shirt or creating a dress from scratch, being detailed and precise is important.
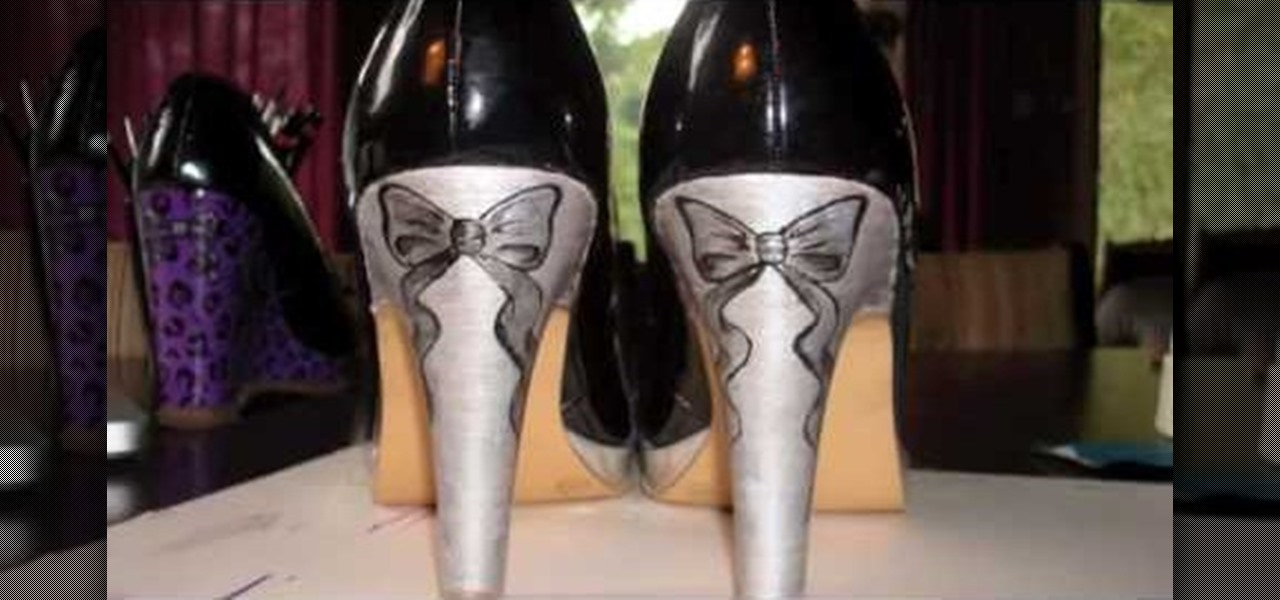
In this tutorial, we learn how to paint a pair of high heels with Anne. You will need: paints, varnishes, paintbrushes, pencils, pen, designs, scissors, sticky tape, and carbon paper. First you will need to paint both of your heels with a solid color, doing two base coats. Next, pick out a design you like and cut it out with carbon paper and tape it to the heels with sticky tape. Make sure to place the carbon paper facing down. Next, use your pen to trace the pattern along the heel. Now use a...
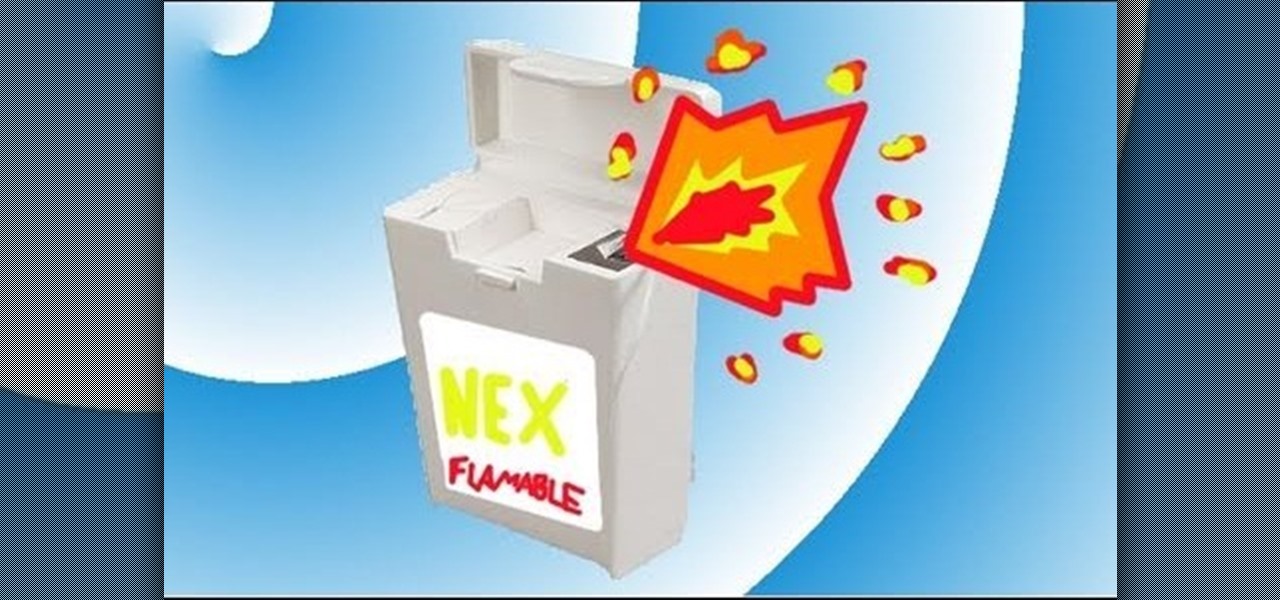
Party poppers are magnificent. They can be used for a plethora of pranks— basically, any prank where the victim / target has to open something. You can use party poppers on practically any household item, but this video covers the much used dental floss container. The exploding floss prank is easy to do yourself, and requires only the floss container, the party poppers, scissors, and a screwdriver. Once your prank target goes to use their floss, they'll have quite the grin.
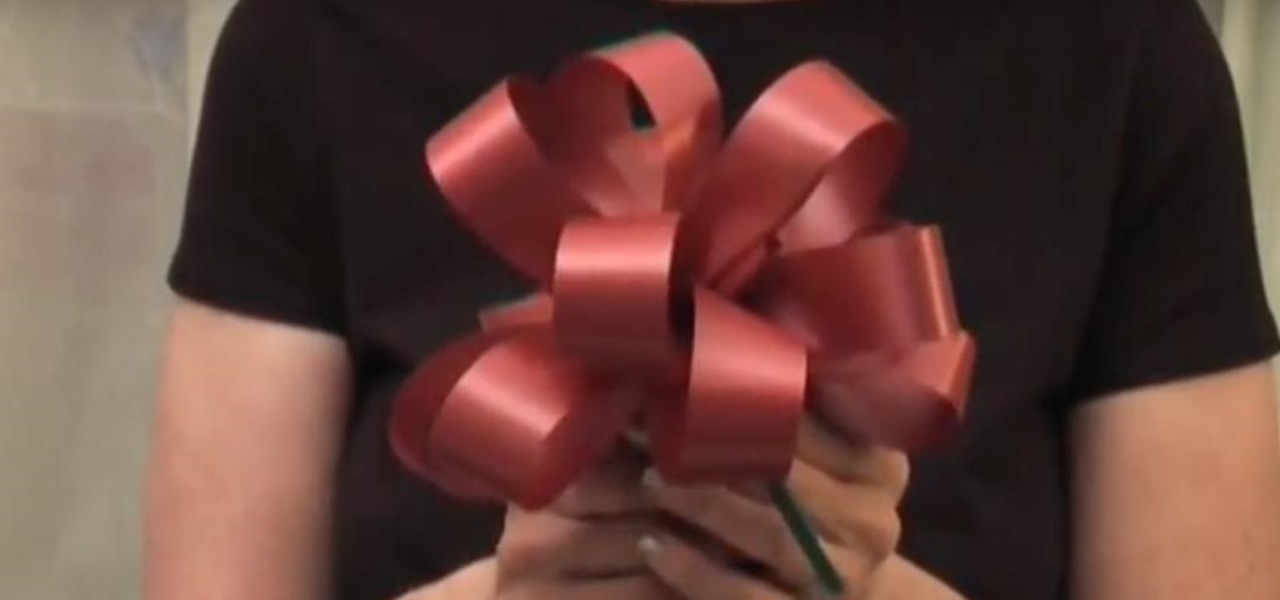
Looking to give your party a more decorative atmosphere? In this video, Judy of A-BnC Parties and More, Inc. shows how easy it is to make a decorative bow with ribbon, a sharp pair of scissors, some curling ribbon or a twist tie, and the knowledge held in this how-to. One can use these bows to decorate your wedding, place them on chairs, canopies, or even add them as an accent to gift baskets. Take your party decor to the next level with help from this free tutorial.
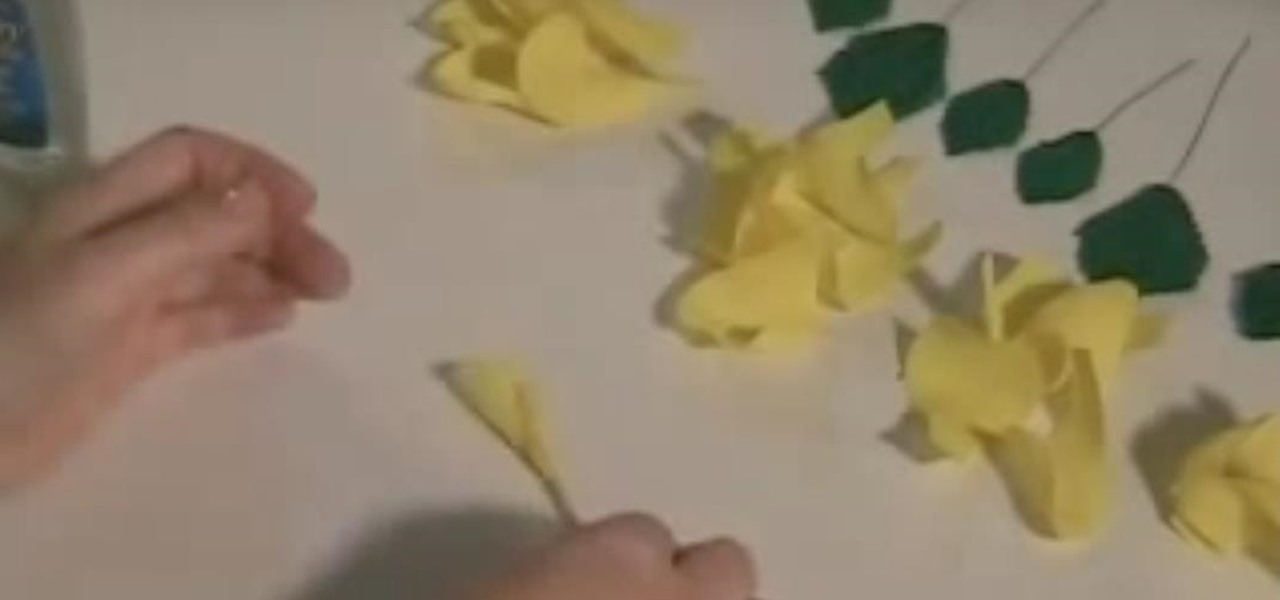
This video shows us how to make paper flower with ease. Here are the following steps: Step 1: Gather paper, glue, scissors.

This video describes how to make a fancy-looking stationery card set holder. First, take a card and cut it down to 10*6.5 dimensions. On the 6.5 inch sides, score 1" each. On the 10 inch sides, score 1", 7" and 8". Using a pair of scissors, cut flaps on the 10" side on the scores upto 1". After cutting these slits, you can do any designs on the card in order to make the holder look beautiful. Now fold the card along all the scores to make creases. Now, using glue, stick the flaps together. Fo...

In this how to video, you will learn how to build your very own rain gauge. You will need tape, scissors, rain gauge ruler, and a jar. First, go to the website shown and print and cut out the ruler on the screen. Next, cut the tape strips. You will need them to be about 5 inches in length. Next, attach the rain gauge ruler to the jar. You will do this by placing the ruler on the tape and place the ruler on the jar. Make sure the ruler is aligned with the bottom edge of the jar. Take the secon...

In this video from ChickerOutItsSARA25 we learn how to make a fake lip or nose ring using a spiral notebook. At the end of the spiral notebook, pull out the spiral so one loop is out and take your scissors and cut it. Bend it until it breaks off. Now you have a small ring. Bend it into a circular shape to it looks like a nose ring or lip ring. Now before you go and get an actual piercing, you can see what you would look like with a nose or lip ring by making your very own face lip or nose ring.

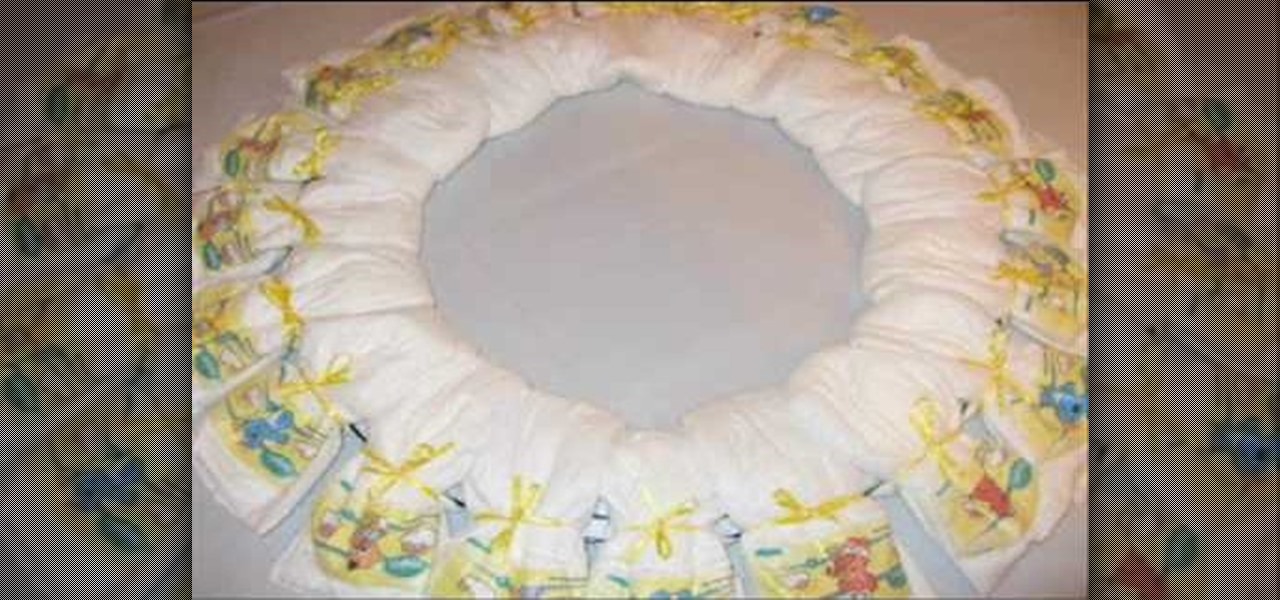
In this how-to video, you will learn how to make a disposable baby diaper wreath. You will need 20 size 1 disposable diapers and a wreath that is 12" to 18". Scissors, ribbon, and bows will be needed. Purchase some baby accessories such as pacifiers and toys. First, open the diapers. Put them in a sandwich shape around the wreath. Time them to the wreath with the ribbon. Do this until the entire wreath is filled. Make sure they are tied on tight. Place a toy on every three or so diapers. Tie ...

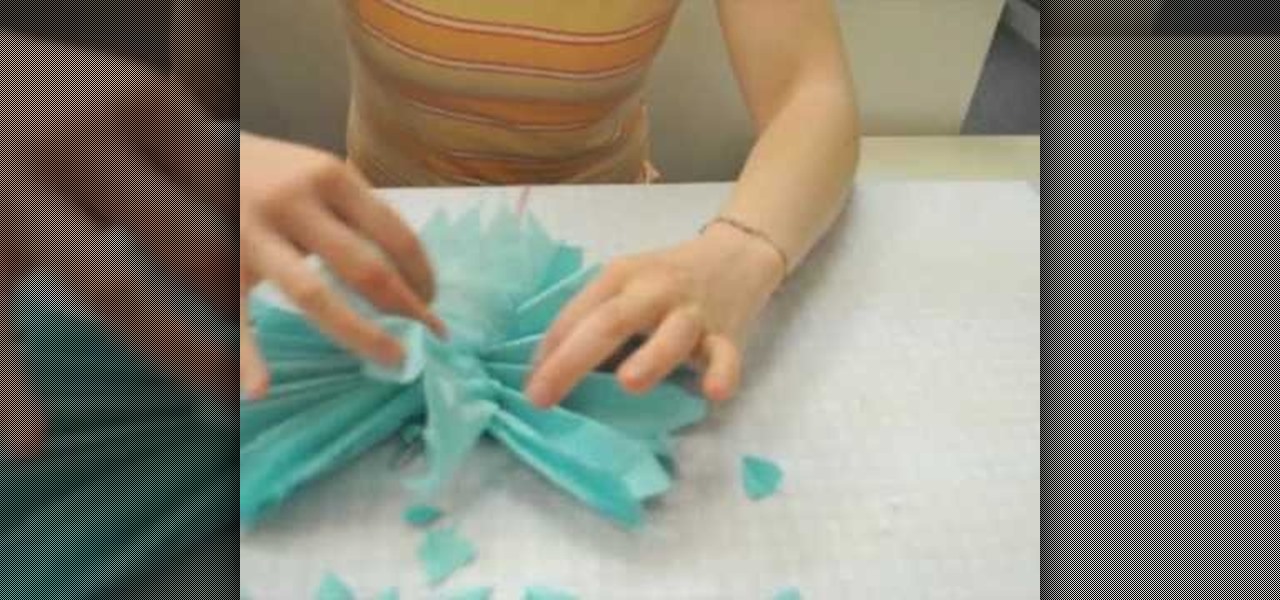
This video shows you how to make a puff flower ball using tissue paper.Spread out a tissue paper,of any colour,on a table.Keep one of the short ends of the paper,facing you and away from you.Then fold it back and forth,from one short to the other side until the whole of the tissue paper is used up.Fold this into half and release.Take a piece of ribbon and tie it on the center.Give the edges a pointed, partyish look by cutting them using a pair of scissors.Now take a single piece of tissue pap...

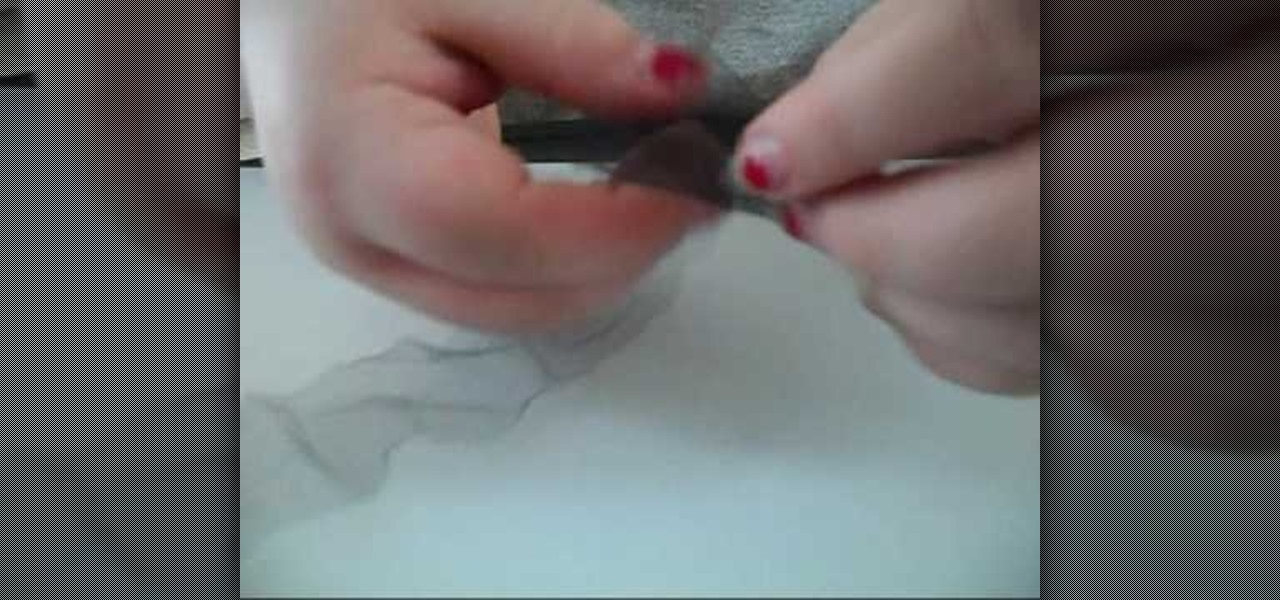
This is a video tutorial describing how to construct a mini loofah for your dollhouse. The first step is to gather your supplies. You will need a needle, scissors, thread, and tulle. The tulle and the thread should be the same color. Next your tulle should be cut to be 1.5 feet long. Then bunch up the tulle so that it is small and compact just like a loofah. Next you should thread your needle. Next sew the tulle so that it stays in the shape that you would like it to be in. Finally cut off al...

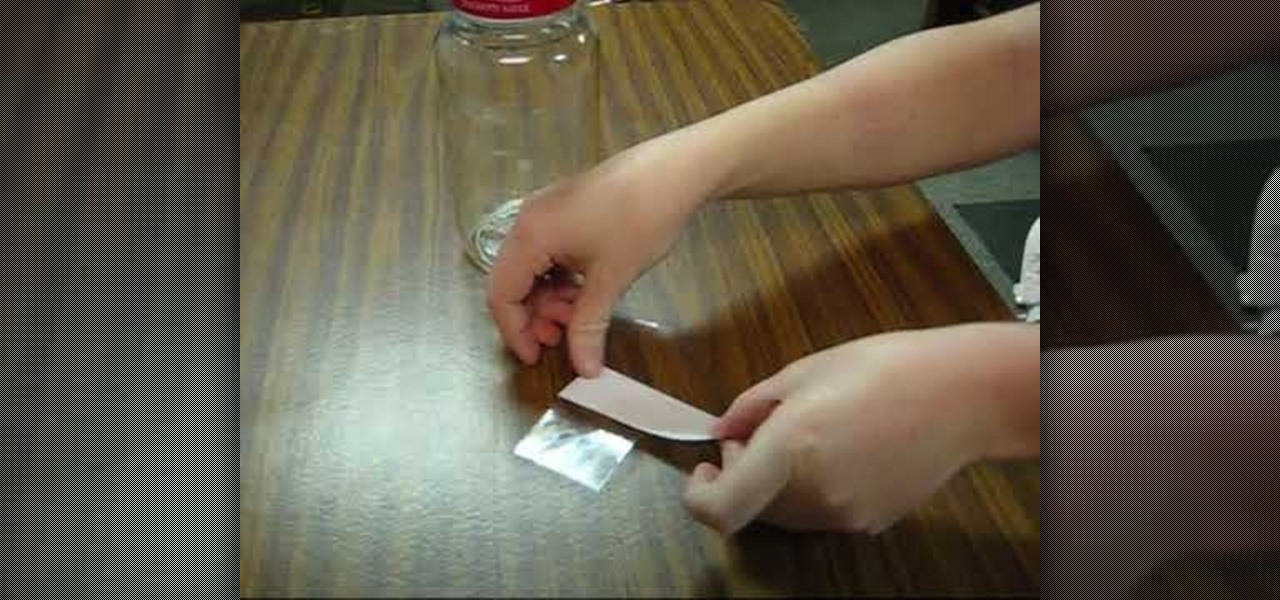
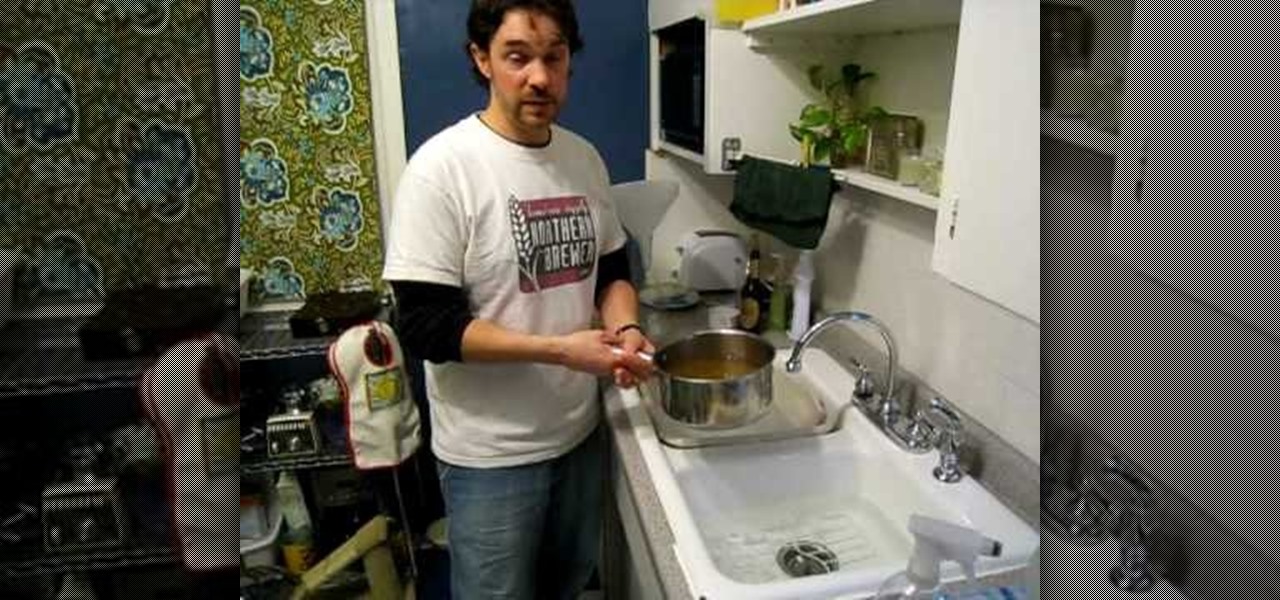
In order to make starter years, for home brewing beer, you will need the following ingredients and supplies: water, sanitizer, DME, scissors, refractometer, a magnetic stir bar, aluminum foil, yeast, and a funnel.

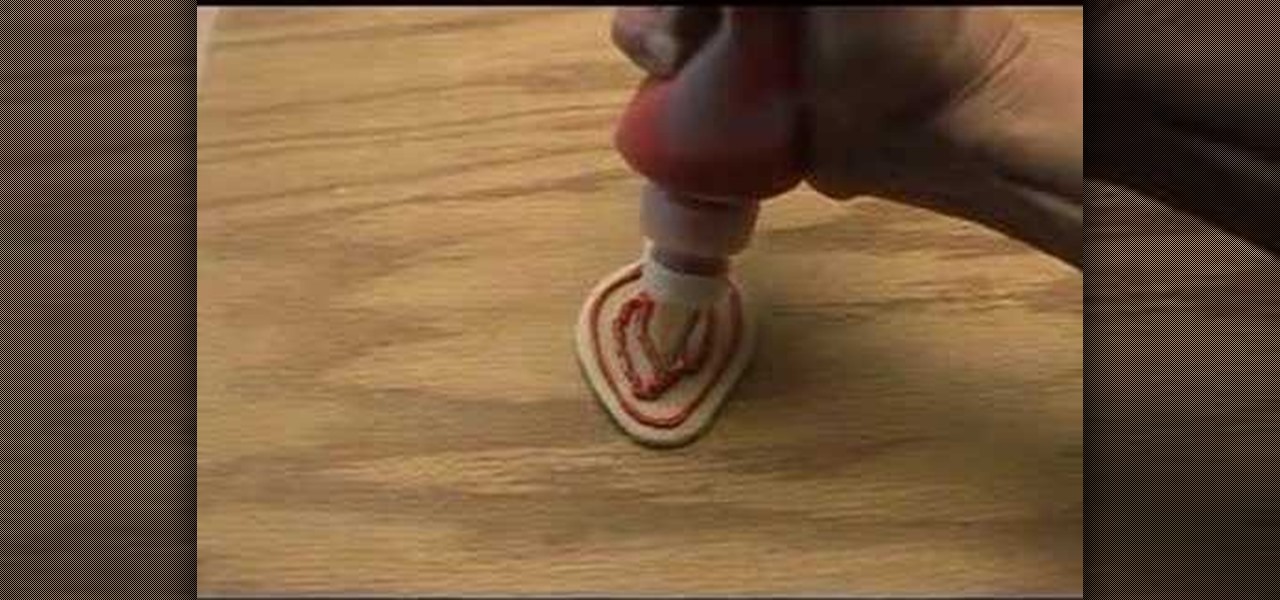
In this video tutorial, viewers learn how to use squeeze bottles to decorate cookies. Using a squeeze bottle is more easier than using pastry bag. This video reveals 3 sizes of squeeze bottles. There is an 8 oz, 2 oz and 3 oz. To get icing into a squeeze bottle, put the icing into a bag and clip the corner with scissors. Then gently squeeze the bag to let the icing go into the bottle. This video will benefit those viewers who enjoy baking and making cakes, and would like to learn how to use a...

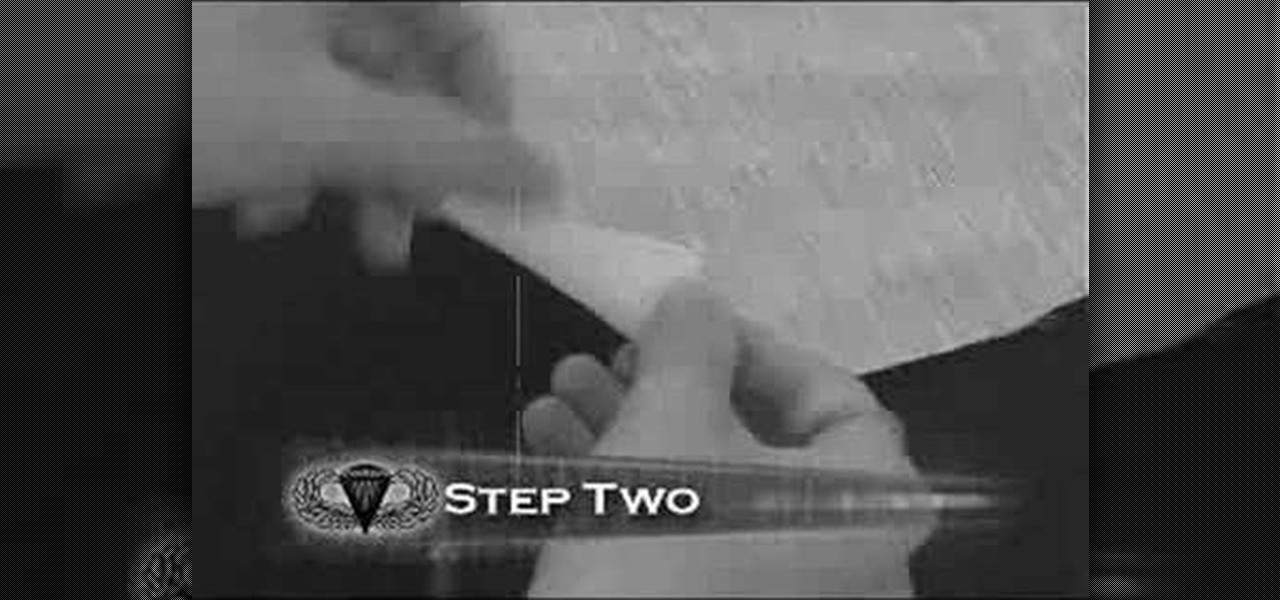
In this video tutorial, viewers learn how to make a toy parachute. The materials required are: lightweight fabric, ruler, scissors, string, 4 hole button and a toy army man. Begin by measuring a 10x10 inch square on the fabric and cut it out. Fold over each of the 4 corners and cue a small hole. Measure and cut 2 lengths of 36 inch string. Take the string and tie it to one end of the hole on the fabric. Run the other end through the button hole and tie it to the diagonally opposite hole on th...

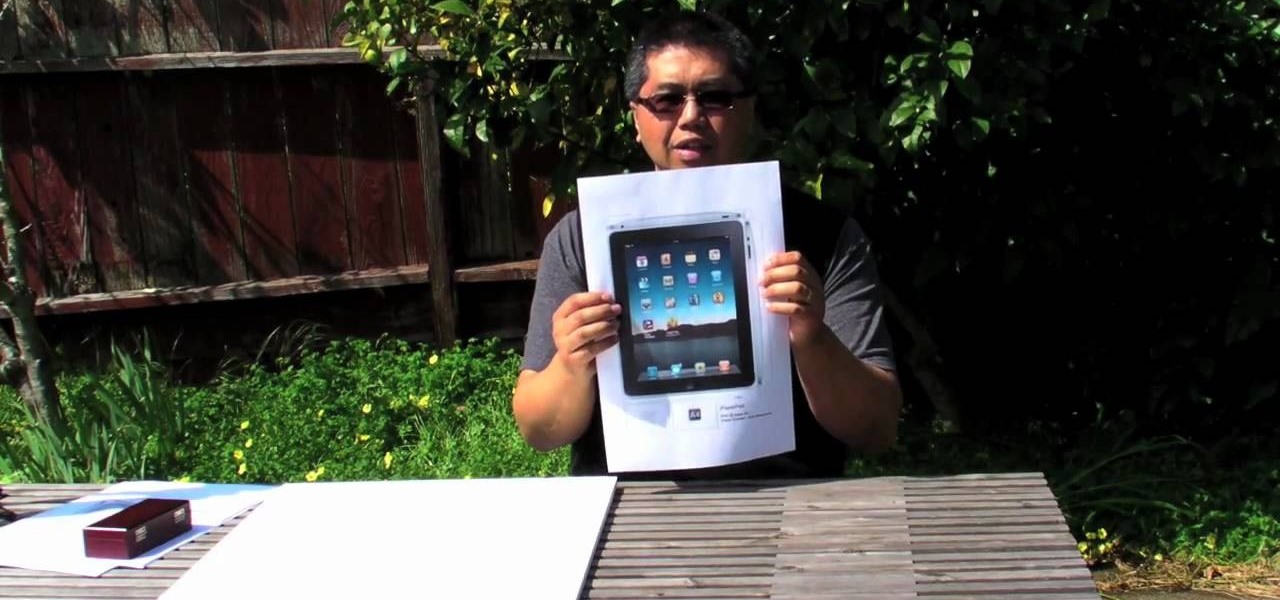
Do you know someone that wants an iPad but can't seem to afford one? Well, here's a great way to do an April Fools Day trick on that friend or family member by giving them a fake home-made iPad. Roman Loyola shows you how to make a fake iPad out of foam and paper. The tools you will need is a half inch thick foam board, a pair of scissors, a glue stick, a ruler, a blade, and most importantly a print-out of the iPad template. Start by cutting out a square of foam board that is the size of the ...

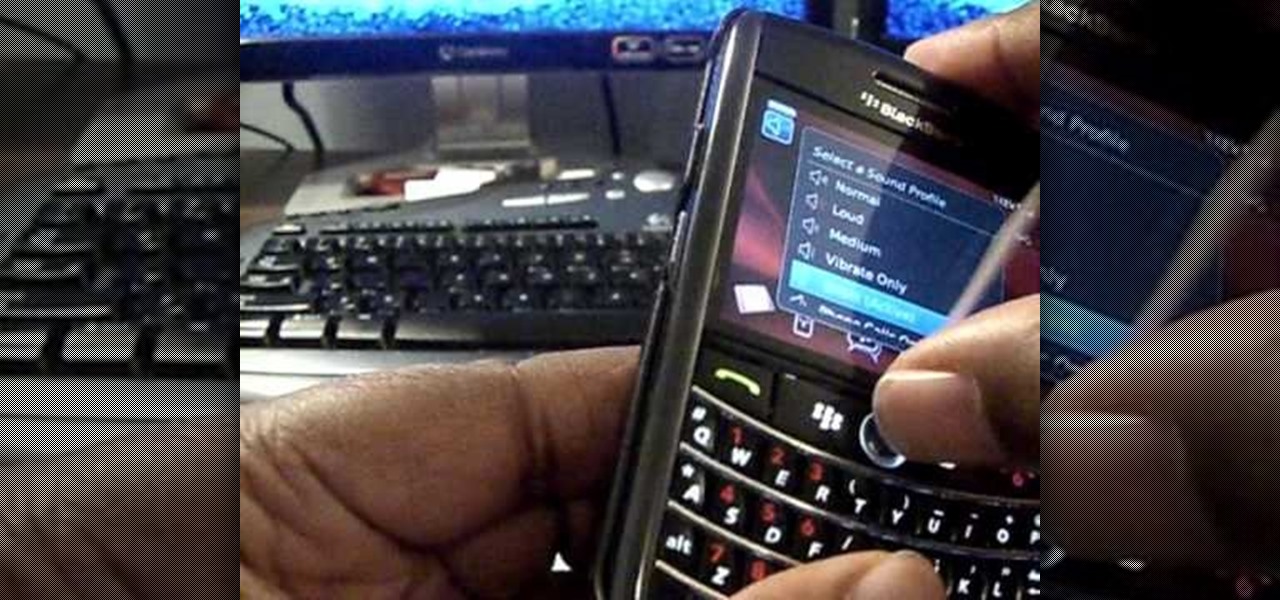
Follow these simple instructions from Zeevideo to clean the track ball on the RIM BlackBerry Tour 9630 device. Using two simple items: a clean sheet of paper and a pair of scissors can clear most of your track ball issues. The BlackBerry Tour 9630 dose not have a removable track ball unit so to clean the trackball cut a small piece of paper that can be use to manure under the inset of the trackball, using your thumb move the trackball to the side allowing just enough space to slid the slip of...

This video demonstrates how to make a hexagon from a square paper. Fold a square paper into half horizontally. Fold this rectangle into half again forming a square one-quarter of the original size. Fold the open edge towards the center fold on either side forming a crease. Take the closed corner and fold towards the center crease. Open the center fold and fold it inwards. Fold the corner towards the diagonal edge on both sides, this forms a cone like structure with a paper edge at three-quart...

In this video, learn how to make a cute baby blanket with nothing but a piece of fabric and a pair of scissors.

In this Family video tutorial you will learn how to make a spiral sun catcher. Take a contact paper and draw a spiral on it starting at the center and drawing out wards. Now remove the backing of the contact paper and lay it down sticky side up. With markers, color in the spiral. Then take the contact paper and lay it on top of the backing and smooth it out. Now cut along the line of the spiral with scissors. Tie a piece of ribbon to the inside end of the spiral and now you have a spiral sun ...

In order to make an accordian- fold style greeting card, you will need a piece of card stock, glue or adhesive, scissors, markers, and stencils/stamps. Cut the cardstock in a diagonal. Fold the card into 3rds, lengthwise. Cut a 5 x 3 ¼” panel at an angle. Use Masking Magic and stamp the excess card stock. Cut out your stamp designs. Color in your designs with Sharpie brand permanent marker pens. Glue the 5 x 3 ¼” cut piece to the card, or you could use 2 sided tape. If you have addition...

In order to make a Cuttlebug Smoosh Card, you will need the following materials: card stock (at least 3 different prints or colors), a ruler, distress tool, double sided tape or glue, distress ink, watermark stamp pad, decorative accessories, and scissors.

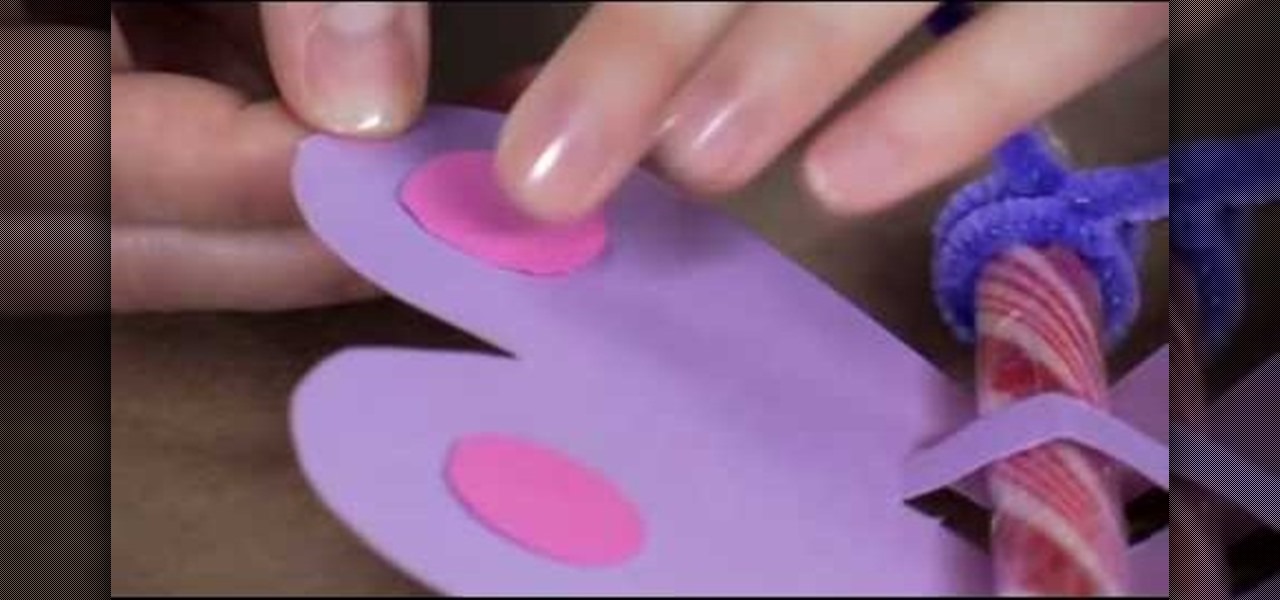
To make a butterfly Valentine card, you need scissors, coloured pencils or candy stick and pipe cleaners. The first task to do, is go to Family Fun and print the butterfly template, which you can find on the site. Print your template into coloured cardstock. You can find cardstocks in the scrab-booking section of your craftstore. Cut out your butterfly from the template. Cut along the dotted line to create a slot for your pen or candy stick. Next we rap the pipe cleaner on the top of the cand...

In this tutorial, learn how to turn baggy men's t-shirts into cute, feminine outfits. Did you sleep at your boyfriend's house and forget to pack a second change of clothes? No problem! When he's in the shower, sneak into his closet and swipe one of his shirts. Grab the scissors and start styling! You will be ready and avoiding the walk of shame before he can reach for his towel.

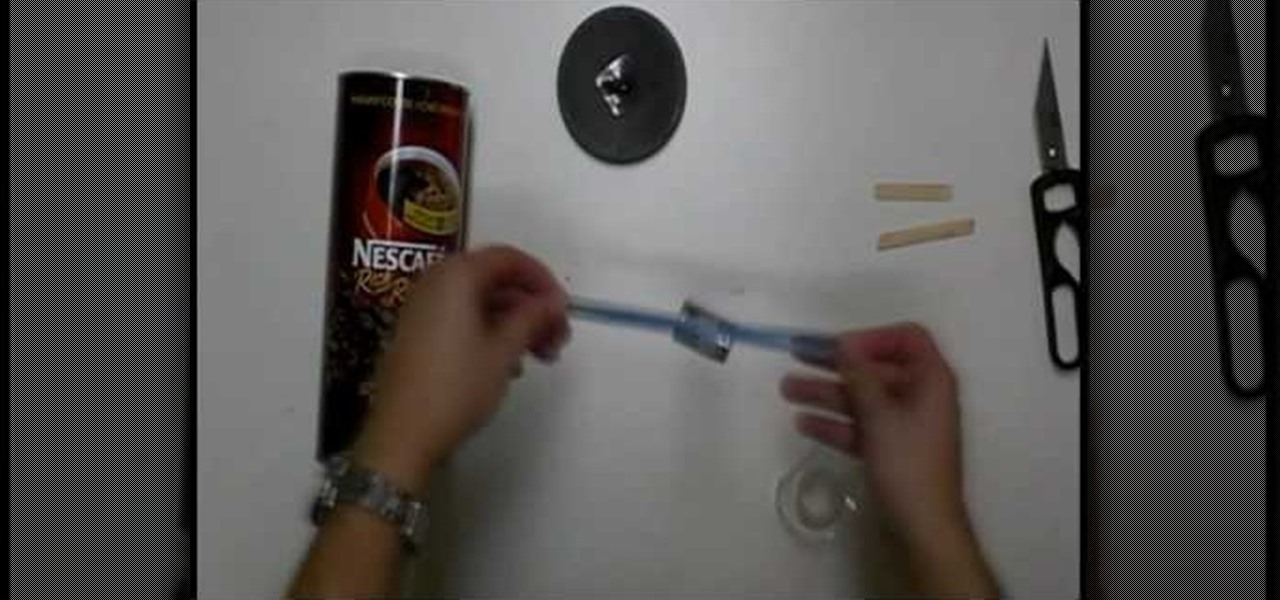
This video tutorial in Hobbies & Toys category will show you how to build a magic rollback can. For this you will need a can with lid, rubber band, weight, tape, sticks and scissors. Make a hole in the center of the lid of the can and also on the bottom of the can. Attach the rubber band to the weight with the tape as shown in the video. Pass one end of the rubber band from inside the can through the hole in the bottom of the can and put a stick to hold it in place. Pass the other end of the ...

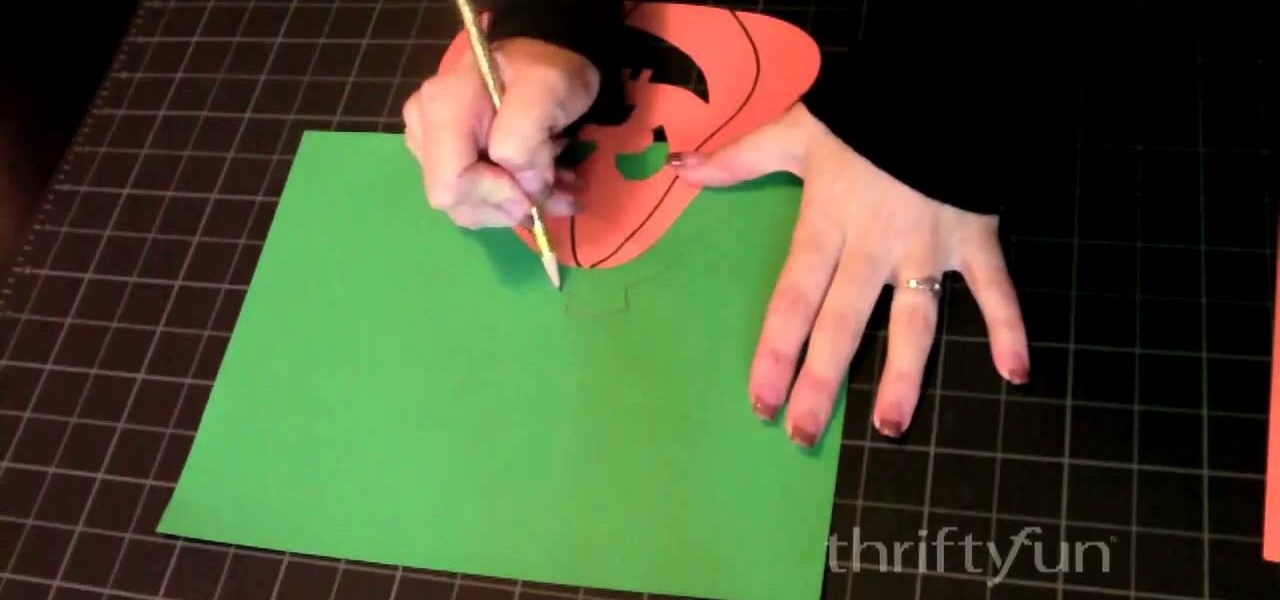
This is a fun and easy craft demonstration that shows how to make a paper jack-o-lantern with orange, green and yellow construction paper, scissors, tape, a pencil, a black Sharpie and an X-acto knife. Begin by drawing a jack-o-lantern on the orange paper. Use the knife to cut out the eyes, nose and mouth. Cut a top out of green paper and attach it with tape on the back. Cut out a piece of yellow paper and tape it to the back, to show through the holes on the front of the jack-o-lantern. Add ...

Whitney shows a quick way to make a bag out of t-shirt sleeves. This bag has so many household uses and is easy to make. You'll need a sleeve, safety pins, scissors, scrap fabric, pins, thread, an iron, and a ruler. Start by cutting a 1 inch wide strip of fabric and any design you'd like. You can make the bag as large as you like. Cut your rectangle using the ruler. Position your design to the fold. Sew around the design you choose, refold your rectangle and pin. Sew along those two lines. Tu...

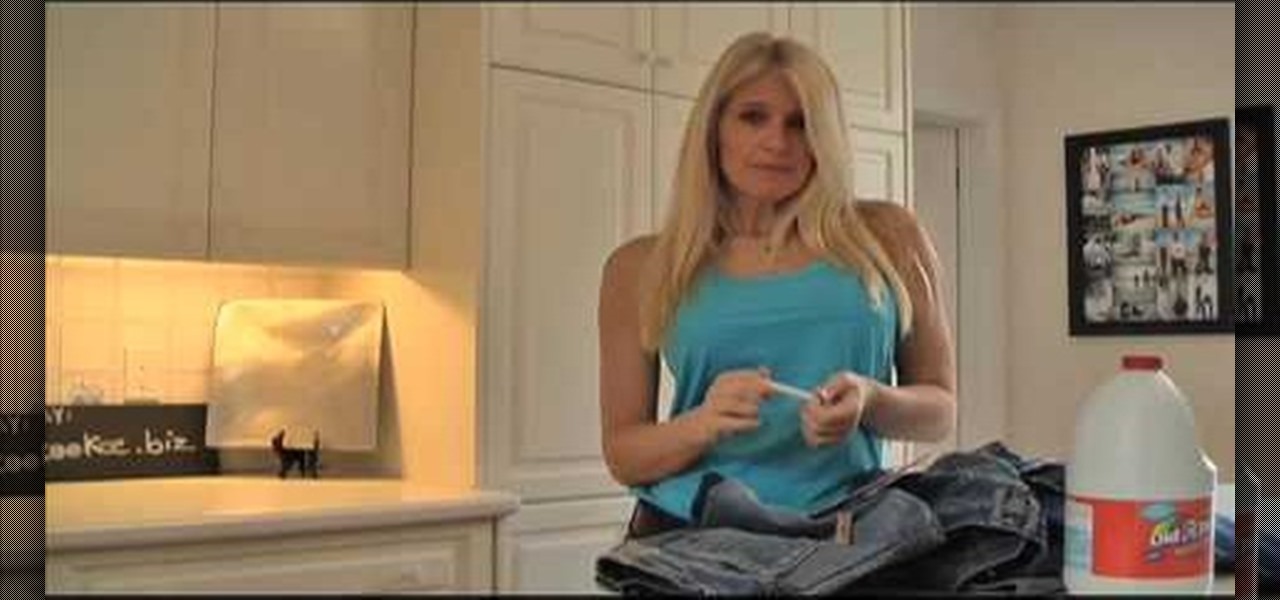
In this tutorial, Joey shows us how to man do it yourself boyfriend jeans. All you need is chalk, razor blade, sand paper, bleach, scissors and over sized jeans. First, put the jeans on and mark them with chalk where you want to fray them. Then, let them sit in bleach for 20-30 minutes depending on how faded you want them to be. You can now grab your sandpaper and wear out the area you want to look faded. Also, make cuts in the areas where you want them to be. Let the jeans sit in the bleach ...

Jen Spencer teaches how to save money by making a Ribbon Tree at home. You can create this by using some of your ribbon scraps. Cut them into two inch strips, you'll need scissors, a hot glue gun, and a green floral tree. They come in a variety of sizes and also white. Fold the strip in half making a loop. Add a dab of glue on the end and close it. Jen warns be careful with the glue gun. Do that with all the ribbon strips. Place a little glue on the tree and glue the strips on. On top you can...

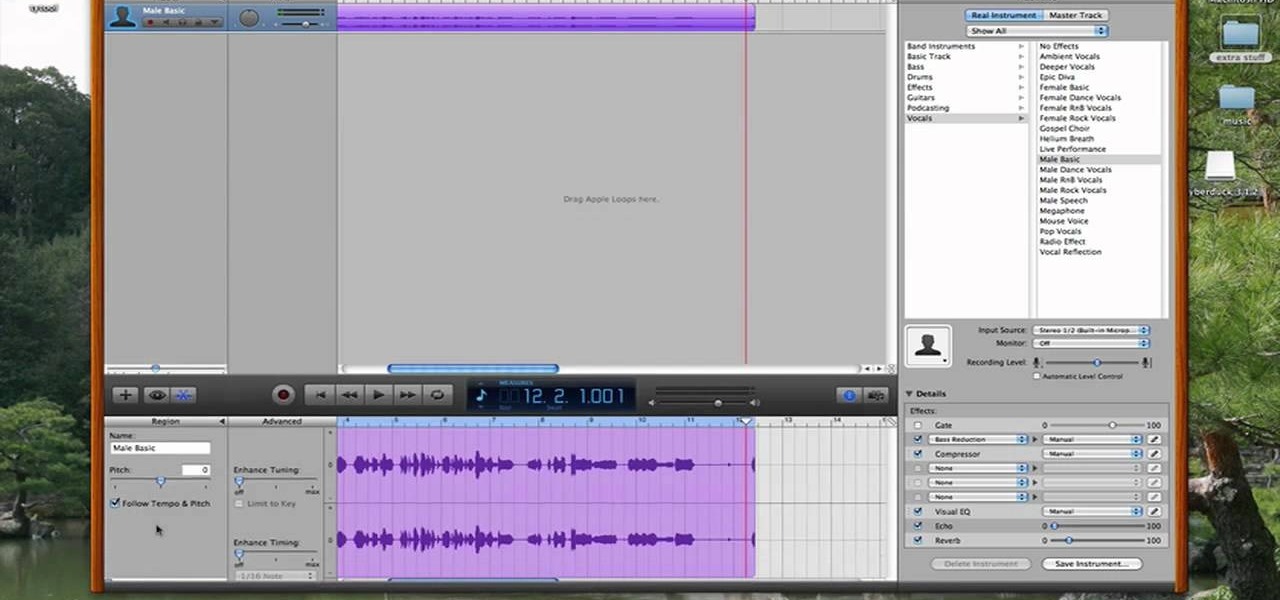
User tomreviewer shows us how to get autotune in GarageBand. Open GarageBand and create a new project. Make sure the Key is set to C. Delete the default track by clicking on Track, then Delete Track. Start a new track by clicking on Track, then New Track. Select Real Instrument Track when prompted and click Create. In the sidebar that opens click on Vocals, then Male Basic. Any of the Vocals, however, can be used. Press the Record button and record your voice. Click on the Scissors icon in th...

In this how-to video, you will learn how to make jewelry using cord in less than four minutes. Corrine Bradd shows you how to easily do this. First, take a satin braid and tie it in a knot. Trim the excess off with scissors and take a cord end. Place the knot inside the groove and then clamp the cord end with a pair of pliers. Turn it around and do it again for the other side. These cord ends come with a loop on top for further use. These look great on jewelry such as charms. You can use a sl...

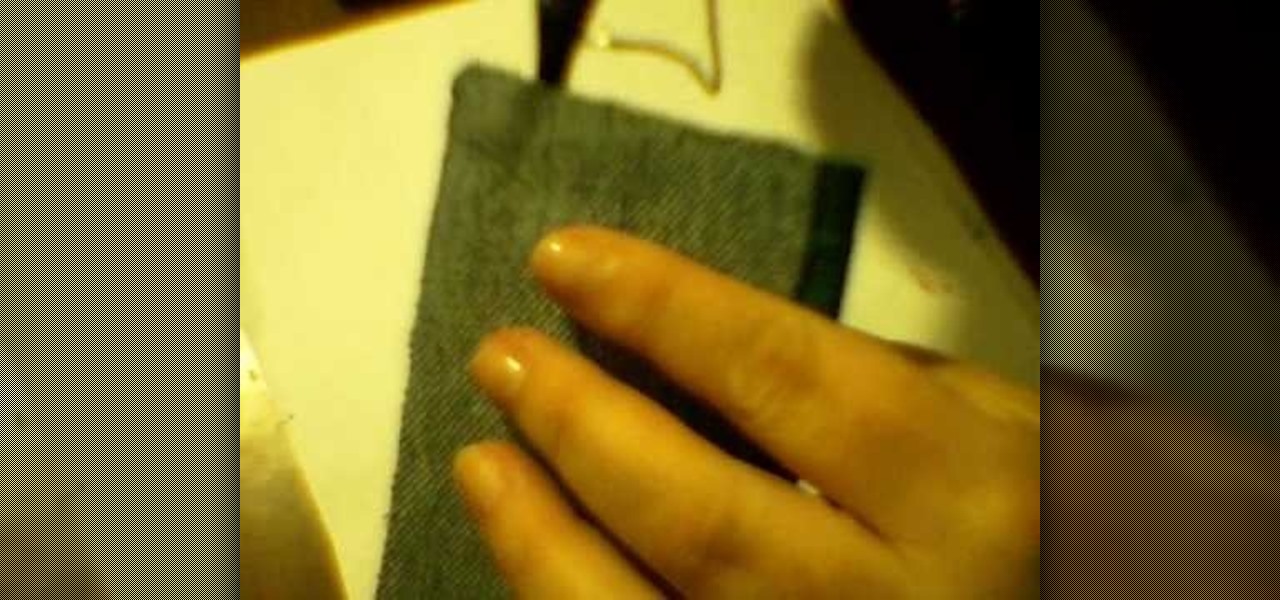
Digsart demonstrates how to make a wallet from a pair of blue jeans. First, with a pair of scissors he cuts out the back pocket of the jeans. You can paint the pocket with acrylic paint to give it a more sturdy feel. Once they are painted, he dries them out by placing them on plastic bottles. Once the paint is dry, he cuts a slit in the middle of the pocket, creating two sides for change and bills. Then, using a hot glue gun and Velcro, he glues the Velcro patches onto the pocket. Once the Ve...

In this video tutorial, viewers learn how to make a natural and inexpensive Christmas wreath. The materials required for this wreath are: some greenery, garden wire, pair of pliers, ball of string, scissors and ribbon. Begin by cutting the wire into 120 cm and bend it in half. Now weave the strands together and bring the ends to each other. Hook them and twist it together. Now weave the greenery along the wire. Tie down the greenery with some string to secure it. Finish by trying the ribbon o...

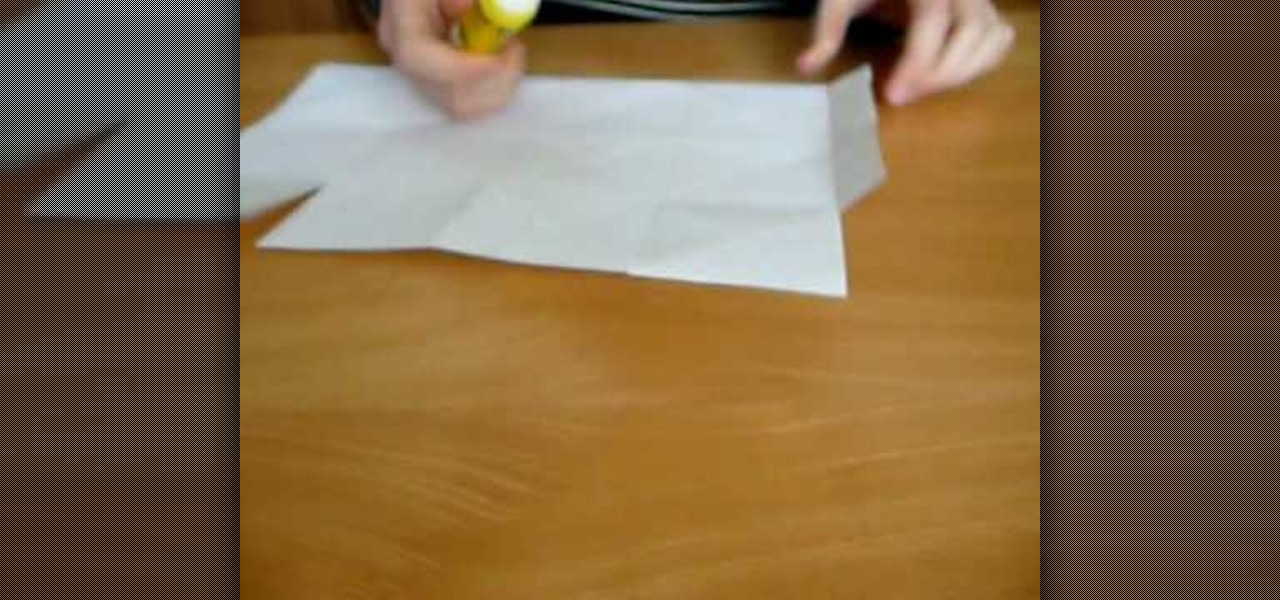
YouTube contributor, Sommerwetter, demonstrates how to make a paper lantern (also known as a luminaria or farolito) using only scissors, a glue stick and a standard sheet of paper (and a candle or the recommended tea light, of course.) Multiple symmetrical folds in origami-like construction and some well-placed slices in the paper create decorative cube or accordion style lantern. She notes that the process is very easy but you must follow it exactly. The author notes that the last several se...

Watch this video and teach yourself how to make an easy and cheap clutch wallet using duct tape. The materials required for this are a pair of scissors, a rod, Velcro sticky tacks and duct tapes of different colors and you can use as many colors as you want. Cut out 12 inch strips of duct tape and stick five of them slightly overlapping one over the other. Then stick five more of the duct tape strips as in the above procedure so that the sticky sides of the two layers will be stuck together. ...

This video illustrates the method to Make a nuno felt purse. You need colored paper, a piece of cloth and a pair of scissors to make it. This process is comprised of the following steps -Step 1Cut a oval shaped figure from the sheet of colored paper. Make a crease in the middle and fold the paper.Step 2Cover the paper with the cloth piece. Stitch the end of the piece of cloth and cut the cloth in a proper manner.Step 3Make the oval shaped figure into a rectangular figure. Add some nuno paste ...

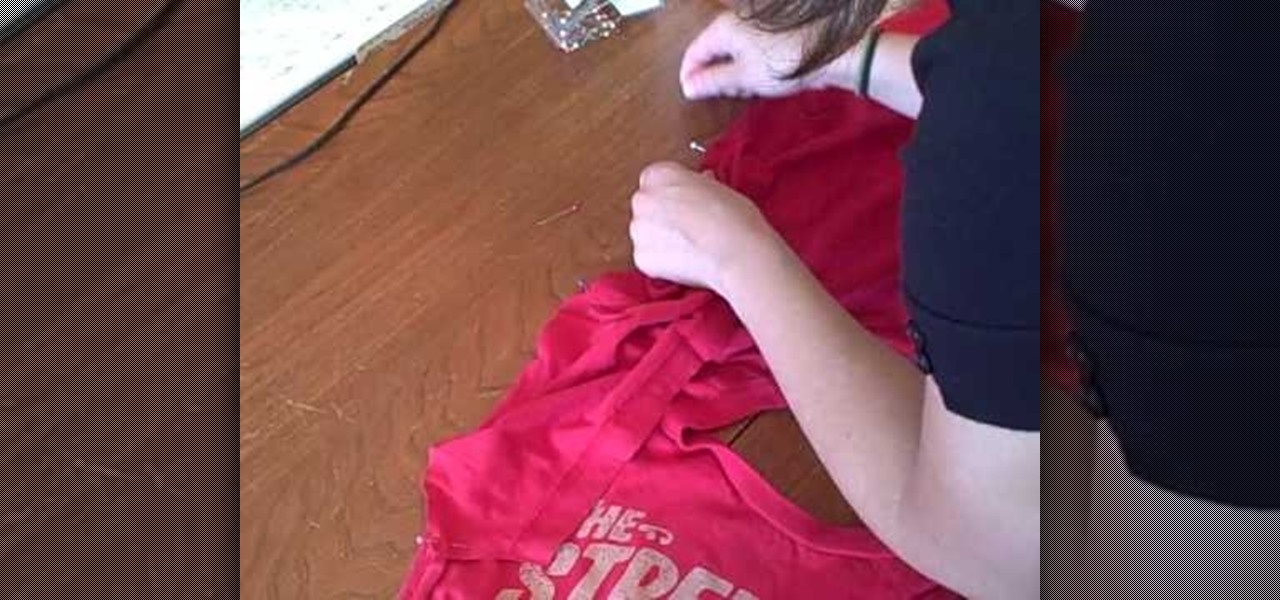
The young lady in this video describes to the viewers how to make "Puffed Sleeves". You can use shirts, jackets, men's' shirts, ladies shirts, just about any shirt to make these on! She starts out with 2 ladies shirts, one oversized and one fitted. She also gathers scissors, thread, straight pins, a marking pencil, paper to trace the pattern on and paste. She then demonstrates how to cut the pattern by tracing the outline of the sleeve onto the paper, how to pin the shirts using the straight ...

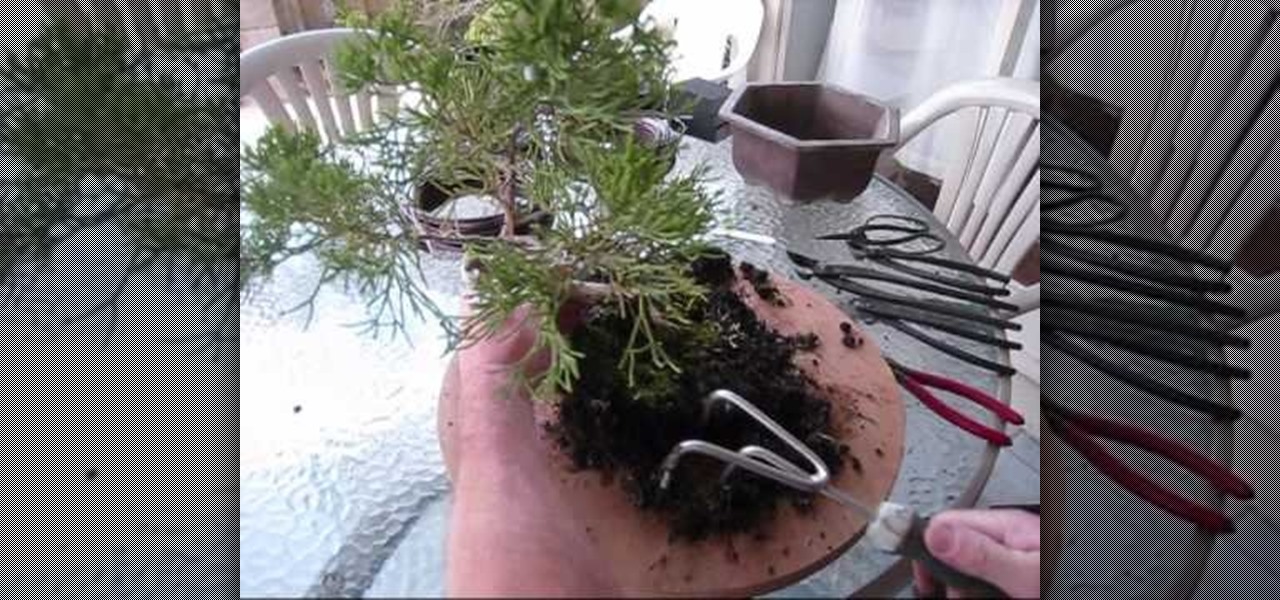
In this video, Charles M. Teaches us how to re-pot a Bonsai tree. But before this, he explains how to make Bonsai soil. The ingredients to Bonsai soil are as follows: Potting soil, (from your local Home store) Hummus, Decomposed Granite, and a bucket. Take a couple of scoops from each ingredient and add to the bucket. Now you have your Bonsai soil and are ready to move along. Charles next explains how to handle the Bonsai itself. First, you want to remove any extra branches. Then you take it ...

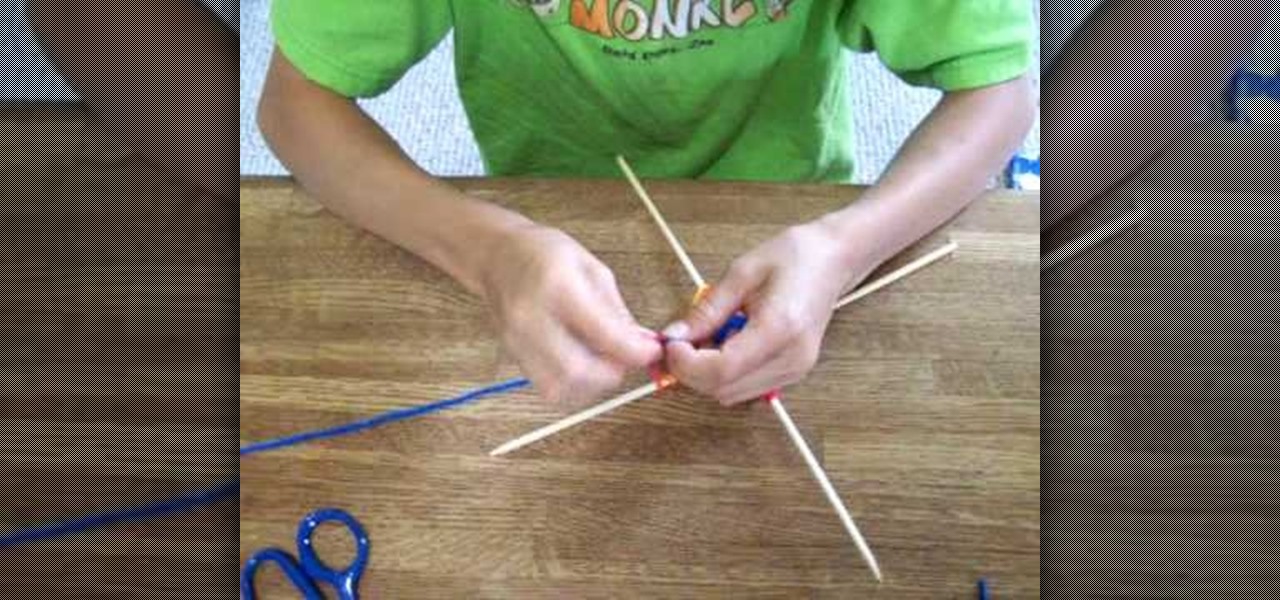
In this video and boy and a woman are showing you the steps to create a "God's Eye" or "Evil Eye". The materials that you will need are 2 sticks, yarn of your selected colors, and scissors. First, you take 2 sticks and use the yarn to knot around the middle wrapping diagonally to form a "t" shape. Then you take another piece of yarn, hold the end in the middle, and start wrapping around each stick going over one and under the next. Continue this pattern until you are done or unless you decide...

Be a DIY superstar and impress your friends with your newfound craft skills by turning simple votive candle holders into a hanging candle tree. You can do it all with simple home supplies and by following the instructions in this video.

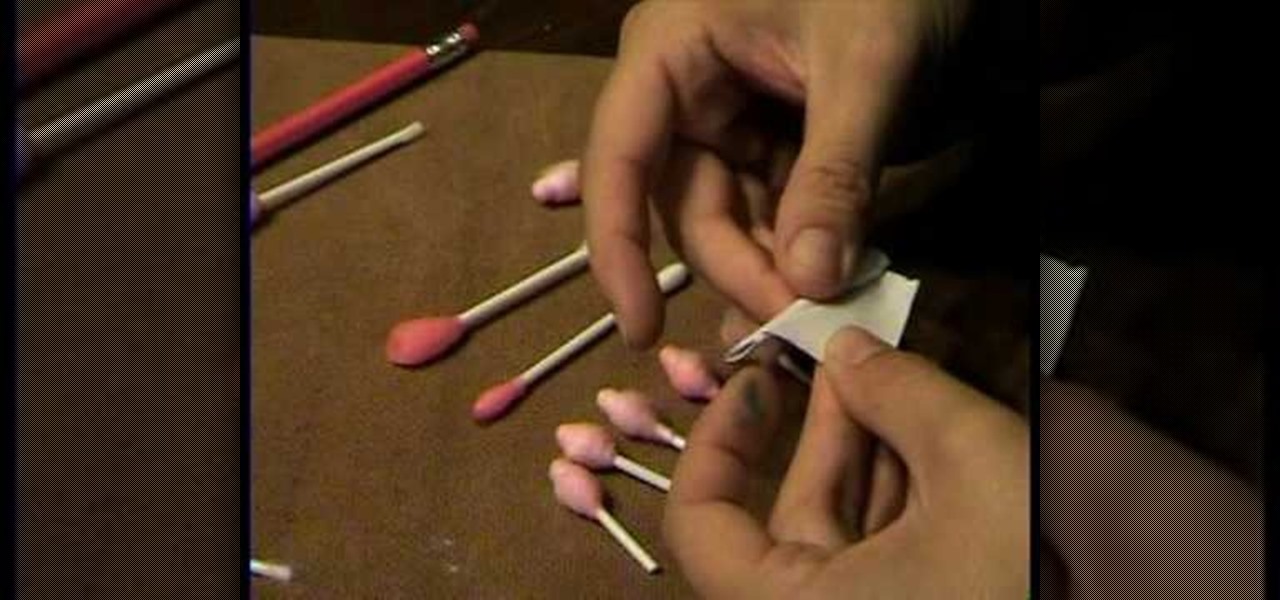
Use a q-tip (ones for little kids will have a larger base, but are not required). Put a few drops of red food coloring in a glass of water and stir it up as necessary. Dip q-tip in red water, get it nice and saturated. Remove q-tip and let sit overnight. Cut q-tip in half, then take a small rectangle of paper, apply glue from glue stick to one side, then make a small fold from a corner and roll (this may take some work). Use scissors to cut down to the correct size. Next rub q-tip's cotton si...


