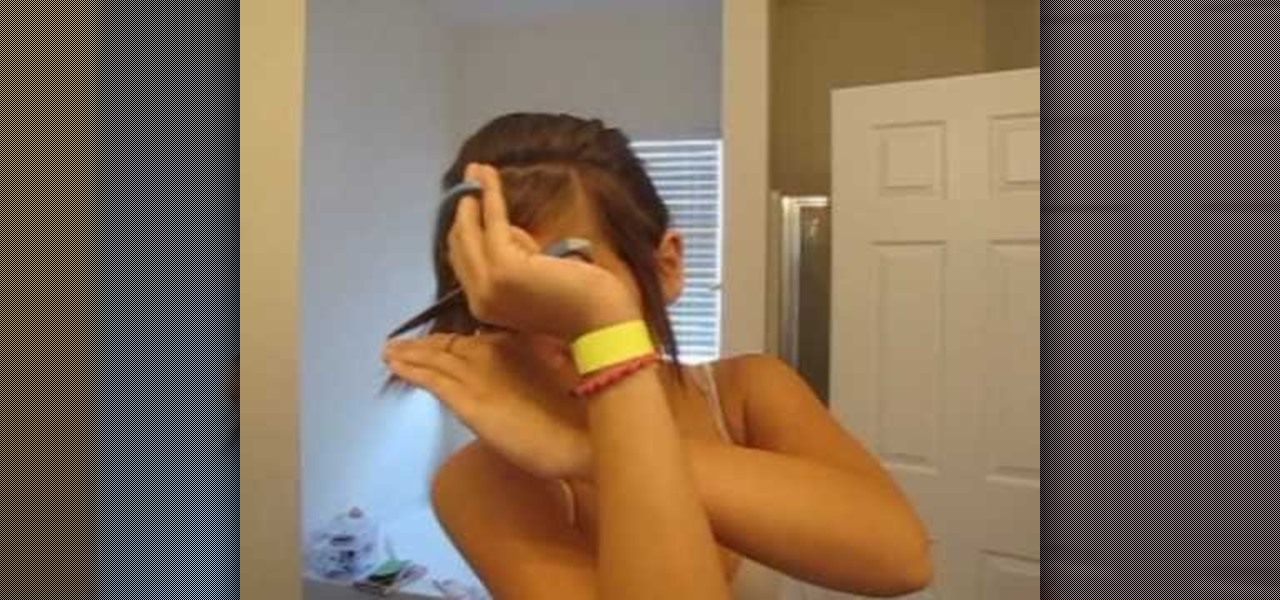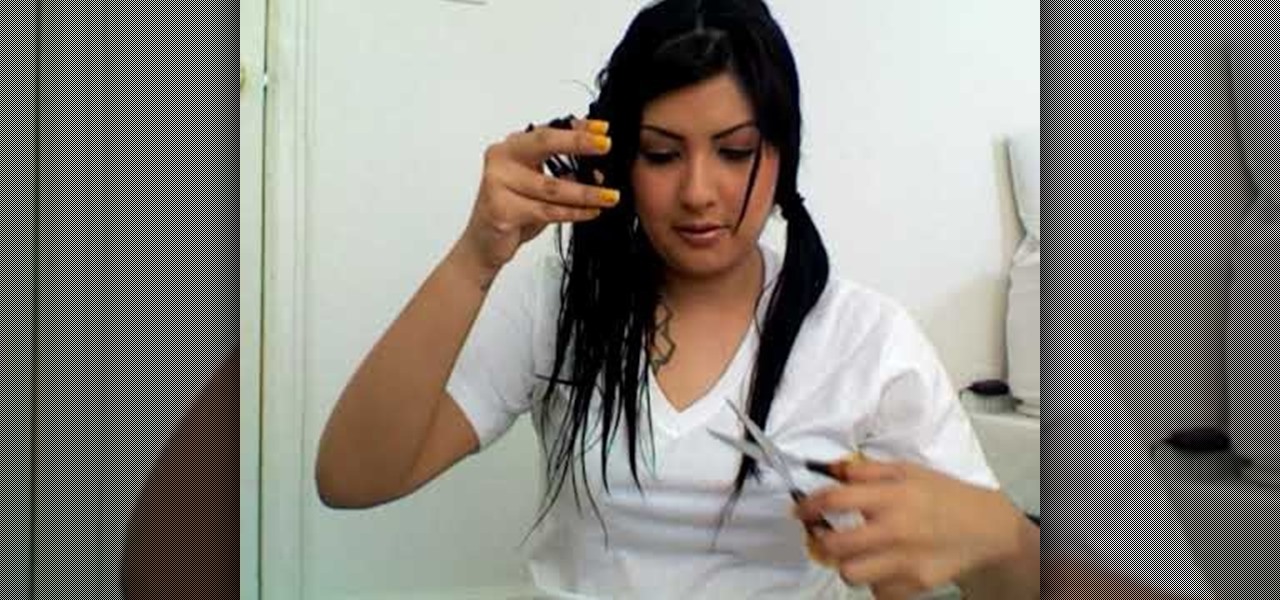
Don't have the money in your budget to go out to the salon? With this video you will be given tips to cut your own hair. Before you start, you will need elastic hair ties, a comb, and hair cutting scissors. This video will take you through a step-by-step demonstration from start to finish on how to do a hair cut at home. She'll show you how to section off your hair and start cutting away. As she says, the hardest part is knowing when to stop.
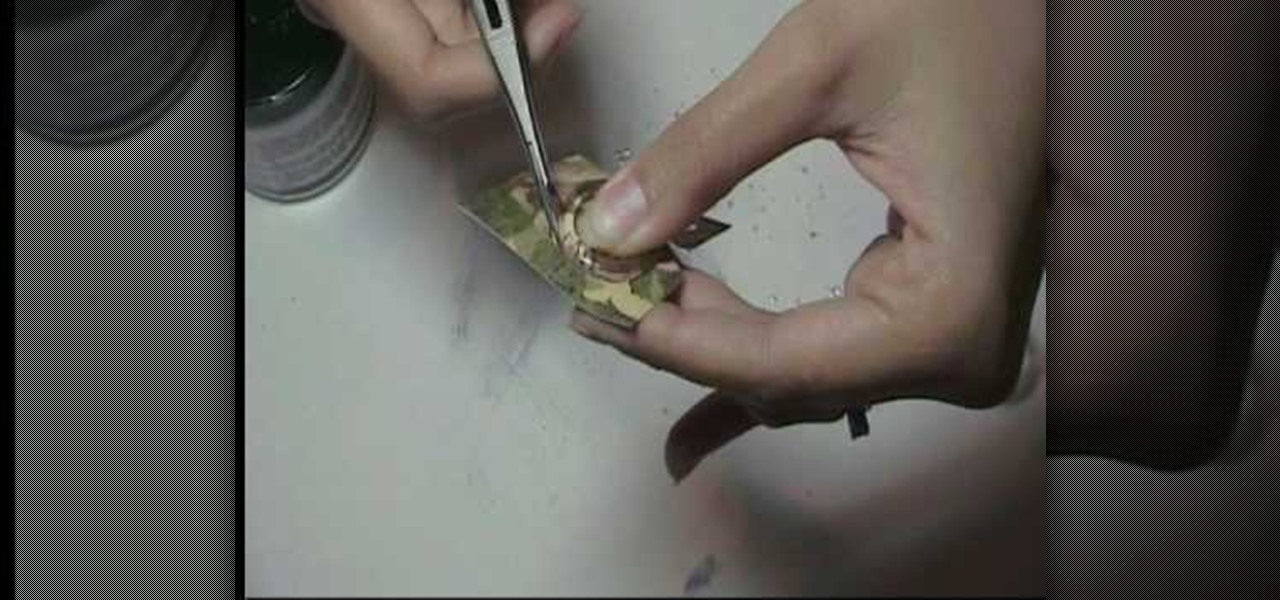
In this video, Marion shows you how make your own custom buttons. She first picks-out a piece of scratch paper, a clear button, and glue (glassy accents). You then apply some of the glue onto the button and lay the button onto the paper and let it dry. Next you would cut the paper around the button as close as you can with precision scissors. You would now use a file to sand the edges of the paper down. That is how Marion shows you, how to make a customized button.

GunterAgency reveals to his viewers how to make a six-side snowflake. In nature, snowflakes aren't four sided, so why continue to make them in that fashion? Through a series of simple folds, the viewer can attain a shape that will allow them to begin making a six-sided snowflake. After using scissors to make the folds even, the viewer can then begin cutting patterns along the sides of the snowflakes as he or she pleases. Once the viewer is done, all that is left to do is to simply unfold and ...

Looking to make some affordable winter decoration? Need a winter's day craft for the kiddies? Learn how to make a paper snowflake. In this video our hosts Lauryn and Cameron show you step be step how to make the perfect paper snowflake. With just a piece of paper and a pair of scissors they will instruct you on how to correctly fold and cut to make original and creative paper flakes. They will give you tips on how to make different shapes and more complicated types of flakes.
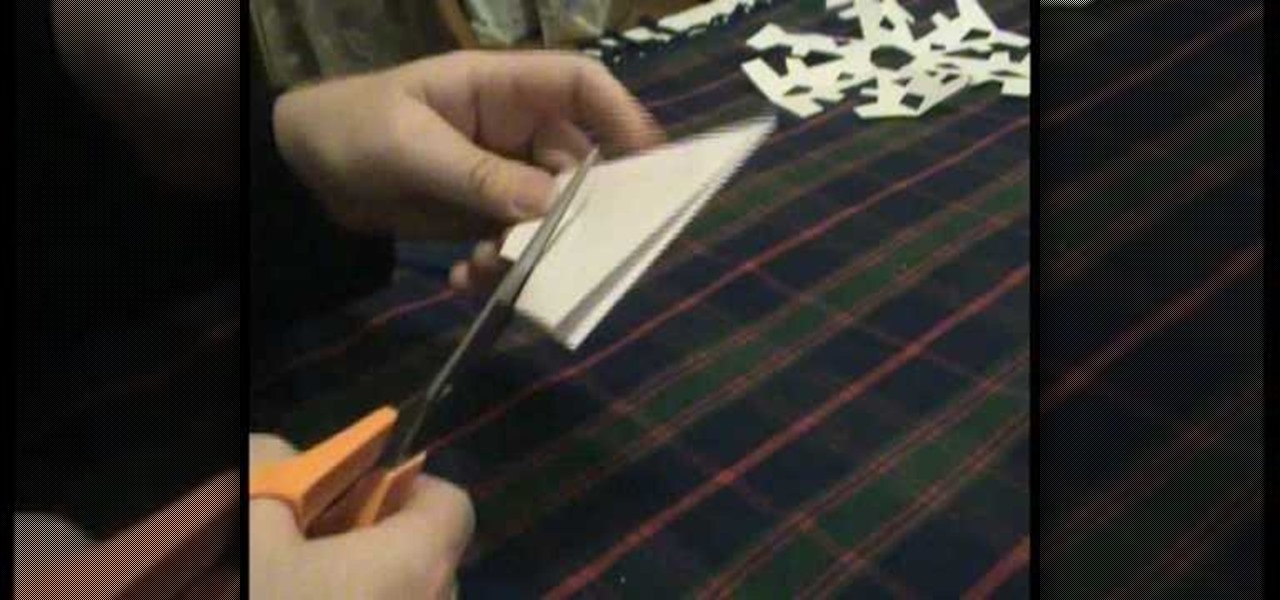
This video shows you how you can easily make a simple but beautiful 6-pointed paper snowflake. The video starts with all the things you need to make this snowflake, like a A4 size paper, a scissors etc. The instructions are shown on the screen as the skilled hands show you how easily you too can make a paper snowflake within a couple of minutes. Can't say you will find a better video tutorial on how to make a beautiful paper snowflake.

This video will show you how to make an interesting 3D paper snowflake. You will need 6 pieces of paper, some scissors, glue and a stapler. First, make 6 squares which are the same size. After folding the squares across its diagonal axis into a triangle and folding it over again, hold the triangle so that its open ends are facing outwards. Cut diagonal lines along the line of the triangle towards the center, stopping close to the middle line. After opening the paper, take the two ends of each...

A useful video showing us how to cut our hair and have bangs. The name of the style is side swept bangs. The step by step video makes it clear and easy to follow. It is so simple so that anyone watching can do it. It also throws light on the type of scissors to be used. So watch it and give a new look to your face. It is for those who want to have a bang and to have a stylish look.

Learn to style your bangs like Nicole Richie! First, pull the rest of your hair into a pony tail to keep it out of the way. Now take a straightener and straighten your bangs and sides. Choose where to part them, from the corner of the eyebrow is a good choice. Pull your bangs to the side. To cut them, take some scissors and run them down the side of the bangs in small snips, making the parted side shorter than the other side. To style them, straighten the bangs with a straightener and spray w...

Missa teaches us how to perfectly destroy jeans to create a distressed vintage look. Everyone has an old pair of jeans around the house that they don't love anymore. Why not turn them into a fashionable pair with these techniques?

In this video hostess Charlotte instructs us, on how to make "Inner Tube" Bracelets, a rock style associated accessory. Employing either Black Plastic, Leather, or even Tape. Creating these alt accessories requires only scissors and a needle and thread of some type of adhesive to attach the clasp or fastener that will allow you to attach it to your wrist. With a few simple Scissor cuts along the material's length to create a design. Charlotte shows us exactly how it is done with helpful tips ...

In this two-part tutorial, learn how to make a simple baby doll tube top dress! For this project you will need a meter of fabric (thin & loose), scissors, elastic, and of course... a sewing machine! This dress is perfect for going to throw on before headed to the beach or for those warm, sunny summer days!

Looking to spice up your kitchen? Watch as old, boring cabinets are transformed into new ones! Items you'll need are contact paper, acrylic paint, masking tape, scissors, plastic lids, stencils, and drop cloths.

Sometimes it's more than just inconvenient when your electronics lose power. Sometimes, losing power could be dangerous. Never worry about a dead cell phone again! Charge your portable electronics by harnessing the power of the sun.

While we have nothing against real flowers, we do find it depressing how after a week or two they begin wilting and looking like death itself. So keep your flowers fresh and everlasting by making faux ones!

In this video by Dogmantics, dog trainer Emily Larlham goes over how to make an interactive dog toy for your pooch to play with just a plastic container, a pair of scissors, and some dog food.

Interested in using fiberglass? In conjunction with the 405th, an online e-zine dedicated to Mjolnir Armor costuming for the Xbox Halo video game series, this tutorial shows you a step by step process of how to layer fiberglass on the inside of a costume mask. Materials needed include latex gloves, respirator or ventilation mask, fiberglass resin, fiberglass cloth, scissors, and a foam brush. Be sure to give up the cash for a great ventilation mask... some of these materials can be toxic to y...

This is a tutorial on creating graffiti letters from duct tape to decorate and stick anywhere you like. Not your everyday graffiti, but if you have a lot of duct tape lying around the house, this project's an interesting way to spend an afternoon and stay out of trouble. Starting with graffiti letters from GraffitiGen and GraffitiCreator, this tutorial takes you through the steps to make your own graffiti duct tape letters to decorate just about anything.

Optical illusions don't require fancy techniques; this one relies entirely in the details. Gather up a pen/pencil, paper, and a pair of scissors. Draw a parallelogram to be used as the template for both tabletops in this sketch. By varied angling, leg lengths, and color, the table top takes on a different appearance. Watch this video drawing tutorial and learn how to recreate this cool, artistic optical illusion.

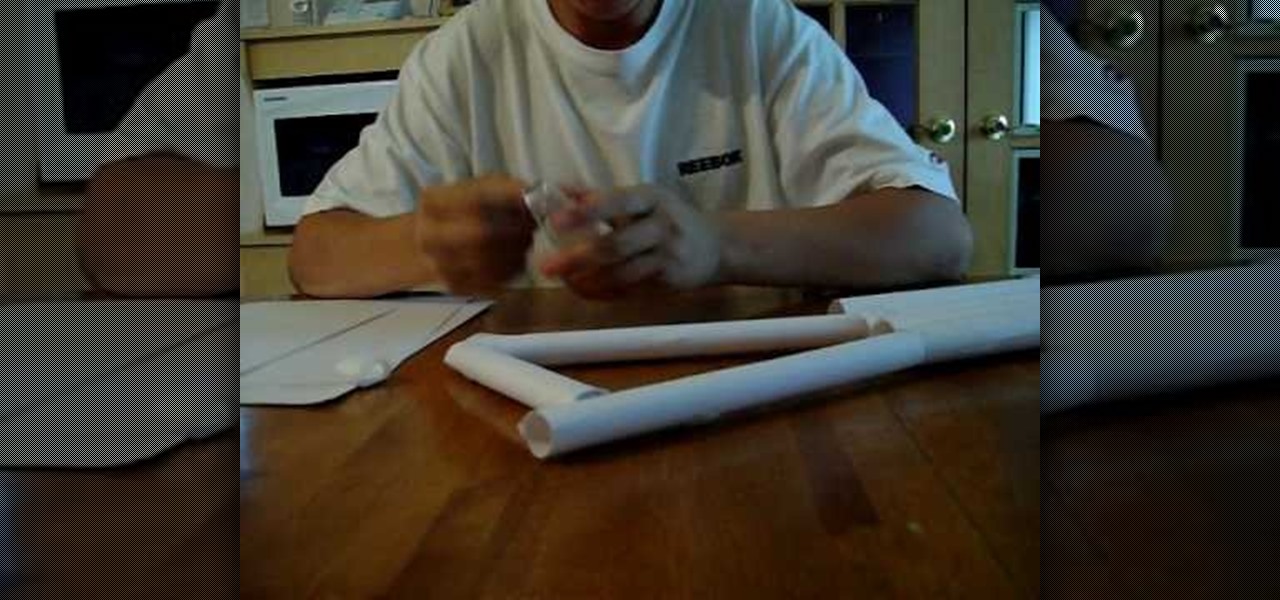
Get out that junk paper and scrounge up some tape and a pair of scissors, because it's paper gun time. Watch this three-part video to learn how to make a Beretta paper gun. It's not a completely realistic Beretta, but come on... it's a paper gun. You can shoot paper bullets out of it too if you feel the need to.

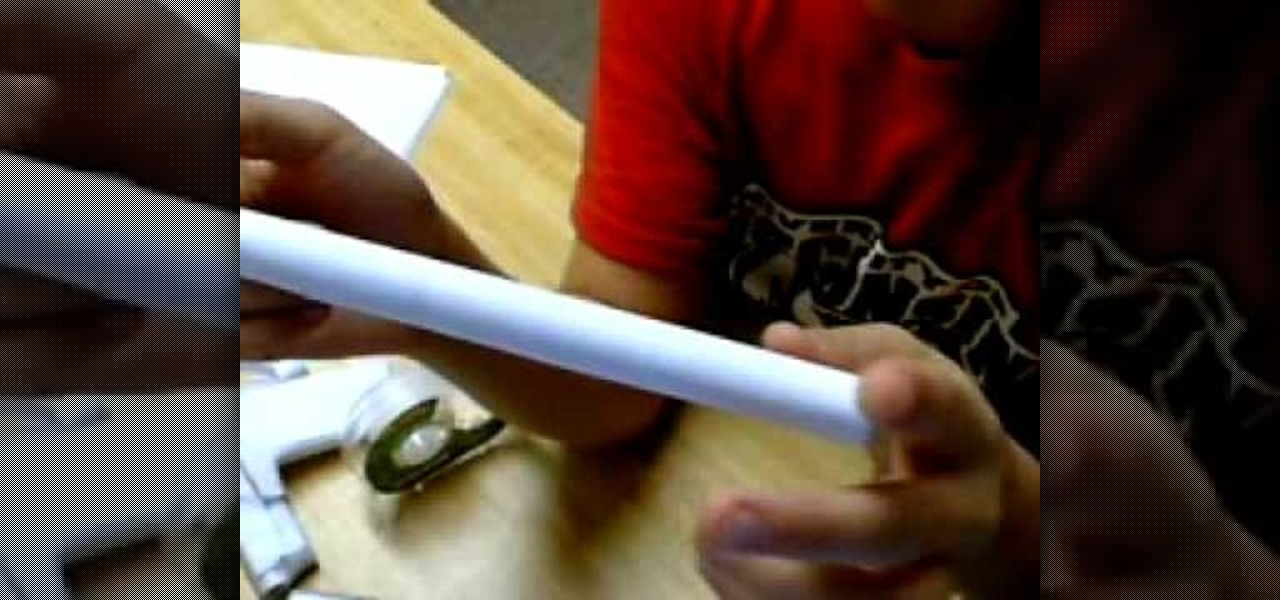
See how to make your own paper gun. This video tutorial will show you how to make an AK-47 paper gun. There's really not that much that goes into making a paper gun. You just need some paper, tape, and a pair of scissors and you're halfway there. Make an AK!

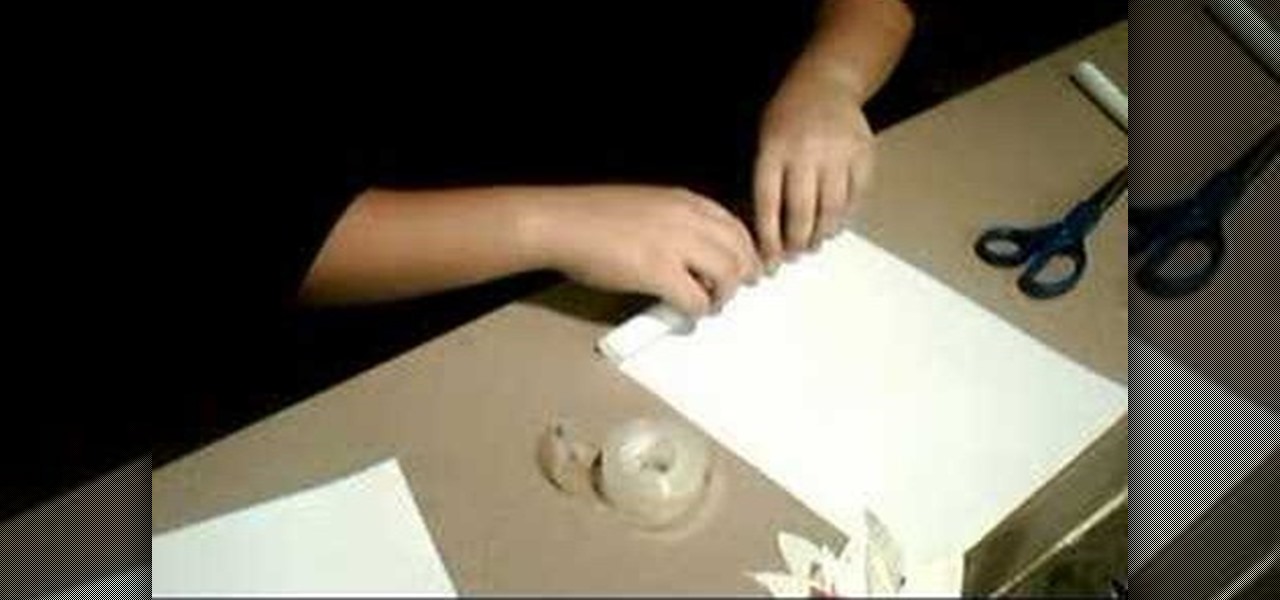
Turn paper into paper guns! All you pretty much need is paper, scissors, and tape. Watch and learn how to make a NPG-6 paper gun. This realistic, kid-freindly, replica handgun is easy to make. So start folding that paper pistol!

Suckers bets are the easiest way to makes some money. You only need to be able to do something that seems impossible, but is exactly the opposite.

You've organized your materials and chosen your book. Now it's time to get down to brass tacks. . . and tapes, stamps, stickers, cardstocks, markers... Watch this how to video to learn how to make your own scrapbook.

Save that last slice of pizza! You can reheat it in its own container, using the sun's power. Turn a pizza box into a solar oven.

Watch this video tutorial to see how to make extremely simple scales. This scale is useful when you want to weigh small portions of a substance (like a few grams of powder). It is difficult to get real weight using these scales though. To make this homemade scale, you'll need a plastic bottle cap, a plastic bottle or box, a 9v battery, clear sticky tape, glue for the plastic (epoxy or fast-hardeneing), scissors and a screwdriver.

Whether you're rooting for one of the teams or just love a contest, a pool will have you cheering. You will need:

Hi, welcome to this origami video! This origami video is a great tutorial on how to make a transforming shuriken(ninja disk).

Learn how to recycle an old jeans into a earth friendly sandals with Gianny L! In order to make sandals out of a pair of blue jeans, you will need the following: scissors, cardboard, needle, thread, a sewing machine, a pair of jeans, a pair of flip-flops, chalk, and foam.

This is the basic idea of all the paper guns you've seen. Follow step by step to learn how to make a paper pistol. Be sure to click on Chapter 2 for the second part of this paper gun tutorial.

So, your children have the same old boring Fisher-Price Power Wheels that all the other kids on the block have. Do you really want your child to be like all of the rest? No, I didn't think so. Turn those miniature Power Wheels, Dumar or Peg Perego vehicles into a little bit of realism, if you can handle it. All it takes is a little modification and you'll be wishing you were five again. With a few simple hacks, your son and daughter will be burning rubber, jumping curbs and burying those othe...

This video origami tutorial shows how to make a triangular box from one piece of paper. It can hold small gifts and goodies, and can easily be decorated and embellished to suit the purpose. Follow along with the step-by-step instructions in these video origami lessons, and fold an easy gift or storage box. All you'll need is paper, ribbon, a piercing tool, scissors, a brad, a paper clip, and a scoring tool.

Want a fun alternative for the boring old pink and white French manicure? This tutorial teaches you how to apply this pretty, glittery white French manicure. You will need glittery white nail polish, a base coat, scotch tape, scissors and a clear top coat. This is a gorgeous look for long natural nails as well as acrylic or artificial nails. This technique takes a steady hand and but is pretty easy to master. With this how to video you will be able to create a a white sparkle French manicure.

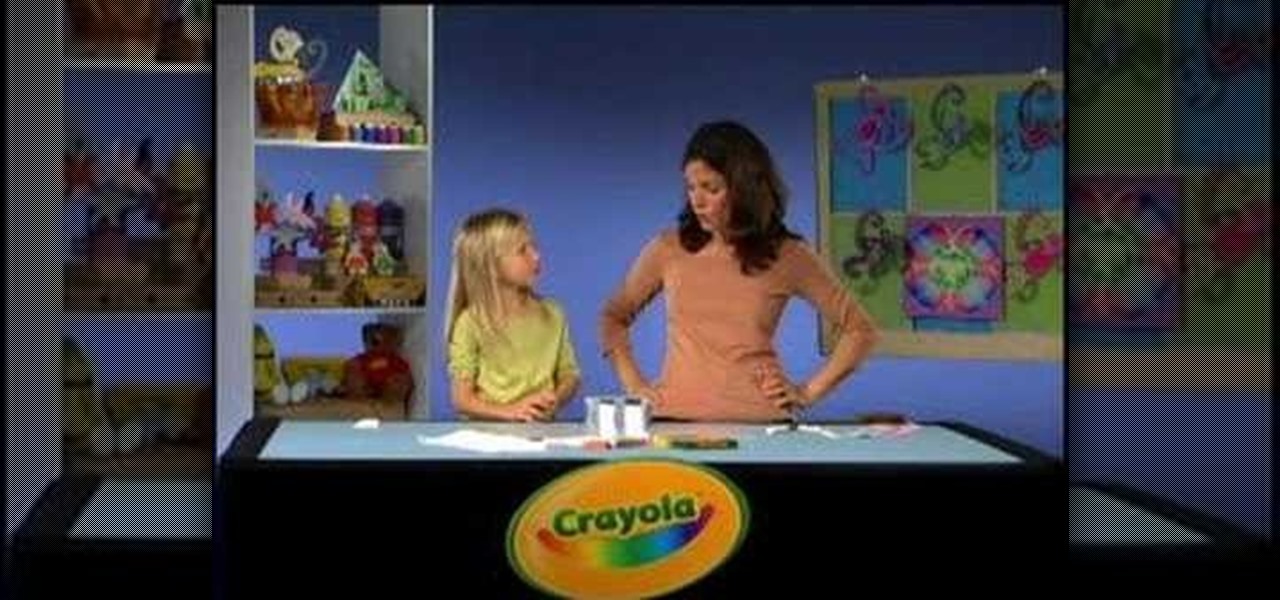
Check out this great science project craft from Crayola. Learn how to separate the colors in a black marker with this tutorial. You will need Markers, scissors, a paper towel, wax paper, and a container of water. This is a great project to teach your kids about the science of colors. With this easy to follow how to video you will be able to separate the colors from a black Crayola marker with your child.

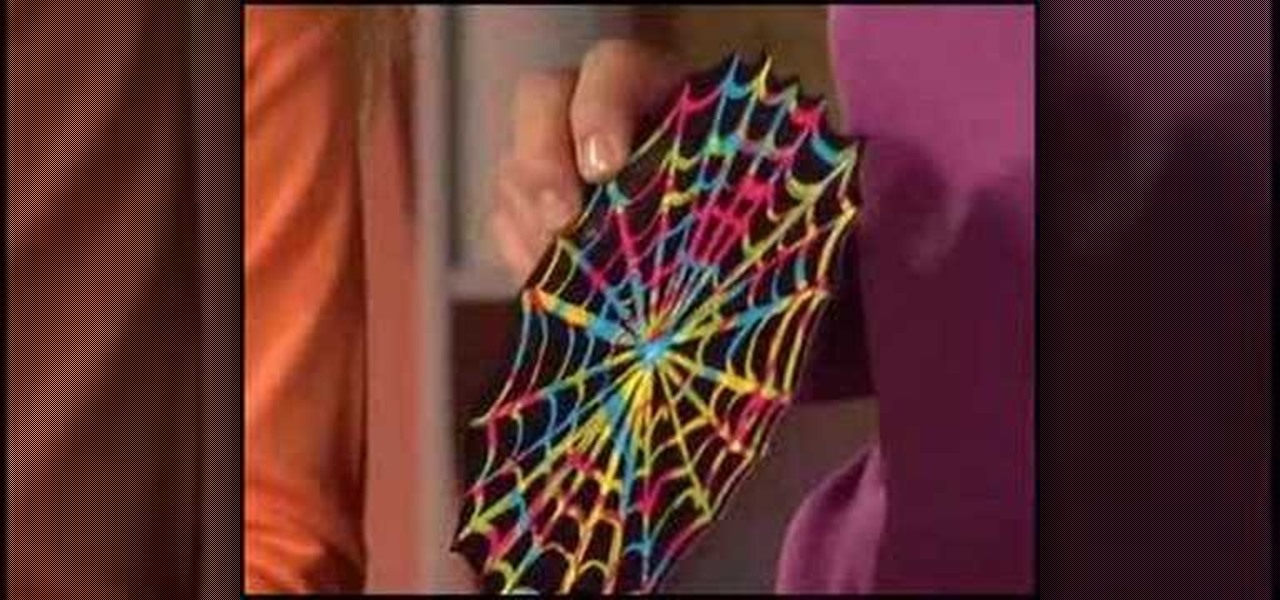
Learn how you can make a spooky spider web treat bag with this arts and crafts tutorial from Crayola. These easy spider web treat bags are perfect for a trick-or-treat bag or as party favor bags. You will need 2 small white paper bags, Crayola Color Explosion black paper, Crayola Color Explosion markers, glitter glue, scissors, and brass fasteners. With this how to video you will be able to make these fun spider web treat bags with your kids.

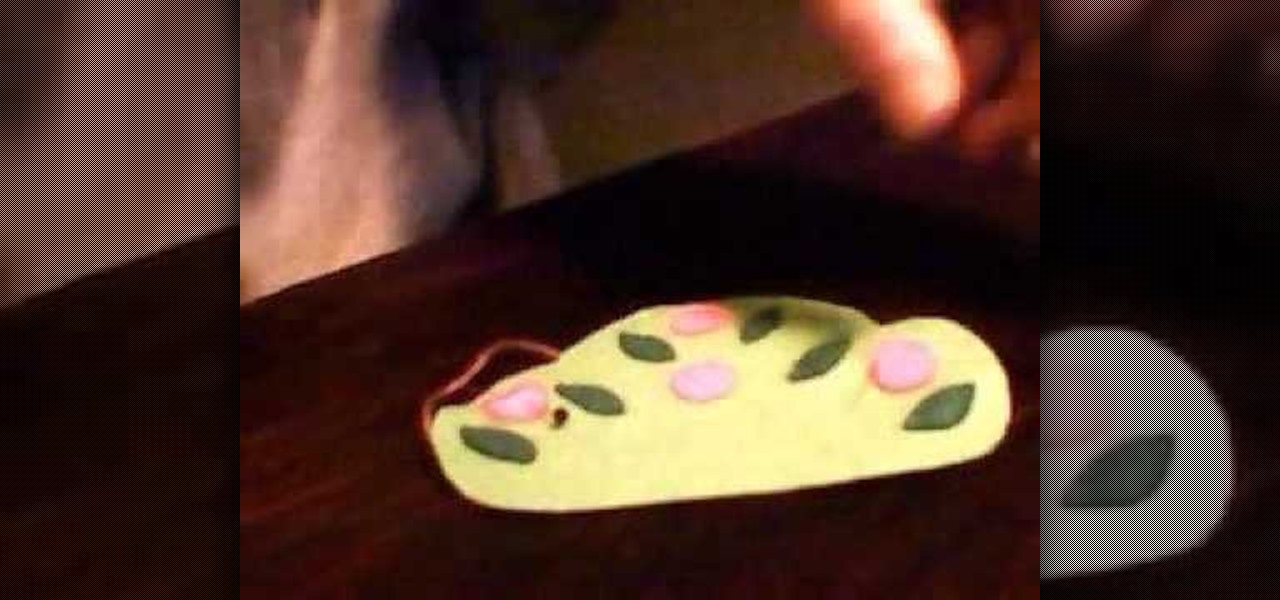
This video crafting tutorial shows how to sew a seasonal felt application, ideal for Christmas present or to keep for yourself. It just takes felt, cardboard, a pencil, and a pair of scissors. The completed applique can then be added onto clothing and accessories, or converted into an ornament or even a personalized name card.

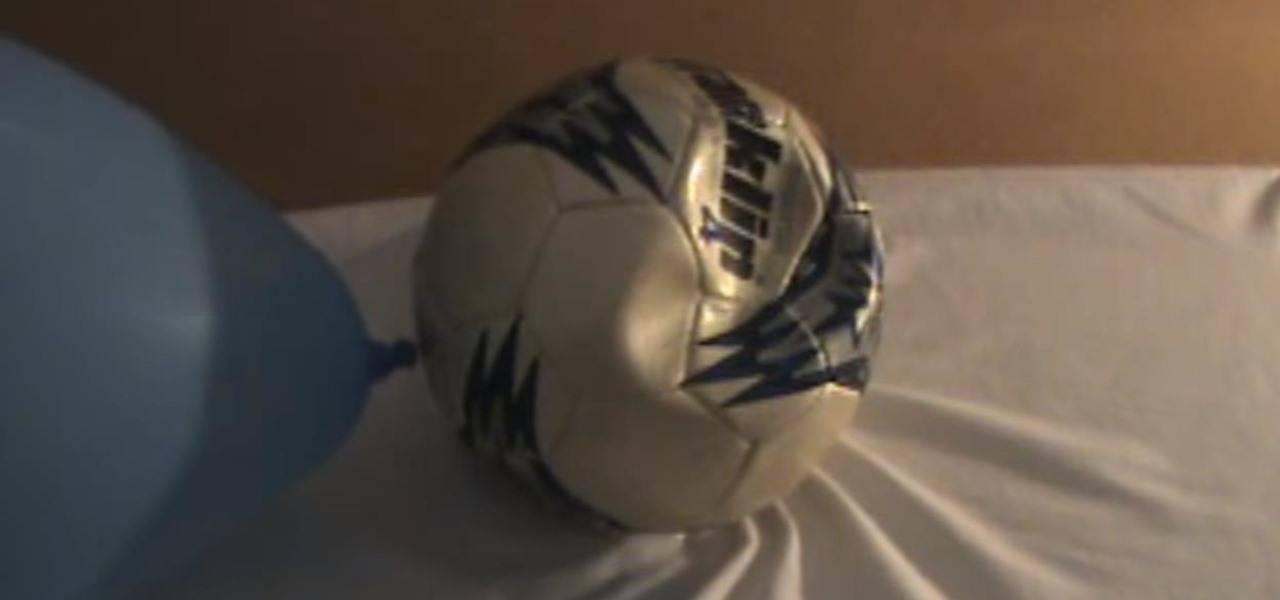
Got a flat ball that can't be inflated because your pump is broken? This video tutorial shows a simple technique for how to make your own pump. It's fun and easy to do, and it's a great time- and money-saver. All you need is a pump needle, a balloon, scissors, and a rubber band.

Convert your bike to tubeless using the "ghetto" method. You will need a sealant, a tire, a rim, a metal tire lever, a knife or scissors to cut the tube, a tube a size smaller than your rim, an air compressor, and soap and water. You will need a sweet, doggy mascot as well.

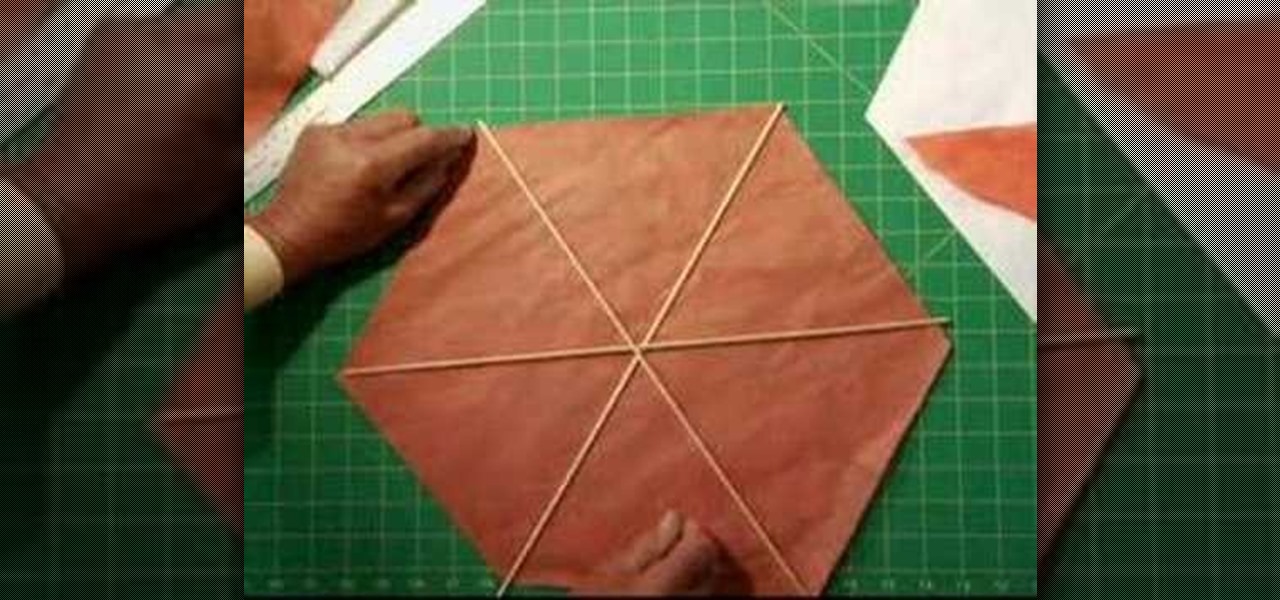
In Bermuda, people celebrate holidays and special occasions by creating and flying colorful kites! Now you can join in the fun and learn how to build this traditional kite.

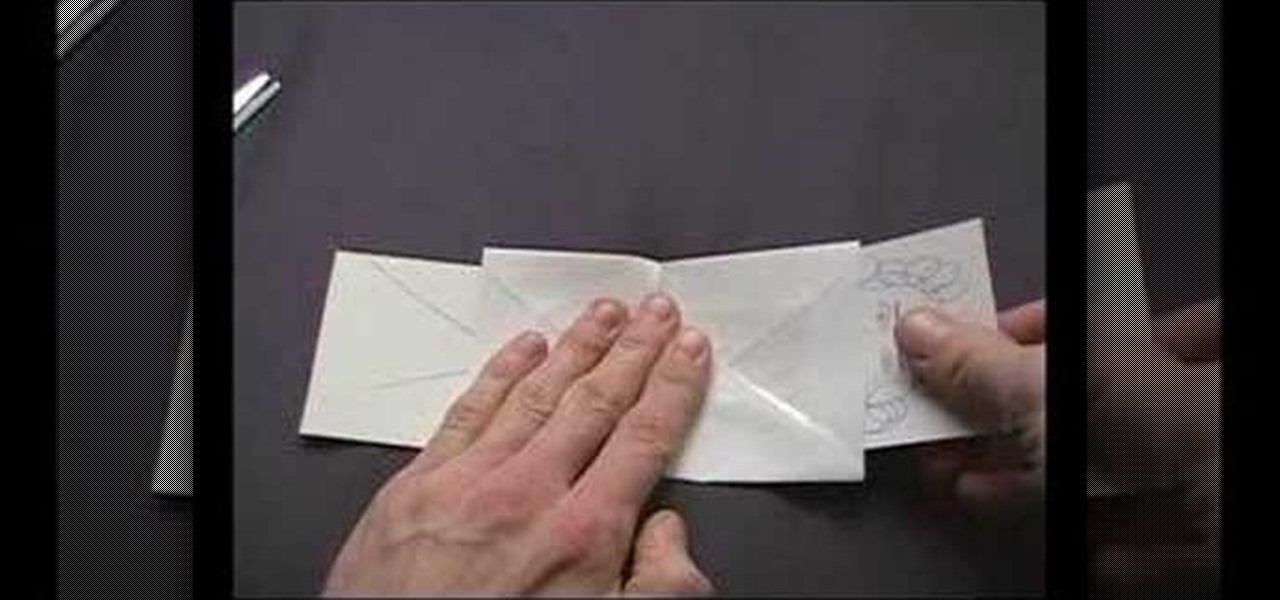
This may be a simple paper trick, but on a grand scale, this trick is done on real woman with real saws. This is just the miniaturized (and safer) alternative to the "saw a woman in half" magic trick. Okay, it's not the same exact principle. It's just a sneak paper trick with a little sleight of hand. You'll need a paper drawing of a woman, and envelope and a pair of scissors.

This is a great project for beginners - sew your own knife edge pillow with a zipper. If you can, use a rotary cutter instead of scissors to get better, cleaner lines for your project. Also get a sturdy zipper.


