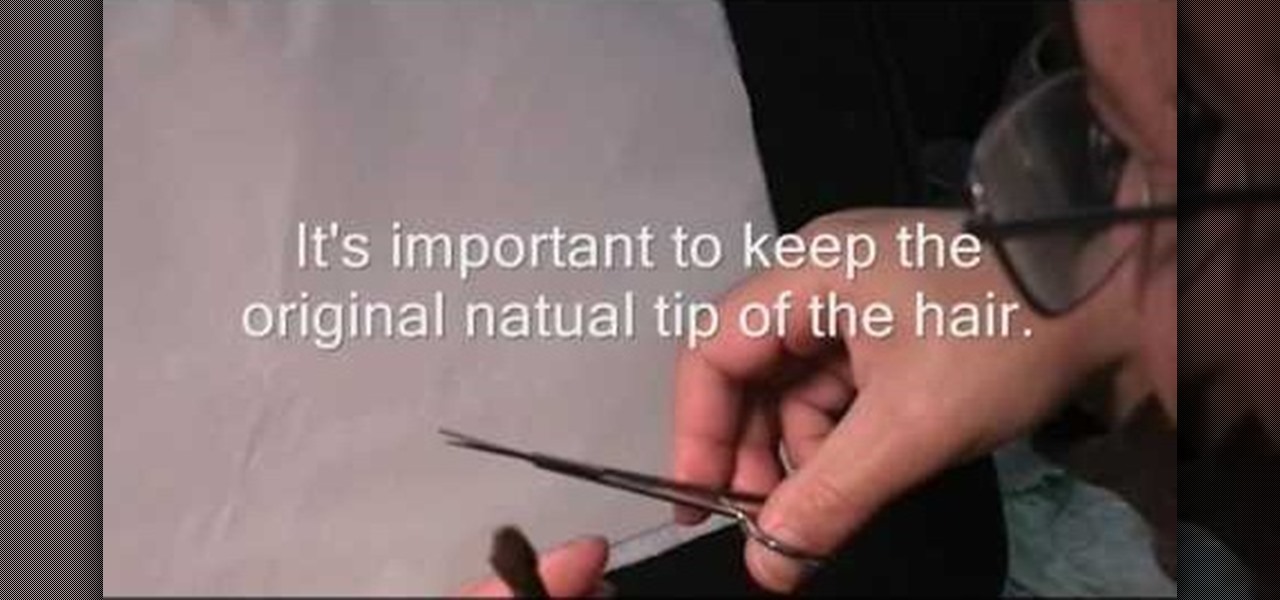
This video will be very handy to all the Chinese painting enthusiasts out there. It demonstrates how to trim an old split brush in to a sharp liner by trimming it with scissors. This allows you to do multiple kinds of brushstrokes without changing brushes, saving time and allowing you to purchase fewer brushes.

Learn how to give your daughter a trim and you’ll save big bucks on trips to the hairdresser. Learn how to give a child a haircut, at home. This is a cost effective tip that will help you save money.
There’s nothing a rabbit likes more than toys they can climb inside, shred, and drag around. With a good pair of scissors, you can make a steady supply of bunny-pleasers that won’t cost you a thing.
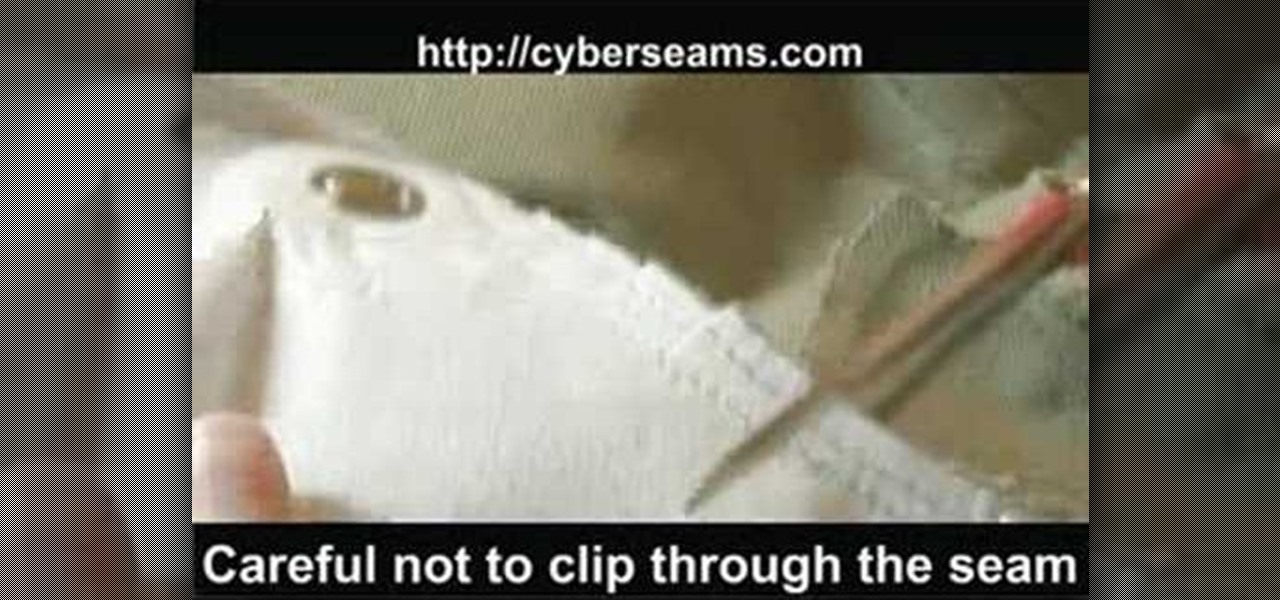
In this tutorial, we learn how to clip curves when sewing with rounded seams or edges. First, you will take your piece of clothing, then grab your scissors. Put the edge of the clothing (with the seam) and lay it flat. Then, put the scissors onto the seams with the very back of the scissors over the fabric. Clip close to the seam, but do not clip through the seam as you are cutting. Once you are finished, you will be able to sew in curves and will be able to easily get around the seams withou...
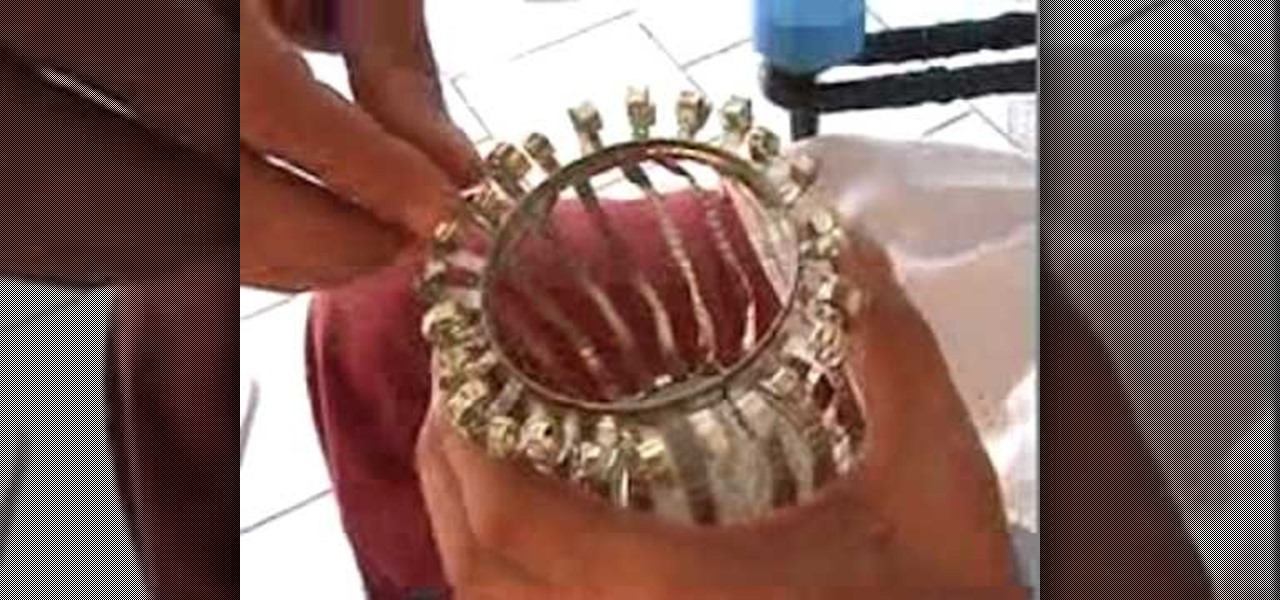
In this video, we learn how to recycle cans and make decorative candle votives. First, you will use a straight edge to remove any paper from the top of the can. Then, use the straight edge to cut parallel holes in the bottom of the can. Grab sharp scissors and continue to cut the holes from the bottom all the way up to the top of the can. After this, use scissors to help pry the folds up and into the air for a cute design. Make sure not to use your hands to pry these up, as the edges will be ...
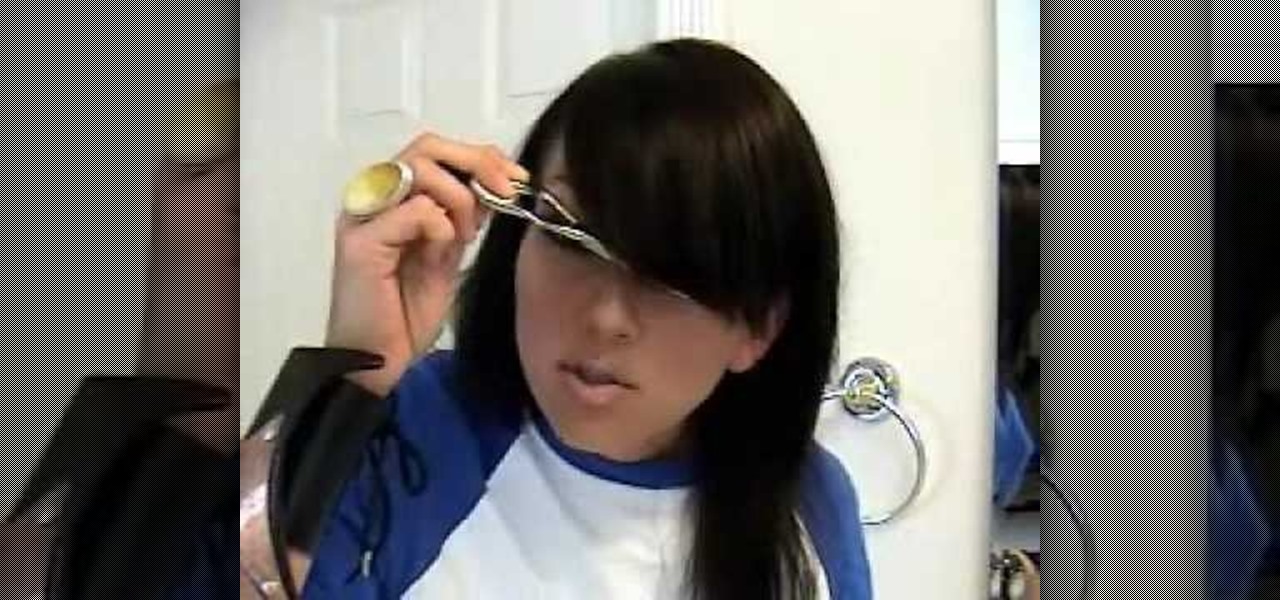
In this video, we learn how to cut side swept fringe bangs. To do this, you will either need hair scissors or a razor that is meant for cutting hair. Start off by having dry and straight hair. Next, you will curl the bangs so they are to the side of your head, using your blow dryer and a large round brush. Next, decide where you want your bangs to hit on your face. Then, brush your bangs down with a comb and use your razor or your scissors to cut the bangs to the right length. When you are fi...

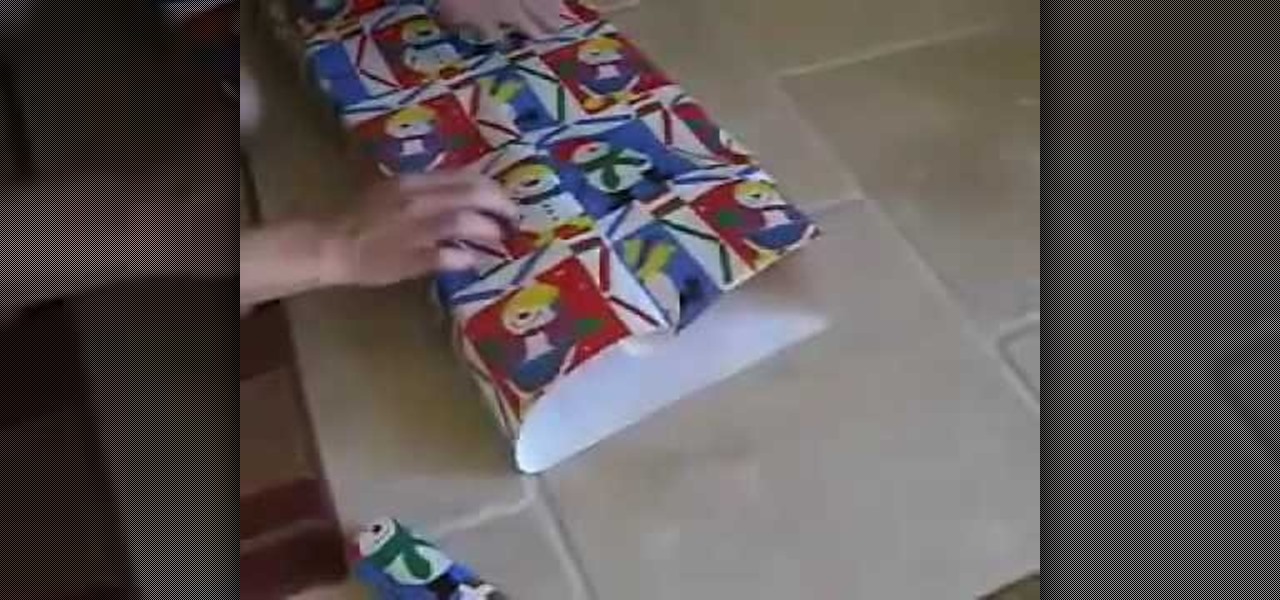
In this video, we learn how to wrap a gift. You will need: scissors, your gift, tape, and wrapping paper. First, place your gift down on the rolled out wrapping paper upside down. Measure out the paper so you have enough, then cut the paper from the roll. Next, you will fold the edges of the paper down, then center the gift on the paper. Bring the sides of the wrapping paper into the middle, then tape it. If you have too much paper on the edges, cut it carefully with the scissors. Now, push d...

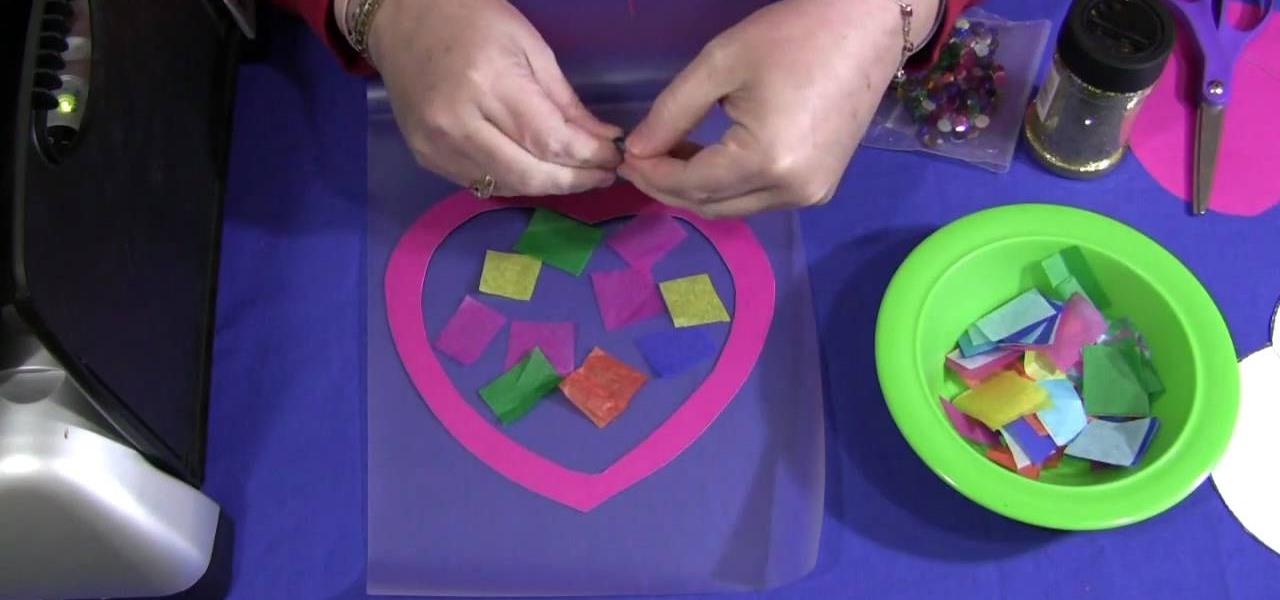
In this video, we learn how to make a sun catcher with your kids. First, you need laminating paper, two paper hearts, and scissors. First, cut the center of one heart out by sticking your scissors in and making your way around the heart. Next, place the outline of the heart inside of the laminating pouch, then decorate the inside of it how you prefer. You can use whatever you want to decorate the inside, including: glitter, crayon shavings, tissue paper, etc. Next, place the paper inside of a...

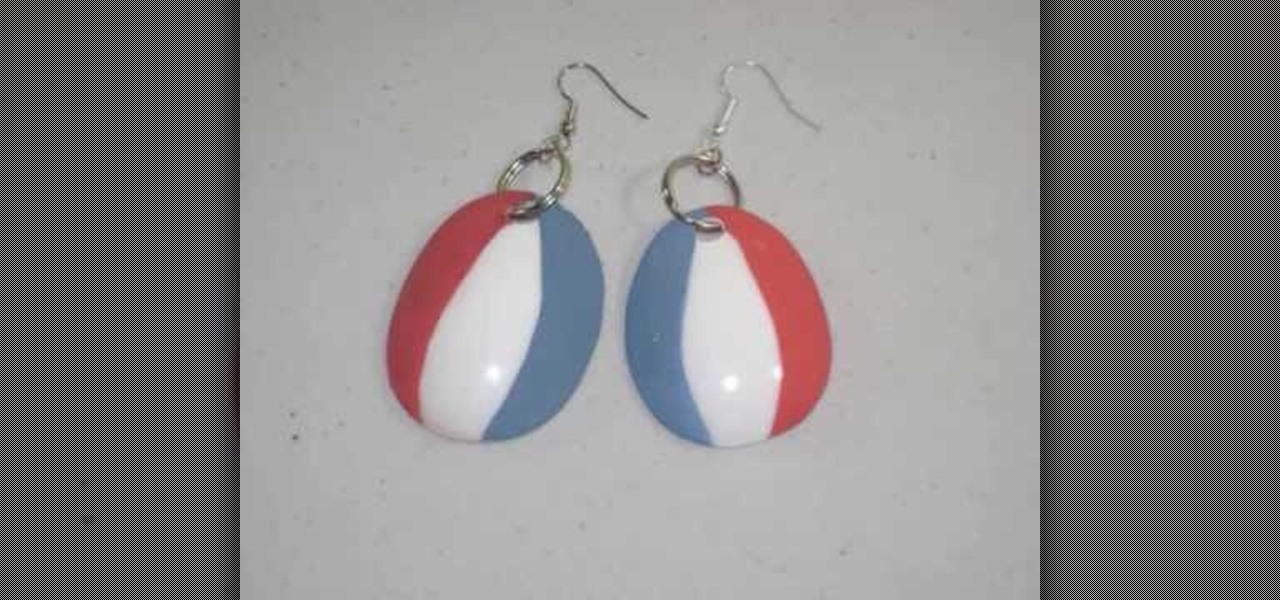
This video is about how to make earring from spoons. So to do this, just follow these simple steps. Things you'll need:

Corynne from The Crafts Channel teaches how to make a stylish bird motif in minutes. You'll need: Colored/printed papers, scissors and glue. Get a colored paper. Draw a whatever bird image You like at the back. Cut with scissors. Get another colored paper of different color and draw a wing. Put a glue on the wing and glue it onto another colored paper. Cut it leaving 1/2 an inch over the first wing to have layers. Decorate bird as what You want Your bird motif to look like. Follow these steps...

This video is about how to make duct tape flip flops. For this you need cardboard, scissors, and three different colored tapes. Follow a few easy steps: cut two identical slipper shapes out of cardboard. Paste the first colored tape on the cut pieces. Fold second colored tape three times to make it thinner. With the help of the scissors create a hole and pass the second colored tape through it. Paste the tape at the back. With the last tape, strengthen the joints above the hole.

Learn how to build your very own motor, but not just one motor, three motors. These motors you will learn to make a very simple, and the materials needed are minimum. Just watch to see how to make simple homemade battery-driven motors.

Patti Behan shows us how to make this beautiful giraffe prints to create an amazing card. You will need:

It’s easier, quicker, and cheaper to cut your child’s hair than to bring him to a stylist. So why not just do it yourself? Learn how to give a male child a haircut, at home. This is a cost effective tip that will help you save money.

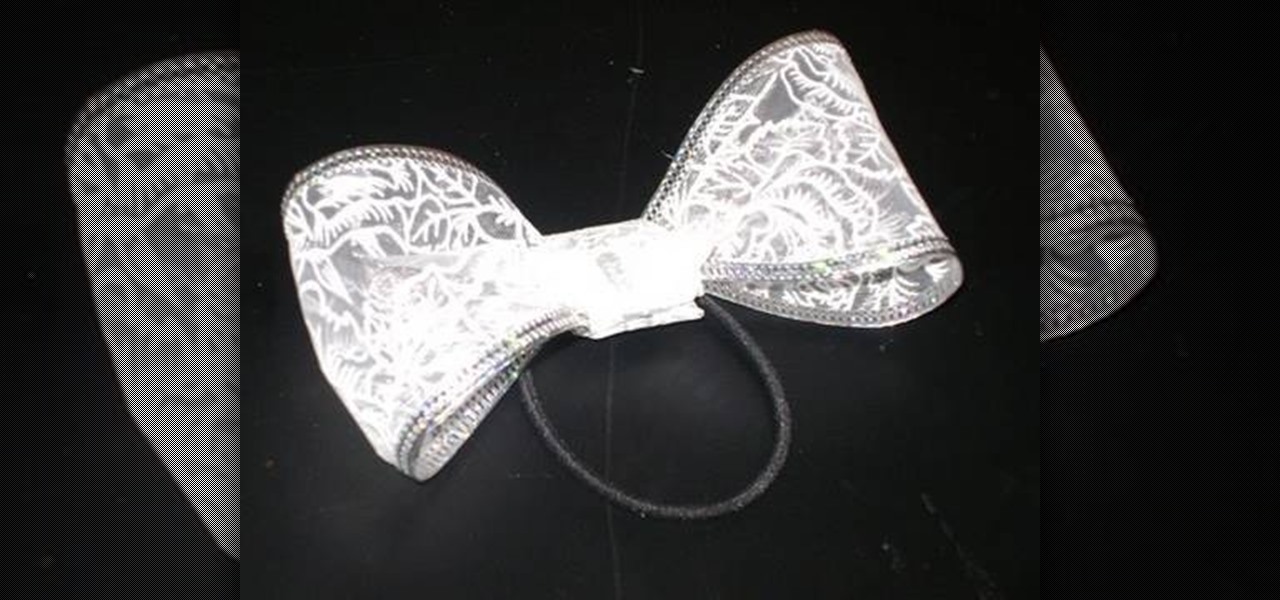
Materials required are lace, hair band, scissors and glue. Start by cutting off a piece of lace around ten inches length using a scissors. Now apply glue at the edges of one end of the lace. And then join the other end of the lace together to form a circle. Now hold this lace at the middle and then push in the middle. Press in at the centre so that it is divided into a Bow as shown. Spread the edges a little to make it appear fine. Now cut off a piece of lace around four inches using a scisso...

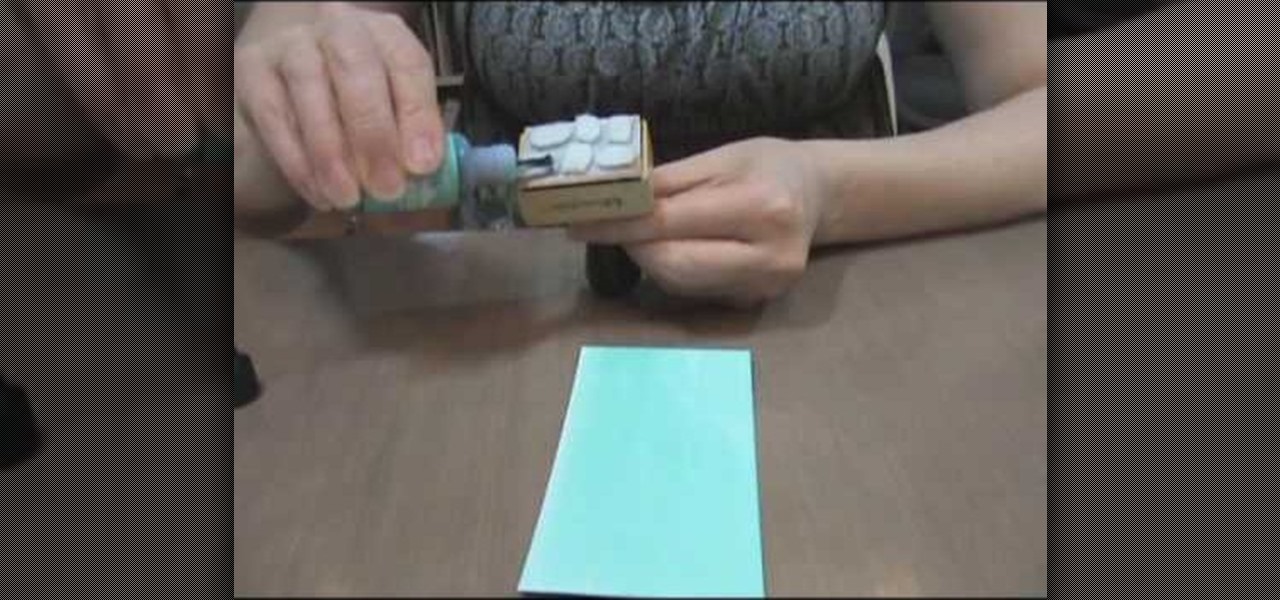
Handmade cards with rubber stamps can be made easily with the following instructions. First, fold a sheet of cardstock in half horizontally or vertically, whichever way you prefer to make your card. Then, trim around the edges with scrapbooking scissors to create a design, or leave the edges straight. You can also find rubber stamps with inspirational messages that you can stamp straight onto the cardstock. Now you can decorate the card front with any rubber stamp you like, but stamp it onto ...

This video shows us how to use a cuttlebug and make a congratulations card. Here are the following steps:

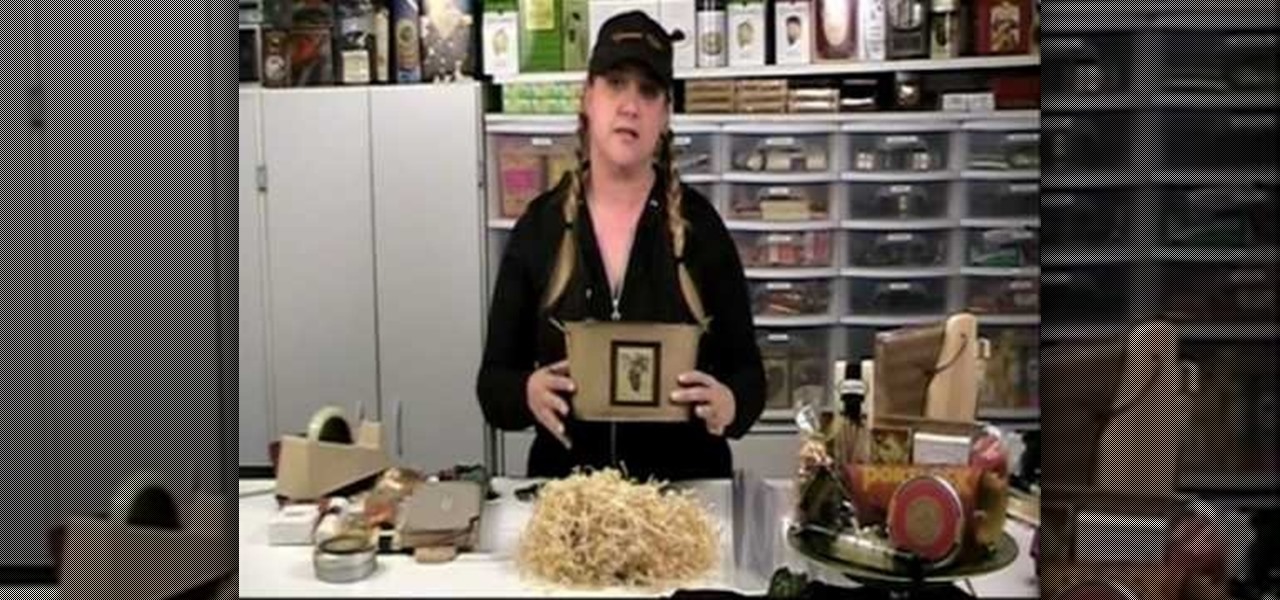
This video shows you how to make a rustic gift basket. For this project, you will need the following: an oval metal pail, crinkle paper, chocolate bars, cutting board, cookies, dried fruit, crackers, almonds, smoked salmon, cheese, caramel corn, grapes, a standard cello bag, sharp scissors, ribbon, and a knife.

If you have scissors, measuring tape, 1-2 yards of a non-fraying fabric, and chalk, you can create a sleeveless cardigan without sewing one inch of fabric! Pick a fabric that you like and wear it proudly after only an hour's worth of work.

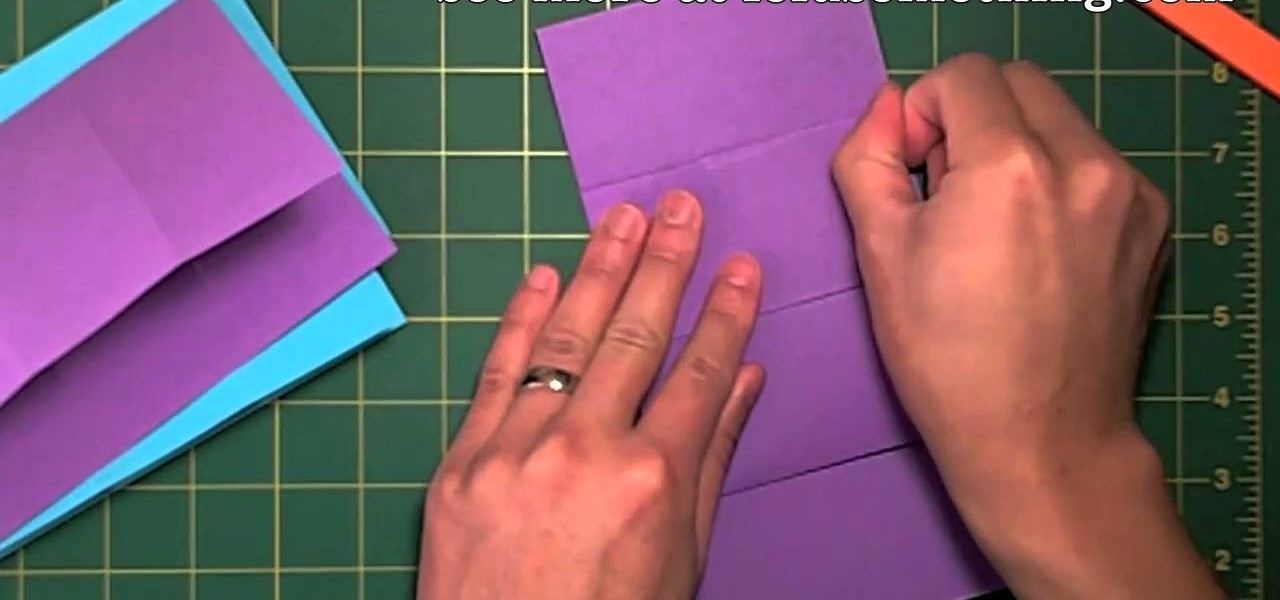
Origami infinite flippers are super cool creations, but some methods can require up to 24 sheets of paper. This method uses only 4 sheets of paper, but does require some cutting and pasting. You'll need 4 sheets of paper, scissors and glue. Glue, snip, fold and flip!

Here's an easy do-it-yourself illusion that will let you make a deck of cards vanish! This detailed video shows you the magic trick, the reveal and what you'll need, to create the illusion. You're going to want to have a deck of cards, including the deck's box, scissors, some scraps of cardboard, some clear tape and some glue. Then, abracadabra!

We've always thought that supersized everyday items were cool, like a 4 ft. tall pencil or scissors so large they could cut a posterboard in half in one snip. But few of these supersized notions are practical.

Know someone who's full of hot air? Grab them and make a heat motor with this cool home science experiment with Mr. G. When air is heated, it rises. This experiment uses that natural law to create a simple, spiraling heat 'motor'.

Here's a lesson in origami firearms! Well, not real origami, since you will also need a pair of scissors and some tape to complete this. But other than that, just grab a few sheets of plain white paper and end up with your own double barrelled paper shotgun.

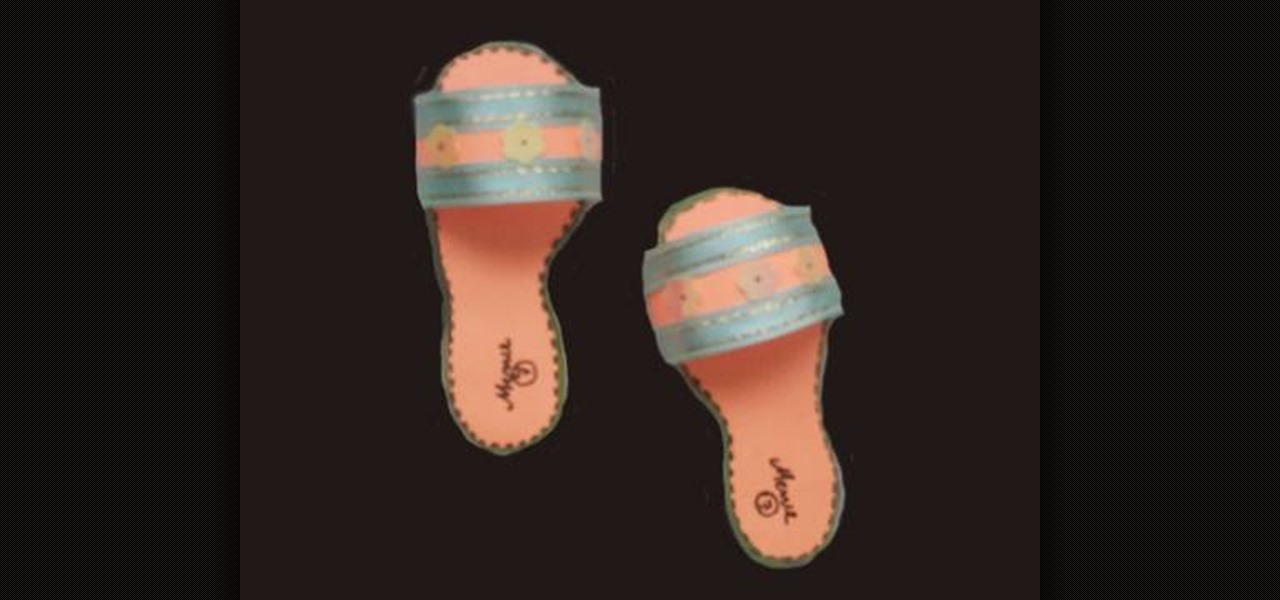
This is a fun craft to do with your child which teaches them how to make a Turkish-style pair of slippers. All you'll need is some colored cardboard, decorative ribbon, glue, scissors, colored markers and a few decorations to put on the shoes.

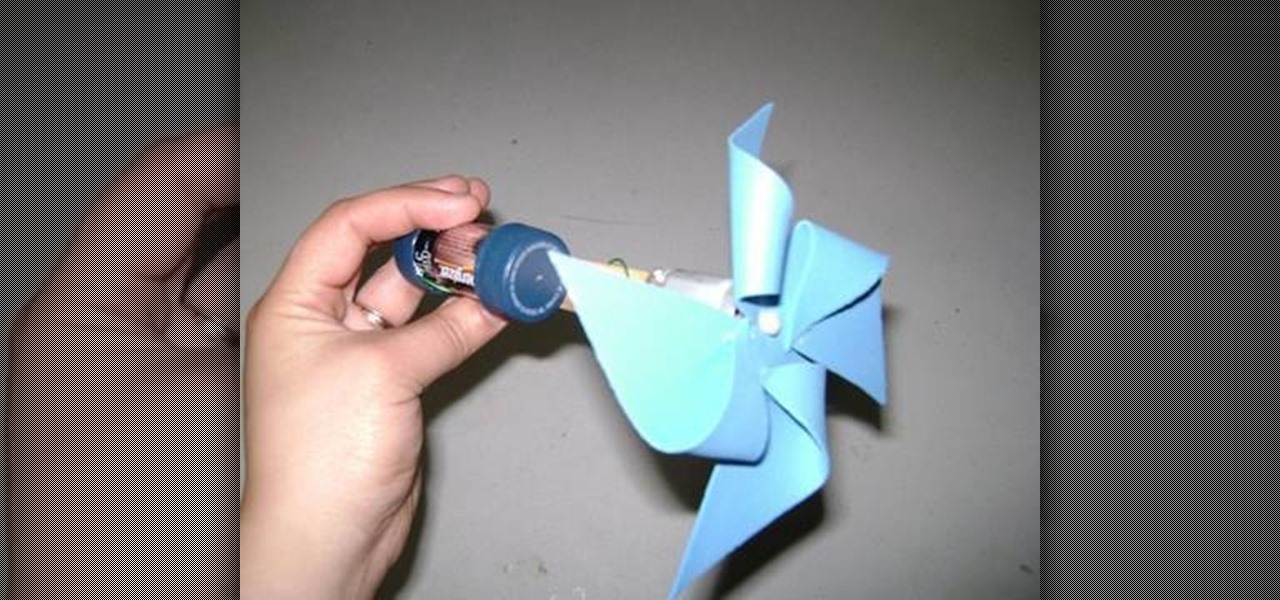
Here's another fun summertime craft for your budding engineer - make a spinning paper pinwheel or fan! You'll need a C-battery, a toy motor, two soda caps, a popsicle stick, foil paper, copper wire, a small sheet of foam, a sharp pencil, a hot glue gun and some safety scissors.

In this tutorial, Elizabeth Gleeson shows you how to take an ordinary thrift store find like a slip and repurpose it into a totally cute and wearable minidress for summer. This look is so cheap to create and will look great all season long! So, follow along and save money this year with this quick and easy video from Emerging Thoughts.

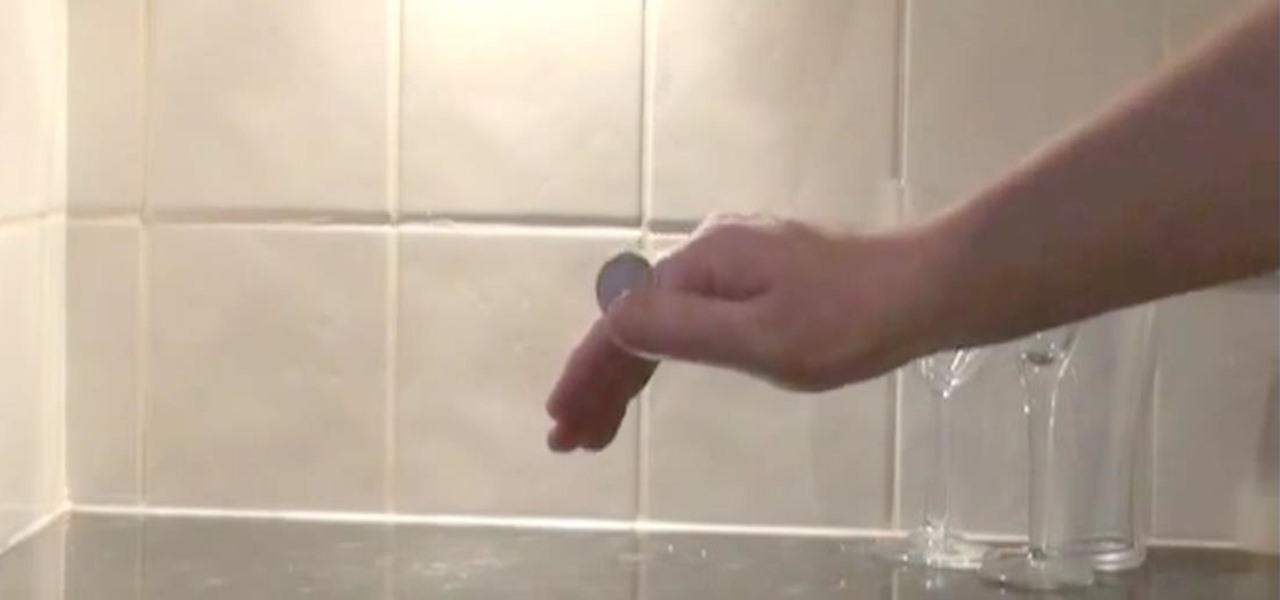
This magic trick is sure to impress your friends or any audience. In this video, you will learn how to make a coin vanish and appear at will!

With this artsy, craftsy how-to, you'll learn how to make flowers with paper napkins and a pair of scissors. Pretty. And pretty cool! For a detailed, step-by-step look at the process, watch this free video tutorial!

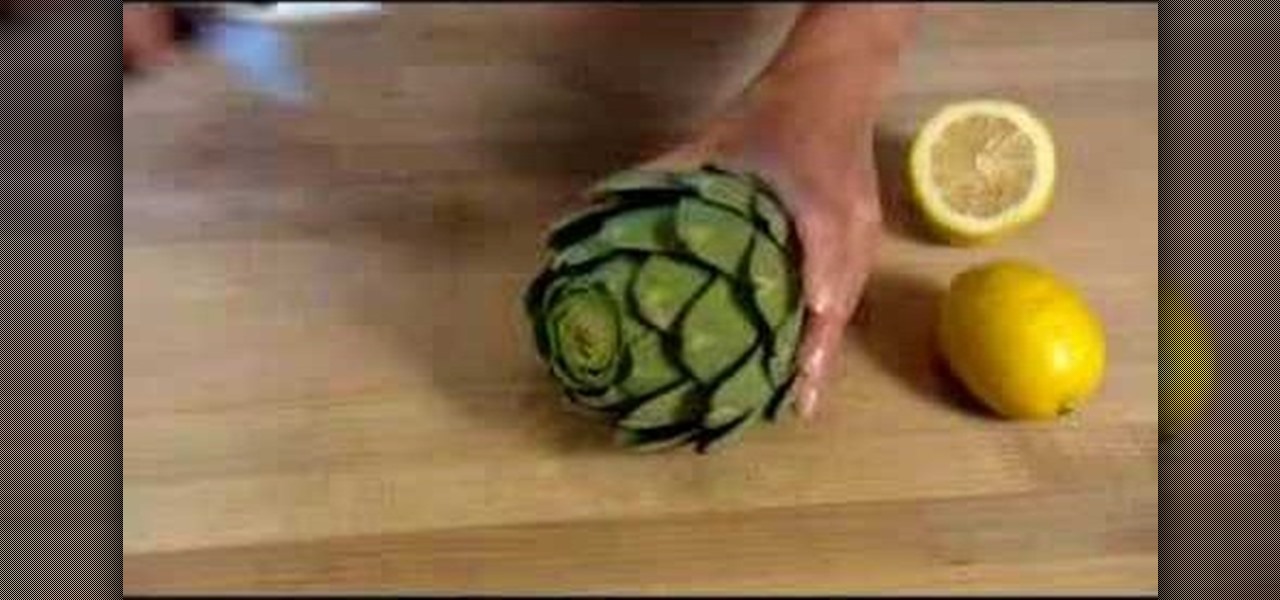
Step by step guide to preparing a raw artichoke for cooking. Using a knife, take a washed artichoke and trim the top part and stem around 1 inch up from each side. Using a kitchen scissors, trim the leaves. Rub some lemon juice onto the leaves and stem to prevent it from turning brown. The artichoke is now ready to be cooked.

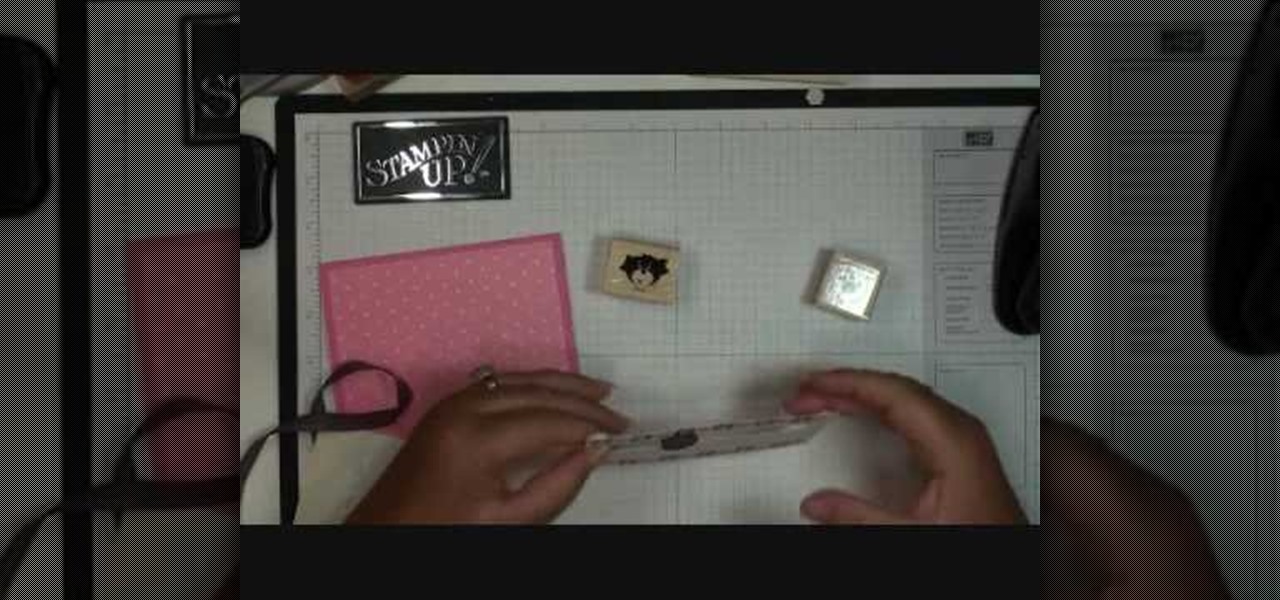
To make a Spinner Card you need some essential tools like, Paper Cutter, Scissors, Stamps, 1/2" Circle Punch, 2 Pennies, a Stamping Dimensional and any embellishments. Have the card stocks one for the card part and the other for the front of the card. In the first step, take the circle punch, flip it over for easy viewing. Push the paper all the way in and to the farthest left without going out of the paper. Punch your 1st hole here. Do the exact thing on the right side of the 1st hole. It wo...

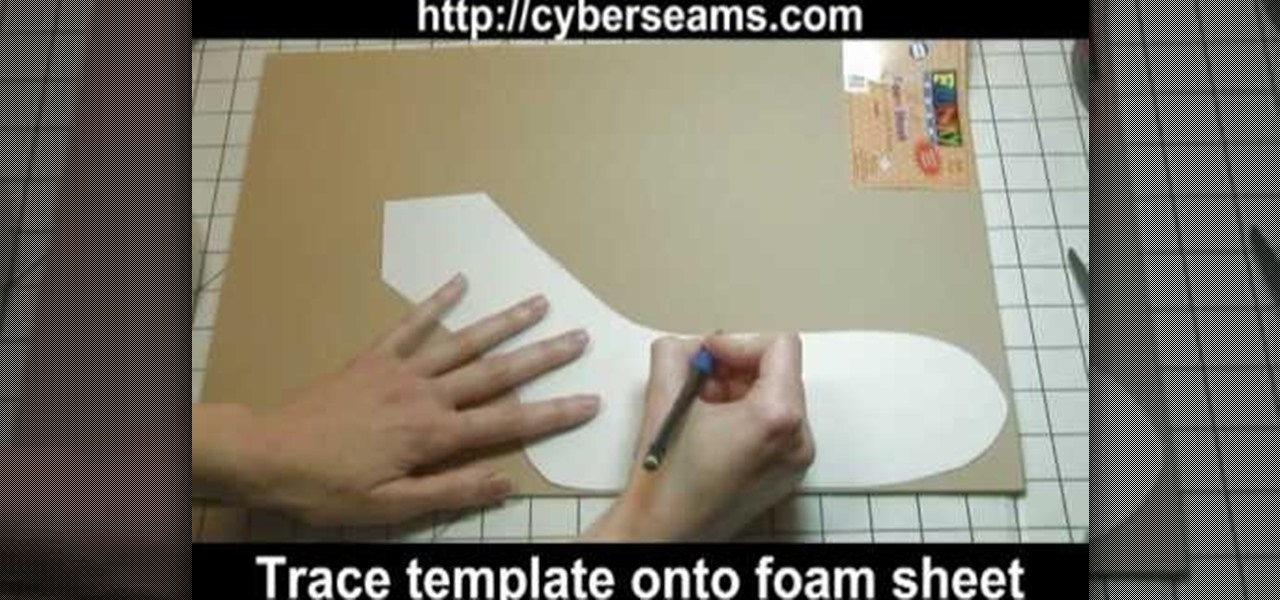
Learn how to make your own sock blockers with this video. • Trace your sock with extra spacing. • Cut out the template. • Take 3MM foam sheet. • Trace the template onto a foam sheet. • Extend and cut off the traced foam sheet to desired length. • Cut the form with the scissors.

Want to scare the socks off your friend? Give them a bloody finger in a box for a gift... your bloody finger! To complete this prank you will need a small jewelry box, a cotton base, scissors, and ketchup! This trick is great to add to a spooky Halloween party... or: your little sister's birthday.

Thread Banger and their friends at Ruffeo Hearts Lil Snotty show us how to transform our old backpack into a now hip (yes, they're hip again) fanny pack in just under two hours. With a disposable backpack, pattern weights, marking chalk, a zipper, seam ripper, scissors, a buckle, some pins, a sewing machine, and a downloadable pattern courtesy of RHLS, you can make your own custom-made fanny pack in time to show off at school the next day! A definite must-try.

Watch this video tutorial to learn how to make a paper gun that fires! Yes, this homemade paper gun actually shoots paper bullets. You'll need paper, tape, and a pair of scissors to make this cool shooting paper gun.

Feel and see just what duct tape is capable of! You can practically do anything with duct tape! This folding video tutorial will show you how to make a duct tape checkbook holder. To make this duct tape checkbook holder, you'll need some duct tape, scissors, a ruler. You can fit the checkbook in this, and the register.

Feel and see just what duct tape is capable of! You can practically do anything with duct tape! This folding video tutorial will show you how to make duct tape flowers. To make this duct tape flower, you'll need some duct tape, scissors, and some folding capabilities. This is just like making an origami flower, but with duct tape!

Learn the magical powers of duct tape! You can do just about anything with duct tape! This video tutorial will show you how to make the perfect duct tape wallet. To make this duct tape wallet, you'll need some duct tape, an X-Acto knife (or Exacto knife) or scissors, and a ruler. You'll need to make some reasonably precise measurements to make your money fit right.

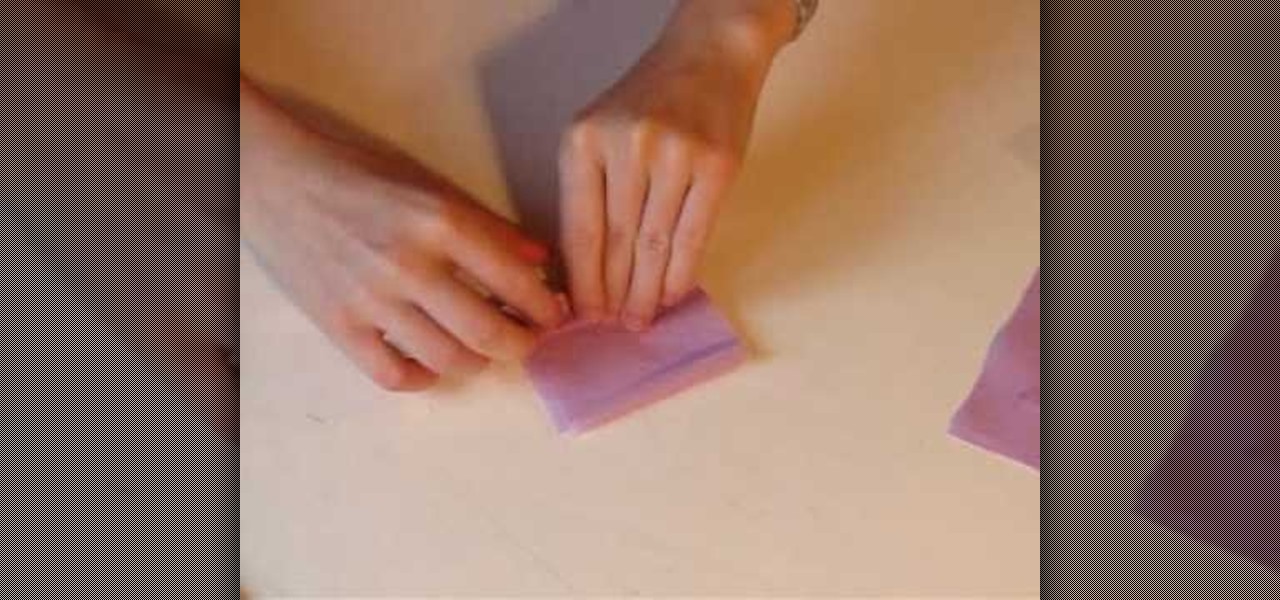
Learn how to fold a paper Jet plane. Materials : A4 size paper (type 80gsm or lower).

What's a good way to transport compact discs without scratching them when you have no case? Make your own of course... watch this video tutorial to learn how to fold a CD case with just one sheet of paper. With just one ordinary piece of printer paper, you can make two different versions of a glueless CD case. You just need the paper, a pencil, and some scissors!


