Whether you want to commemorate a special event or just keep the dust off mementos, a shadow box is a great way to show off your treasures. Watch this howcast video to learn how to decorate a shadow box. You will need:

Check out this video to learn how to make a sports bra out of men's underwear with the sexy Gianny L. All you need is a pair of underwear and some scissors. Cut a hole in the crotch and you have a super cute sports bra that you can exercise in. The sexy GiannyL demonstrates this DIY closet hack that's simple and cheap.
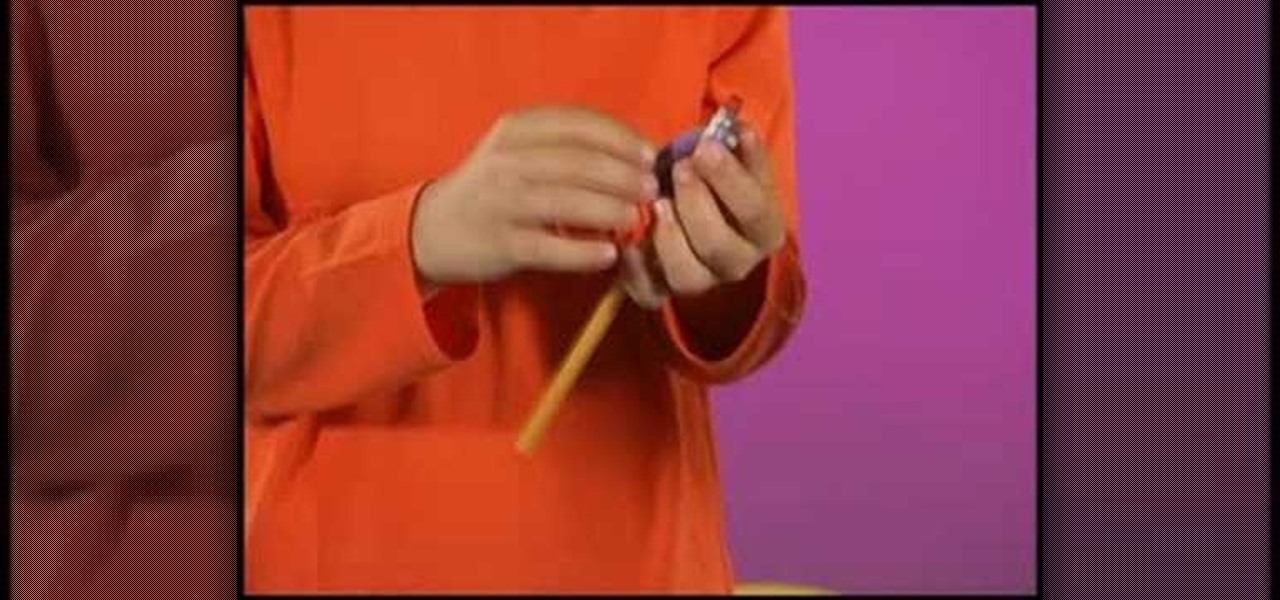
Make homework time go a lot faster with this smart pencil project from Crayola. Learn how to make assignments more fun with a pencil top specially designed for every subject. You will need Crayola Model Magic Fusion, glitter glue, scissors, and washable glue. With this how to video you can create this smart pencil project with your children.
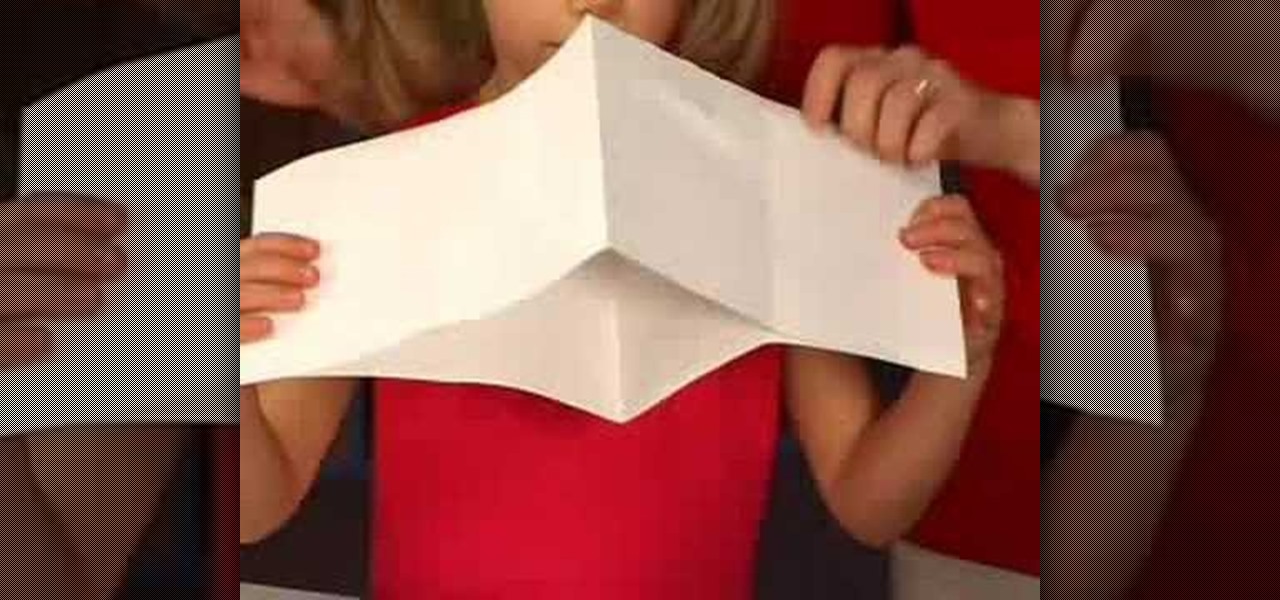
Create a travel journal, make a doodle book, or write a story about yourself with this how to video from Crayola. All you need is paper and scissors to create your own 8-page mini book. This is a fun and east project for your whole family to do. With this arts and crafts tutorial you can make a mini booklet with your children.

Check out this fun arts and crafts project for the holidays with this tutorial from Crayola. Learn how to make paper ornaments with your kids using Crayola products. You will need paper or paper shapes, hole punch, scissors, string, your favorite markers, cookie cutters, erasable colored pencils, and the Crayola Cutter. With this how to video you and your child can decorate your home for the holiday season with these paper ornaments.
Learn how to make these brightly colored monkeys using Crayola Color Surge markers with this tutorial. You will need Crayola Color Surge Markers and Paper, school glue, erasable colored pencils, scissors, and recycled cardboard pieces. These brightly colored monkeys are a fun arts and crafts project to do with your kids. With this how to video you will be able to make paper monkeys with your family.

Raven Symone shows us how to make a padded journal using your favorite fabric. You will need a pair of scissors, a composition notebook, a yard of fabric, ribbon, cotton stuffing, and hot glue. If you love to write poetry like Raven Symone, or you want to give a cool gift to your best friend. Make Raven Symone's padded journals for your own own writing, birthday gifts or school projects.

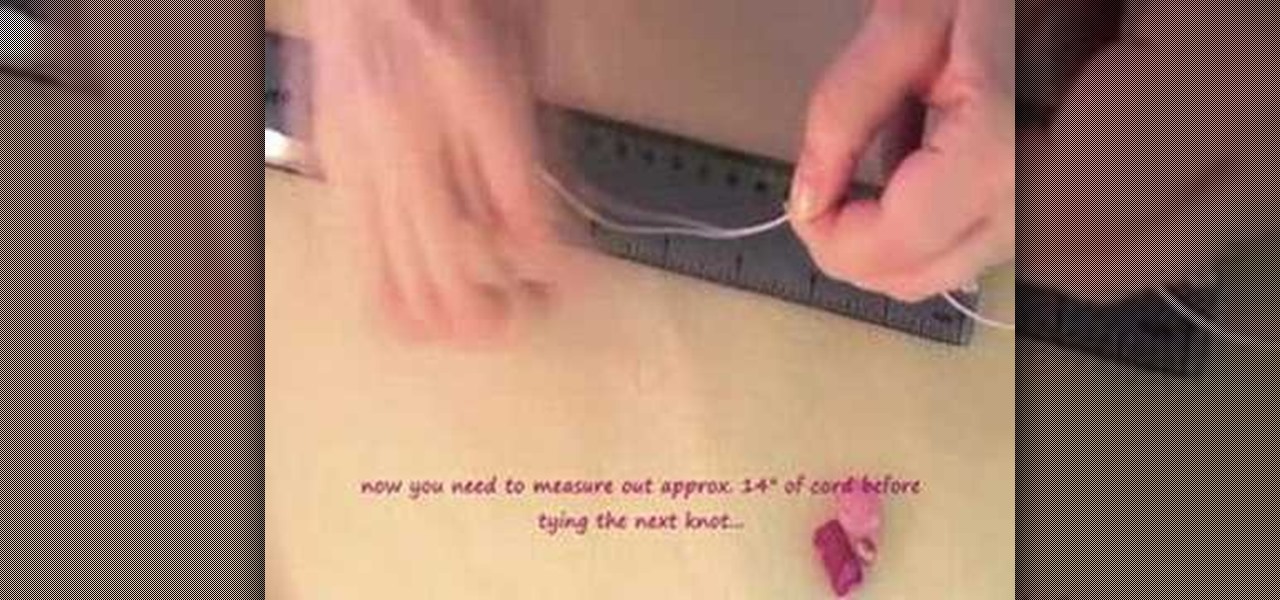
Sonya Nimri of sonyastyle.com shows you how to take a beaded pearl necklace and refashion it into a cute headband. You will need fishing wire, an elastic cord, ribbon, a pearl necklace, and scissors. Watch this video crafting tutorial and learn how to transform a pearl necklace into a headband.

This is an instructional video on how to make an origami goldfish. Origami is the traditional Japanese art of paper folding to make any shape imaginable. All you need is a square of paper and a pair of scissors, even if that's considered cheating. Watch this video tutorial and learn how to fold a paper goldfish.

Watch this instructional fashion video to learn how to make steampunk gloves. All you need are the following items: a pair of scissors, some ribbon, grommet setter, anvil, grommets, marker, ruler, and leather. Soon you'll be able to don your steampunk outfit and show off your creative fashion sense.

A Box kite is a fun project that looks like it could never fly but it flies real easy. It's easy to make too. You will need dowels, straws, string, masking tape, scissors, and some newspaper or plastic. Watch this video tutorial and learn how to make a box-shaped kite.

This necklace is sure to get you noticed! This video shows you how to make a beautiful teal color faceted heart pendant on a knotted bead necklace. You will need waxed cord, glass beads, a heart pendant, a head pin, and scissors. Learn how to craft this necklace by watching this video jewelry-making tutorial.

This is a great little project for beginners and shows how to make a simple knotted bead bookmark. They also make thoughtful handmade gifts! You will need some waxed cord, a selection of beads, some scissors, and glue. Learn how to make this bookmark by watching this video beading tutorial.

Are you interested in doing a crochet project? Watch this video tutorial to learn how to crochet a flower. You will need some yarn, a crochet needle and a pair of scissors.

This is a tutorial on how to make a shrimp from a drinking straw and a pair of scissors. This is a nifty arts and crafts project for the summer, or doing on the side of the road for money. Everyone will be astounded by your shrimp-making skills.

Learn how to make a cool little heart shaped cup out of two pieces of paper and some folding and cutting. Similar to origami, the Japanese art of kirigami requires the use of scissors.

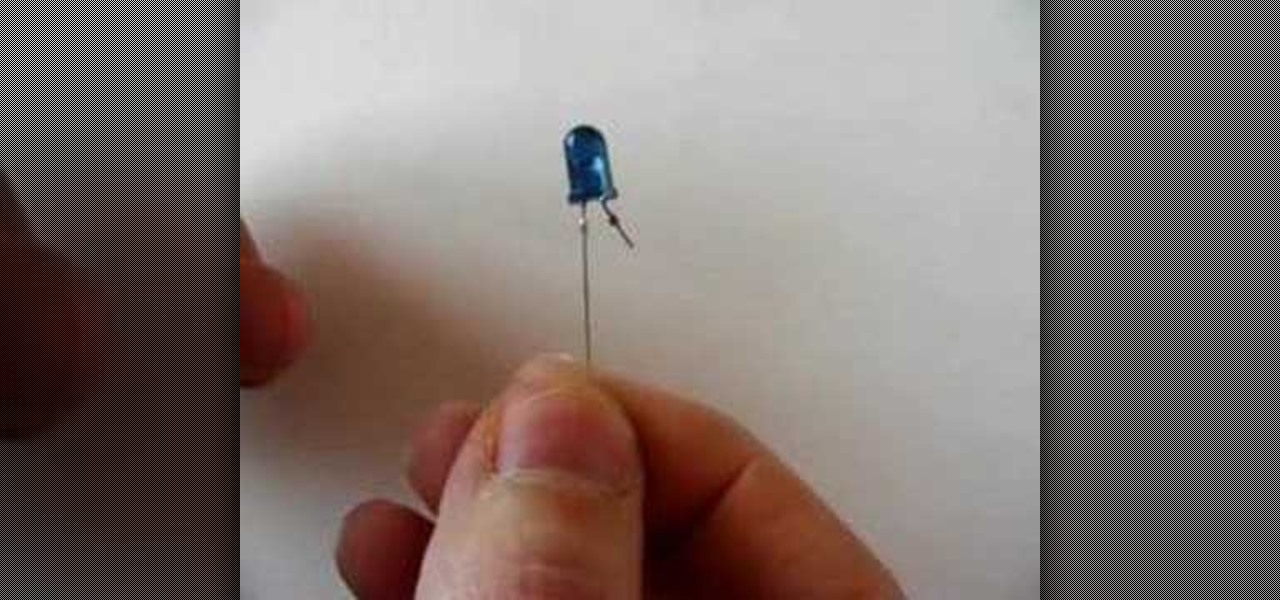
Build an infrared pen fast, cheap and easy, just check out this how-to video! There's no need to solder anything. You need scissors, tweezers, an infrared LED, and a light LED pen. Check out this video tutorial and make a fancy infrared pen.

Make a paper toy from just a half square of paper and scissors.

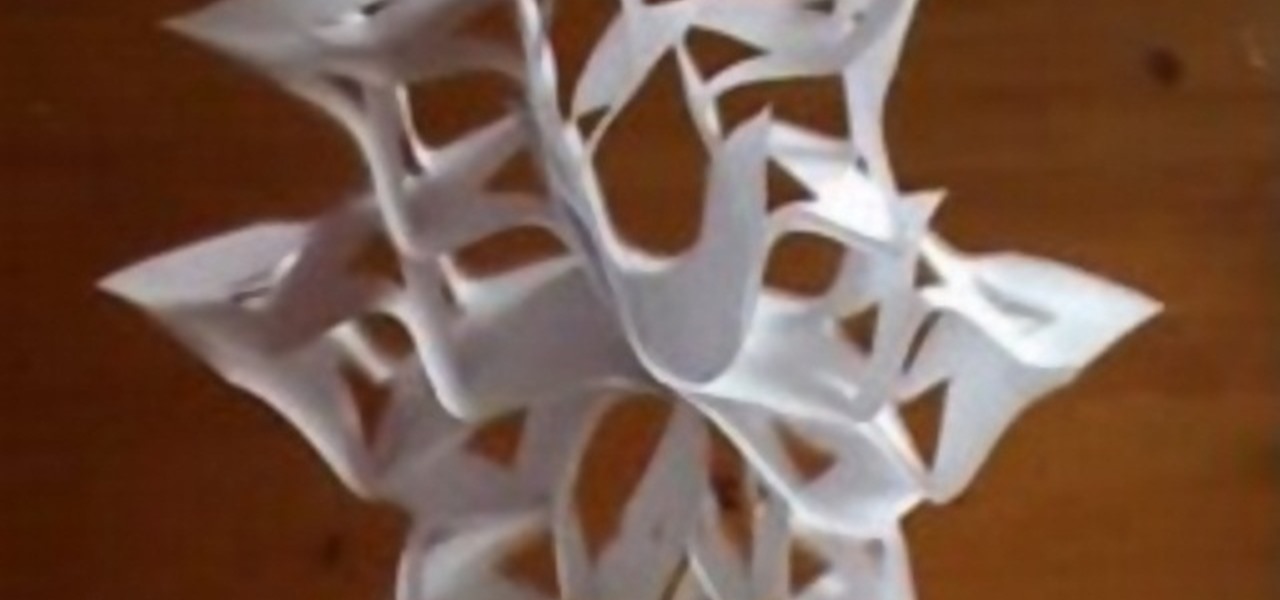
Check out this video to learn how to make a 3D paper snowflake for the holidays. Follow the text at the bottom of the video as supplemental instructions. Remember to use your scissors.

Judy, of A-BnC Parties and More, Inc., shows you how easy it is to make a decorative bow from #9 ribbon. All you need is the ribbon, a sharp scissors, some curling ribbon or a twist tie, and the know-how. Use these bows to decorate your wedding, placing them on chairs, canopies, etc., or as an accent to gift baskets.

Learn how to turn a plain boy's T-shirt into a girl's tank top using just scissors. No sewing necessary just tying fabric.

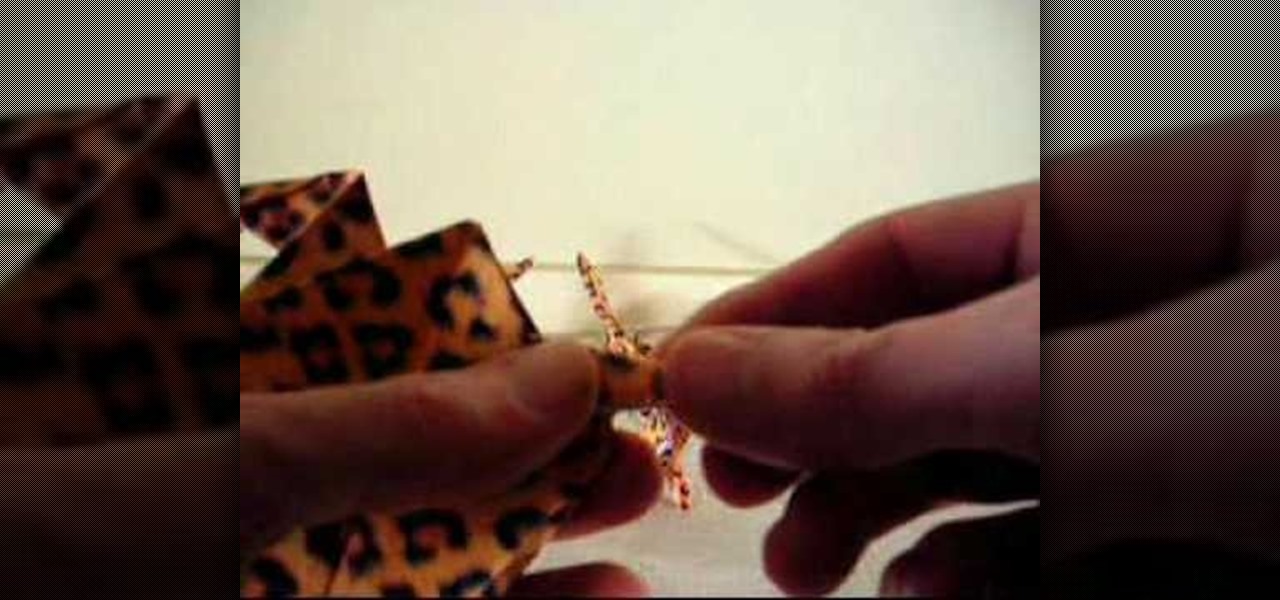
This video demonstrates how to make a cheetah. Starting with cheetah paper the author makes a series of folds and cuts to result in a paper cheetah. You will need a pair of scissors for this craft.

Most people think that you have to be a whiz with the needle and thread as well as proficient on the sewing machine in order to make or tailor your own clothing. But the truth is that for easy modifications, like turning an old t-shirt into a modified, chic top, all you need is a pair of scissors and perhaps a stitch or two.

In this video, we learn how to make the best paper snowflakes. First, take a dark blue and white piece of paper and fold it up into a square, then fold into a triangle. Next, grab a pair of scissors and start to cut along all of the sides of the paper. You may have to do this a couple of times to get the shape right, it will be helpful to use a diagram to show you where to place the scissors. When you are finished, open up the piece of paper to see your snowflake! String this with other snowf...

In this video, we learn how to cut side bangs. Fist, you will need to grab some shearing scissors, a comb, a trash can, and water. Now, get your bangs wet in the area that you want it, then part your hair where you usually part it. Once you do this, separate your bangs from the rest of your hair and clip the rest back. Next, use your scissors and cut at an uphill angle from the bottom of your bangs to the top. When finished, continue to cut until you have the desired length. Keep in mind your...

In this video, we learn how to destroy jeans to look like Hollister's. First, you will need to take your jeans, a nail file, and scissors. After you have these, use your files to rub onto the jeans where you want your hole to be at. Go from side to side to create a lighter look than is on the rest of the jeans. After you start grating through the jeans, there should be a small hole forming. Pull at the strings as you see them, then stick your finger inside the hole to make it the size you wan...

In this tutorial, we learn how to polish your boots to ROTC standards. You will need: Kiwi black shoe polish, scissors, and an old t-shirt or cloth. First, take your scissors and cut out a section of the t-shirt to make it the size of a wash cloth. Next, rub some shoe polish onto the cloth after flattening it and wrapping it around your index finger. Now, place your shoe on the table next to you and start to shine it over the entire shoe. Make sure you dip the cloth in water before and after ...

In this video, we learn how to thin and layer hair for a spiky look. To do this, start off in front of the mirror with sharp scissors and a razor over the sink. Grab the scissors first and brush your hair to the front of your face. Start off cutting different layers into your hair, making some longer and some shorter. Next, take a razor and run it through your hair to create a think layering of all the hair. After you are done cutting it to your desired length, add in hair gel or wax to your ...

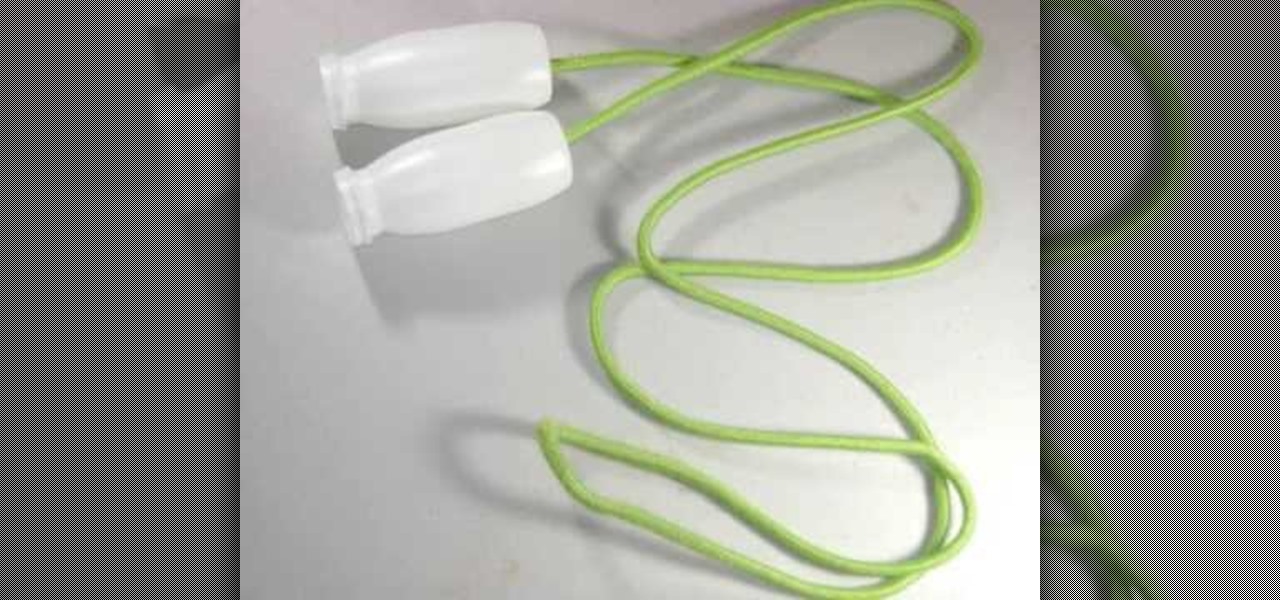
In this video, we learn how to craft a homemade jump rope with your kids. You will need: 2 think plastic containers, a heavy rope, and scissors. First, take your plastic containers and cut a hole in the bottom of each of them with the scissors. After this, place your rope through the inside of each one. Tie a knot at the end of each side of the rope so it's thick enough that it won't go through the hole you just made. After this pull the rope down and now you will be able to use it as a jump ...

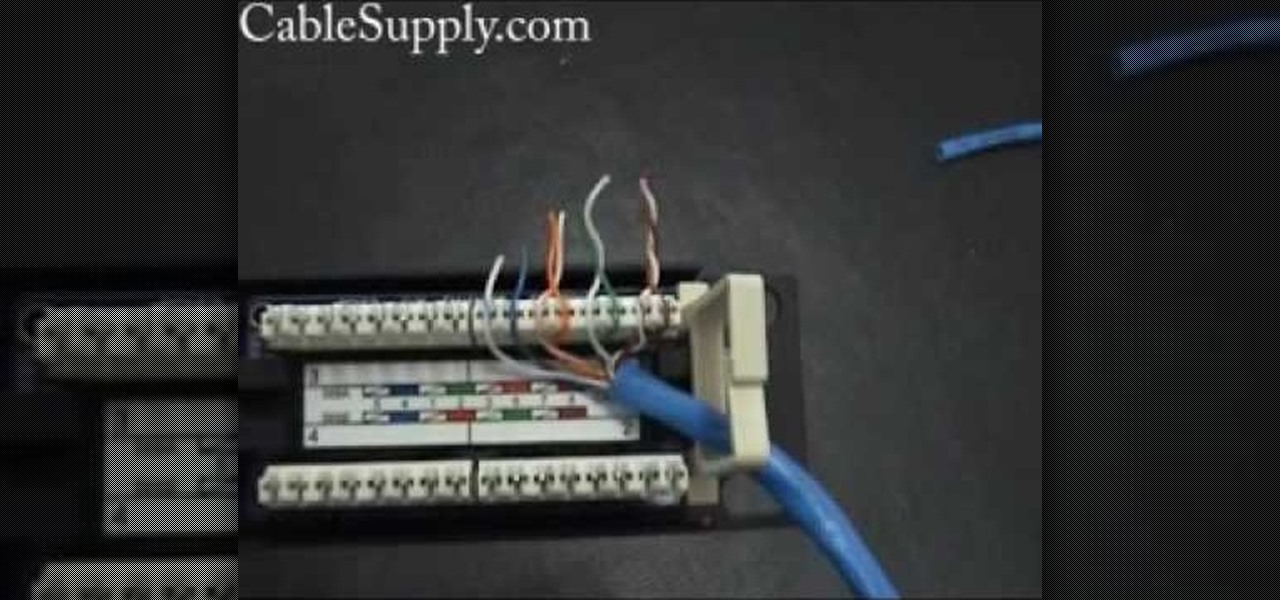
In this video, we learn how to punch down a 12 port patch panel. Start off by grabbing your cable and using scissors to cut off the outer covering of the cable. Next, use the wire scissors to cut off the end of the wires (about 1-2 inches). After this, place the stripped down wires into the appropriate spots that correspond to the colors that are on the 12 port patch panel. After you finished this, you will need to grab your punch down tool. Use this tool to push down on the wires, then it wi...

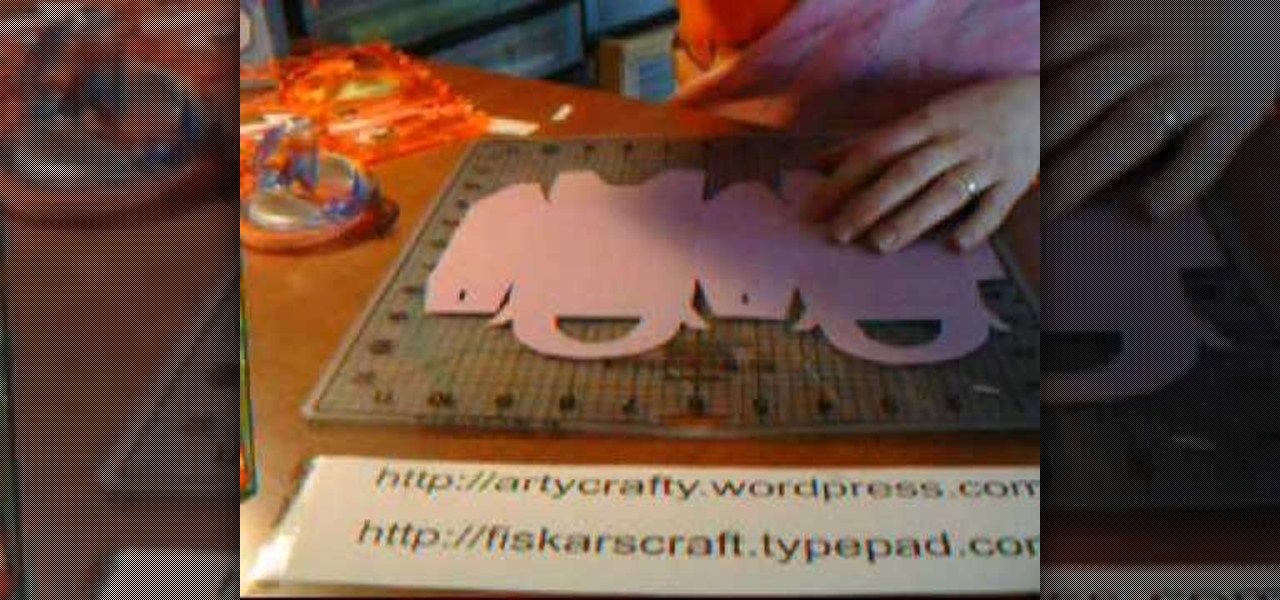
In this Arts & Crafts video tutorial you will learn how to make handmade treat boxes. Materials needed for this project are trimmer with scoring blade, PDF template, cardstock, scissors, Fiskars fingertip craft knife, Fiskars templates, Fiskars ultra shape Xpress, decorative scissors and embellishments. Download the PDF template from http://artycrafty.wordpress.com, print it out on a cardstock on the non-decorative side and cut out the shape along the thick line. Then score along the dotted l...

You will use an old work glove to make the string. First cut the seems of the glove to the finger tips with scissors. Cut out the palm part of the clove. Remove the elastic off of the back with a knife. remove the hem with your scissors. Next, start cutting at the edge up around the shape of the glove. Keep going round until it starts turning into one long piece. Go back around the leather and trim up the rough edges and corners. He ends up with about seven foot of string. It's a cheep free w...

This video shows us the method to reconstruct your t-shirt with a fringe design. You will need a long fitted t-shirt, scissors and a sewing machine which is optional. Cut off both sleeves of the t-shirt. Now cut the middle of the shirt on only one side. Cut off the collar. Hem both sides of the cut so that you have a clean finish. Now take the scissors and start cutting the fringes. Open the t-shirt so that all the fringes are even. Mark the length of the strips and start cutting. Once you ha...

This video illustrates the method of making a eco-friendly earth wallet at home. You will need a paper sheet , glue and a pair of scissors.This can be done as follows -Step 1Take a sheet of paper and fold it so as to create a envelope. Glue it properly to ensure it is bonded properly.Step 2Repeating the above procedure , make two more such paper envelopes - One with a smaller size while the other one a bit bigger.Step 3Stick these envelopes together. Now , using the scissors cut the ends of t...

A simple and creative way to make your own wallet. A few folds and snips of the scissors and you've created your own pocket wallet. You can even use different color of the carton to achieve a different and unique kind. It is extremely simple, the only things you need are your hands, scissors, tape and stapler. Open the carton, flatten it out, cut, tape the cut sides, staple and apply adhesive strips. You can apply whatever color of tape you want, this can make the wallet even more personalize...

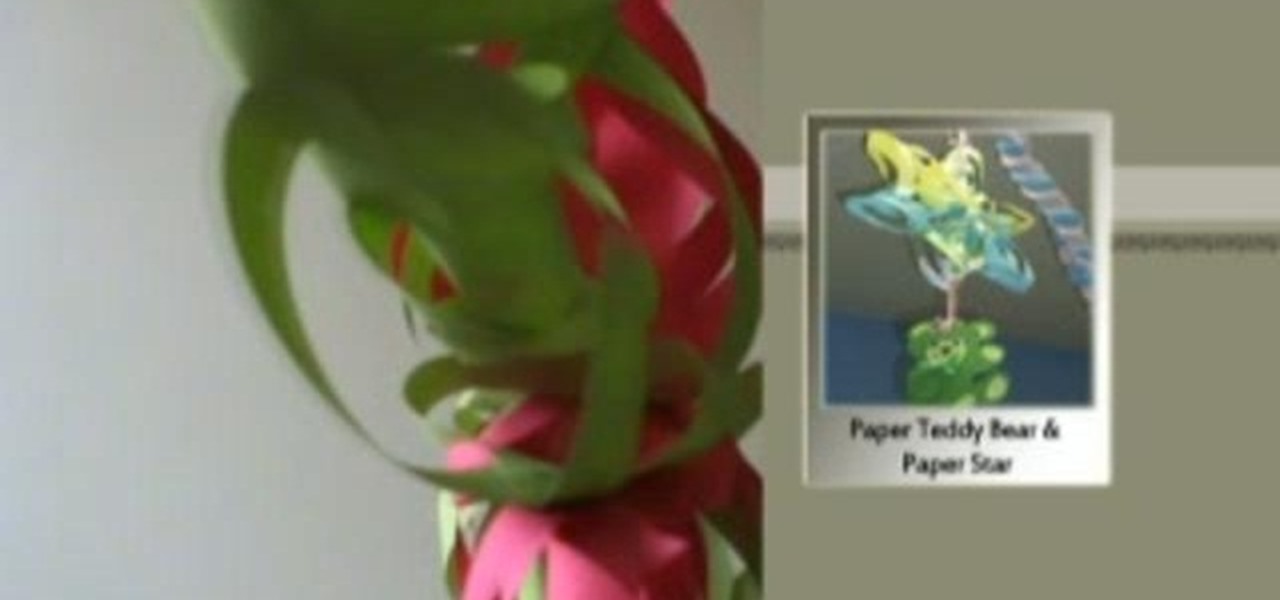
This is a great instructional video on how to make a decorative paper star. The materials you need are color papers, ruler, stapler, scissors, adhesive tape, pencil and cutting pliers. Take a paper and make a square of 20 cm side. Now fold the paper twice and get a triangular shape. Now draw four lines on it. Then cut along the lines with the help of scissors. Take the middle square and staple it. Then go to the back side and staple the ends. Repeat this process and get a star. You can make t...

This video shows how a piece of glass can be cut using a pair of scissors into the shape that you want. First, use a permanent marker to draw the outline of the shape you want on the glass. Next, submerge the part of the glass that you want to cut into a basin of water. Using a pair of scissors, start cutting the general outline of the shape on the glass. After you are done with the general outline, you can then trim the glass with it still submerged in the basin of water. Remember to be care...

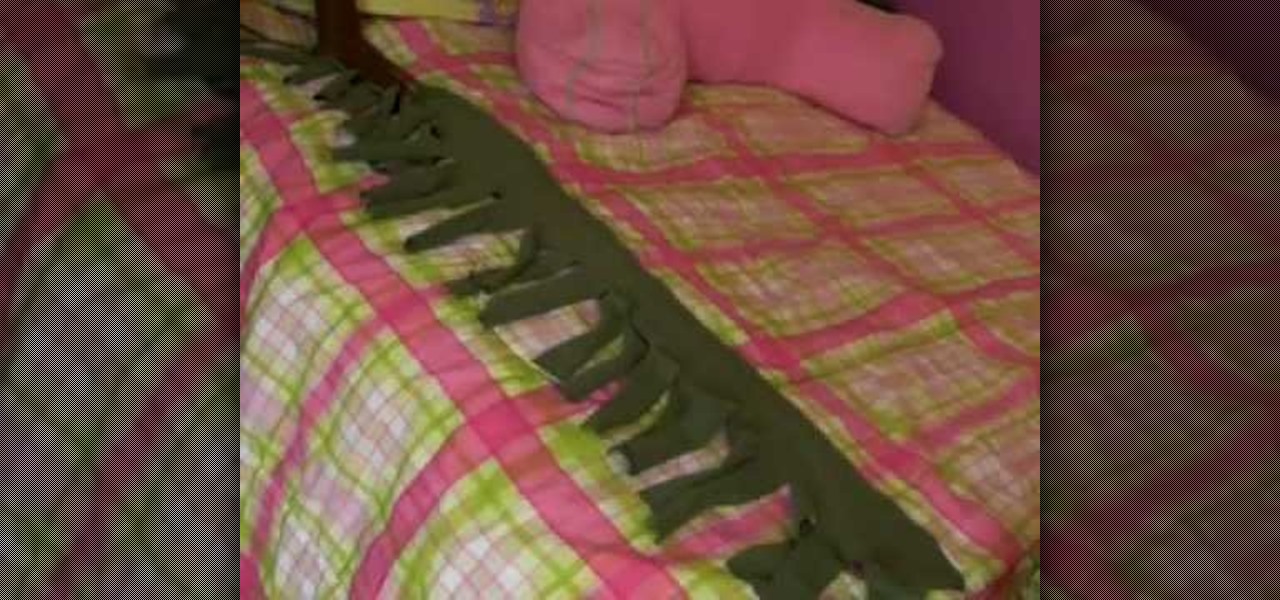
Candice shows viewers how to make Megan Nicolay's shredded t-shirt fringy scarf! All you need is a t-shirt and scissors. First lay out your t-shirt flat on the surface. With your scissors, cut as straight as you can, right across the logo on your shirt. Take the bottom part of the shirt, and cut open one side so you now have one long piece. Now, you will want to cut strips into one side of the scarf. it looks great when your strips are long and skinny. You should do this all the way across on...

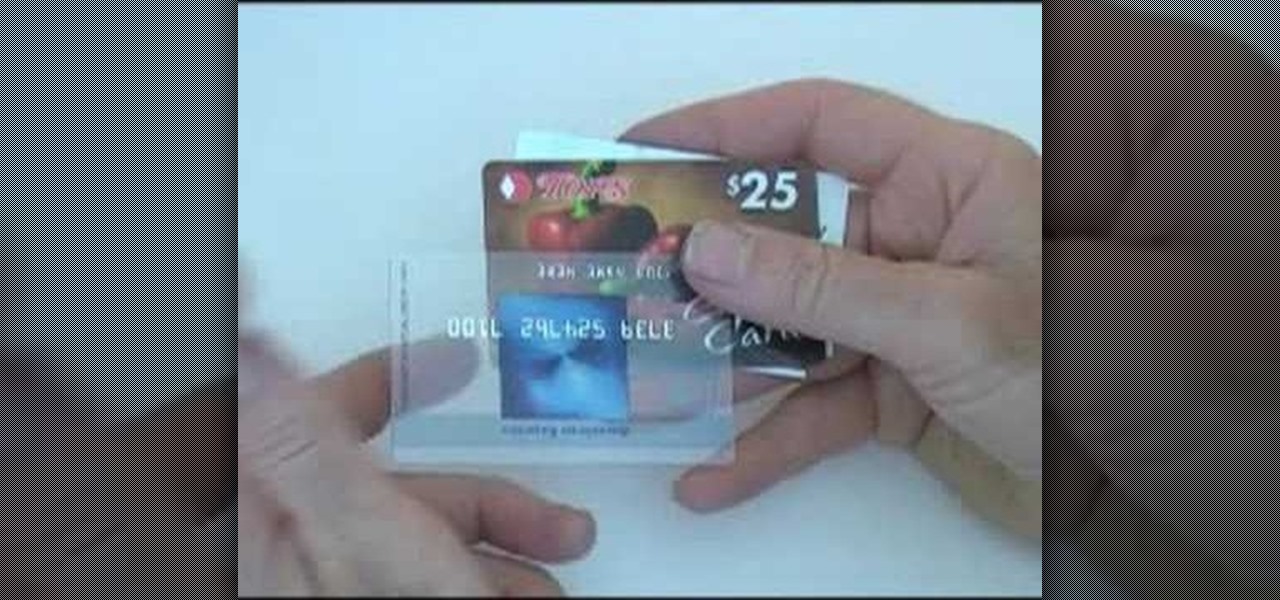
Reuse an expired credit or empty gift card to make a guitar pick instead of buying a brand new pick. You will need a pick, nail file (or sandpaper), card, and sharp scissors. Each card will probably yield about four or five picks. With a pen or Sharpie, outline your pick onto the card, centering it around whatever design or logo you want on the pick. Then, cut out this shape with your scissors. With the file, go back and file down the edges so that they are smooth, making sure that all sides ...

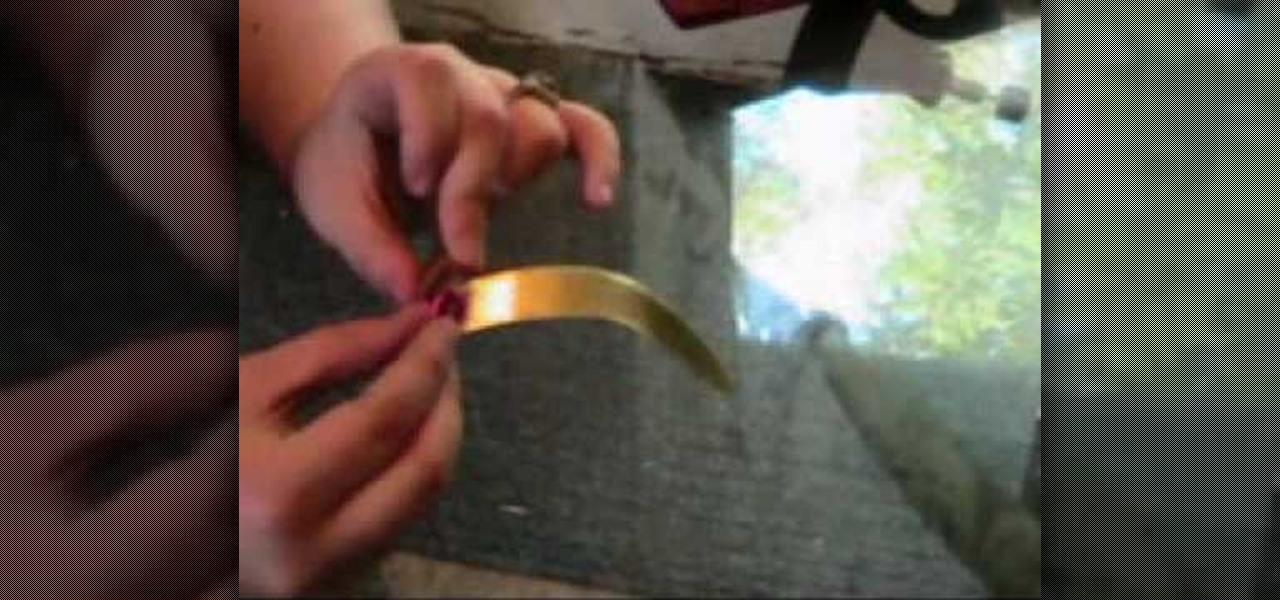
StudioMallory teaches you how to make a brass Sailor Moon tiara for cosplay. You will need a dremel with a grinding bit, a mechanical pencil, titanium covered scissors, two jewels, cardboard template and a piece of cheap metal. Trace the template on the metal using the pencil. Cut it using the scissors. Use goggles when using the dremel on the metal tiara. You have to grind it to make round corners. Now bend the metal in the shape you want. Use glue to apply the jewels. Once it's all dry, mak...


