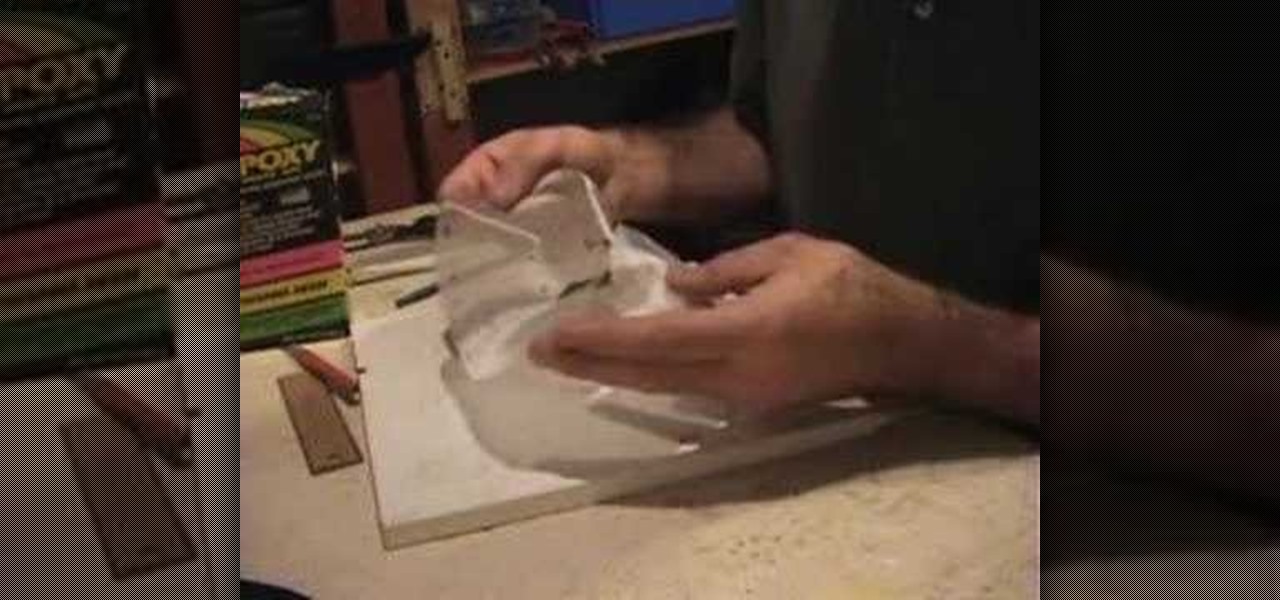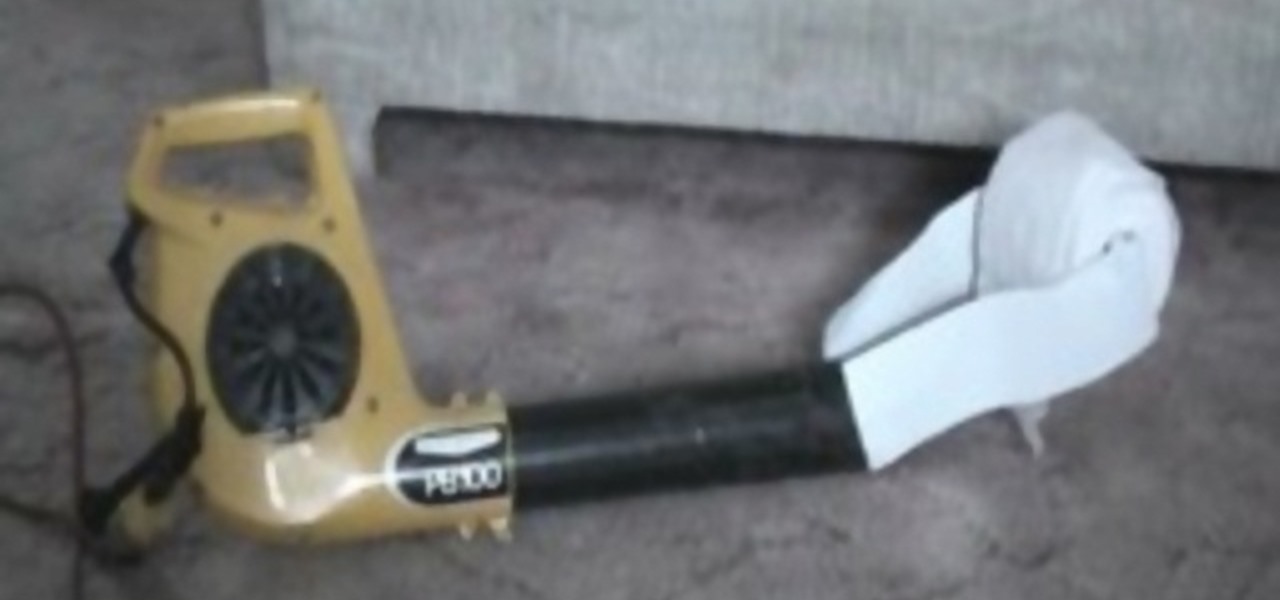
Here's an instructional video that teaches you how to make a toilet paper blower out of a leaf blower, some screws, and two pieces of sheet metal or wood... and of course toilet paper. Use this as inspiration for one of your April Fools Day pranks!

Danny Lipford and Allen Lyle demonstrate how to turn an old door into a desk. First, remove the door hinges. Then, fill the biggest part of the voided hardware holes with wood and seal them with bonding adhesive. Don't leave too much excess bonding adhesive on the door or else you'll have to sand it off once it's dried. You may need at least two coats of bonding adhesive to get the surface level. Cut wood for the sides of the desk and then run them over a router. Sand down the door and the ne...
A CNC router machine is probably the most useful tool a hobbyist can own, but the price for a CNC machine on the market is way more than the average hobbyist is willing to spend. You can build your own CNC with very basic tools, little knowledge of machinery, mechanics, or electronics, but be warned, these machines are inherently dangerous, so wear the proper protection and use common sense. At the very least, read the instructions and precautions on every tool you use.

A CNC router machine is probably the most useful tool a hobbyist can own, but the price for a CNC machine on the market is way more than the average hobbyist is willing to spend. You can build your own CNC with very basic tools, little knowledge of machinery, mechanics, or electronics, but be warned, these machines are inherently dangerous, so wear the proper protection and use common sense. At the very least, read the instructions and precautions on every tool you use.
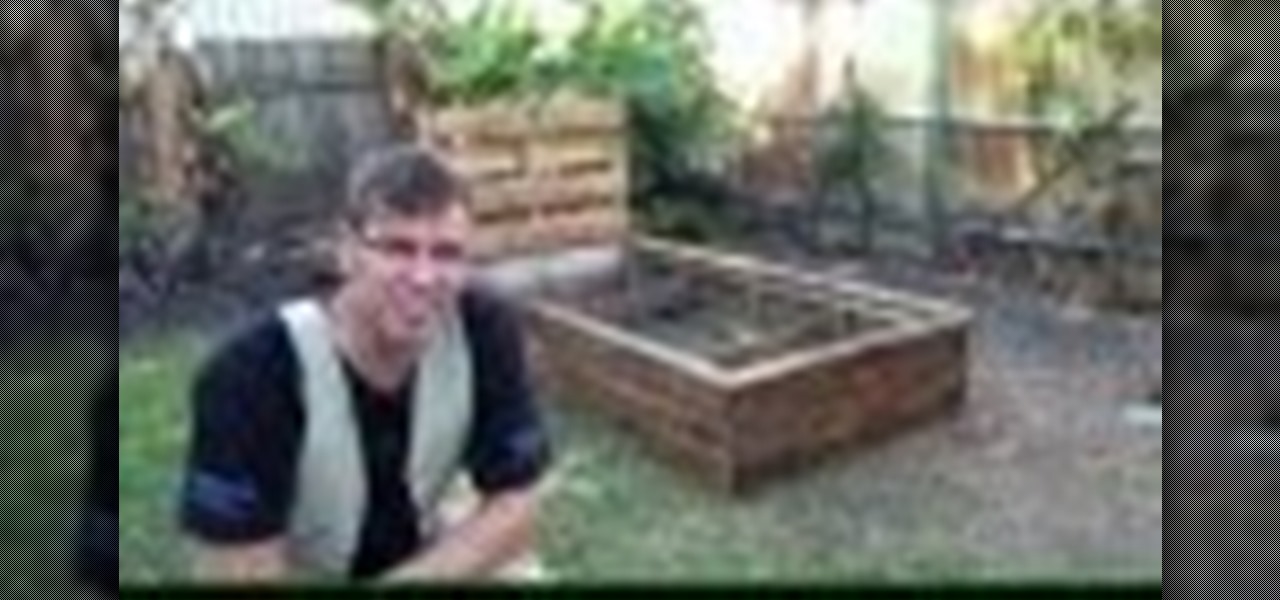
How to easily build a raised garden bed out of wooden pallets for free! …Well almost free. Building a raised vegetable garden with pallets or reclaimed wood is a really rewarding experience. The garden bed idea out of pallets came about from the fact that l wanted to build a rustic looking raised garden bed. A vegetable garden bed that not only provides delicious food, but looks good at the same time. The recycled wood has come from hardwood timber pallets that have been sourced totally FREE ...
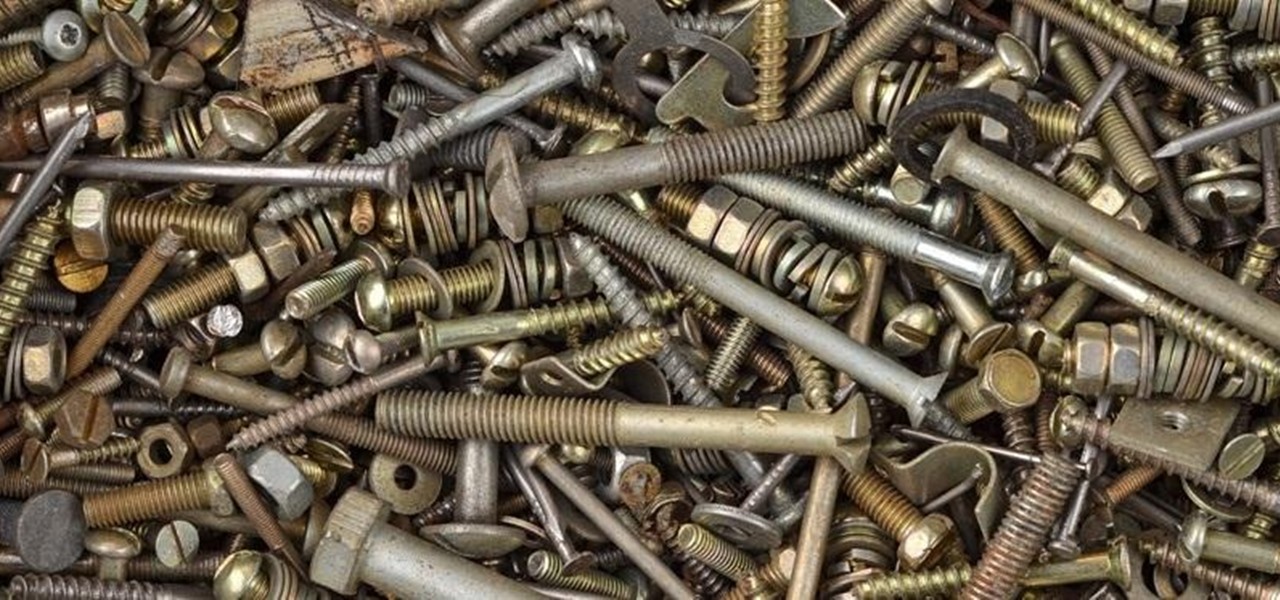
Let me start out by saying that Steampunk isn't about being historically accurate, and that everything I'm about to tell you is entirely optional. That said, let's take a look at the history of screws! What many people don't realize is that before we had metal screws, wooden screws were in wide use for things like wine and oil presses. Generally, the invention of the screw is attributed to Archimedes in the 3rd century BC. That was a long, long time ago. Metal screws and even screwdrivers hav...

We see Steampunk props all the time and wonder where the maker found all their pieces. In fact, for some people it's almost like a game to examine each prop and see if they can name all of the original parts.

A CNC router machine is probably the most useful tool a hobbyist can own, but the price for a CNC machine on the market is way more than the average hobbyist is willing to spend. You can build your own CNC with very basic tools, little knowledge of machinery, mechanics, or electronics, but be warned, these machines are inherently dangerous, so wear the proper protection and use common sense. At the very least, read the instructions and precautions on every tool you use.

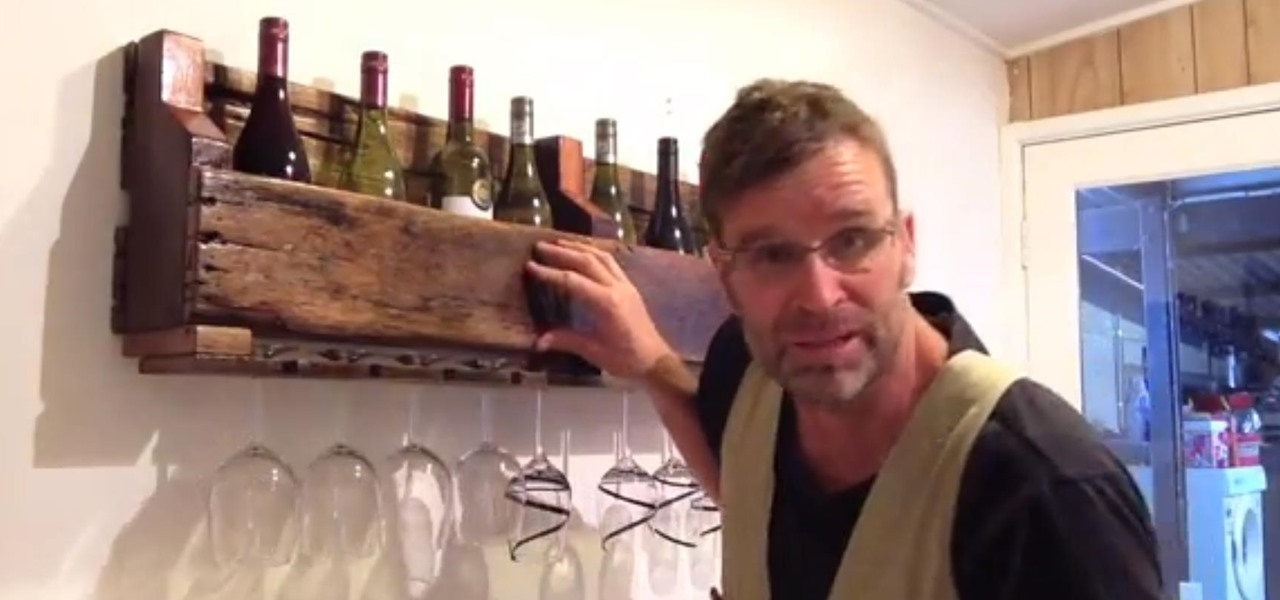
This is how to build a wine rack out of pallet wood. I was tossing around some wine rack ideas and decided that pallet wood, or reclaimed wood, is the perfect choice for a rustic wine rack. All you need for this project is an old pallet (for me a hardwood one is my choice). A pallet that has seen some wear is preferable so as to achieve that rustic look.

Learn how to build your very own motor, but not just one motor, three motors. These motors you will learn to make a very simple, and the materials needed are minimum. Just watch to see how to make simple homemade battery-driven motors.

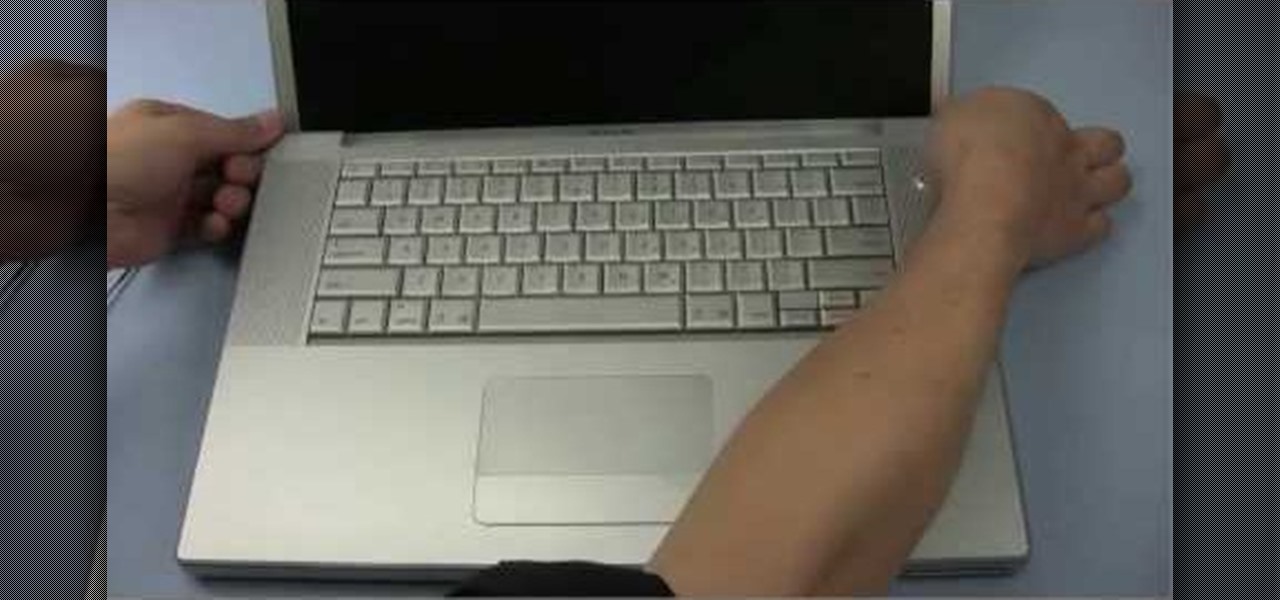
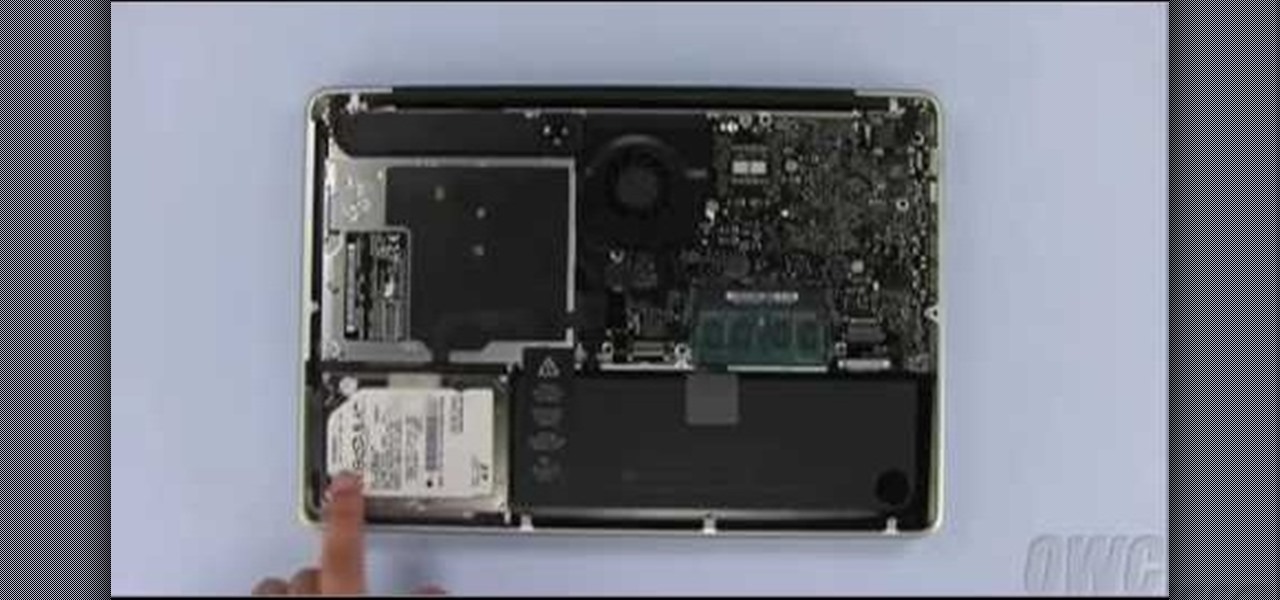
In this video from MacOSG we learn how to install a hard drive in a 15" Macbook Pro from around 2009. For this you need a #00 Phillips head screwdriver and a T6 Torx screwdriver. Make sure you use proper anti-static precautions with this. Transfer your data to the new drive before installing. To remove the hard drive, flip over your Macbook. Use your Phillips to remove the 10 screws. Remove the 3 at the right which are longer than the other screws. Then remove the left most screw which is the...

The video starts by informing about the basic safety precautions, tools needed and backing up data prior to hard drive replacement. There are a series of screws which need to be removed in the following order.1. Removing the battery from the back and then remove three screws thereby removing the RAM cover.2. Two more screws to be removed under the RAM cover.3. Two screws from inside front edge.4. Four screws from the bottom rear.5. Two screws each from the slim sides.6. Two screws near the hi...

Love chess, but hate having to stop in the middle of a game when you don't have time to finish? This DIY vertical chess set made by Redditor pigthunder will ensure you never have to abandon a game again. It hangs on the wall, so you can pick up where you left off anytime. Here's how to make your own.

Make a cane from a tree! Learn how to create a walking cane from a tree in this free woodworking video from a wood crafts expert.

In this video we learn how to build a snowboard box. First, decide on a size for your box and write out the dimensions. Then, buy your frame for the box and follow the structure of the box with it having four sides. After you have built the frame, put on the wood to complete the sides and make the box enclosed. Use screws placed into the frame to make sure it's completely secure. You may also want to install handles so this is easier to handle. Once you're finished with your box you can paint...

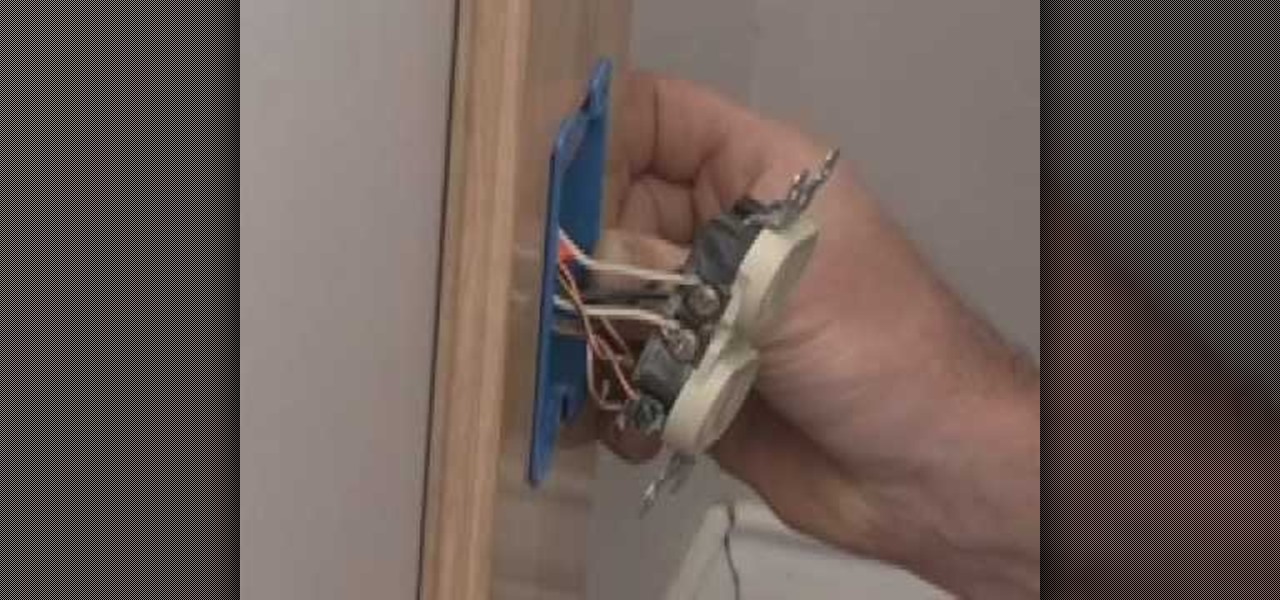
This is a video tutorial in the Home & Garden category where you are going to learn how to use an electrical box extension. Bob Schmidt shows how to use an electrical box extension during remodeling; when adding drywall, tile or wood over existing surfaces. For this you will need a PVC box extension which is designed to fit over the box that is already embedded in the wall. It extends out of the wall which will be covered by the layer of tile or drywall. Disconnect the power source to the plu...

In this video, we learn how to build a canvas frame stretcher. First, you will need to choose lumber that is the size you want your stretcher to be. After you do this, use a hammer and nails to connect all of the pieces of wood together so you have a square shape. You will need to hammer in a lot of nails so the frame stays in place. Use a saw if you need to cut any points down or make it smaller than you have it. When you are done, screw any additional nails into the frame and make sure ever...

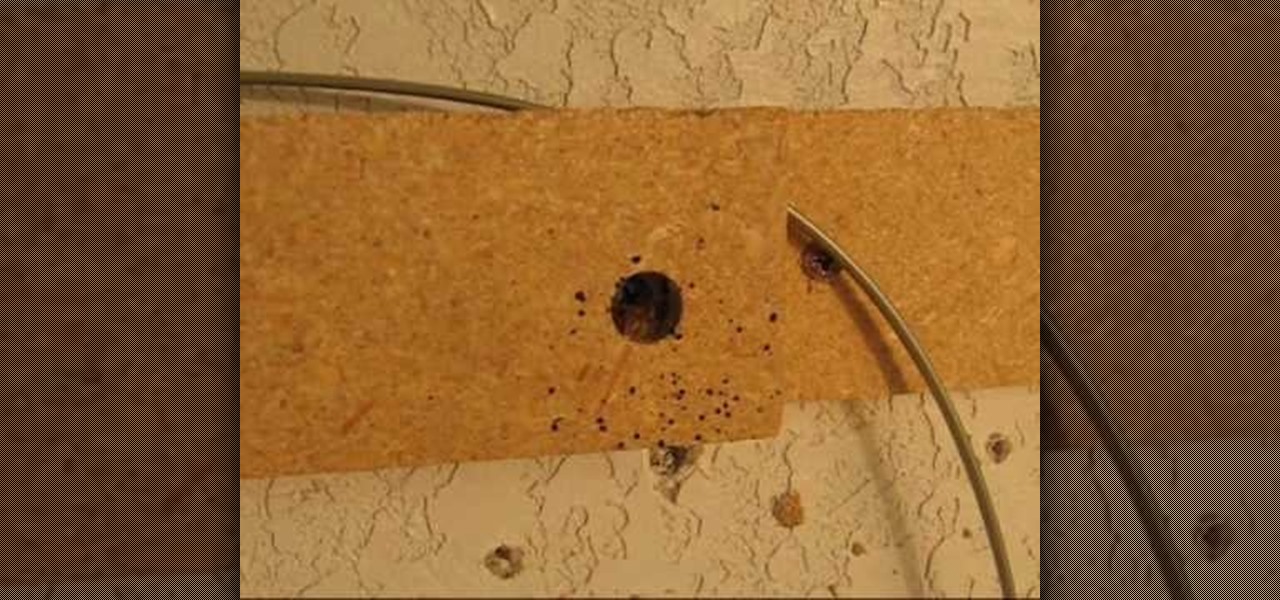
In this tutorial, we learn how to spot bed bugs in your hotel room. Take the headboard off of the bed to see if you can spot the bedbugs and black flecks, which are blood specks from the bugs. You should also be able to see the bugs walking around, although they will be very small. Also, look around other spots and wood around the bed to see where there are marks from other bed bugs around the area. You will also be able to see eggs from the bugs around the inside of screws and bolts. Seeing ...

In this how-to video, you will learn how to build your own custom Pochade box for oil painting. You will need 10 feet of 3/4 x 1/2 trim, 1/4 underlayment plywood,, a table saw for squared cuts, a cordless drill, a dowel no smaller than 3/8, a set of hinges and screws, an Allen bolt and nut for triPod mounting, a piece of glass for the palette, gorilla glue water, and chemical proof. Pre-drill everything to make sure the wood does not split. Make sure that when you drill the hole for the dowel...

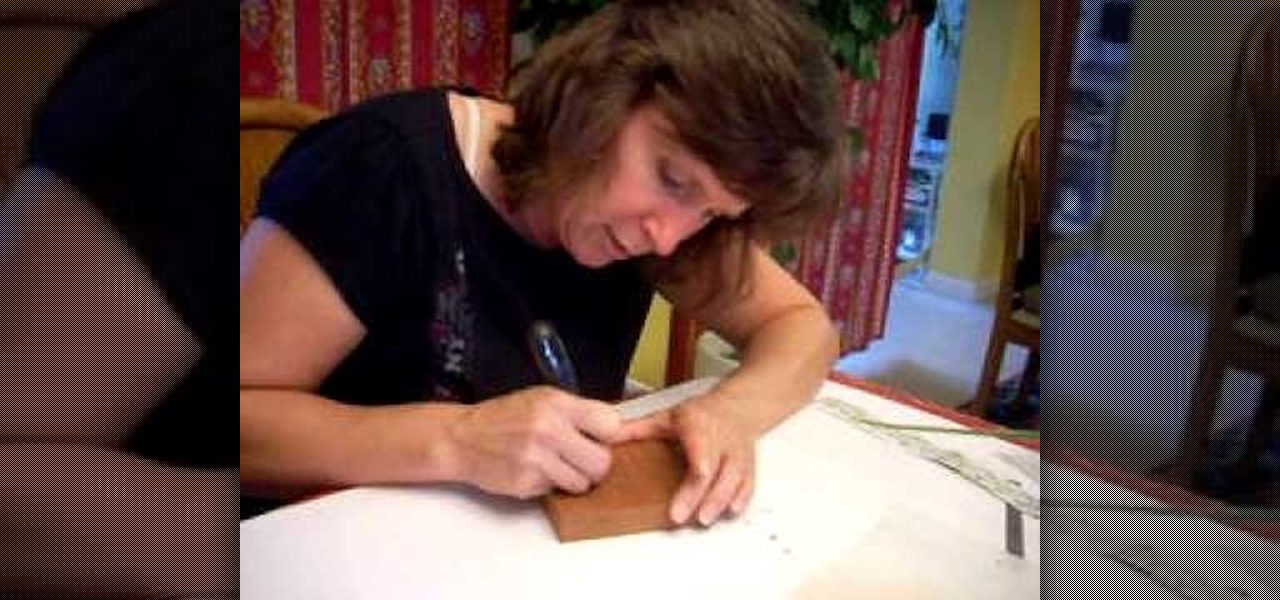
In this three-part carving tutorial, Valerie Jones demonstrates her chip-carving techniques on Mahogany wood. Using an X-acto knife, she carves the wood by hand & describes how to carve German-style, geometric patterns into the wood after stenciling the pattern on the outer wood surface. Later, Valerie talks about her methods when chip carving wood: how to hold the knife, how to guide the blade, finishing the final product, how to follow a stencil pattern & goes over more useful information.

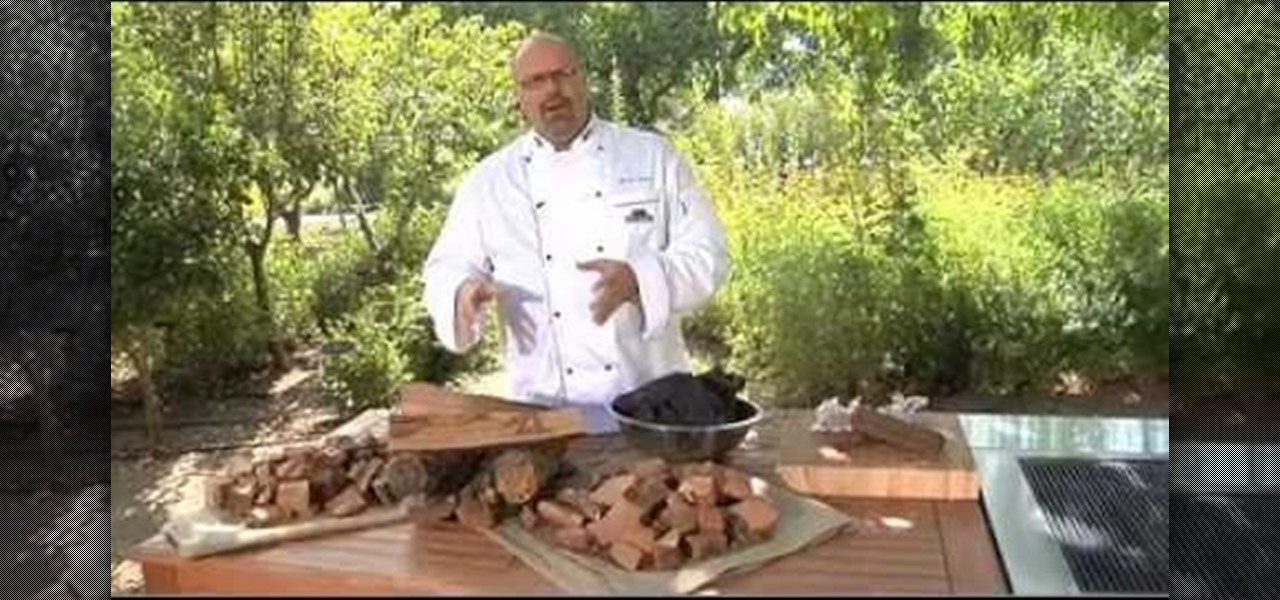
What's the difference between grilling on a pan in your kitchen and grilling outside with wood chips? It's definitely not just the surface you cook on that changes.

Looking for a fun and easy craft project to demonstrate your creative side? Learn how to make wood art paintings with expert tips in this free arts and crafts video series.

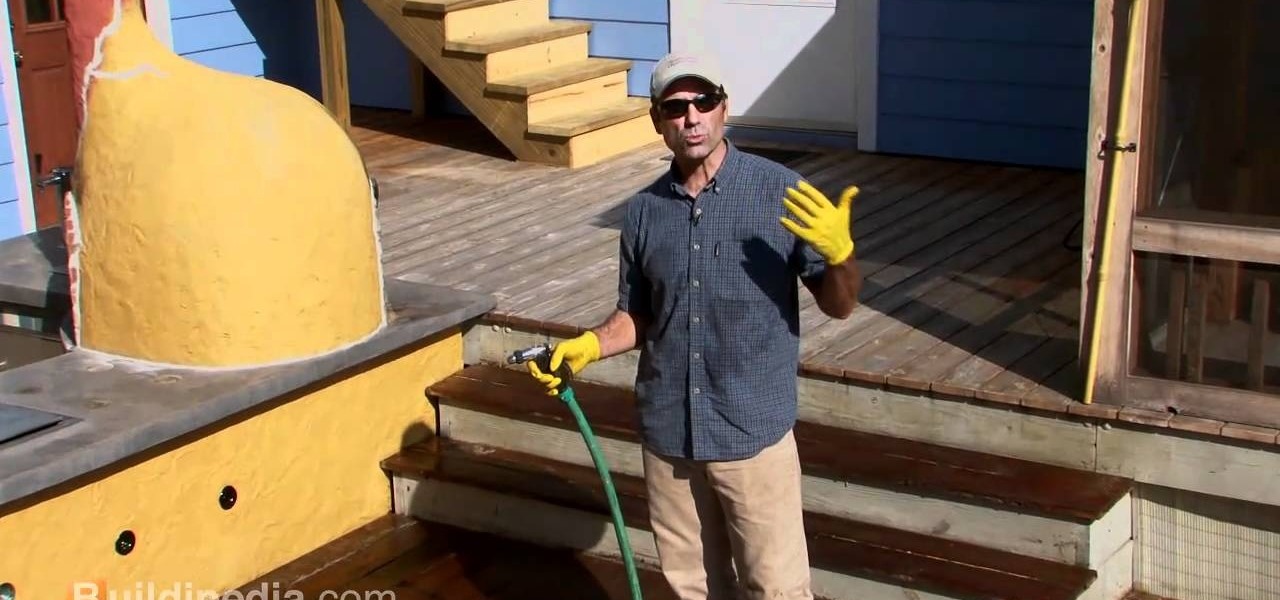
Wood decks can be a wonderful thing, however they do require cleaning and maintainence. This DIY video gives you the info you'll need to clean, repair and refinish your wood deck, ensuring it's looking great when it's time for that backyard blow out.

As introduced by the late DJ Screw of Houston, Texas, and popularized by artists like Three Six Mafia and Paul Wall, the chop and screw technique involves both scratching vocals and slurring a track in either full or part by utilizing the pitch control on your turntable. In this how-to video, you'll learn to perform the chop and screw technique on your own DJ rig.

Bob Schmidt teaches us how to screw drywall to studs with a drywall screw gun. A countersink bit is a great option to help you screw drywall studs in. This will fit in a variable speed drill for setting counters and drywall. Use a DeWalt screw gun, which is specifically made to install drywall. It has a clutch driven head with different adjustments on the head for different screws. The gun should be inexpensive and doesn't have a very large motor, so it's perfect for a homeowner. If you just ...

A CNC router machine is probably the most useful tool a hobbyist can own, but the price for a CNC machine on the market is way more than the average hobbyist is willing to spend. You can build your own CNC with very basic tools, little knowledge of machinery, mechanics, or electronics, but be warned, these machines are inherently dangerous, so wear the proper protection and use common sense. At the very least, read the instructions and precautions on every tool you use.

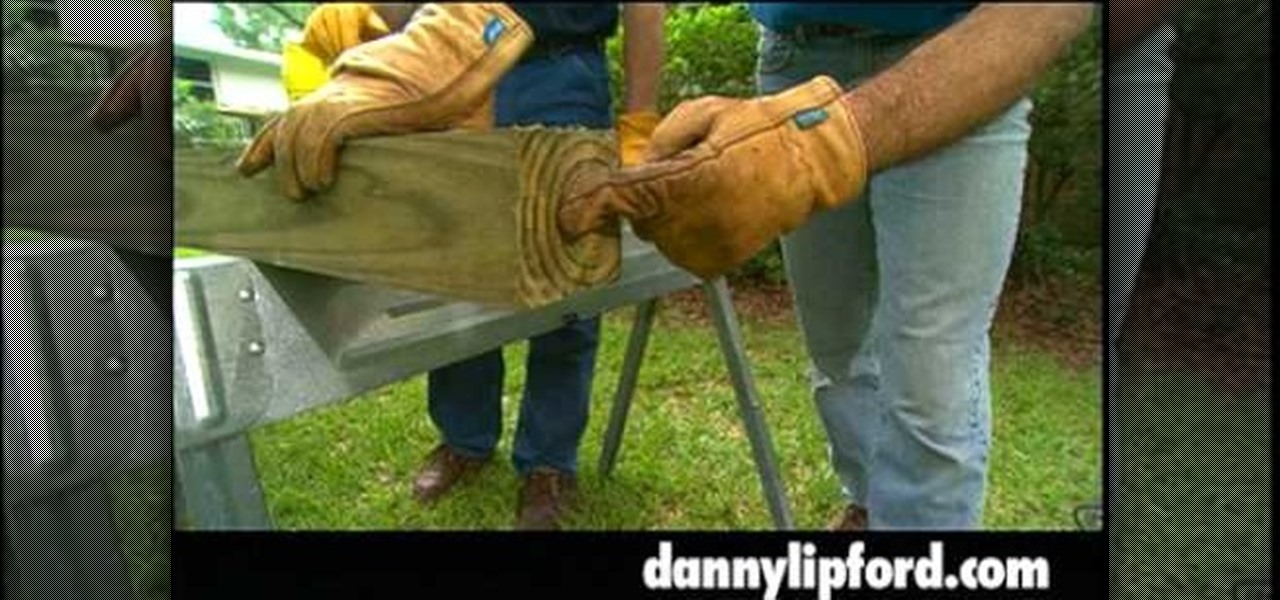
When a thick piece of wood is treated the treatment doesn't soak into the center of the wood. If you are using the wood for a fence post you need to treat the bottom of the wood so that the ground moisture doesn't damage it. In this how to video, home improvement expert Danny Lipford gives a great way to treat the bottom of your pre-treated wood.

The tools required for this project are: an electric hand drill, a drill bit of the appropriate size and goggles to protect the eyes from falling debris. You will also need a ceiling hook kit, available in most major home stores. In the kit, there is a hook; a spring-loaded anchor; a threaded shank or screw, which is threaded on both ends; and another threaded shank or screw, which is threaded on one side and has screw thread on the other side for wood installation. To install in a sheetrock ...

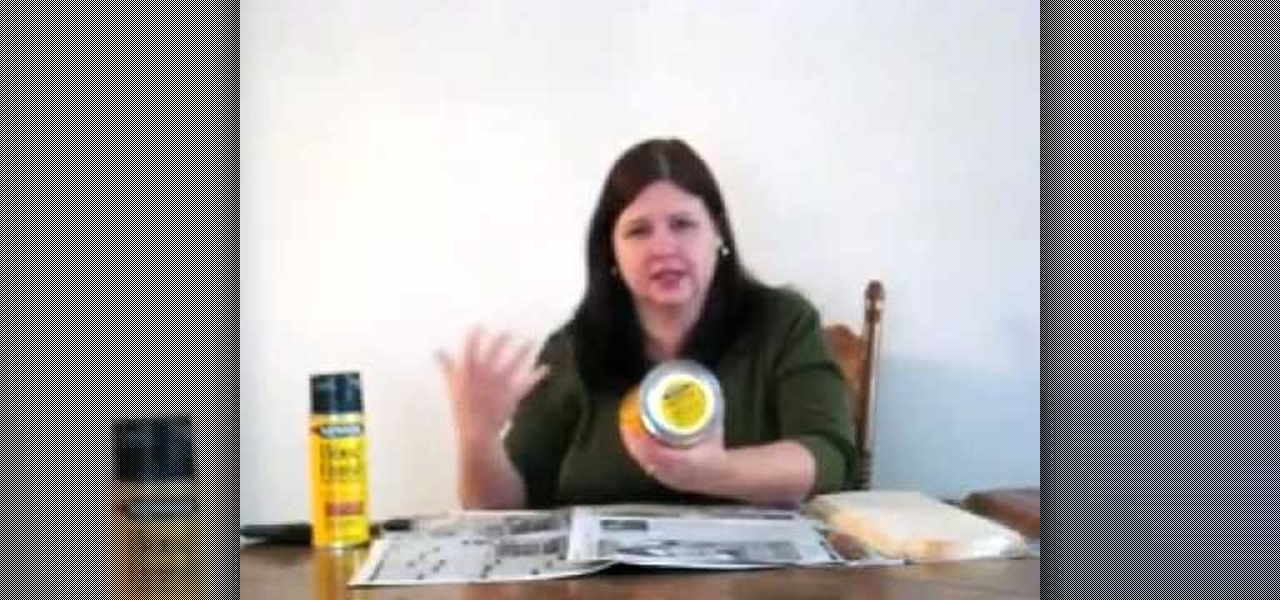
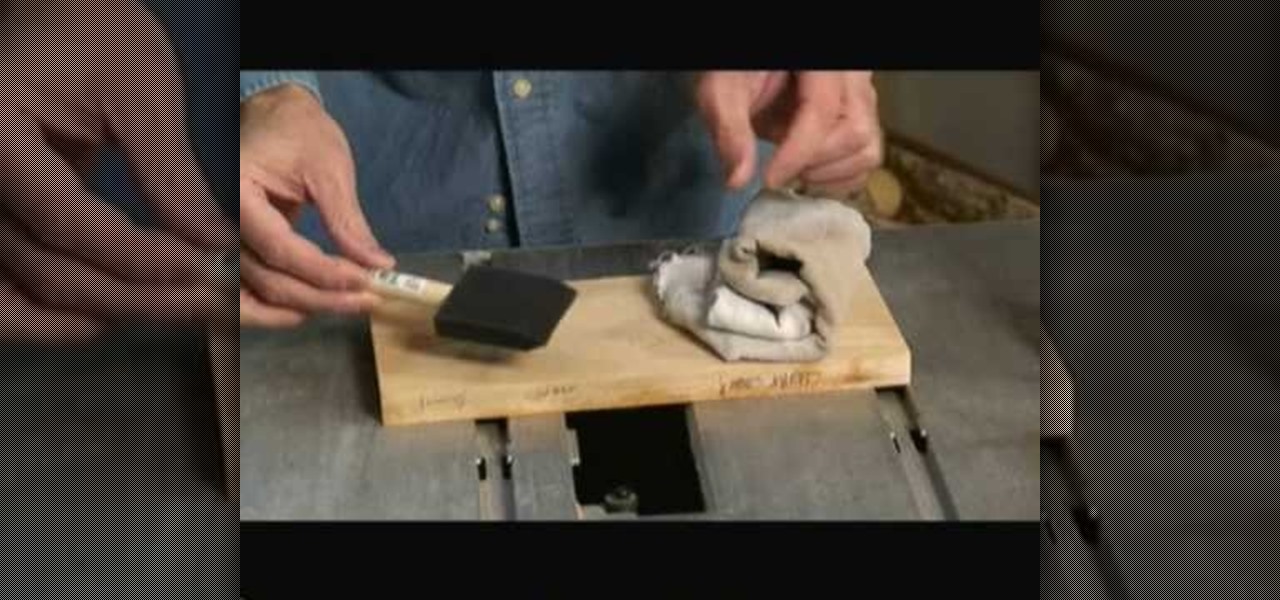
You will learn how to get a nice, even stain on wood in this Home and Garden video tutorial brought to you by TheSoapGuy. It’s really easy and simple to do. Get a finished piece of wood. You should work in a well ventilated area because wood stain generates a lot of fumes. Wood stain comes in aerosol spray and in cans. Mix the stain in the can by rolling the can. Don’t shake it, it will generate bubbles. Open the can and apply the wood stain with a brush evenly on the surface. The more coats ...

How to build a sandbox / sandpit using pallet wood. Using pallet wood is a really easy way to make a sandbox / sandpit and to top things off they're free! This is another one of my reclaimed wood projects that was a heap of fun to make. Like all pallet projects, it is a good idea to use Heat Treated Pallets as they are safe for handling.

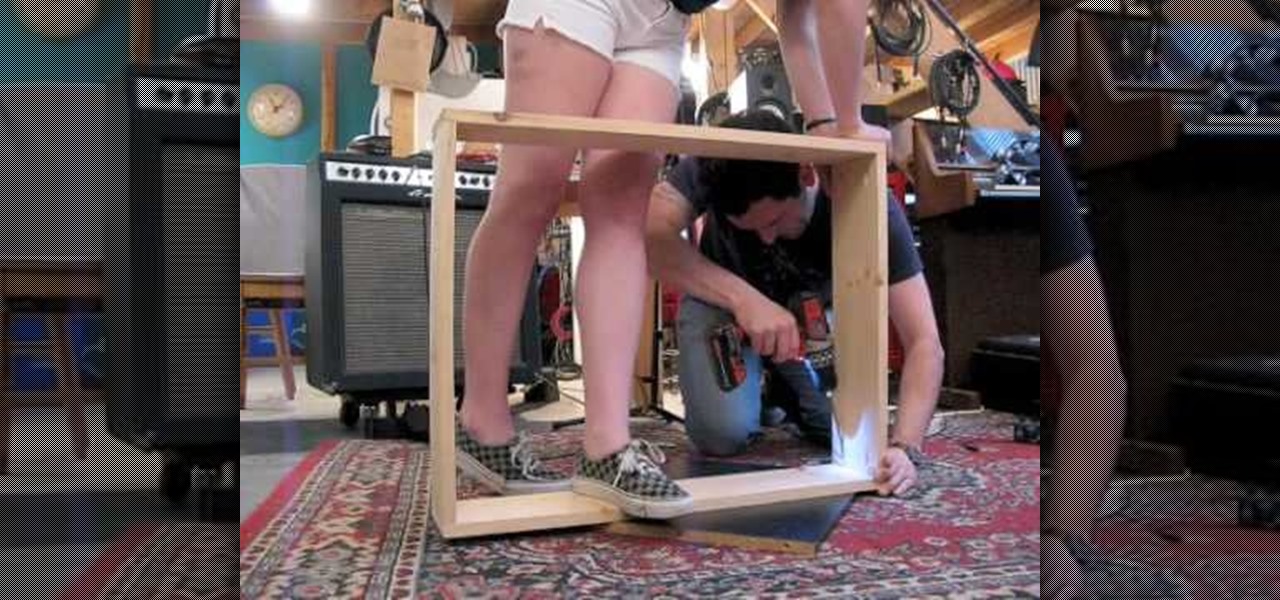
Josh Copp and Madeline Donahue show us how to build a light table from pine wood and plywood utilizing two fluorescent light fixtures as the light source inside the box. The frame of the box is fashioned out of two 1X8 planks cut into four pieces so that two sides are 30 inches and two sides are 22 3/8 inches. The base of the box is made of plywood or OSB and is 30X22 3/8. Once the pieces are cut and assembled using a pocket hole jig and wood screws, the inside of the box is painted with whit...

Staining wood can give it a really dazzling effect. In this video, Mark Donovan of HomeAdditionPlus.com shows us how to revitalize old wood and make new wood look better with staining. Before you stain, it's important to know what you're doing. After all, if you stain something badly, it can be tricky to clean it up.

In this video tutorial, viewers learn how to cover screws and nails with drywall mud during drywall installation. Users will need a taping knife tool. Apply the drywall mud over the screw or nails and use the taping knife to flatten the mud over the screw or nail. Use the knife to take off any excess mud. Apply 2-3 layers of drywall mud over the screw, depending on how long the screw head is. This video will benefit those viewers who are in the construction trades or doing home renovation and...

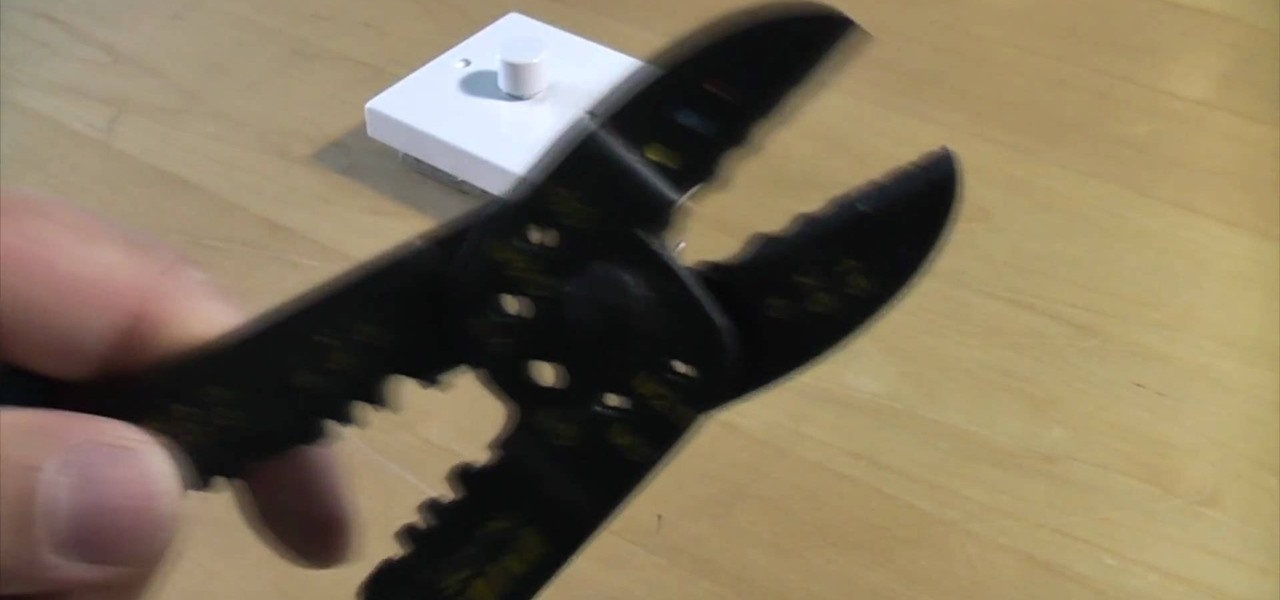
Every electrician knows you have to cut a screw every now and then to make it fit. But do they do it properly? Most will probably just use their linesman's or dikes, but using your wire strippers equipped with screw cutting is the proper way. Watch this video tutorial to see how to cut a machine screw without damaging the threads. An electrical screw or machine screw can be easily cut with a pair of electricians pliers. Cutting metric screws this way means that the thread will not be damaged ...

Check out this five-part video tutorial on how to use fiberglass finish over balsa wood for RC airplanes. If you like building engines and bodies for remote-controlled vehicles (airplanes), then this will definitely help you out, just by learning how to apply simple fiberglass to the balsa wood parts of the RC airplane body. You will learn all of the tricks needed for fiberglassing.

This instructional wood turning video demonstrates how to dry a green piece of wood and avoid cracking. Date the piece and mop a green wood sealer inside the bowl. Set it aside for 90-120 days in a dry climate. This is a necessary step when preparing wood to make a carved wooden bowl.

This mapping tutorial shows you how to create maps using the Woods tileset in RPG Maker XP (RMXP). Part 1 of 3 - How to Use the Woods tileset in RPG Maker XP (RMXP).

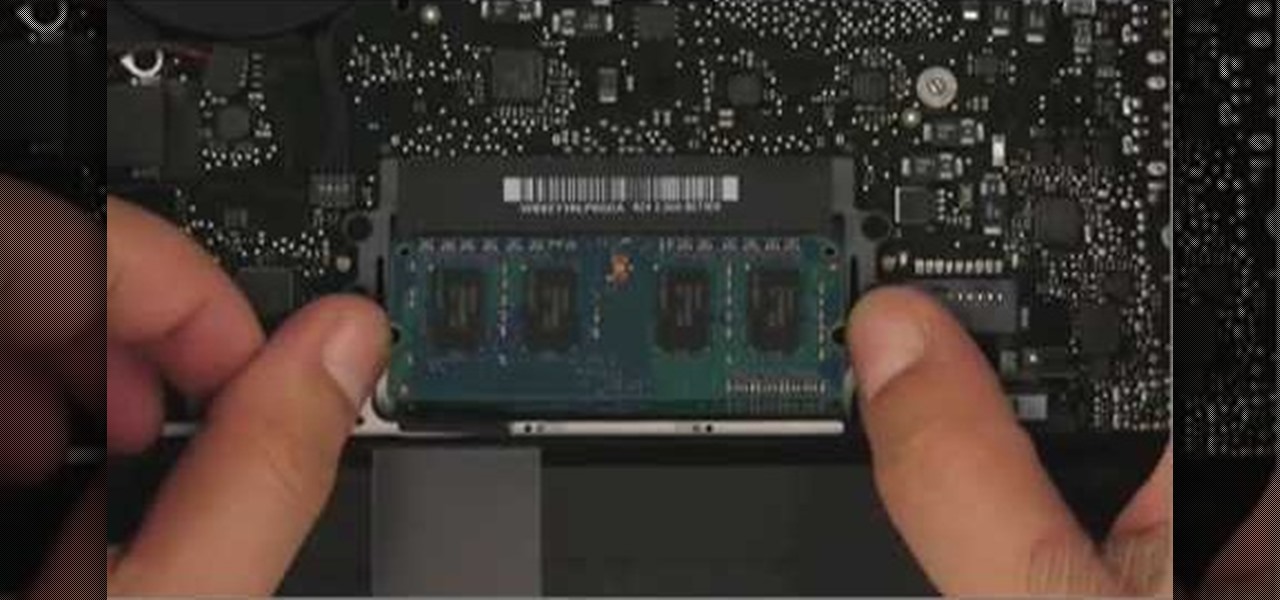
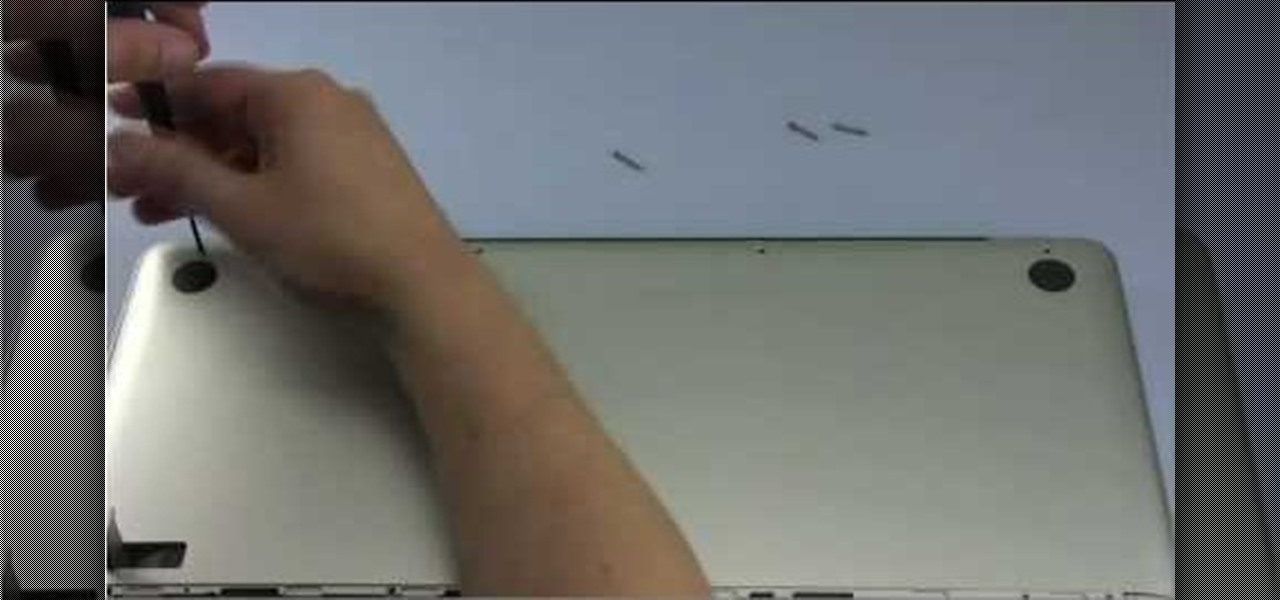
This video demonstrates the installation of memory in a 13” Macbook Pro (mid 2009 model). It’s easy to perform and takes about 10min time. You’ll require a #00 Philips screwdriver (available in the Newer Technology 11- piece tool kit). Take care to work in an anti-static work space. Close the Macbook Pro and flip it over with the hinge side up. You can note 10 screws along the border. Start unscrewing the 3 screws on the right on the top edge, these are longer than the rest. Now unscrew the r...

It only takes 15 minutes to install new RAM in a Macbook Pro. Before starting, remember to make sure that the power is off. Turn it over and release the latch in the left hand side. This will release the door and expose the battery. Remove the battery. With a #00 Philips screwdriver, remove 4 small screws lined up on the top of the opening. Next, remove the other 4 screws on the other side next to the hinge. When that is done, remove the cover. You will see the RAM directly in the middle. On ...

To install a hard drive in a 13" (13 inch) Macbook Pro laptop computer released in 2009 you will make sure to first transfer all data off the drive then discharge any static electricity from your hands making sure your are in a static free work environment. Next you will remove the old hard drive, to do this flip over the laptop and remove the 10 screws around the edge of the device with a #00 Phillips screwdriver starting with the three longer screws on the top right. Next, lift off the bott...


