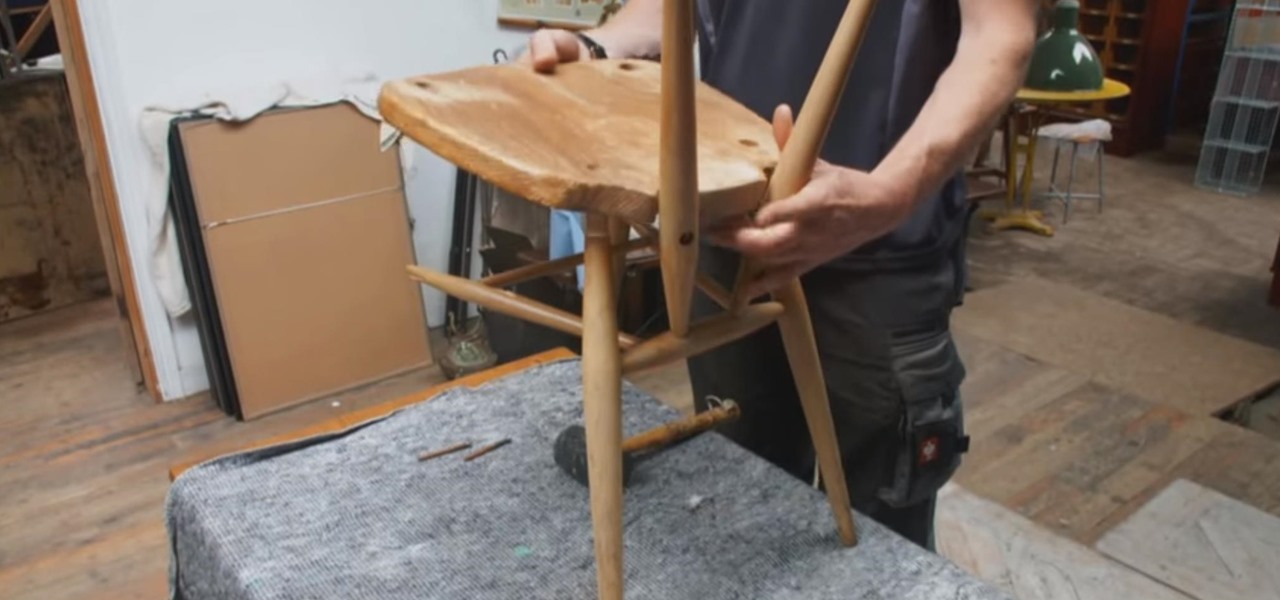
How To: Repair an Old Wooden Chair
Unscrew chair and knock apart gently with a rubber mallet. To fix a broken stretch, use quick dry polyurethane glue, using plenty (better to have too much than too little)


Unscrew chair and knock apart gently with a rubber mallet. To fix a broken stretch, use quick dry polyurethane glue, using plenty (better to have too much than too little)

In this video, we learn how to upgrade the hard drive in a Sony PS3 Slim. First, flip the console, then pop the cover and remove the HDD screw. Next, remove the HDD cover and slide out the HDD. After this, locate and remove the four screws, then pop the HDD out of its tray. Next, replace it with a new HDD and screw back into place. Then, place the HDD tray back into its place and replace the cover back on. Screw in the original screw and replace the top back on. Now, flip your PS3 back over a...
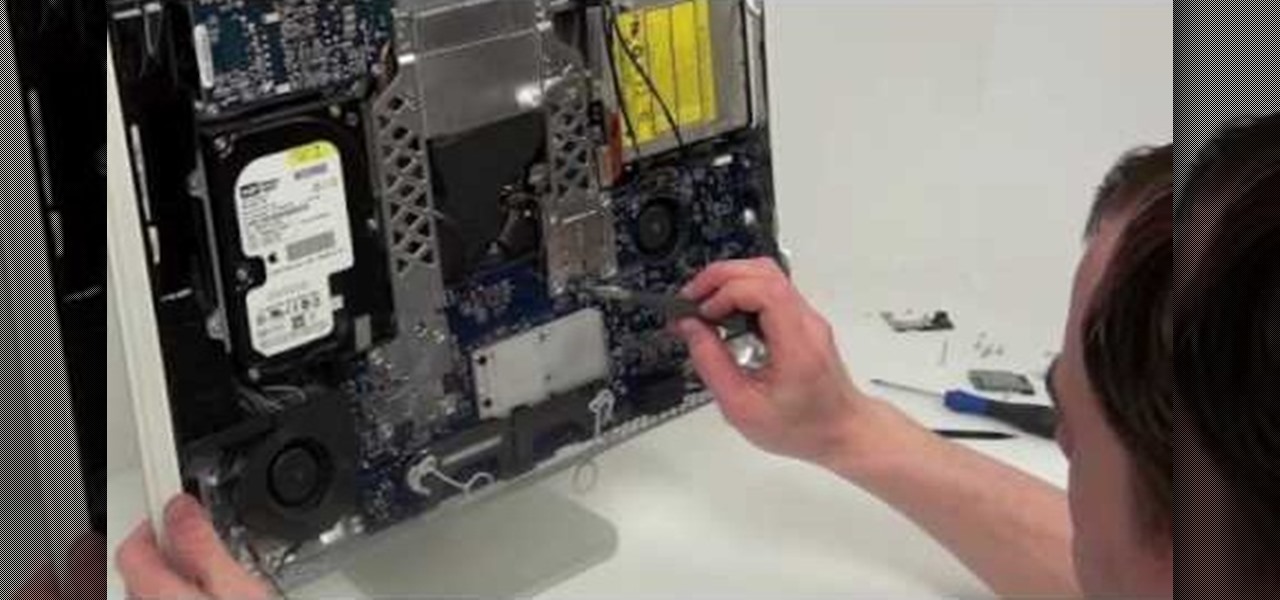
In this how to video, you will how to remove the logic board from the iMac G5. First, get the t6 screw driver and remove the screws in the corner. Unplug the airport card. Now, unplug all the cables connecting to the logic board. Now, unscrew the torx screws located on the logic board. Unplug the optical drive cable by unscrewing the 2 torx screws holding it. Next, unscrew the torx screws located near the center top of the board. You can now remove the logic board. However, there is a hard dr...
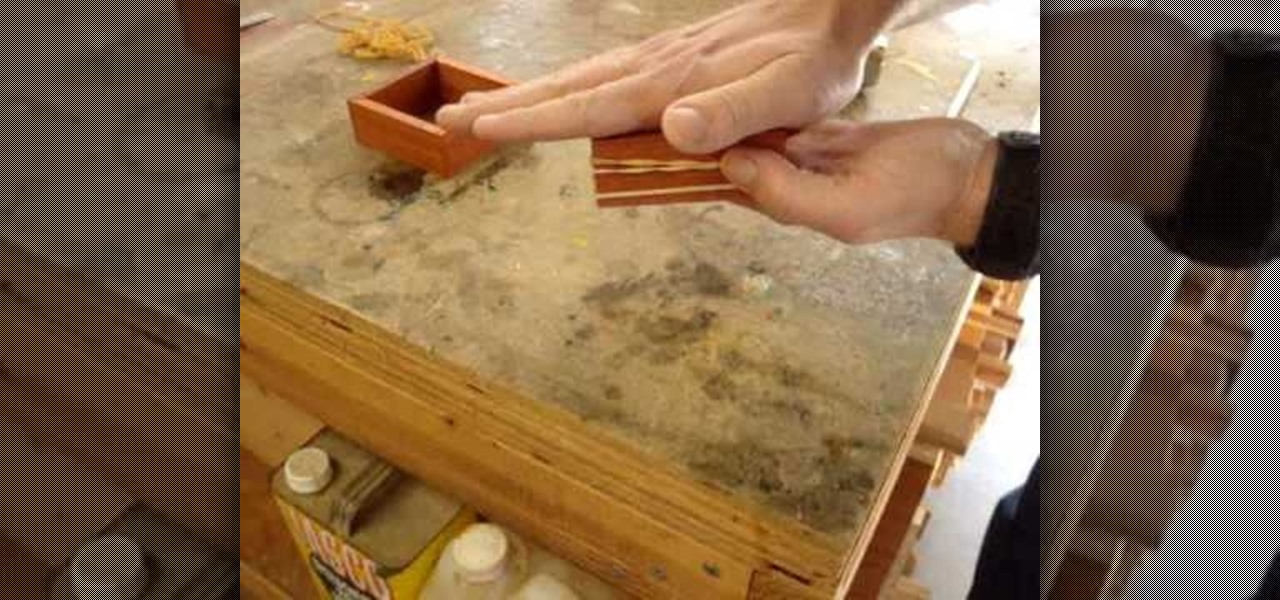
Most people have scrap wood hanging around in their garage collecting dust - so why not make a cool gift out of it? This picture frame box can be made in a couple of days and with a little elbow grease. It is a lovely gift for any occasion, and basically free to make.

Installing shelves in a closet turns dead space into useful storage. You Will Need:
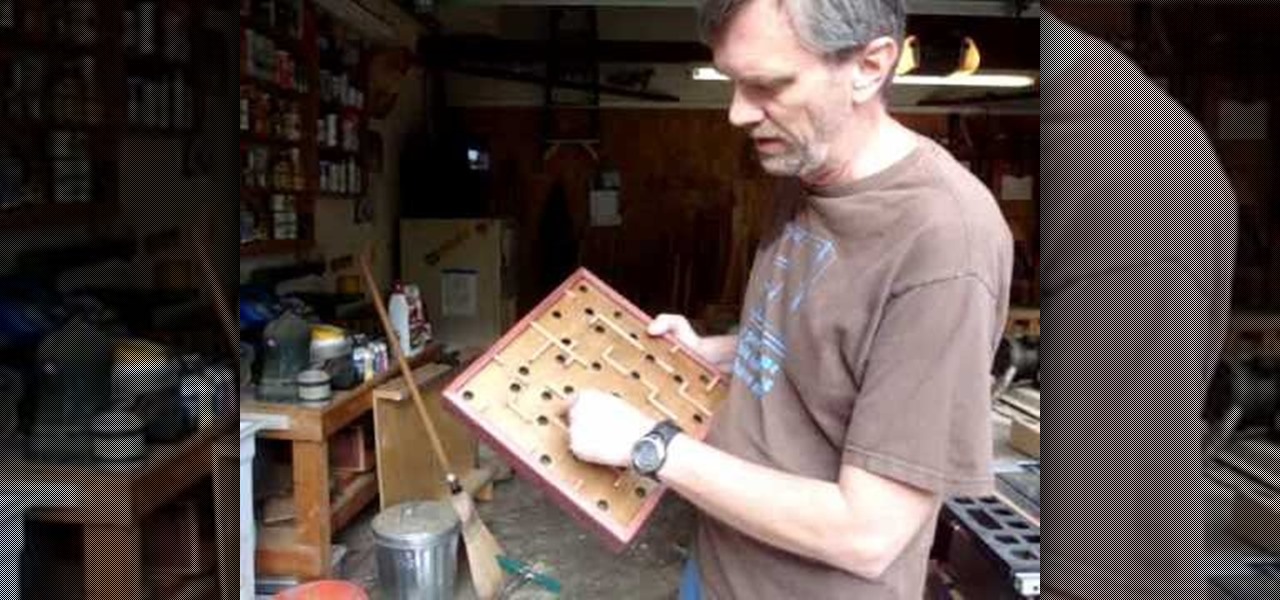
This video shows viewers how to create a wood labyrinth in which you can roll a small ball through a maze, trying not to allow the ball to fall into the hole. You will need some boards of wood which you will need to cut to the correct dimensions. You will need to create a box-like structure which will have an opening near the bottom from which you can retrieve your ball if it falls in a hole. After designing the template for your wood labyrinth, you should then proceed to make holes in the to...

In this outdoors how-to video from fitclimb.com we're shown how to make a fire in the snow. The first step is to find a good flat spot, or make a flat spot yourself. Next, we look for trees with dead branches and break those dead branches off for the wood. The key here is to be organized because you'll have to carry this wood back to your camp. Next, you want to make a platform for your fire to keep it from sinking down as the snow melts. Here, we're using the bark from a dead stump for a pla...

This video illustrates the transfer of paper patterns on woodworking projects with Lowe's. If you have a pattern in a piece of paper for the woodworking project. Draw the grid for the pattern in a piece of paper. Even though, the piece of wood is six times larger than the pattern in paper. Draw the grid in the wood with One and half inches by the use of ruler. Then check out each and every box of grid in a pattern, trace the shape of each boxes in the wood. After finishing all the grid boxes ...
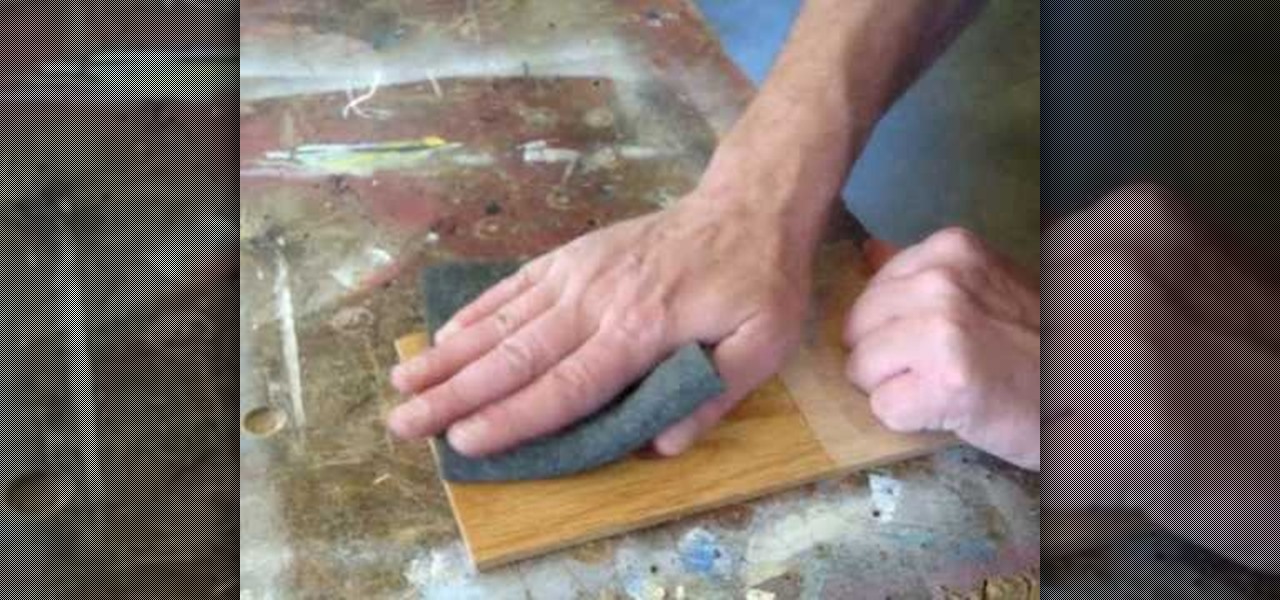
Many may not realize it, but finishing any kind of wood project is a great way for ensuring that it will last longer, as well as look great in the end. In this tutorial above, you'll find out some helpful tips for finishing your wood finish. You'll find an easy way to smooth out your lacquer or polyurethane wood finish after you've applied it. So good luck and enjoy!

A CNC router machine is probably the most useful tool a hobbyist can own, but the price for a CNC machine on the market is way more than the average hobbyist is willing to spend. You can build your own CNC with very basic tools, little knowledge of machinery, mechanics, or electronics, but be warned, these machines are inherently dangerous, so wear the proper protection and use common sense. At the very least, read the instructions and precautions on every tool you use.

A CNC router machine is probably the most useful tool a hobbyist can own, but the price for a CNC machine on the market is way more than the average hobbyist is willing to spend. You can build your own CNC with very basic tools, little knowledge of machinery, mechanics, or electronics, but be warned, these machines are inherently dangerous, so wear the proper protection and use common sense. At the very least, read the instructions and precautions on every tool you use.

A CNC router machine is probably the most useful tool a hobbyist can own, but the price for a CNC machine on the market is way more than the average hobbyist is willing to spend. You can build your own CNC with very basic tools, little knowledge of machinery, mechanics, or electronics, but be warned, these machines are inherently dangerous, so wear the proper protection and use common sense. At the very least, read the instructions and precautions on every tool you use.

Screwing hooks into a ceiling can be a real pain. In this how to video, home improvement expert Danny Lipford gives you a great tip on screwing hooks into the ceiling. All you need is an electric drill to easily install screw hooks into your ceiling.

Robinia frisia limbs are prone to dying, that is why it is important to prune them properly. If you wait until the winter to prune the dead wood you wont be able to tell the difference between the dead wood and the dormant tree limb. In this how to video Martin Fish from Garden News explains how and when to prune dead wood from Robinia 'Frisia'.

This video tutorial instructs how to use marbling techniques to make a faux wood finish out of polymer clay. Learn how to manipulate different colors of polymer clay to create a fake wood effect. This tutorial teaches how to make a faux wood polymer clay picture frame.
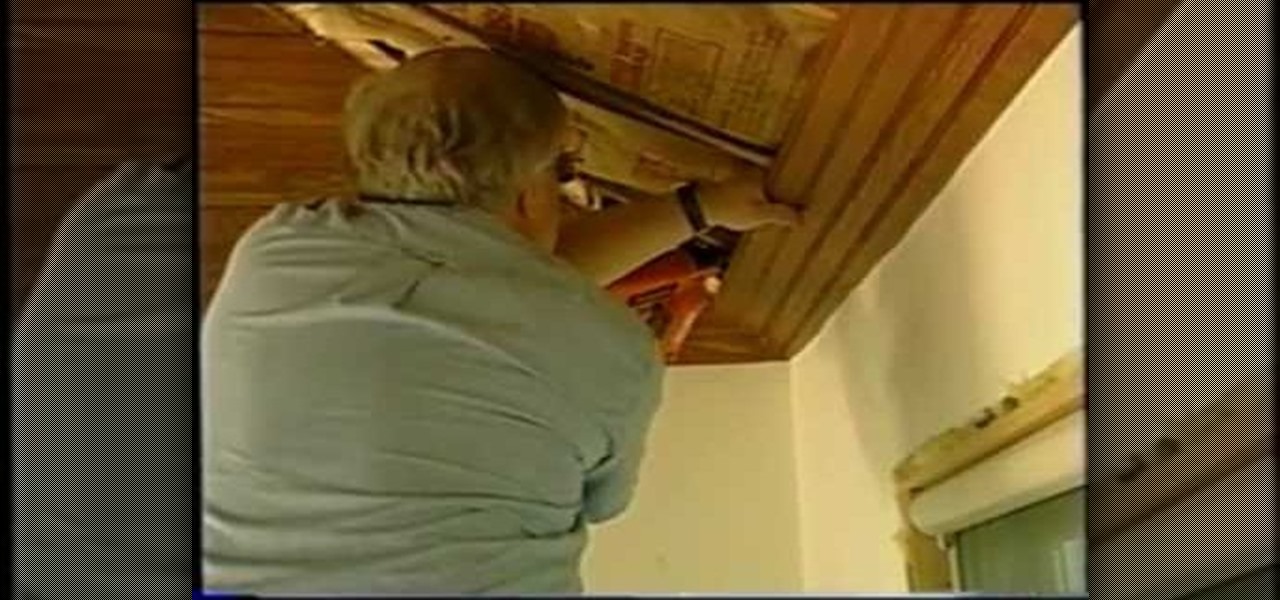
Tim Carter, of Ask the Builder, demonstrates how to use solid-wood beaded ceiling planks to make a wood ceiling for your house. It is important to prestain and urethane the wood before it is installed.

A good stain and varnish can add shine and luster to any piece of wood furniture. Check out these simple steps for staining wood. You will need a painter drop cloth, 2 or 3 1 inch foam brushes, fine grit sandpaper, tack cloth, couple of towels or rags, oil base wood stain and oil base satin varnish.
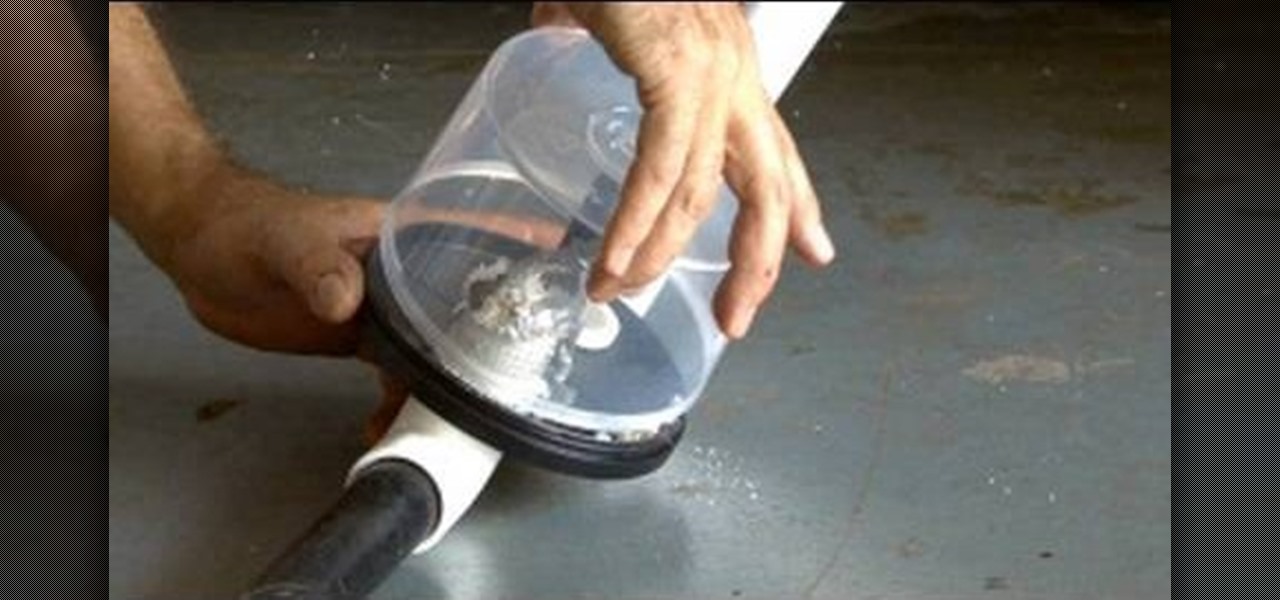
MAKE zine aims to bring the DIY aesthetic and mindset to all the technology in your life. They want you to break open things and put them back together in a better way. In this video, MAKE and KipKay show you how to build a lost screw finder attachment. It'll help you find any screw, including plastic ones that a magnet would not be able to pick up.
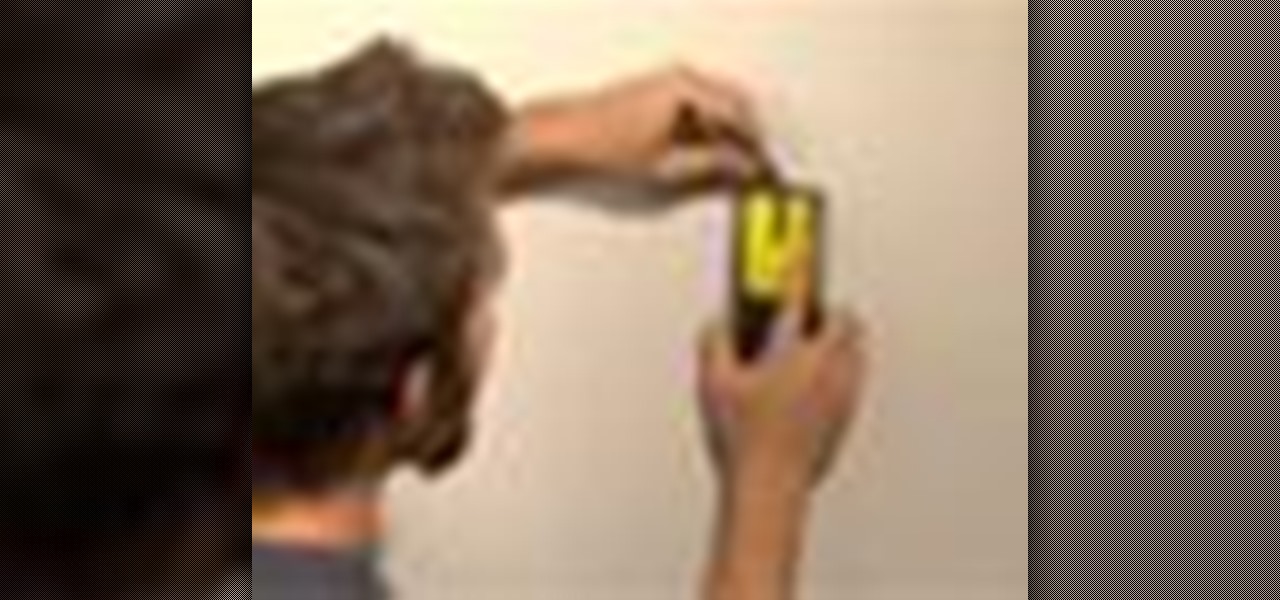
Don’t pay a handyman to do this simple job—learn how to become handy yourself! You Will Need:

Out for a leisurely hike in the woods? Well, don't leave home without a few simple supplies or you could be facing a survival situation out-of-doors. Make sure to take supplies along with you, like a compass, but make sure you know how to use it. Watch this video outdoor safety video and learn how to survive a hiking trip in the woods.

DominickDiy teaches you how to use a wood router. You figure out what and how you will use it for by looking at it and adjusting the blade. Then lock it into place and you're ready to cut. The piece of wood you'll be working on should be on top of a piece of rubber mat, so that the wood doesn't slip. You also don't want the router to slip, as it might injure you or cut a wrong way. You go from a rip to a cross cut, when going from one side to another, via a corner. So one time you will be pus...

Ron Hazelton shows how to rip cut a very long piece of wood using a circular saw instead of a table saw. First, place sawhorses approximately every 4 feet under the wood. Choose the correct blade for the wood. Affix the circular saw with an edge guide. Set the blade depth so that the blade barely goes past the wood. Put scrap pieces of lumber on the sawhorses under the wood. Then the long rip cut can be a zip.

A wood router is one of the most needed tools in a woodworker's workshop. It's used for carving and hollowing out wood, like creating grooves or creating a decorative trim on a piece of fine wood. Learn all you need to know with this woodworking video series on using routers safely.
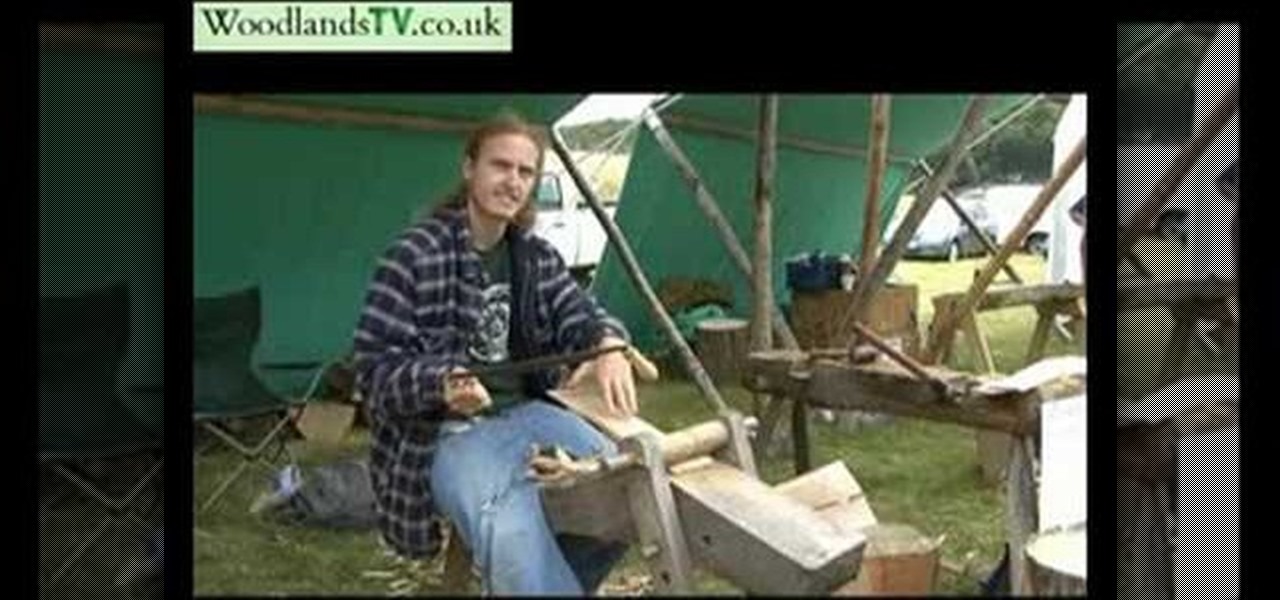
In this video, we learn how to make wood roof shingles by hand. Start off with round oak wood, then split it with a splitting axe. Then, use a mallet to split them out further. Make sure to use clean and straight grained oak to do this. Now, remove the bark from the wood and split into thin sheets. Then, place into a cleaver brake and use a mallet to split down the different wood shingles. From each piece of wood, you should get 4-5 different shingles. When finished, you can hammer these toge...
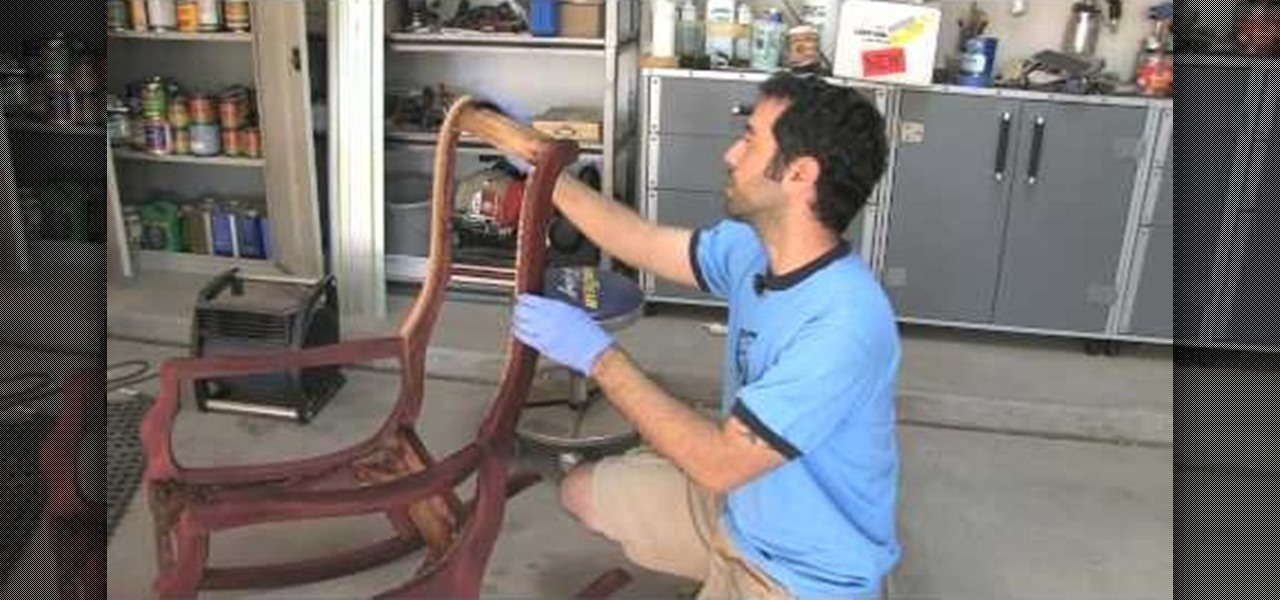
Add shimmer and color to your wood furniture with a Deep Red Mahogany Finish. Watch as The Wood Whisper's Marc Spagnuolo shows you how to apply this look to anything wood in your home. First Marc tells you about narrowing down whether or not you have to mask the wood or enhance the wood. After you figure that out you must choose how to color your wood. There are stains, oils, dyes and more! Marc chooses both a Merlot General Finishes Water Based Dye and Brown Mahogany General Finishes Gel Sta...

Weather can really do some damage to the wood siding on your home. When your siding becomes worn and rotten due to the elements, it's time to break out the tools and install new wood. This instructional video walks you through the basic steps of repairing the wood siding on your home. Follow along with the tutorial and keep your home fortified.
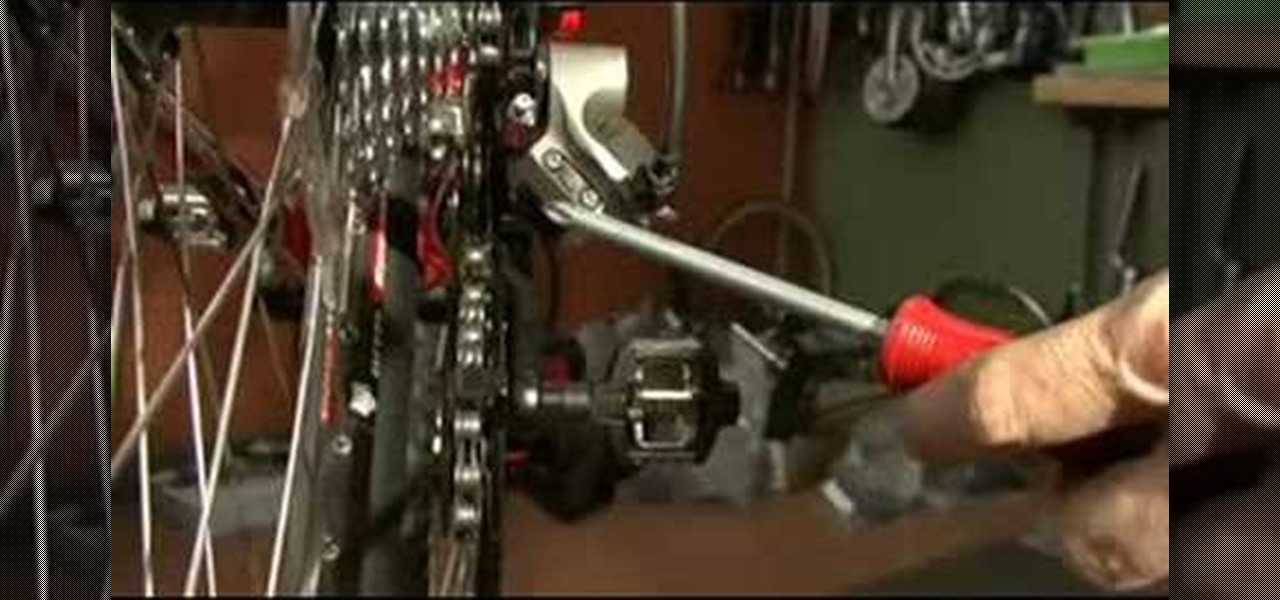
Use a 5mm Allen wrench and loosen the bolt holding the cable on the rear derailleur. Thread the shift cable through the cable stays and tighten it in the rear derailleur with as little slack as possible. Make sure that the adjustment screw on the shifter is in the mid point of the adjustment.

One of the many significant changes in Minecraft Beta 1.3 is the way half-blocks or slabs work. Before you could make stone slabs out of three pieces of stone and use them to builds stairs, but it took a lot of material and was limiting as far as choices. Now you can make slabs out of wood, cobblestone, sandstone, or normal stone, and this video will show you how it works.

Remember summer camp? Remember the smell of the log cabins? The feel of the treated wood? Well, you can create something for your home that's perfect for a nostalgic summer camp aesthetic. Meg Allen Cole (recently of Threadbanger) was inspired to make this mid-century modern wall hanging piece made from a small wooden log (or branch) when she was at a relaxing, wooded vacation spot in Maine. And she shows you how to make one, too!
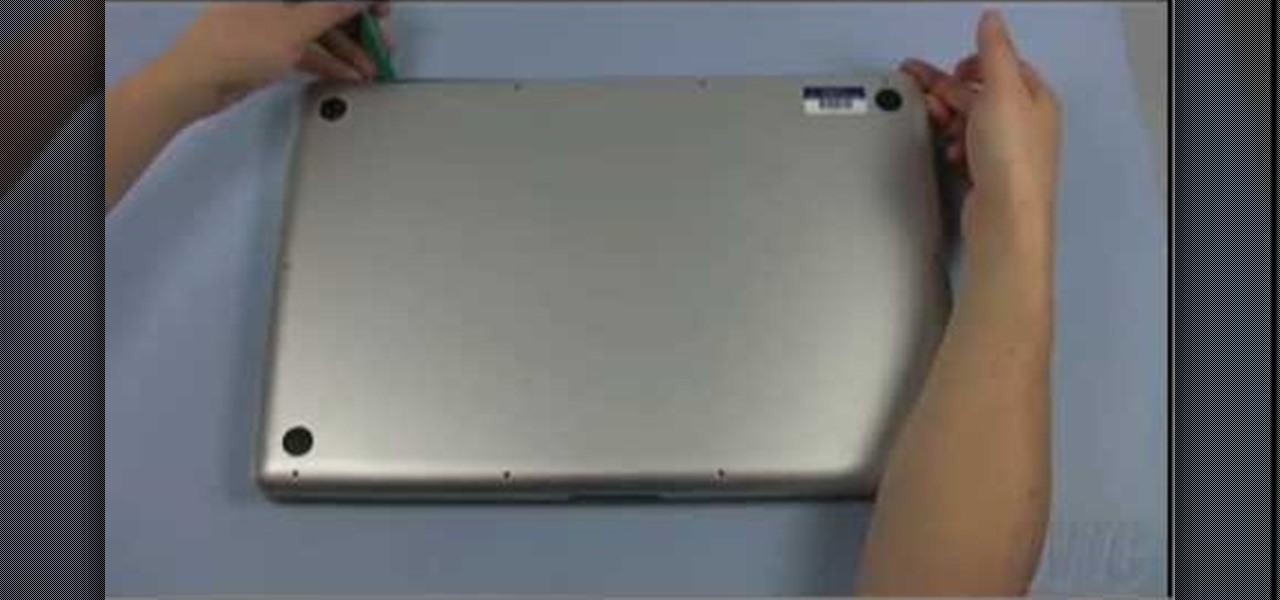
In this how-to video, you will learn how to install a hard drive into a 17" Macbook Pro. Make sure you use the proper anti-static precautions before going on with this procedure. You will need a pry tool, a Phillips screwdriver, and a T6 screwdriver. Make sure you transfer your old data into the new drive before installing. Shut down the computer and flip the laptop over. Unscrew the ten screws around the bottom. Now, remove the cover. You will see the hard drive at the lower right. Loosen th...

If you need to paint the screw heads you can do it without making a mess. If you try to hold them in your fingers and paint them you will get paint all over your fingers. Now you don't have to do that. Take a plastic shopping bag and cut the bottom off of it. Take that bottom piece of bag and stretch it over a can like a drum. Tape the bag tightly to the can so that the bag is stretched tight. Take the screws and screw them into the plastic on top of the can so that they are standing up. Now ...

In this video tutorial, you'll learn how to make utensils in the wilderness. You'll see how to make a wooden fork, spoon, pot hanger and support when out in the woods. Also, learn how to clean your knife using moss. A nice piece of hazel wood is what you'll want for this survival bushcraft technique.

Watch Ray Mears from the BBC give you a how-to guide for making fire in the desert. (You don't even have to carry matches!) Put on your gloves to handle the fauna for cutting wood. Make a notch in the wood--good luck trying to make fire by friction!
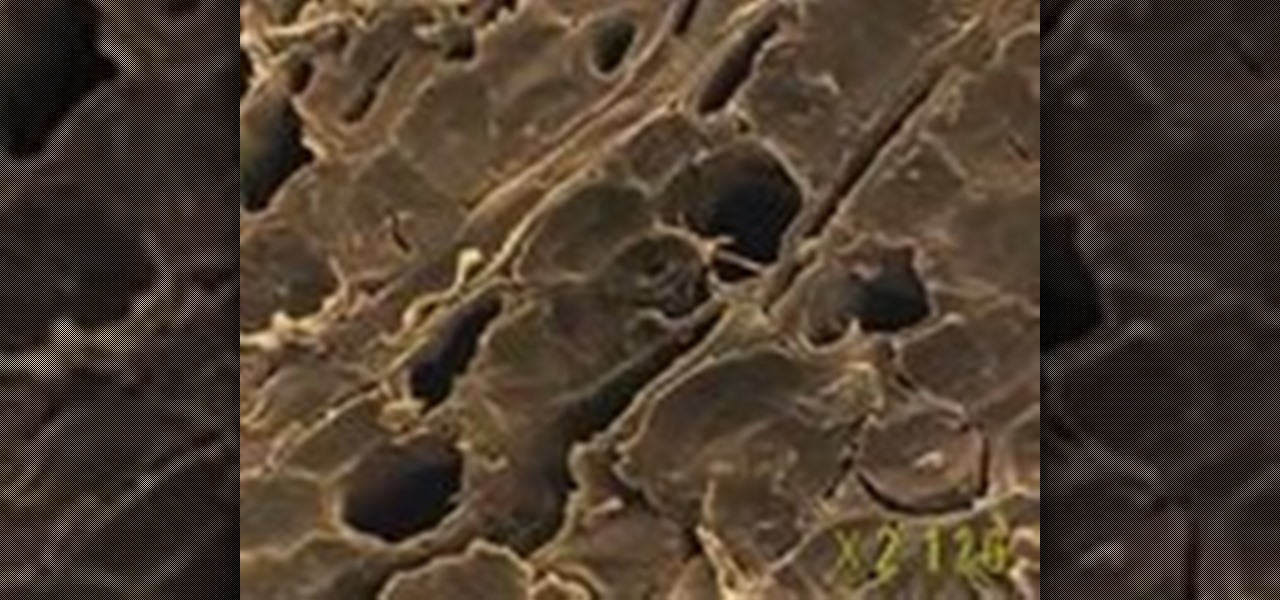
Explore the veins and structures that create the cellulose of wood. Understand this visually stunning wonderment.

Nothing says 'I Love You' more than a gift that was made from scratch. Especially if that gift is shaped like a heart and is made from wood.

Brush up on your survival skills with help from this video conducted by the Maine Primitive Skills School. In this video, learn how to start a fire in the woods practicing the fire thong friction fire method using rattan wood.

Don't let that stuck drawer aggravate you on a daily basis; find the problem and fix it once and for all.

Need some advice for playing golf? Well, Sports Illustrated has this video tutorial that will show you how to make the perfect divot with your fairway wood on the golf course. These tips from SI and professional golfer Tim Mahoney will show you exactly how to get that perfect divot every time with your fairway wood.

In this song tutorial, you'll learn how to play the introductions to two popular songs, "Norwegian Wood" by John Lennon of the Beatles and "Sweet Home Alabama" by Lynard Skynard. While this tutorial is best suited for intermediate and advanced guitarists, players of all skill levels can play along. Watch this lesson to get started playing "Norwegian Wood" and "Sweet Home Alabama" on your guitar!

First of all open the box and take out the kit, different parts and the instruction manual. You also need glue, epoxy adhesives, sand paper, 2 mm drill and a 4 mm drill. Start with assembling the outer frame of the camera by fixing in the slots. Use a screw driver to screw the bolts. Now use the glue and fix the inner parts of the camera. Now make the front portion of the camera. Fix it exactly as shown in the instruction Manual. Now drill in the holes on the sides of the camera's outer frame...