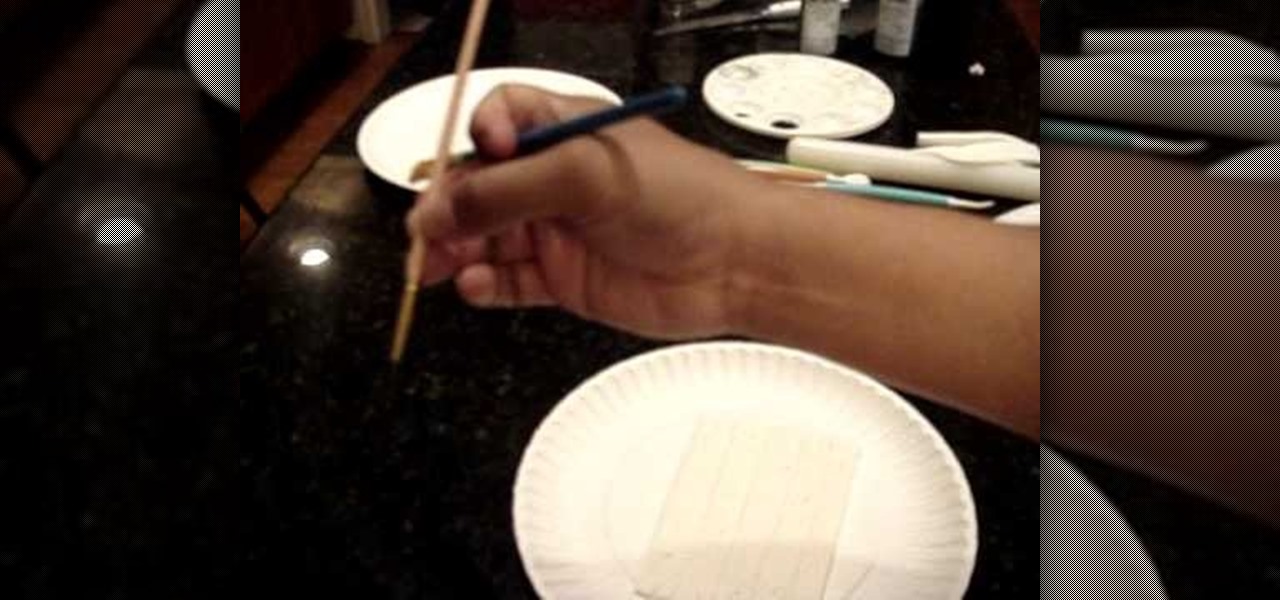
How To: Make gumpaste cake decorations look like wood (faux bois)
Faux bois is a fancy schmancy French term for fake wood. And faux bois prints on furniture, pillows, as wallpaper, and even as ingrained barks of chocolate are all the rage right now.


Faux bois is a fancy schmancy French term for fake wood. And faux bois prints on furniture, pillows, as wallpaper, and even as ingrained barks of chocolate are all the rage right now.

Connecting your sprinklers to the water line is actually fairly easy when you're installing your own sprinkler system. Basically, you just go to your outside tap, screw it off and screw in your house connection.

To earn the Gnome invasion achievement in Fable III, you will need to locate fifty gnomes. This video shows you where to find thirteen of the gnomes, in Driftwood, Silverpines, Millfields, Dankwater Caverns, Sunset House, Mourning Wood and the Ossuary.
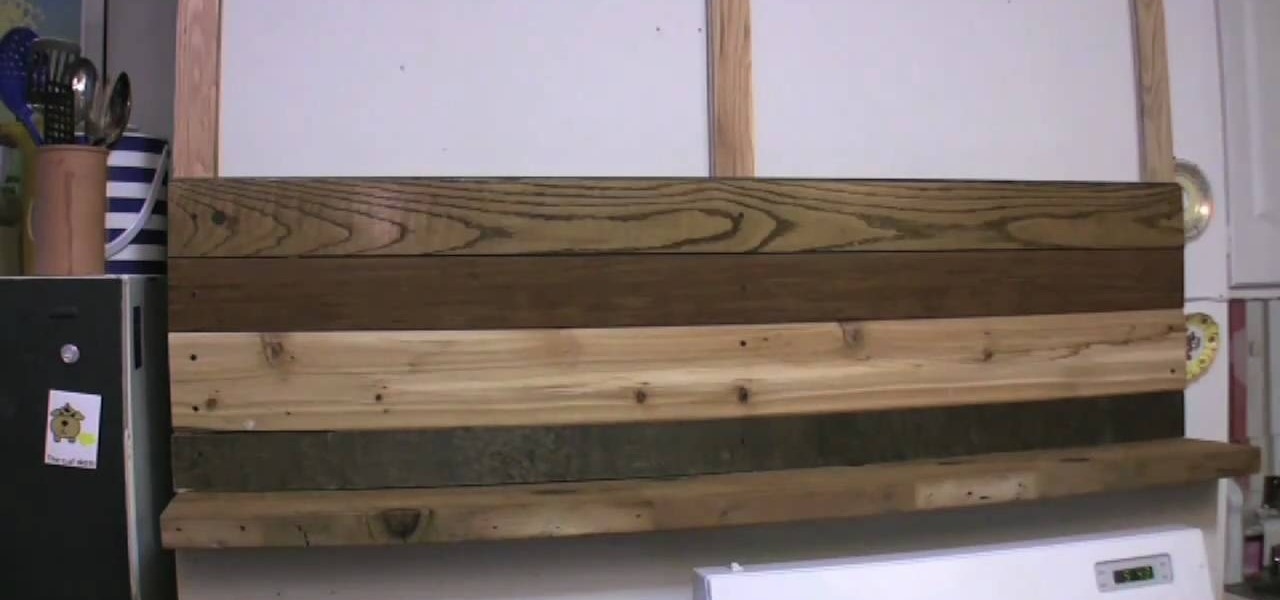
This is a classy and environmentally friendly way to give your home a wall treatment with reclaimed wood. You can find reclaimed lumber from nearly any lumberyard, especially green ones. Make sure you get the right tools and hardware, as well!
In this clip, we learn how to make a wood picture easel using only hand tools. It's easy! So easy, in fact, that this video woodworking lesson can present a complete overview of the build in just over eight minutes. For all of the details, and to get started making your own wooden picture easels, take a a look!

In the mood for something exotic tasting tonight? Then look no further than this food video. Press "play" to learn how to whip up a wood grilled peppercorn crusted salmon seasoned with wasabi soy sauce.
Looking for your next woodworking project? Why not a wood slit drum? It's easy! So easy, in fact, that this DIY guide can present a complete overview of the process in about minutes. For all of the details, and to get started making your own one-of-a-kind slit drum, take a look.
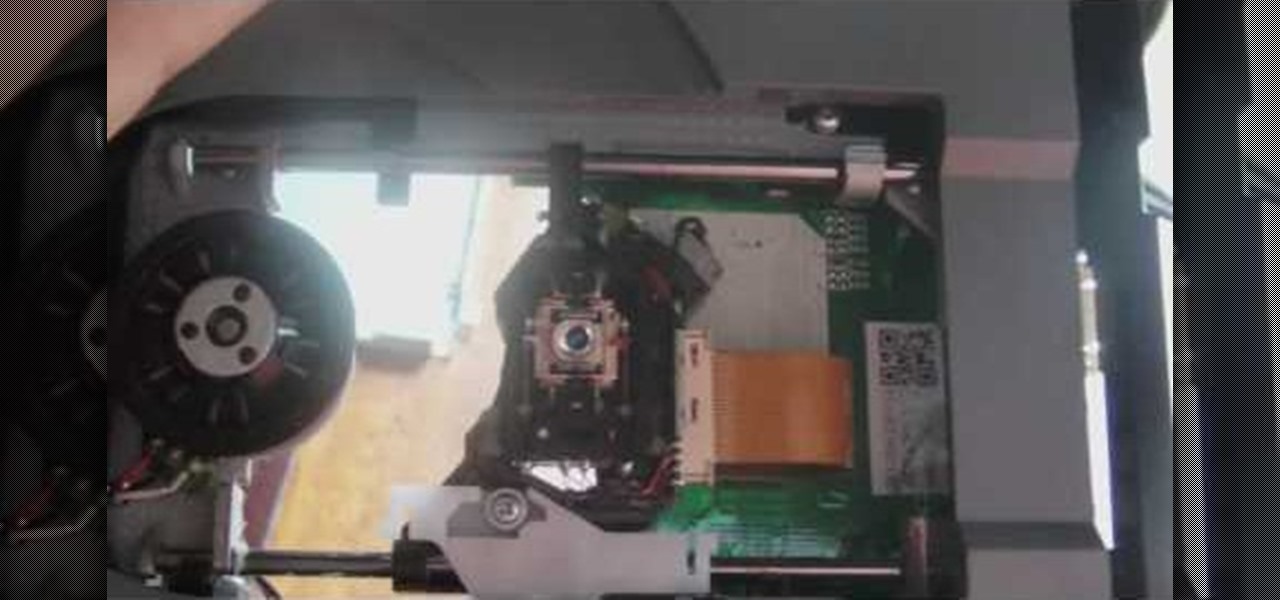
In this video we learn how to fix the Xbox 360 open tray error. First, open the console up and find the laser power. There are two screws around this laser that need to be changed. The left one should be screwed up a slight amount until it's slightly lifted. Once it's lifted, put your entire console back together. Once it's back together, you will notice that the open tray error stops coming up on your screen. You may also need to place something inside of the screw so it stays slightly up. E...
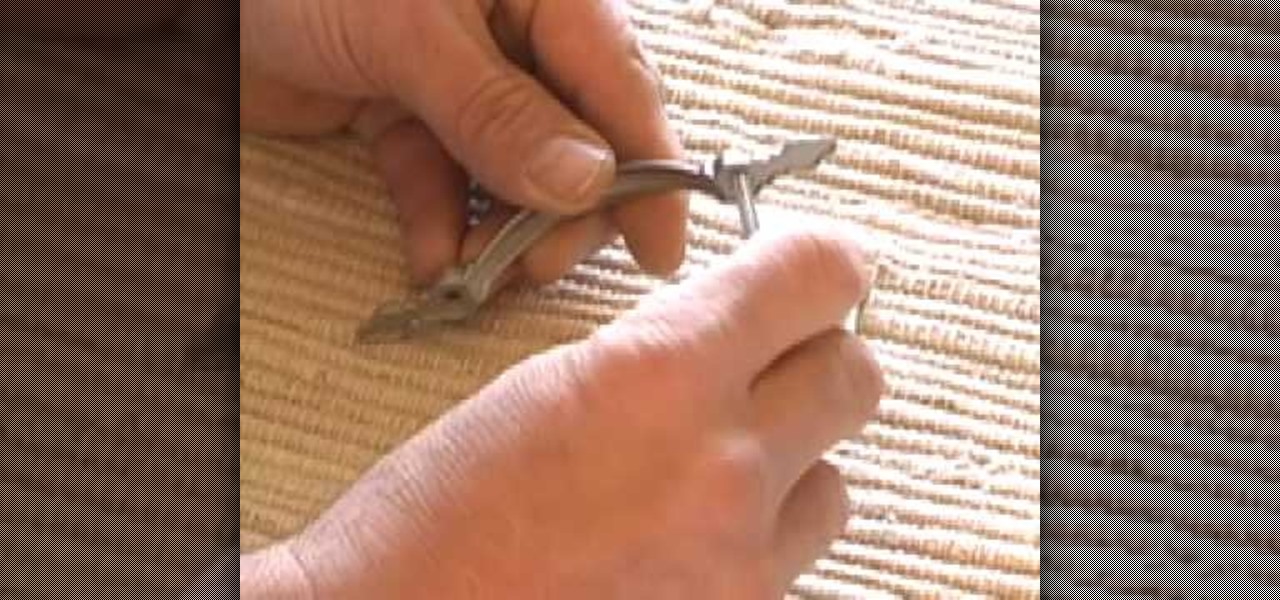
Bob Schmidt teaches us how to install cabinet knobs, handles & pulls in this video. You can easily spruce up a new cabinet or door my just changing out the handles or knobs. First, always take off your hardware and take it with you to the hardware store so you can grab a similar one to fit the right size. Once you find the right handles and screws you will be ready to install the new handles. Place the screw into the appropriate holes on the handles. After this, twist the screws into the hole...

In this video, we learn how to change your toilet into a silent toilet seat. A silent toilet seat will shut itself by going down slowly without the loud slam. To remove the old toilet seat, go to the back flaps and pop them up. Remove the plastic screws with a screwdriver and then set them aside. Replace this with your new toilet seat and screw the screws back into the back. Now, lift your seat and the lid up and tap them gently. After this, the toilet seat will slowly start to lower and clos...
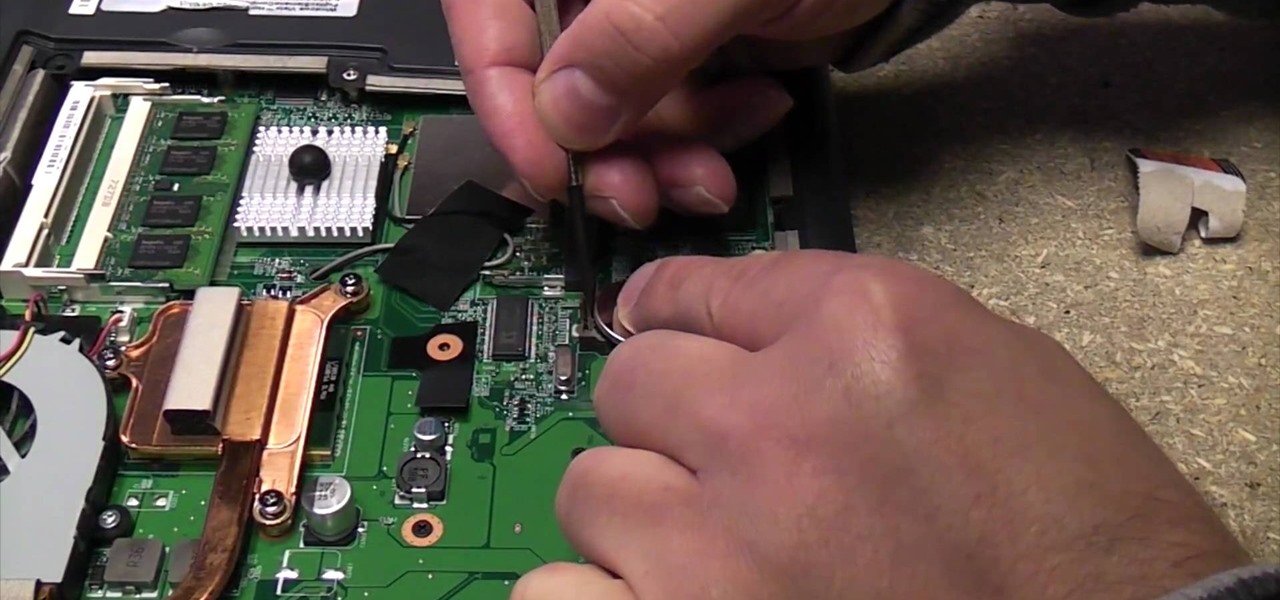
In this video, we learn how to replace a laptop CMOS battery. First, turn the laptop upside down and remove the screws around the panel you need inside. Set these aside and then pry the top up with a flat screwdriver. Now you will see the CMOS battery, remove this with the tab that is on top of it. Remove the battery from the area it's at and then replace it with the new one. Make sure you place it in just how it was before. After this, replace the panel on the top and screw the screws back i...

In this tutorial, we learn how to take apart the Google Nexus One. First, take the battery cover off, then remove all the screws along the side and top of the phone on the back. Next, use an opening tool to pry the case off of the back. Then, pry the bottom cover off and then remove the two T5 screws underneath that. After this, take the casing tool off of the back and then remove all the Philips screws. Now, remove the three flex connections and the cable connected and set them aside. Pry th...
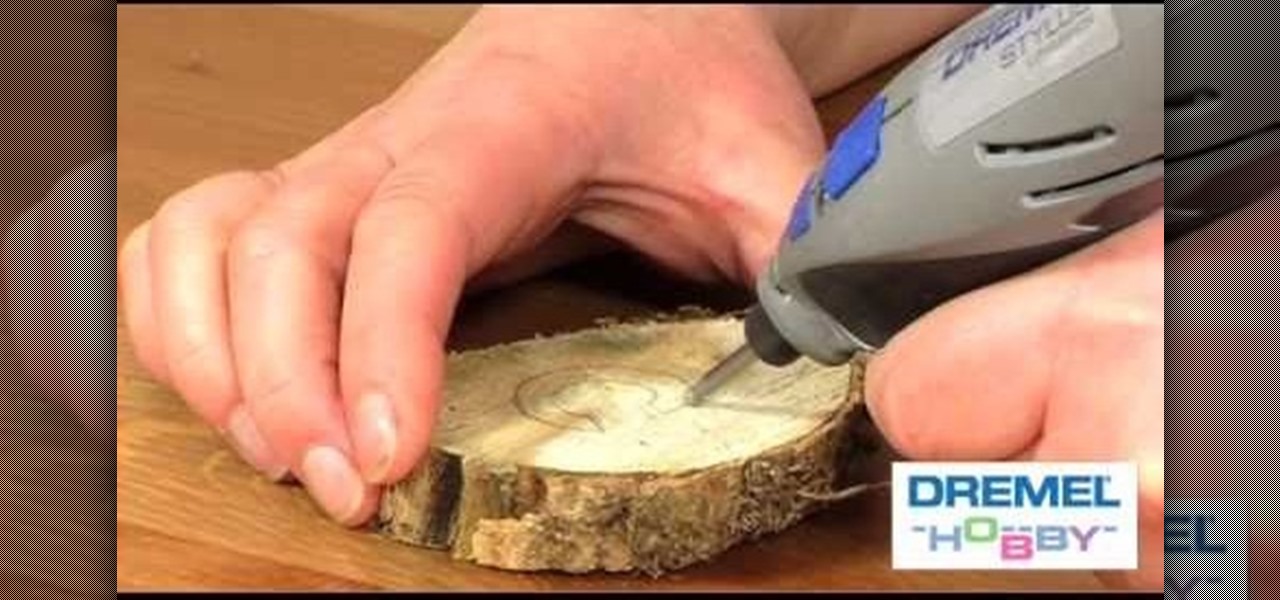
The Dremel Stylus tool is ideal for any wood worker or wood crafter. This versatile and easy to use tool can let you carve or whittle any number of projects out of wood, such as a wooden relief. This video demonstrates how to carve a piece of ivy onto a wooden box.
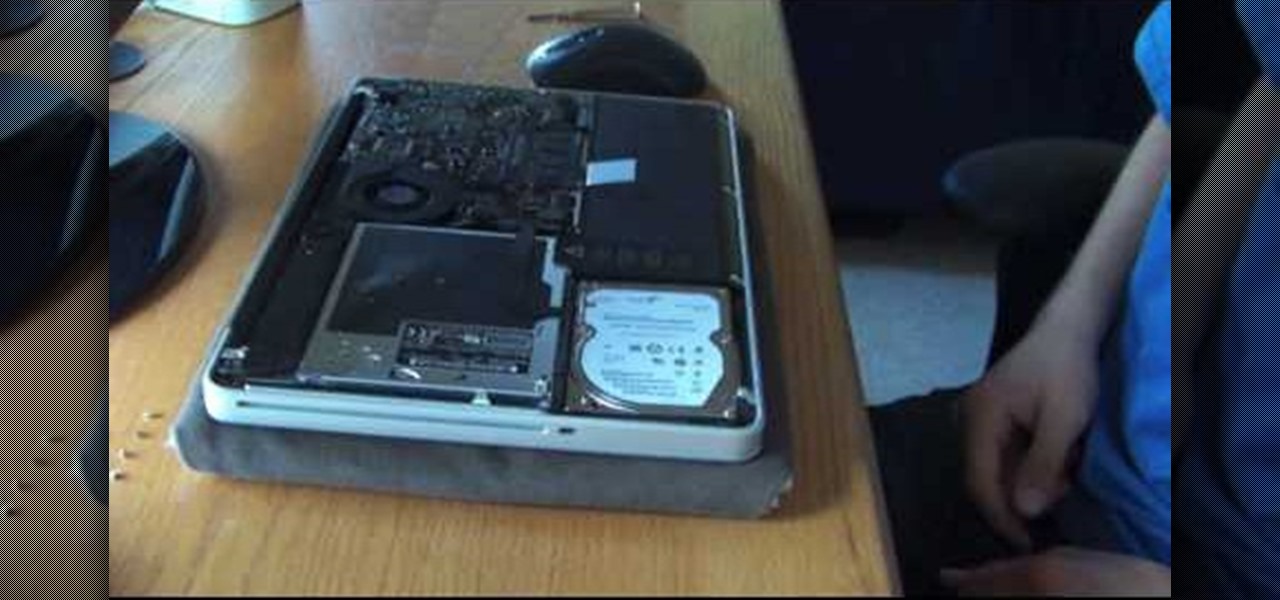
You can change your RAM in a 13" MacBook Pro. To do this you need a screw driver and a new ram. So first put your notebook on the table and take all the screws out of the notebook but be careful when doing this. Now place your fingers on top and the bottom and leisurely take out the back cover. Now there are two slots located at the right side and you have to push it out to remove the old rams. Now take the new ram and make sure you put it as the video showing and place it where you removed t...
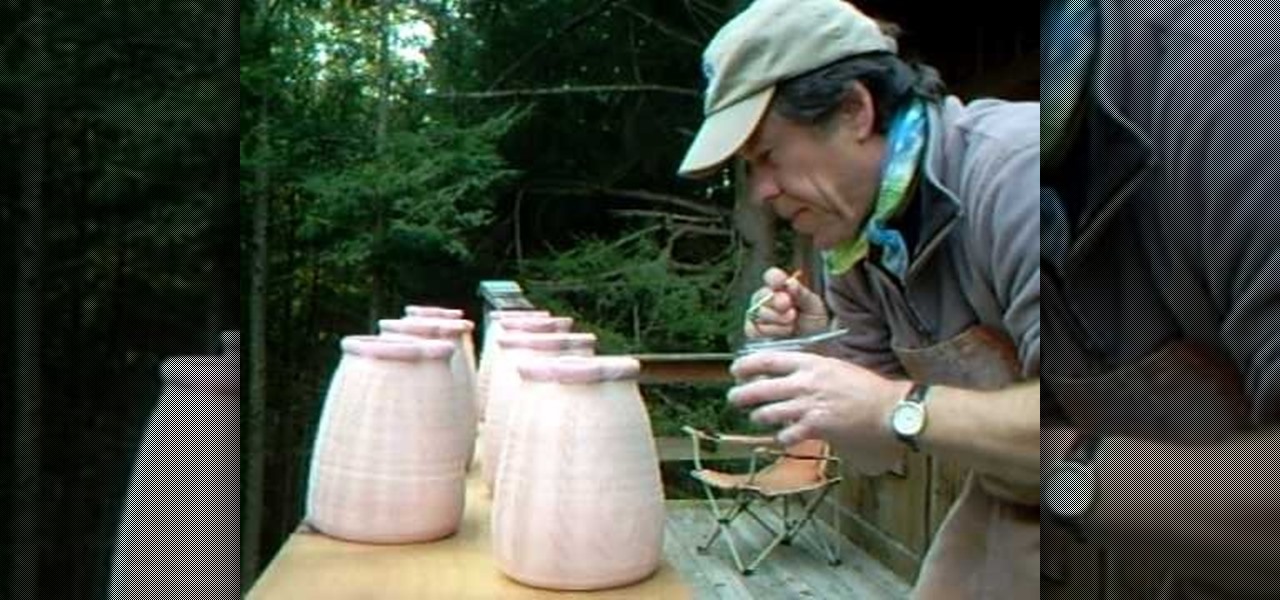
In this video, we learn how to use wood ash to prep pots for the kiln. First, grab wood ash and place it into a container that sprays. After this, blow in the appropriate hole and hold the container so the ash gets all over your pots. Continue to do this all the way around the pots. You will get out of breath while doing this, so take your take and take breaks to breathe. Make sure you do this in a quick amount of time so the ash inside the container stays ready to be blown. After this, the p...
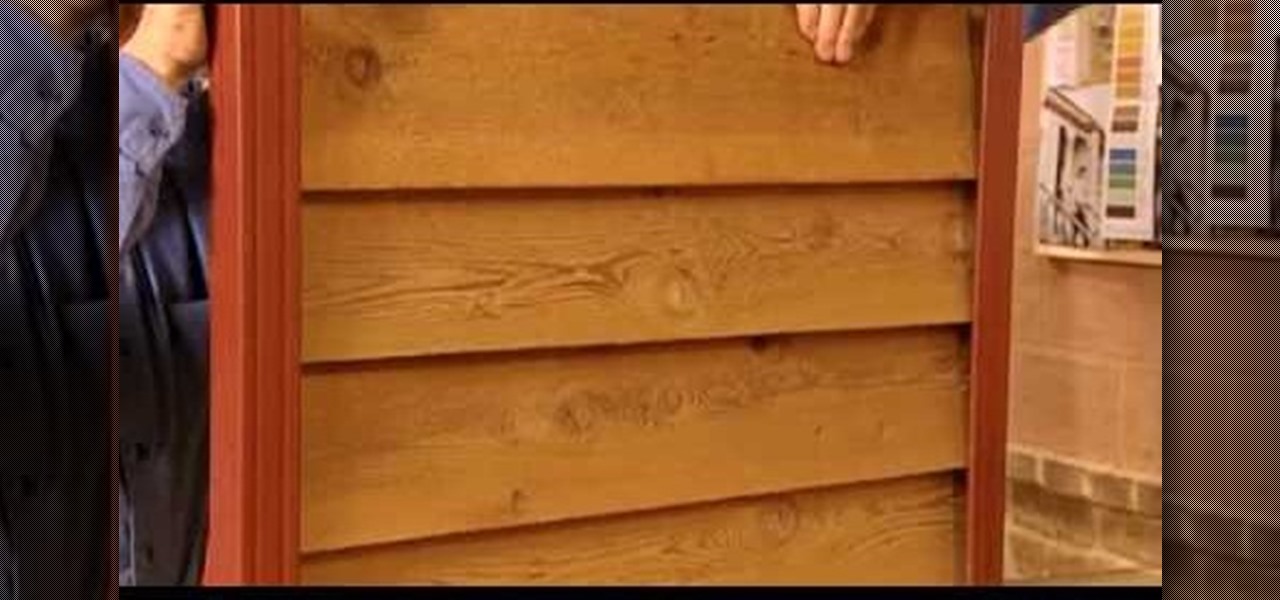
In this tutorial, we learn how to build an outdoor dog house. Start off by making all the measurements for your dog house and cut out your wood. After this, use a metal frame piece to drill into the wood and this will be the base of the house. After this, connect all the metal pieces on the dog house to make the basic outline of the house. When you are finished with this, place wood on the frame of the house and drill it into place. When you are done with this, you can paint the house if you ...
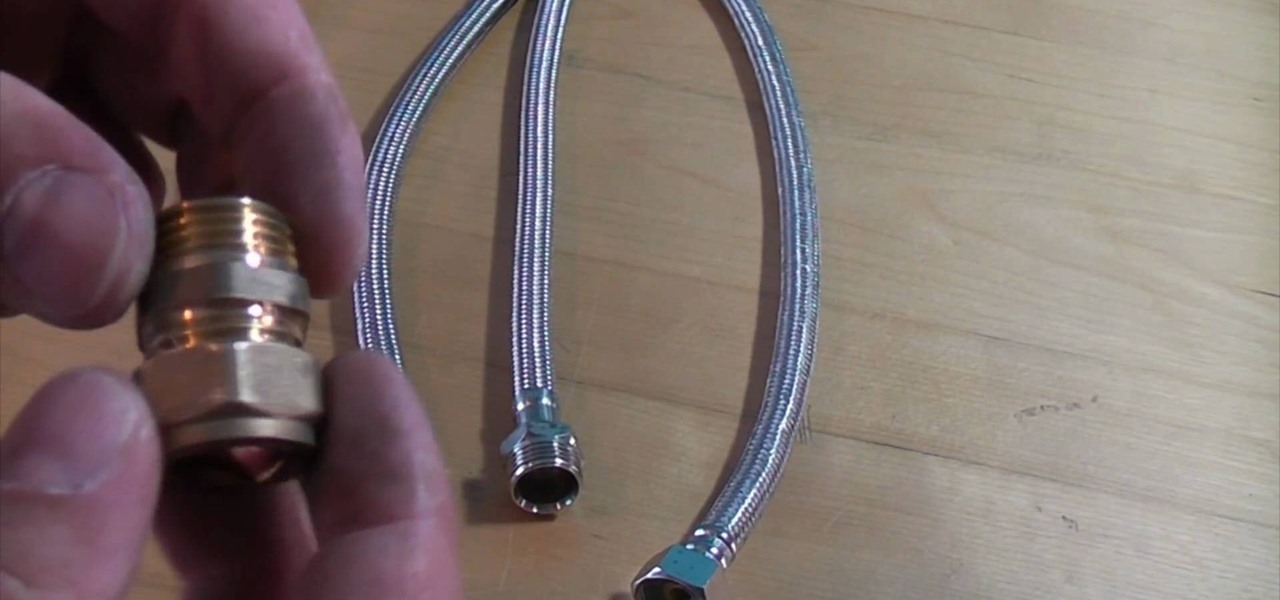
In this video, we learn how to connect flexi-tails properly. First, take your flexi-tails and grab one with a female end that will screw onto the end of a male. After this, use an isolating valve to fit the compression onto the valves and then tighten it up. Screw the flexible tail onto the end of this. Be careful buying this off Ebay, because a lot of fittings will not screw onto a compression knot. It is very simple to make this, you just have to connect the two tails and make sure they are...
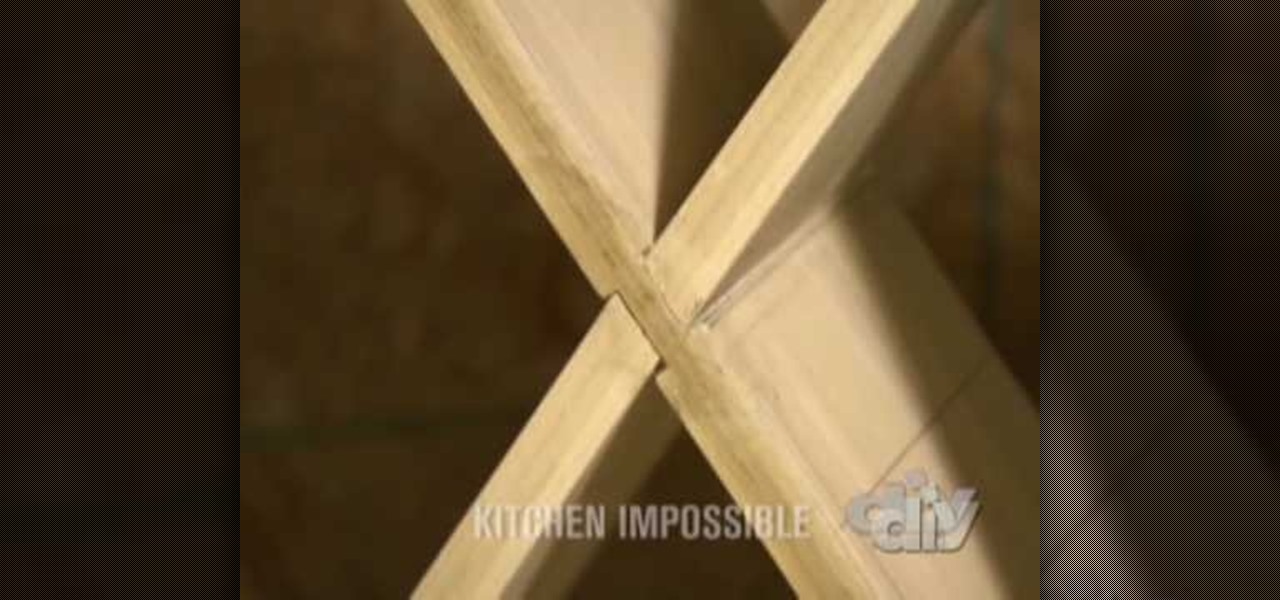
In this tutorial, we learn how to make a poplar wine rack. First, cut the top, bottom, and sides of the rack. Then, use a router to cut out the center of it. Now, assemble the rack together by using wood glue. After this, measure the length of the diagonals, then add in pieces of wood that are criss crossed throughout the box. Next, keep these in place with some wood glue and then place wine bottle on the inside of them. This will make a great wine rack for any home and you can paint it as we...
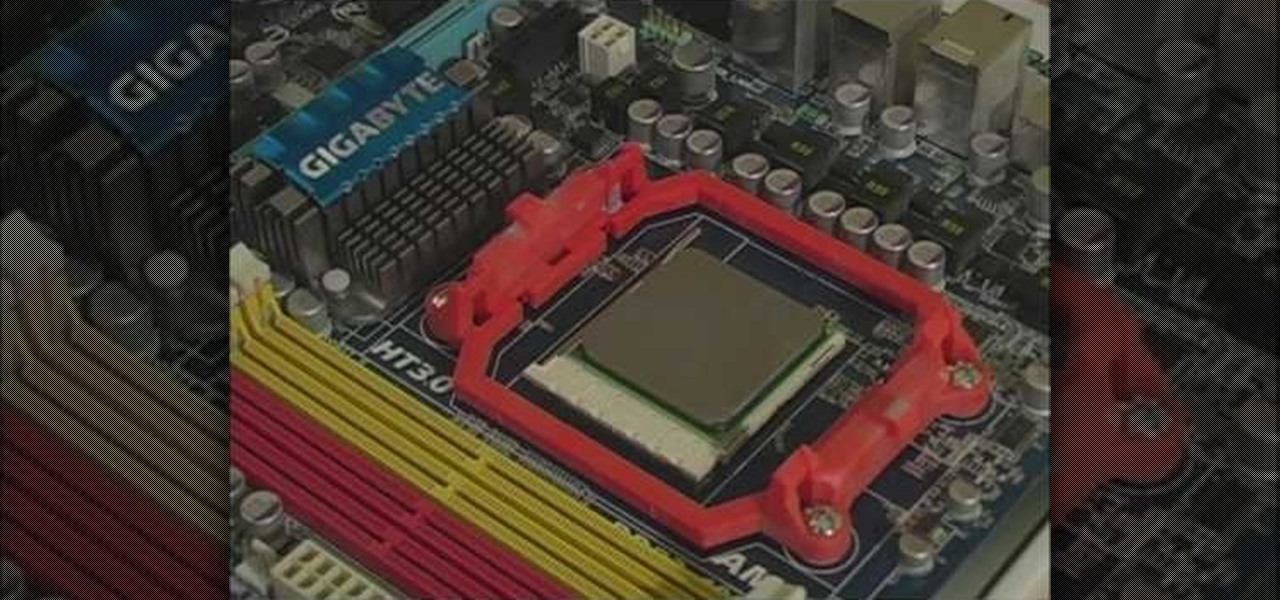
In this tutorial, we learn how to build a gaming PC at home. First, grab your processor and place it into the socket of the motherboard. Lock it into place, then apply compound on top, rubbing it in evenly. Next, install the heat sensor, which will keep the processor cool. after this, install the RAM into the correct slots. After this, insert the motherboard inside the case, matching it to the slots in the case. Use a screwdriver to screw it in, then install the cases. Install the hard drive,...
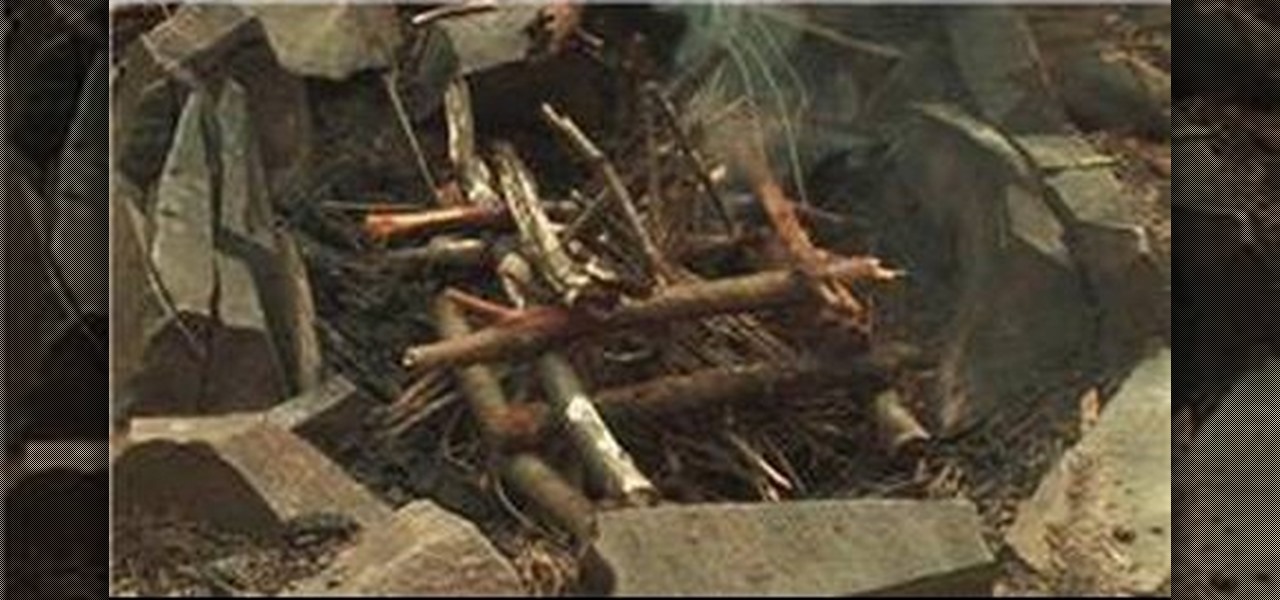
In this tutorial, we learn how to build the perfect campfire. It's important to consider the materials, it's impossible to take a lighter and light a large piece of wood. You want to start the fire small and build it large. Think about the wood you will be using, which will decide if you are going to cook on it or need it for warmth/light. Birch bark is great for a base layer. Cinder is perfect to place on top of the birch, then add in larger pieces of wood as you create a bigger fire. When y...

In this video, we learn how to smoke salmon in a smoker. You can use an electric or gas powered smoker, it doesn't matter which you choose. Before you begin to salt the salmon you will need to brine it with a salt water brine. Next, soak your wood chunks in some water for 30 minutes. Now put your wood into the smoker and let the salmon smoke for about 3 to 4 hours. Make sure you keep an eye on the salmon and don't let any of the vents stay open, or the wood will burn. When finished, enjoy the...

In this video tutorial, viewers learn how to upgrade the hard drive on a PlayStation 3. Begin by removing the plastic side panel on the PlayStation console and remove the blue screw on the tray. Then open the metal latch on the tray, move it to the right and remove the drive. Now unscrew the 4 screws on the tray that hold the hard drive on the tray. Then replace the old hard drive with the new one. Finish by replacing the screws, putting the tray back into the system and place on the plastic ...
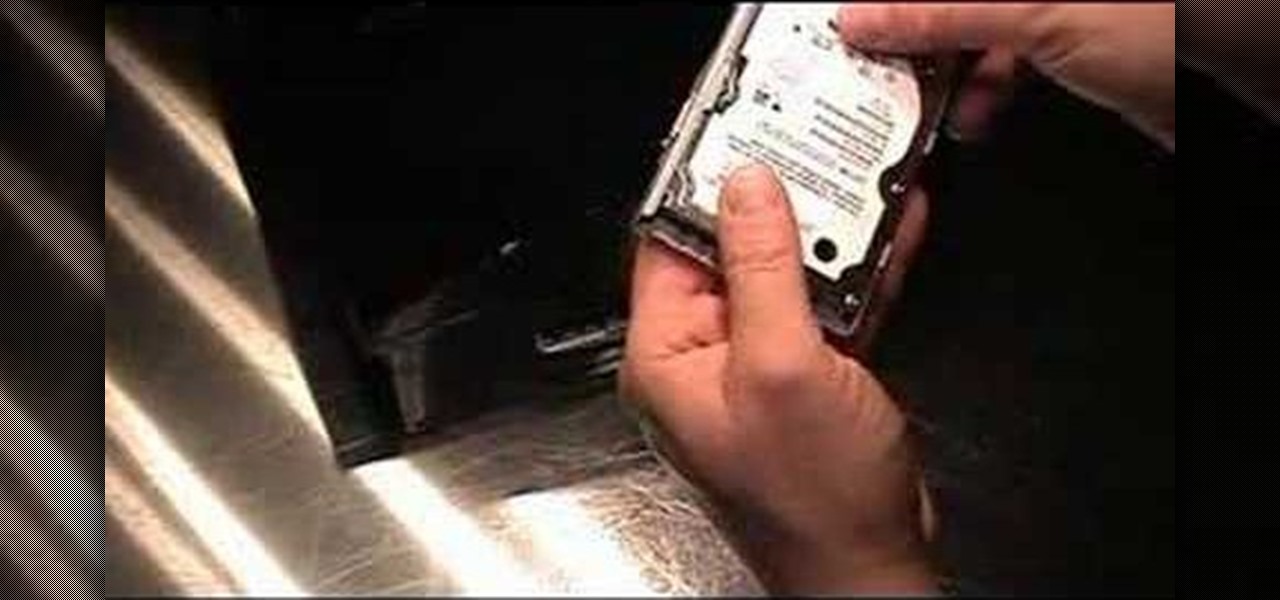
In this video tutorial, viewers learn how to install a PlayStation 3 hard drive upgrade. Make sure to turn off the system and unplug it before installing the new drive. Begin by removing the plastic side panel and unscrew the blue screw. Then open the metal latch, move the tray to the right and slide out the drive. Now remove the 4 screws that hold the tray of the hard drive. Then swap in the new hard drive and replace the screws. Finish by inserting it back into the system and place on the p...

If you call the woods your backyard, then this next tutorial is for you. If you want to make something that all animals and insects can benefit from, then build a habitat garden. Not only can it offer food and nourishment, but it can also be a place that can be called home for many animals.

It's time to get down and dirty in this next tutorial. If you own a lathe, you may already know that there is a great selection of different styles that can be carved using the right carving tools.
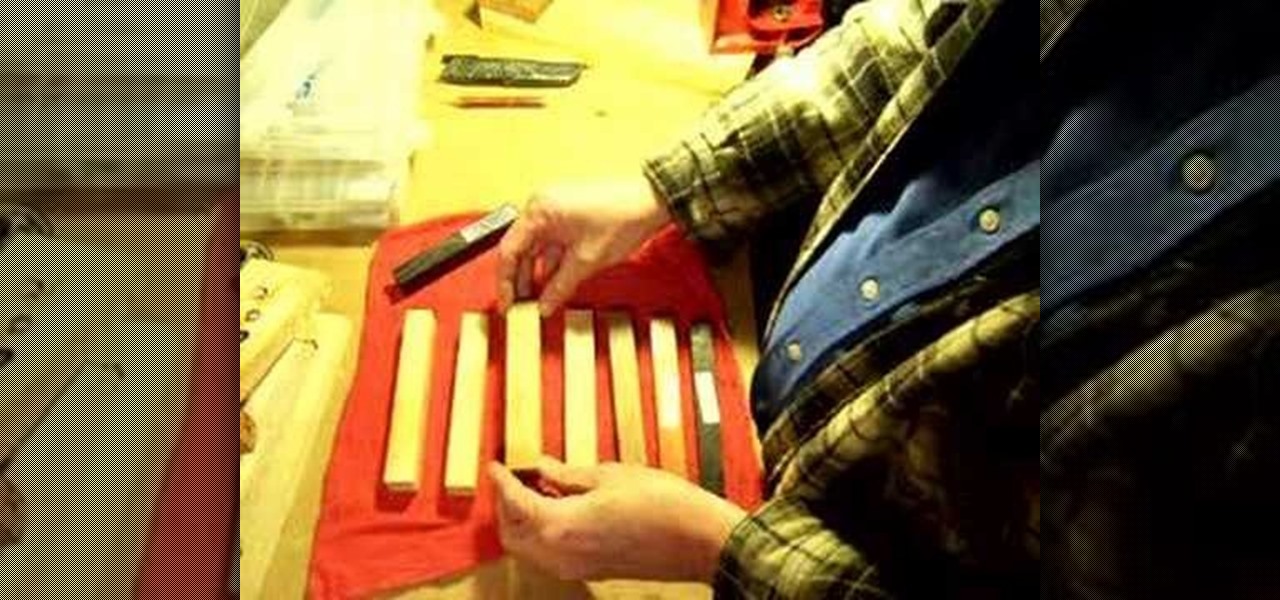
If you're thinking about what kind of project you can tackle with a lathe, ever thought about making a pen. You can make a great looking pen using many different kinds of wood. It all depends on what you want it to look like.
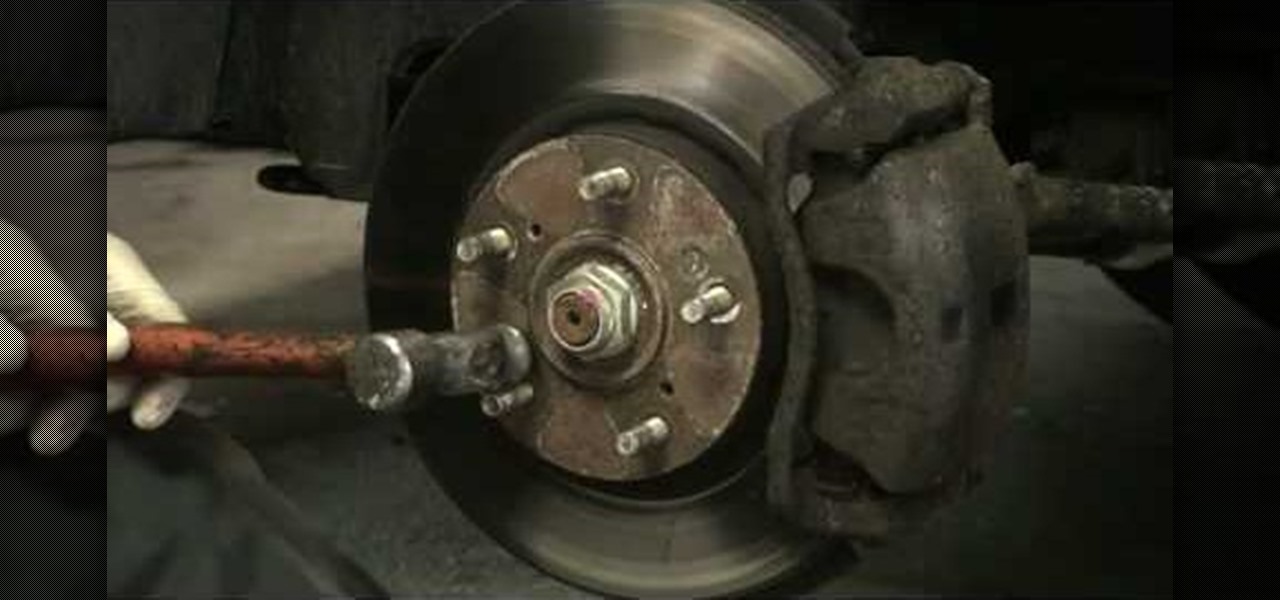
If you own a Honda, then this may be a problem that you are fully aware of. If you don't, if you need to remove anything near your brake wheels, it's important to know how to remove the rotor screws. This can be quite difficult to take out and so a special tool is needed in order to do so. In this tutorial, you'll find out how to remove any screws that may be stuck with a special tool. So good luck and enjoy!
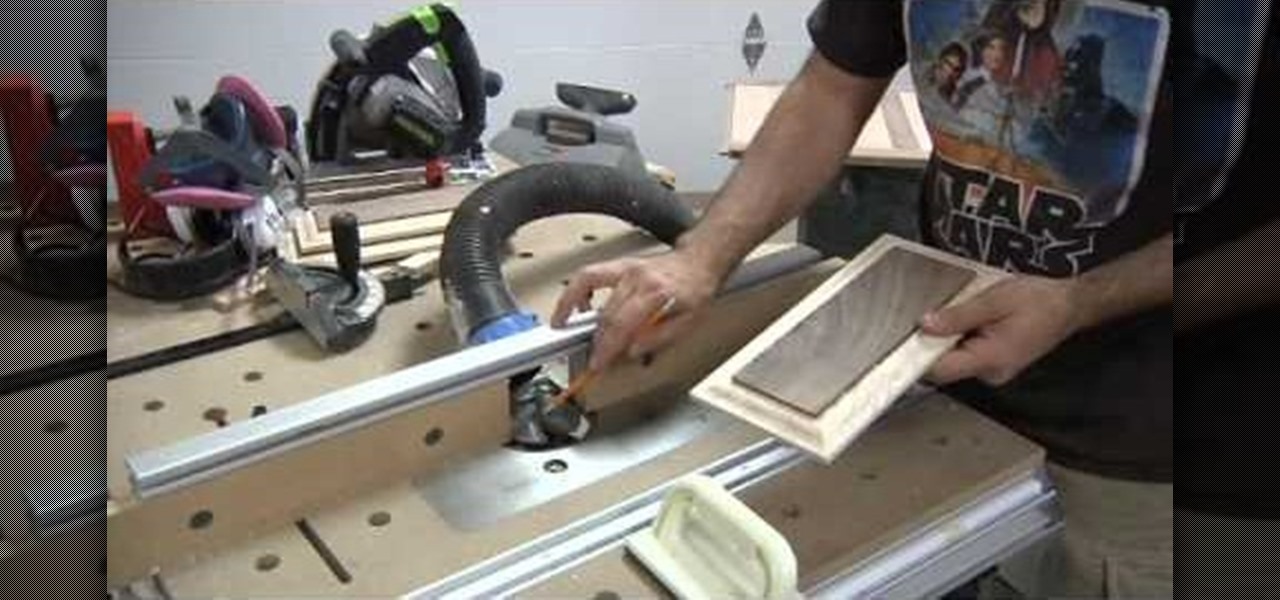
In this next woodworking tutorial, you'll be finding out how to make fancy raised panels for cabinets or anything else. You'll be combining two pieces of wood to create a walnut and maple sandwich. It's a little tricky to do, but n the end will result in beautiful pieces of wood. So good luck and enjoy!
Adjusting the rear derailleur on a bike is an important way to fine-tune your bike's shifting performance, but is complicated and can vary in method and effectiveness depending on the brand of derailleur. This video features instructions on how to adjust a low-normal rear derailleur using the adjustment screws.

Want to know how to play "Norwegian Wood" by the Beatles on the guitar? Learn how with this free video guitar lesson. While this tutorial is best suited for intermediate players, guitarists of all skill levels can play along given a little sticktoitiveness. For more information, and to get started playing this John Lennon song on your own guitar, watch this how-to!
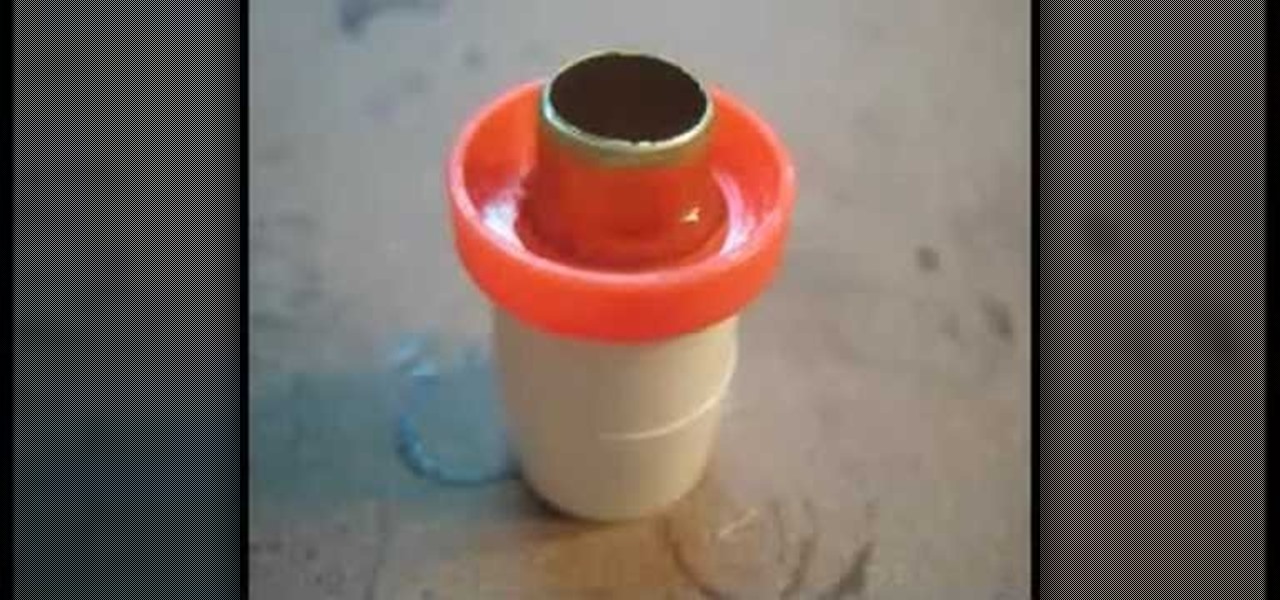
This is a video tutorial describing how to modify a nerf nite finder toy rifle. The first step is to take the nerf nite finder toy rifle out of the box and unscrew all of the screws on the gun. Then unscrew the light in the gun and then unscrew the back wiring and pry the metal out of the back. Next pull out the plunger tube assembly by unscrewing the two screws. Next add a pvc pipe to the connector piece from the gun, connect it to a piece of brass. Then add springs to your gun, and add a pi...
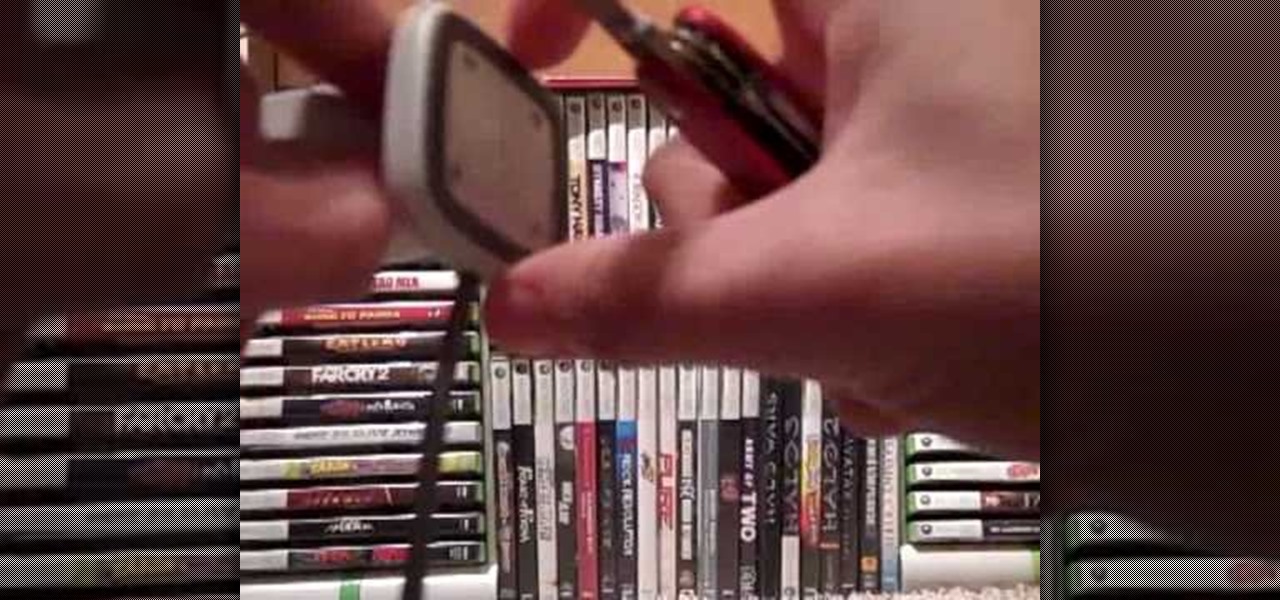
In this how to video, you will learn how to dismantle an Xbox 360 vision camera. First, take off the sticker on the bottom with a knife. Next, unscrew the the screws on the bottom. You should note that the sticker is really easy to place back on. There will be two screws revealed once the sticker is off. Unscrew these to access the inside of the camera. The bottom plate will come right off now. There are two more screws holding the inside of the camera. Unscrew these to entirely dismantle the...
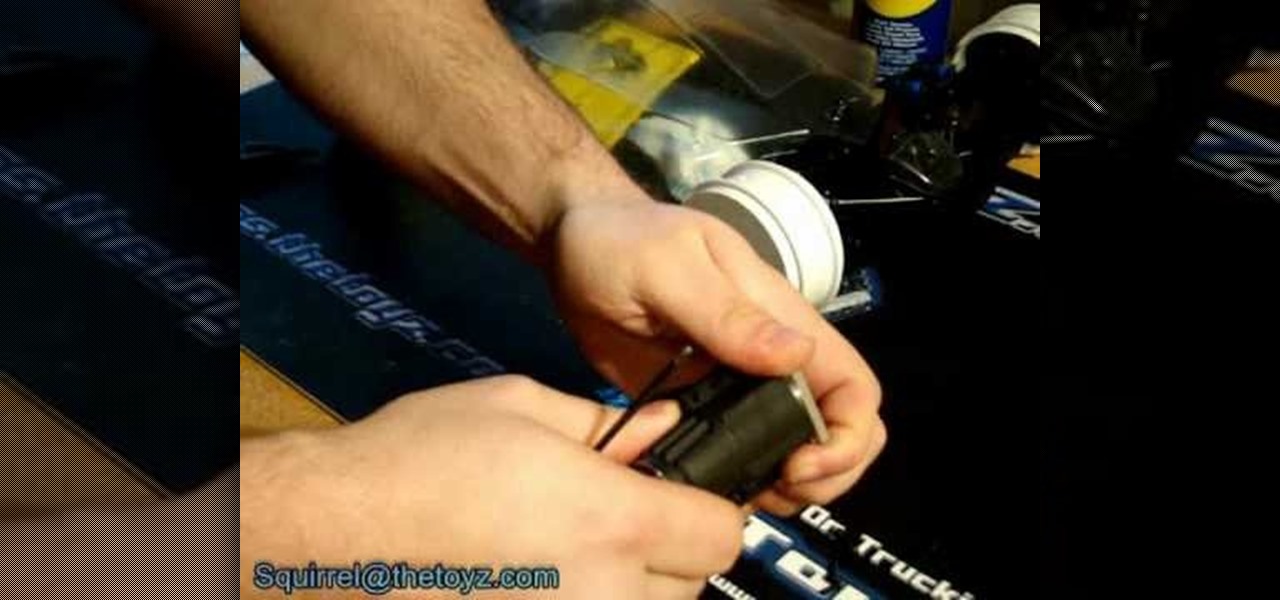
Starting with the cooling head you are going to have many different screws that could require a screw or a hex. After the screws are removed you can easily lift the cooling head from the engine. The plate underneath should pop right off along with the sleeve and the shim. Make sure you keep the sleeve and shim together. The starter will off once the screws are removed for it as well repeat the process for the backplate. Rotate the piston and this will allow you to pop the sleeve off. To remov...
In this Electronics video tutorial you will learn how to repair the LCD screen on the HTC Tilt. Remove the stylus pen, back cover and the battery. With a T6 torque screwdriver, remove the three screws. Using a safe pry tool, pry off the top part of the cover. Take out the small piece of rubber as shown in the video and remove the screw below it with a Phillips screwdriver. Then remove one screw on top left corner with the T6. Using the safe pry tool, release the clips and lift off the next la...
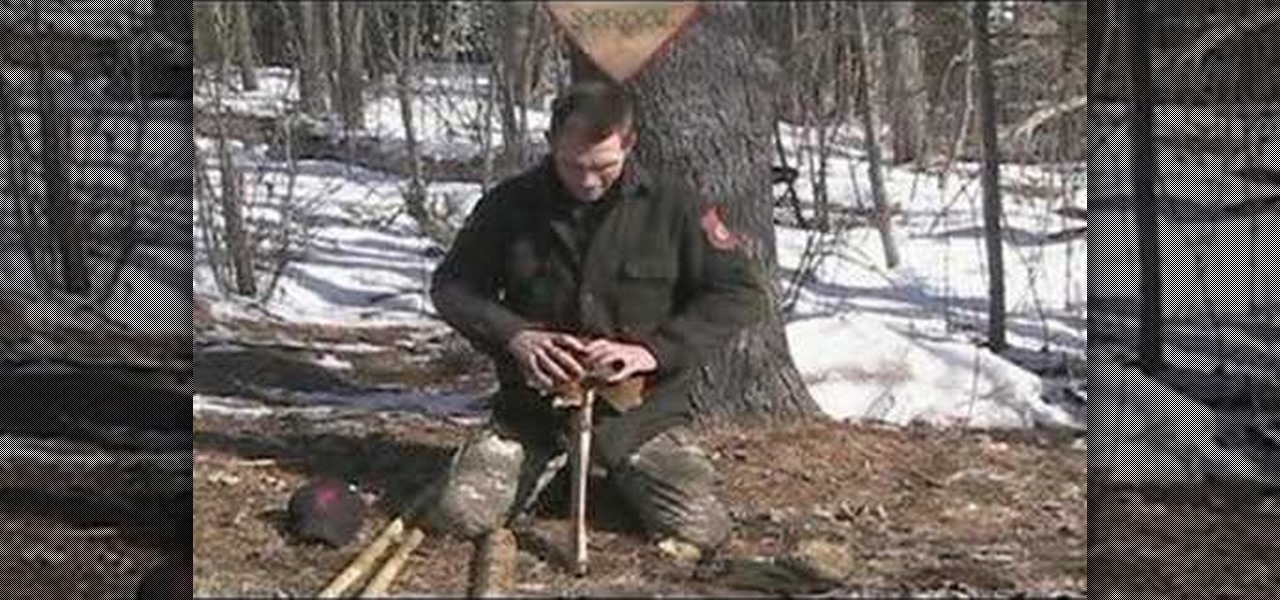
This video illustrate us how to start a fire with the "fire saw" friction method. Here are the following steps:
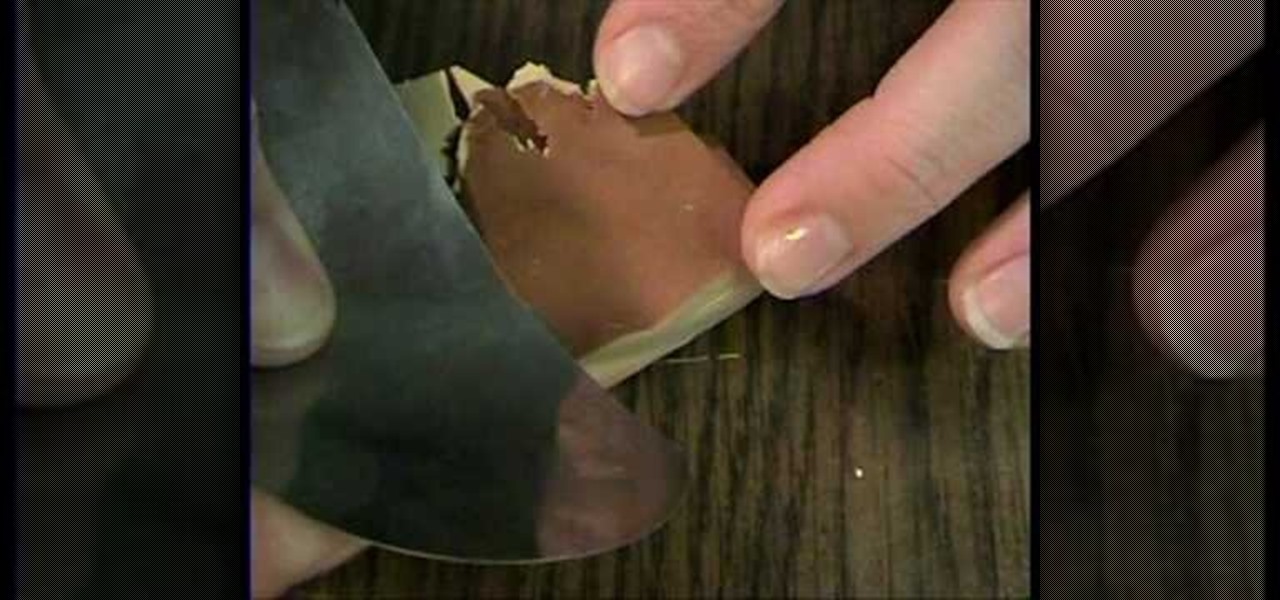
This tutorial shows the viewer how to make polymer clay look like wood. Begin by using a pasta machine and roll out ecru on a number four and rolling out brown on a number six. Stack the brown on top of the ecru and cut the stack in half. Then sandwich the two stacks so it goes light - dark - light - dark. Repeat the process by Cutting it in half and stacking them again. Roll this stack through the pasta machine on a number one so it squishes them together. Cut in half and stack. Repeat this ...
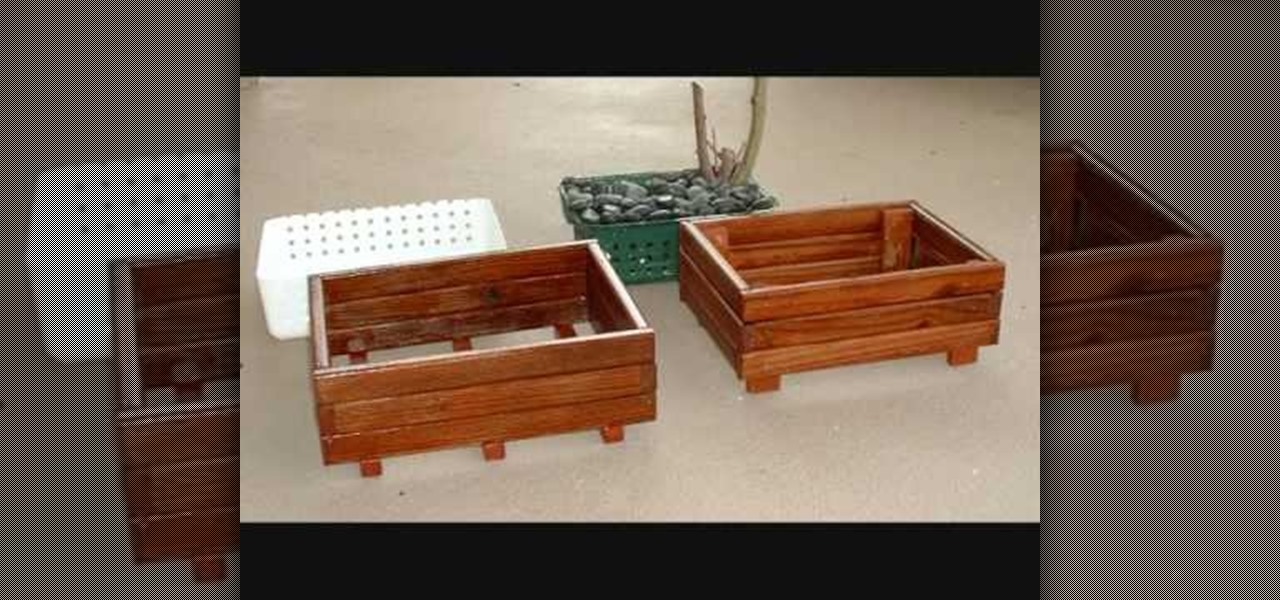
In this how-to video, you will learn how to make a wooden bonsai pot. You will need pressure treated wood made of all weather oak. You will also need a strain brush and nails. Assorted plastic bins will also be needed. Drill holes into the bottom of the plastic bin. Next, cut it to size. Cut the pieces of wood to the correct size and then line and tape them up. Next, nail the wooden pieces together. Now, place two pieces of wood on the bottom for legs. This allows air to flow beneath the pot....

In this how-to video, you will learn how to take apart a Blackberry 9700 Bold. First, set the Blackberry on a sturdy and flat surface. Next, pry off the bottom front plate with a non-metal tool. Remove the battery and place it aside. Next, unscrew the front plate with a screw driver. Be sure not to lose these screws. Now, carefully pry the front bezel off. The keyboard pad will come off as well. Now, remove the screws around the area where the screen is. Once this is done, you can easily remo...
This Home and Garden video tutorial shows how to hang heavy art on lath and plaster walls. This is really very easy and simple to do. Heavy objects of art will need big size nails for hanging. Hammering big size nails on lath and plaster wall is not possible. The nails just go in after a little distance. Then what do you do? There’s a really very simple and easy method of hanging heavy art objects on lath and plaster walls. You just need to screw in. Take a screw, hold it perpendicular to the...
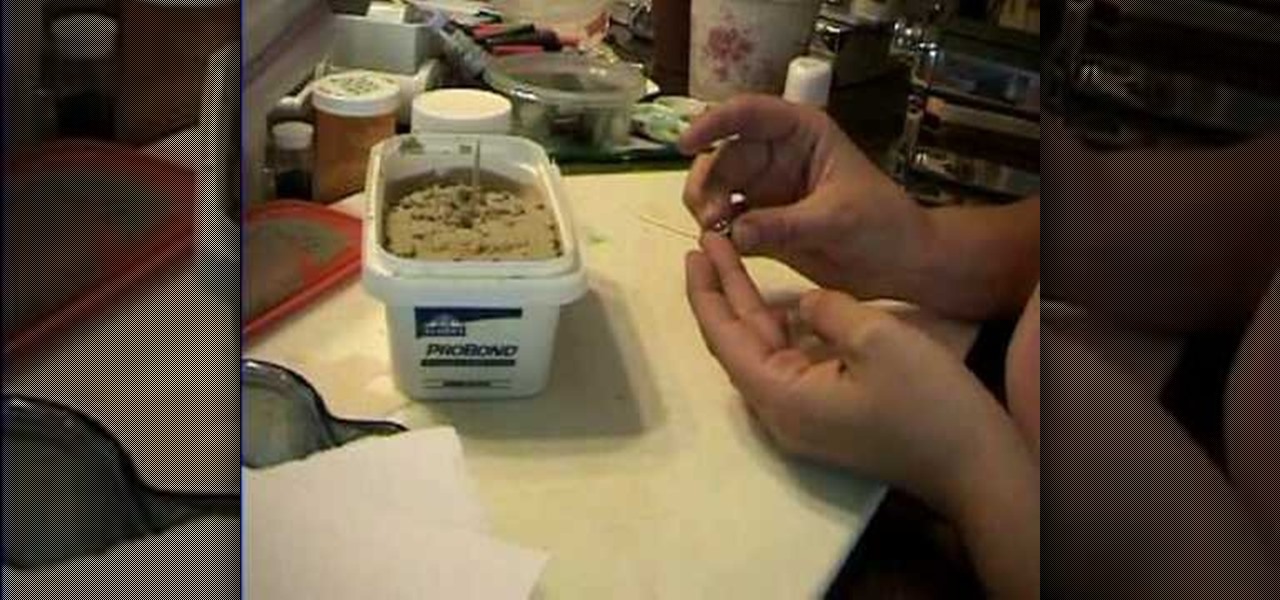
This short video explains how to create a mini milkshake for a doll. Using Elmer's Probond Stainable Wood Filler is preferable because it happens to already be the right color, although using this brand is not absolutely required-any wood filler would do. You can find this at a hardware store. If tiny cups are not at your disposal, don't worry! Our presenter shows us how to use a bead cap in the tiny cup's place. Fill the bead cap with the wood filler, and then using a tiny spoon that can be ...