In this video, we learn how to build a nest box and ladder for a chicken coop. Start off by creating the box with several pieces of 2x4's. Measure each piece individually, then screw them into place. Make sure it's the size that you want it and that it's secure and lays flat on the ground. Once finished, you will bend some metal and place it on the sides of the coup and then fasten the hinges so they are free swinging. Then, pull in a few more piece and you will have created the nest box insi...

In this tutorial, we learn how to assemble a computer from parts. First, you will need to take the motherboard, video card, RAM, hard drive, power supply, CD-rom drive, and the case and make sure you have them all laying out. From here, you will take out the motherboard and plug the RAM in to the appropriate spot for it. This will be located next to the fan on the upper right hand corner of the motherboard. After this, place the motherboard inside of the computer case and then insert in the v...

In this video we learn how to perform knee replacement surgery. The knee joint is accessed with an incision. Then, a number of different surgical tools will be used to perform the procedure. The part of the knee joint is removed first with surgical saws. Then, the artificial joint is put back into the area. Once this part is secured with screws, an insert will be joined in with it to keep it in place. The artificial joint is checked for the last time, then sutures are used to closed the joint...
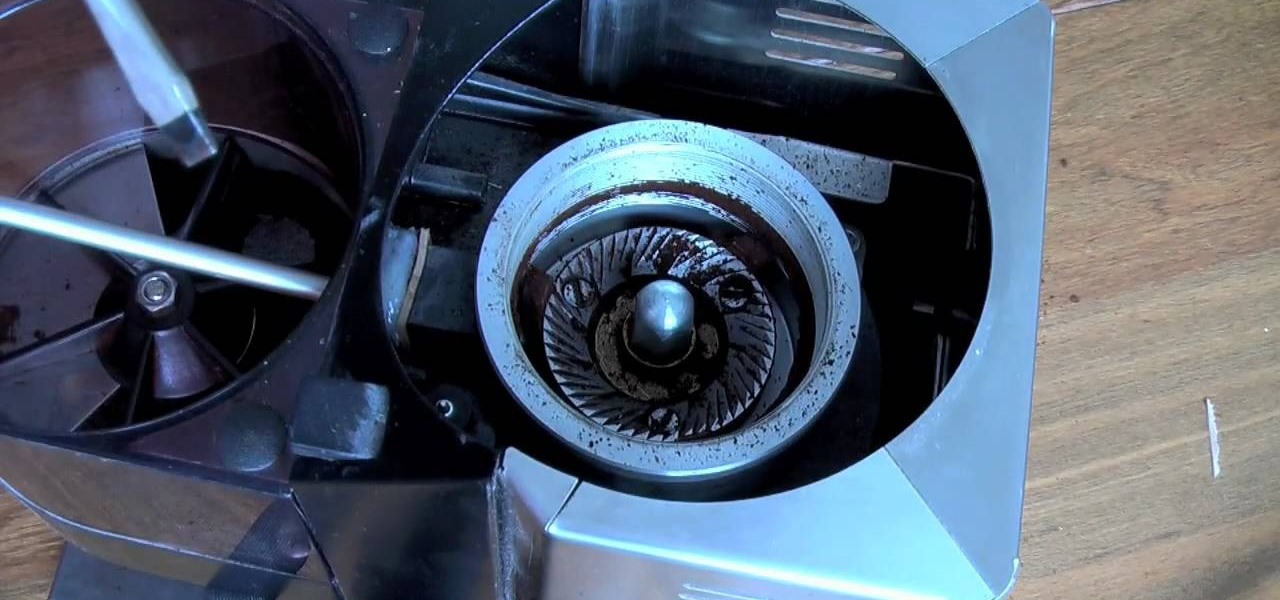
In this tutorial, we learn how to clean and replace the burrs in a coffee grinder. Start out by taking the bean hopper out, you will have to use a screw driver to remove this completely. Then, mark the top burr so you ,know where it was lined up, then spin the top until it comes off. Then, remove the parts off of this and clean them off. Make sure to put these all back together the way you took them off. Now, clean the bottom burr by prying it up with a tool and using an old toothbrush to scr...

In this video we learn how to build a snowboard box. First, decide on a size for your box and write out the dimensions. Then, buy your frame for the box and follow the structure of the box with it having four sides. After you have built the frame, put on the wood to complete the sides and make the box enclosed. Use screws placed into the frame to make sure it's completely secure. You may also want to install handles so this is easier to handle. Once you're finished with your box you can paint...
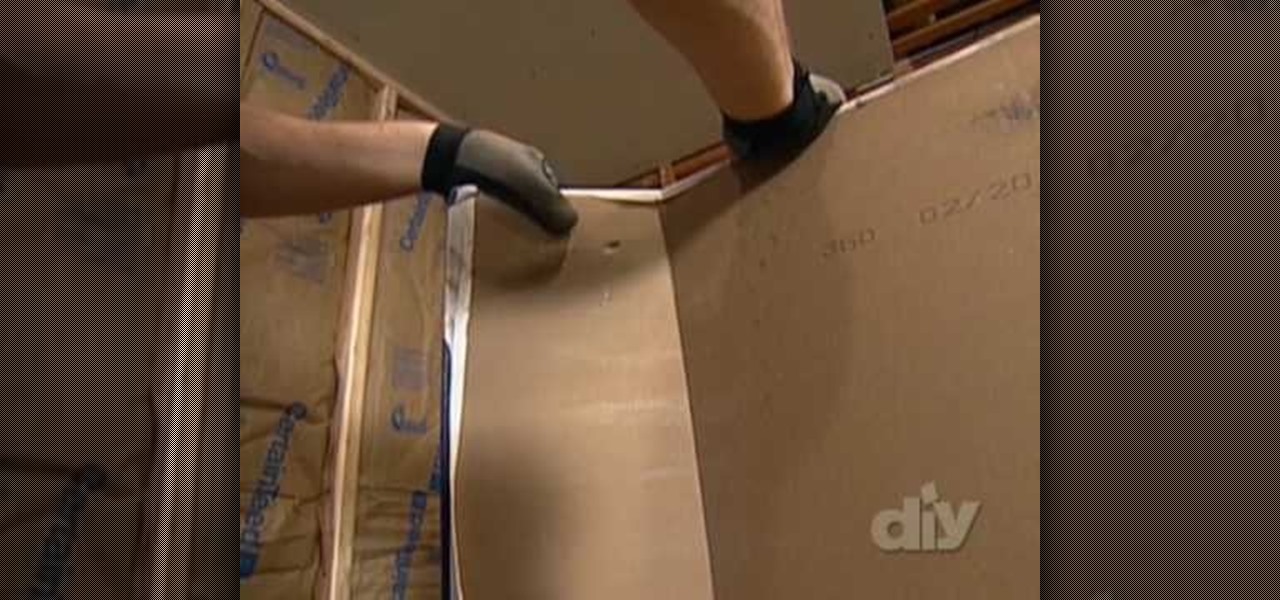
Bob Schmidt teaches us how to screw drywall to studs with a drywall screw gun. A countersink bit is a great option to help you screw drywall studs in. This will fit in a variable speed drill for setting counters and drywall. Use a DeWalt screw gun, which is specifically made to install drywall. It has a clutch driven head with different adjustments on the head for different screws. The gun should be inexpensive and doesn't have a very large motor, so it's perfect for a homeowner. If you just ...

In this tutorial, we learn how to hang drywall in your own home. Hanging your own drywall will save you a lot of money, but it takes a lot of time. You will first need to start on the ceiling and then secure the drywall with screws. You will have to use a saw to make boxes for electrical boxes. When finished hanging the walls, you will need to apply compound to the walls and then paint over it when you are finished. Hanging your own drywall can save you tens of thousands of dollars over profe...
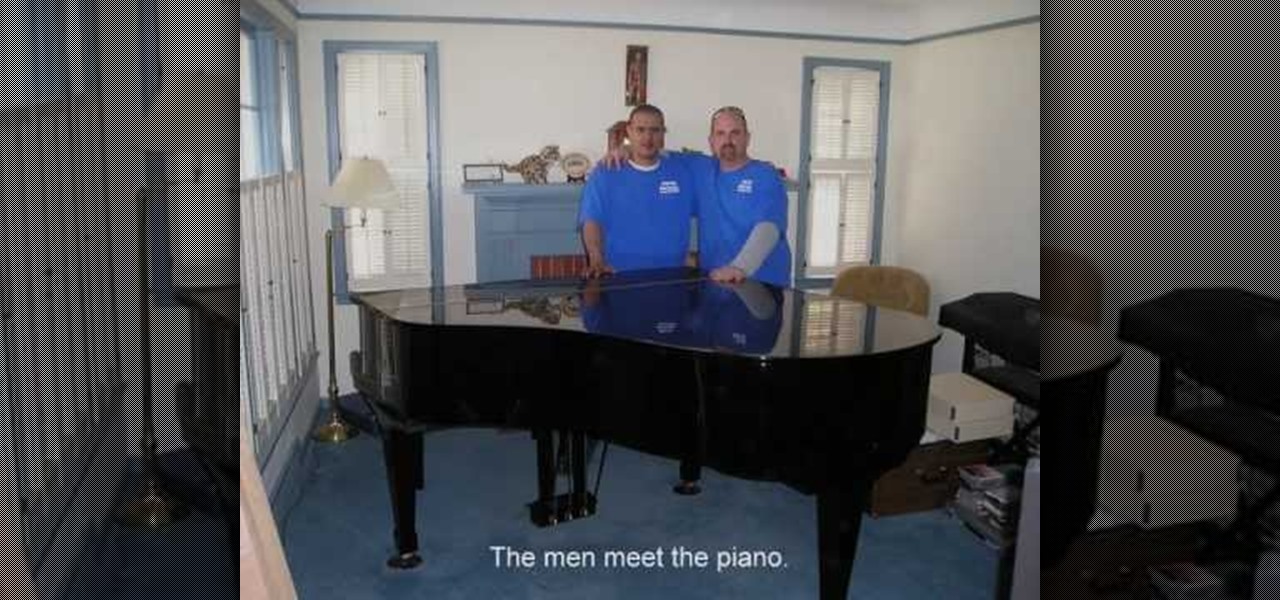
In this tutorial we learn how to pack and move a baby grand piano. First, remove cover of the piano and wrap it in moving pads. Next, remove cover hinges and screws from the piano and dismantle the petals. After this, remove the legs of the piano. Now, place the piano board onto soft moving pads and wrap well as well as shrink wrap. Now wrap all of the piano legs and other parts with moving wrap, making sure it's packed tightly and taped together. Place the piano onto a wheeled board and you ...
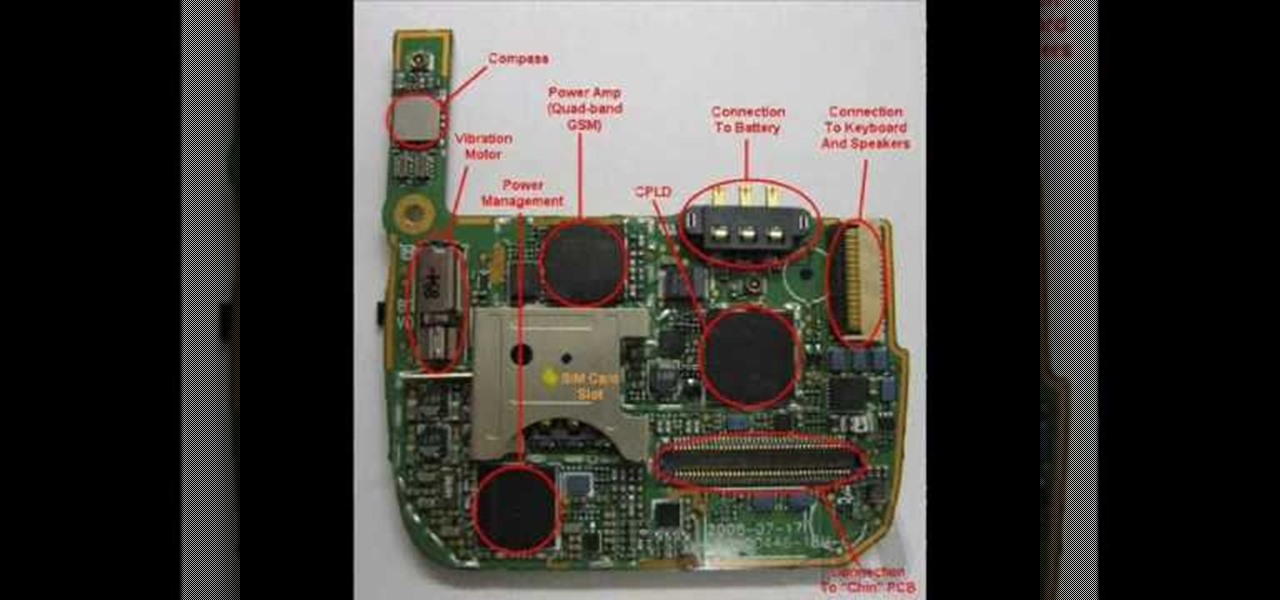
In this video we learn how to disassemble a T-Mobile G1 HTC phone for repair. First you want to make sure to wear an ESD wrist strap and make sure it's secure around your wrist. Then remove the battery from the device. Next unfasten the screws from the back of the housing on the G1. Then separate the housing from the device and then the speaker from the housing. Next unplug the UMTS cable and the GPS coaxial cable. Then remove the UMTS board and GPS boards from the device. Then disconnect the...
In this video tutorial, you'll find instructions for building a standard joist design playground slide, supported by 3-by-4 posts and secured with galvanized fasteners. All fasteners exposed to the outdoors must be weather-resistant, galvanized, zinc-coated brass or stainless steel. Standard homeowner tools are all you'll need to complete your slide—a tape measure, post-hole digger, circular saw, sawhorses and a level. A good drill/driver is a great tool if using decking screws as fasteners. ...
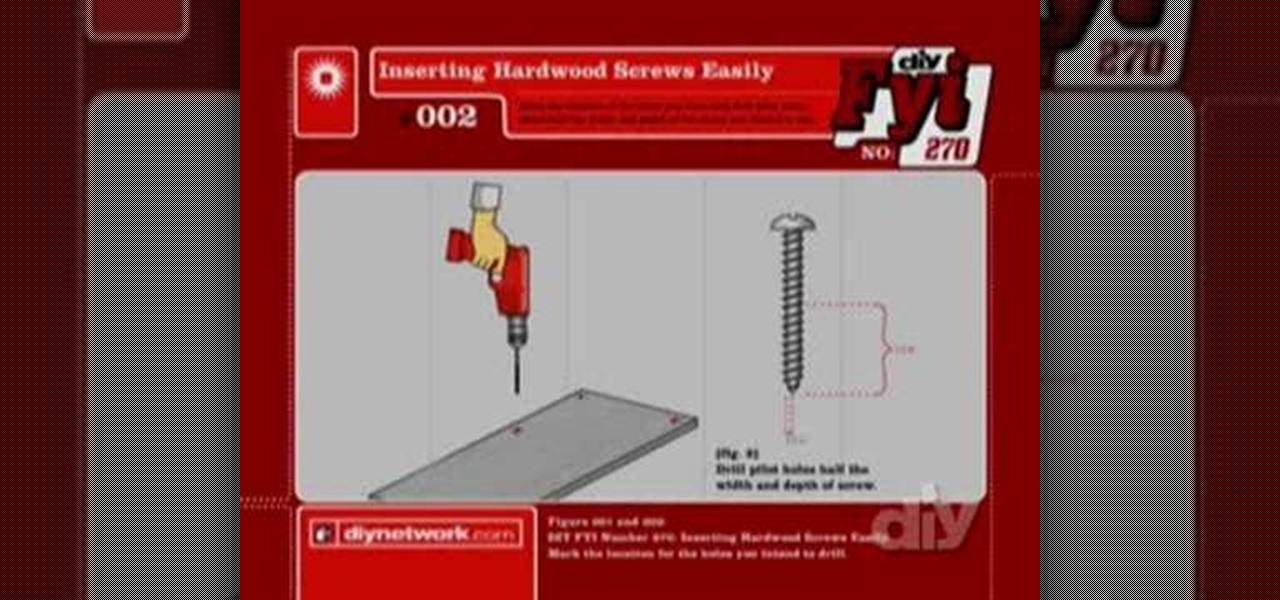
Watch this how to video to get tips and tricks on how to insert screws into hardwood. This simple soap method makes driving screws into hardwood far easier. Start my marking spot where the screw is to be inserted, draw pilot holes, run the screw across a bar of soap and finally drill it into the wood.
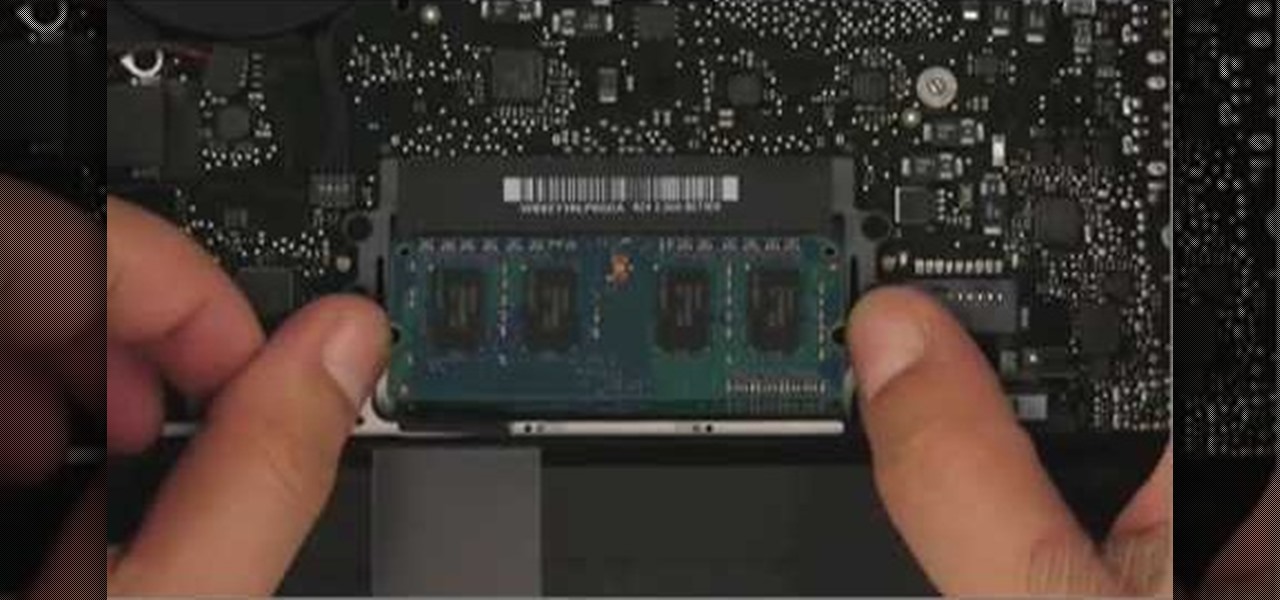
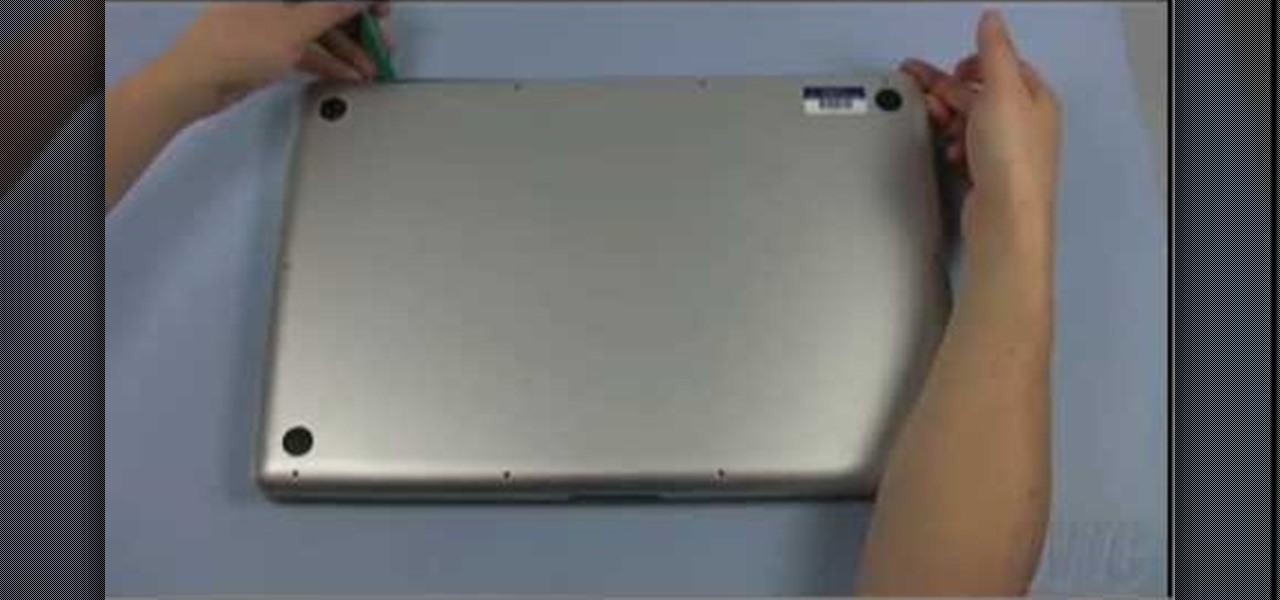
This video demonstrates the installation of memory in a 13” Macbook Pro (mid 2009 model). It’s easy to perform and takes about 10min time. You’ll require a #00 Philips screwdriver (available in the Newer Technology 11- piece tool kit). Take care to work in an anti-static work space. Close the Macbook Pro and flip it over with the hinge side up. You can note 10 screws along the border. Start unscrewing the 3 screws on the right on the top edge, these are longer than the rest. Now unscrew the r...
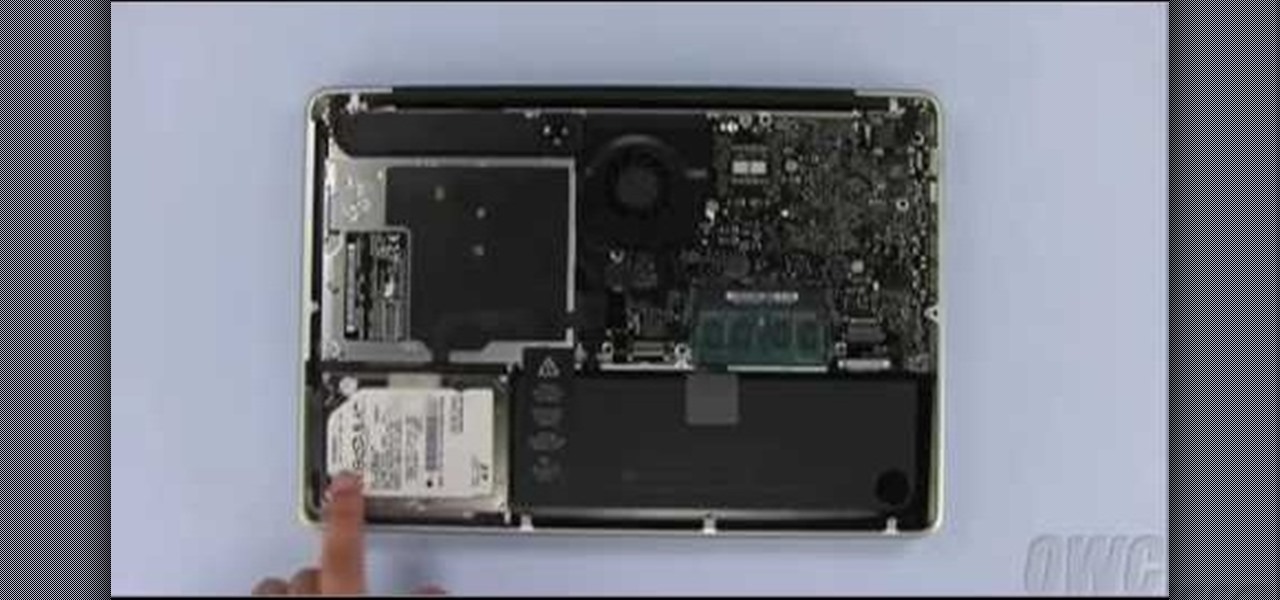
To install a hard drive in a 13" (13 inch) Macbook Pro laptop computer released in 2009 you will make sure to first transfer all data off the drive then discharge any static electricity from your hands making sure your are in a static free work environment. Next you will remove the old hard drive, to do this flip over the laptop and remove the 10 screws around the edge of the device with a #00 Phillips screwdriver starting with the three longer screws on the top right. Next, lift off the bott...
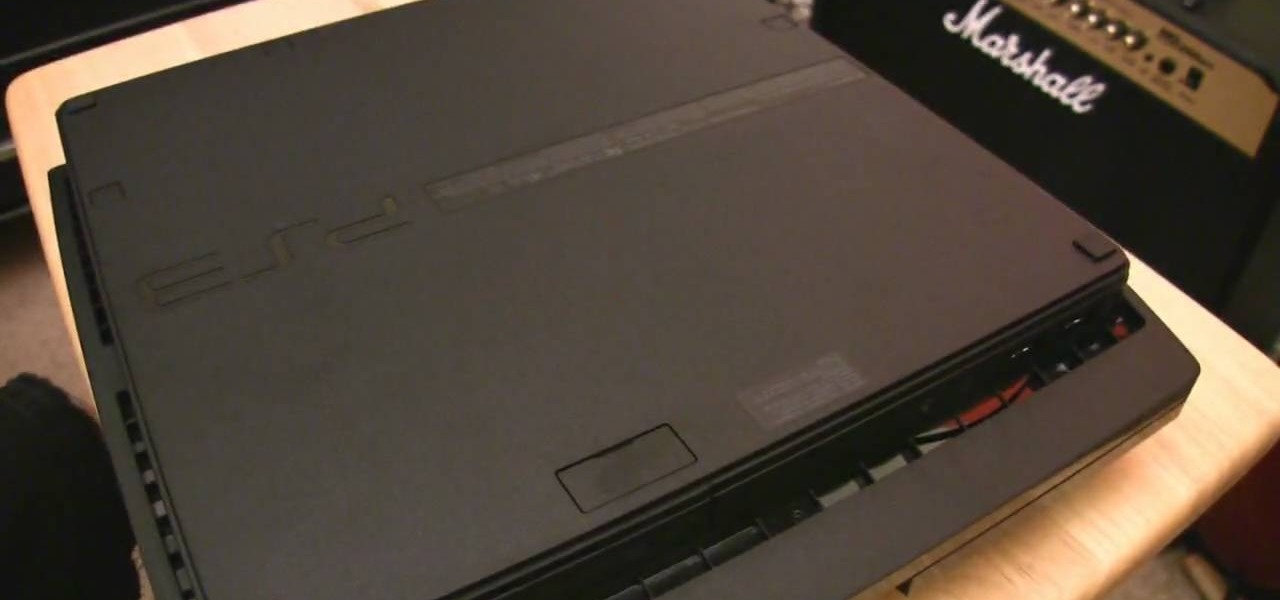
In this video, we learn how to upgrade the hard drive in a Sony PS3 Slim. First, flip the console, then pop the cover and remove the HDD screw. Next, remove the HDD cover and slide out the HDD. After this, locate and remove the four screws, then pop the HDD out of its tray. Next, replace it with a new HDD and screw back into place. Then, place the HDD tray back into its place and replace the cover back on. Screw in the original screw and replace the top back on. Now, flip your PS3 back over a...
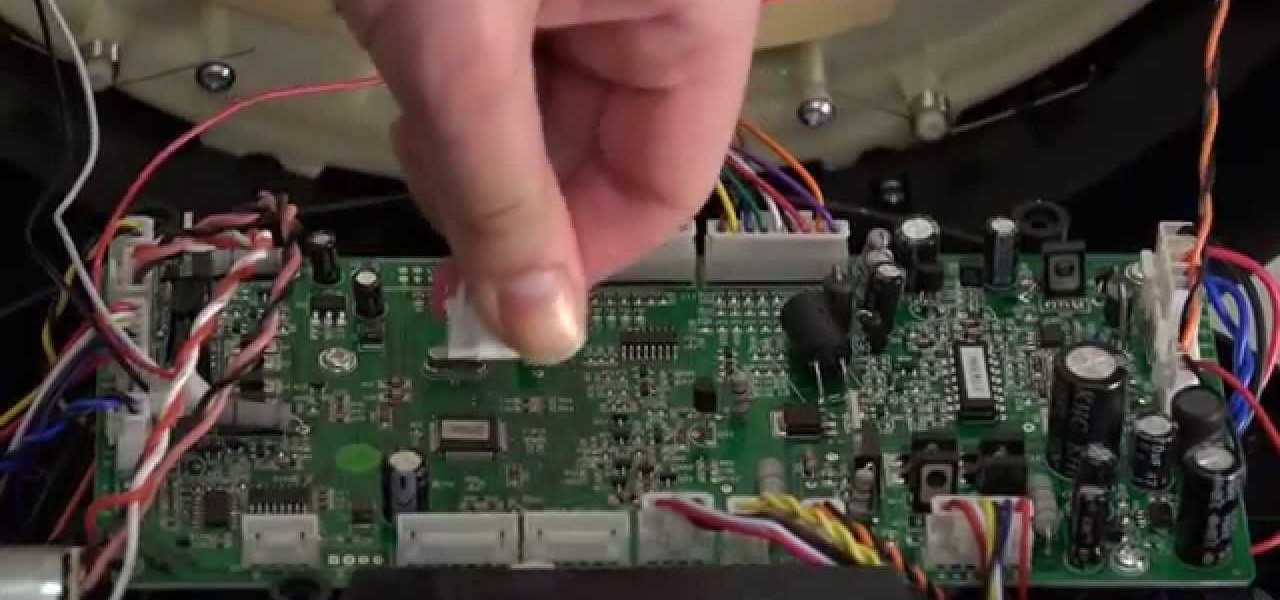
In this how to video, you will how to remove the logic board from the iMac G5. First, get the t6 screw driver and remove the screws in the corner. Unplug the airport card. Now, unplug all the cables connecting to the logic board. Now, unscrew the torx screws located on the logic board. Unplug the optical drive cable by unscrewing the 2 torx screws holding it. Next, unscrew the torx screws located near the center top of the board. You can now remove the logic board. However, there is a hard dr...
In this video tutorial, viewers learn how to cover screws and nails with drywall mud during drywall installation. Users will need a taping knife tool. Apply the drywall mud over the screw or nails and use the taping knife to flatten the mud over the screw or nail. Use the knife to take off any excess mud. Apply 2-3 layers of drywall mud over the screw, depending on how long the screw head is. This video will benefit those viewers who are in the construction trades or doing home renovation and...
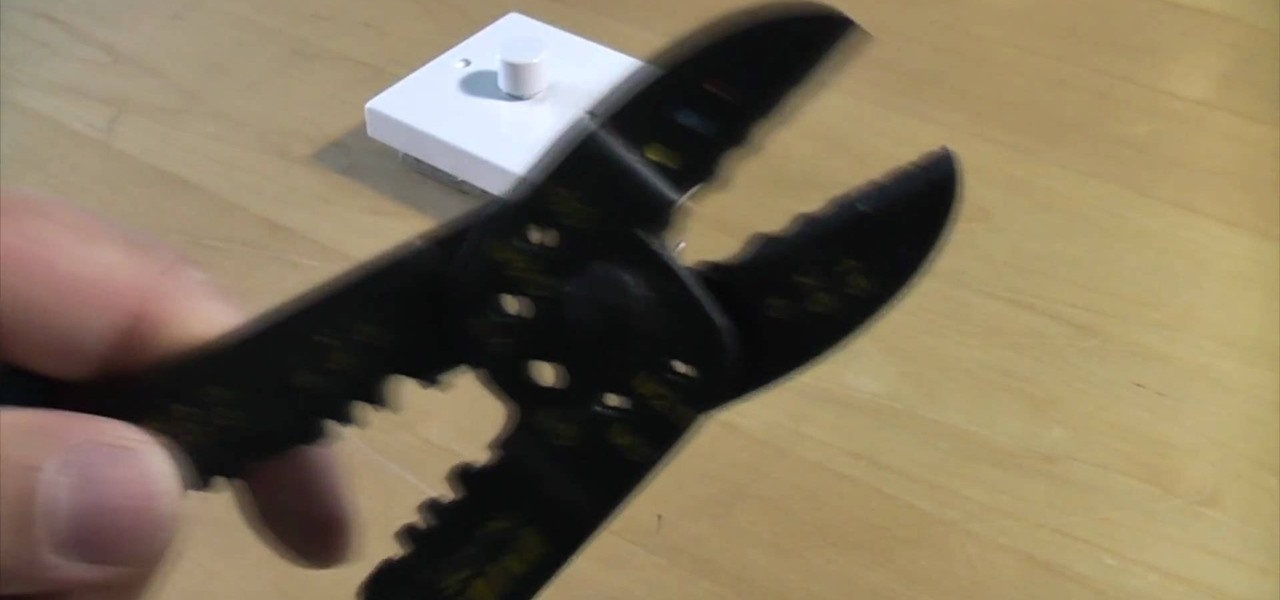
Every electrician knows you have to cut a screw every now and then to make it fit. But do they do it properly? Most will probably just use their linesman's or dikes, but using your wire strippers equipped with screw cutting is the proper way. Watch this video tutorial to see how to cut a machine screw without damaging the threads. An electrical screw or machine screw can be easily cut with a pair of electricians pliers. Cutting metric screws this way means that the thread will not be damaged ...
A CNC router machine is probably the most useful tool a hobbyist can own, but the price for a CNC machine on the market is way more than the average hobbyist is willing to spend. You can build your own CNC with very basic tools, little knowledge of machinery, mechanics, or electronics, but be warned, these machines are inherently dangerous, so wear the proper protection and use common sense. At the very least, read the instructions and precautions on every tool you use.
The bumper for bObsweep Pethair and Standard are installed the same way. It holds the sensors that allow Bob to see any obstacles in his path. If a repair of the wall detection sensors is needed, the steps for replacing the whole bumper are the same when working on either bObsweep model.
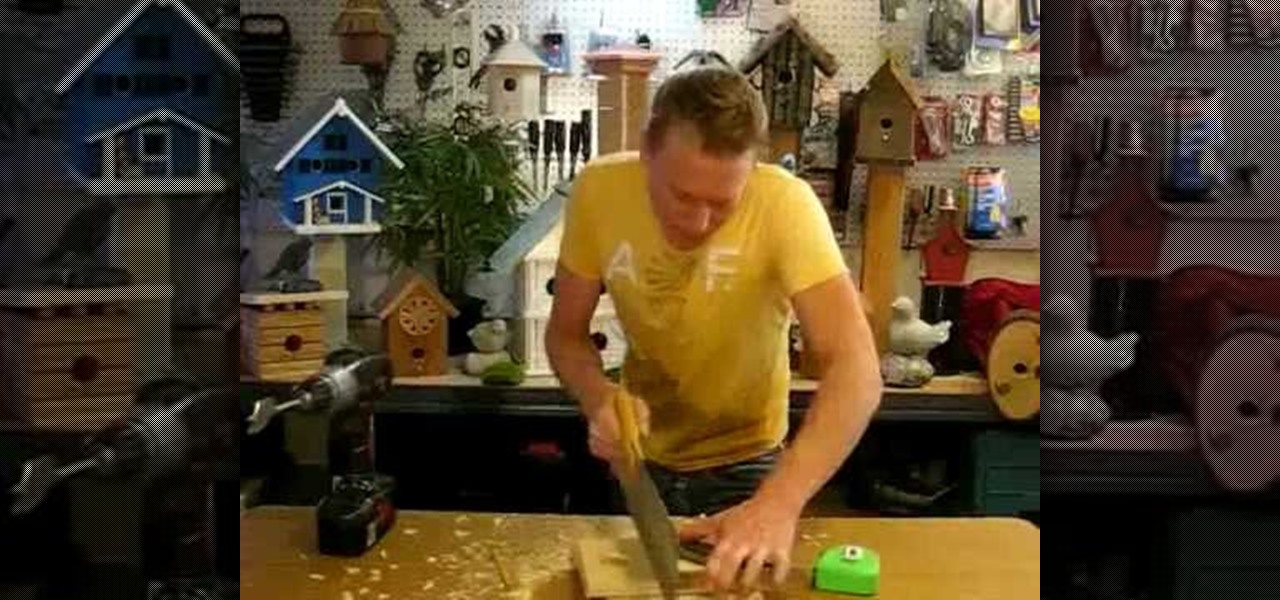
Give a bird a home with help from this handyman tutorial! Learn step-by-step how to build a professional looking Bluebird nesting box bird house. To build this nesting box you will need the following tools & materials: rough cedar or pine, a tape measure, pencil, speed square, hand saw, compound miter saw (if possible), exterior wood glue, drill bits, screw gun or drill, paddle bit, coarse thread drywall screws, deck screws, galanized finished nails, and a hammer.
MAKE zine aims to bring the DIY aesthetic and mindset to all the technology in your life. They want you to break open things and put them back together in a better way. In this video, MAKE and KipKay show you how to build a lost screw finder attachment. It'll help you find any screw, including plastic ones that a magnet would not be able to pick up.
Installing shelves in a closet turns dead space into useful storage. You Will Need:
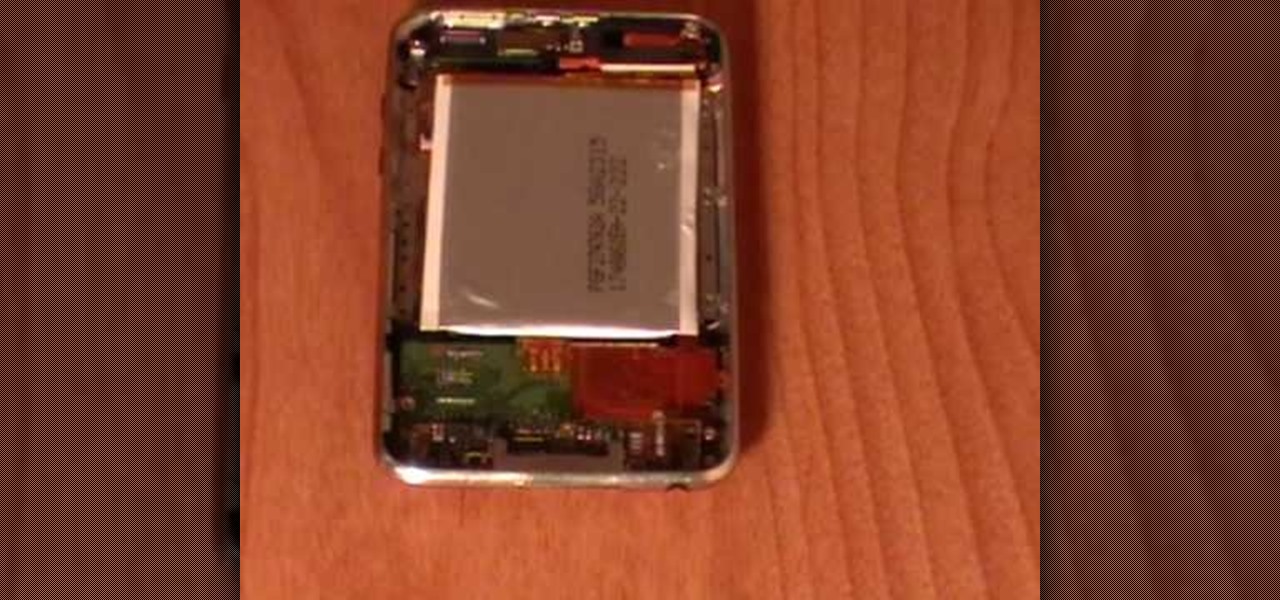
This video by repairs universe shows viewers how to replace the battery in the 2nd Generation iPod Touch. The tools you will need for this project include safe-open pry tools and a small phillips head screwdriver. To begin, remove the screen by releasing several clips that hold it to the frame using the safe-open pry tool. Run the tool between the case and the glass along all edges. Gently pull glass off and pry off the digitizer. Next, remove the small screw in the upper corner, lift up the ...
Drywall screws were originally created specifically for drywall projects. But they have become increasing popular for woodworking projects because you can often screw them into a soft piece of wood without having to drill a pilot hole. But because they have threads all the way up to the head of the screw they will not pull two pieces of wood tightly together. So to get the drywall screw to hold two pieces of wood tightly together you have to drill a shank hole through the first piece of wood ...
Screwing hooks into a ceiling can be a real pain. In this how to video, home improvement expert Danny Lipford gives you a great tip on screwing hooks into the ceiling. All you need is an electric drill to easily install screw hooks into your ceiling.
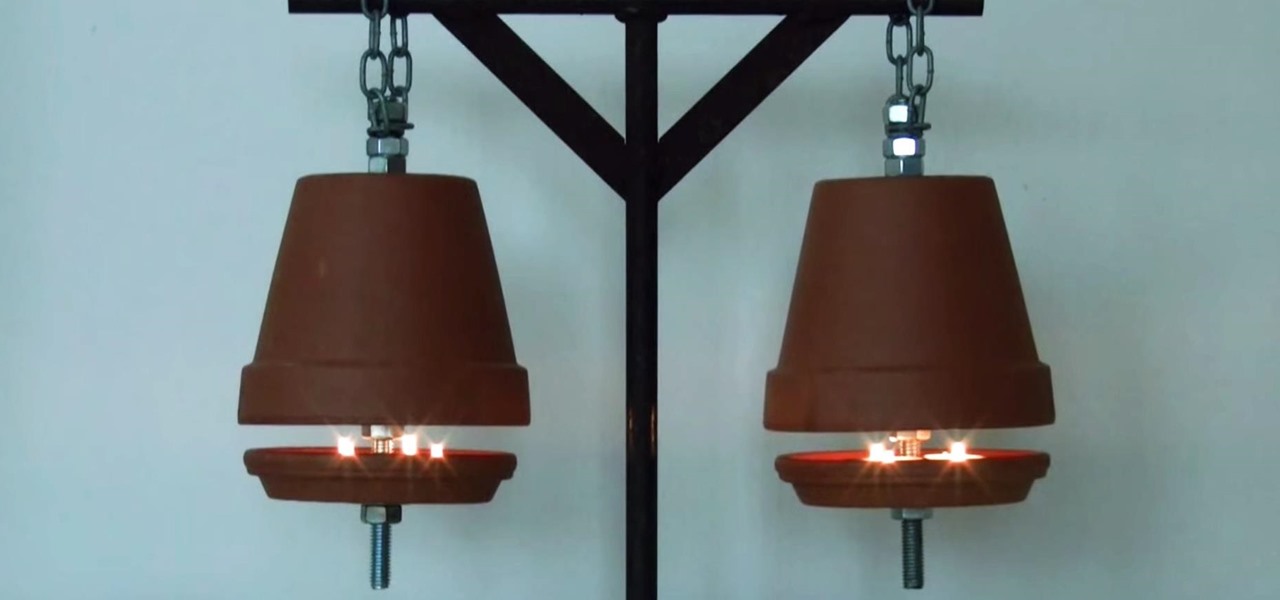
The weather outside might be frightful, but heating bills are downright scary this time of year. Heat is absolutely essential during the winter season, but it's also really expensive. If you aren't blessed with a fireplace or unlimited disposable income, fear not, because you can still heat your home on the cheap using flower pots and tea lights—even if the power goes out.
These three videos will show you how to build a rustic, distressed kitchen table. I'll be walking you through the process of selecting some recycled timber from a junk pile, and with a little care and some simple joinery techniques, transform that waste timber into a distressed timber kitchen or dining table. In fact, you could use the table for whatever you wanted really.
In this how-to video, you will learn how to install a hard drive into a 17" Macbook Pro. Make sure you use the proper anti-static precautions before going on with this procedure. You will need a pry tool, a Phillips screwdriver, and a T6 screwdriver. Make sure you transfer your old data into the new drive before installing. Shut down the computer and flip the laptop over. Unscrew the ten screws around the bottom. Now, remove the cover. You will see the hard drive at the lower right. Loosen th...
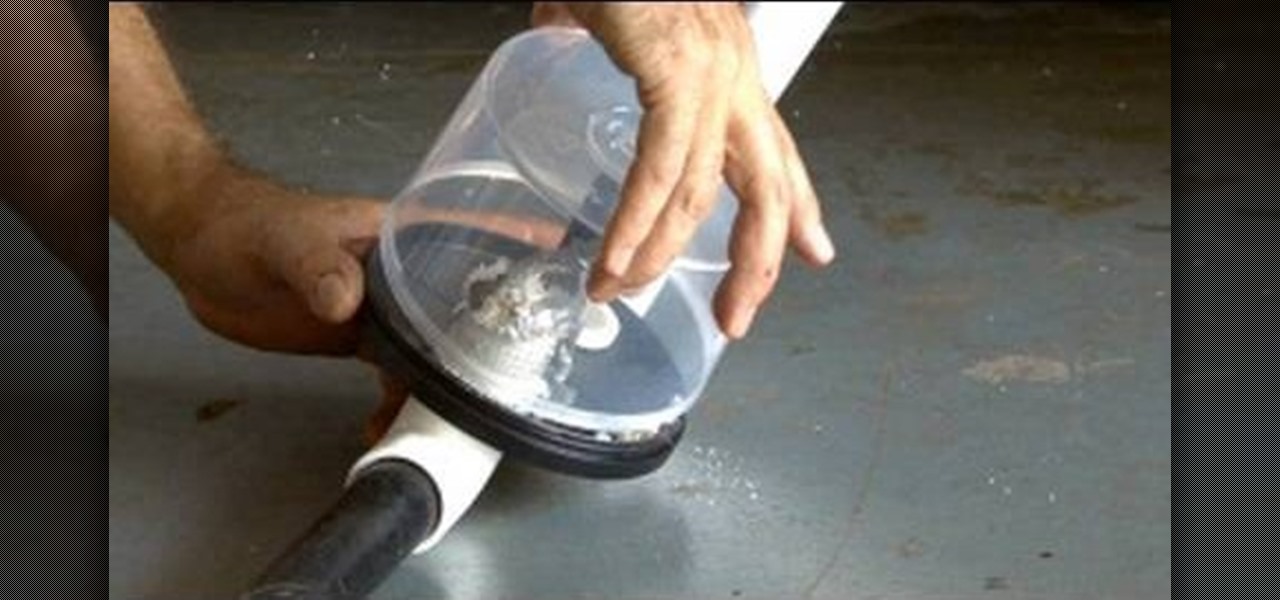
If you need to paint the screw heads you can do it without making a mess. If you try to hold them in your fingers and paint them you will get paint all over your fingers. Now you don't have to do that. Take a plastic shopping bag and cut the bottom off of it. Take that bottom piece of bag and stretch it over a can like a drum. Tape the bag tightly to the can so that the bag is stretched tight. Take the screws and screw them into the plastic on top of the can so that they are standing up. Now ...
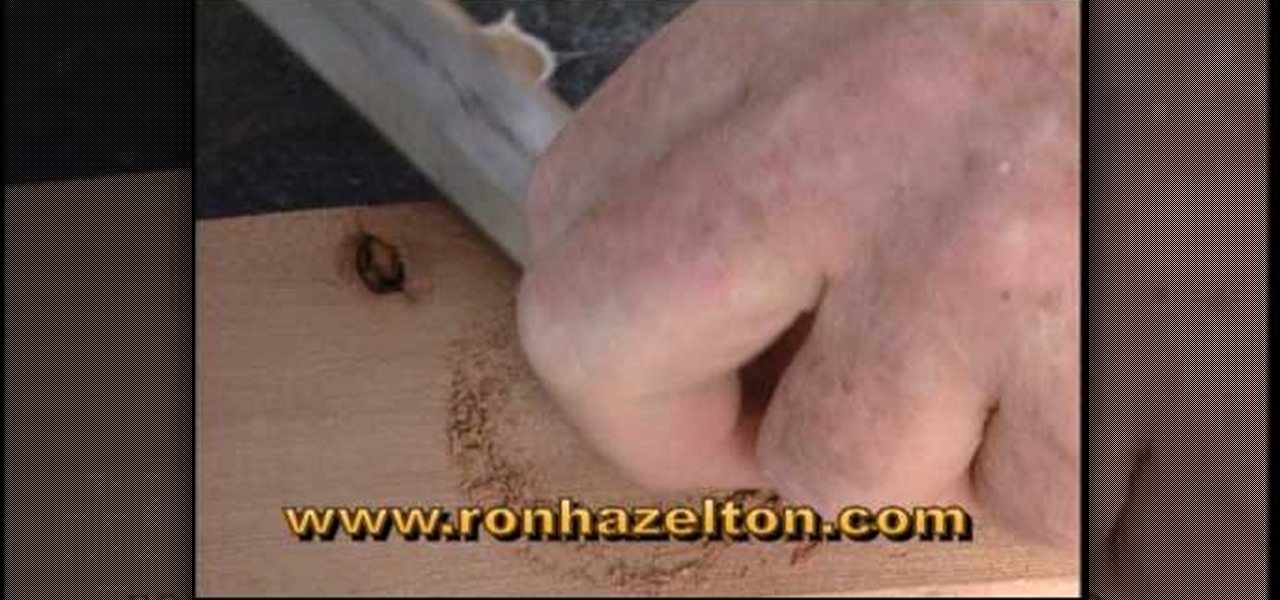
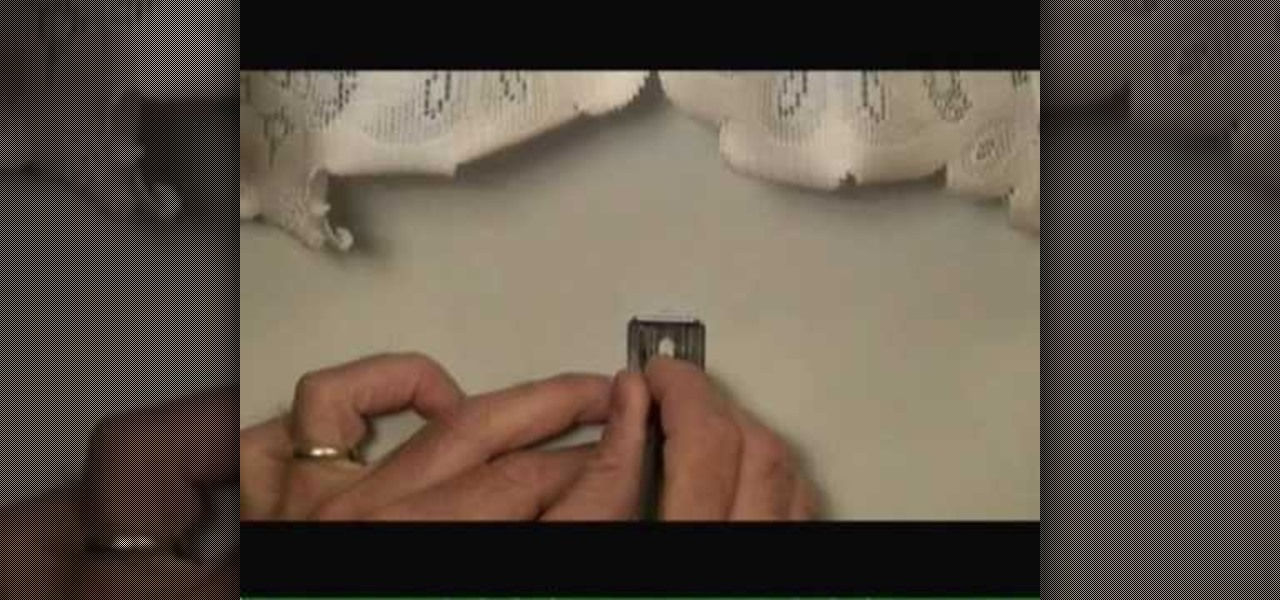
There are a number of ways to deal with screw holes that are visible. You can buy some wood buttons and put them in the holes. You put a little wood glue in the hole and then tap the wood buttons into the holes using a hammer. This is a decorative solution to cover up screw holes. If you want to completely cover up the holes completely put a plug cutter on your drill and cut a plug out of a piece of wood that matches the wood that the hole is in. Take the plug put a little glue on it and tap ...
Don’t pay a handyman to do this simple job—learn how to become handy yourself! You Will Need:
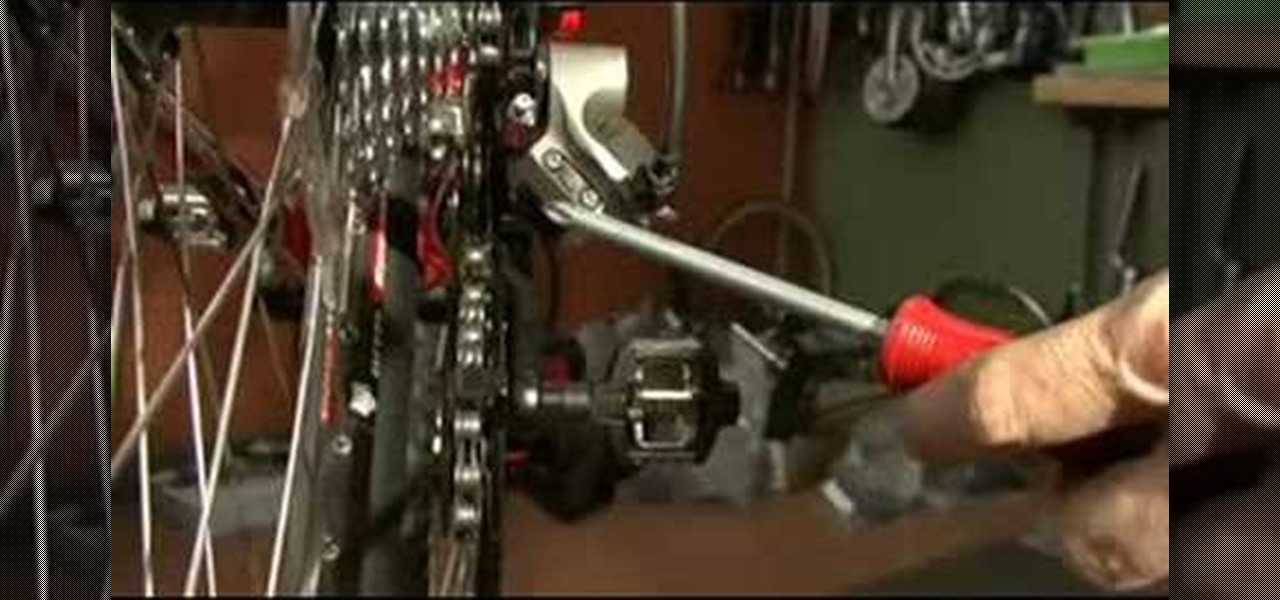
This video explains how to adjust a rear derailleur using the limit screws in a bicycle. There is a limit screw which has low and high gear. When the limit screw is turned in, the pulley moves inboard and when turned out, it moves the other way. The derailleur moves along with the inboard. When turned in, it travels with the inboard and holds the chain. Care should be taken not to turn much deeper as the derailleur might throw the chain off. The viewer will get some useful information upon wa...
Use a 5mm Allen wrench and loosen the bolt holding the cable on the rear derailleur. Thread the shift cable through the cable stays and tighten it in the rear derailleur with as little slack as possible. Make sure that the adjustment screw on the shifter is in the mid point of the adjustment.
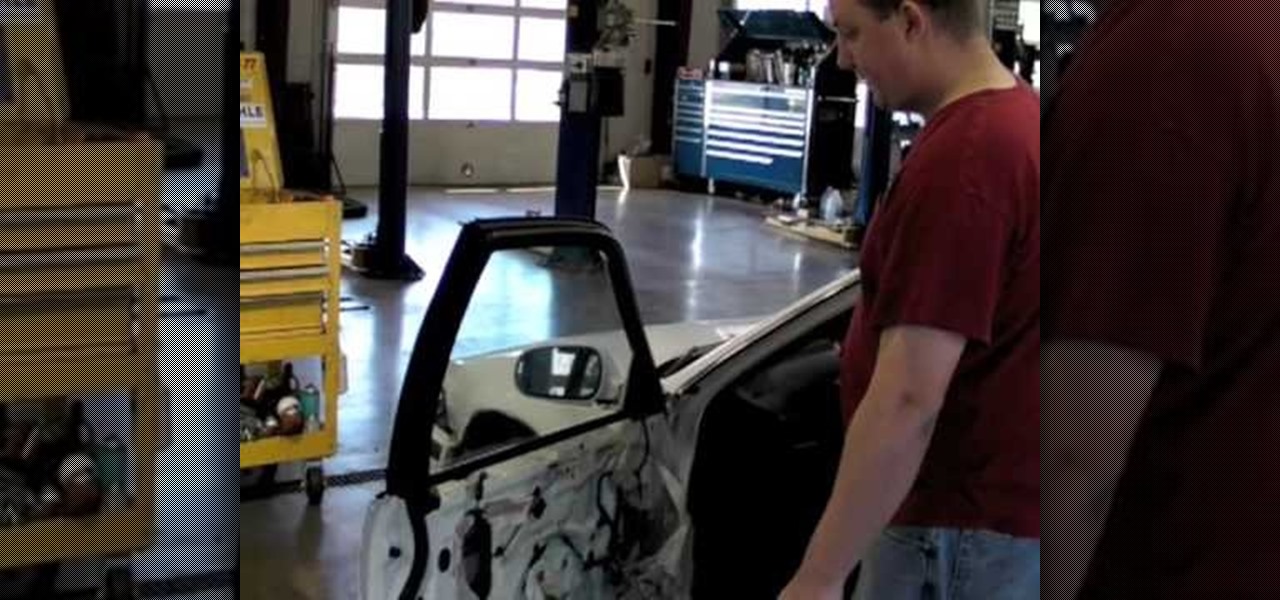
In order to fix a broken power window, you will need the following: a screw driver, a socket wrench, a plastic pry tool, and a Phillips head screw driver.
For roasted chicken, you would expect it to have a nice, brown crispy skin. You would expect it to be moist inside with great flavors throughout. By using the rotisserie function (very common in France) on the Cuisinart Brick Oven. Check out the recipe for this delicious herb-roasted chicken from Chef Hubert Keller.
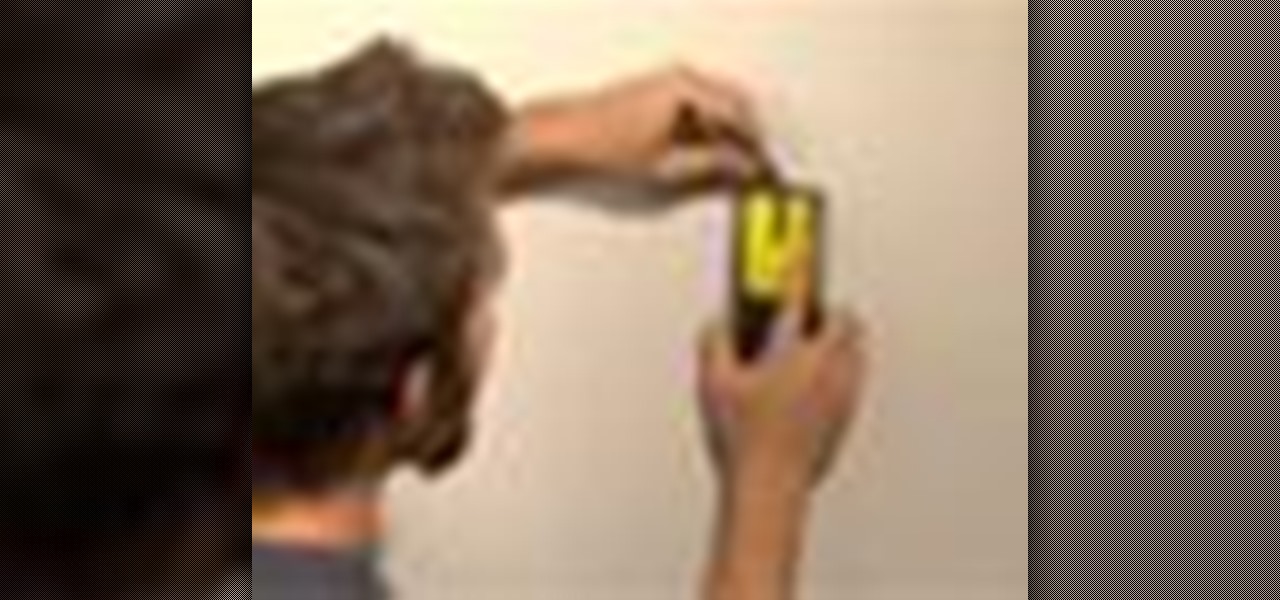
Mark Donovan of HomeAdditionsPlus shows us how to install a towel ring in the bathroom. - Line the ring up on a wall stud.
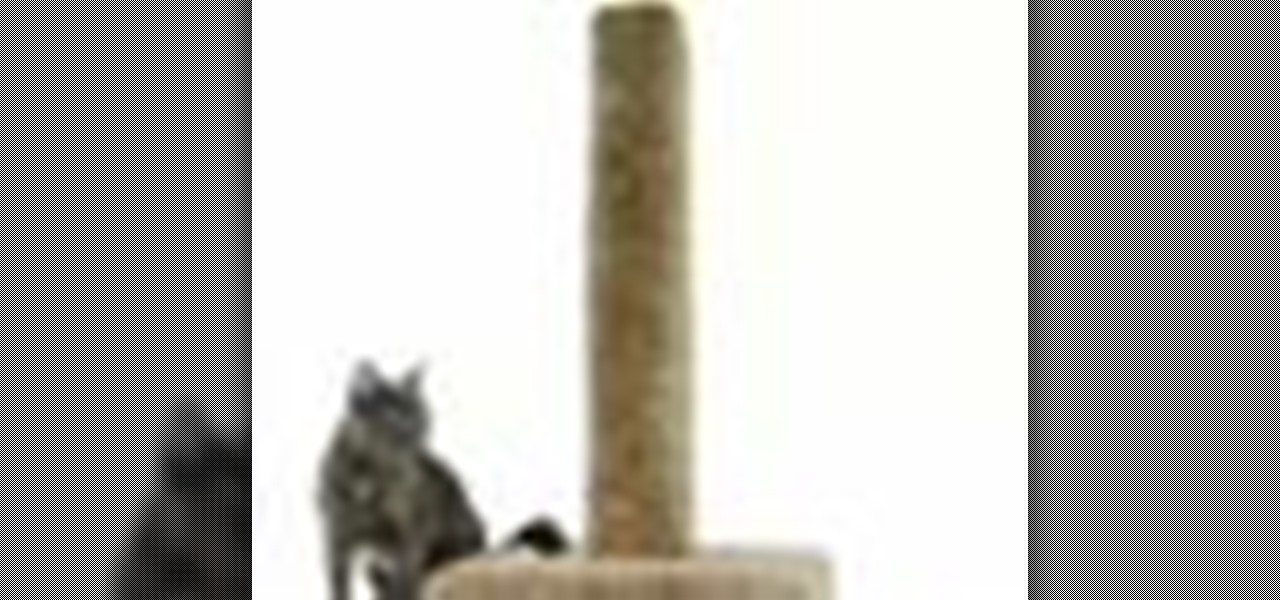
Make your cat happy by giving them a sturdy scratching post. They'll sharpen their claws – without tearing up your furniture.
First of all open the box and take out the kit, different parts and the instruction manual. You also need glue, epoxy adhesives, sand paper, 2 mm drill and a 4 mm drill. Start with assembling the outer frame of the camera by fixing in the slots. Use a screw driver to screw the bolts. Now use the glue and fix the inner parts of the camera. Now make the front portion of the camera. Fix it exactly as shown in the instruction Manual. Now drill in the holes on the sides of the camera's outer frame...
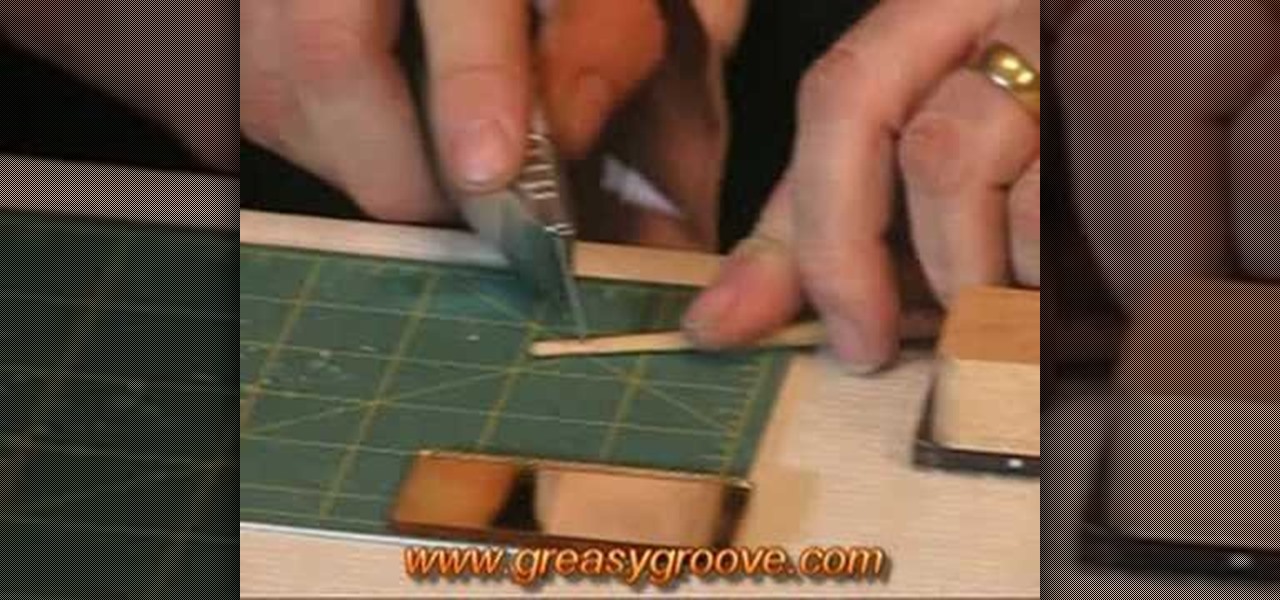
Check out this guitar tutorial on how to plug a screw hole in an electric guitar or guitar neck. Grab the necessary tools and follow the simple step by step instructions outlined in this instructional video. Plug a screw hole in an electric guitar with this how to video and customoize your personal guitar!
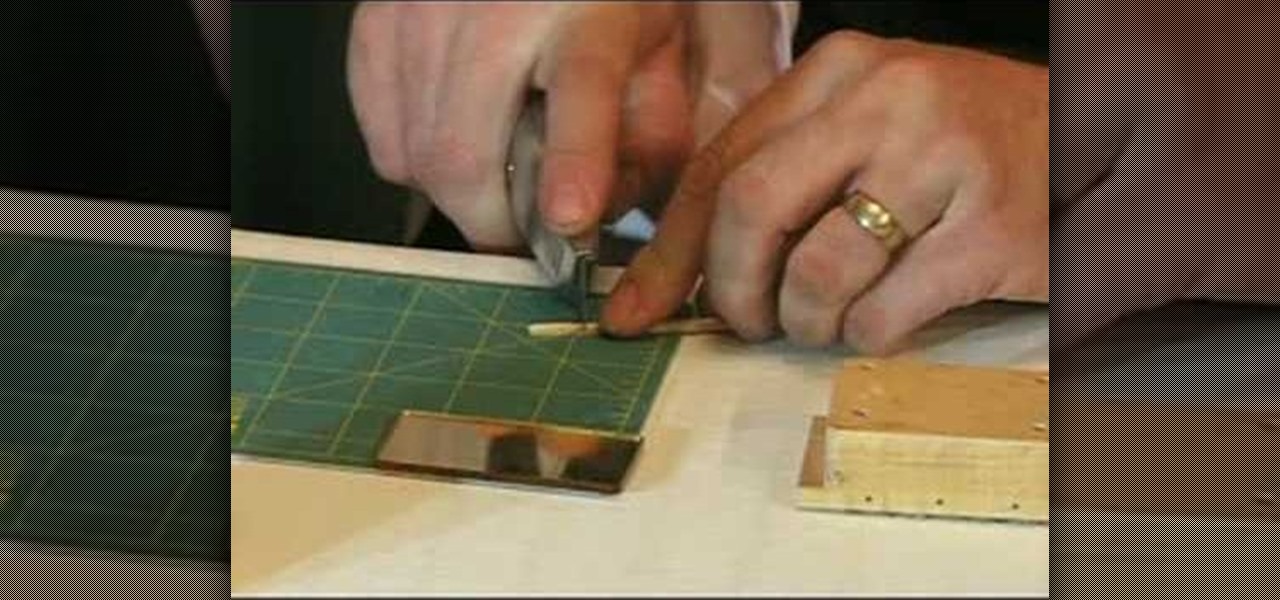
Want to learn how to repair your guitar? Check out this tutorial on how to repair a stripped screw hole thread in a guitar neck. You can save money and have a sense of accomplishment by repairing your stripped screw holes on your guitar.