For both the bride and groom and the guests, beach weddings are a little messier to deal with. And when it comes to dressing and getting your hair and makeup ready, there are the additional considerations of practicality (you're going to be trotting on sand, after all) including how to do your hair so the wind won't whip it into a frizz cloud and how to apply makeup so it won't all slide off before the "I Do."
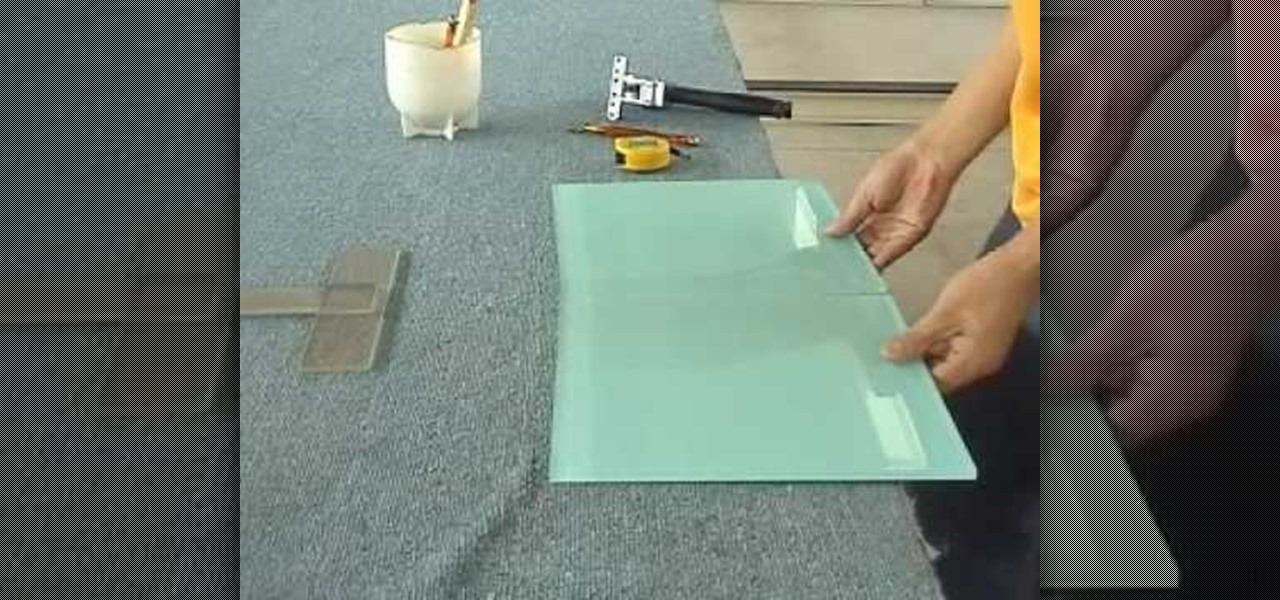
In this video, we learn how to cut large format glass tiles. First, measure out where you want the cut to be on the glass, then cut it with a sharp X-acto knife. After this, use a glass cutter to cut the bottom of the glass and create a crack what will go down to the cut that you just made. After this, break the two sections apart and you will have two piece of tile out of your large one. You can do this on any kind of tile and it takes just a few short steps. When you're done, sand down the ...
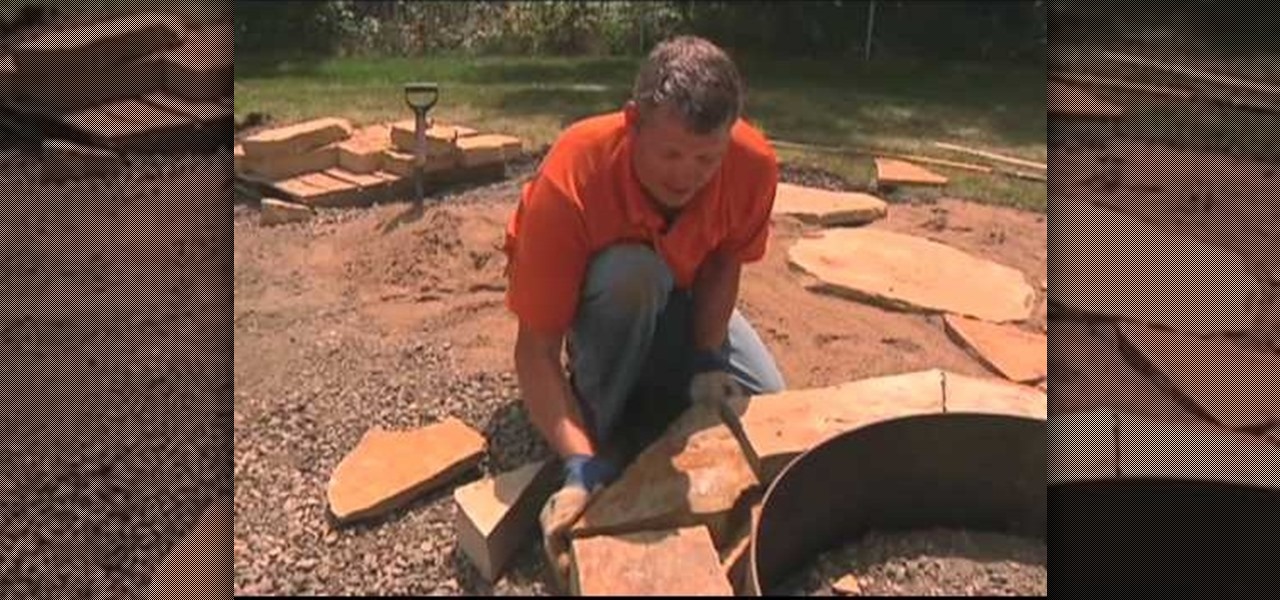
In this tutorial, we learn how to properly build a firepit. First, prep your base by filling it with dirt and small rocks. After this, set your ring down onto the dirt and make sure it's level. You can also raise it up if you want a foot rest or beverage holder. Next, apply your stone around the ring and then mortar it. Make sure all the pieces of stone fit nice and tight together. After you've done this, lock in all the joints on the stone patio by using sand and brushing it into the middle....
Reptiles come from a variety of biomes, but certain reptiles, like snakes and lizards, do prefer a wet, tropical environment with lots of tree and bush cover. Because they feel more at home in this kind of environment, you must try to simulate their preferred surroundings when you take one home as a pet.

Are you the kind of person who gets kind of sad leaving the beach after a long day on the shores swimming, surfing, and just overall enjoying the sand and surf? Don't ever let that pretty body of water out of your sight by creating this gorgeous nail look.
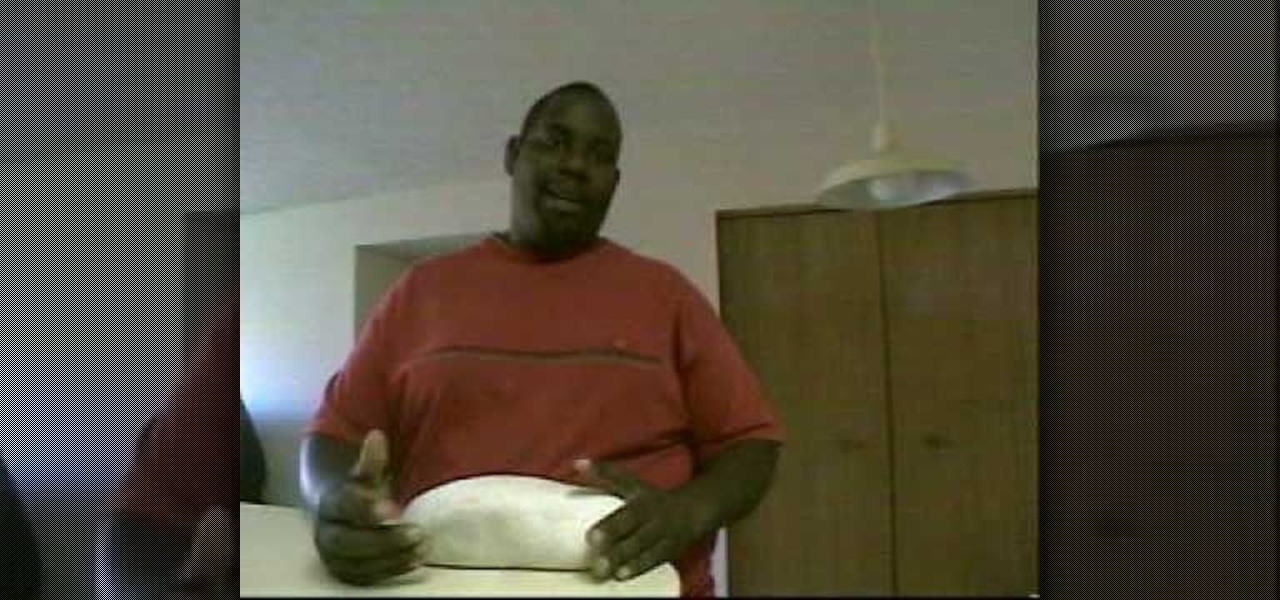
In this Outdoor Recreation video tutorial Dave from 'journey the outdoors' explains how to make a bench shooting bag. This is used by bench or week-end shooters for recreation purposes. For this you will need an old sock. Take one that you don't use anymore and preferably a tight knit sock. Then fill it with rice and tie the open end of the sock. You can also fill it with beans or some other such substance. Rice and beans being bigger than sand, there will be more air in the bag and it will a...

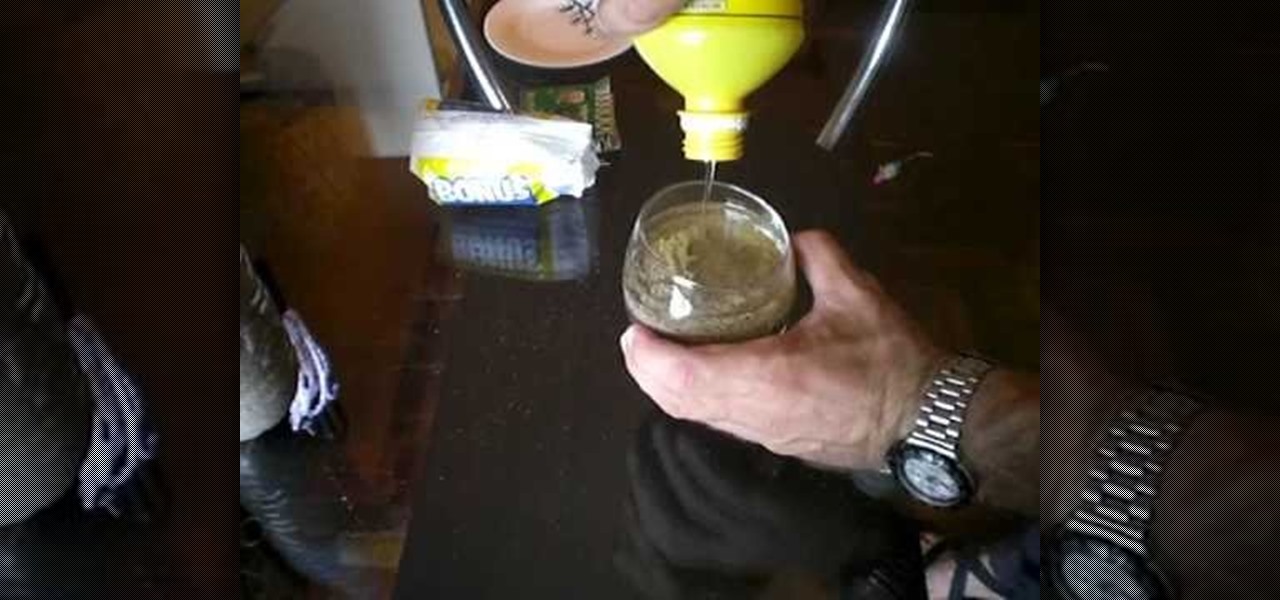
Buying a candle from the store can be pretty pricey, depending on what kind you get. One that smell are of course, going to cost you more money, while there are others that are less expensive but not as good. So here's a helpful tutorial that will help you save money and allow you to make whatever size you want. This video shows you how to make an inexpensive and reusable oil candle from a glass container, sand, cooking oil, wooden toothpicks, and cotton balls. So good luck and enjoy!
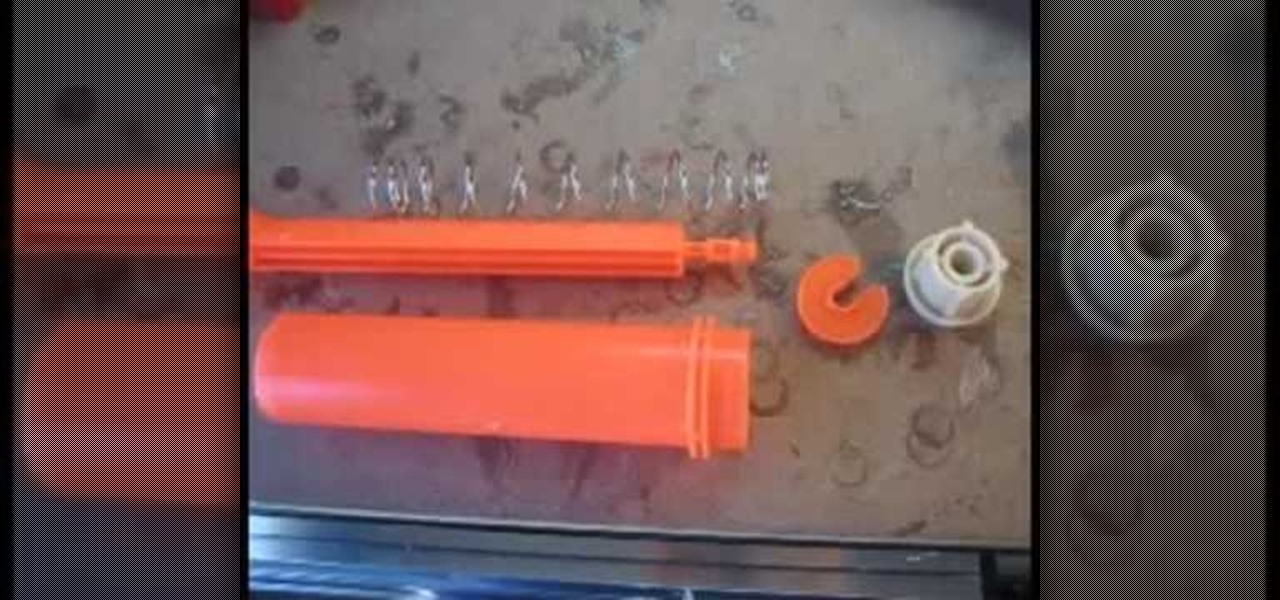
In this Hobbies & Toys video tutorial you will learn how to modify a Nerf Big Bad Bow to shoot farther. Open up the front part of the shell by removing the screws. Make sure the spring on the launch piece stays together and pull out the barrel. Then dismantle the white restrictor piece and drill a hole in the center for more airflow as shown in the video. Now cut off the orange barrel as close to the wall as possible with a pipe cutter and sand it off. Take an extra piece of CPPC pipe and ram...
In Part 6 of a series of video clips, `ClickHerePhotography` gives tips on how to select the right tripod for various outdoor environments and conditions like snow, rain (hail and thunderstorms), mud, dirt (dust) and waterbodies (river,streams or oceans). It is important to use a sturdy tripod designed to withstand the elements. After using the tripod for the day, it is essential to clean it. For instance, sand or salt water will weardown the legs of the tripod if left for long periods of tim...
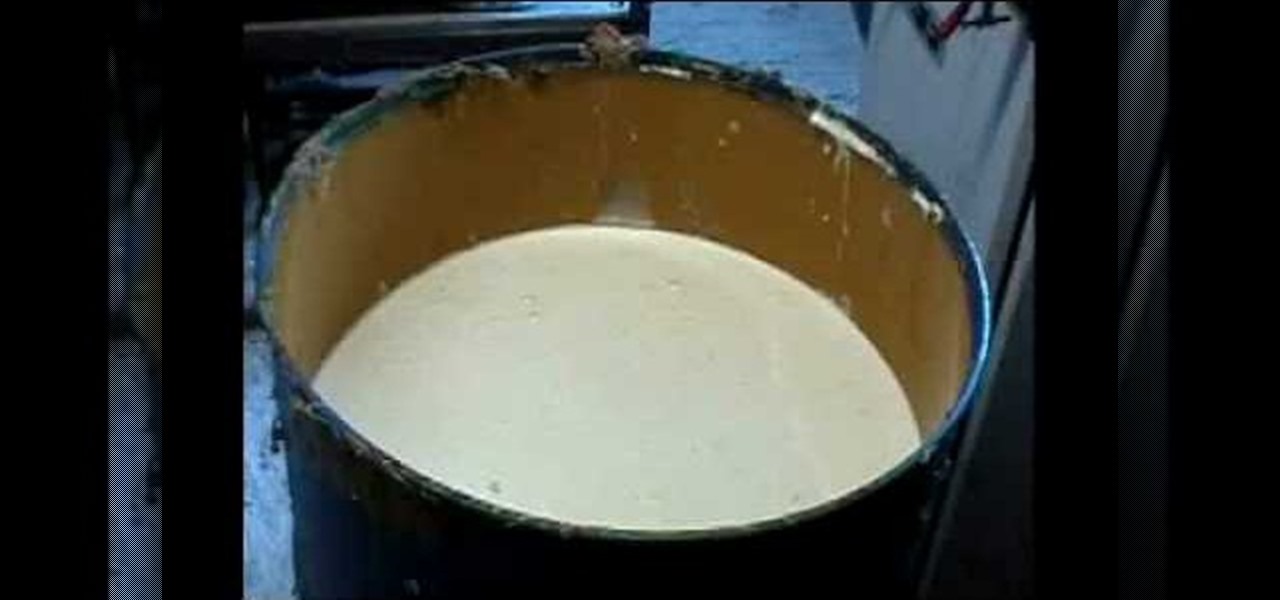
The Concrete Jungle guide to making concrete moulds and ornaments as a hobby or business is presented here. This is a short excerpt of a longer film. Mixing the concrete is presented. It is important to get the correct consistency to make the ornament successfully. Other features include the ingredients used and the filling of the latex mould and removing the mould. The mixing ratio for the cement is 4 parts gravel (6-10mm), 2 parts coarse sand, 1 part cement and water. The consistency should...
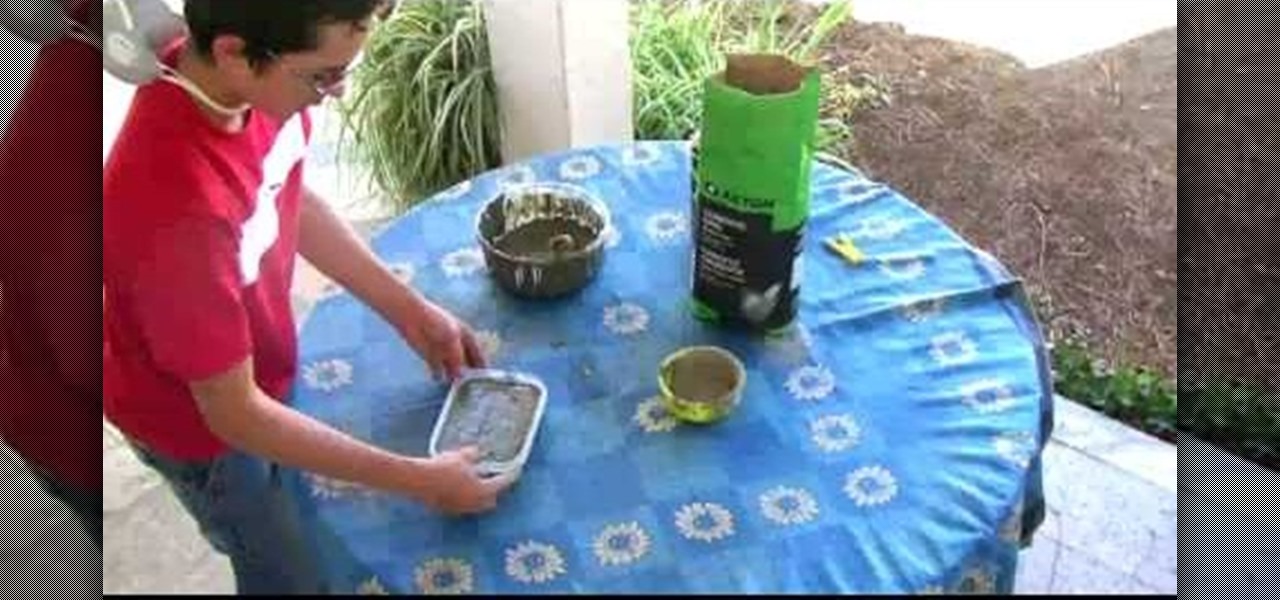
In this Home & Garden video tutorial you will learn how to make a concrete obstacle. Materials required are cement, 1 big receptacle, 1 small plastic receptacle, a cup for measuring, a spatula, 1 mold, WD40, paper towels and protection mask. Wear the mask, spray WD40 on the small receptacle and the mold, and wipe off with paper towel. Pour two cups of cement in the big receptacle, add one cup of water and mix slowly with the spatula. You can add more cement, water and make it to a watery cons...
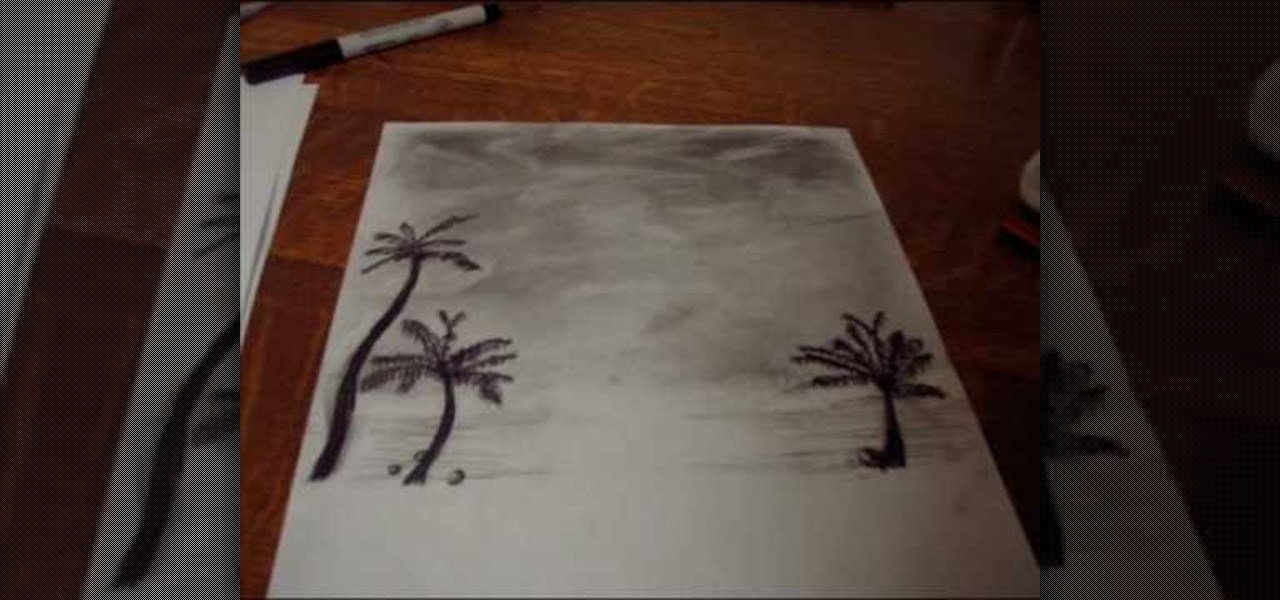
In this how-to video, you will learn how to create a drawing of a palm tree setting. First, you will need two pieces of paper, charcoal, and cotton. Use the one piece of paper to add charcoal to your cotton. Next, cover the piece of paper you are using for the drawing with a wash of charcoal. Next, use an eraser to create images of clouds. Next, draw the palm tree with the charcoal on the lower half of the paper. Add as many palm trees as you feel necessary. Finish the drawing by doing the fi...
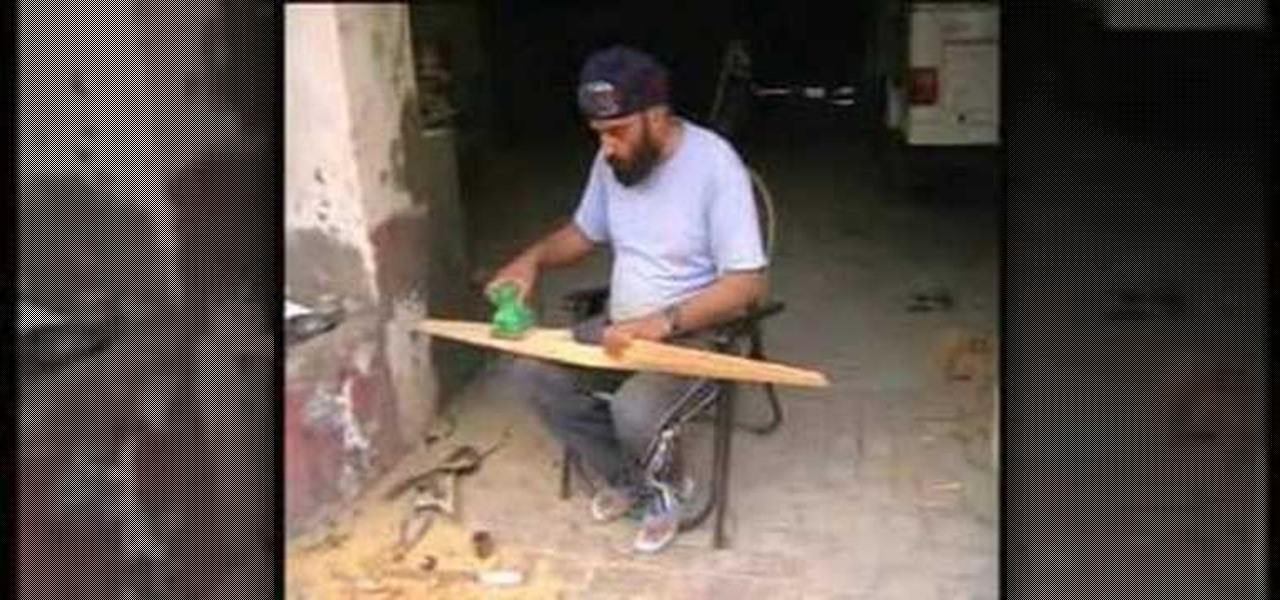
To carve a wooden propeller first join six pieces of wood together to form a block. Mark the outline of the propeller on the block in pencil. Use a hand chisel and hammer to form the rough shape of the propeller. Once the rough shape is complete use a motorized hand grinder and then a motorized hand held sander to make the propeller smooth. After the sanding is complete you will need to finish it off with a coat of polish. Finally, you will need to balance the motor before fitting it into pla...
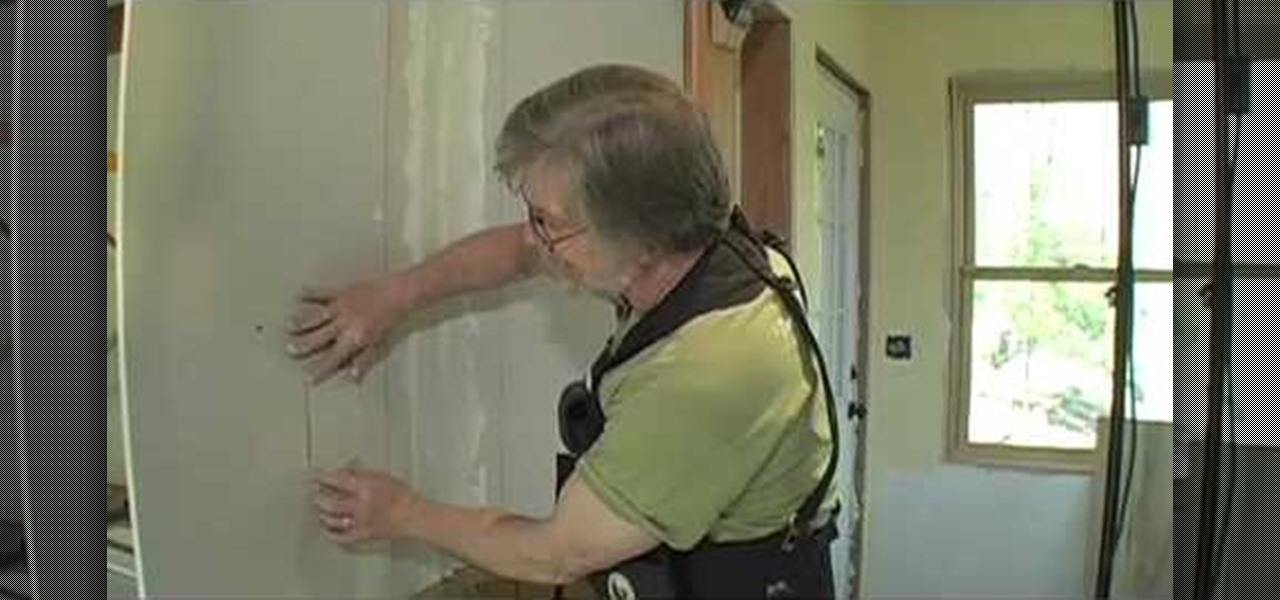
In order to mud and tape the corners with new drywall you, you will need spackle, a sturdy ladder, and a putty knife. Scoop out a dollop of spackle (i.e. mud) with your putty knife. Place your putty knife where the ceiling and the wall meat. Spread the putty evenly, as you extend your arm left to right or right to left. Make sure that you apply putty all the way up to the corner.
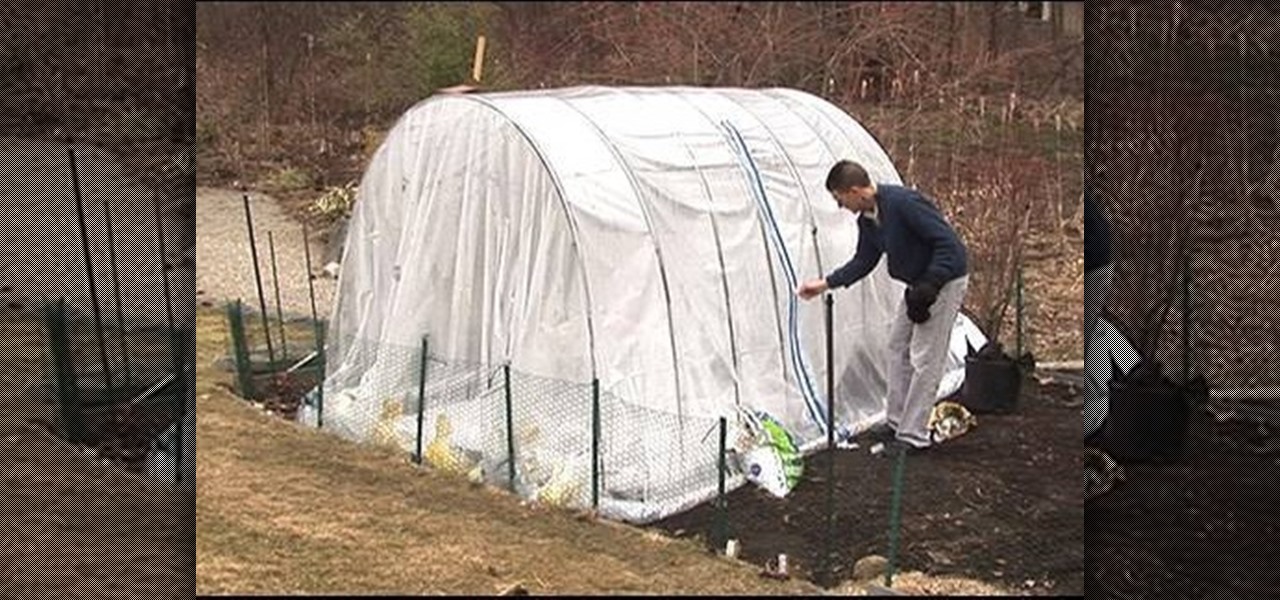
How to build a high tunnel to protect your plants
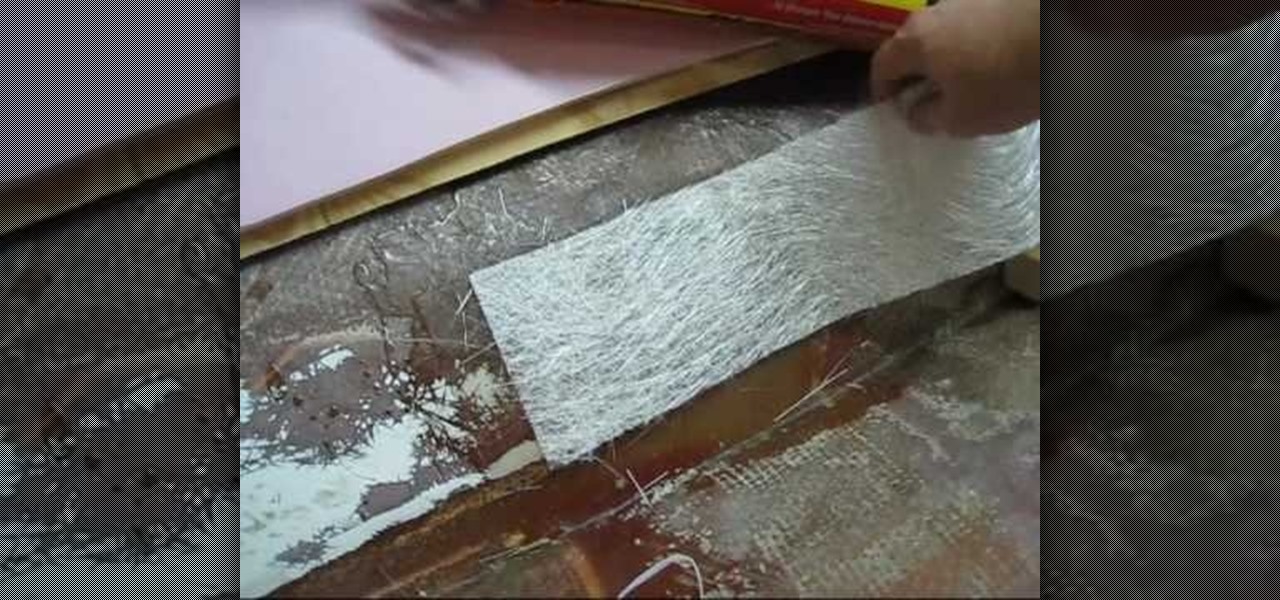
LowkeeLT demonstrates how to patch a hole in a fiberglass boat hull. First, grind around the edge of the hole to make it smooth. Make an angle that goes towards the hull so that the resin won't get caught and create air pockets. Attach kitchen wax paper to the boat as a non-stick material for the poly resin to set against. Then, put down a flexible cutting board by duct taping the two layers on the outside of the hull and pulling it taut. Attach three layers of fiberglass strips with resin to...
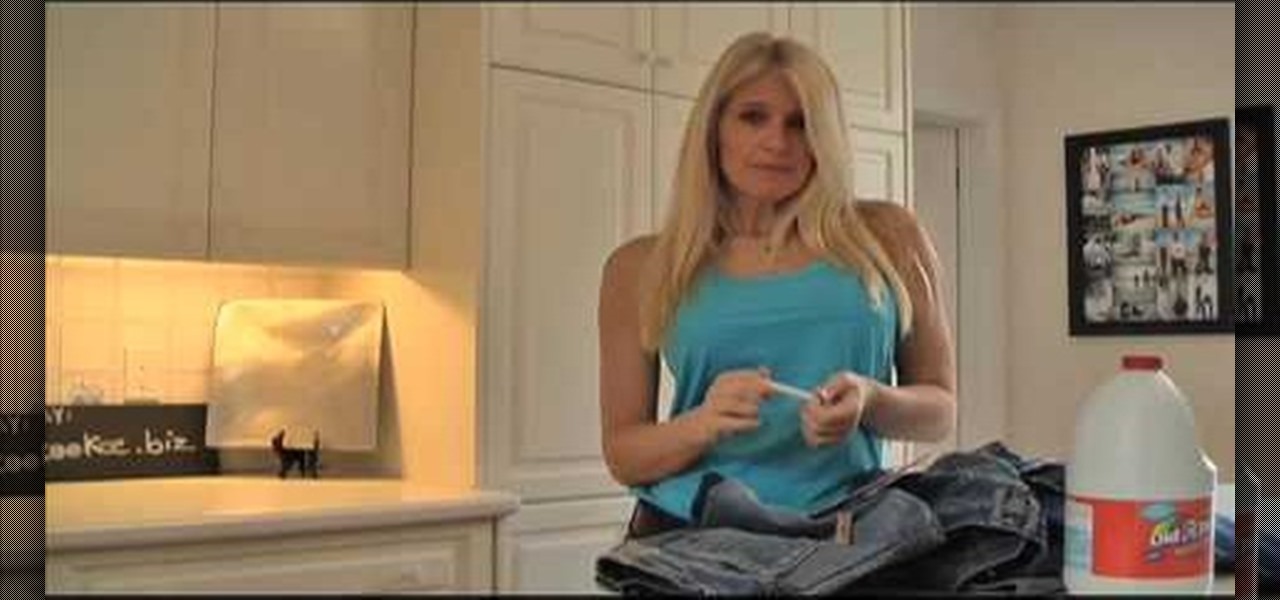
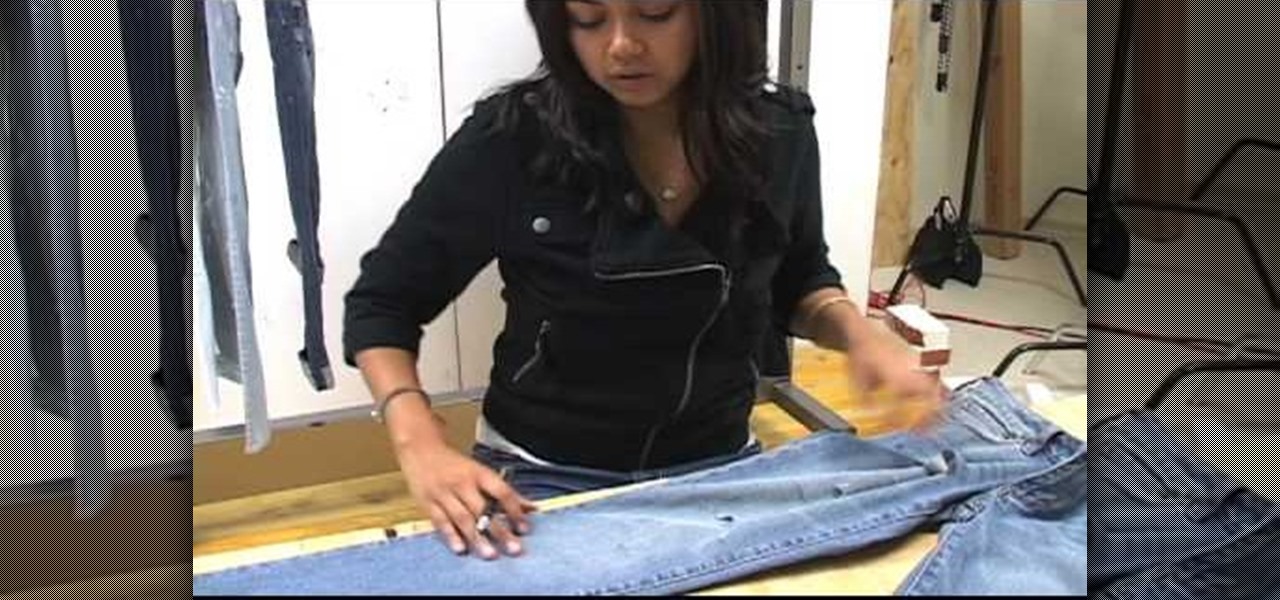
In this tutorial, Joey shows us how to man do it yourself boyfriend jeans. All you need is chalk, razor blade, sand paper, bleach, scissors and over sized jeans. First, put the jeans on and mark them with chalk where you want to fray them. Then, let them sit in bleach for 20-30 minutes depending on how faded you want them to be. You can now grab your sandpaper and wear out the area you want to look faded. Also, make cuts in the areas where you want them to be. Let the jeans sit in the bleach ...
Angela and Shane from I Am Fashion Weak demonstrates how to bleach and paint splatter your own jeans. All you need to bleach your jeans is bleach and a measuring cup. If you bleach black jeans, you can get tan and gray shades. A bathtub is a safe place to bleach your jeans. Crinkle the jeans and pour the bleach over the crinkled spots until it changes into the color you want. After you bleach the jeans, wash them and dry them. You can also use a sanding technique to give the jeans a distresse...
In this video tutorial, viewers learn how to cover screws and nails with drywall mud during drywall installation. Users will need a taping knife tool. Apply the drywall mud over the screw or nails and use the taping knife to flatten the mud over the screw or nail. Use the knife to take off any excess mud. Apply 2-3 layers of drywall mud over the screw, depending on how long the screw head is. This video will benefit those viewers who are in the construction trades or doing home renovation and...
Danielle Proud shows you how to make a beautiful Christmas table centerpiece for your Christmas dinner! Your guests will be amazed at how incredible your table looks. This amazing display catches light and looks simply magical. All you need is an old pair of deer or elk antlers, some sticky-backed crystals, and a little time and creativity! First, take your antlers and sand them until they are smooth and the color you like. Then, take different sized crystals, even different colors if you pre...
In this video tutorial, viewers learn how to make an LCD viewing hood from a slide viewer. This hood will prevent any shining or glaring of light when looking at the LCD screen. Most LCD covers are expensive or just get in the way. This viewing hood is inexpensive and only cost $6. 95. Users will simply need a slide viewer. Pull off the diffusion screen and cut off the ledge so that it is flat. Sand it to make it smooth and add some felt to cushion it on the screen. This video will benefit th...
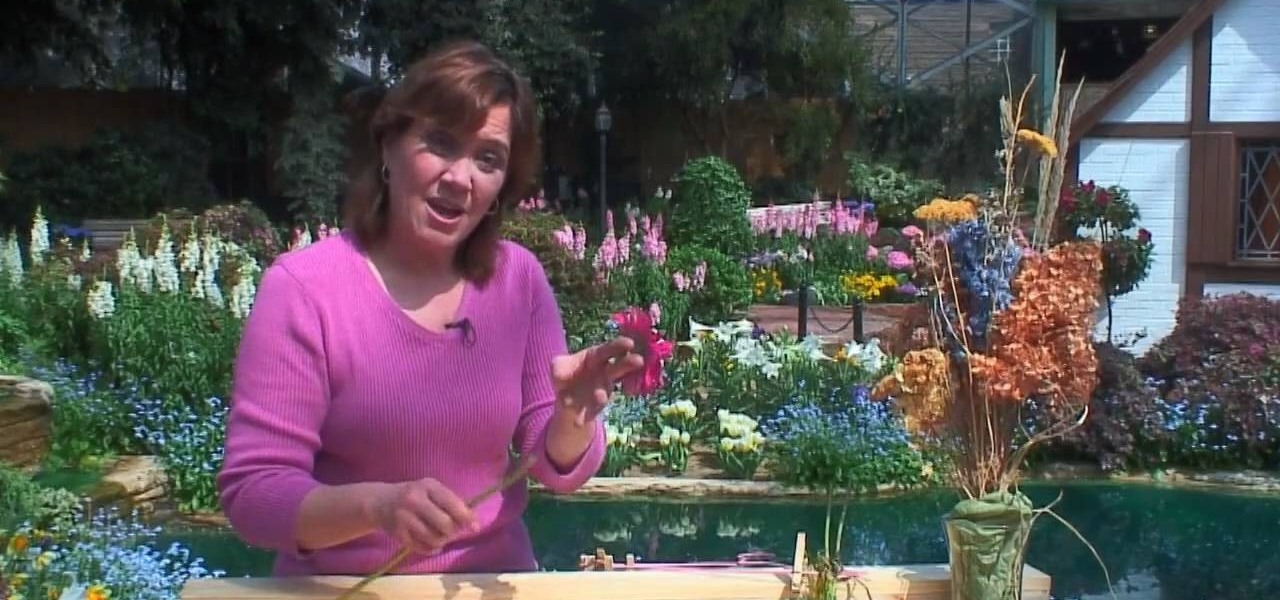
Preserve the beauty of your flowers by pressing them. One of the simplest ways in doing that is to press between pages of a book. It's wood, over cardboard, over absorbent paper. The flowers are placed between the paper and then held and pressed down by the cardboard and wood. It's then going to dry over time to preserve your flower. Now some flowers don't dry as well as others. What you can do is purchase some silica sand and burn the flower within it. It usually takes a couple weeks this wa...
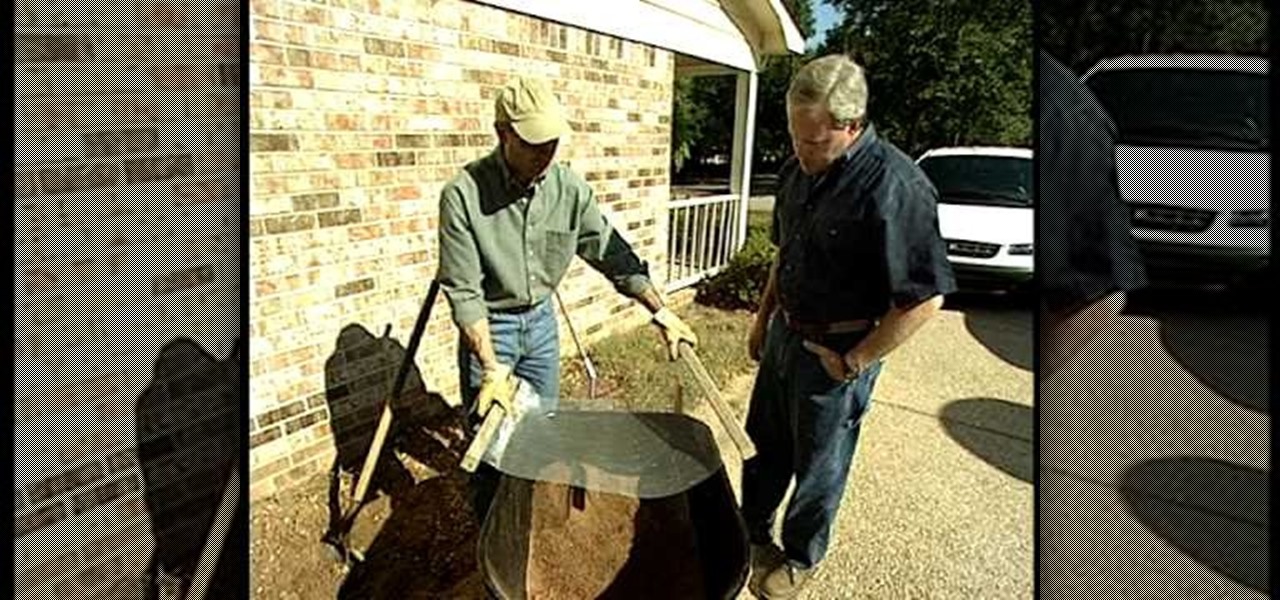
Danny Lipford shows us how to filter rocky soil in a flower bed in this informative video. By stapling 2 pieces of 2x2 to a hardware cloth, a mesh is produced that can be clipped onto a wheelbarrow. A home-made sifter of this variety, without a solid frame has the distinct advantage that you can pick it up and toss the filtered out rocks to the side after use. The sifter could also be used to filter the clumps that appear in fertilizer bags, or even masonry sand. The resulting filtered soil i...
Chuck Miller gives us a great tip for patching a small hole in drywall, such as a hole from an outlet box.
She's doing it again; turning the ordinary into the extraordinary! Carolyn Braden is taking sea shells collected from a recent vacation and incorporating them into a decorative wreath. Using a hot glue gun and thick satin ribbon wrapped on a Styrofoam ring, a simple inexpensive wreath can be created with anything you can find attached. Don't be afraid to be creative. Using thick ribbon will help create a lovely pattern behind whatever you choose to glue on the wreath. The other idea Carolyn h...
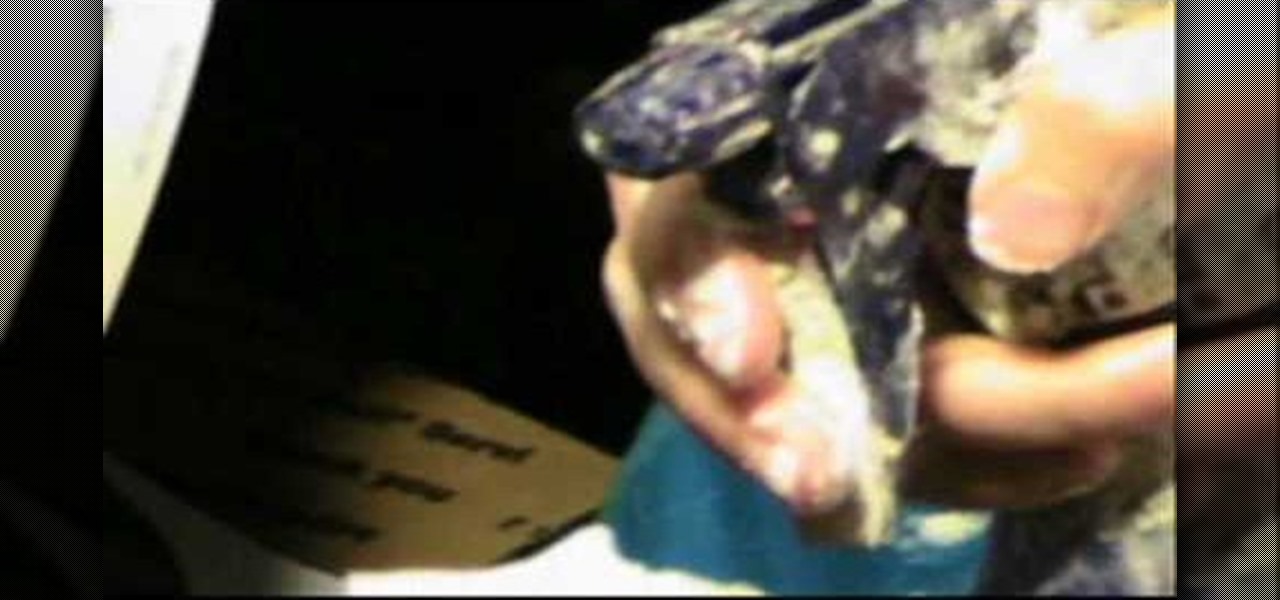
This video teaches the secrets to sharpen a convex wood carving knife in simple steps. First find out how dull your knife is by cutting a paper or shaving hair on you hands. Now take a sand paper attached to a pad and start sharpening the ends by applying less pressure. Now try the sharpness of the knife, it will be better. Now take a double sided strop with sharpening compound and start rubbing the knife edge. After sharpening try the knife again, it should be good enough.
This is a how-to video tutorial from the Pac Sun community where Akiko and here intern, Ashley, will show you how to actually destroy a pair of jeans so they will get a old and worn in look.
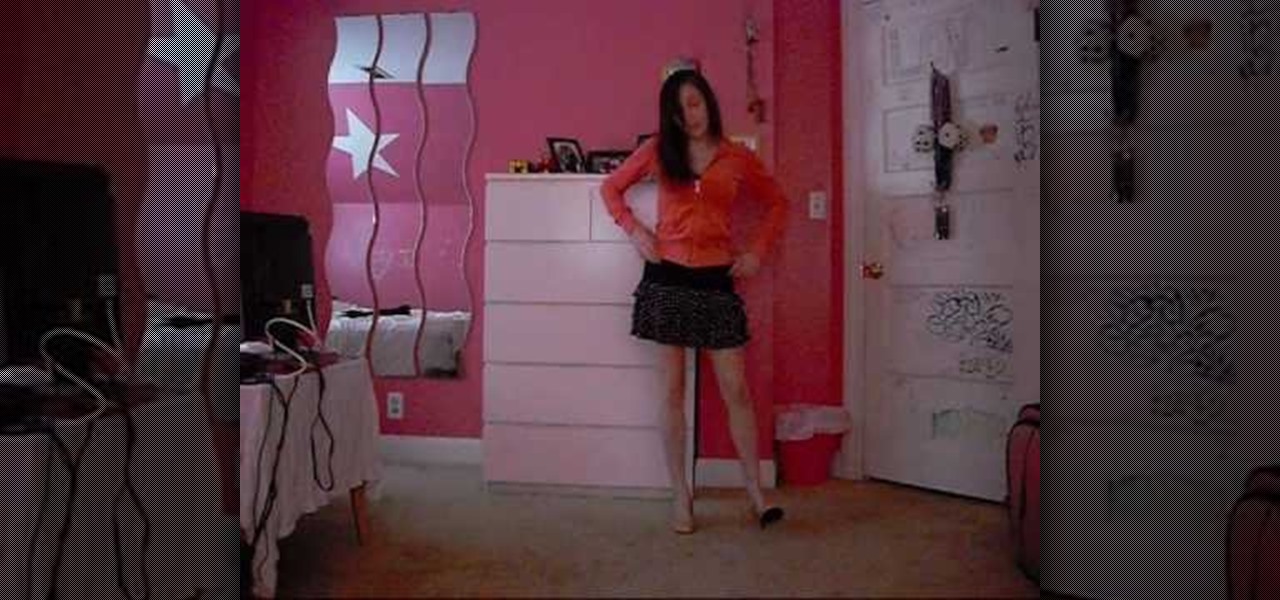
In this video you can see how you can walk in high heels. Heels do not need to be long and thin to be considered fashionable. But no matter the length of your heel, take extra caution to keep your balance and place the least amount of strain on your muscles. Step with your heel down first, then let the sole follow quickly and smoothly. Walk with your toes pointing straight ahead or as close to straight ahead as possible. Swing your arms as you walk for balance. Keep your legs straight, close ...
In this video tutorial from StudioMallory, learn how to take Mapei premixed adhesive and grout and turn it into a six-point star. Begin by cutting out the star shape in a piece of cardboard. You can use a stencil to make sure the shape is accurate. With your fingers, spread the grout onto the shape. After you are done shaping the grout, spray a little bit of water on the grout to help you smooth out any rough edges on your star. Set the star on a flat surface and allow it to dry overnight. Th...
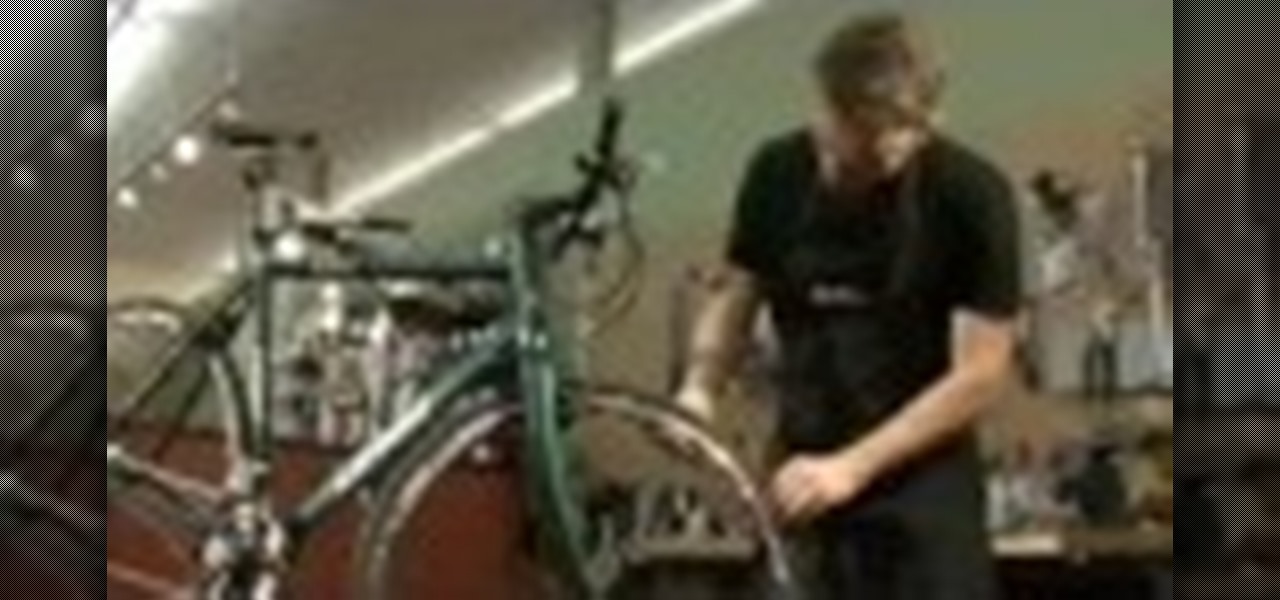
This video teaches you how to do a check of your bike before you go on a ride, especially if you haven't ridden in a while. Before each ride, check the tire pressure with a tire gauge. Pump it up if it is low, and release pressure if it is too high. Also check the tires' condition, looking for worn places. Make sure the axle is properly seated in the dropout. Check brake pads for wear, or debris from the road. Remove debris with sand paper. Make sure brakes tighten enough to stop the bike and...
In this video, Marion shows you how make your own custom buttons. She first picks-out a piece of scratch paper, a clear button, and glue (glassy accents). You then apply some of the glue onto the button and lay the button onto the paper and let it dry. Next you would cut the paper around the button as close as you can with precision scissors. You would now use a file to sand the edges of the paper down. That is how Marion shows you, how to make a customized button.
Golf champion Bob Broman gives tips on how to make a third shot on a par five with the green being slightly upward. The pin is on the back part of the green on an upward angle at about 90 yards. He explains hitting a lower shot using a pitching or sand wedge. He uses the pitching wedge with a stance further from the tee and hits lower in the air in order to get the ball to the upper part of the green, which in turn will allow the ball to roll closer to the pin or hole. He keeps his elbows ben...
This video will teach you how to make a white board at half the cost and a better quality than you can buy and it will last a lot longer. You start with an 8x10 piece of Plexiglass with only surface scratches and spray paint. Try not to touch the side that you're going to paint. Remove only one side of the Plexiglass protecting plastic. Sand any sharp areas and paint in a well-vented area or outside. Paint lightly with the color of your choice and let it dry before adding a second coat. You c...
An Adobe Flash preloader screen is something anyone who has browsed a website is familiar with: It's that "Loading" bar that you encounter before a Flash-heavy site pops up. Sometimes all you see is a simple "Loading" bar, and other times it's much more interactive and interesting (like an hourglass where the sand drops down until you get to 100% page loaded).
It's time to discover how fun art and drawing is! Learn how to draw the anime and manga character Kankuro from Naruto. Drawing is a way of creating and expressing ourselves, and therefore the result is always beautiful.
Are you doing a graveyard shot and decided it would be cool to throw someone through a tombstone? This video tutorial will show you how to make a breakaway tombstone. It can also be used to make a cool fake graveyard. You will need foam insulation, a tape measure, sand paper, a utility knife, a marker, string, and paint. Watch this video prop-making tutorial and learn how make a breakaway tombstone for your next scary movie.
This instructional video demonstrates how to paint, collage and stencil using a layering technique. Experiment with as many layers as you want. Make sure each layer is completely dry before beginning the next layer.
Jason Voorhees might be one of the scariest horror villains, and that's why he would make for a great Halloween costume. For this project, you will need a hockey mask, white spray paint, black spray paint, clear spray paint, an artist's brush, red, black, and brown acrylic paint, sand paper, an X-acto or utility knife, a drill bit, and a black barker. Watch this video special effects tutorial and learn how to make a Jason Voorhees hockey mask for a Halloween costume or movie spoof.
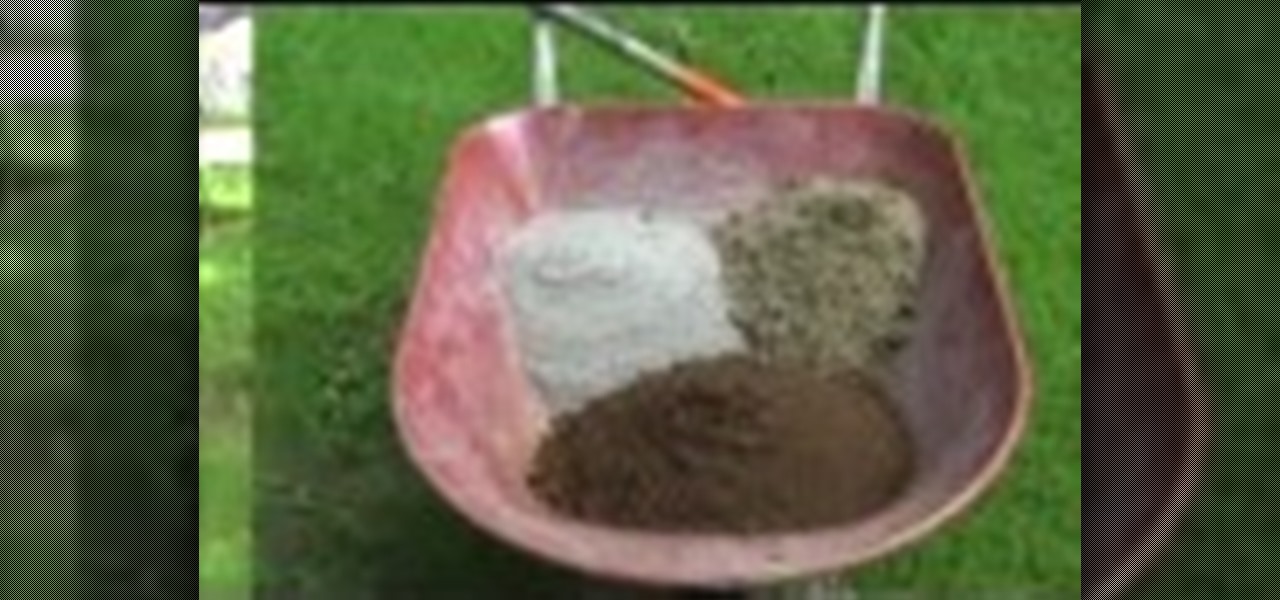
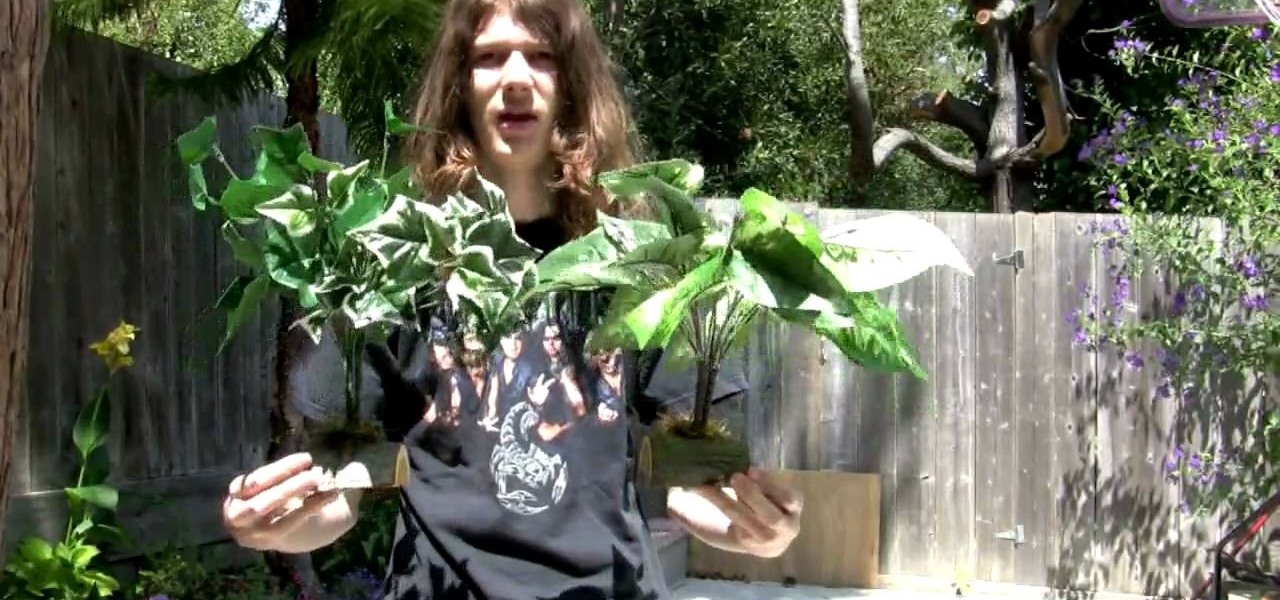
Want a really easy and inexpensive way to jazz up your yard? This tutorial will show you how to make Hypertufa planters. All you need is a wheelbarrow, a hoe, latex gloves, 2 parts peat moss, 1 part sand, 1 part portland cement mix, a large pot/box/bowl and a plastic garbage bag. These planters look great and can be made to fit any size plants. Watch this how to video and you can make Hypertufa planters in no time at all.
Get a little use out of those empty tin cans you are going to throw away. Recycle them into a cutting disc. So, check out this video tutorial to see how to make a cutting disc for a Dremel rotary tool. These Dremel cutting disks are pretty easy to make. Just get a can opener, take off the lid of one of your junk aluminum cans, and begin to disc away. You'll need a Dremel sanding disc for a stencil reference. These are less dangerous than normal sharp cutting disks, not to mention cheap.