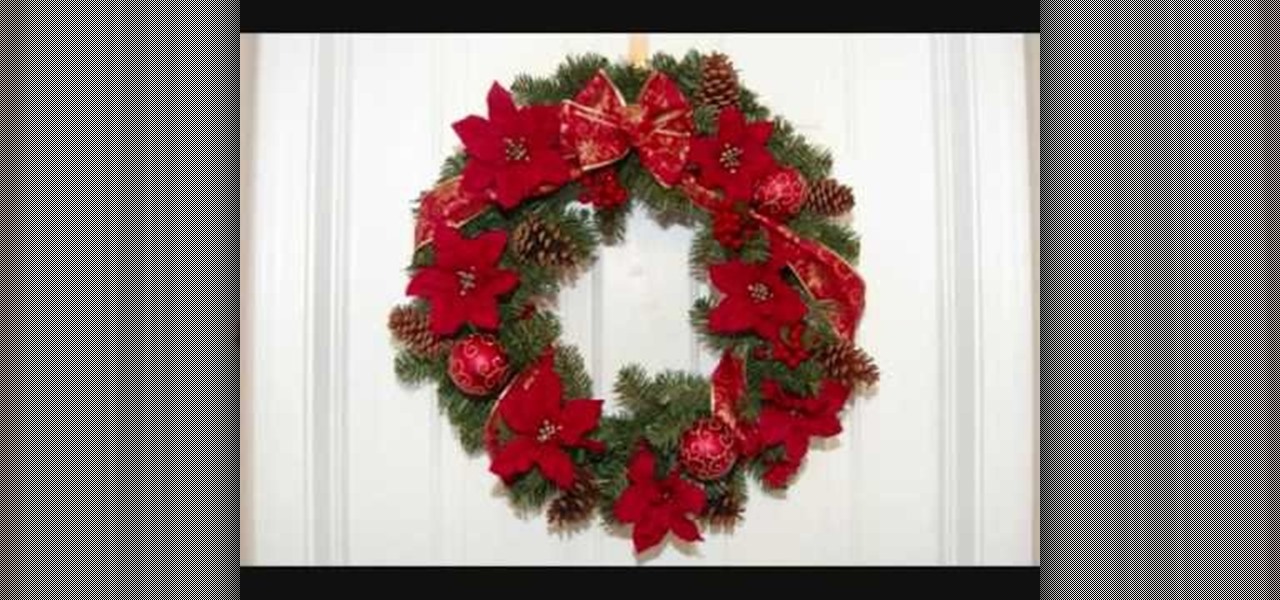
To make a Christmas wreath with poinsettias, by using synthetic materials you will need a Christmas wreath, pine cones, ribbon, berries, poinsettias, and any other picks you may want to use. You can purchase these items at any craft store. First, shape wreath, make bow out of Christmas ribbon (or pre-purchase bow), and attach on wreath. Next, wrap excess ribbon around Christmas wreath and align evenly poinsettias around wreath. Then, wrap around wire from the ornaments, pine cones, berries, a...
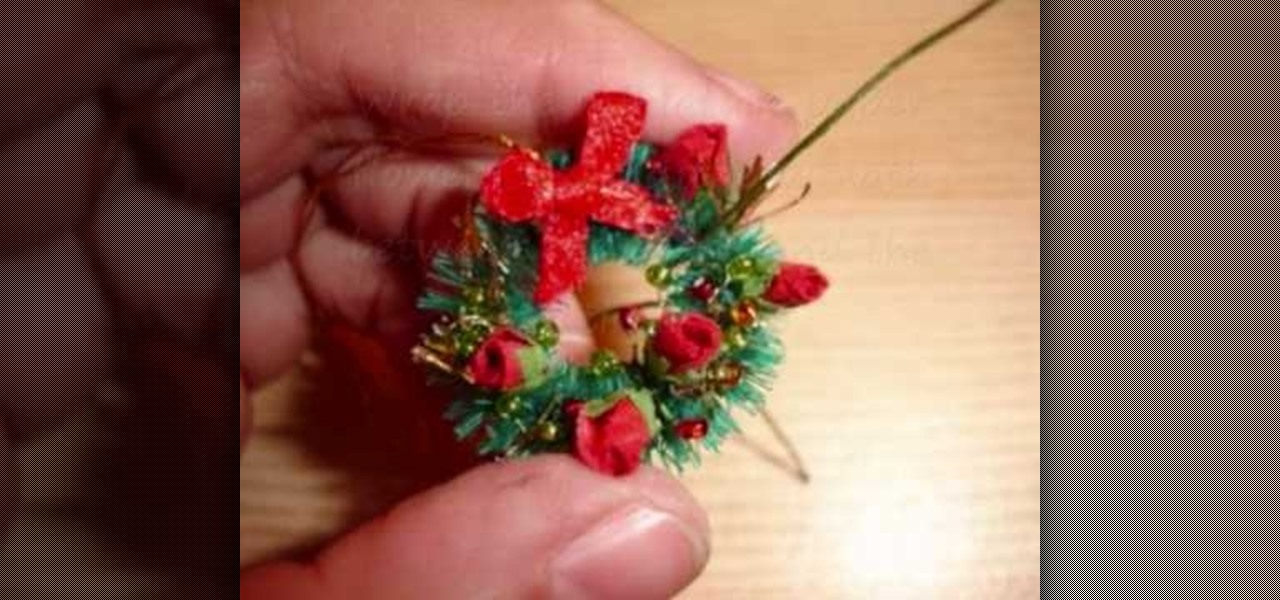
The equipment that you need is pliers, beads, beading wire, tinsel, some miniature flowers and a plain wreath. Twist a section of beads onto the wire, 5 beads make a nice grouping. Twist the 5 beads onto a single wire to make a bunch. Make enough bunches to cover the wreath. Fold a piece of tinsel between your fingers. Wrap the beading wire around the tinsel to hold it firm. Fluff the tinsel to give it some depth. Wrap the bead bunches and tinsel wraps around the wreath. Wrap the miniature pa...

Learn how to wrap a textblock in this video tutorial. Wrapping the block allows you to protect the book's inner pages while you are working on the outside of the book. All you need to do is use some butcher paper, or any other kind of heavy duty paper you may have on hand. Lay the spine flush against one side of the paper. Open the front cover and fold the bottom sides into the book. Tape these ends together. Then, with the excess paper on the non-spine portion of the book, fold those ends in...

Start with an eye pin. Place a gold bead and end cap on it. Now put on a piece called a stamp, or stamping. You want to find one that is curved like a lamp. Next put on a large crystal (8mm). In this video she uses a Swarovski crystal. Find some beads you like and place them on the pin. At the end, place on a large plastic back of an earring to secure the beads and hold the "lamp" upright. Now to make the little beaded fringe at the edge of the lamp, you take another eye pin and thread on som...

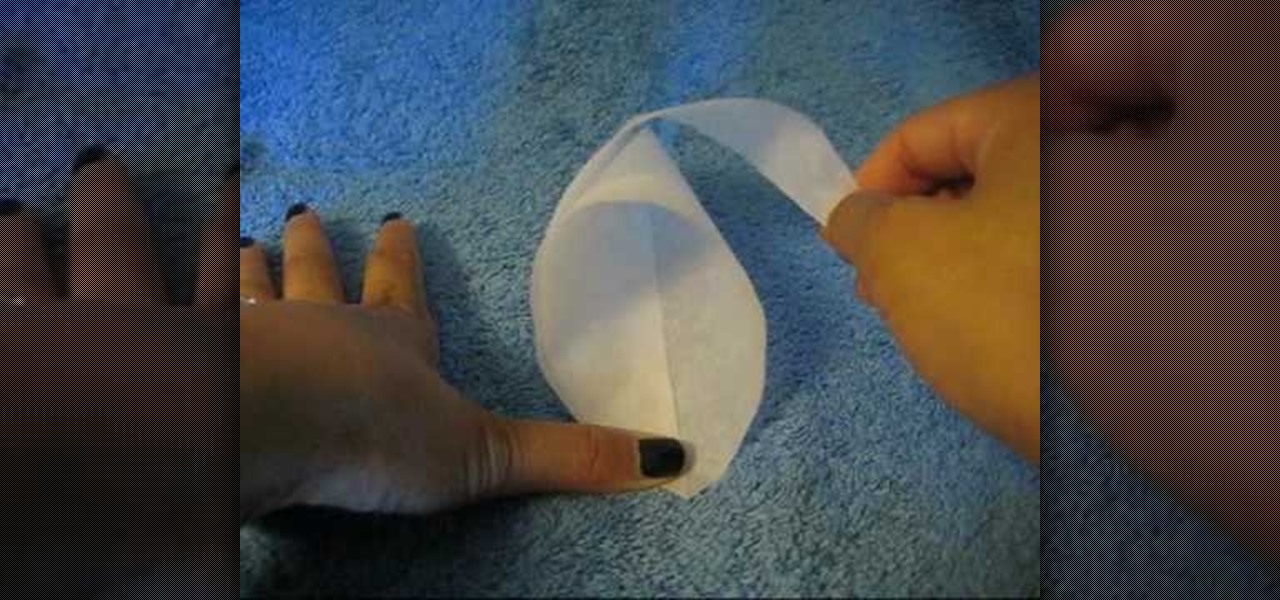
In this video tutorial, viewers learn how to make a parchment cone for cake decorating. A parchment cone is basically the same as a pastry bag. Begin by cutting out a piece of parchment paper. It doesn't matter the size of the parchment but it needs to be flat. Using a ruler and a knife, cut the paper diagonally. Take the longer end and curl it inside. Take the other end and wrap it around to form a cone. Fold the top to secure the cone. Once the cream is in the cone, roll the top and make a ...

The Flower god gets us all ready for the Chinese New year with a quick and very simple flower arrangement for a table centerpiece. You'll need some good luck bamboo, some ivy, little pieces of ginger and some passion flowers to accent the green. Take some of the ivy leaves and cover the centerpiece base. Cut them short at a sharp angle to cover everything. Next use the good luck bamboo to add height. Cut these at a sharp angle as well so that they will stay secure. The angles help it work as ...

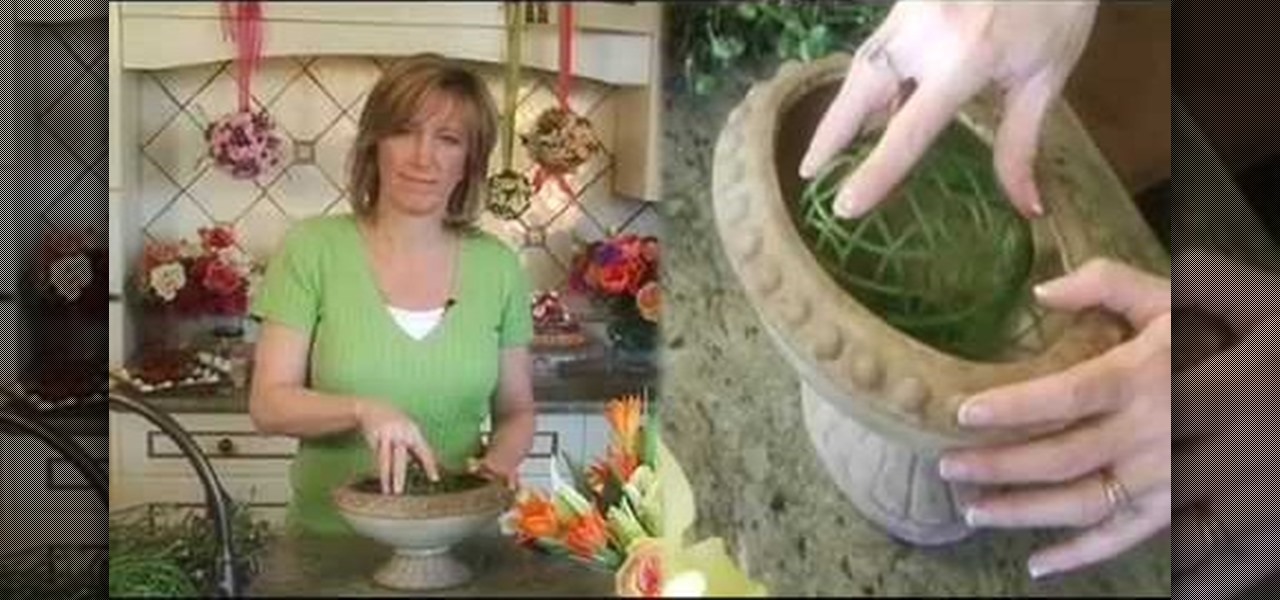
A wedding budget can quickly get out of hand as your planning progresses. Things like centerpieces are a major cause of skyrocketing wedding costs. If you have a little time and want to easily trim down the cost of your wedding, think about making your own floral centerpieces. You'll learn how to with this simple tutorial from EZ Bouquet. You'll soon see how easy it is to make a beautiful floral arrangement in an open container and how to secure the arrangement in the base of the container. A...
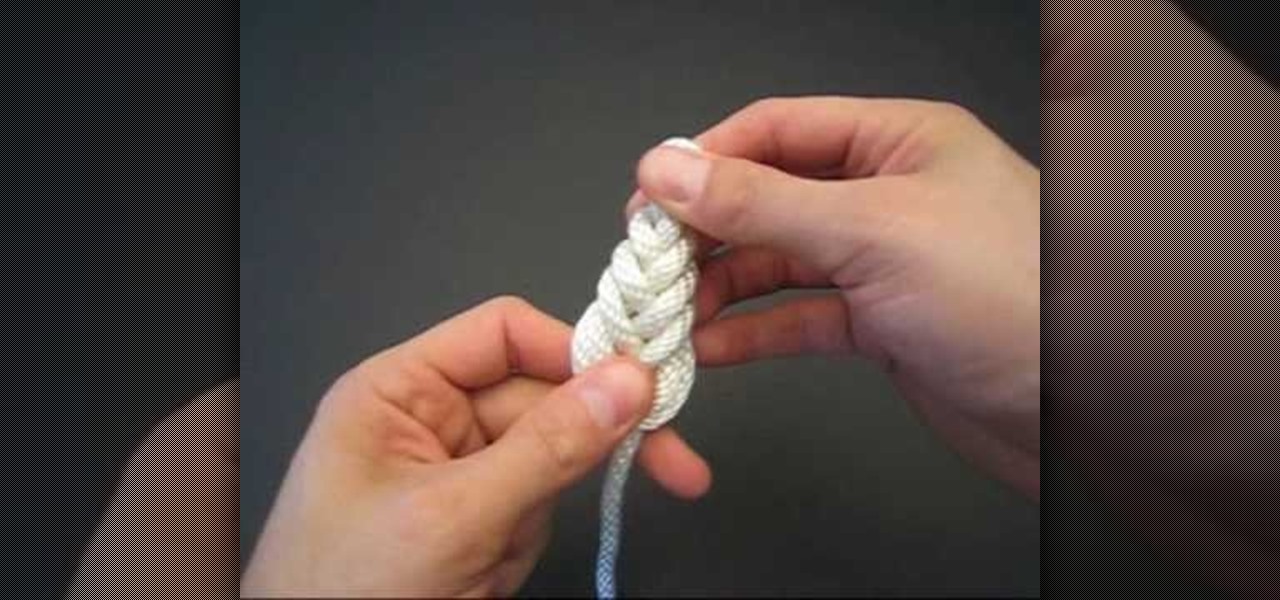
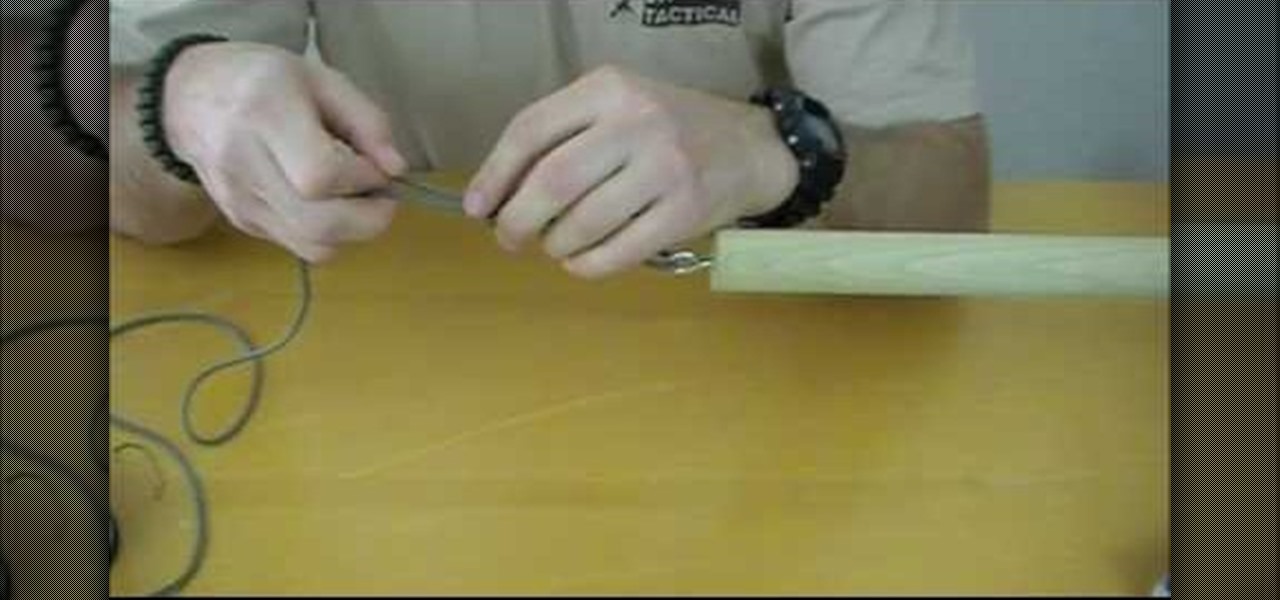
In this Tying It All Together video tutorial, you will learn how to tie a decorative pipa knot. To begin, take a piece of rope and fold so that you have two strands. Create a loop and take the left strand and loop it around the original loop. Continue doing this until you have layers of loop-like structures, gradually getting smaller and folding into one another. The effect is a woven-like structure. To actually secure the knot, fold the end strand into the last loop and then pull this end st...
This video is a tutorial on how to turn a rake into a screed tool. It begins by explaining that a screed tool is something used for spreading concrete. First, you will need a rake and a piece of wood that is called a 1 by 4. Put a steel rod over the rake blades and use a drill to secure it to the wood. Use wing nuts to tighten the bolts. By using a 1 by 4, you are creating a light-weight smoothing tool. It can be used to smooth out concrete, mulch, sand, or soil. If you make the screed tool t...
In this video tutorial, viewers learn how to reassemble an XBox 360. To begin, put the mother board onto the bottom plate of the console. Plug in the fan and put on the fan cover. Now plug in the DVD drive. Screw in the RF module on the front of the case. Place the top of the case on and screw it in. Now place on the top piece and screw it in. Then place the bottom piece on. Finally, place on the side panels and face plate. Make sure while assembling, all the pieces are secured and fit proper...
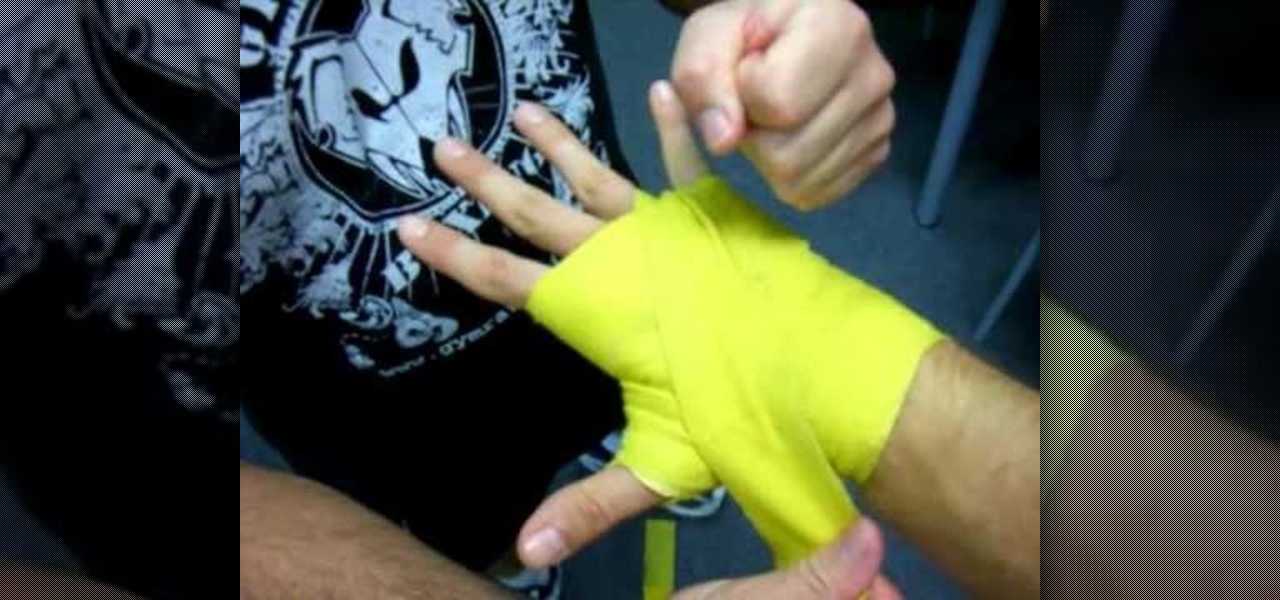
In this video tutorial, viewers learn how to wrap the hands for boxing, MMA and kickboxing. Begin by putting the thumb through the loop and bring it under the palm. Wrap it one time around the wrist. The cross it through the thumb and index finger. Wrap around the knuckles 3 times. Now cross it behind the thumb and over. Then go under the wrist and over the thumb again. Then go over the wrist, under the palm and through the pinkie and ring fingers. Roll around it to secure and repeat for othe...
To make an inverted French braid you will need a hair spray bottle, a brush, and a rubber band or a cloth band. First of all wet your hair using hair spray and take almost two inches of hair from the front. Divide your hair into three parts and start making an invert braid. From the right side, add more hair to the braid. Using your fingers on the right side, take hairs from the left side. With your right two fingers grab more hair from left and add to the right side, and take hairs from the ...
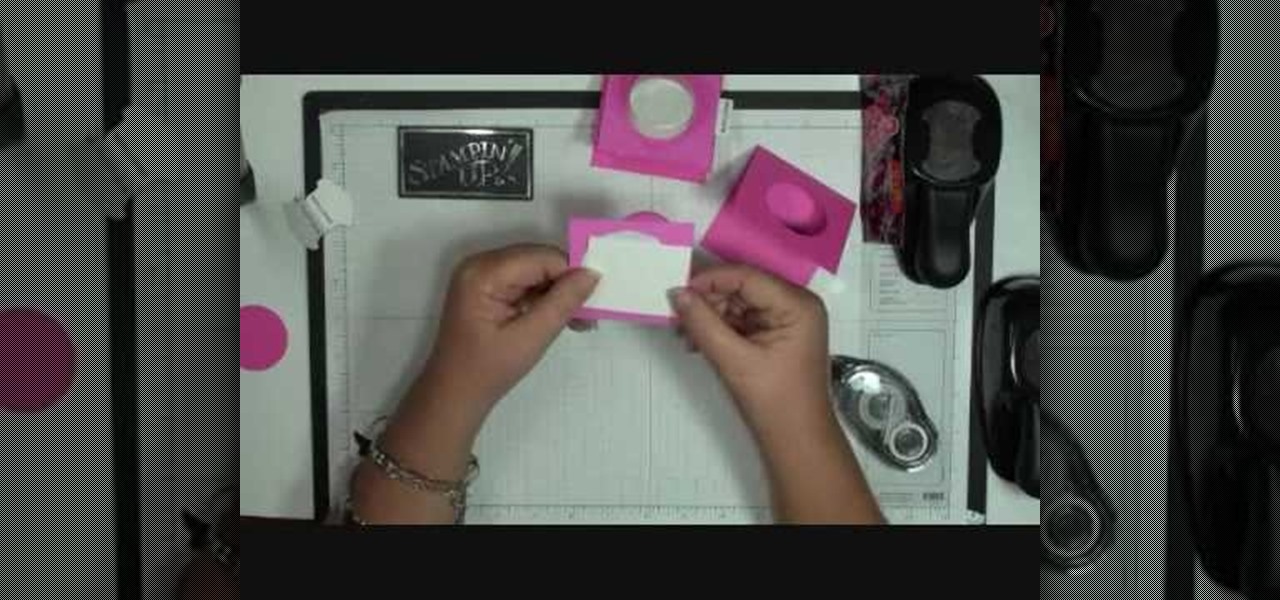
Dawn5377 teaches you how to make a pink sweet treat cup door. You need a stamp from the sweet center set and you use it on a small piece of pink cardboard. You punch the middle out. Also punch the middle of another piece of pink cardboard. Insert the treat cup door and stick it in. You use dimensionals to hold a white piece of paper, which acts like a tray under the plastic dome. You add some sweet treats inside and stick the other pink piece (with the heart) on the other side. Also remember ...
Want to make parchment cones for cake decoration? The secrets of making parchment cones for cake decoration are given in simple steps. First cut a parchment paper into an isosceles triangle of any size you wish. Now roll one corner inwards to the bottom end, curl it under and hold it. Now roll the other end over it and curl it under to form a cone, all the three tips should meet. Now fold the end with a sharp point inside the cone twice to secure it. If you are going to use it as decorating t...
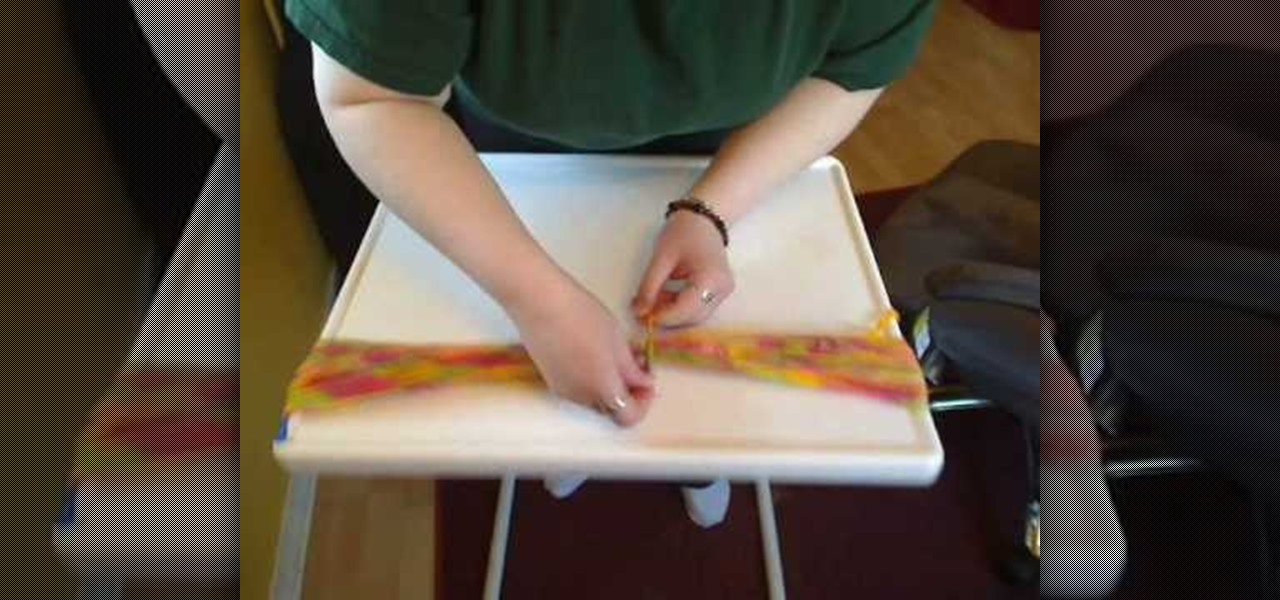
Emily from Girlispoision takes us through crafting yarn falls, a new and interesting sort of hair accessory for girls and women of all ages. First, obviously, you need yarn. Second, you'll need a glue stick, for general construction. Third, you'll need a nice large flat surface on which to work. Spreading your yarn out into separate strands, all side by side, you then tie them around the middle, and apply your glue stick, to make sure it will be secure. After snipping it to the desired length...
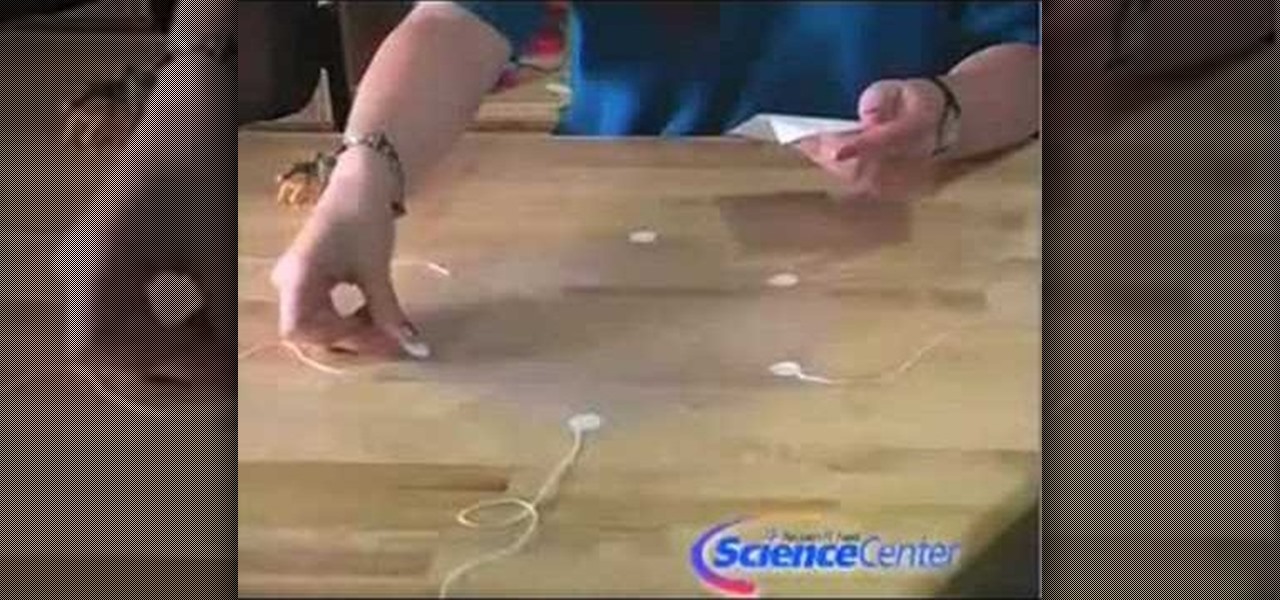
Love doing science experiments? Want to impress your friends with your science skills and look good? Then you must watch this video.
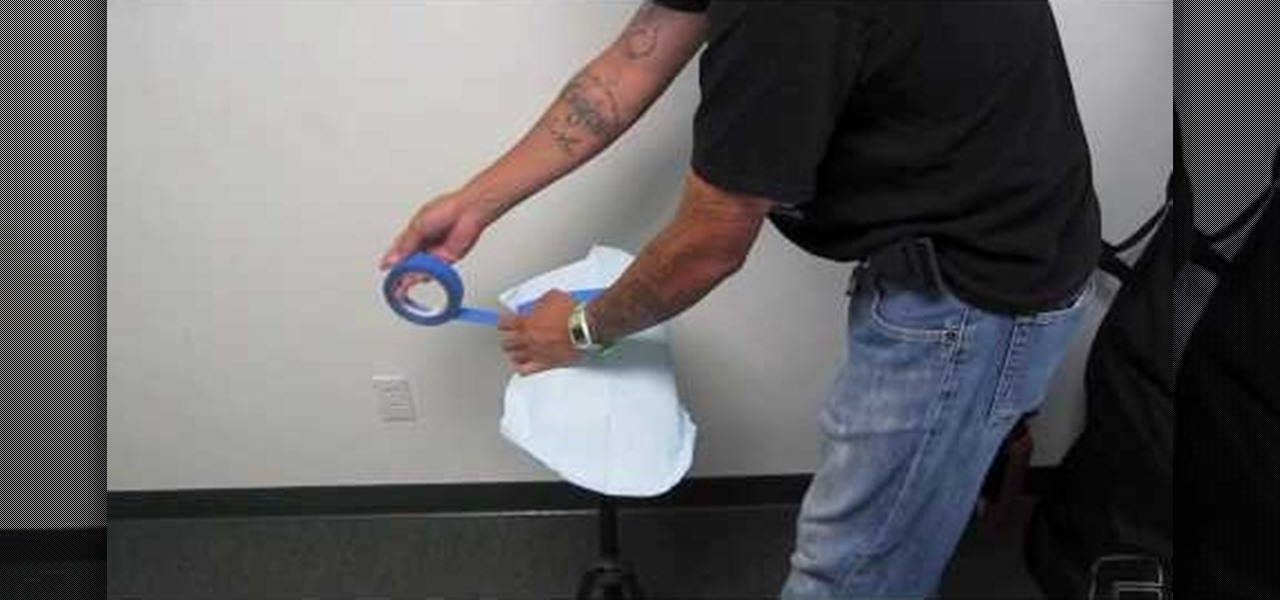
Using blue tape and a dental bib during tattooing to protect a portable tattoo armrest from ink and blood. The process of protecting the armrest is simple. This process would prevent ink from being transferred to another person or even onto their clothes. Using the dental bib you place it over an armrest and use blue 3m tape to secure the dental bib. Once this is done you are ready to start tattooing. Very cost effective and efficient way to protect an armrest and others.
Sick of spending massive amounts of cash on jewelry that's not even your style? Express & accesorize yourself exactly the way you'd like by making your own jewelry! In this three-part jewelry-making tutorial, learn how to make a wire wrapped ring base with a crystal beed accent. You will need: A pair of flash cutters, pliers, a round object to make the ring form, 18 gage copper coated artistic wire, 24 gage artistic wire, and 26 gage artistic wire to secure the crystals & beads on the ring. E...
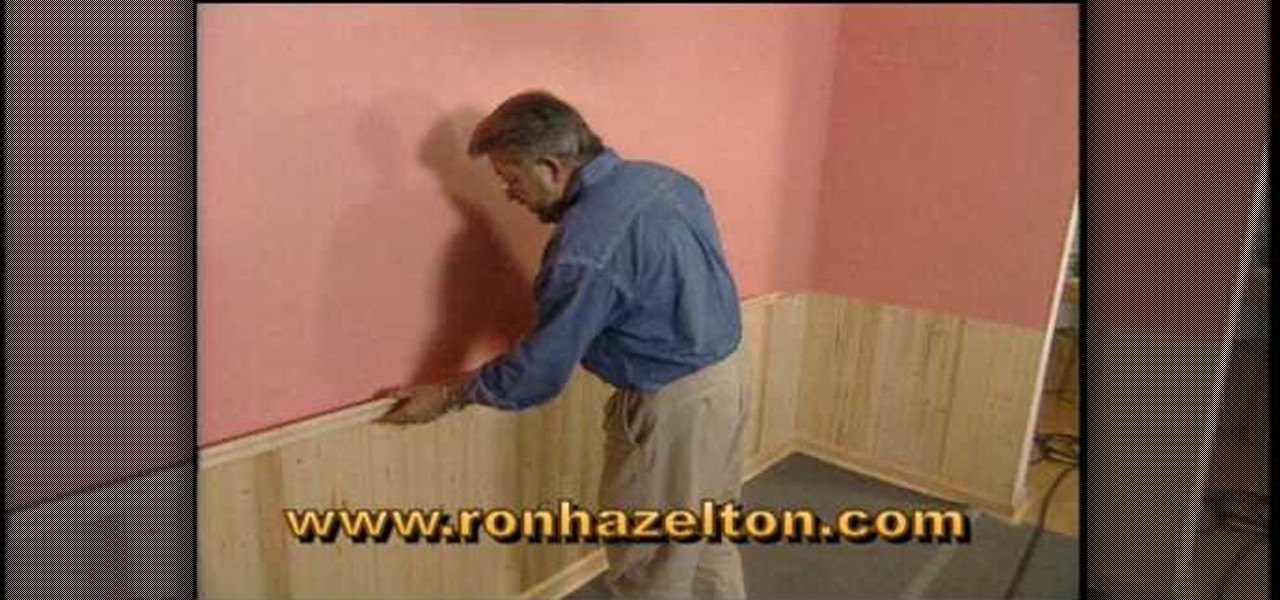
Ron Hazelton brings you this video on wainscoting. Wainscoting is paneling that runs about a third of the way up a wall. Ron shows you how to use a chair to figure exactly where to place the chair rail. When installing around electrical outlets be sure to turn off the electricity. Next cut all the panel sections to length. When you attach them to the wall be sure to attach at top and bottom. Next attach the paneling, you can use a scarf joint to hide the seams. When installing the chair rail,...
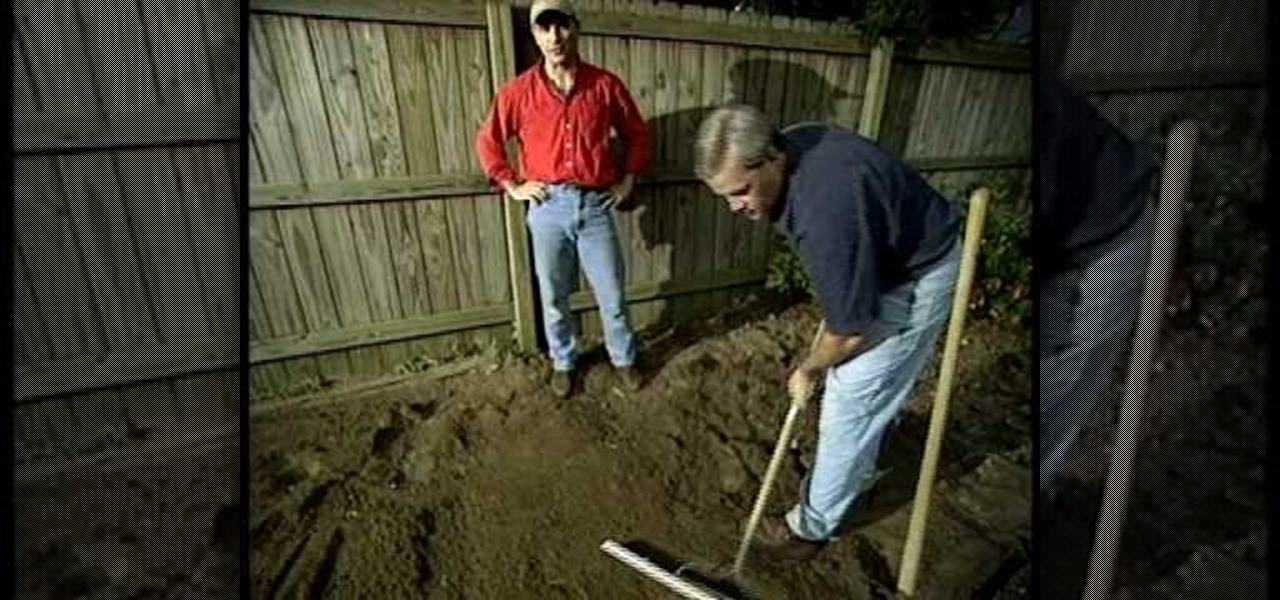
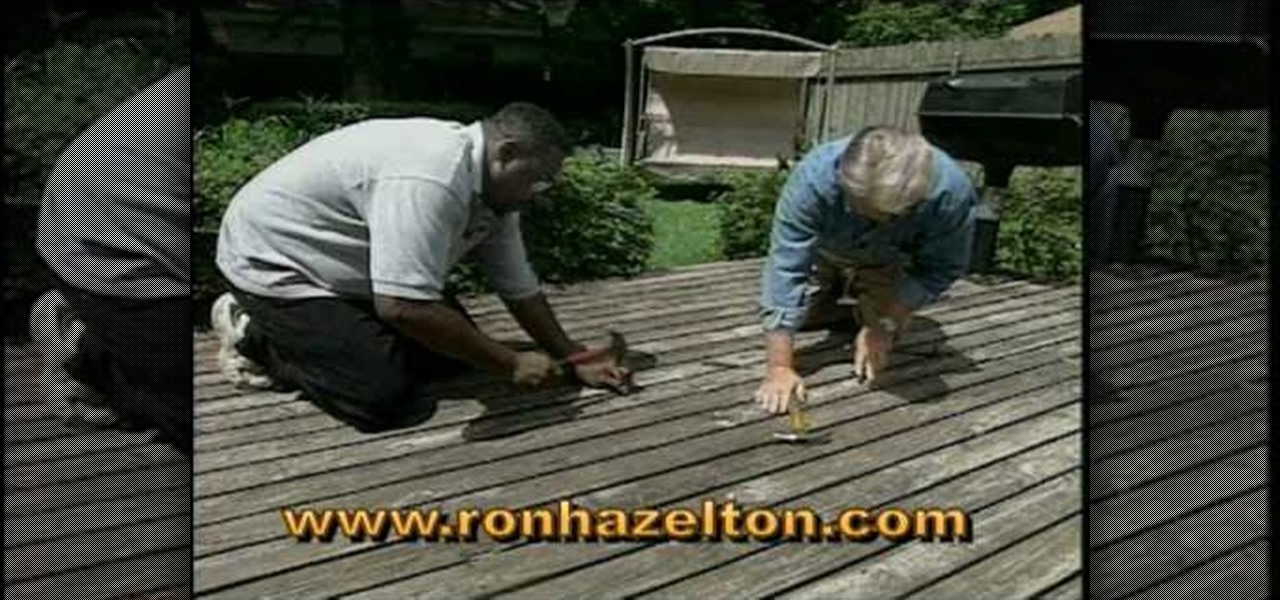
Ron Hazelton shows how to restore a weathered and worn deck. Twisted boards can be straightened using a notched 2x4 as a lever, then secured with 5 inch screws. Remove popped nails, and replace with longer thicker nails. Use a punch to countersink slightly high nails. Clean the deck with wood soap and a long handle brush, using a pressure washer to rinse. Apply sealer to the dried wood and let it cure, then enjoy your reinvigorated deck.
Ron Hazelton shows the most secure way to hang heavy mirrors or art on plaster walls using toggle bolts. Attach a sturdy hanging wire to the piece if necessary. Draw a level line on the wall where the top of the piece will go. Stretch the hanging wire taut and measure the distance between the wire and the top of the frame. A two-bolt system will keep the piece level. Drill two holes this distance below the wall line. Using masking tape prevents the plaster from chipping. Fold the toggle wings...
The pitzen knot has various uses, but it's ideal for securing a hook to a fishing line. It's relatively easy to learn and quick to do once you know how. In this video the folks at ITS Tactical teach you how to tie a pitzen knot.
Do you actually trust your friends to not mess around with your files when you let them check their email or get on Facebook on your computer or laptop? You should think long and hard about that. If you insist on letting anyone get access to your computer, you should check out this tip from Tekzilla. Learn how to prevent people from messing with your files. Keep your files from being deleted or renamed, and keep them secure.
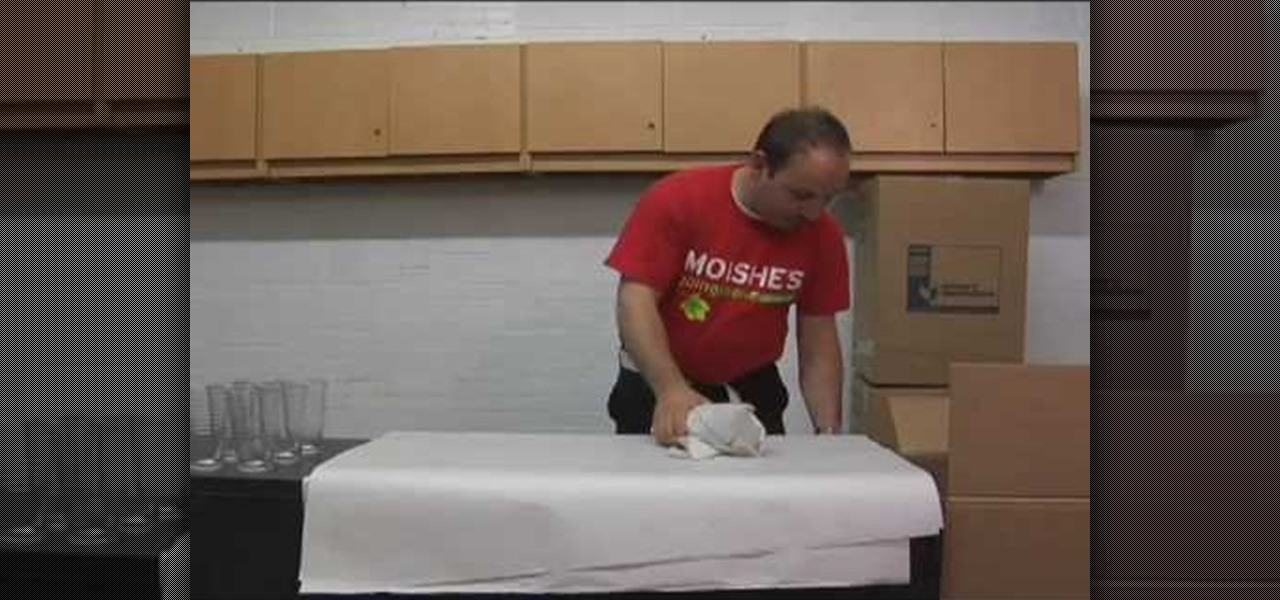
Moving soon? Don't know how you'll ever get your possessions packed and moved in one piece? Well, fret no more...
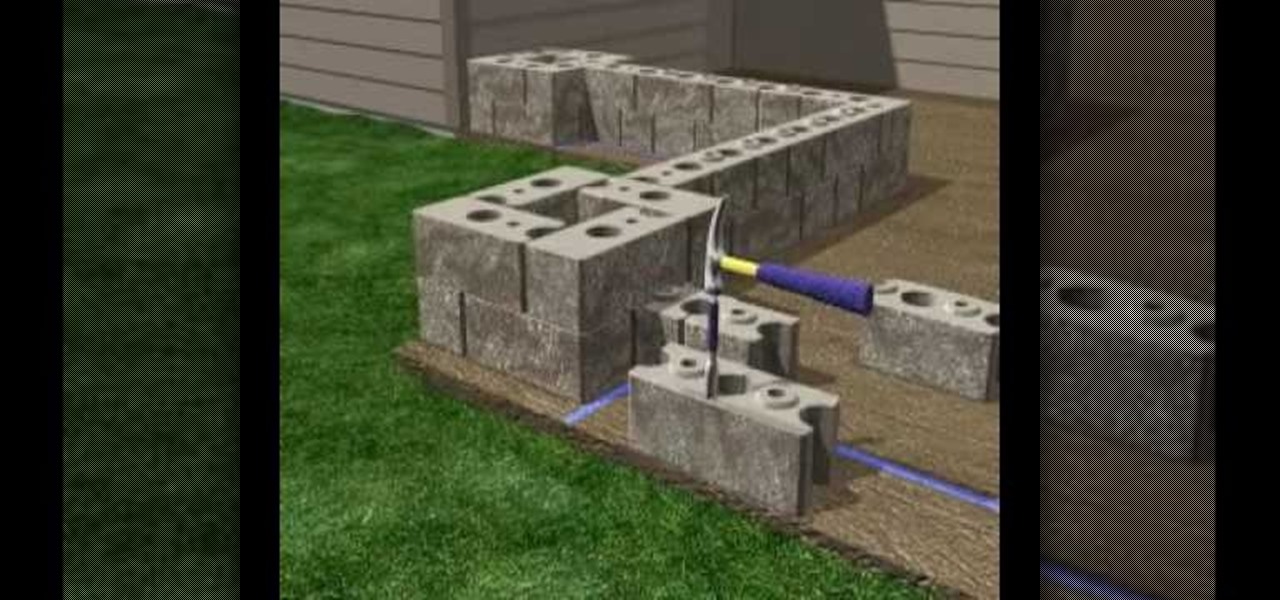
In this how to video, you will learn how to build a patio enclosure with seating walls. You will need measuring tape, a level, a dead blow hammer, a square, masking tape, safety glasses, and work gloves. You will need the courtyard collection as well. First, draw out a plan for the enclosure. Mark the locations of the posts and panels with tape. Openings should be three to four feet wide. Start building walls at posts. Adjustments must be made at corners. Start by placing four corner blocks. ...
Want a way to monitor who is coming onto your Facebook profile? You can use a third party app, the FBspace Tracker, to enable your profile to secretly log who is viewing you. Even better, FBspace Tracker lets you set up your profile with custom HTML code. This video shows you where you can download the app, then how to install it and set up your Facebook profile through the app. Make your profile not only unique, but secure as well!
You know how sometimes you'll wake up in the morning gunning for a fabulous hairstyle, then spend an hour curling your strands to perfection only to find that when you step outside it's raining? Rain literally rains on your hair parade because it brings lots of frizz-causing humidity and wetness.
In this tutorial, we learn how to make sure your game is really dead. One of the best things is to stay away from the feet, then touch the eyes with the end of your rifle. If there is no reaction at all, then the animal is dead for sure. After this, you will need to attach a validated elk tag to the animal, making sure it's secured. Glue it to the ear using your hands and pressing it down for several seconds. In different states, there are rules and regulations as to where you have to apply t...
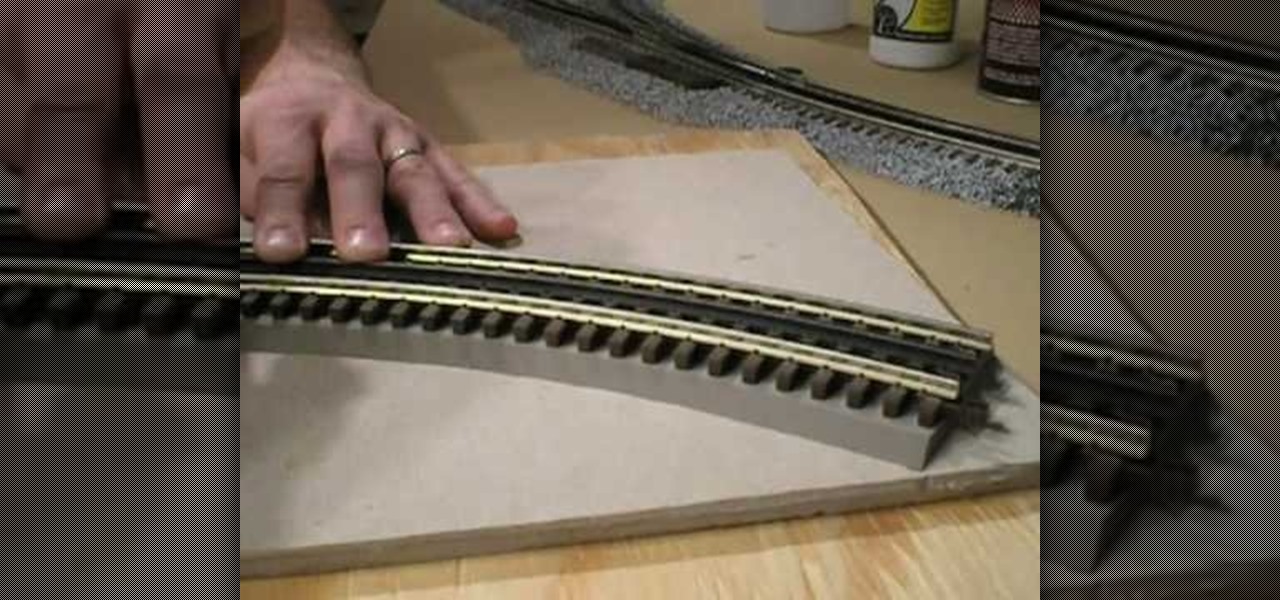
In this tutorial we learn how to lay and ballast O-Scale 3-Rail track. First, lay the track down on a piece of bare plywood. Also, you will paint the wood to prevent it from absorbing liquid when you place glue on it. Put the track down onto a flex bed and then set the flex bed on the wood. From here, place the track onto the road bed and line it up. Make sure the track is centered completely. After this, take a track screw and secure the ends down. Continue to do this throughout the entire t...
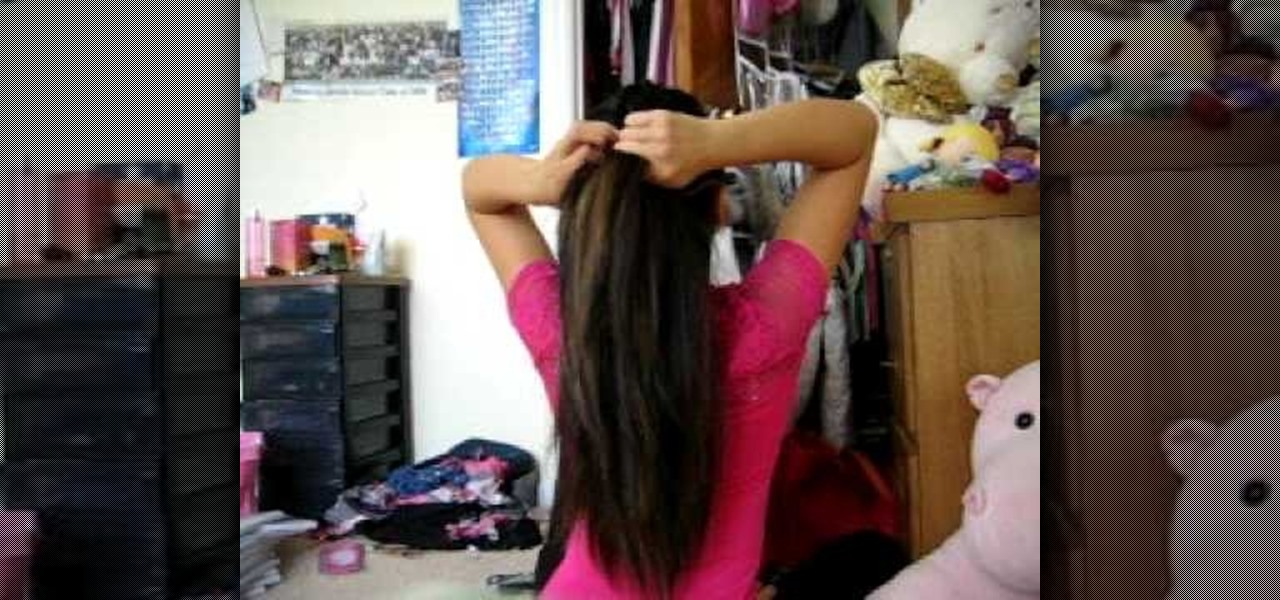
In this tutorial, we learn how to get big teased hair with clip-in extensions. First, put half of your hair up and then clip the extensions in from the root until they are secured in place. After this, you will grab sections of hair at the top of your head. Hair spray the hair and then brush the section of hair against the way it grows. Continue to do this until you have teased all the hair on the top of the head. Brush your hair softly when finished, then style how you want and spray with ha...
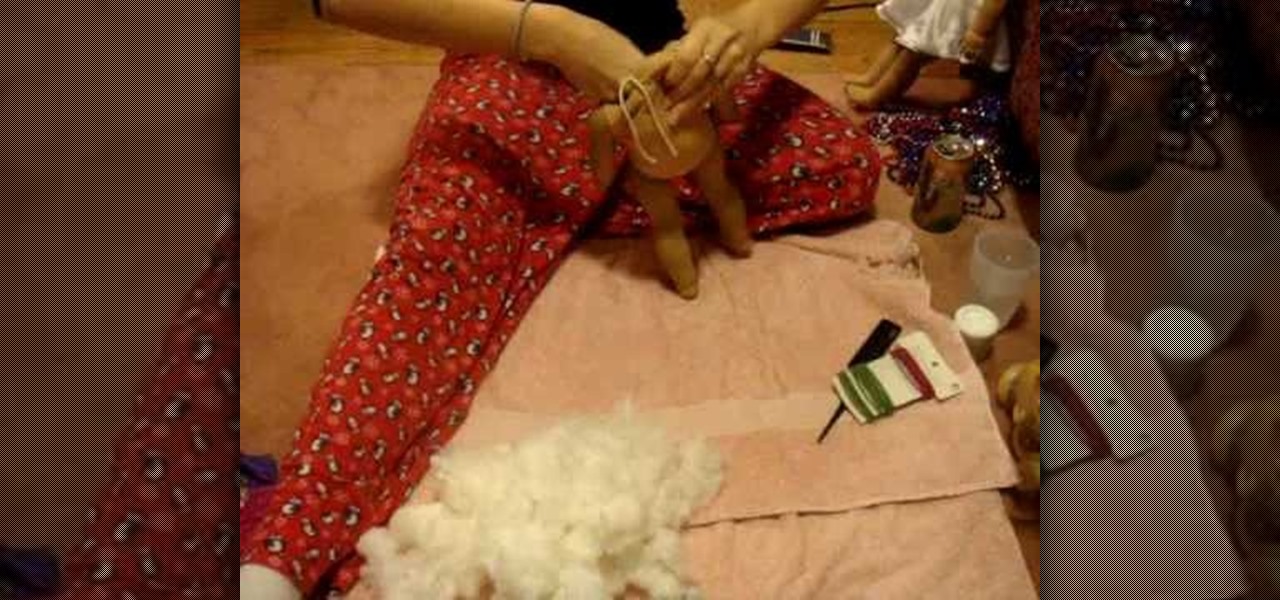
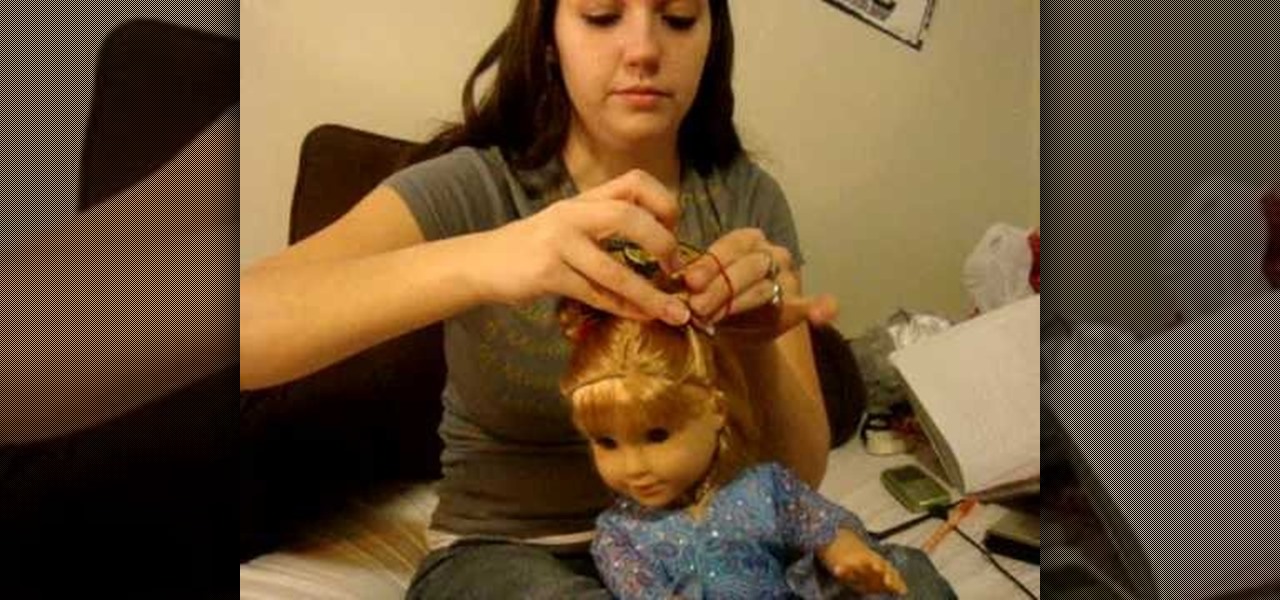
In this tutorial, we learn how to fix your American Girl Doll's loose limbs. If your doll doesn't stand up very well because her limbs are loose, you can re-string her. First, take the knots off from around the head and then pull the head off. After this, take out all of the stuffing from the doll. From here, you will find the inner limbs with the elastic pieces on them. Take a rubber band and tie it around between the gold piece and the white piece. Do this for all the limbs, then stuff the ...
In this tutorial, we learn how to prevent mice from living in your house. To start, you will need to inspect around your home and see if there are any holes that mice can get in and out of. Also, look for signs of their waste laying around. Get on the roof and make sure it's secure, with no holes in it where mice can get into your attic. If there are small holes, cover them up using small pieces of wire that they cannot push their way through. After you do this, your home will be safe from mi...
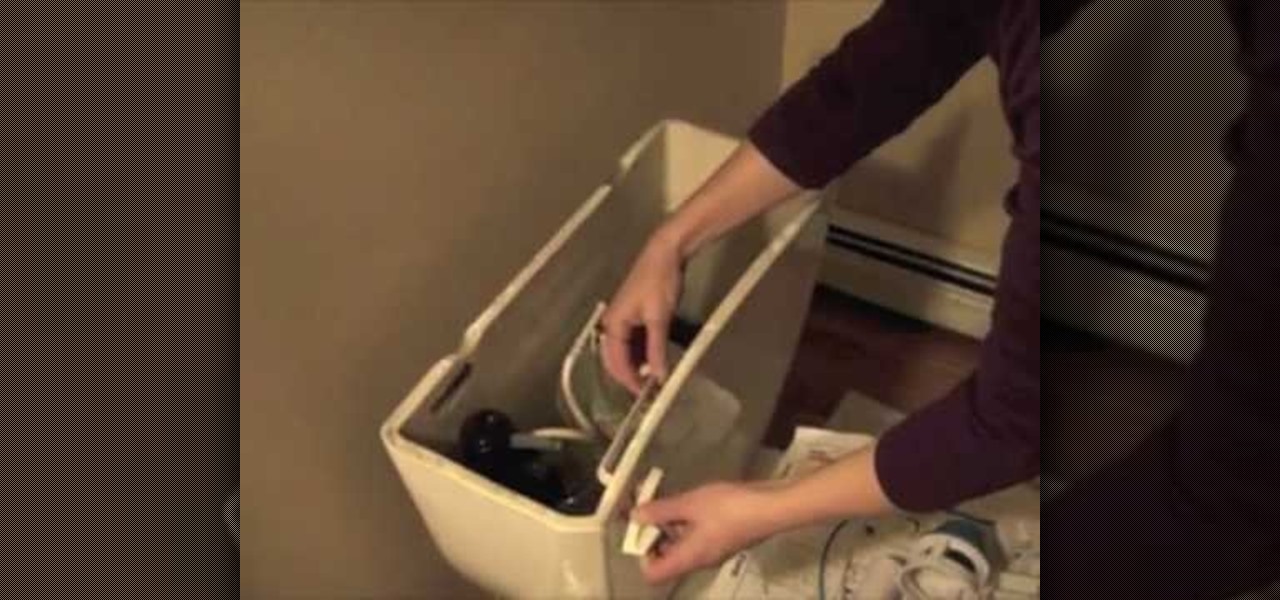
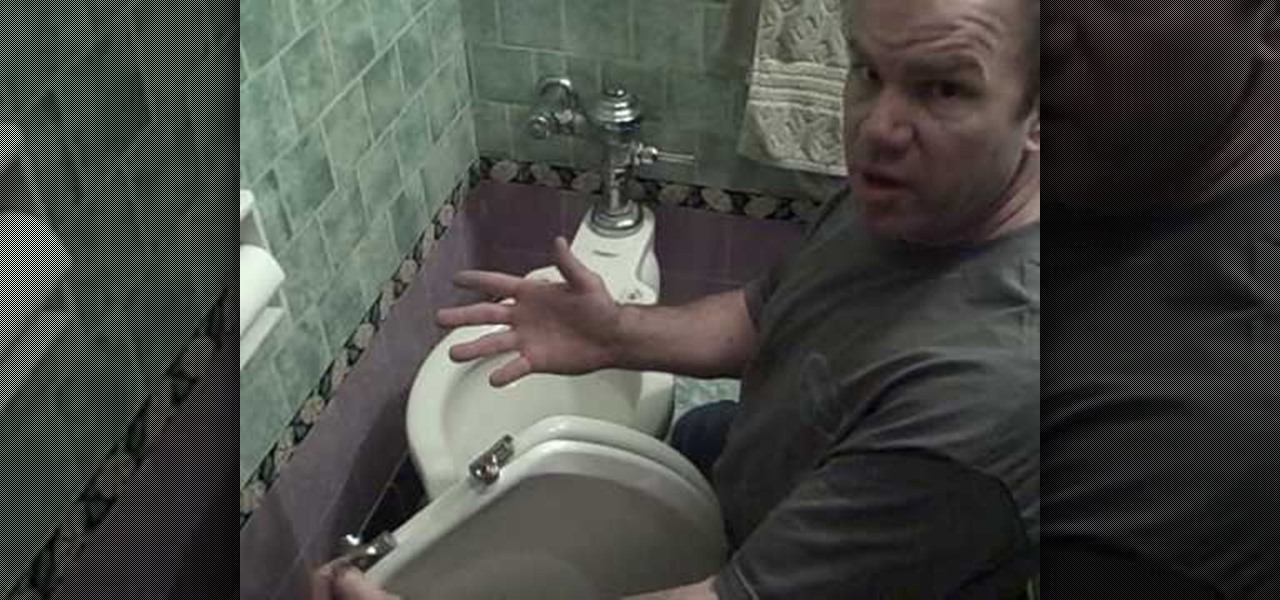
In this tutorial, we learn how to install a dual flush toilet kit. First, grab the directions from the box that the toilet came in and read them! After this, you will take the lid off the tank of the toilet. Then, install the flusher into the tank of the toilet after removing the flapper and the chain. Continue to install the kit according to the directions and secure it inside the tank. When finished, place the top of the toilet back on the tank and then turn the water back on. Test this out...
In this video, we learn how to do mini buns on your American Girl doll. Firs, you will grab a section from the top half of one side of the head. Then, you will put a rubber band around the hair. From here, you will twist the hair around the make a bun, then secure it with another rubber band. Repeat this on the other side of the head so there are two buns on the top of the head. This will look cute on the front and the back! If you want, you can keep going and make two more so you have four m...
In this tutorial, we learn how to fit a dry lining back box. This is very easy to install, and the sides will grip the wires on your light. First, determine where you want your switch, then mark a quick line using a sturdy level. Next, you will cut out a hole in the wall the size of the box. After this, push the box into the wall. Then, you can add in the light switch to the box and secure it with the wires that are inside. This will finish up this project, just make sure the wires are place ...
In this video, we learn how to gauge your ears by yourself. First, you will have to buy the next size up for your jewelry. Also make sure it has a spike on the end of it. This will help the jewelry go through easier. All you need to do now is get some antiseptic solution and pour it on the new jewelry. From here, lube up your ear hole with it as well and then push the gauge through the ear. After it's through, you will need to secure it into place. When finished, your ear will stretch out and...
In this tutorial, we learn how to install a new toilet seat in your bathroom. You will need to get on your knees to do this, but it's a simple process. First, find the two bolts on the toilet seat and unscrew them. After this, remove the toilet seat. From here, you can place the new toilet seat down. Go to the bottom of the toilet and find where the screws are placed at. Twist these until they are secure in place. Then, use a screwdriver to screw them in place on the top. This will finish you...
In this video, we learn how to build parachutes with household materials. You will need: a long string, Mylar, mesh, plastic, scissors, tape, and a weight. To get started, you will first cut your plastic or mesh into a circle or octagon shape. Then, take your string and cut it into several pieces. Then, tape the strings onto your material all around. After this, tie your weight to the strings so it's fully secured. Now, go to somewhere high and throw down your item! The parachute will help ke...
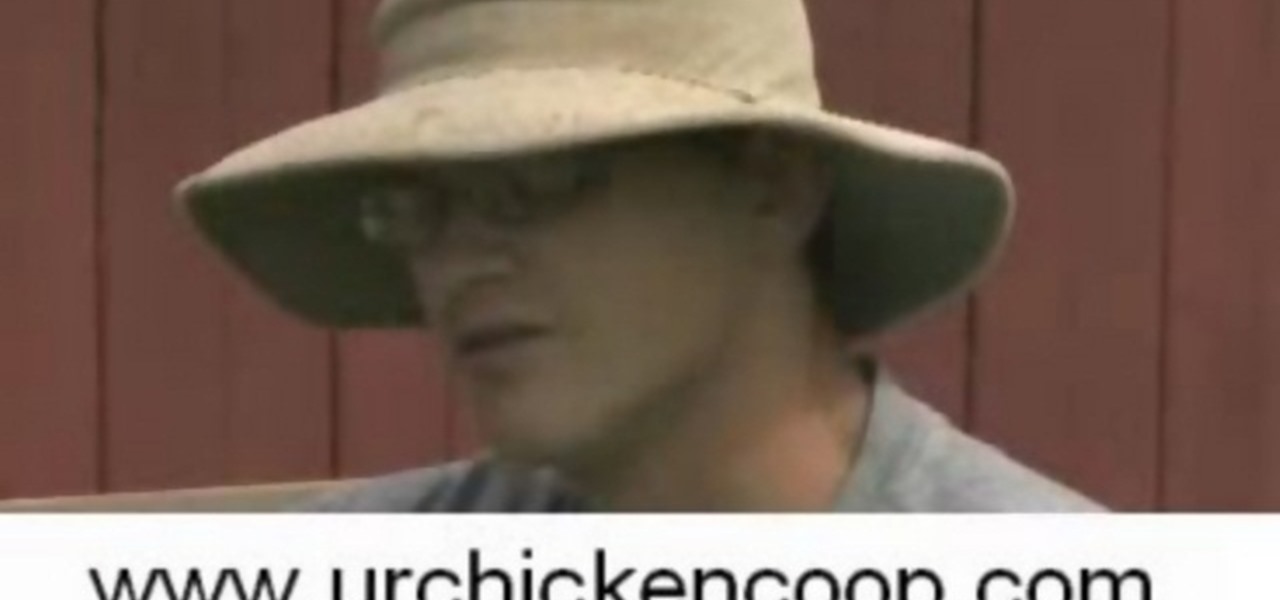
In this video, we learn how to build a nest box and ladder for a chicken coop. Start off by creating the box with several pieces of 2x4's. Measure each piece individually, then screw them into place. Make sure it's the size that you want it and that it's secure and lays flat on the ground. Once finished, you will bend some metal and place it on the sides of the coup and then fasten the hinges so they are free swinging. Then, pull in a few more piece and you will have created the nest box insi...
In this tutorial, we learn how to assemble a computer from parts. First, you will need to take the motherboard, video card, RAM, hard drive, power supply, CD-rom drive, and the case and make sure you have them all laying out. From here, you will take out the motherboard and plug the RAM in to the appropriate spot for it. This will be located next to the fan on the upper right hand corner of the motherboard. After this, place the motherboard inside of the computer case and then insert in the v...