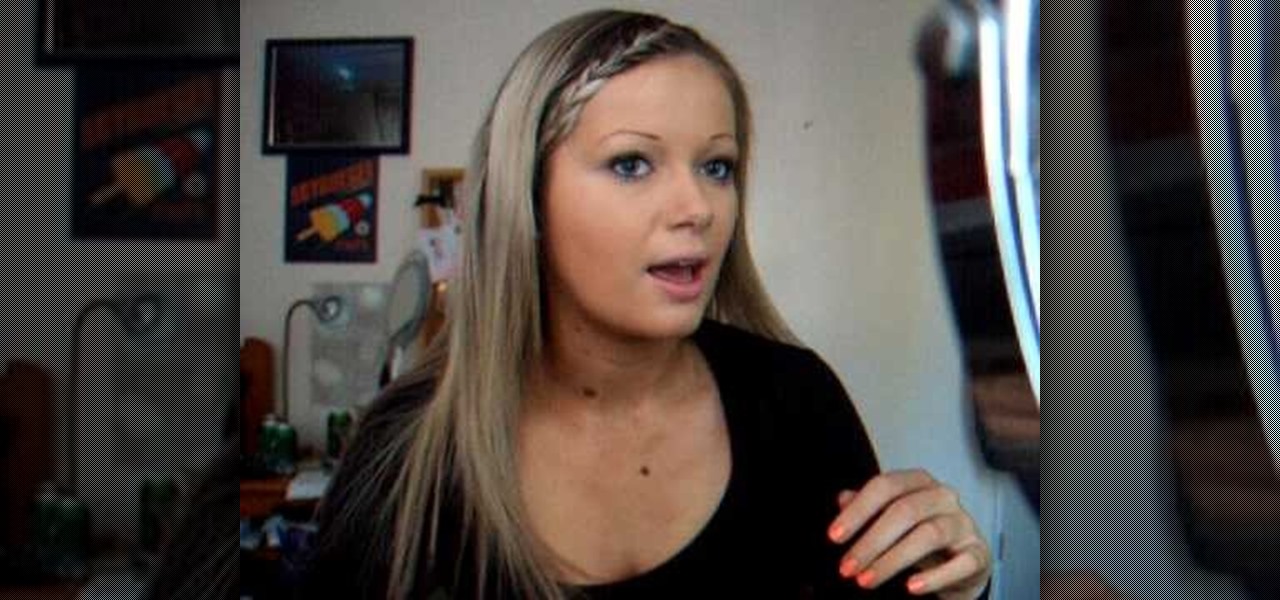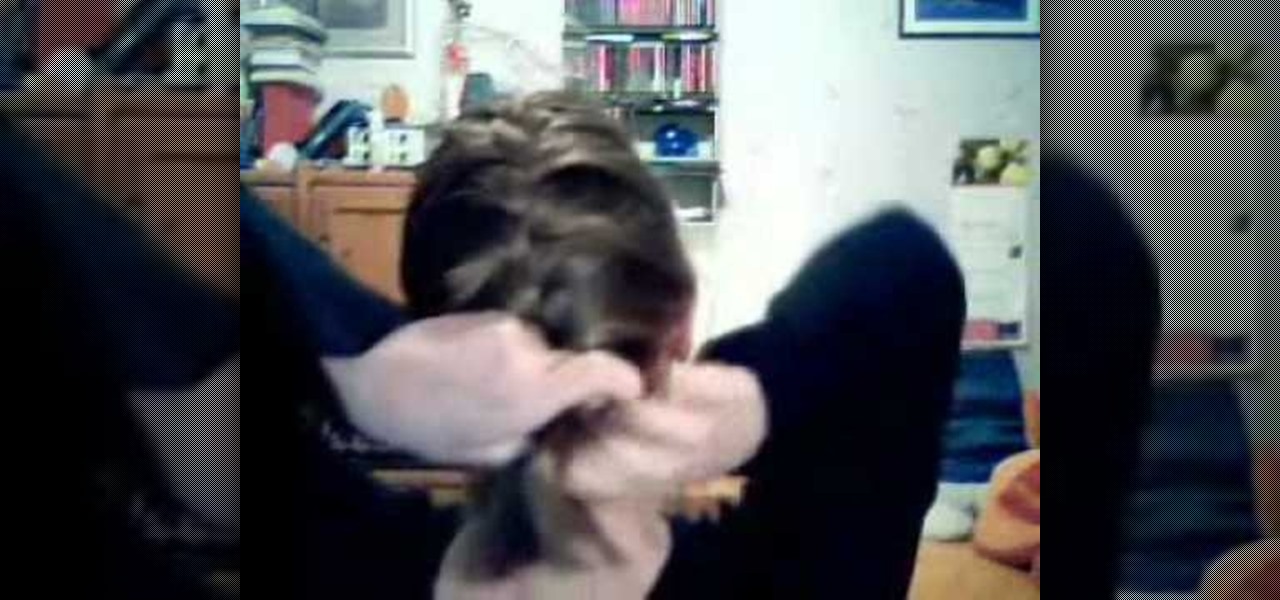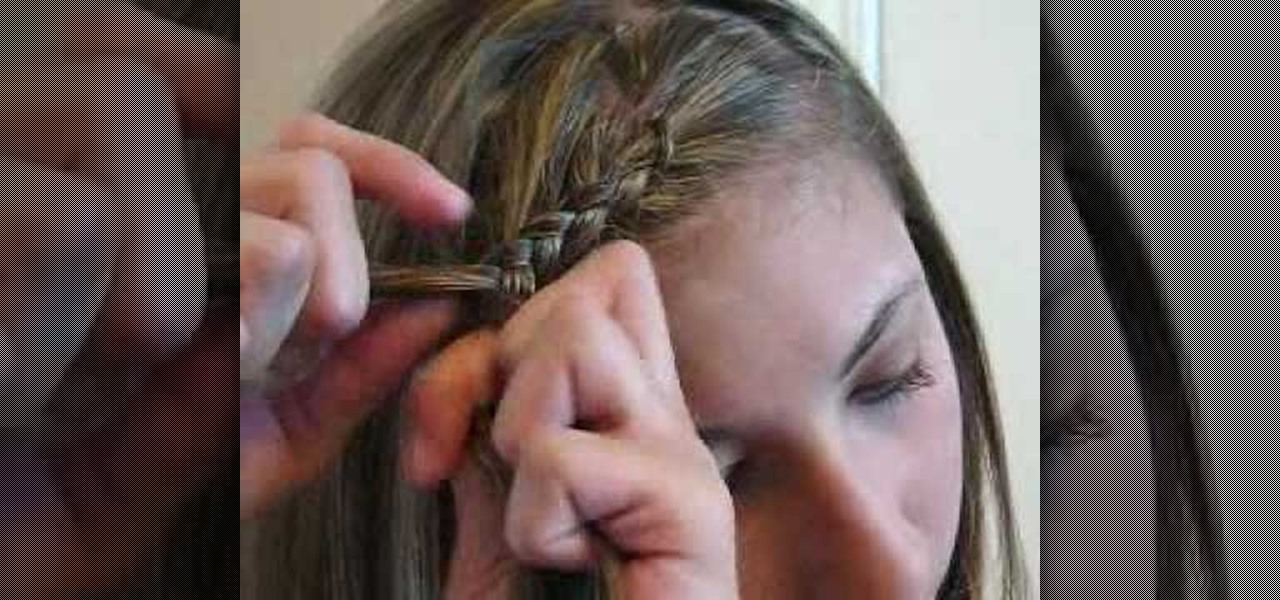
Megan aka Maybabytumbler, shows in this video how to braid bangs just like television celebrities have been seen sporting. She starts by showing us the right tools for the job: a flat, plastic bristled hairbrush and several bobby pins. Once we have the proper tools, Megan instructs us to brush all our bangs to one side and gather a small chunk of hair from the very top of the part. She separates the chunk into three sections and braids each piece under the last forming the braid knots. As she...

Catherine demonstrates how to create an eclectic, sunset-inspired necklace in this video. To create the necklace you must gather 40 yellow bugle beads, 18 orange chip beads, 3 mm red round beads, a barrel clasp, 2 crimp beads, 2 bead covers, about 20 inches of beading wire, clippers and pliers. The design is to start by threading a clap and a crimp bead onto the wire, leaving a 2 inch tail. Then thread on 15 yellow beads, remembering to cover the tail you left with the beads, 3 orange beads, ...
In this video tutorial, viewers learn how to strap down large items to the bed of a truck. Users will just need a long rope. The rope should be long enough to wrap around the back of the truck. Take the rope and make a loop. Then wrap around it and pull. It should look similar to a rope noose. Make sure it is tight. Then take the other side of the rope and put it through the loop. Pull on it to tighten. Then wrap around it and pull. Do this several times to secure it. This video will benefit ...
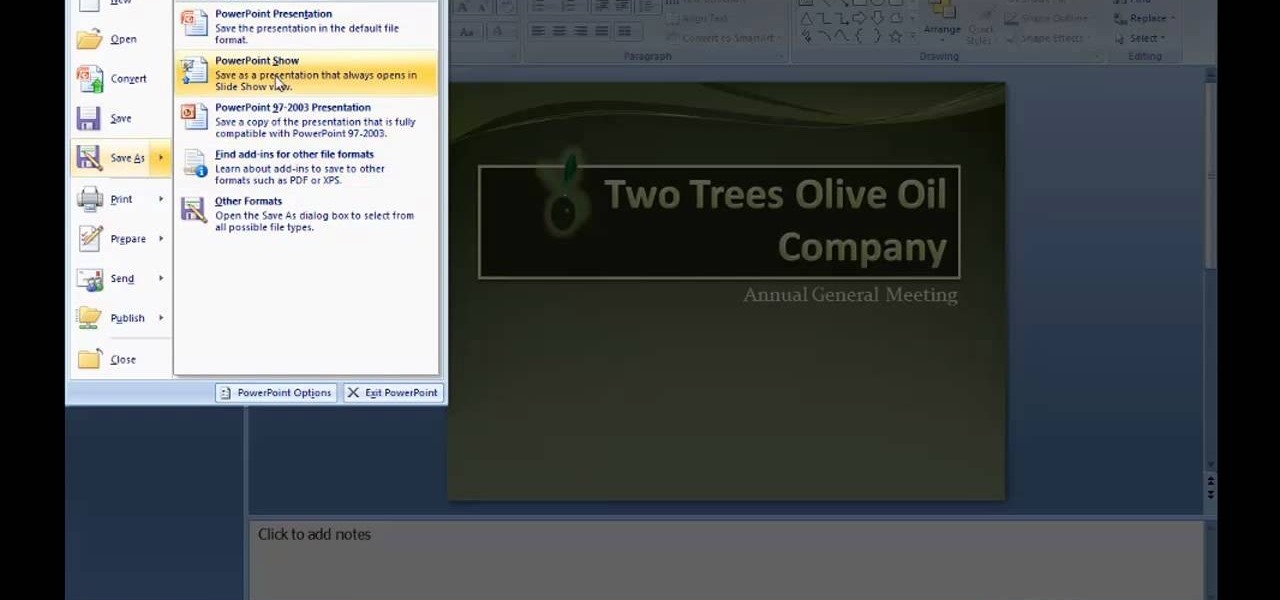
There are many new features which will make you more comfortable in doing your work in PowerPoint 2007 which will force you to switch from PowerPoint 2003 to PowerPoint 2007. There are number of new features in PowerPoint 2007.

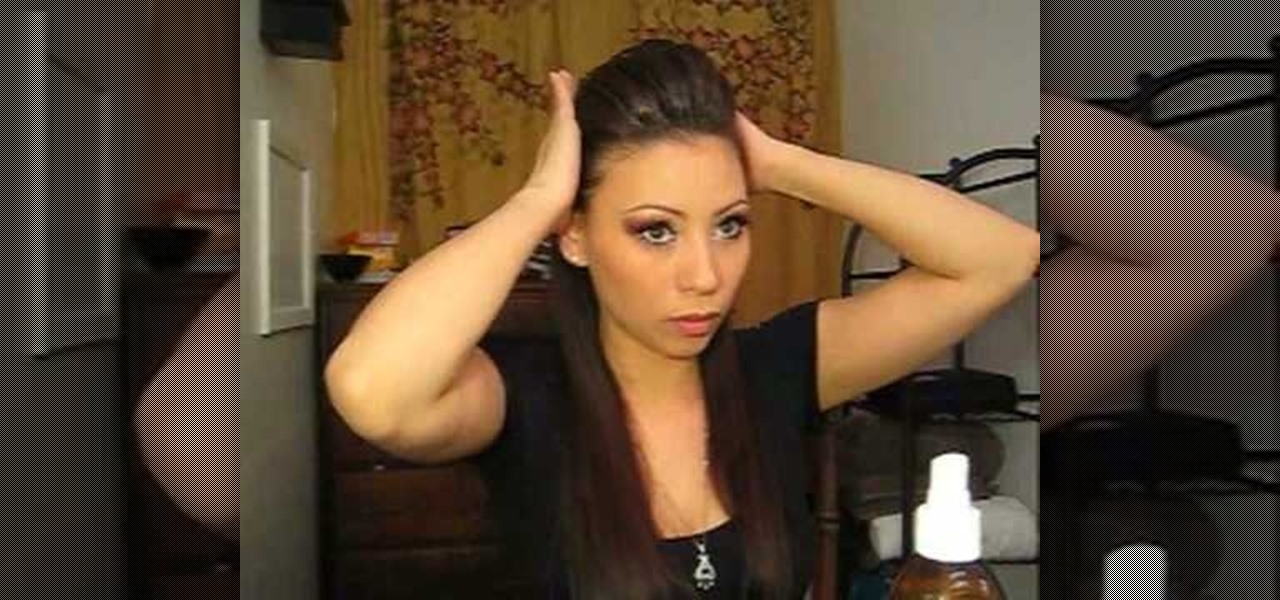
This video demonstrates an easy hair poof for a different hair style. First, section the hair to create the desired width of the poof. Section back about two inches from the forehead. Smooth that section of hair taut with a comb and twist it one and half to two times. Instead of pushing the poof forward and creating an uneven style, place the finger of the hand not holding the hair on top of the taut hair. Then push forward gently with both hands. Then where the twist is held against your sca...

Those interested in learning how to make their own jewelry, can learn how to make a floating illusion necklace by following the steps in this video tutorial. You will need a beading board, beading wire, crimp beads, beads of your choice, a barrel clasp, wire cutters, and crimping/flat-nosed pliers. First measure out how much wire you will need. The tutorial is making a 16-inch necklace. Make sure to cut extra wire. For a 16-inch necklace, this means you should cut approximately 20 inches of w...

This video describes the easy process of building a garden retaining wall. First you will need to map out your area for your wall with strings and dig your trench for your stones. You will be filling the trench with gravel to hold your stones in place. Make sure to pack to gravel securely into the ground. You should have a leveling tool to ensure your base is very level. After you make sure that first level is secure and in place you will stack your next level of stone. Once the homeowner has...

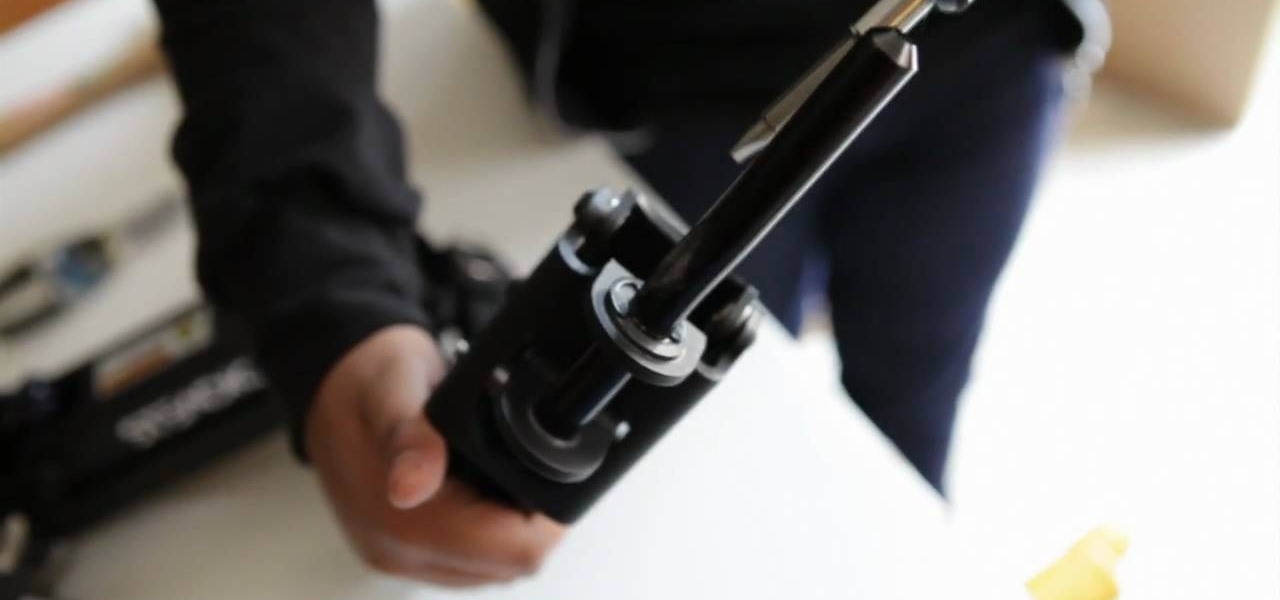
The lady shows how to make the steadicam arm to work with glidecam stabilizer. The steadicam arm is made such as only a steadicam can be fitted on that. The video describes how to make the usable for glidecam with three simple tools ,a 10 ounce hammer ,a long nose player and a flathead screwdriver. First take out the circular clip with which the post is secured with the screwdriver unscrew and pull the post out .Using the hammer straighten the post .The post will have a scratch but the straig...

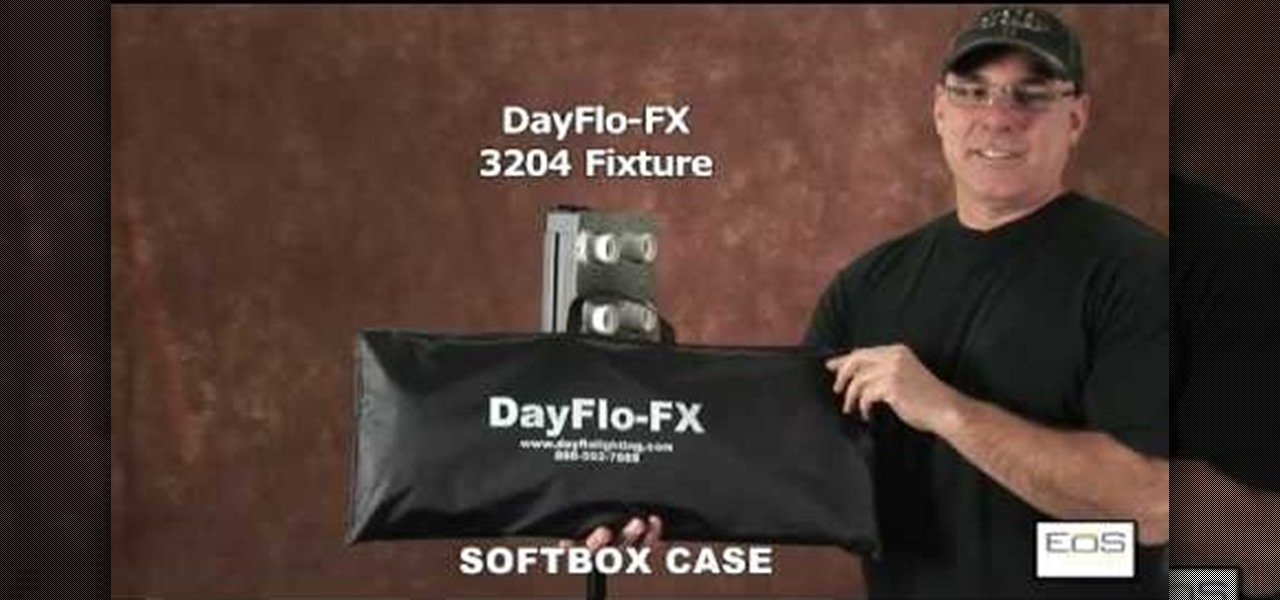
This video is a tutorial on how to assemble a DayFlo-FX 3204 Softbox. The instructor begins the video by showing what the DayFlo case looks like before assembly. The first part installed are the diffuser panels, it is also noted that you must remove the protective film from the front panel. The instructor notes that there are holes drilled into each side of the fixture. The next step is to insert the fat tipped ends of the rod into the corner holes and install the rods into the top two corner...

Brittany helps guide you throw the steps of making your very own homemade earrings with beads and the right tools. She shows you everything you need with a subtitle description to help you understand just what you are looking at. Brittany demonstrates how to make the earrings with using the heaviest bead on the bottom so they are weighted down and by sliding them up the head pin and cutting the end of the pin off with a pair of wire cutters. Next she bends the end of the pin with needle nose ...

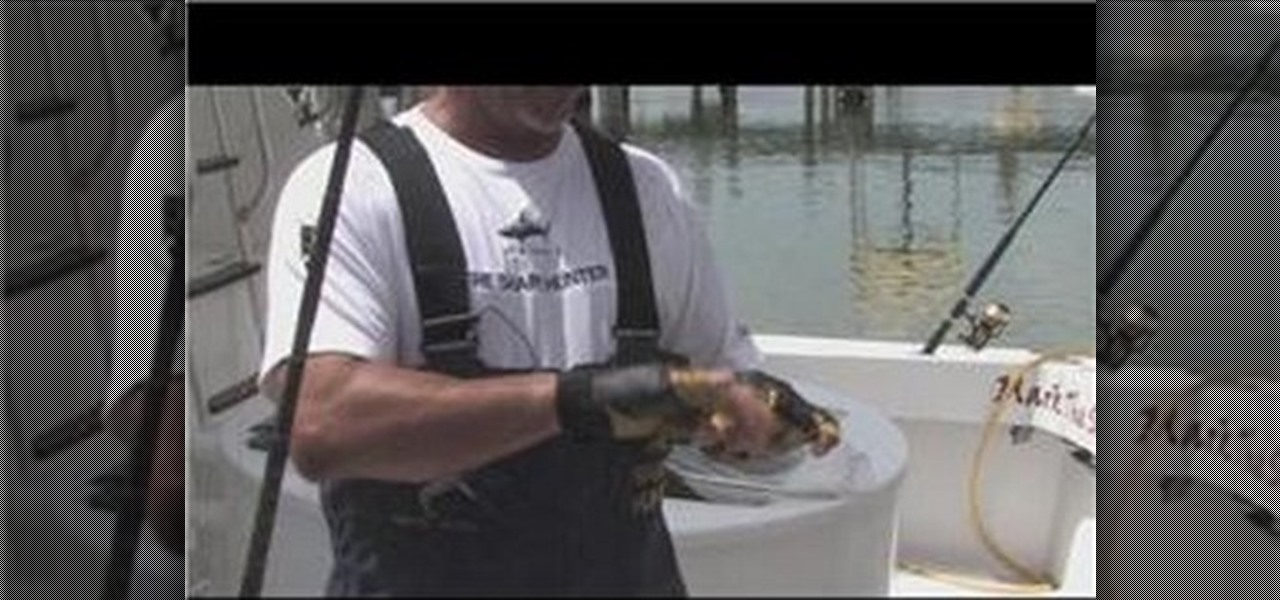
In this tutorial from Mark the Shark, viewers are shown how to apply a hook to a fishing pole. One such method is using a Fishermen's knot, and wrapping the hook around the line eight times, and then wetting it with saliva, before it is tightened. Then, the user must make sure than the knot comes all the way down to the hook, to make sure it does not rotate. Next, pliers must be used to eliminate excessive line, and then the line must be searched for crinks, or any imperfections. Mark the Sha...

In this video you learn to make a spooky tree with decorations for a Halloween lawn ornament. They start you off with getting a branch that has limbs going off to look like a dead tree. Next they spray it with glossy black paint. They found an urn to put the tree in but you can use any pot. Mix some plaster up after you measure how much you will need to fill whatever pot or container you have chosen. Then you fill it with the plaster, stick your branch in it and secure it with tape. While thi...

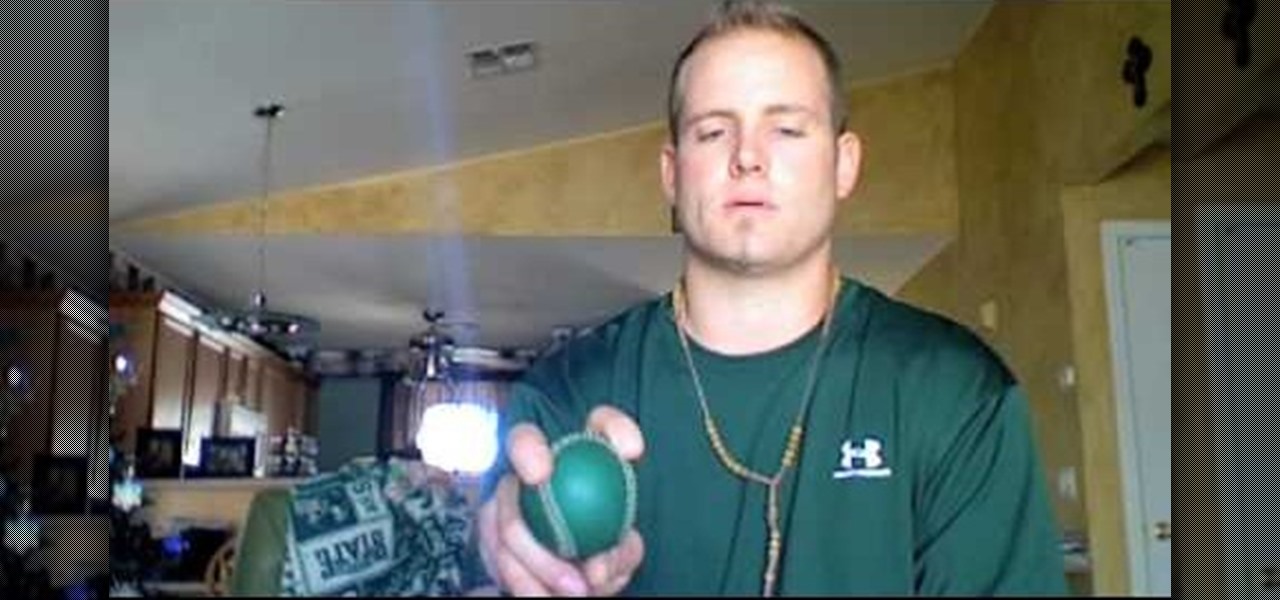
This video shows how to throw a sinker baseball pitch. The instructor begins by showing his two seam grip on the ball and notes then he does not use the strong thumb tactic while pitching. The instructor explains how he throws through the inside of the baseball which involved his hand rolling over mid way through the pitch. Another pitching technique the instructor shows is the cross finger throw which is when you hold the ball securely with only two fingers on the ball with the thumb only sl...

There are a number of things that users must check on their roof to insure safety and prevent any leaking. For example, users should check that the roof vent is fastened and ensure that there are washers or caulk under the nails. On the chimney, make sure the flashing is fastened tightly and downwards. Users should also inspect the condition of the chimney. Remove any tree branches and clean the roof. This video will benefit those viewers who want to learn how to secure their roof from proble...

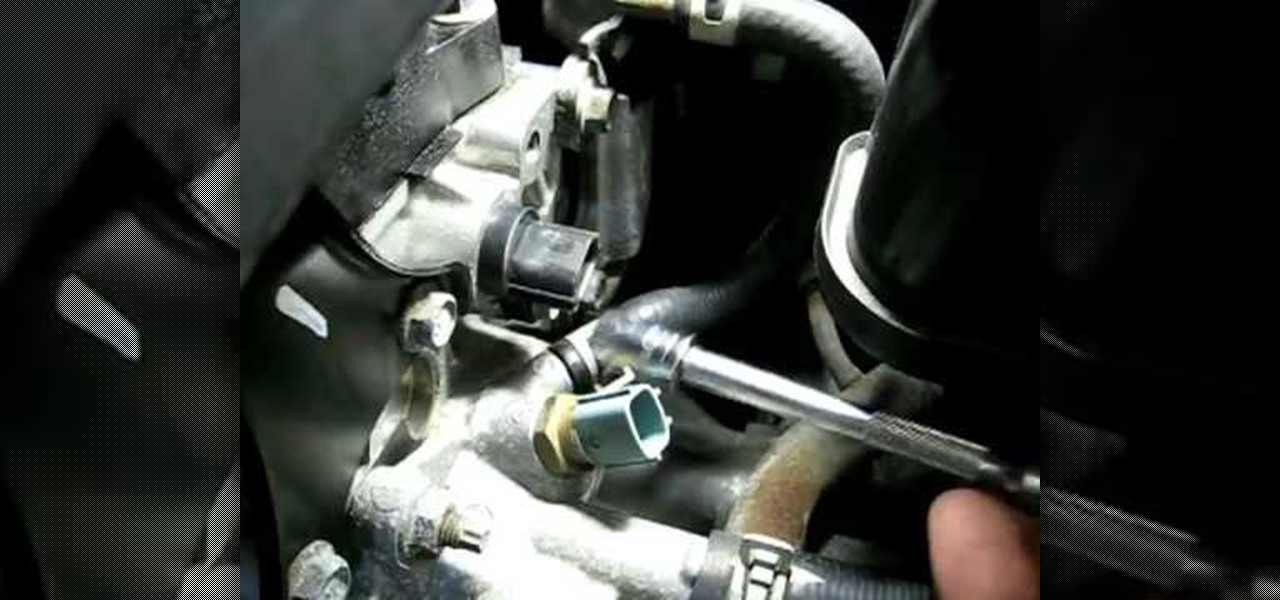
In this video, Richpin demonstrates how to replace the camshaft sensor in a Nissan Altima. The cam sensor is located by the cylinder box. First, remove the electrical connector off of the sensor. Push up on the lock on the bottom of the sensor to pull back and remove the connector. The sensor is held in by a bolt so remove the bolt with a ratchet wrench. Next, pull out the sensor. Wiggle it to remove the seal of the o-ring. Rub the residual oil on the new sensor's o-ring. Then, slide the new ...

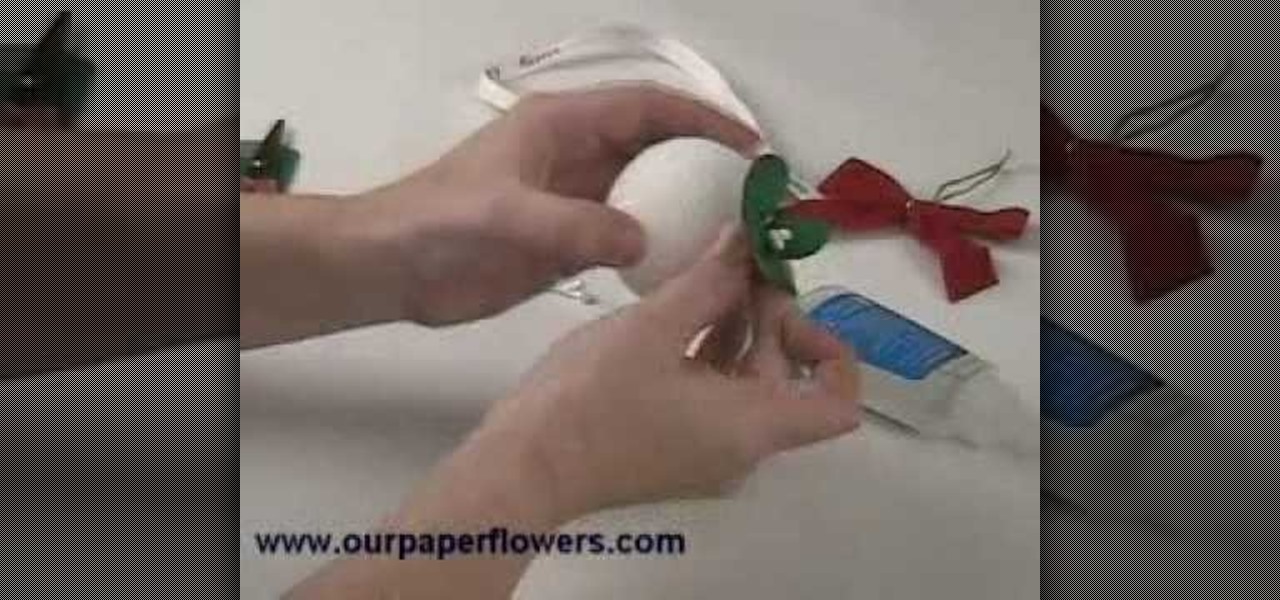
To make a paper flower mistletoe kissing ball, cut leaf petal shapes out of green paper. Apply glue to white wire berries and attach them in between four paper petals. Wrap the ends of the petals with wire to secure the bouquet. Adjust the leaves as desired. Snip the excess wire with wire cutters. Insert the mistletoe bouquet into a Styrofoam ball. Repeat until the ball is completely covered in mistletoe bouquets. Attach a red bow to the top of the mistletoe ball. Finally, add string to hang ...

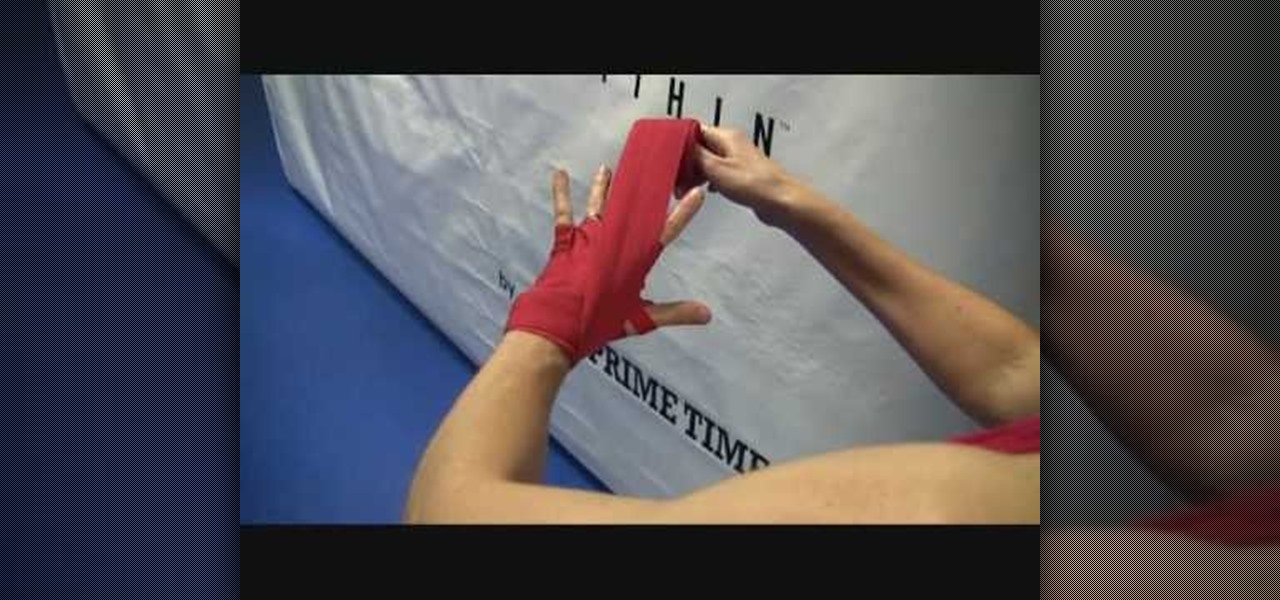
Wrapping your wrists for boxing is very important to provide protection and support when you are throwing your punches. This video shows you the right way to wrap your wrists to prevent injury. You'll be putting the seam side of the wrap against your skin, and start by putting the loop at the end over your thumb. You will start by wrapping the wrist a few times, depending on how long your wrap is. Watch to see the correct way to cover the knuckles and secure the wrap against your hand before ...

In this video tutorial, viewers will learn how to make a simple pencil holder. This is a child's art and crafts activity. The video provides all the materials that are required in order to make the pencil holder. The materials required include: a toilet paper tube, paint, paint brush, glue, scissors and a sheet of white paper. Users simply decorate the paper with paint and wrap it around the toilet roll. Next, cut another piece of paper for the bottom of the roll and secure it with some tissu...

The first key to snagging the girl is to captivate her with your wal. A confident and masculine walk will have all eyes on you, even the ones you're looking back into. Not many men have the confidence to take over a room with their presence. And as a man who wants to get the girl, thats your first key, confidence. Bring it in your walk, your talk, and your attitude. Don't be cocky, just secure enough to chill her insecurities.

Learn how to recycle and reconstruct your denim jeans: Craft side Look, Learn and Create with Stefanie Girard and Jean Therapy with Scathe G. Allison demonstrate how to recycle and reconstruct your denim jeans. You can make a bag out of your jeans by using the leg as the strap. Customize jeans by adding patches to the legs and ruffles to the bottom. All the projects use simple sewing machines and stitches and don't require extra tools. A skirt can also be made by sewing together 14 pairs of d...

If you want to know how to ice & decorate cookie pops, you should watch this video. To ice and decorate cookie pops: Spread your pan with a non-stick spray first before putting the refrigerated dough in the cookie pop pan so that it doesn't stick when you take it out. Position cookie stick, slightly pressing into dough. If desired, place a little additional dough over the top of stick to secure. Bake cookie following pan instructions. Normally, it takes 10 minutes for it to be baked. If you d...

Here you will learn how to pack clothes and drapes for storage or moving. Follow these easy steps to pack clothes and drapes the right way. Hanging clothing or drapes need to be packed in a standup wardrobe. This box comes with an aluminum bar that spans two sides. Place the wardrobe box near the closet. Secure the bar with packing tape and place clean paper at the bottom of the box. Hang clothing, distributing them evenly. You can also place quilts, and bedspreads on hangers. When you are do...

Beside the frosted cake, you will need some artificial flowers, some pretty ribbon, a ball of Styrofoam and some saran wrap. Start by covering the Styrofoam ball with a piece of saran wrap. Then clip off small pieces of the dried flowers and stick them all around the ball of Styrofoam. If the flowers have wire stems you will need a pair of wire cutters or pliers for this job. When the ball is completely covered with the flowers, set it in place on top of the cake. Next, measure the ribbon the...

May Paris teaches how to use and apply gold foil on your nails. First step is to apply the base coat as it protects from some harm. Carefully tear the foil in small parts. Now apply brown nail color(or any other color you wish) on the base coat of your nails. Let it dry and use tweezers to pick up the foil. Stick the foil very carefully to your nails as shown. Let it dry and follow the same procedure for all of your nails. Finally apply the top coat to secure the foil as shown. The foil can b...

For anyone interested in learning how to make their own jewelry, try the simple steps in this arts and crafts tutorial to make a Bali bead and lampwork bracelet. To make the bracelet, you will need jewelry wire, a sterling silver toggle and clasp, crimp beads, Bali stone beads, lamp beads, silver bead snowflake caps, and silver spacers. The pattern calls for a snowflake cap, two natural stone beads, medium-size spacer, followed by a small spacer. This pattern of sandwiching a stone bead betwe...

The ability to tie a ribbon bow is a basic skill that can dress up any drab looking gift box.

Ashley Fierce unlocks the secrets of getting hair like Beyoncé Knowles in her video "Single Ladies." You can start out by straightening your hair and putting on a plastic headband in order to tame any short baby hairs you might have. Use hairspray to tame the front and sides of your hair and then take a comb and hairspray and lightly tease small sections of your hair in order to give them volume. Take your bangs and bobby pin them to the side so that they are out of your way. You will work wi...

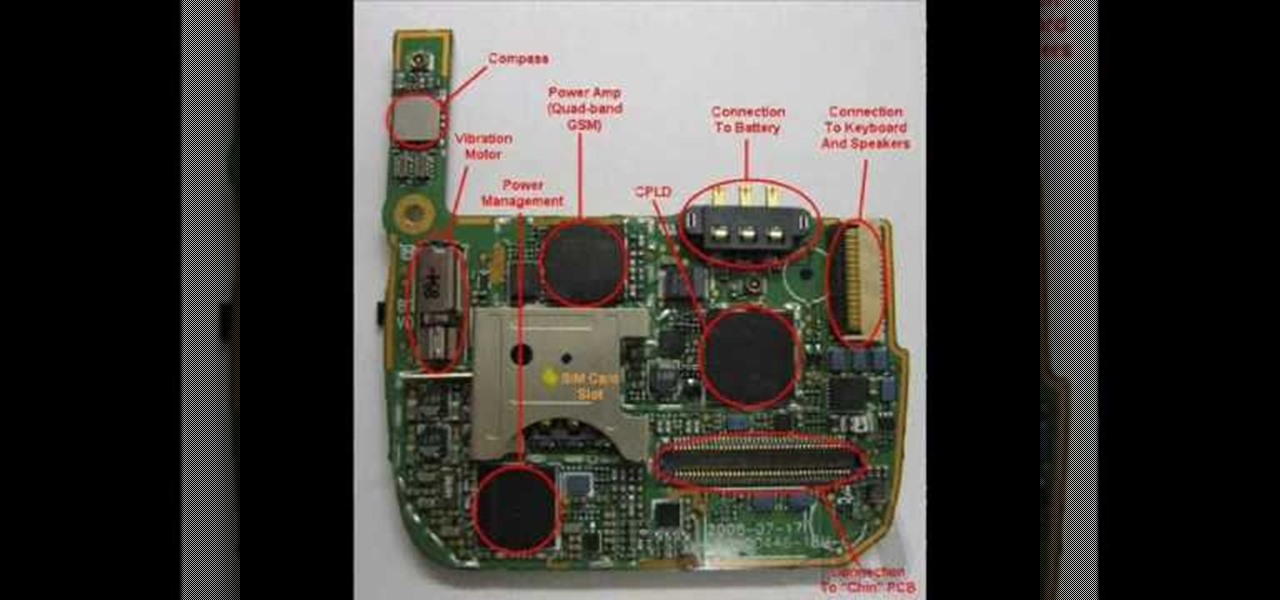
In this video we learn how to disassemble a T-Mobile G1 HTC phone for repair. First you want to make sure to wear an ESD wrist strap and make sure it's secure around your wrist. Then remove the battery from the device. Next unfasten the screws from the back of the housing on the G1. Then separate the housing from the device and then the speaker from the housing. Next unplug the UMTS cable and the GPS coaxial cable. Then remove the UMTS board and GPS boards from the device. Then disconnect the...

Jane from A Floral shows us how to make a bow using satin ribbon. You should first get a long length of ribbon from the spool. You should next determine how long you want the tails of the bow to be. It's okay to make them a little longer because you can cut them off if needed. Start with a loop that is crossing over the top. Take another loop and cross it over the top so you make an X. Scrunch it together as tight as you can. Flip the satin over to one side, dull side down and shiny side up. ...

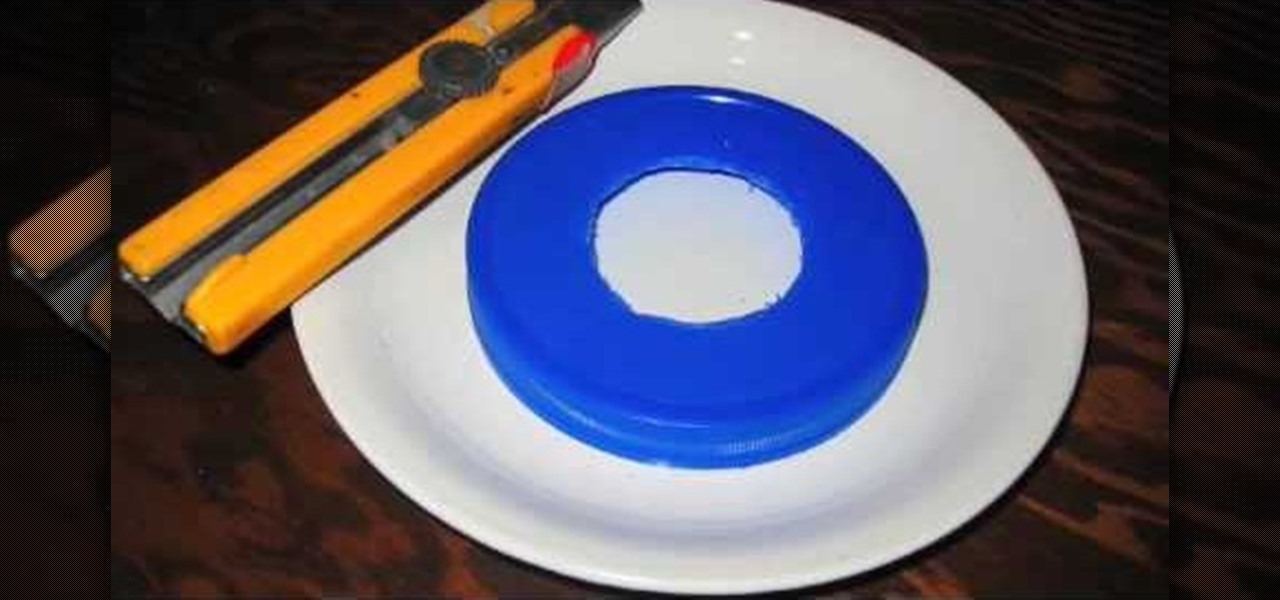
Using simple materials in most any home, this video provides a novel solution to fruit flies in your compost pail. Composting is a great idea, but if you are not careful, the fruit flies will start to take over and you'll wish you had never started. But this simple idea will keep you composting without the bugs! Starting with a large container from something like a peanut butter jar, you can cut out a large hole and secure a scouring pad to the underside of the lid. Then, place the lid on the...

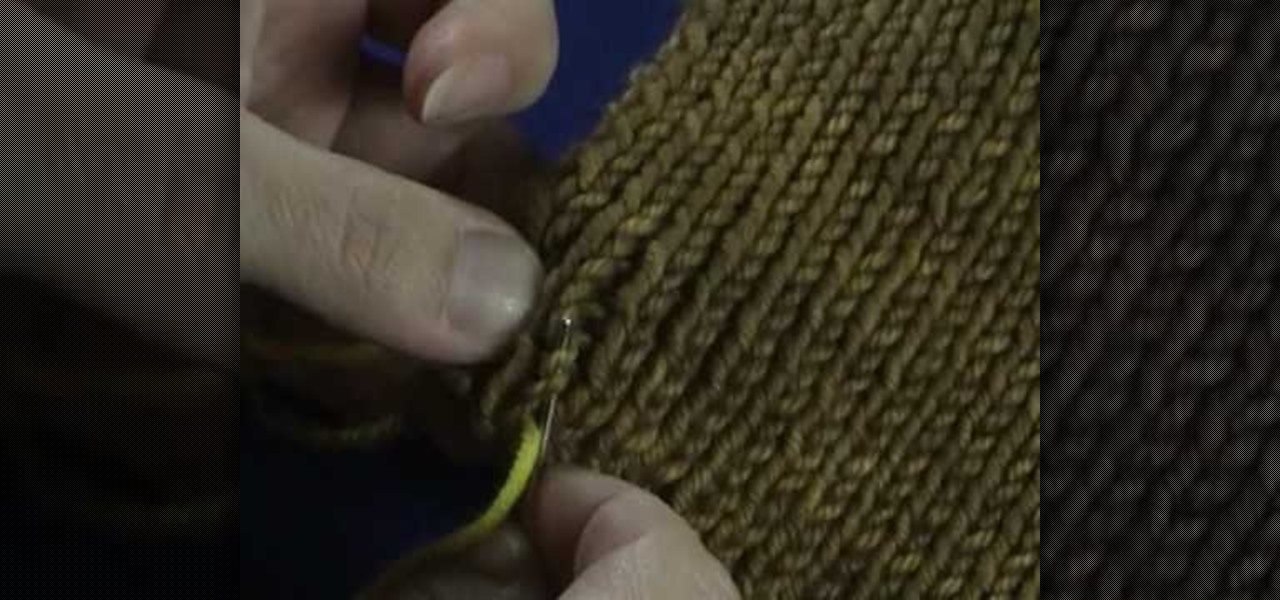
This video demonstrates a very simple method of weaving in the ends of the yarn that are hanging out after you have finished knitting your garment. With the end piece threaded into a needle, bring it in one or two rows so it's not right on the edge. Then working up the row, weave the thread in and out of each knit stitch for an inch or so. Pull the yarn tight, then go one stitch over and work the yarn down the other side in the same manner, weaving in and out of each knit stitch. This creates...

This instructional video by ToyotaUSA guides you on how to use the rear cargo area of a 2010 Toyota 4Runner. The 2010 Toyota 4Runner is extremely spacious and the 5 passenger model has a sliding rear cargo deck which can be pulled out as demonstrated by moving the lever and pulling it to one of the two positions (halfway out or fully extended). There is also a concealed storage area between the second row seat and the cargo deck. It also has rear tide outs to secure cargo. The rear hatch has ...

Need a girl toga fast and easy for that crazy party coming up? This tutorial will show you how to make a toga quickly using common materials. Taking a bed sheet, you will need to open it and hold it lengthwise, folding it in two. Then, taking two pins, measure out the distance between two shoulders and secure the pins at two locations on the bed sheet which more or less will match up with the location of your shoulders. Then simply slip the toga over your head for a quick and simple outfit to...

This video shows the viewer how to create a stylish centerpiece for a wedding reception using commonly available items. This is done by first placing a square mirror on top of a larger piece of light pink tulle. Then an artificial plant was selected and a number of glass beads were secured around the piece using another piece of tulle and a ribbon; this is to stop the plant floating. The plant is then placed in a tall square vase that is filled with water. A single drop of food dye is then ad...

Video shows how to use bobby pins to French braid your bangs to reflect a style used by Lauren Conrad. In order to begin this look bangs must come about down to your chin so it is long enough to braid. Starting out by brushing your hair straight you pull back your hair back with a clip leaving only your bangs free. Then you gather three small sections of hair and begin braiding starting with the back most length first. After finishing this braid you secure the braided hair back under the rest...

Showing you how you can create the French braid look even with short layered hair about five inches in length. Starting at the front of your hair you begin the braiding process by gathering three lengths of hair. As you go further back you continue to gather hair into the braiding strands to continue the French braid look all the way back and secured with a scrunchy at the end to make a longer French braided style look otherwise not creatable with regular short hair. Easy to repeat and follow...

Patti Moreno, the Garden Girl, shows how to install a drip irrigation system in a container garden for growing herbs and vegetables. Container plants also need more fertilizer. First, at the spigot, connect a manifold/timer with a fertilizer dispenser and a filter to remove particles. Then run a half-inch main tube line to the patio, using clamps to secure the tubing to fencing and elbow joints at any corners. For each container, punch a hole in the main tube and attach a quarter-inch tube wi...

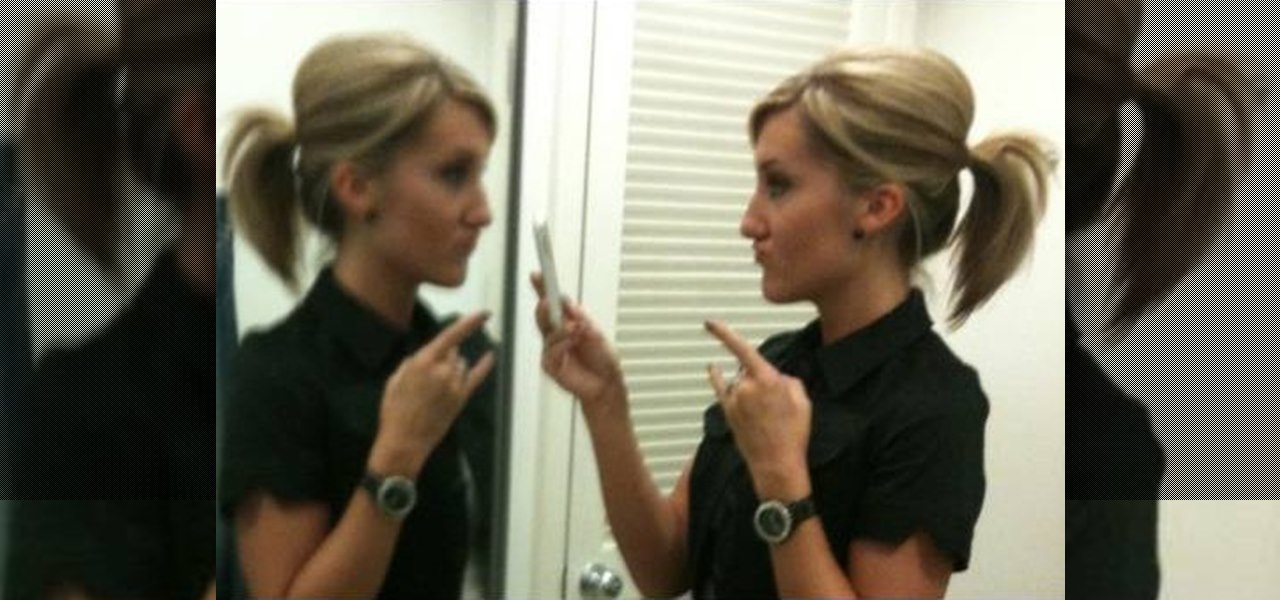
To make a bumped ponytail start with your hair down. Put your hair up like you are going to put it half up and spray the back with hair spray and pat dry. Next, take a smaller section of the top and spray that two while patting until dry. Next, separate your bangs from the rest of your hair and gently start to pull your hair back into a ponytail trying to make it look as natural as possible. Secure with a rubber band. Spray your bump with hair spray. Next tighten the bottom of your ponytail a...

The eye splice might sound like some horrible procedure from the lab of Dr. Frankenstein, but it's actually a very useful skill to learn for camping or disaster preparation. Eye splicing is a way to secure different strands of rope together so they're stronger than a knot. In this tutorial, the guys at ITS Tactical show us how to do an eye splice.

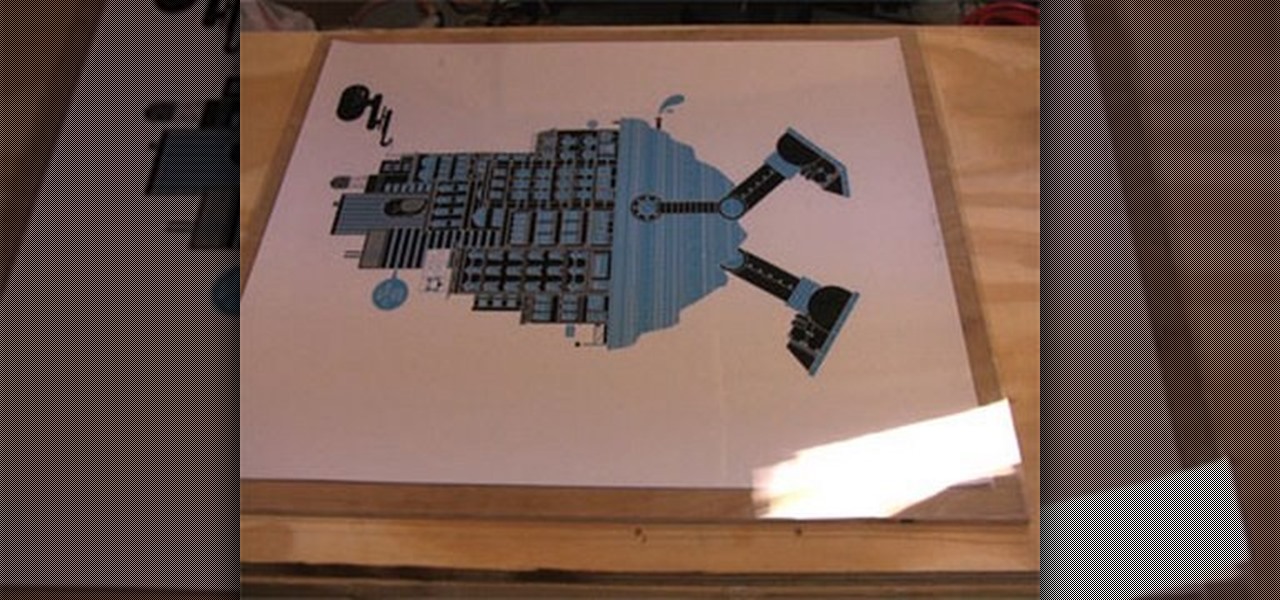
Framing and matting your favorite posters or art can get expensive! In this Curbly video tutorial, you'll learn how to make a quick and inexpensive frame. All you need are some basic supplies available at almost any arts and crafts supply store including: A sheet of plywood, a plexiglass cut to the size of the plywood, archival paper cut to the size of the plywood, frameless corner clips, and a bracket.


