There are lots of people who want to stay anonymous online, and lots of reasons they want to do this. Staying anonymous on the internet isn't easy, and it's probably possible to trace almost anyone with enough time and resources. A lot of people think that they're completely secure with just one method of cover. For example, a lot of people thought anyone using the Tor network was nearly untraceable, but then things like this often cast doubt on just how secure these networks are. Unless you ...
Oh how we love open source software. If it wasn't for Open Office, we never would have been able to write that seven-page English paper while on our friend's Microsoft Office-lacking laptop during an impromptu road trip to Mexico. And Ubuntu, an open source secure operating system, offers you similar convenience. A much more intuitive computer operating software than your standard Windows or Mac OS, Ubuntu is great if you know what you're doing.

Cake pops would cease to have a reason for existence without lollipop sticks. After all, the stick is the only thing distinguishing cake pops from plain cake.
Celebrites make party hopping look so easy. Flitting around from red carpet event to after party to after after party, they always seem to look so flawless in their pictures. But here's a little secret: They have some help from Hollywood's top hairstylists.
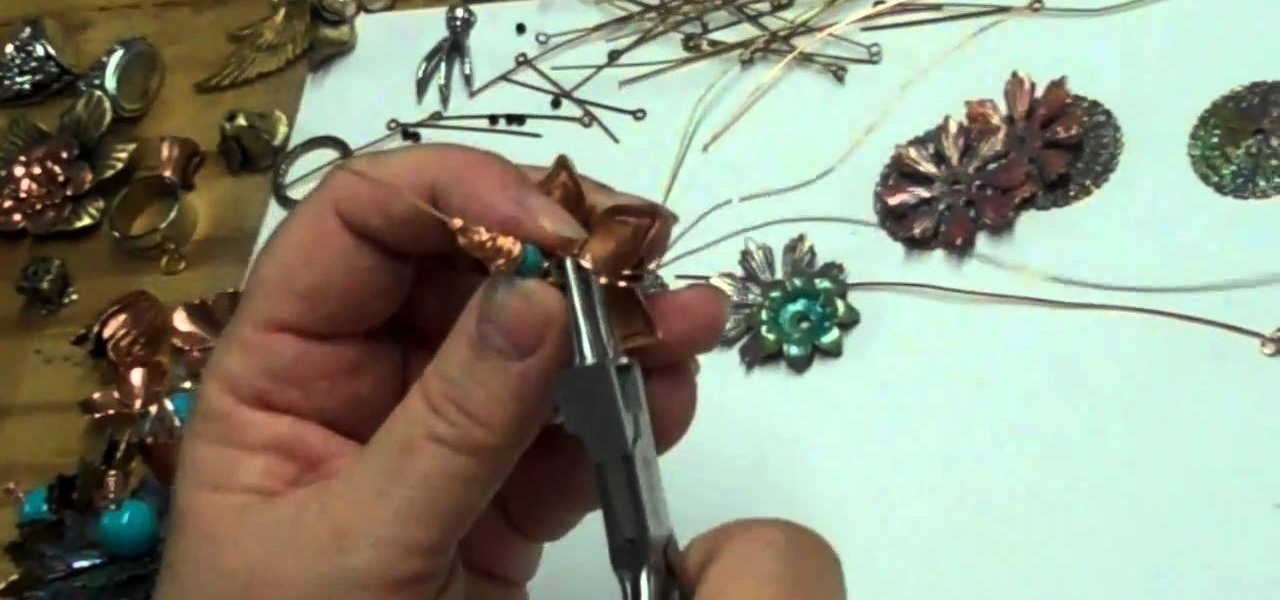
Wire wrapping is like the bread and butter of jewelry making. It doesn't matter if you're into vintage inspired, assemblage necklaces or Steampunk pieces - wire wrapping is essntial for securing everything in place and often times is even used as part of the decor.
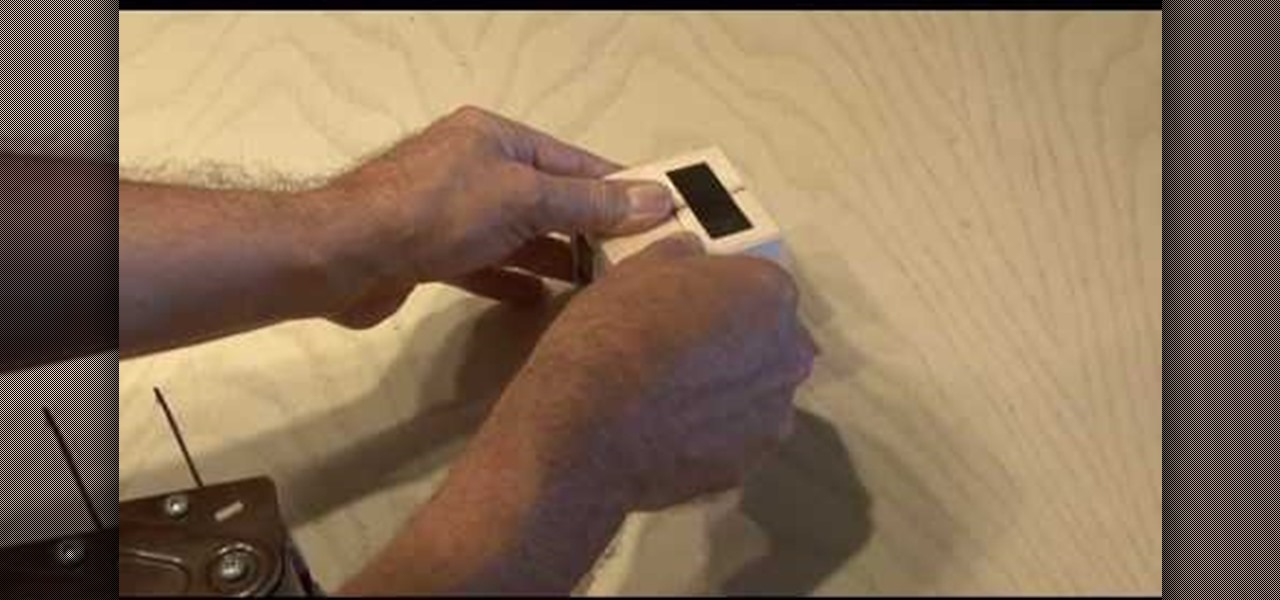
In this tutorial, we learn how to make a photo cube. This project can be done in a couple of hours and only costs a couple of dollars! To start, you will first get an exact measurement of the width of your wood. After marking these, you will cut the wood using a band saw. After the eight blocks are finished, line them up in a cube and use clear packing tape to secure them together. Use a sharp blade to trip the tape. You can then open up the cube to show six different sides and tape your phot...

If you're scared of using public Wi-Fi networks with Firesheep out and about, then maybe you should fight back. Don't switch to another web browser— keep using Firefox safely with the help of a new Firefox Add-on that combats Firesheep's password stealing capabilities. It's called BlackSheep, and when installed and running, it will alert you whenever Firesheep is active on your network connection.

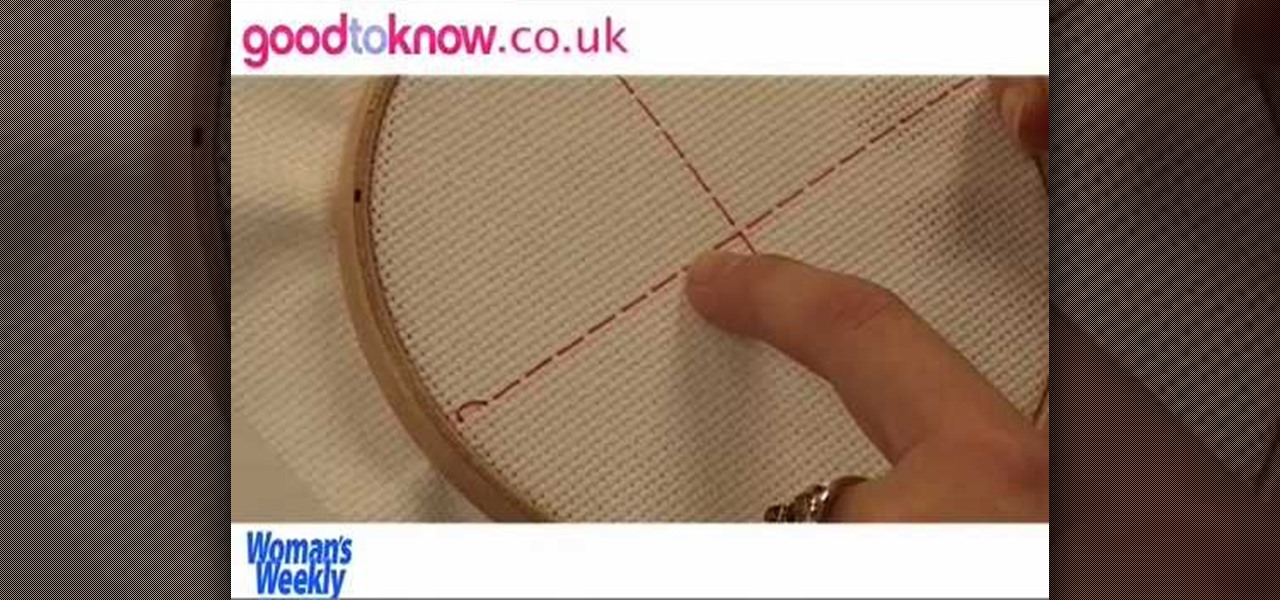
In this tutorial, we learn how to cross stitch. This is easy to master and just involves using one stitch. To start, you will first need to line your fabric up with the needle and mark the center. From here, secure it to the back with a small knot. Next, you will put this around an embroidery circle and then tie the thread to the needle. From here, start with the center point and count out how many spots you need to go on the design. After this, create a diagonal stitch across one block of th...

In this tutorial we learn how to build pet steps for your animals with Lowe's. Start out with making the lines for the sides of our steps on a piece of ply wood. Cut these out with a circular saw and then start assembling the steps. Use wood glue, nails and a hammer to do this. After you have these assembled from the bottom up you can insert the steps for the inside of the stairs. Make sure all of this is secure and everything is nailed in properly. Then, add in padding to the steps for your ...

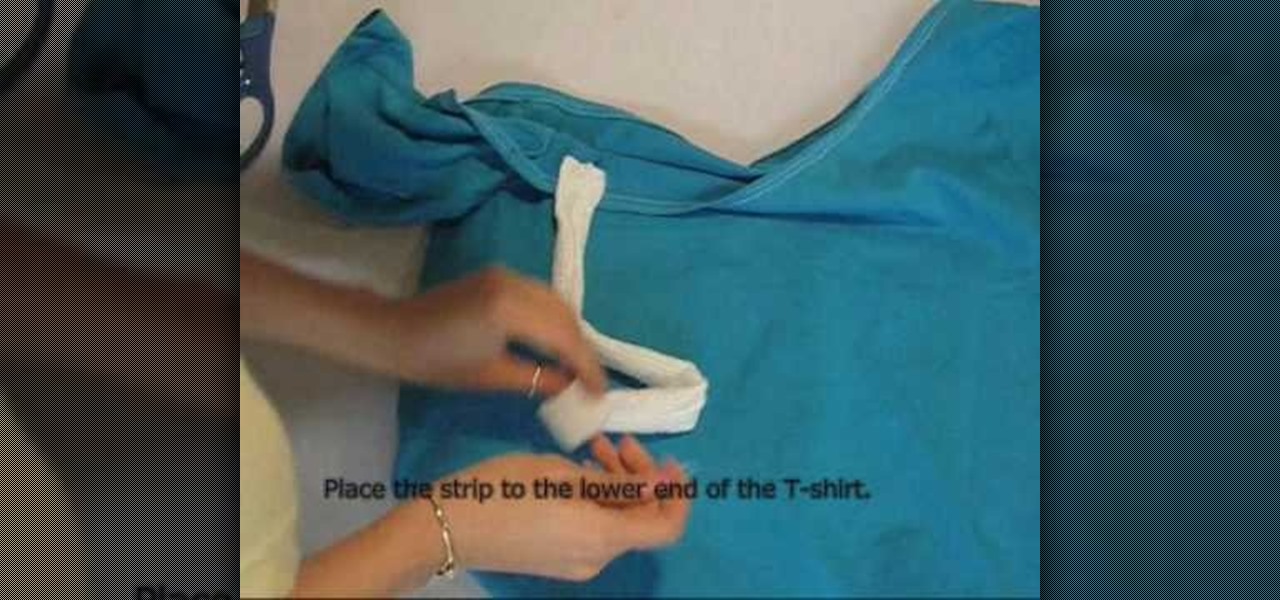
In this video, we learn how to reconstruct a t-shirt into an off the shoulder top. First, take a large shirt of your choice color and cut along the line on the shoulder, leaving a 1/4" seam allowance. Next, roll the hem and sew with a sewing machine. Next, cut a strap 4" wide and fold in half, then sew along the edge. After this, use a safety pin to pin one side to the shirt and then to the other side of the shirt. After these are secure, draw marks along the neck line of the shirt. Cut out t...

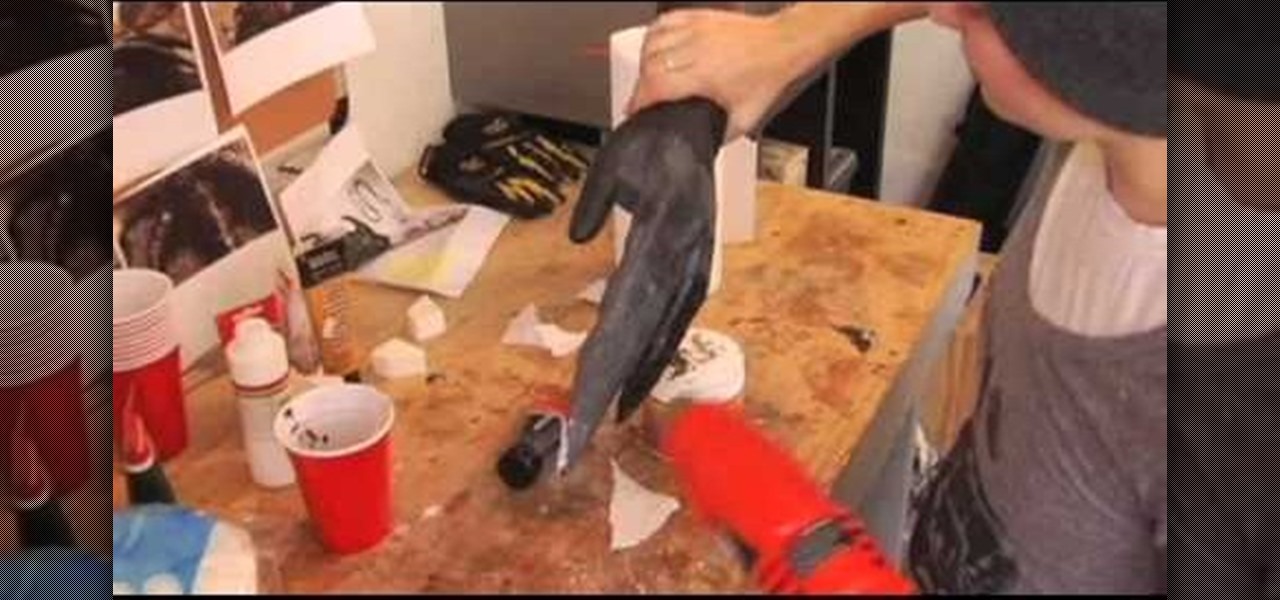
You will need: rubber glove, paper towels, liquid latex, paint, and newspaper. First, fill the glove with newspaper, then secure the fingers with electrical tape to make only 3 fingers. Then, mix up the liquid latex with black paint and apply it to the fingers. Then, place the paper towels over this in coats and shape them so they are pointy. Add in some texture using paper towel strips and cotton balls. Continue to paint over with the liquid latex/paint until you have made your desired textu...

Zip ties are wonderful little creatures. They can do all types of duties, and they come in all shapes and sizes. But for this gag, you'll want to get the biggest and longest zip ties you can find!

What we love about braided an/or curly hairstyles is that they're so romantic and make us feel like princesses. What we don't like is the fact that they take forever plus a day to do, which doesn't make us happy when we're in a rush to go to school in the morning.

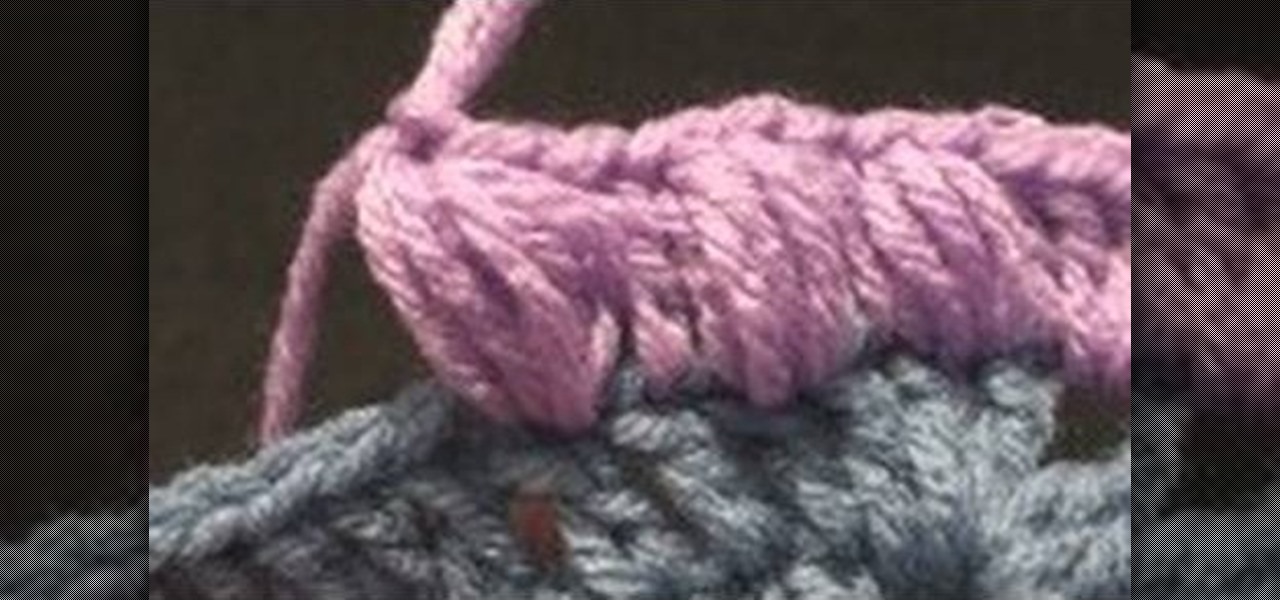
In this tutorial, we learn how to crochet an extra puffy puff stitch. First, insert the hook and pull it through. Pull all the loops up even so the hook is horizontal, then wrap the yarn over and enter the hook through the top of the stitch. Pull the loop up and then wrap the yarn over, pull it through, then pull the loop up so the hook is horizontal with your work. Continue to repeat this process until you get to the end of the row. Place chains on the top to secure them, then you will have ...

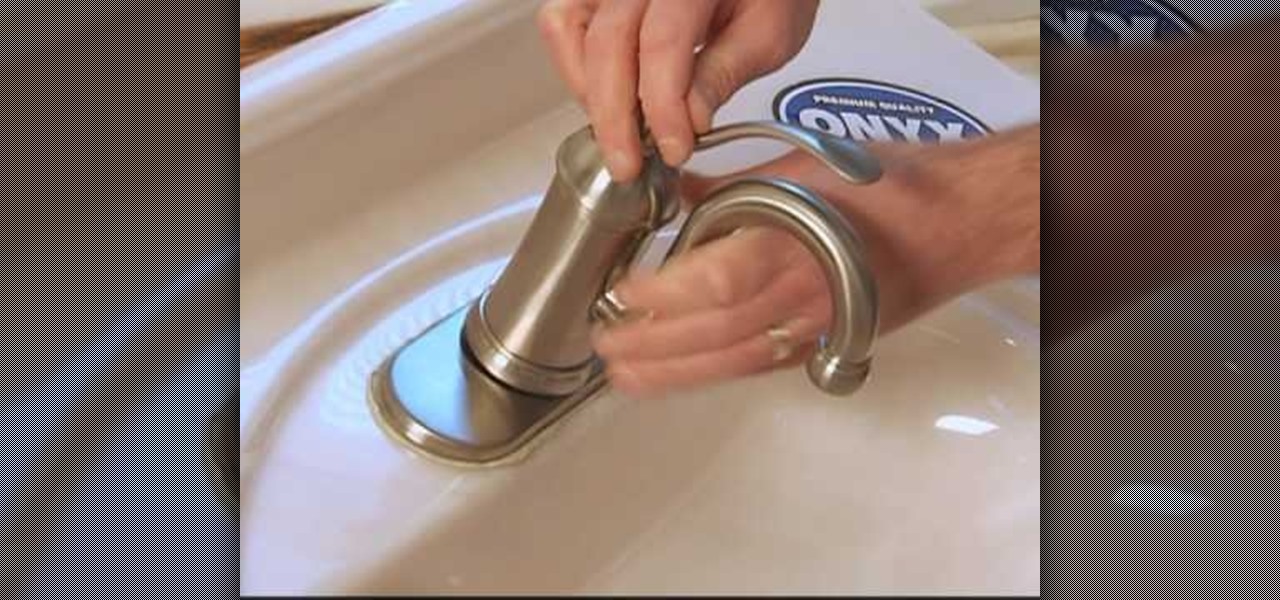
In this tutorial, we learn how to replace a bathroom faucet. Tools you will need are: faucet, adjustable wrenches, bucket, towel, safety sponges, pliers, and plumber's putty. First, turn off the water supply and turn off the faucet to remove any excess water. Next, use a wrench to remove the nuts that are holding the faucet in place. Next, apply putty onto the pre-cut sink holes and insert your new sink. On the other side, secure the new faucet and nuts with a wrench. Now you can turn on your...

In this how to video, you will learn how to build a post. Court yard posts create beautiful accents to your yards. They can be used as entry monuments and fence posts. When using corner blocks, make sure the long sides are at the outside of the post. First, place these corner blocks in a square. Align the blocks with the square. Next, place four more blocks on top of the original blocks. Make sure the blocks touch two blocks. Keep on stacking them to the desired height. Add two post caps. Sec...

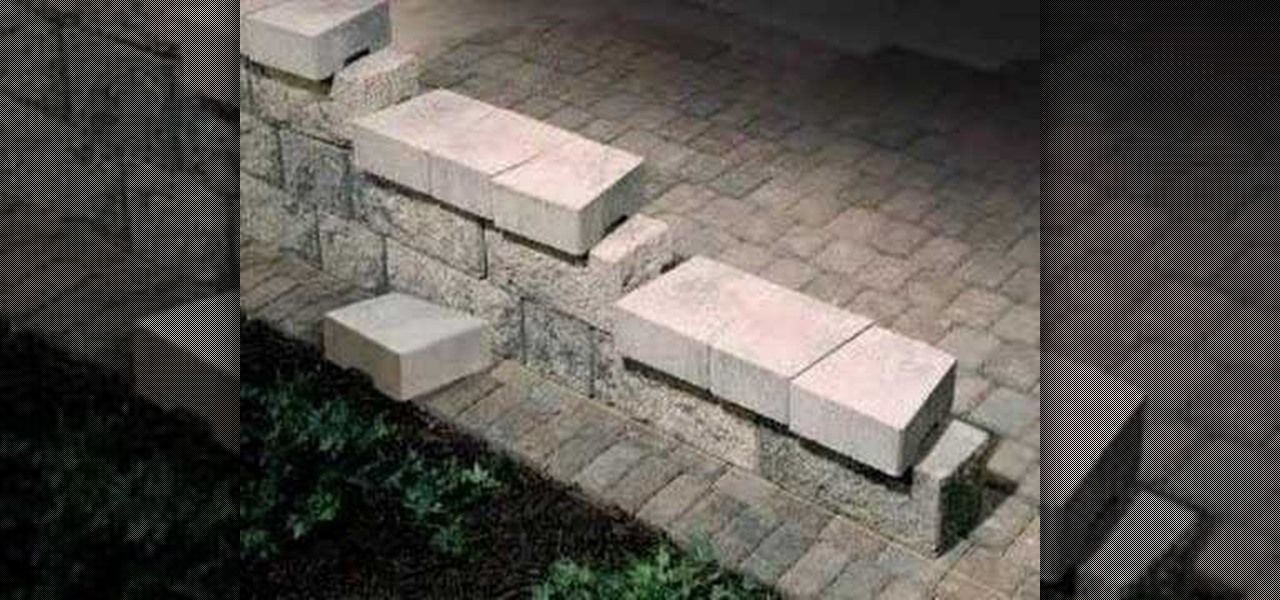
In this Home & Garden video tutorial you will learn how to step down or end your patio wall. This video is from www.allanblock.com. Get the installation details and the location of the nearest dealer from the website. The instructions are on How-to sheet #160. The easiest way to create step down is to create corner blocks. Simply place corner blocks at the end of each course overlapping the block as the wall steps down. Finish the wall with wall caps. Once the wall caps are in place, you can ...

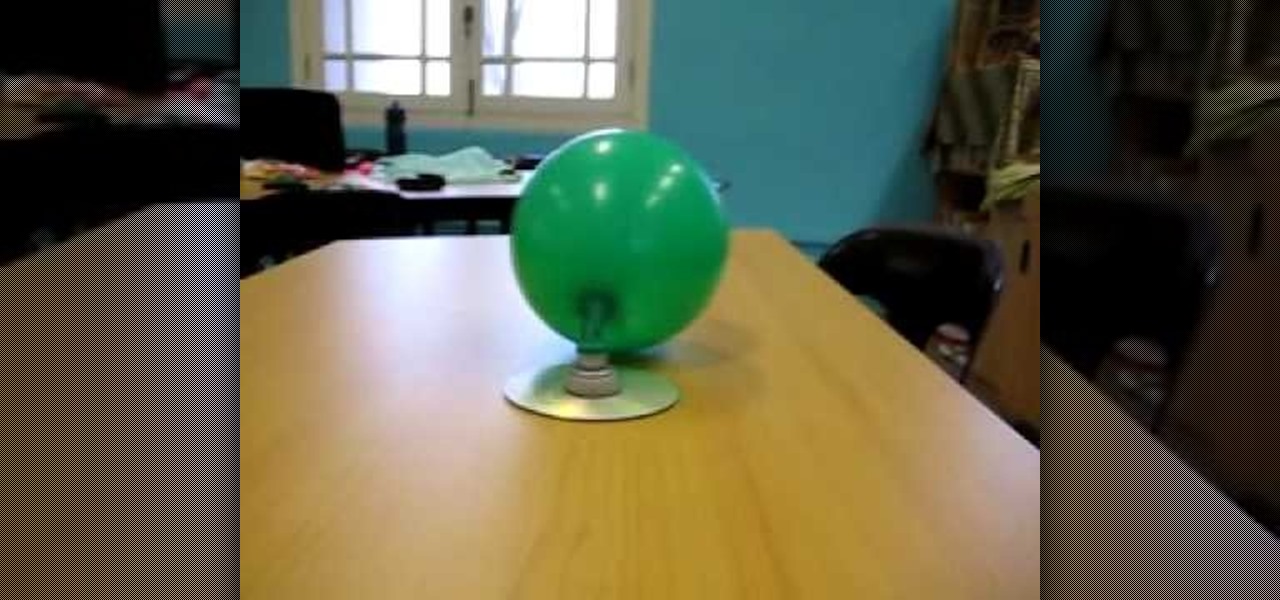
This video illustrate us how to make a hovercraft with common household items. To build one, first of all, collect all of the items required for making it. You need a CD, bottle cap, balloon and super glue. Then start by applying glue to the lower end of the cap and sticking it to the center of the CD and let it dry. After it has dried, blow up the balloon and secure it up on the bottle cap tightly. Now open the bottle cap and let the balloon deflate.

The first way the she explained tying a scarf was "belting a pashmina." Which is taking a pashmina scarf, placing it around your neck and securing it under a belt that you fasten around your waist. The second method was "Be a wrap star." Get a really long scarf, tie it around your neck twice loosely, keeping it uneven and adding fullness to your neck. The third way was to "rethink your evening scarf," where she describes a bow scarf. You put the scarf around your neck and put one side over th...

In this video, we are given instructions on how to tie up hair at night before going to sleep. You will nee a satin scarf to do this. First you will make your scarf into one large triangle. After this, clip your hair up in a large clip on the back of your head. Now, put the satin scarf over your forehead and over your entire hair. Now, tie the scarf around your neck and make sure it's secured in the back. you can now remove the clip and take the tie and tie it in the back. Now, take a satin b...

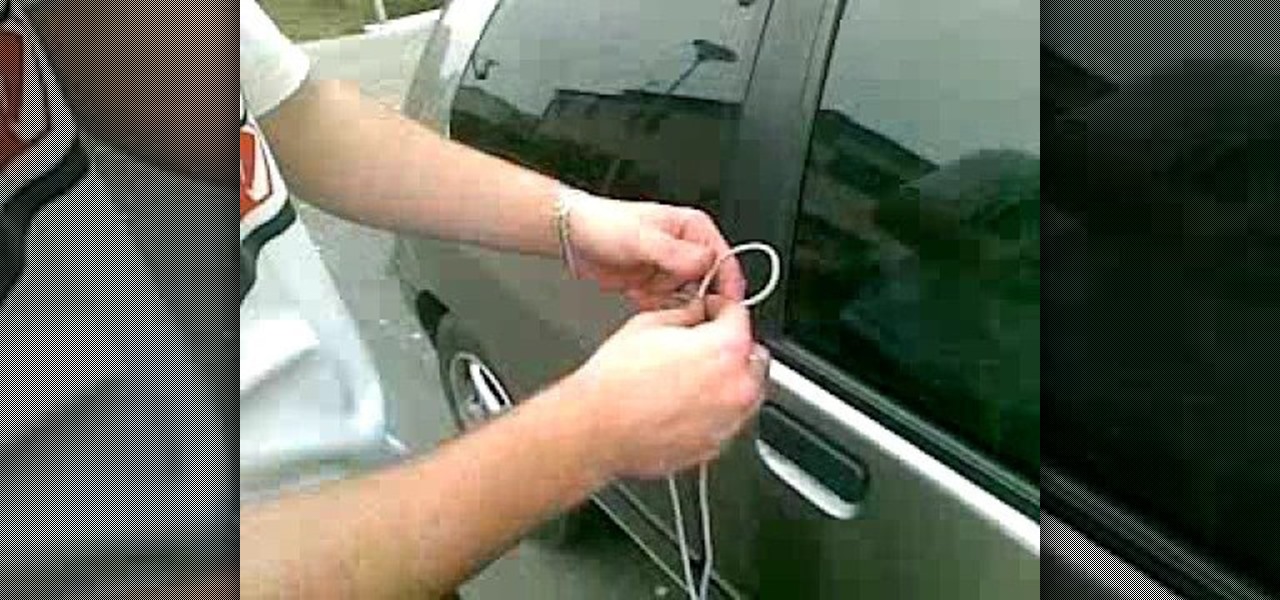
Have you locked yourself out of your car? Well, as long as you have a shoelace, you may be able to get back in.

This video shows the viewer how to make an electromagnet using common items. This is done using a broken microwave, a spool, a cordless drill, a battery and a coat hanger. The microwave transformer is dismantled and the enamel insulated wire is removed. Using the cordless drill the wire is then coiled around the spool. The iron coat hanger should then be cut into small pieces and placed in the middle of the spool. It should be secured tightly. The battery was then connected to the wired coile...

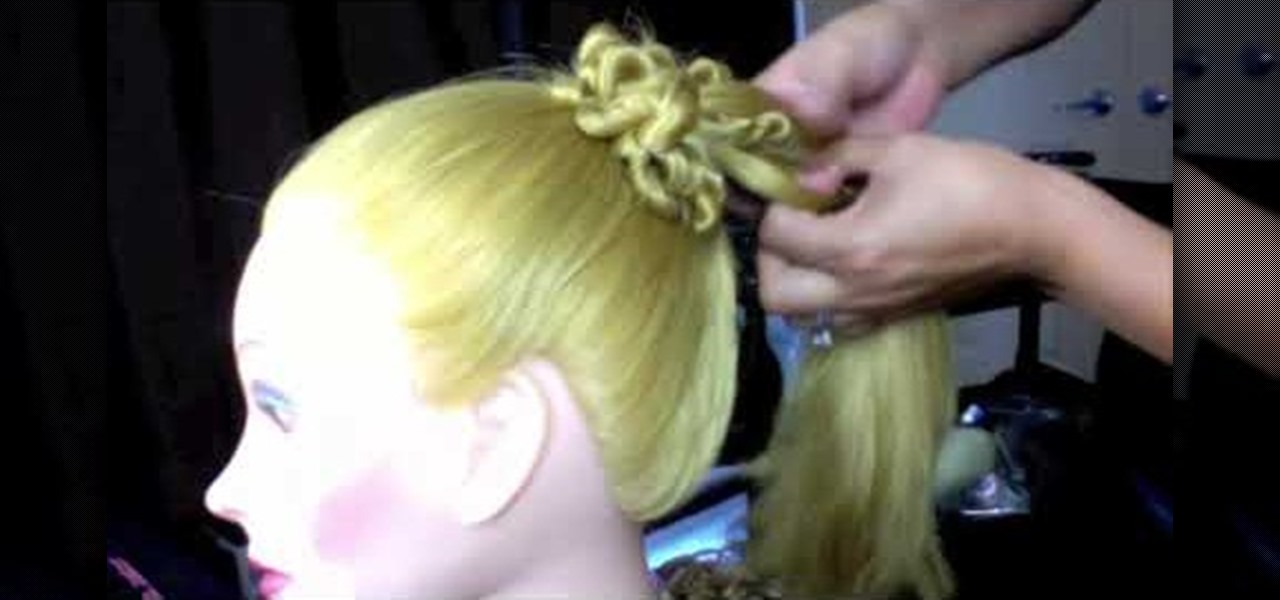
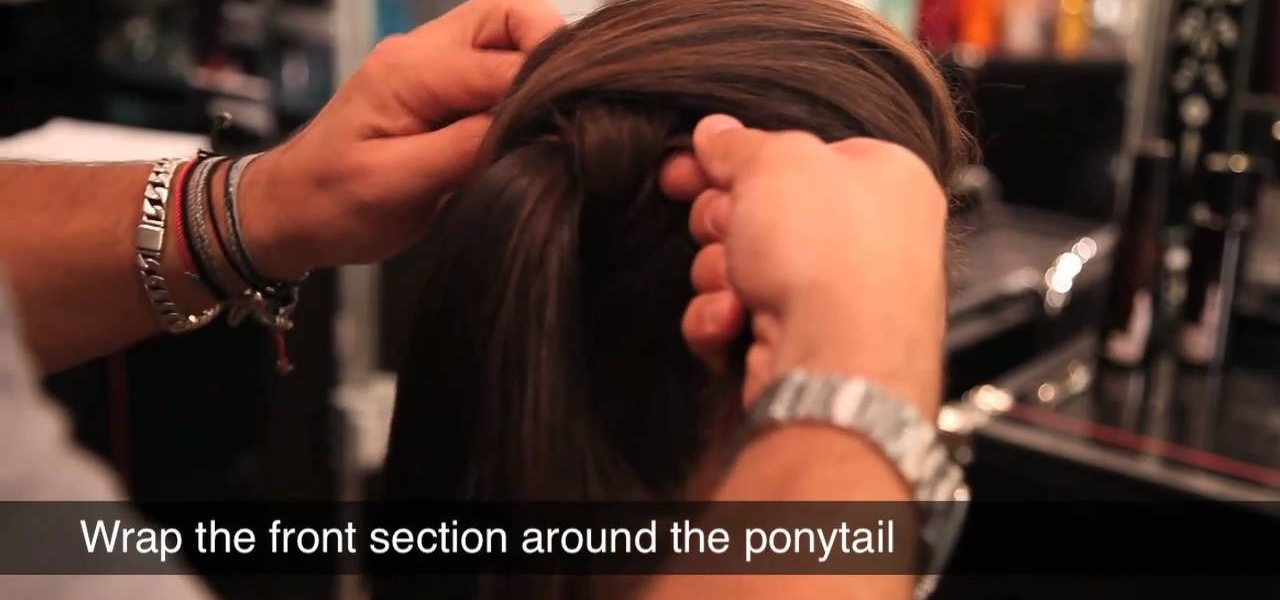
Britney, our host, shows how to create a multiple strand twist. Start with a high ponytail with a section of the hair twisted around to cover the rubber band. Take small sections of hair, about half an inch, and start twisting it. Keep twisting until it starts to coil up. Secure it with a bobby pin. Continue twisting sections of hair and pinning them to the head. Start pinning the sections to one side, and work your way around to the other side. Once you have worked your way all the way aroun...

For anyone looking for a new way to style their hair, follow this quick beauty video to learn how to create a side pony tail style. This style works best for anyone with medium to long hair. All you need is bobby pins and some rubber bands to create this look. Take a boar bristle brush and tease the crown to create more volume. Take the upper half of your hair and pull it in the opposite direction you actually want your ponytail going in. place a rubber band about two inches down the ponytail...

Dawn5377 teaches you how to make a pink sweet treat cup door. You need a stamp from the sweet center set and you use it on a small piece of pink cardboard. You punch the middle out. Also punch the middle of another piece of pink cardboard. Insert the treat cup door and stick it in. You use dimensional to hold a white piece of paper, which acts like a tray under the plastic dome. You add some sweet treats inside and stick the other pink piece (with the heart) on the other side. Also remember t...

Have you ever had to close an application with private info in order to let someone else use your PC? LockThis! is a windows application that lets you secure individual programs without the hassle of having to save your progress and closing the program. To use LockThis! just hold the control key and click on the application that needs to be locked and simply enter your password on the dialog that pops up and your done. Now anyone can use your pc without you having to look over their shoulder....

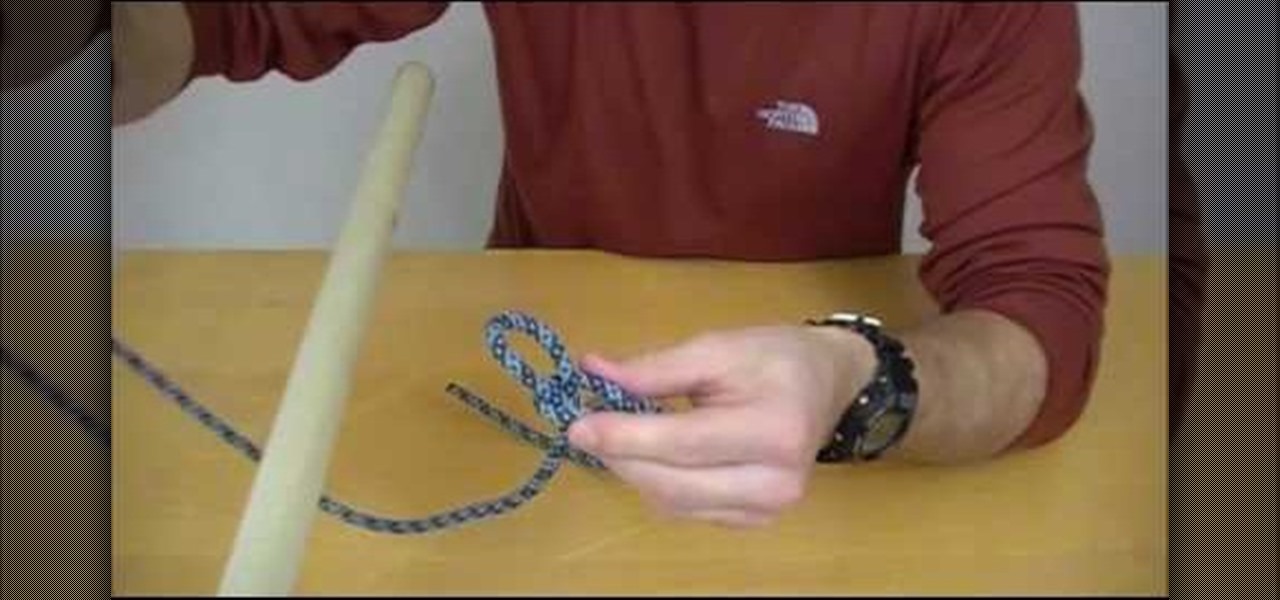
The trucker's hitch is a good, strong knot with many uses. It's ideal for securing a load in a vehicle, and was used that way dating back to the days of wagons hauled by horses. In this video the folks at ITS Tactical teach you how to tie a trucker's hitch, quick and easy.

While there isn't as much personal data residing on your Apple Watch as there is on your iPhone, it's still a good idea to set a passcode for it and lock it up when you're not using it. If you don't, while it's charging or otherwise off your wrist, others may be able to sneak a peek at your activity, messages, emails, and other personal details. Plus, you won't be able to use Apple Pay without one.

Android has several features built into the platform that improve user experience but require extra attention to prevent a security breach. By modifying these settings, you can drastically reduce the possibility of someone exploiting your device or intercepting information.

Android 5.0 has a killer new feature that should make securing your device easier than ever. It's called Smart Lock, and it essentially lets you bypass your secure lock screen when you're in a "trusted environment." This means that if you're connected to a known Bluetooth device or near a pre-programmed NFC card, you don't have to bother entering your pattern, PIN, or password.

This time it's serious. Really. The largest web security vulnerability of all time went public on Monday, April 7th, 2014, resulting in widespread panic throughout the Internet as system administrators scrambled to secure their websites from the OpenSSL bug known as Heartbleed.

Welcome back, my budding hackers! In my continuing effort to build your basic Linux skills for hacking, I want to show you how to build a secure "tunnel" to MySQL.

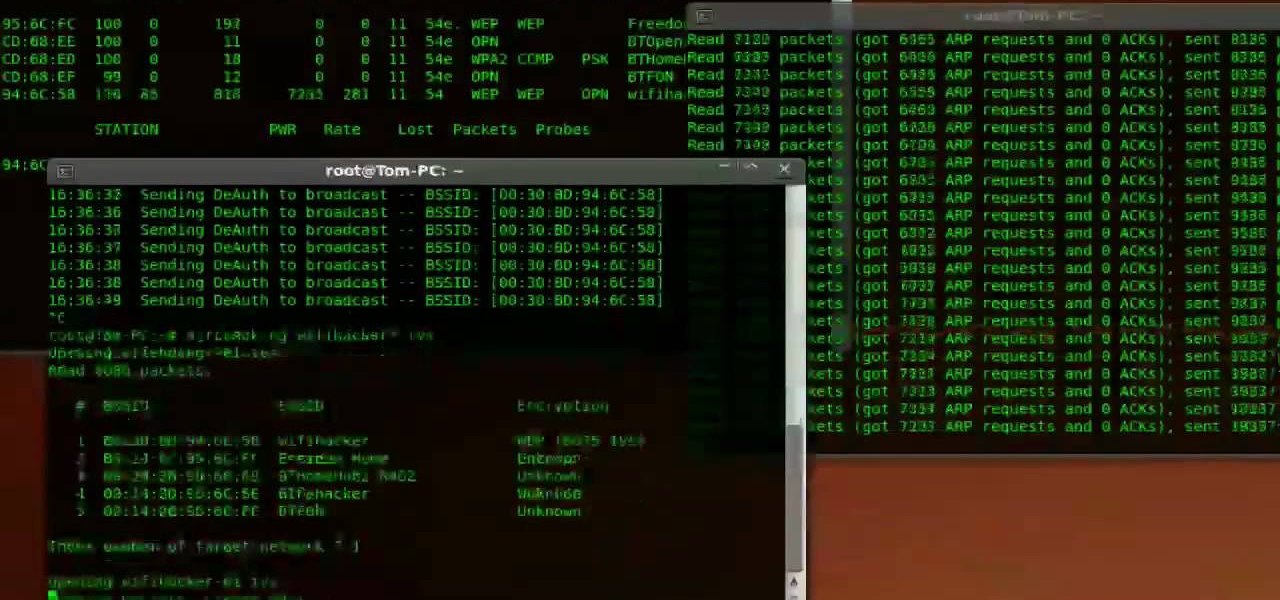
If you're trying to hack someone's wifi, a useful bit of software you may want to try is called Wireshark. Wireshark is a wifi packet sniffer, which is an essential step in actually breaking into someone's wireless system. Of course, this is illegal, so make sure you're only doing it to test a network's security, or for your own educational purposes. Check out the video, follow the steps and see how secure network is. Hack, hack, hack!

In this video, we learn how to make mince pies. Start out by sprinkling flour onto your counter and then rolling out your dough for the pies. Roll this out until it's thin, then cut out circles with a cookie cutter and place into a muffin pan. After this, fill with the mince filling and then a spoonful of cream cheese on top of that. After this, place the topping on these and secure with melted butter. Place these in the oven and bake them until they are golden brown. Let cool, then sprinkle ...

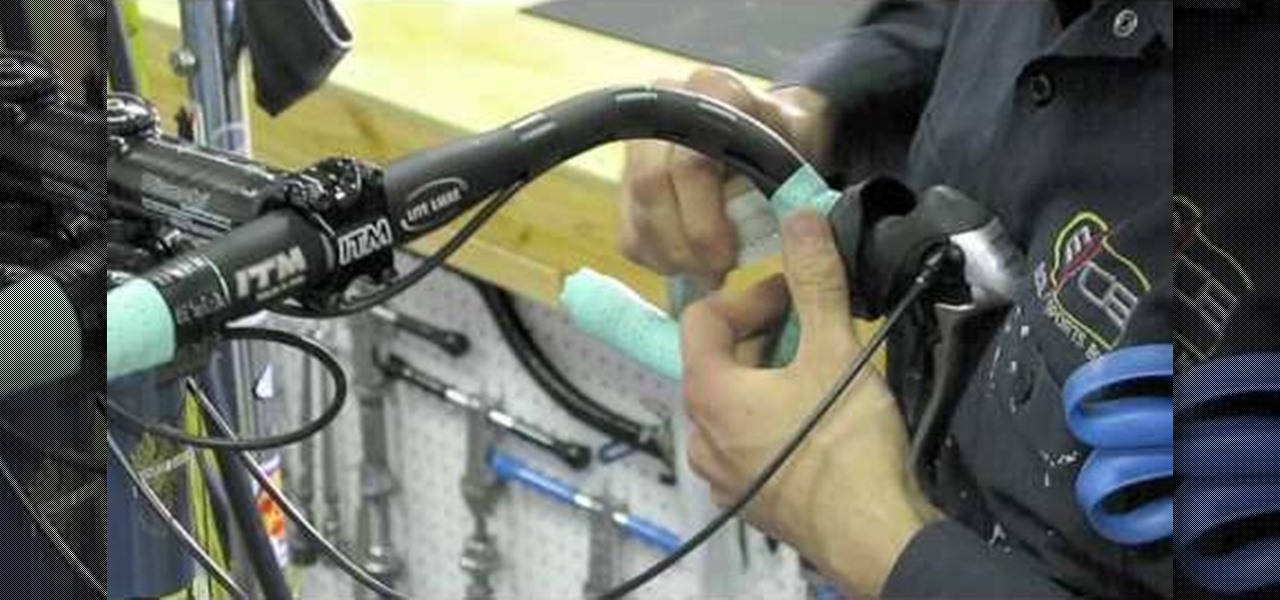
In this video we learn how to wrap handlebars. First, open up the tape and remove the adhesive. Place the tape on the bar and then tuck in one half as you work your way up the bar. The adhesive should be on the bars and there should be tension on them so they lay flat. Once you finish wrapping this, make sure they are tight and secure. Check your work to make sure you didn't leave any gaps and the curve is smooth. Don't pull too hard if you are working with cork tape, this will cause damage t...

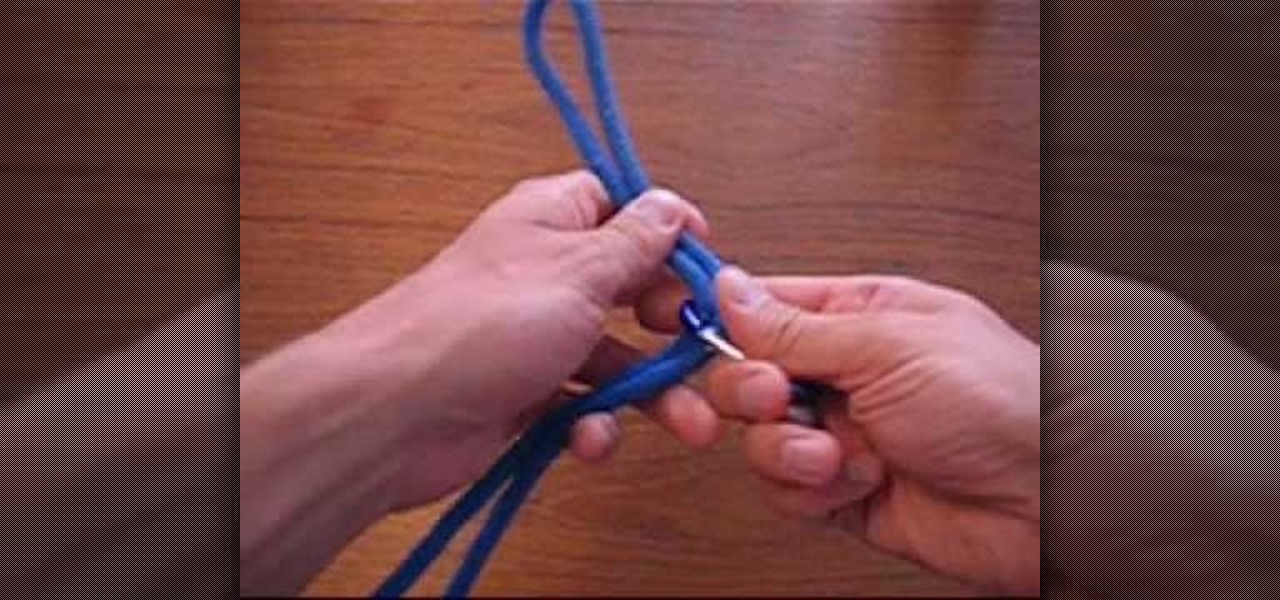
Use 12 inches of fishing line and a fishing hook. Make a large loop, folding the fishing line in half and put the fishing hook through it about a quarter of the way down the fishing line. Take the loop under the hook, draw it through the hole that was created. Pull to tighten. Next, take the small, loose end of the loop and place it around the fish hook. Pull the fishing hook through. Pull the end of the fishing line tightly so that the knot is firm and secure. Watch the video for more inform...

In this tutorial, we learn how to make a Max from Where the Wild Things Are. First, you will make the ears and the tail for the costume. Use felt for the ears and a furry type of fabric for the tail and the body. Cut out all of the different materials, then sew them onto a large off white colored hoodie. Once you have finished sewing these on, put the hoodie onto your body to make sure everything is secure in place. After this, put on shorts and sew the tail to those, then you will be able to...

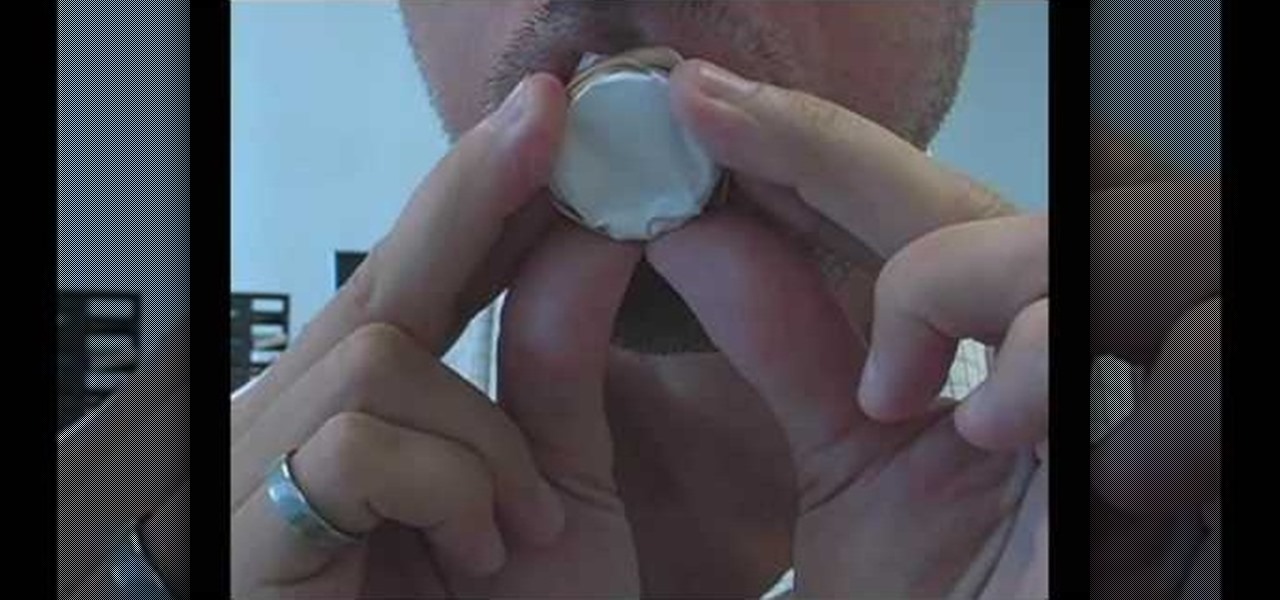
In this video tutorial, viewers learn how to make a realistic goose call. The materials required for this project are: a plastic bottle cap, scissors, rubber band and a piece of paper. Begin by making a small hole in the bottle cap. Then wrap the paper around the other side of the bottle cap and secure it with the rubber band. Now just blow in the hole and make a humming sound to create a goose call. This video will benefit those viewers who enjoy goose hunting, and would like to learn how to...

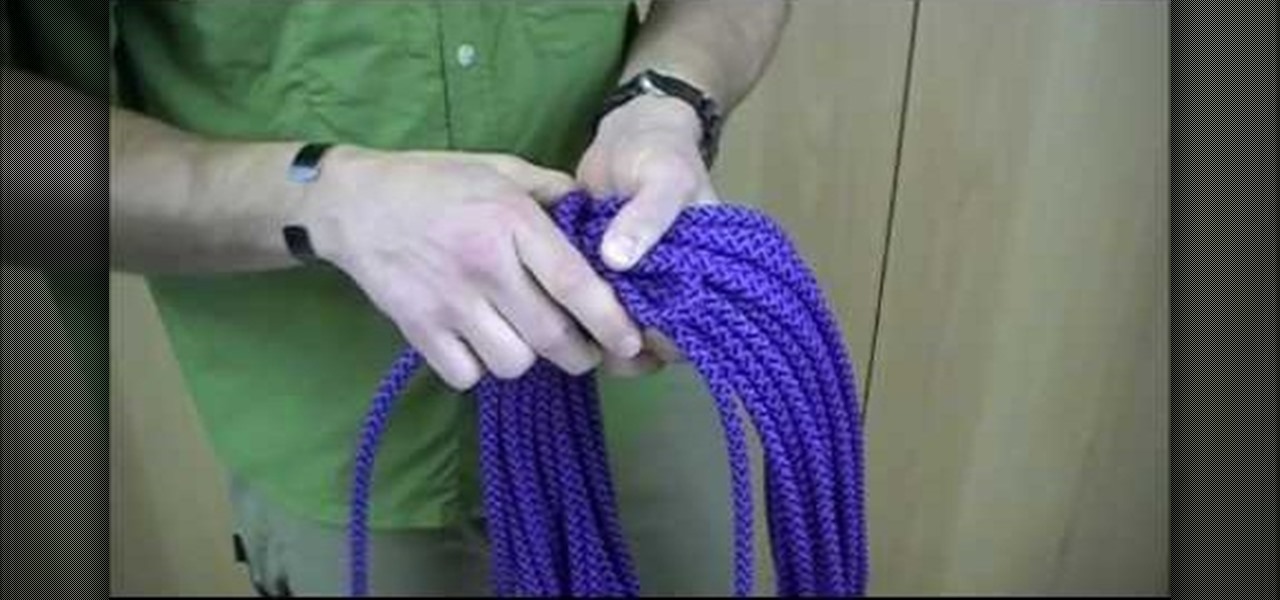
In this tutorial, we learn how to tie an Alpine Coil knot. When you start your coil you want the starting end to be inside your hand. First, take the working end of your rope on your last coil and make a loop in your rope. Then, wrap a couple of turns around the rope and lock it into place. Once you've made a couple of turns, the working end will go into the loop. To secure, go over to the end from the loop and give it a tug, which will lock the working end into the rope and make a nice way t...

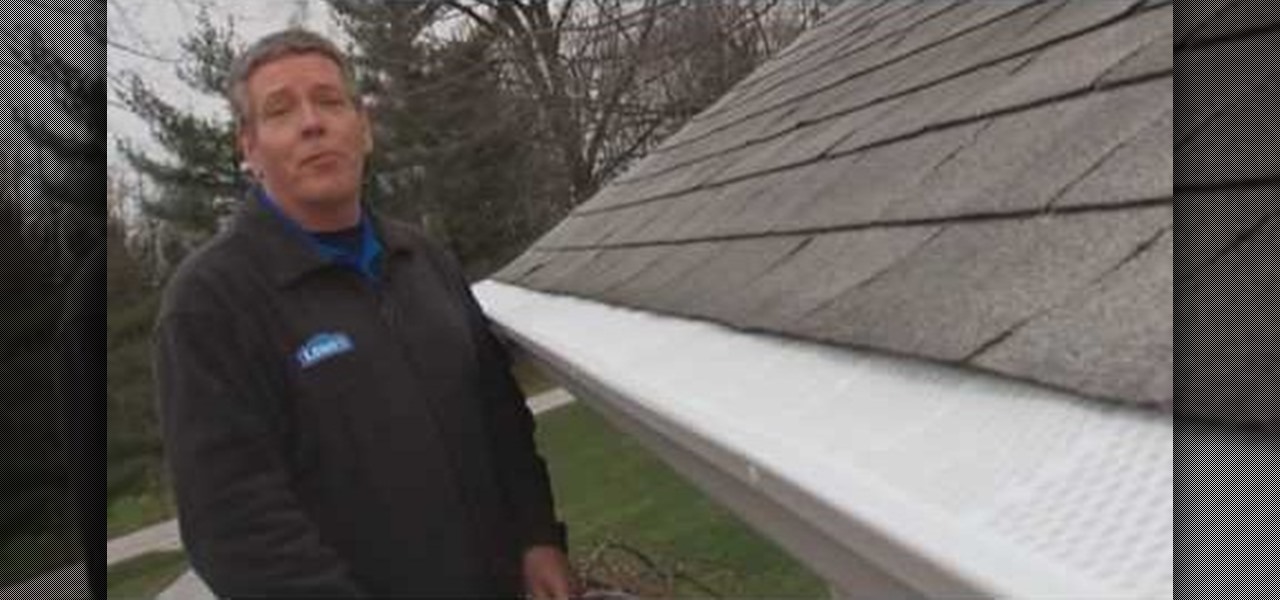
In this video tutorial, viewers learn how to install gutter screens. The materials required for this task are: tape measure, tin snips, drill with bits and sheet metal screws. Begin by measuring the gutter to determine how many screens to buy. Start at one end of the gutter and slide the back edge underneath the shingles. Then snap the edges in place and continue down the length of the gutter. Now drill holes in the edges of the screens and screw in the sheet metal screws to secure the gutter...


