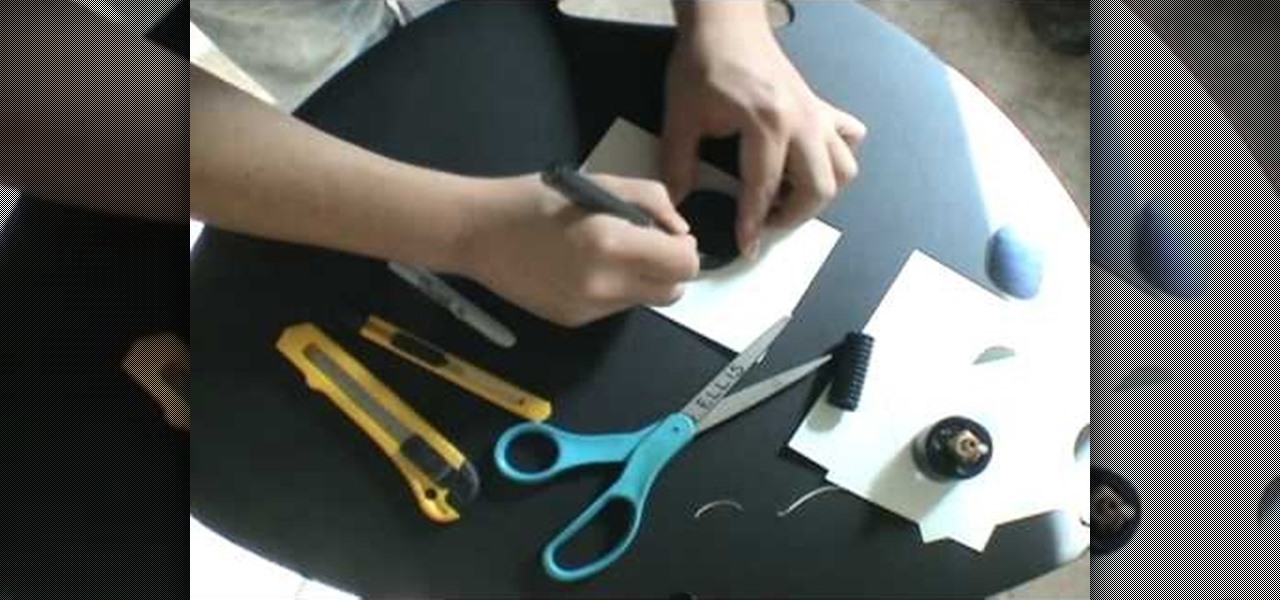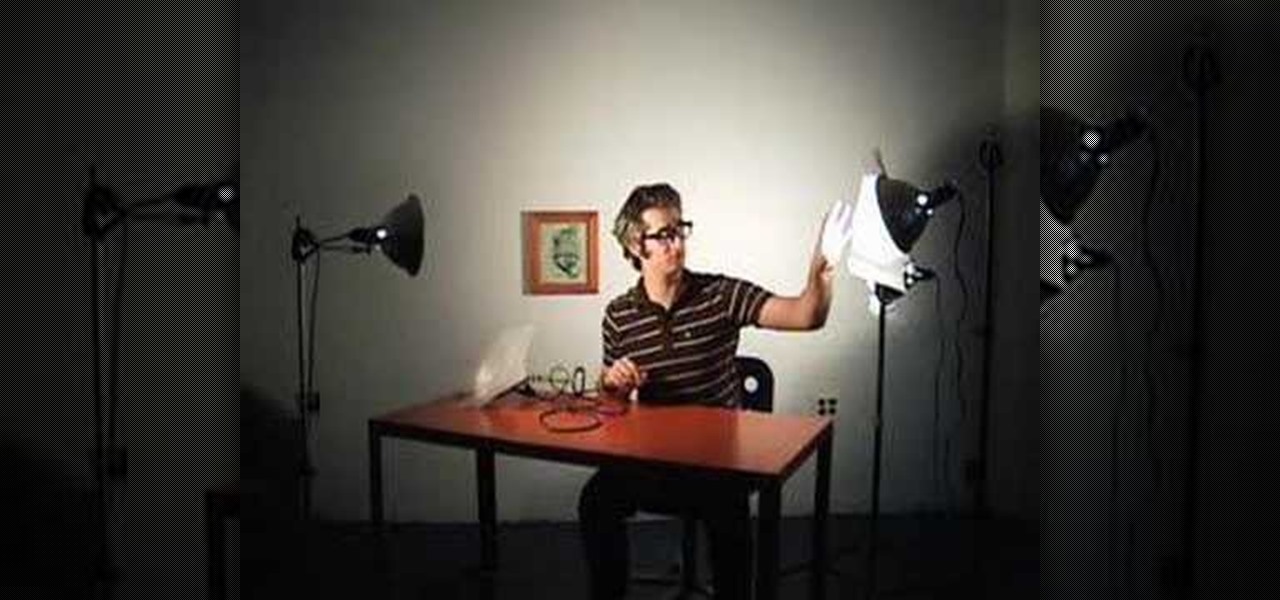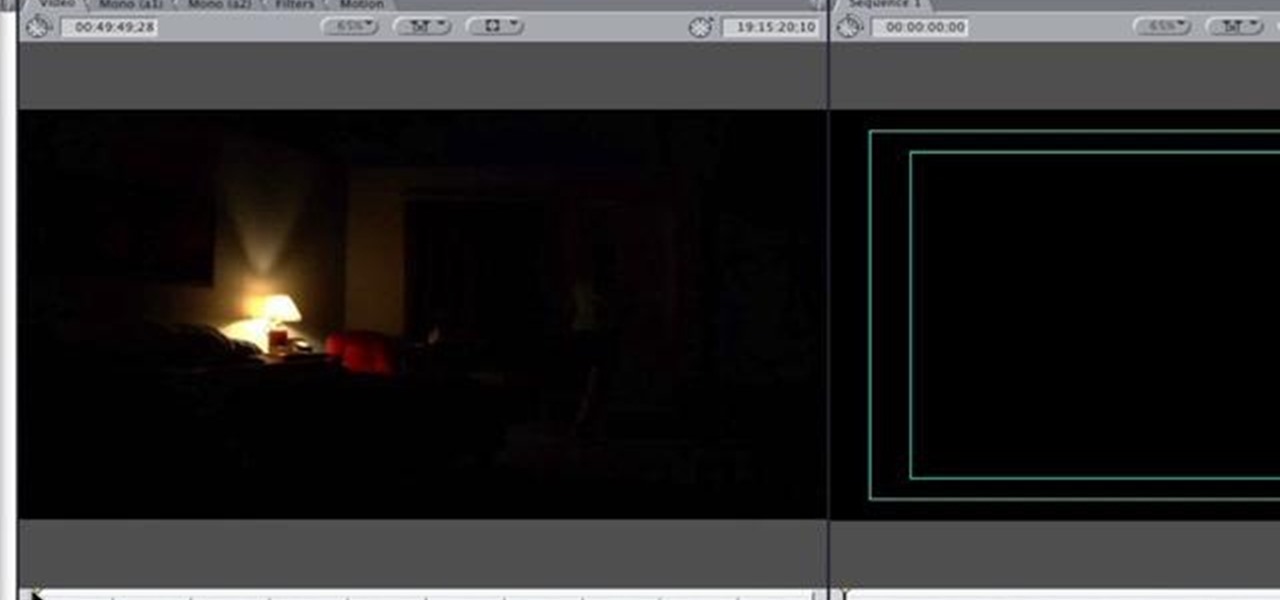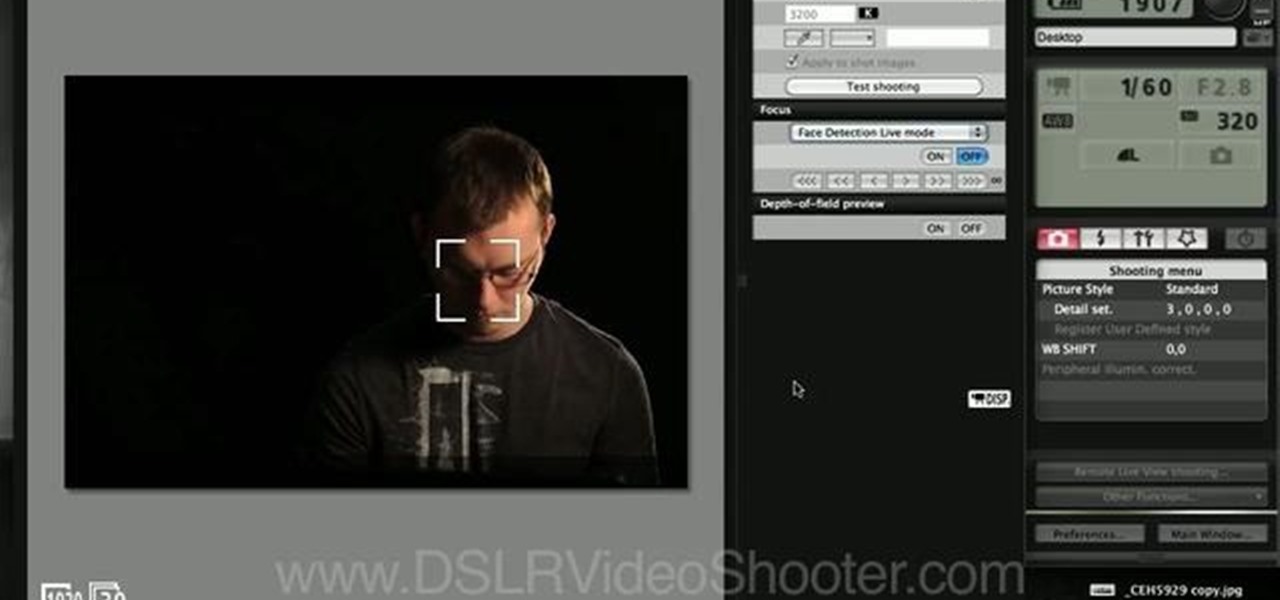
Your new Canon EOS 7D camera will come with a free remote shooting option. In this video, learn all about this shooter and how to control it on your laptop. You will get a step by step walkthrough as well as an explanation of the feature's pro's and con's.
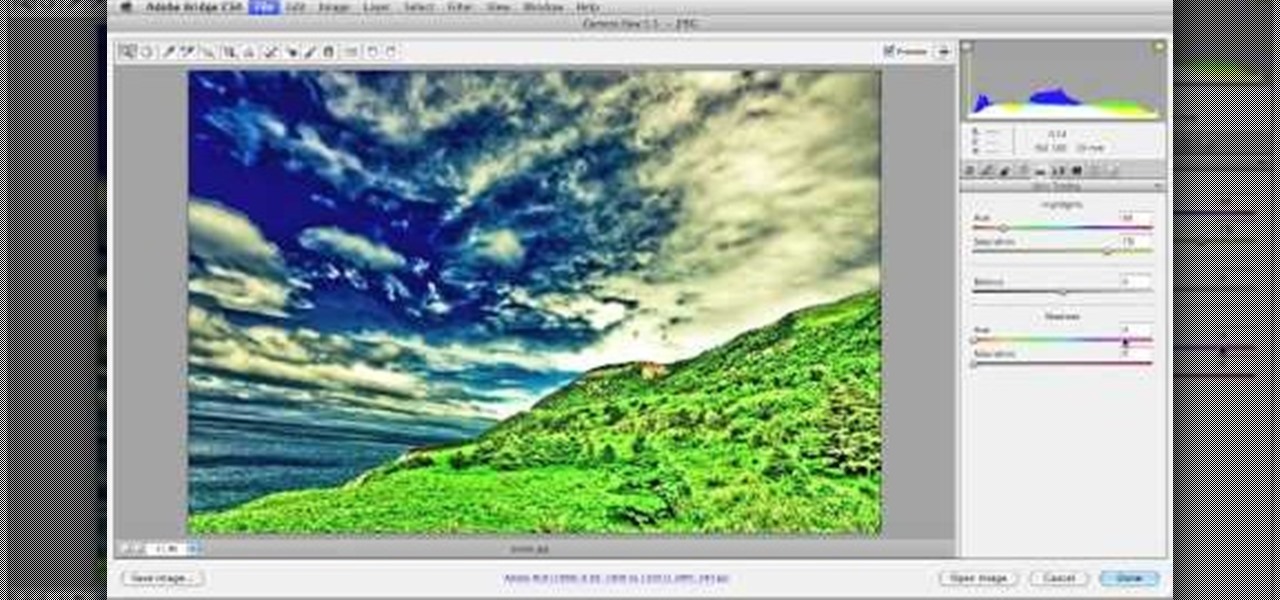
Looking to add to your digital bag of tricks? In this installment from his series of free Adobe Photoshop tutorials, Justin Seeley shows you how to to take any photo and transform it into a dreamy illuminated scene using Camera Raw, Smart Objects, and a little creative brushing. For detailed, step-by-step instructions, and to get started using this eye-popping effect yourself, watch this video lesson.
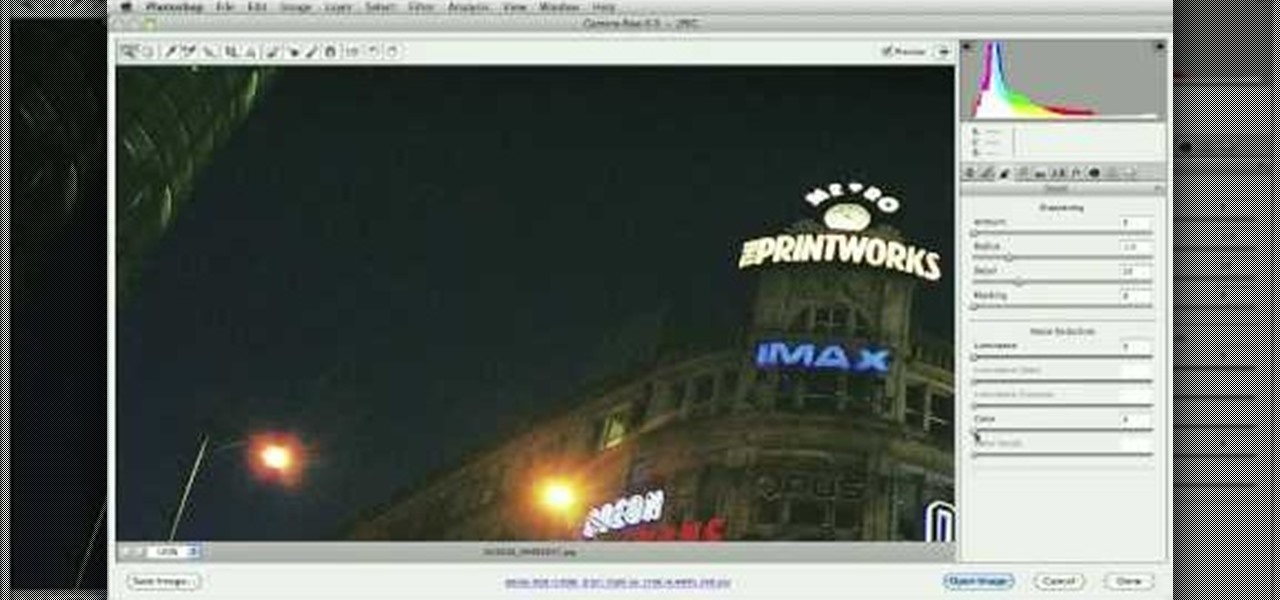
Learn how to take advantage of Adobe Photoshop CS5's new noise reduction capabilities. Whether you're new to Adobe's popular image editing software or a seasoned graphic design professional just looking to better acquaint yourself with the unique features of Photoshop CS5, you're sure to find something of value in this video tutorial. For more information, and to get started denoising your own raw image files, watch this video lesson.
In this tutorial, learn a quick tip on how to get smoother panning and tilting using a tripod. A rubber band is an inexpensive way to improve your tripod's movement.

Lighting is everything when it comes to creating a good solid video/film. You will see a great example of a ringlight made of 12 lightbulbs arranged in a perfect circle with a cut-out to allow your camera to be in the middle to capture the best light. You will get an idea of just what materials you will need to create your own ring light.
Acting auditions are stressful, and are different depending on what type of project you are trying out for. In this tutorial, get tips from working actors on how to audition for a film or TV show. Learn how to work the camera, emote, and read your lines the way casting directors want you to. Follow these tips and break a leg! See you on the silver screen!

Whether you're new to Adobe InDesign or a seasoned graphic artist after a general overview of CS5's most vital new features, you're sure to be well served by this official video tutorial from the folks at Adobe TV. In it, you'll learn how to get all the benefits of real-time, on-set logging even when working with tapeless cameras with OnLocation CS5.

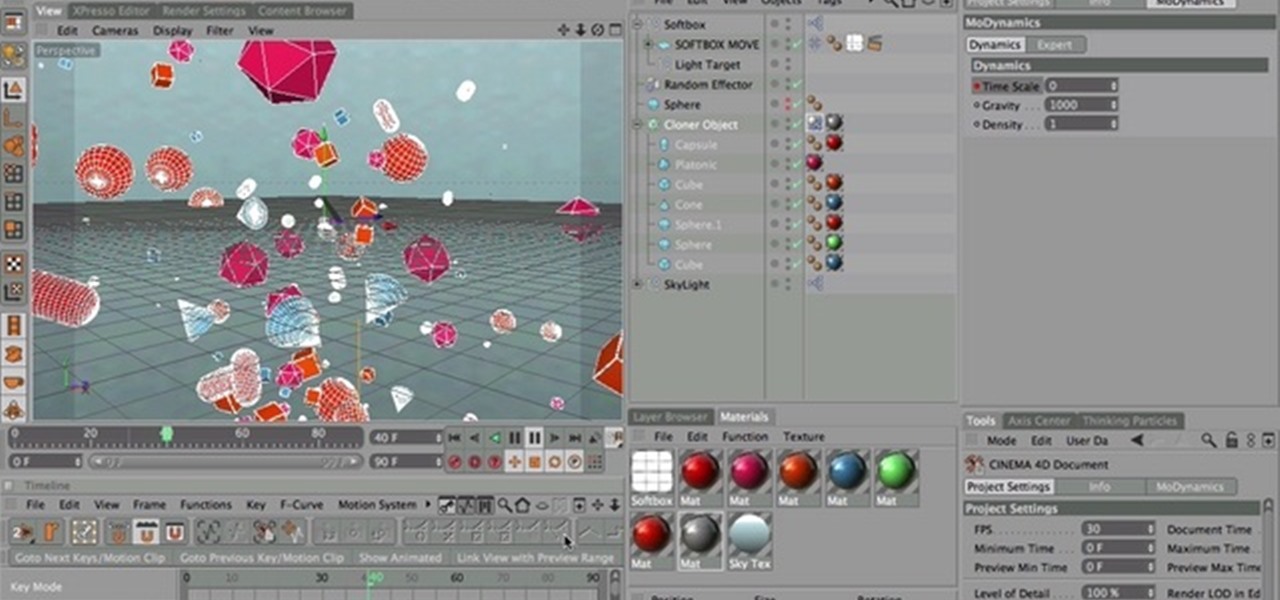
Nick from Greyscale Gorilla demonstrates how to do the effect from "The Matrix" in which time stands still and the camera whips around, continuing the action from another perspective. Go here for Nick's blog entry:

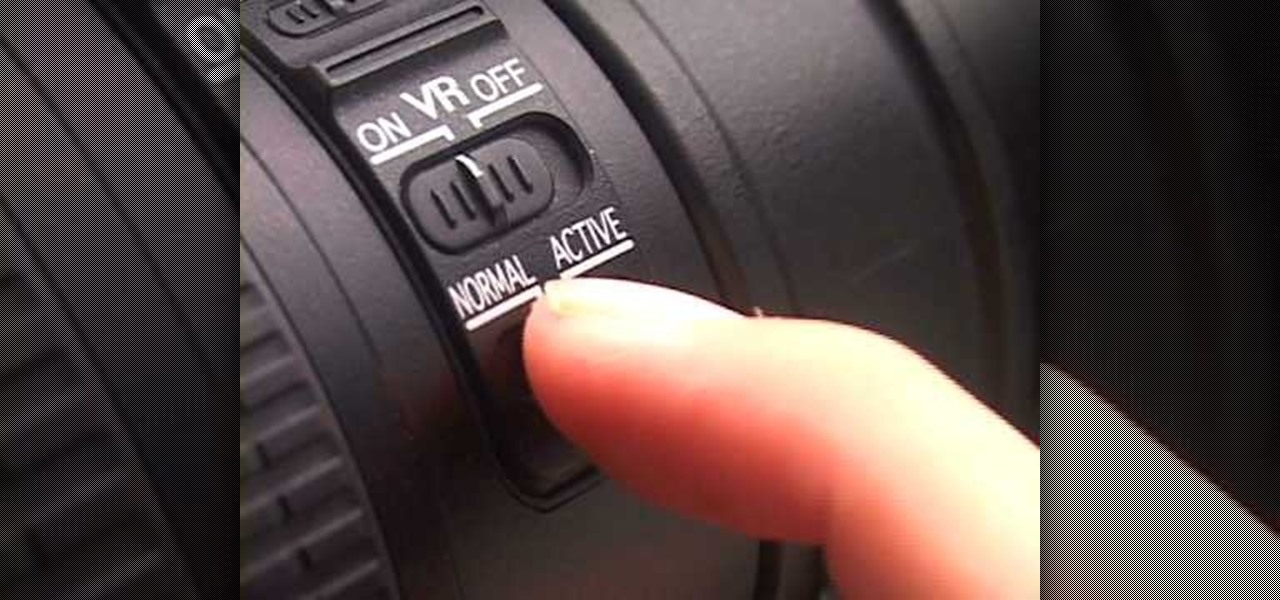
In this video tutorial, viewers learn how to use Vibration Reduction (VR). Vibration Reduction is the name if an image stabilizer engine that helps estimating unwanted blurriness when using slow shutter speeds or panning shots. VR has two modes: Normal and Active. Normal mode is designed for hand holding or panning shots where it estimates camera shakes when holding at a slow shutter speed. Active mode is designed for using on rapid moving surfaces. This video is very descriptive and gives gr...

In this video from Dom Bower Photography, he demonstrates how to make it look like a person is levitating in a photo. He sets the timer on the camera and takes the picture of himself. It takes a few tries to get a picture where he is airborne when the picture is taken. The trick is to try to pose while jumping so that it doesn't look like you're jumping. It might take a few tries, but if you use some of the tricks shown in this video, you'll be able to take a picture that makes it look like a...

This video shows you how to photograph lightning in the daytime. Set the ISO to 100.The aperture set at f32 and set for half of a second. Meter should be showing averaged. Photograph in the manual mode so that the setting won't change between photographs. Manually focus lens to infinity so you won't have to wait for the focus to lock on. A remote shutter to just hit the button. Be safe and keep camera safe when taking lightning photographs. Don’t get under trees. When lightning starts strikin...

This video discusses the lenses available for the Cannon 7D camera. The video starts by describing the difference between still and video lenses. The presenter then goes on to recommend his three favorite lenses. First, the Tokina 11-16 is the wide angle lens recommended in the video. The Tamron SP AF17-50mm is a stabilized lens that works great for video and stills. Finally, the presenter recommends the Sigma APO 50-150mm to round out the lens collection. These lenses will cover all distance...

Thinking of buying the iPhone 3G S or just figuring out your new purchase? This video demonstrates the main iPhone 3G S features such as voice control, compass, video recording, and touch to focus camera.

Fine tune your photography skills with this video lesson on how to take a picture of an exploding water balloon. You'll see what equipment you'll need, like cameras, lights, flashes, etc. Pixel Catcher shows you how. It's a matter of perfection, so check out this video to see how to take that photo of exploding water balloons. You could apply this principal to any photograph!

If you're a serious film buff then these glasses will totally give you a cinemagasm. This polarization filter uses a pair of 3D glasses as a base and combines the glasses with a lens cap to reduce glare and any reflections that could tamper with your viewing experience.

Learn how to perform an easy drop and grasp magic coin trick. First, see the demonstration performance of the drop and grasp coin trick, then see how the magic illusion is done, with different camera angles showing you the whole truth of how it's done. This is a great magic trick for your friends.

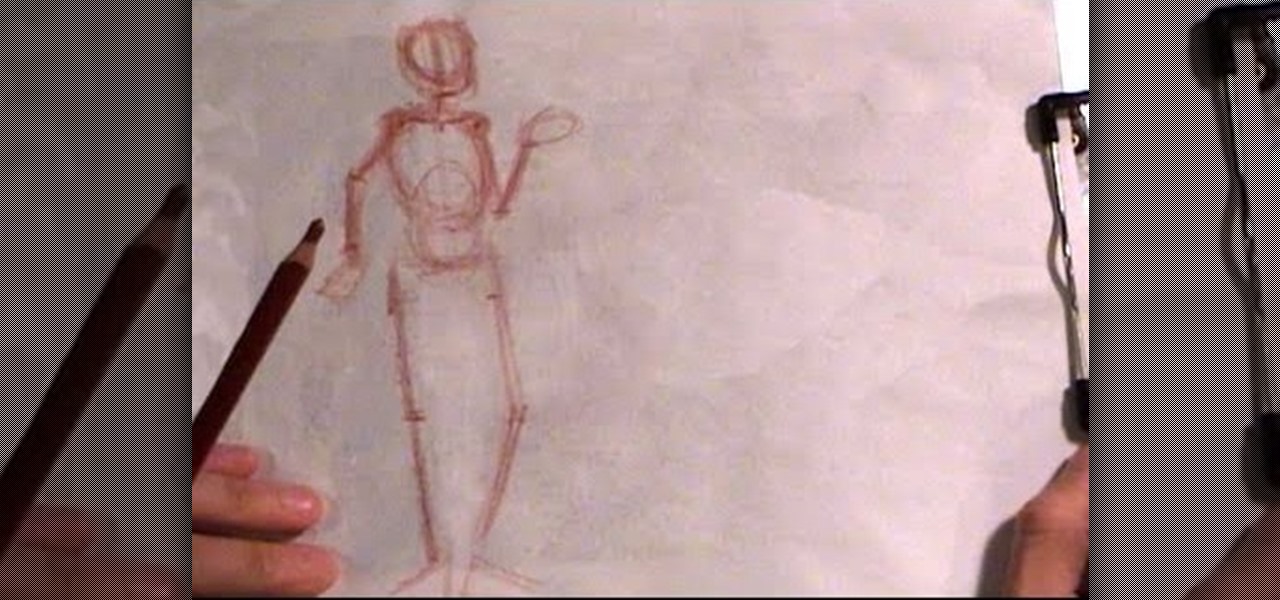
The foundation of most fine arts educations begins with the drawing of the human figure. These human figure drawing tutorials are brought to you by Cy Porter of solomation.com. Search WonderHowTo for more figure drawing tutorials by Cy.

How do you make an object suddenly appear to defy gravity? I'll show you! No camera tricks, this is an up-close parlor magic trick! The ring travels not because of gravity but because of friction. Check out the illusion for yourself.

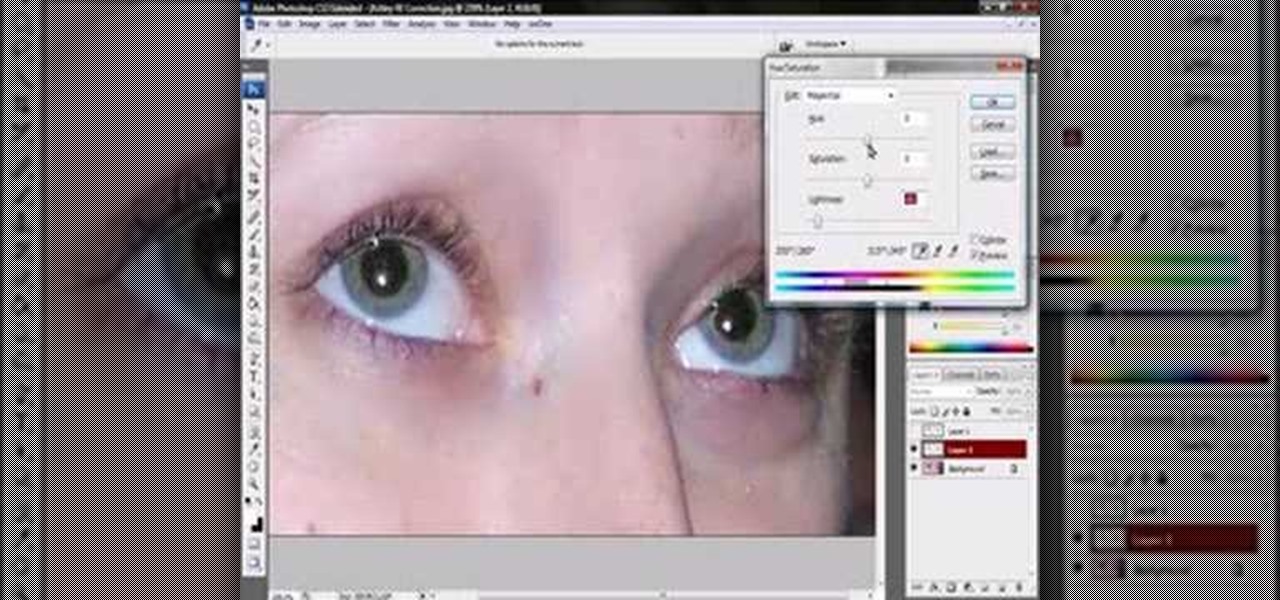
Jordan shows us a simple way to remove the red eye created by the flash of a camera using Adobe Photoshop. No matter where the red eye came from, you can remove it easily from any picture after watching this Photoshop tutorial. There are many ways to remove red eye and some are dirtier than others, but this method will give you a nice natural looking pupil in the end.

Captain Disillusion puts Japan under the vectorscope to debunk the mirror girl ghost camera trick illusion.

The tether command allows you to tether your camera to your Mac and capture images directly into Aperture. It's fast, easy to set up, and gives studio photographers immediate full-screen feedback while they shoot.

Aperture provides two sophisticated sharpening tools, edge sharpen and sharpen. Both help you improve the fine details in your images. Most images from digital cameras need a little sharpening, especially RAW files.

Aperture's metadata inspector is a one-stop location for editing the metadata associated with your images. Some of this metadata is automatically stored within the image files of your digital camera, and aperture automatically reads it when you import your photos. You can add other metadata, such as keywords, yourself.

The easiest way to make a movie is with magic iMovie. Magic iMovie imports clips from your video camera, inserts a title and transitions, and sets the music, so you can create a movie with the click of a button.

Adding narration or voiceover to your movie is an excellent way to enhance your story. You can use the built-in microphone on your Mac, the built-in microphone from a connected iSight camera, or an external microphone connected to your Mac.

Many video camera companies are beginning to manufacture tapeless camcorders, which record footage as files on hard disks, solid state drives, or optical disks. It's easy to transfer file-based footage to your Mac using Final Cut Express. Just connect your camcorder to the USB port.

You've got a camera, you've got some shooting know-how, and your audio is sounding sweet. Now, what about lighting? This video shows you three options for lighting your film.

See how to make a low budget web show, like Pop17, seem like a grand thing. This is low budget basics including lighting, microphone and an HDV camera. You should also edit it in Final Cut Pro, because that's what Pop17 does.

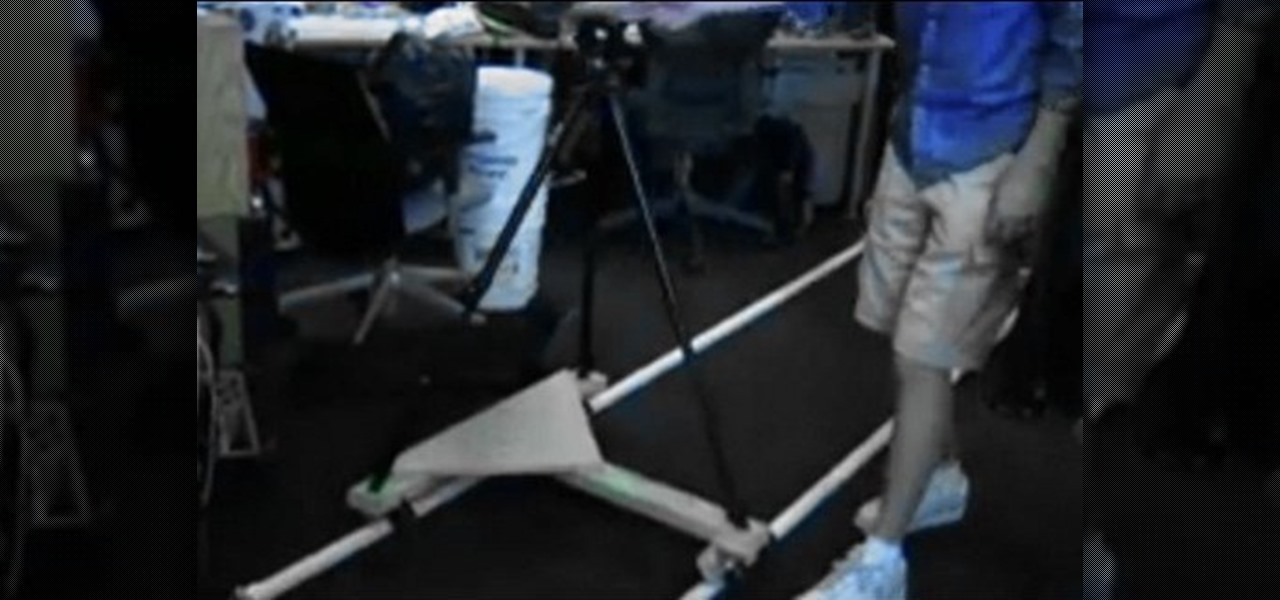
Does your production need the smooth graceful movement of a dolly, but lack the $1,800 it would cost to buy one? Welcome the DIY Dolly! Watch this episode, as Erik and Jared show you how to build your very own dolly.

In this episode of BFX, Erik shows you how to create a gross and realistic gash that you can stitch up. It looks so good you can even stitch it up on camera! Plus Gary eats a sandwich and an homage to the Simpsons! What else could you want?

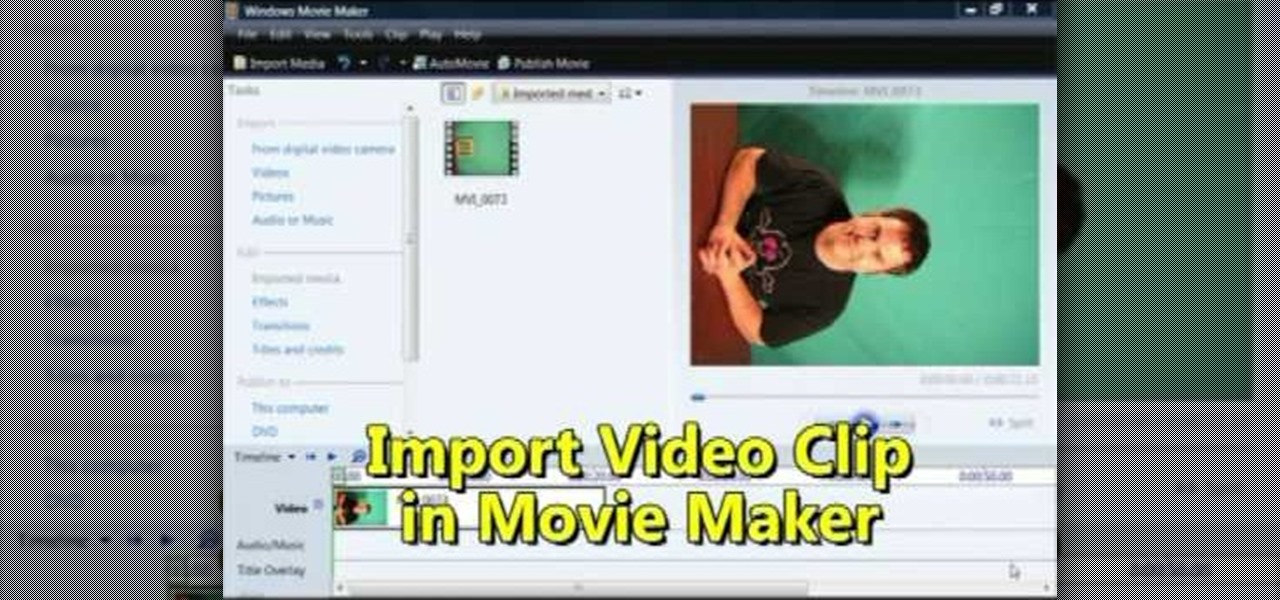
If you shot a video sideways with your digital camera, you may need to rotate it in order to get your video to appear right side up. Here's how to rotate that video using Windows Movie Maker

The Red Cine Application is essential to learn if you plan on shooting with the RED ONE camera. This tutorial goes over project settings.

Have you ever found your video images over-exposed? Or under-exposed?

The dolly zoom shot is also known as the Vertigo Effect in filming. It's that dizzying, slightly unstable camera effect you see in shows like "Glee" and sometimes "The Office." It creates audience confusion, thus forcing them to keep watching in interest.

This video demonstrates how to capture a video of your screen without using any cameras. The video walks you through downloading and installing the right program and running the program to make your video.

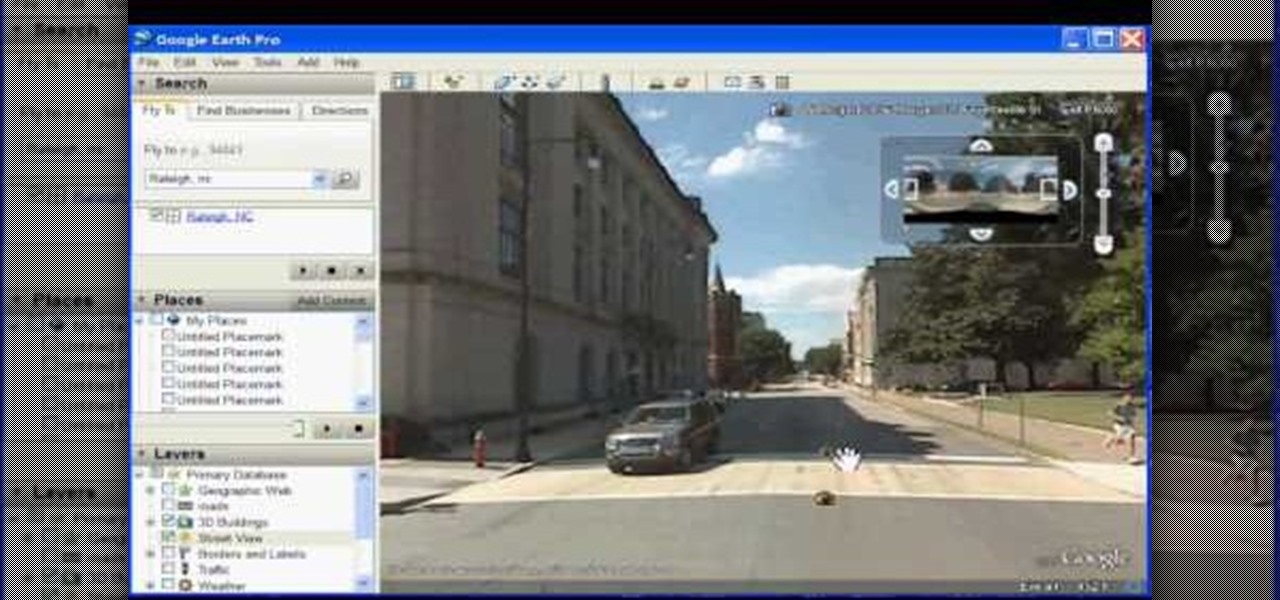
In this how to video, you will learn how to use Google Earth. First, download the program. Type in a city and state in the form. In the lower left, check street view to turn it on. Click the magnifying glass to zoom in. Some cities have 3d buildings. When you get really close, you will see cameras indicating street view images. If you get even closer, you will see spheres of the actual street view images. Click on it and the photo to get into the photo. In the upper right, you see controls to...

Try "unfocusing" your photographs for some dreamy, evocative and somewhat abstract takes on life. Check out the two tutorials (here and here) from Michelle Geoga of Lights! Camera! Photoshop! for tips on unleashing the blur-power of your camera. You can see plenty of example images there to help you out.

You don't need a ten-figure budget to make a great movie! With nothing more than iMovie, a camera, and your imagination you can make a stop motion animation. With stop motion, you can bring anything to life. This is a really fun project for aspiring directors of all ages.

So you've filmed your scene using multiple cameras, and now it's time to sync them up into a coherent whole. This tutorial shows you how to take advantage of the multi clip edit feature in Final Cut Pro when you're in post production.

This is a lens you can make yourself easily. You will need a drill, a needle, a body cap, tape, aluminum foil, a ruler or measuring tape and a pencil or piece of chalk to mark where the hole should go.


