In this video the instructor shows how to user printer options in Microsoft Word 2007. To do this go to the Microsoft button and click it. Form the drop down menu select the print option. Now you are presented with the three options of Print, Quick Print and Print Preview. Print is used to directly send documents to the printer by selecting the necessary settings. Quick Print is used to quickly send the documents to the printer using the default settings. Print preview is a useful way of seei...

In this video the instructor shows how to create charts and graphs in Microsoft Word. First, open the Word document and select an area to insert the charts. Now go to the Insert tab in the ribbon and select the Chart icon. The Insert Chart window opens up with various chart templates. There are various categories of charts like Line, Pie, Bar in the left hand side. In the right hand side you can see the sample charts available and you can select any of them that you want. Now it transfers you...
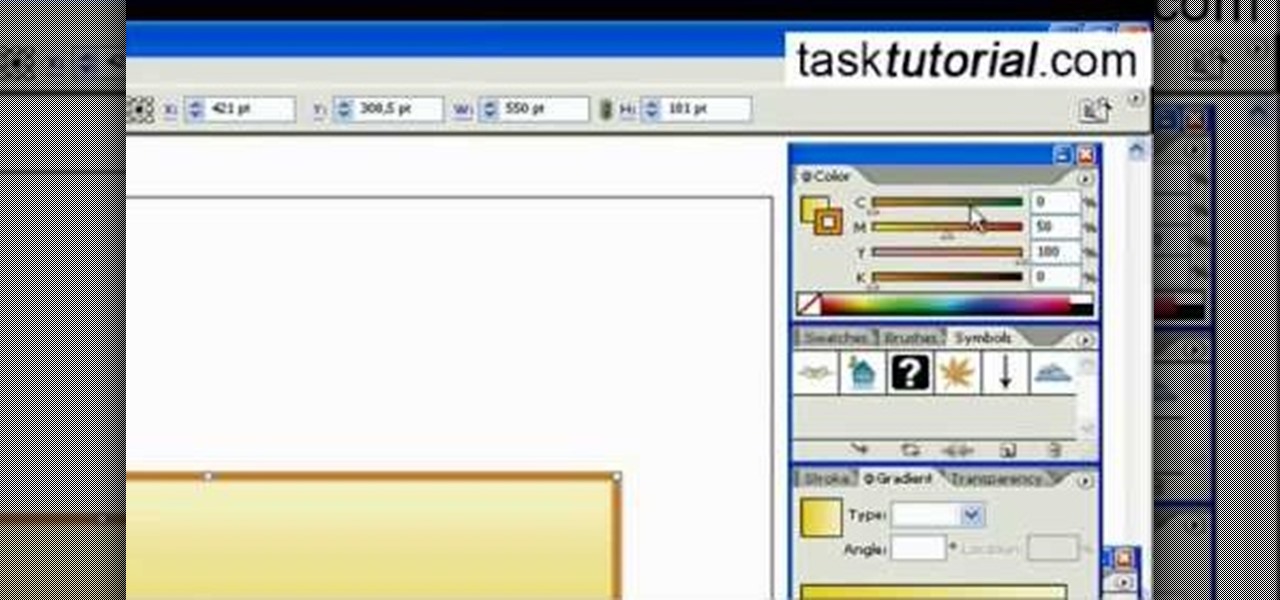
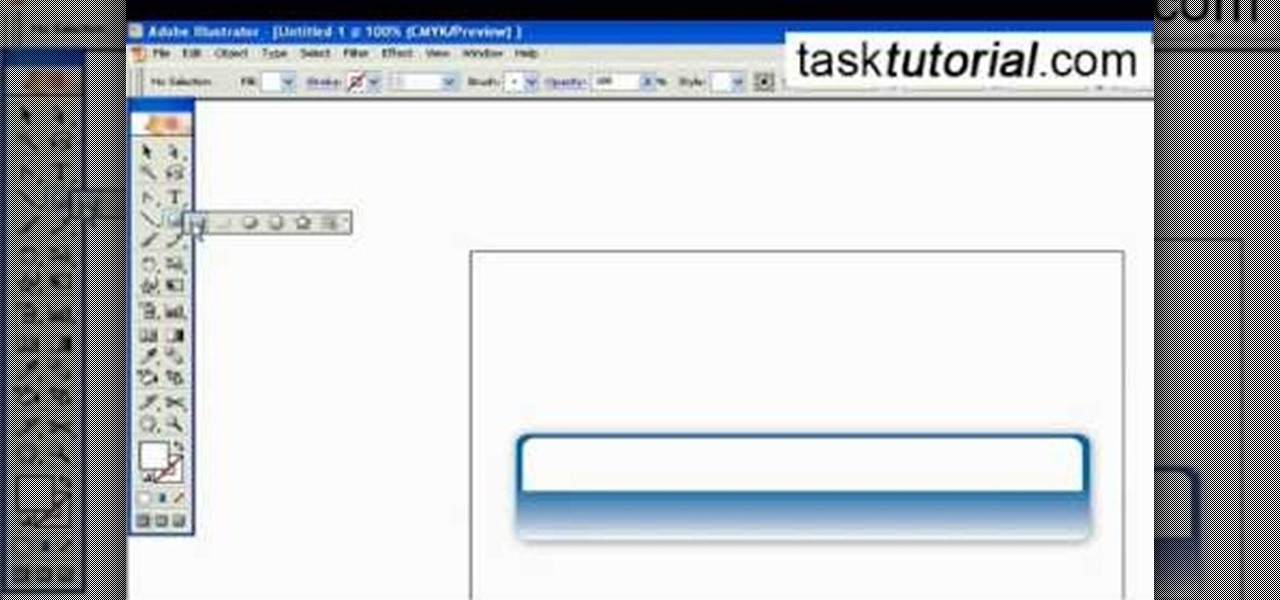
In this video tutorial by Task Tutorial we learn how to create a YouTube subscribe button using Adobe Illustrator. The first step to creating a button is to select the rectangle tool and draw a bar and then select a gradient fill. Next create the first color in the gradient and then the second color in the gradient. After that you'll want to change the gradient angle and also change the stroke width. Then you'll want to edit the stroke color to 9.6%. Then select the text tool and create your ...

In this video tutorial by Tasktutorial, learn how to make a paper scroll in Photoahop. Select the rounded rectangle tool and draw a shape similar to the shape shown. Open layer options. Go to gradient. Select the indicated gradient and delete the marker shown. Adjust the other markers as indicated and use the control+g shortcut to duplicate the layer. Position the shape as shown and using the pen tool draw the paper outline by clicking and holding to obtain the required shape. move the paper ...
Outcomes are endless in Adobe Illustrator. You can create pretty much whatever you can think of and what you can create. This tutorial will demonstrate how to create a glass bar in Adobe Illustrator. You will need to:
This video tutorial by VvCompHelpvV gives you two methods to achieve the Sin City effect in your photos using Photoshop. The Sin City effect is making the main subject of the photo appear colored while the rest of the photo looks black and white. In the first method the subject should be selected using a pen-tool using the settings mentioned. After that right click on the selected areas and make the feather radius 3, inverse the selection and go to image > adjustments and de-saturate and your...

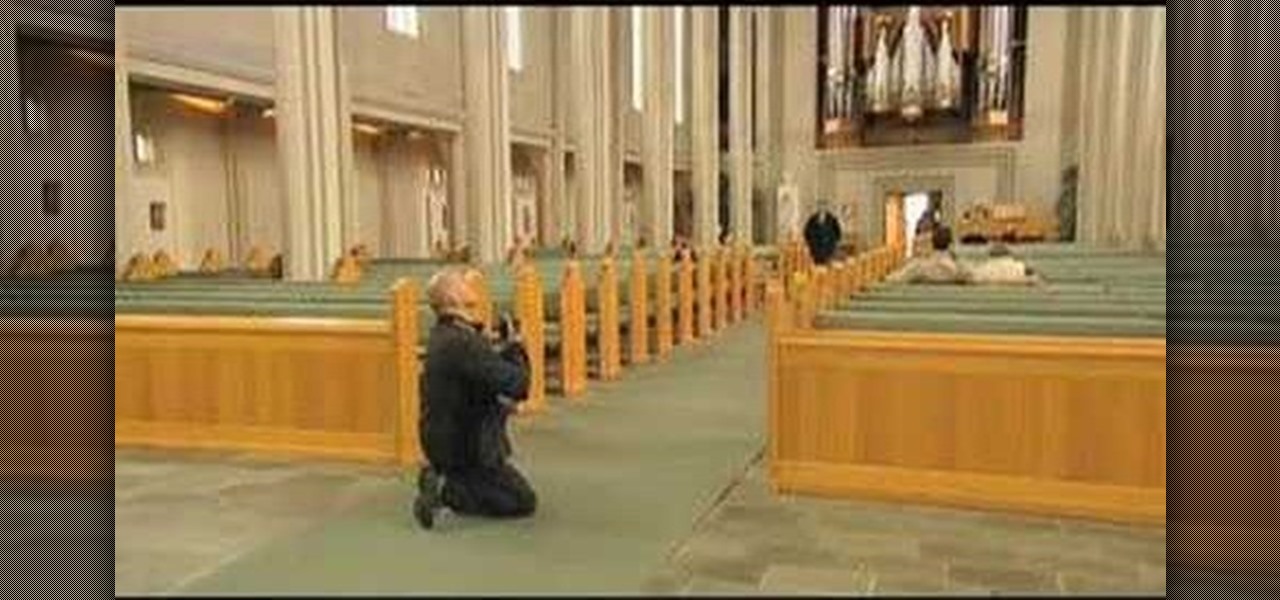
This 5 minute video covers the basics of photographing architecture using Nikon equipment. It gives good basic explanation of basic lessons in architecture photography, including selecting a proper position and distance to either provide or avoid distortion as desired, selecting the proper lens, selecting the film speed for indoor photographs, and how this may affect your choice to use a triPod, and even how to use Nikon's software to correct or adjust photographs after they've been taken. If...
Selecting orchid plants takes more than just admiring an orchid's flowers, but with the right information it can be quick and easy. To find the expert's secrets on orchid selection, Meghan Carter visited award winning orchidist Dick Wells of Hilltop Orchids and got to the bottom of how to pick out the best orchid flower.
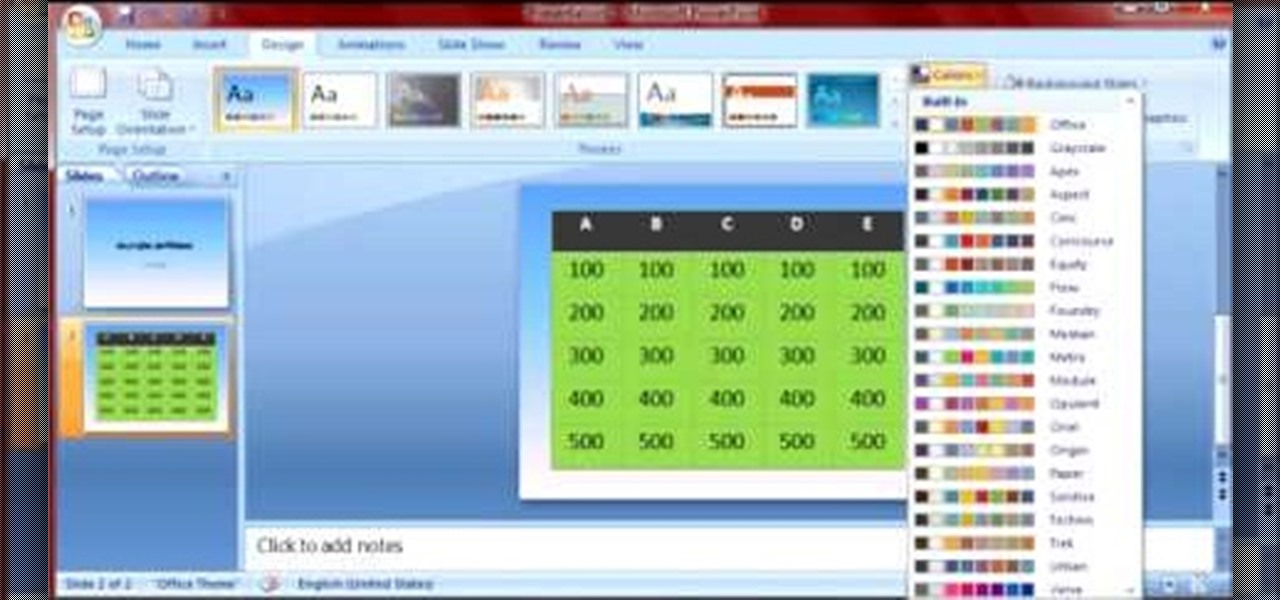
Microsoft PowerPoint is a powerful software to make presentations. It can also be used to make a Jeopardy board. To do this open a new PowerPoint presentation. Start with a title layout. Now add a gradient to its background. To do it right click on it and select the fill option from the menu. Select the color of you choice and fill the background. Now add the title in the layout with suitable fonts. Now add a new slide and insert a 5 X 6 table to it. Format the table with colors of your choic...
Learn how you can remove the blue haze from photos in Photoshop with this tutorial! 1. Select any image and right click on the menu click on Levels. 2. Select each and every channel and set input levels for red, blue and green and see the preview of the image. Set as RGB in Channels. 3. Now, click on "Sample in image to set gray points" and click on the area of the image which need to be set gray click on ok button. 4. From the picture icons select eye dropper and make sure it is set as 5 by ...
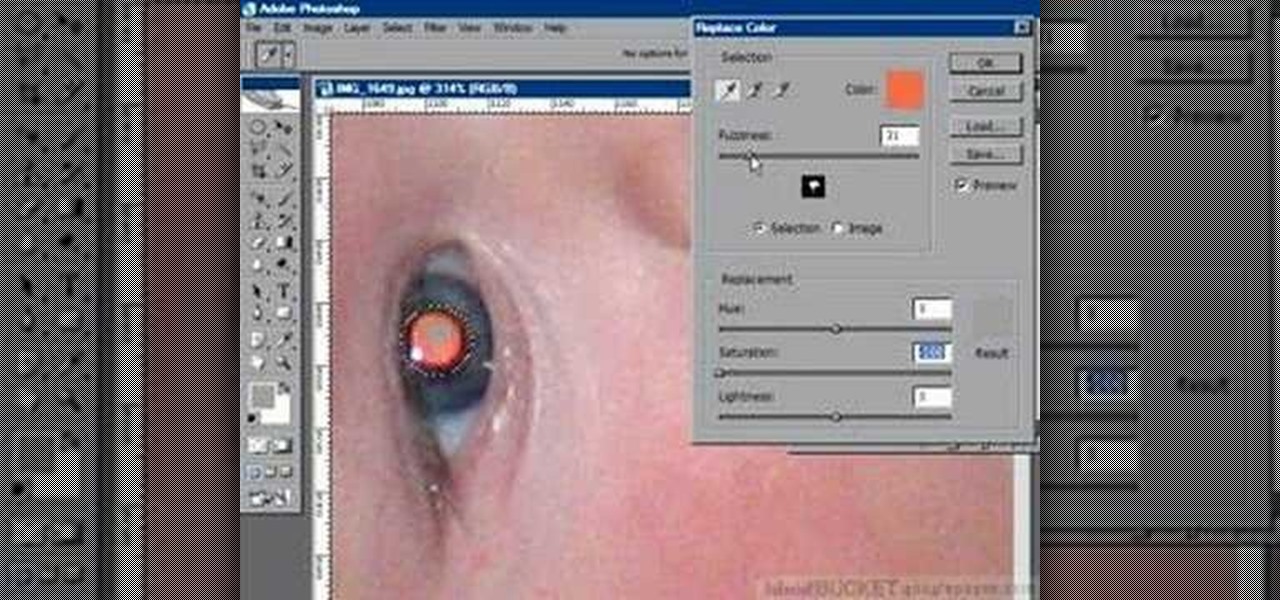
If you have a photograph with an extreme red eye problem, then you will have to take steps above and beyond using the built-in red eye reduction tool in Adobe Photoshop. In extreme cases, red eye will actually contain colors outside of the red spectrum of light. Since the red eye tool only works on this spectrum of light, you will have to manually fix extreme red eye by working on tools that are effective across all different wavelengths of light. The most effective tool at your disposal in t...
You love your iPhone and you can't live without it, but it's lacked the basic ability to cut, copy, and paste across multiple apps. With Apple's OS 3.0 upgrade, you can do it all with just a few taps. Watch this Howcast guide to learn how to cut, copy, and paste on your iPhone.
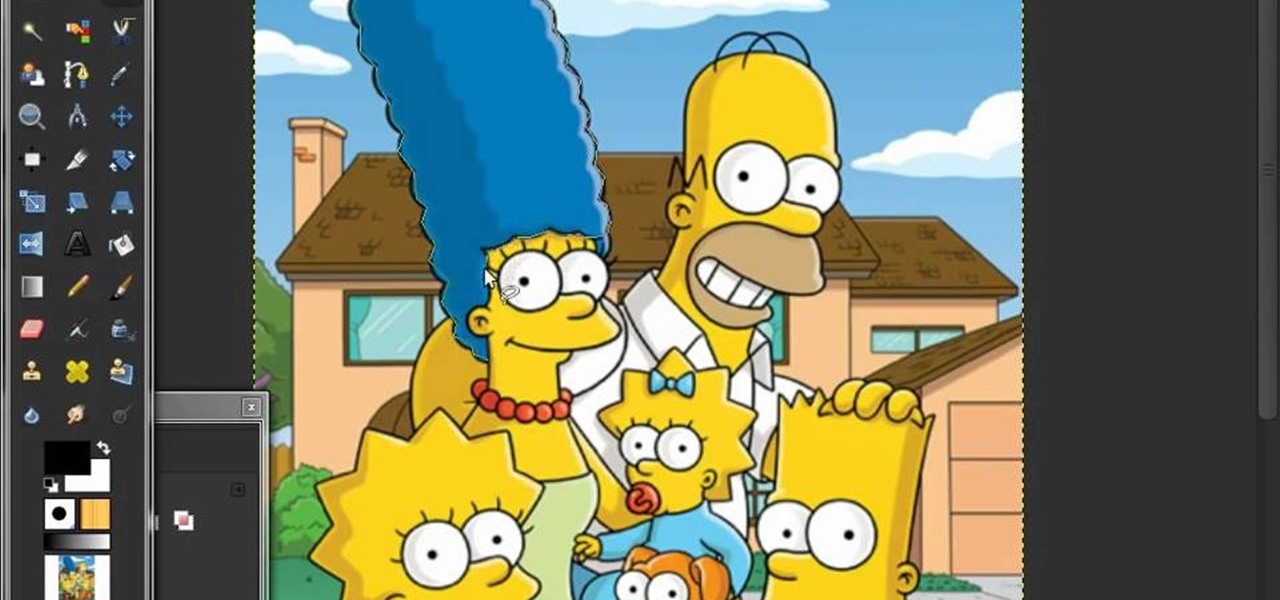
Gimp is an amazing free program that is capable of creating many of the same effects as Adobe Photoshop. In this video, you'll see how Gimp can be used to select one area of an image to be edited. Using a few of the program's many tools, you can transform images however you want.
If you're not connected to the internet or don't have a data plan on your Android-powered Samsung Galaxy Tab, then chances are you don't have the right time and date. But don't worry, it's an easy fix! Simply go to MENU < SETTINGS < DATE & TIME and uncheck the AUTOMATIC to set the date and time manually. Choose SELECT DATE to change the date, SELECT TIME ZONE to change your area of the world, and SELECT TIME to adjust the hours and minutes of the day. Easy as can be.
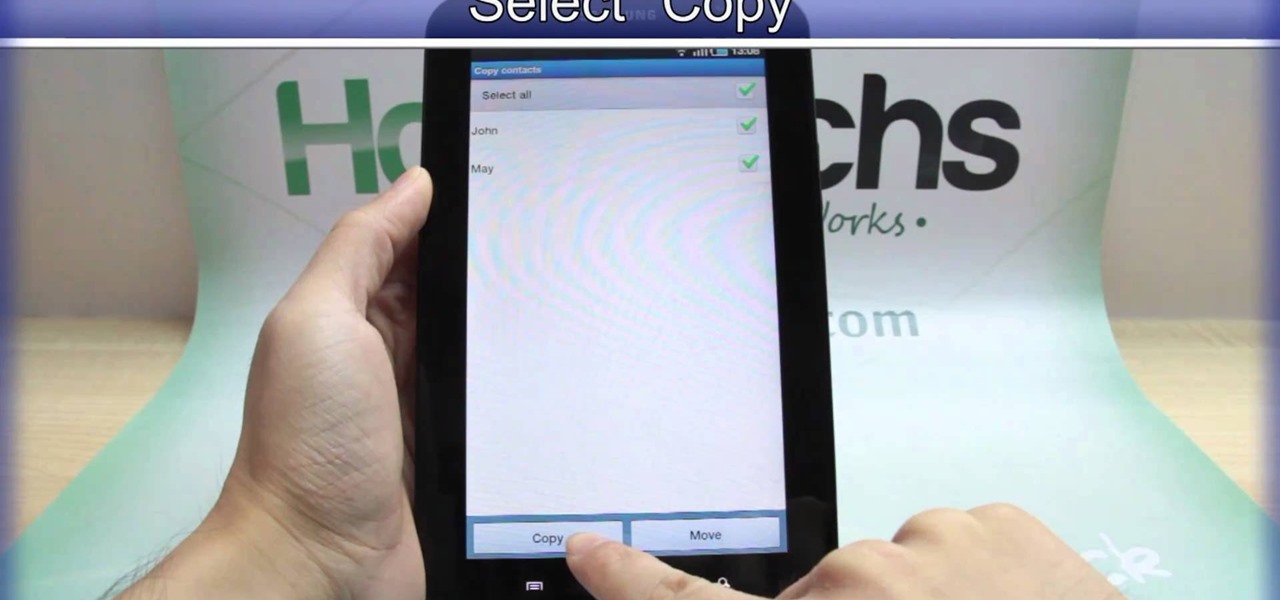
If you want to know how to get all of your contacts from your Samsung Galaxy Tab to your SIM card, this video will show you just how easy it is. Just break out your Android tablet and go to APPLICATIONS < CONTACTS < MENU < IMPORT/EXPORT < EXPORT TO SIM CARD. Select the contacts you want to copy over and select COPY, then YES. Done!
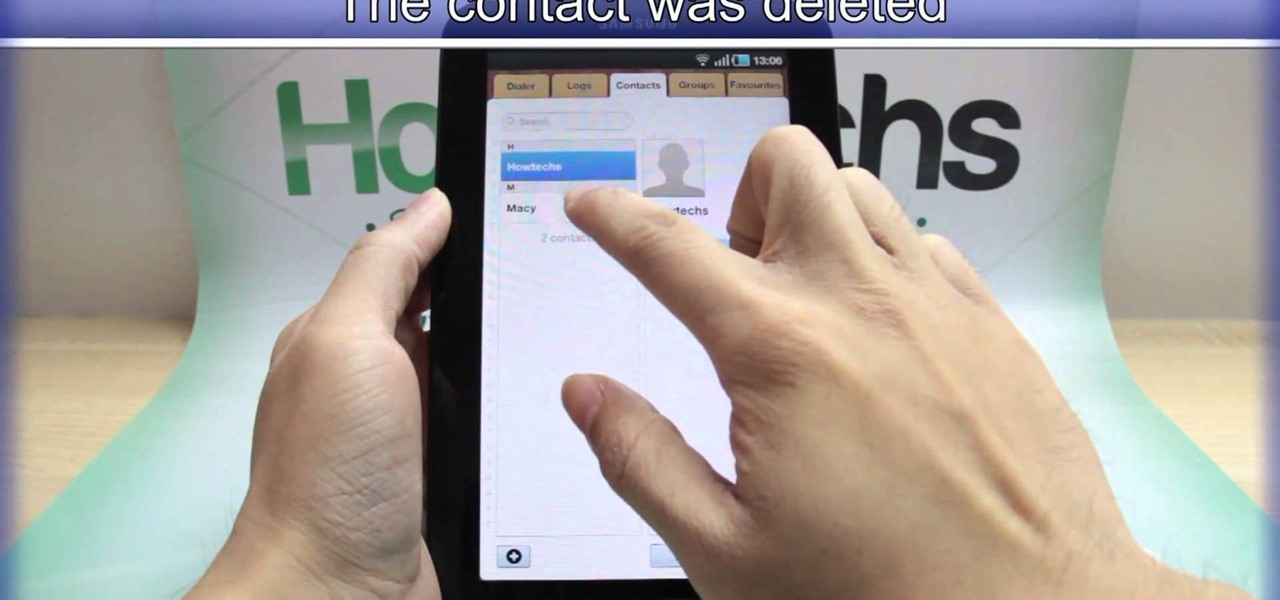
We've all deleted a contact on our mobile devices, whether we needed to or not, but Android makes it easy to delete those contacts you feel could be dumped in the new Samsung Galaxy Tab. Go to APPLICATIONS < CONTACTS and select the contact you want to junk. Select DELETE in the bottom right, then press OK to delete. That't it!
Various ways to password protect a file or folder using Microsoft Vista are shown in this video. The first step is to choose a file you want to add a password to. After you decide on the file you wish to protect you must right click and select add to archive using Win Rar. After the file has been opened using Win Rar you can then select the add password option to begin encrypting the folder. After you type in the password of your choice you must select ok to finish attaching the password. Onc...
What's the difference between grilling on a pan in your kitchen and grilling outside with wood chips? It's definitely not just the surface you cook on that changes.
In this video, we learn how to change hair color in Photoshop CS3 and CS4. First, open up your image and zoom in on the hair. From here, you will click on the selection tool with a circle to select your image. Now, make sure this is the perfect size for the entire image. Right click and make sure it's sized out right. Now, select the hair and a red marker will appear. Select the whole surface of the hair, and as you get to the short hair use a smaller circle tool, don't worry about the smalle...
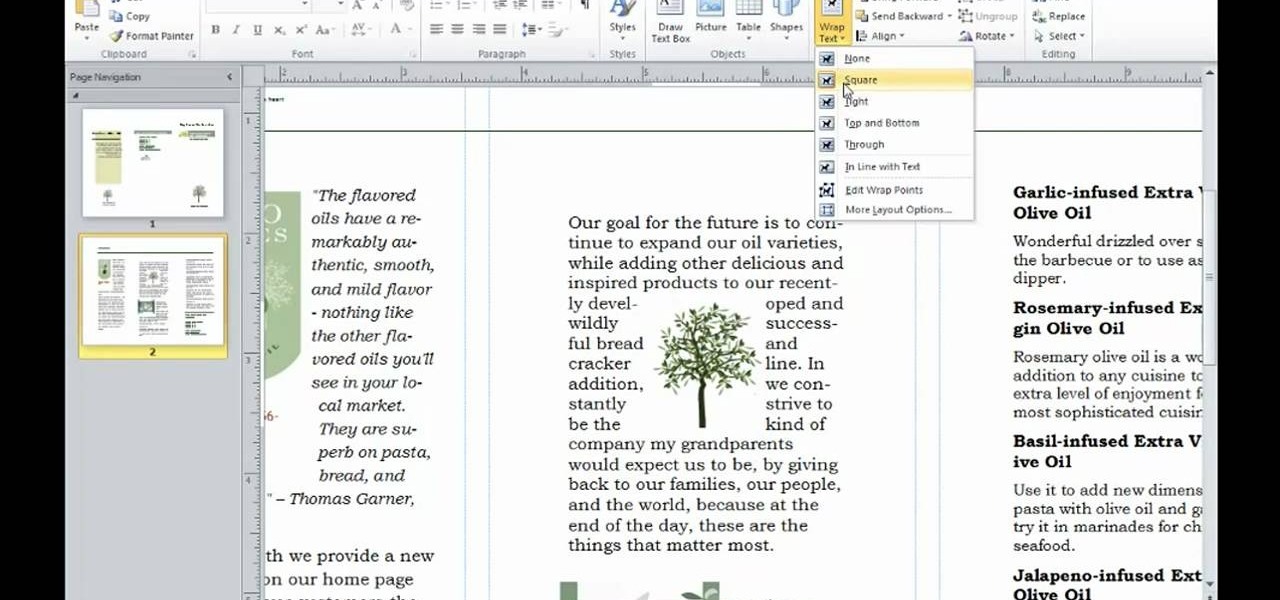
In this video tutorial, we learn how to select and manipulate objects when working in Microsoft Office Publisher 2010. Whether you're new to Microsoft's popular desktop publishing application or are a seasoned pro merely looking to brush up on Publisher 2010, you're sure to be well served by this clip. For more information, and to get started employing the lessons imparted by this free video software tutorial in your own Publisher projects, take a look.
In this tutorial, we learn how to create amazing 3D text in GIMP. First, start a new image with the width and height that you want. From here, select the text editor and then type in your text. After this, change the font to what you want and then change the size and color as well. From here, you will duplicate the layer and then go to layer, and then filter. Select the map button and then map the object. Select the text and then show the preview to make sure it's what you want. Change the or...
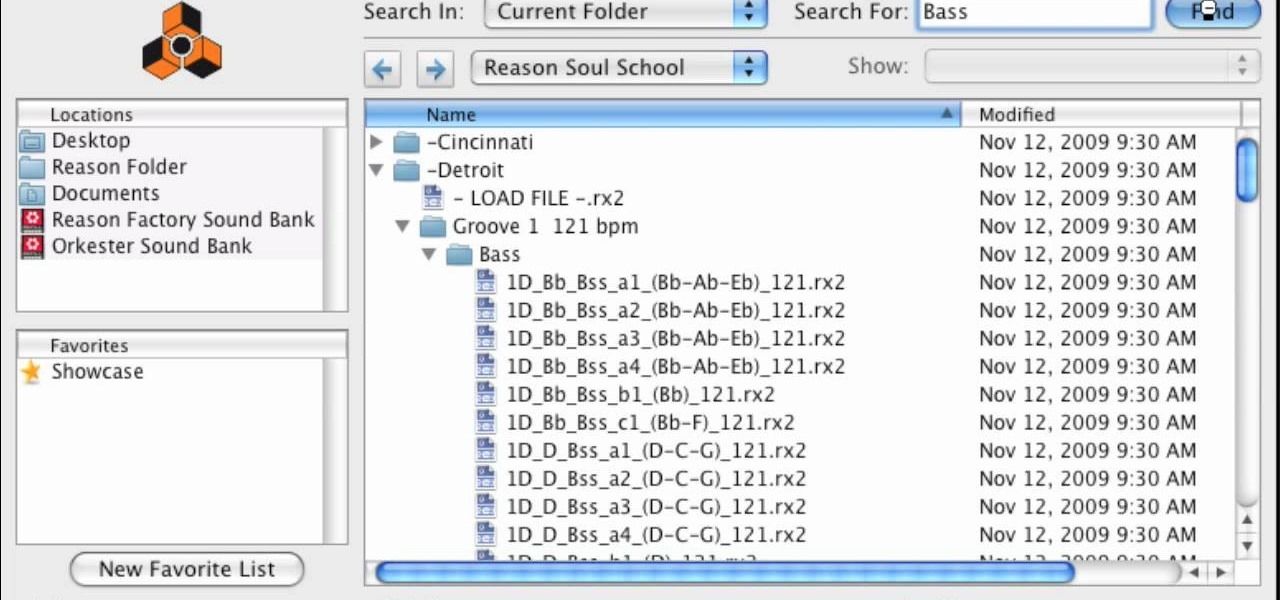
In this video, we learn how to find soulful loops in Reason Soul School. First, select to create an instrument. Then, browse through the Reason SoulSchool Refill. There will be several categories of instruments with soul styles. Select either Cincinnati, Detroit, or Memphis. In each of them, there will be instrument loops, drums, and grooves. Each are tailored to match each other. By loading these, you can start a tight groove easily. Find the different loops and then select the one that you ...
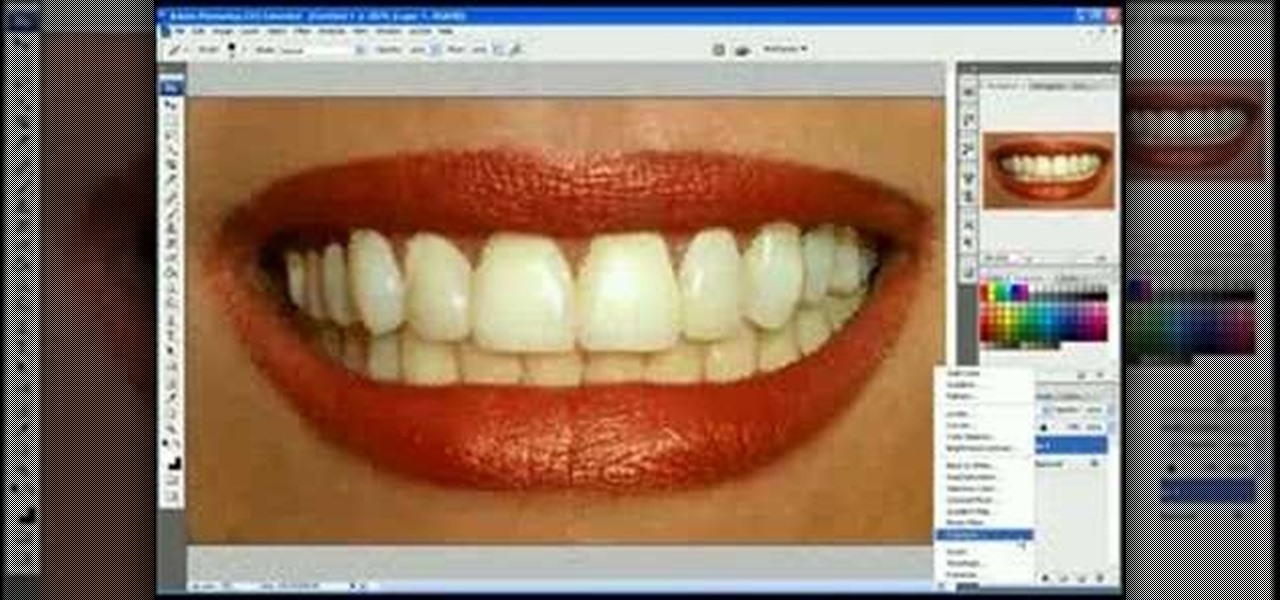
In this video we learn how to whiten teeth in Photoshop like a professional. Start off by opening up Photoshop and zooming in on the teeth in your photo. Start out by selecting a hollow brush and then paint the selection onto the teeth. Paint around them carefully and make sure you don't touch the gums in the middle and on the top of the teeth. Once you have selected the entire area of the teeth you will see them all covered in red. Then, go to "select" and "inverse", then press the button fo...
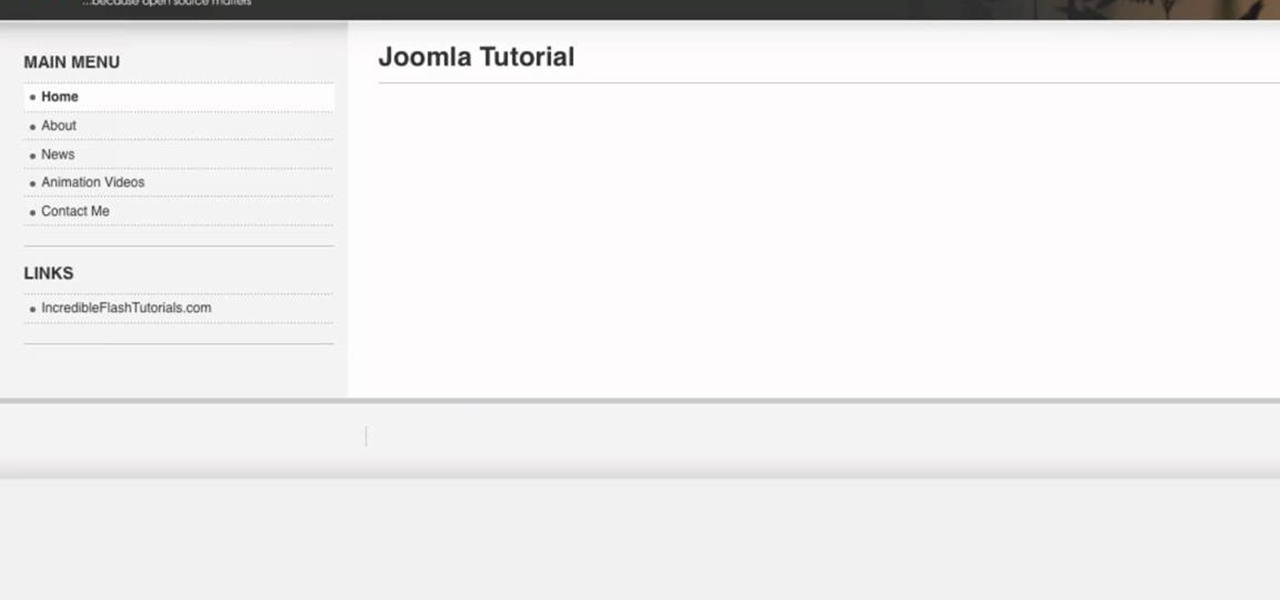
Go to your Joomla admin page. Now go to extensions, module manager. Now on that page, click on new. Now select login button and click on next. Now type the name and set the position, it depends on the template you use like if you have the help file of that template, you can figure it out by checking that but many free template does not contain the help file. So for now, set the position left and click on save. You can arrange the order of your modules just by clicking the up icon or just by e...
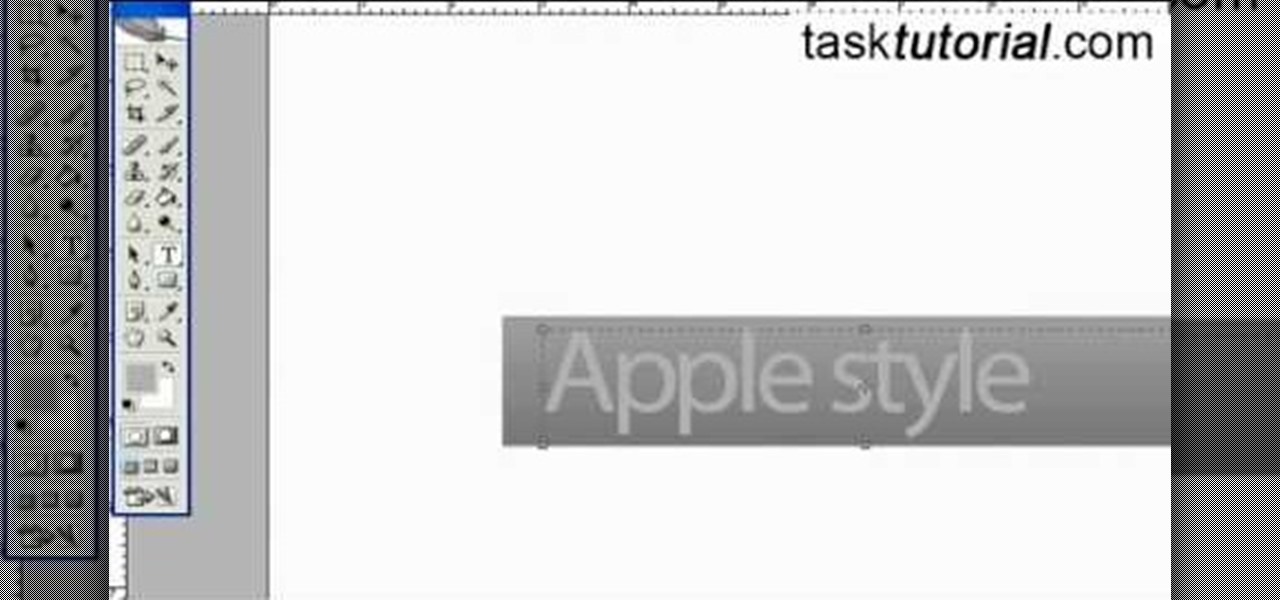
First select the rectangle tool and draw the bar. Now you have to open up the layer style and choose gradient overlay. Now you need to edit the colors as showing in the video and then go to drop shadow option, you have to change the opacity of it to 20%, distance to 2 and click ok. Now type "Apple style" in new layer as showing in the video, set the size of text to 72pt. Now open layer style for the text and choose color overlay and set its color to dark grey, go to drop shadow and choose nor...
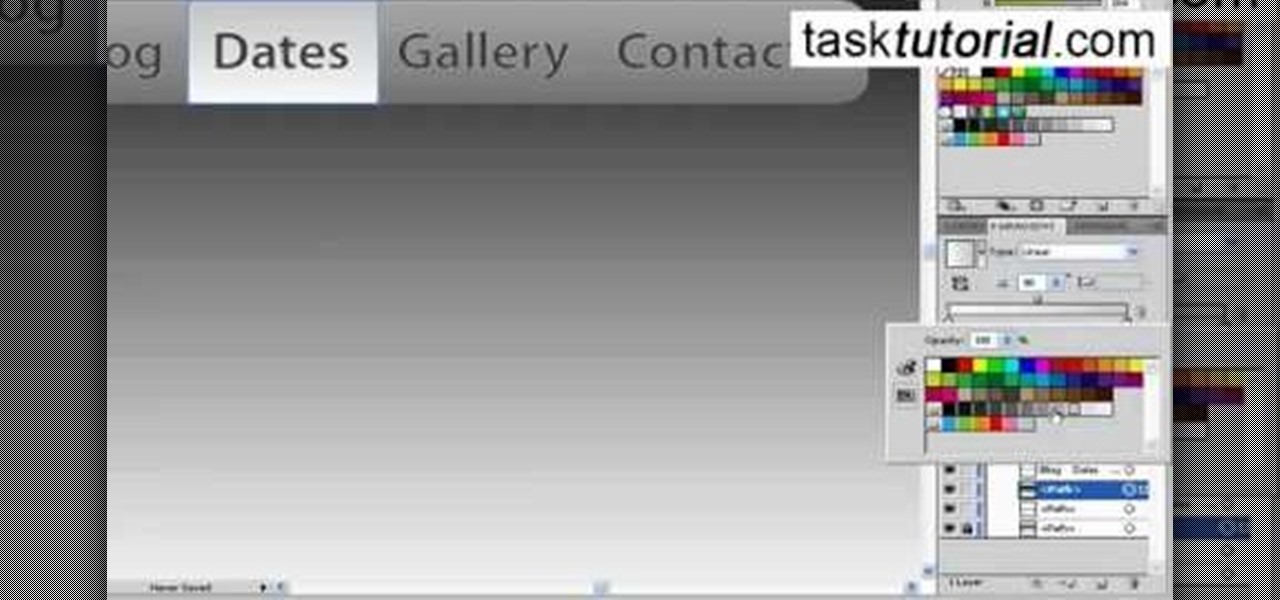
First thing you need to do this is to select rectangle tool and make a shape and select the gradient fill and change the angle of gradient to 90 degree. Now color and resize it as showing in the video. Now type your navigation texts like blog, contact, gallery etc. Now size your text for your rectangle shape. Now set the texts in the bar and resize your bar.
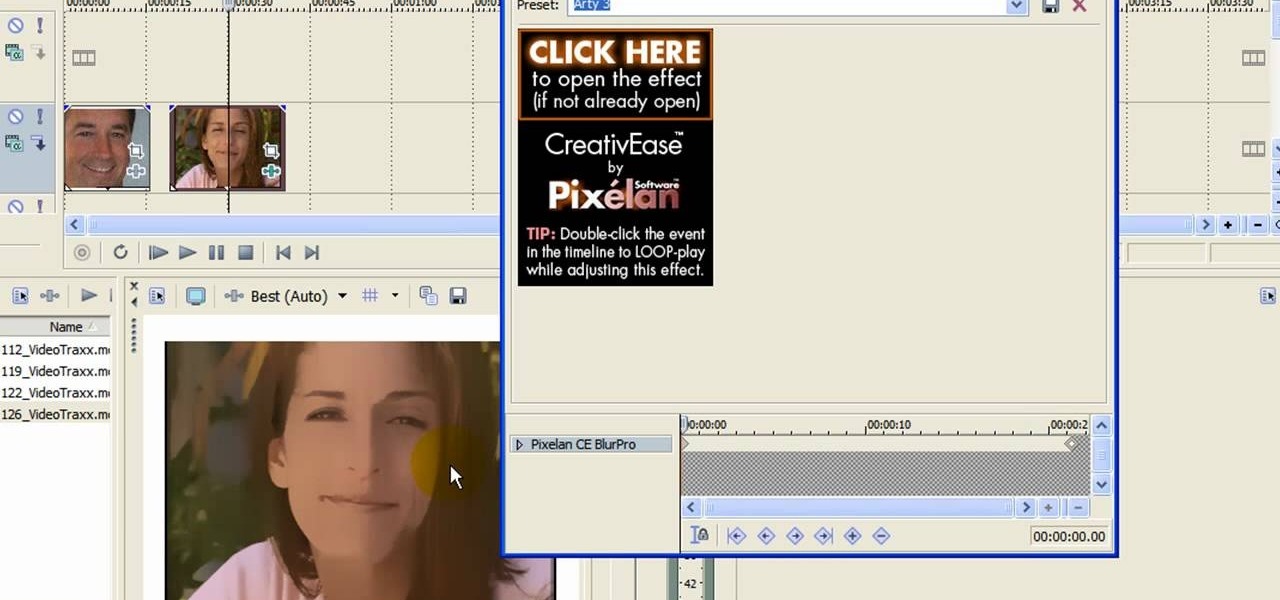
First click on Video Event Fx, it will let you select the plug-ins that you have. Now select pixelan CE blurpro and click on OK. Now select remove blemishes 1 in preset menu. It will remove the first set of blemishes from the video now go for the blemishes 2 and then go for the blemishes 3. Now you can see the difference by playing that video. If you choose arty 3, it will make the pictures of the video as cartoony. Now go again for the blemishes 3, it will make the video even more better. Yo...
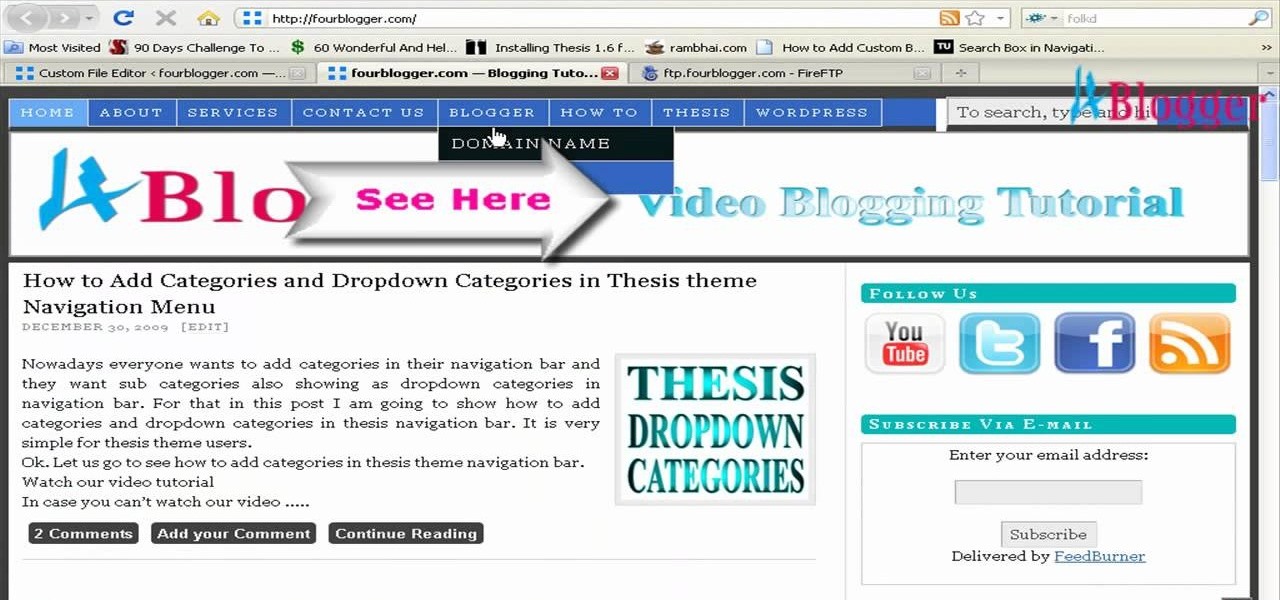
You can add banner ads in thesis header. To do this, first go to your word press admin and click on custom file editor in thesis option. Now select custom_function.php in edit selected file option and click edit selected file. You will get a warning so to do this you need to use FTP. Go to the path in FTP which is showing in the video and then click on Launch.php and now copy the code which is showing in the video and paste it in the launch.php. But you have to change your header image path i...
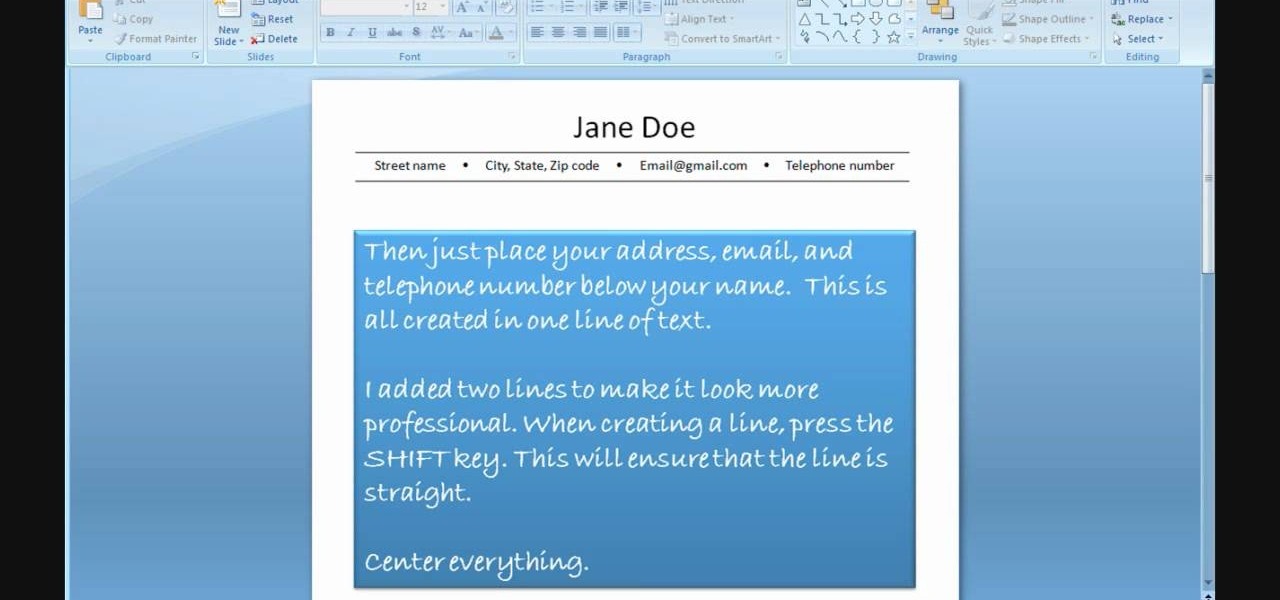
In order to use PowerPoint to create your resume, you will need to select "page setup", in order to change from landscape to portrait. Insert a text box in the center of the page and type your name in it. Next, click on the "format" tab. Next, select your alignment from the alignment center.
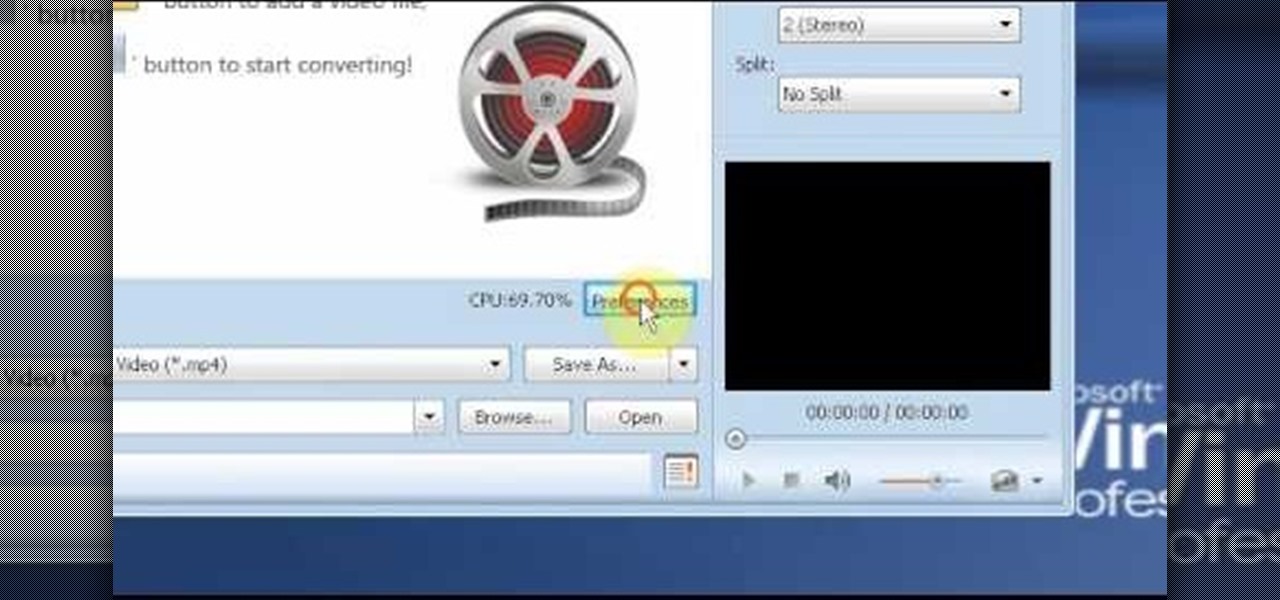
In this video tutorial, viewers learn how to use the MP4 video converter software, ImTOO. Begin by downloading the program from the link provided in the video. Once downloaded and installed, open the program. On the right side under Profile Settings, users are able to select name, video size, video quality, audio quality, channel and split of the video file. Then click on the Profile combo box and select an output format for the video. Now click Add Files to import a video into the software. ...
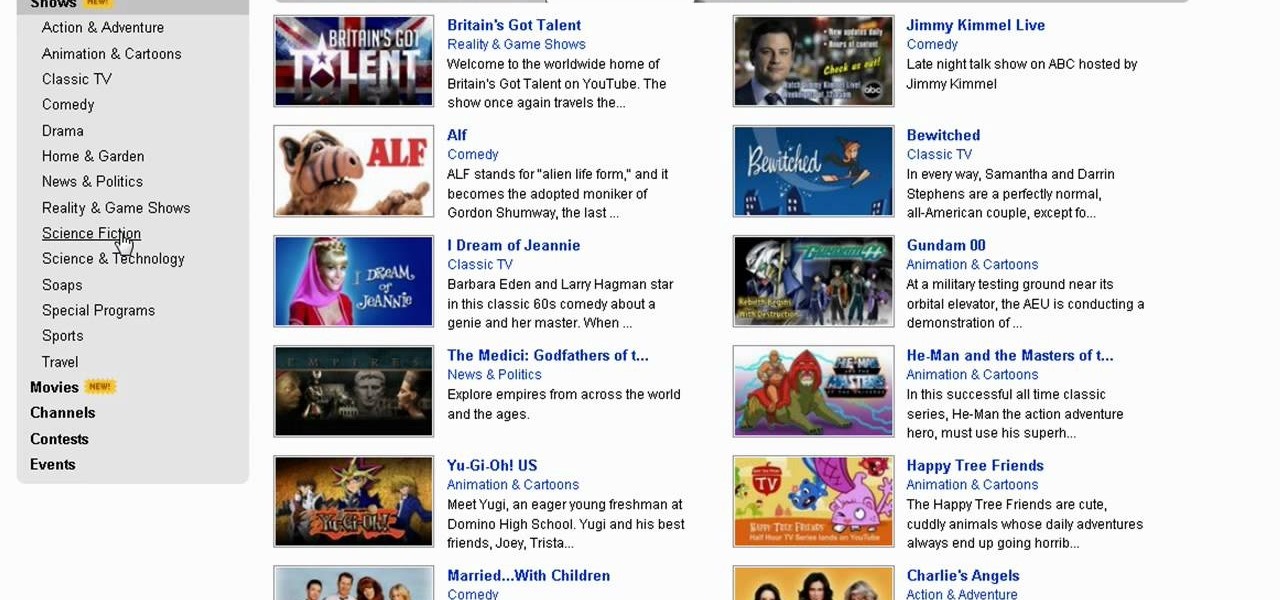
In this video tutorial, viewers learn how to watch Star Trek: The Original Series online for free. Begin by opening your internet web browser and go to the You Tube website. Then click on the Shows tab on the top of the page. Now click on the Most Popular tab and select Science Fiction under Shows in the sidebar. Then select Star Trek: Original Series and select the episode that you wish to watch. This video will benefit those viewers who are Star Trek fans, and would like to learn how to wat...
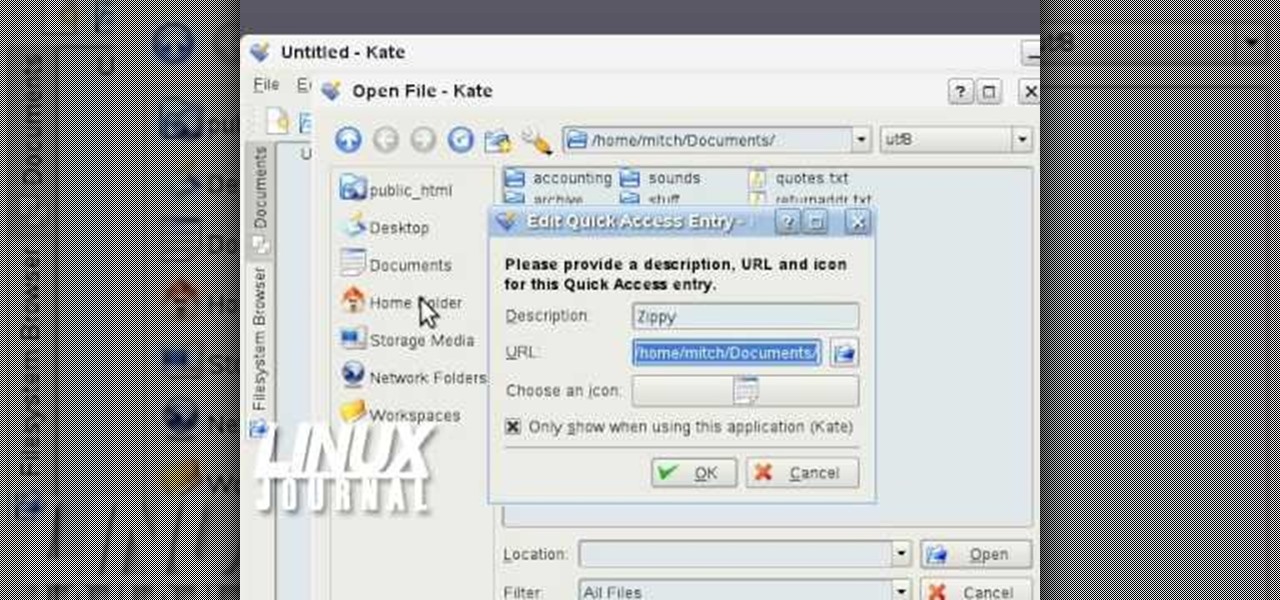
In this video tutorial, viewers learn how to add location shortcuts to KDE open file dialog. This task is very easy, fast and simple to do. Begin by opening the program. Then click on File and select Open. In the Open File window, right-click on the left side panel and select Add Entry. In the Edit Quick Access Entry window, type in the description, URL and select an icon. Finish by clicking OK. This video will benefit those viewers who use the KDE program, and would like to learn how to add ...
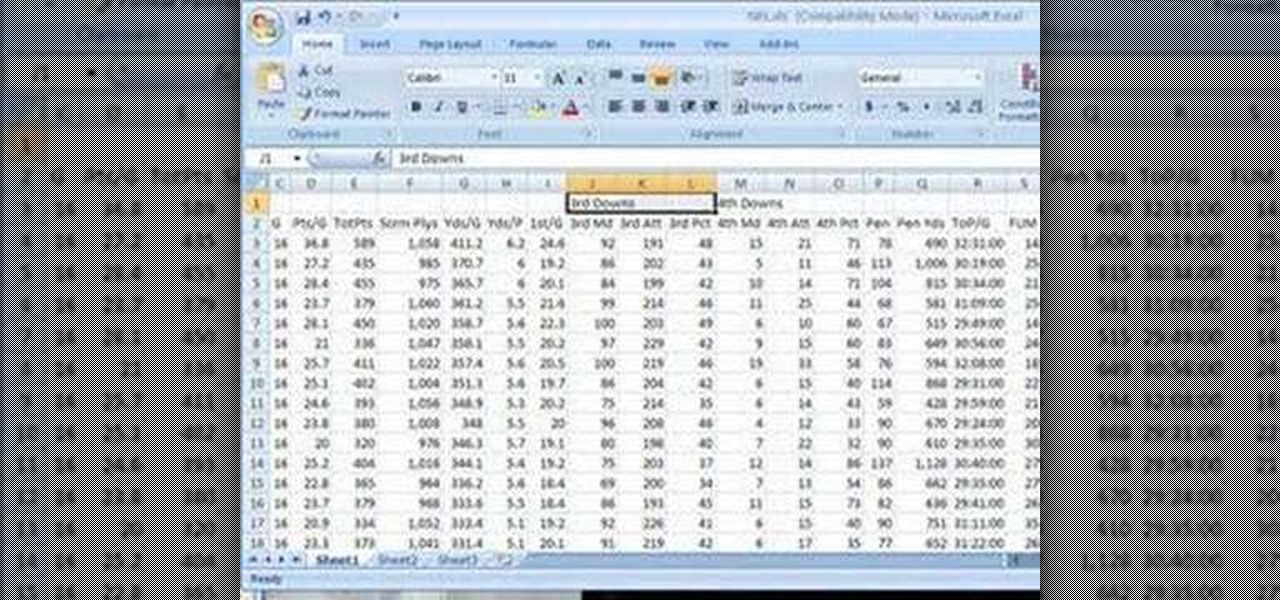
In this software video tutorial you will learn how to merge and unmerge cells in Excel. A cell in an Excel spread sheet is assigned a row and a column number. You will mostly need to merge cells when you are trying to create headers that span across two or more cells. For this select the cells that you want to merge by clicking and holding down the left mouse key on the first cell and then dragging it across the other cells that you want to merge. Then go to the 'home' tab, click on 'alignmen...
In this tutorial, we learn how to remove a scar in Photoshop. First, select the magnifying glass to zoom in on the area you are working on. Next, select the paperclip icon, the select the second brush. Now, come to the edge of the scar and drag across the around the entire scar. Come back around, then the scar will be highlighted. Now click down and hold the image highlighted, and you can smooth out the skin and it will disappear. Next, do this on the other side of the face to remove the rest...
In this Software video tutorial you will learn how to convert a Word DOC to a PDF eBook for free. Go to the website PrimoPDF and click on download free link. Then download and install the program. Now open up the word doc that you want to convert to PDF and select the print option. Under the name of the printer you will find PrimoPDF option. Select this option and click OK. The PrimoPDF dialog box will open up. Here you select the ebook option and the location where you want to save the ebook...
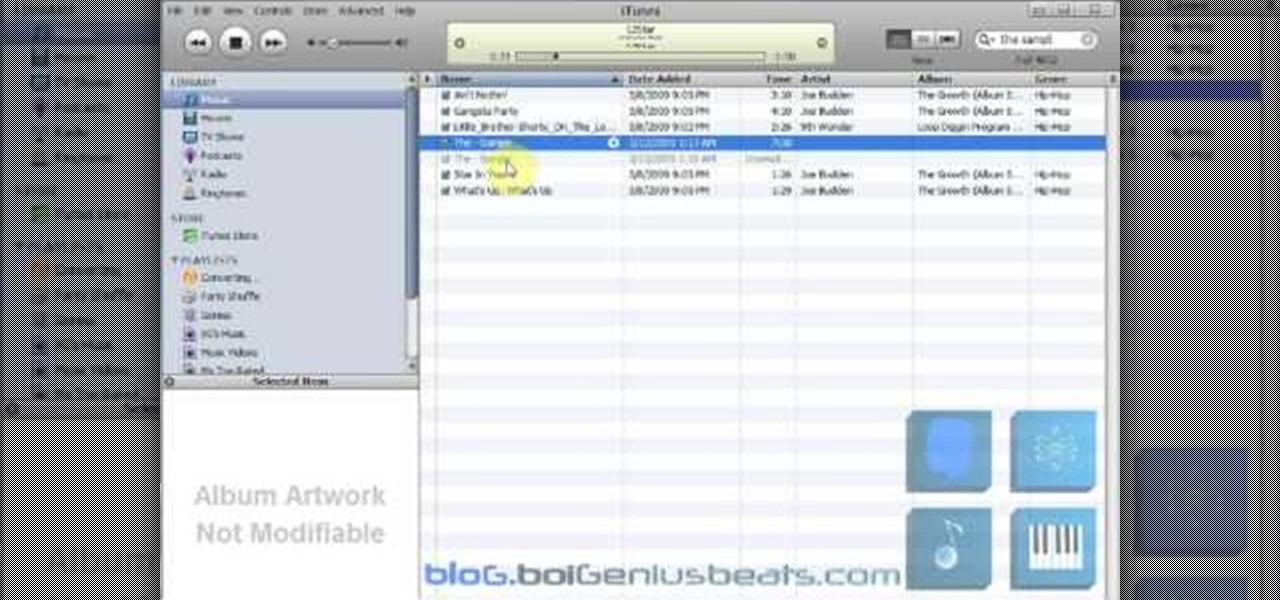
This video tutorial belongs to the software category which is going to show you how to convert an mp3 to WAV format in iTunes. Go to file menu and click 'add file to library'. Grab your mp3 file that you want to convert by double clicking on it. This will automatically add to the iTunes library. In the library click on 'music' and find the file that you just added. Now click on edit > preferences > general > import settings. Now in the 'import settings' dialog box, select 'WAV encoder' under ...
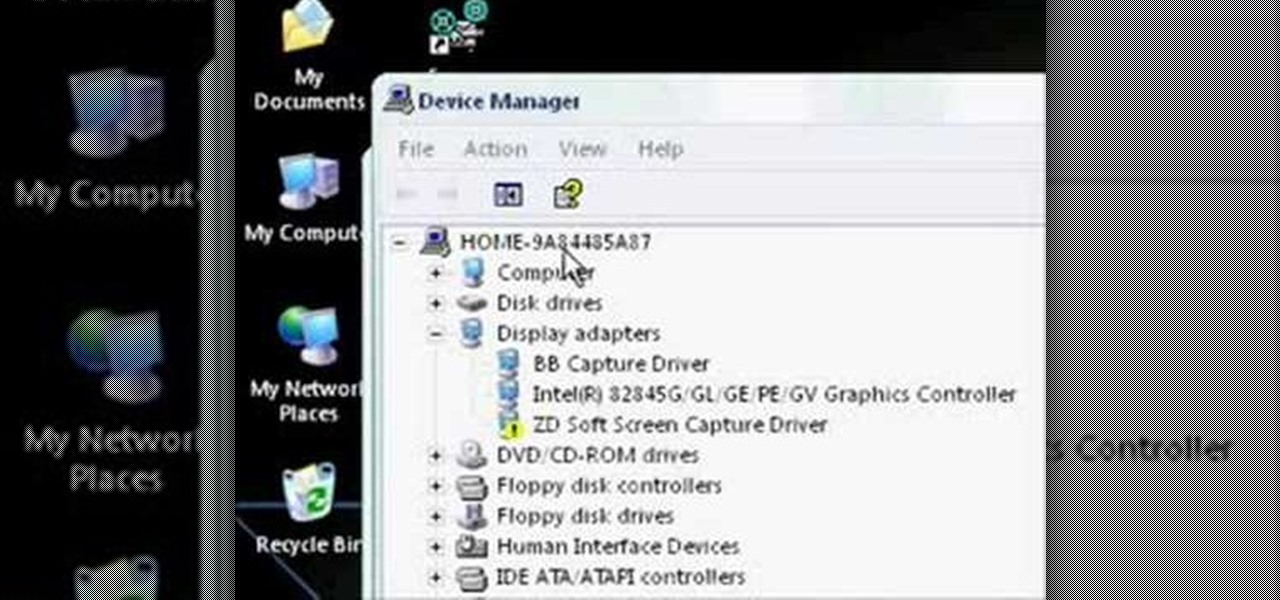
In this video tutorial, viewers learn how to upgrade their graphic driver. This task is very fast, easy and simple to do. Begin by clicking on the Start menu. Then right-click on My Computer and select Properties. Now click on the Hardware tab and click on Device Manager under Manager. In the Device Manager window, select your graphic driver under Display adapters. Right-click on the driver and select Update Driver. Now follow through the instructions in the window and check for any updates. ...
In this video tutorial, viewers learn how to add video transitions to a video in Pinnacle Studio. This task is very easy, simple and fast to do. Begin by imputing the video clips into the time-line. Then click on the Transitions tab and select a transition. Once selected, simply drag the transition in between two video clips. There are many transitions to select from. Users are able to preview each transition by clicking on it and pressing the Play button. This video will benefit those viewer...
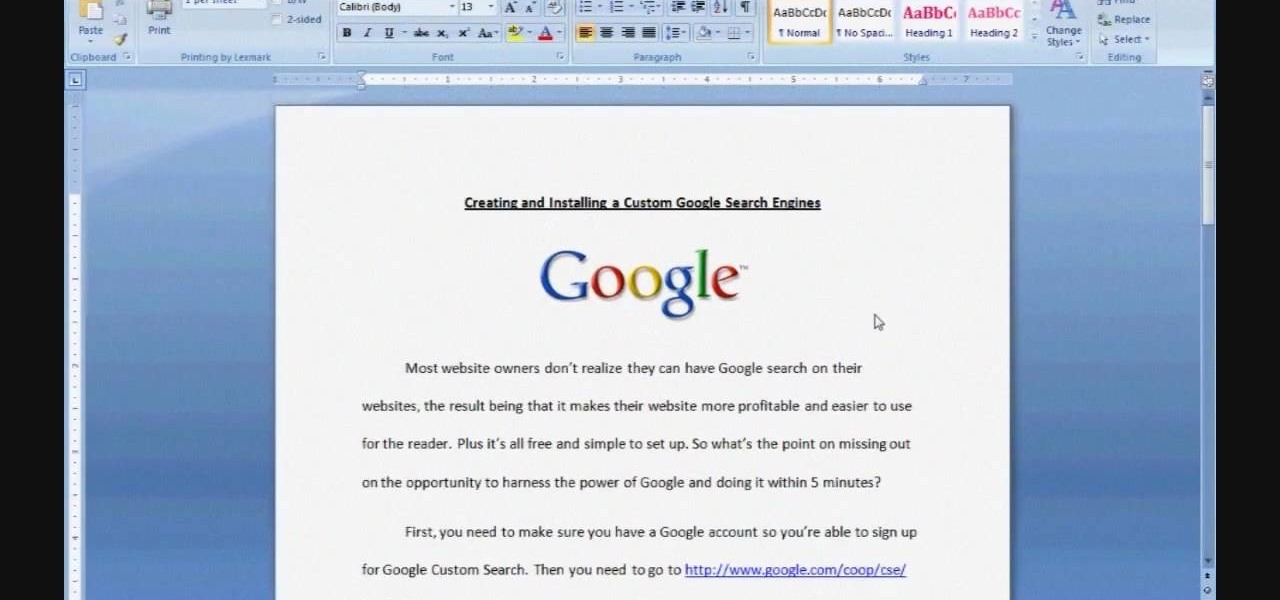
In this video tutorial, viewers learn how to a horizontal line in Microsoft Office 2007. Begin by clicking on the Page Layout tab and select Page Borders. Then click on Horizontal Line. Scroll through the list and select a type of horizontal line. When finished, click on OK. Users are able to drag the horizontal line around by holding down the left button on the mouse and moving it. When users highlight the line, right-click on it and select Format Horizontal Line. There users will be able to...
In this Software video tutorial you will learn how to combine documents into a single PDF in Adobe Acrobat 9. Go to the 'combine' menu and select 'merge files in to a single PDF'. Click on 'add files' and 'add folders'. Now create a new folder and click OK. Then drag and drop files in to the folder. You can then arrange them in the order you want. You can also delete any document that you don't want. You can also choose pages from a document. With all the documents selected, you can go ahead ...