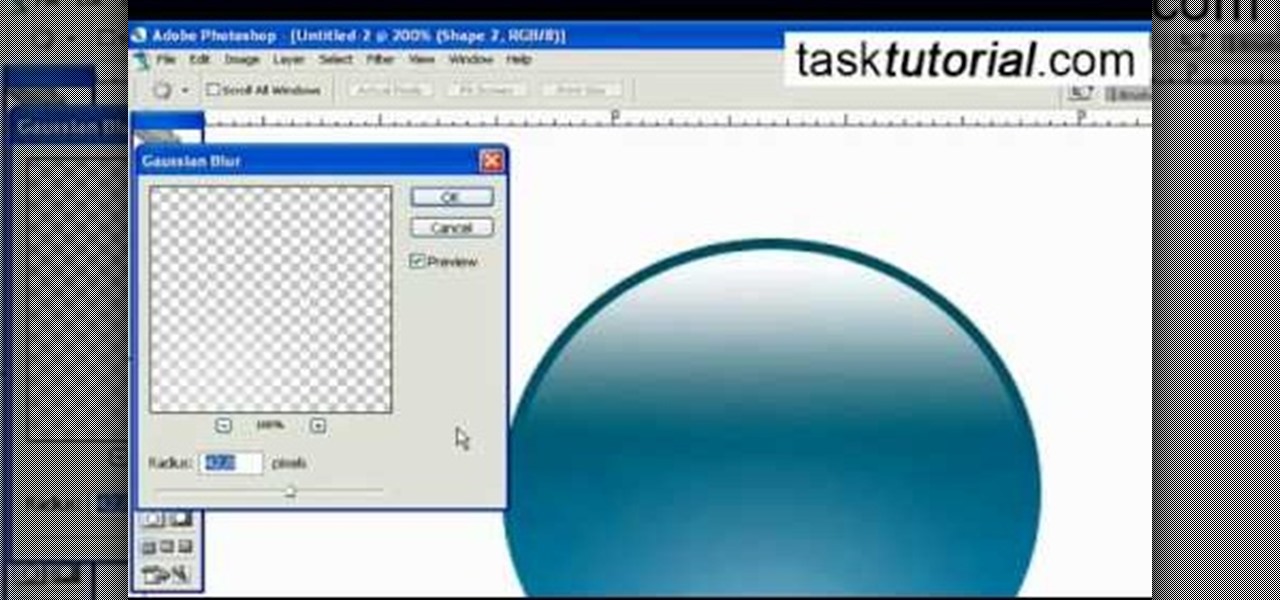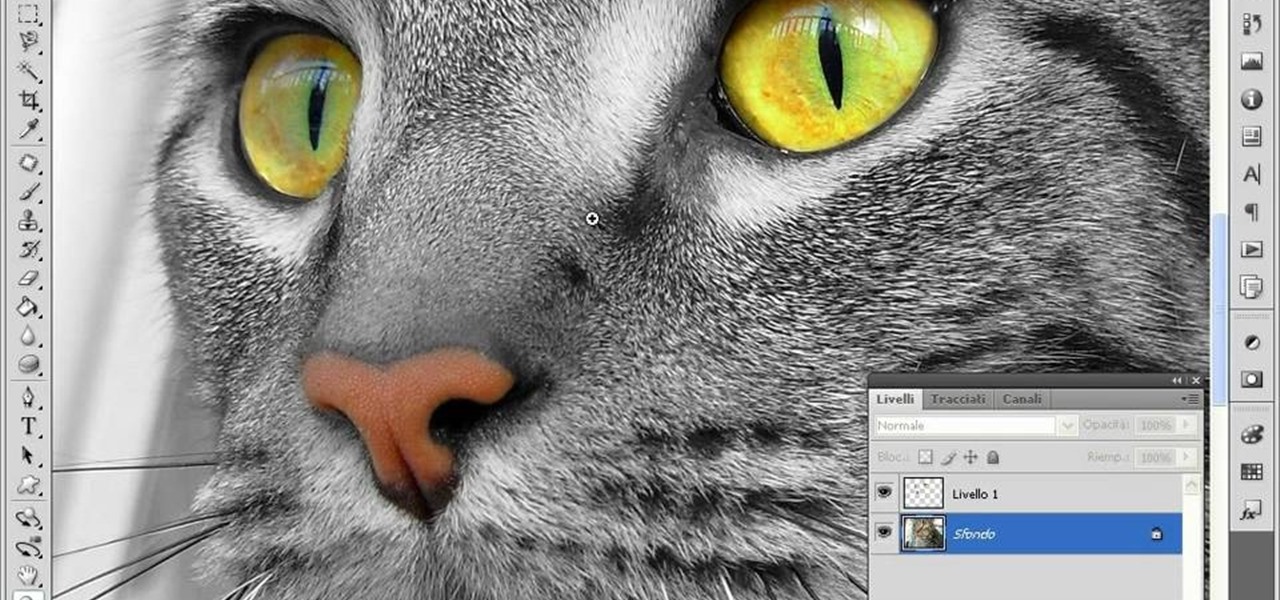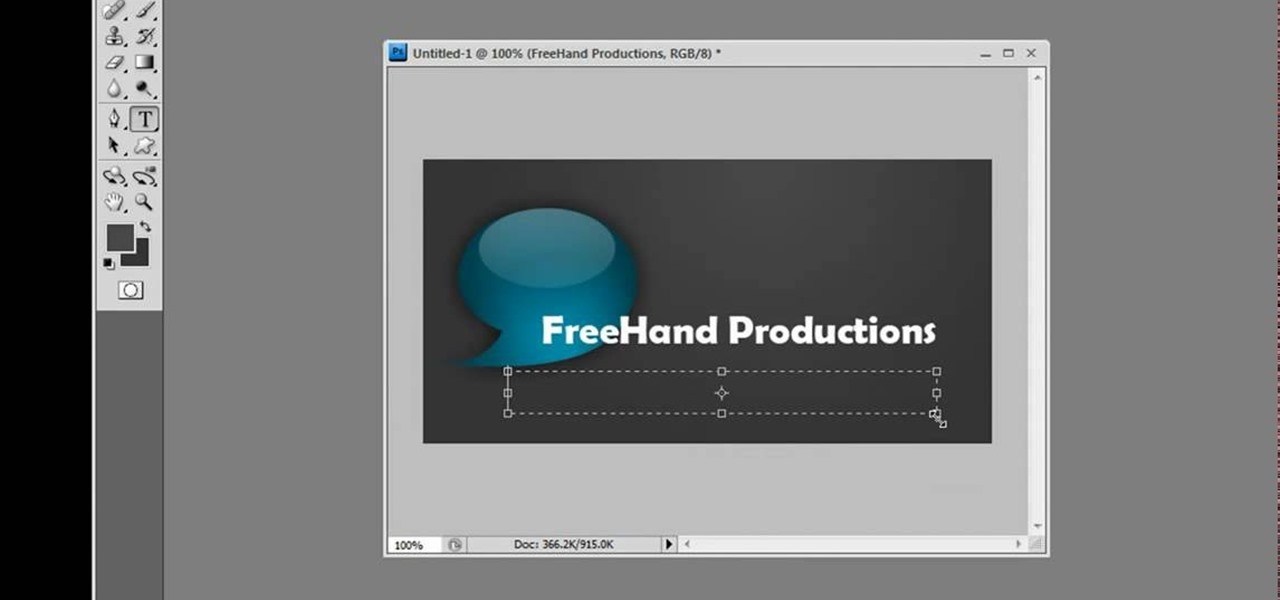
Ash Davies teaches us how to Photoshop digital bokeh with this tutorial. First, open up Photoshop and create a new canvas with your width at 1920 and your height at 1200. Now, create a new layer and set your background layer as invisible. Now create a medium size circle and reduce the fill to 50%. Now enter blending options and add a stroke of 10 pixels to the inside with the color set to black. Now define the shape as a brush and then click "edit" and "define brush preset" name this, "bokeh"...
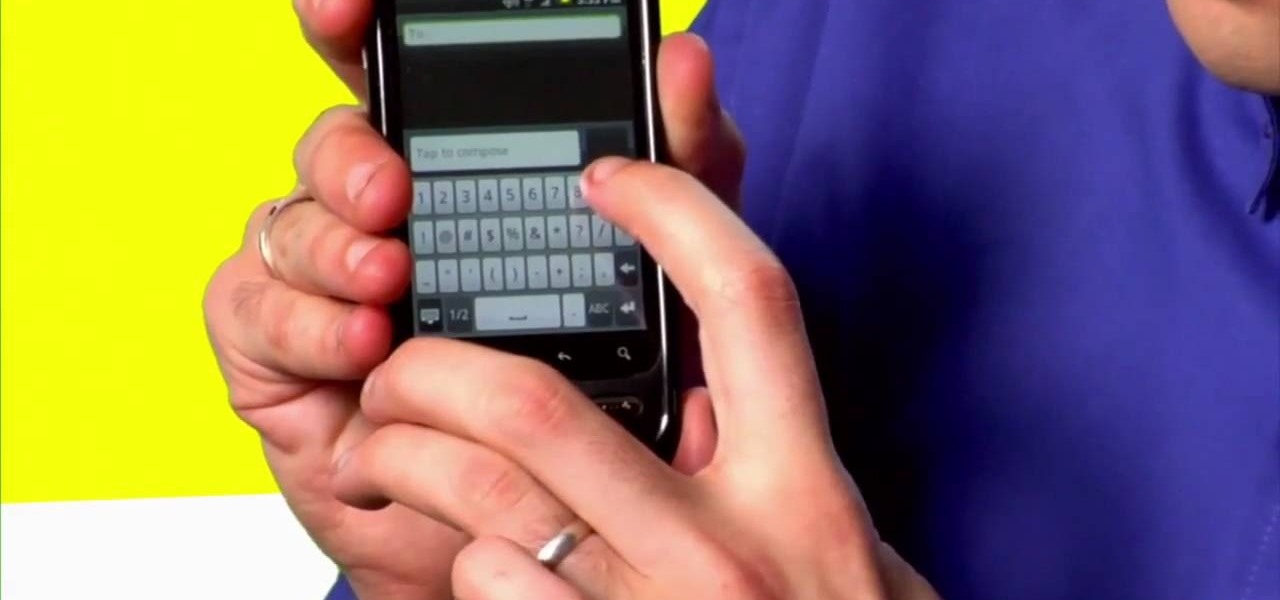
With the Android platform on a large amount of mobile phones today, chances are you have one. Sometimes messaging on the phones can be a little confusing, but there's a simple explanation for texting your friends and family. Best Buy has answers. The Best Buy Mobile team explains how simple it is to send a text message on your Android enabled cell phone.
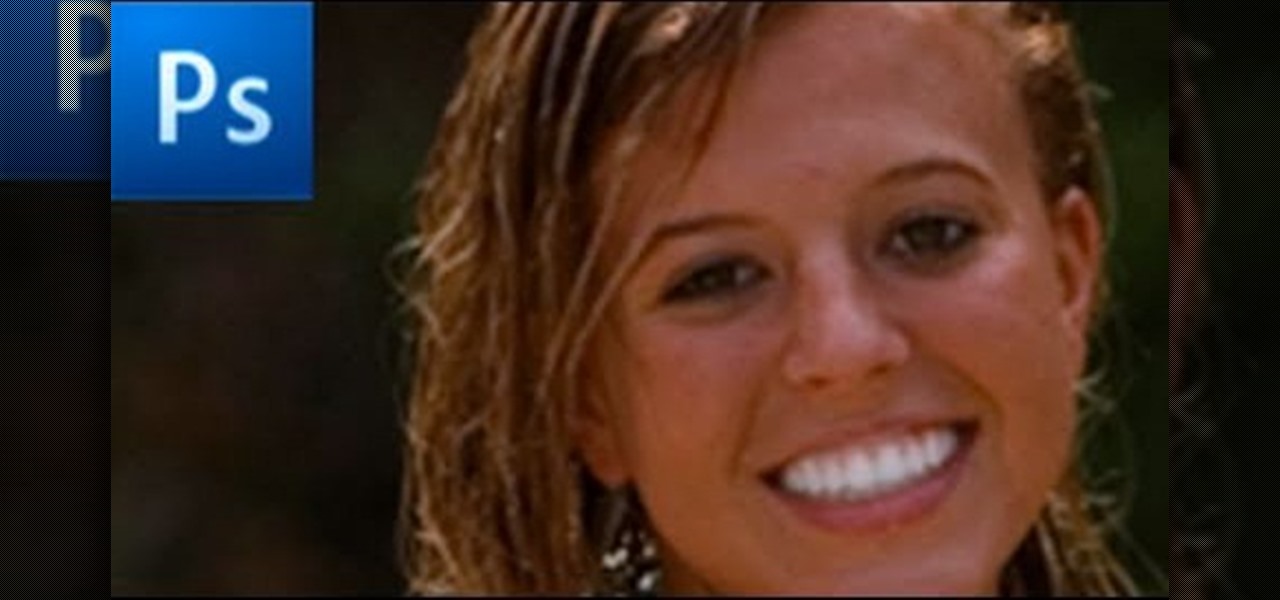
In this how to video, you will learn how to whiten teeth in Photoshop. First, open an image that you want to edit in Photoshop. Zoom in to the teeth as much as you can. Next, go to the brush tool and set the diameter to 21. Hold shift and q to put you into quick mask mode. Now paint over the teeth with your brush. Whatever is red will be your selection. Once you are done painting the teeth, select press shift and q again. Go to select and choose inverse. Next, go to image and adjustments and ...
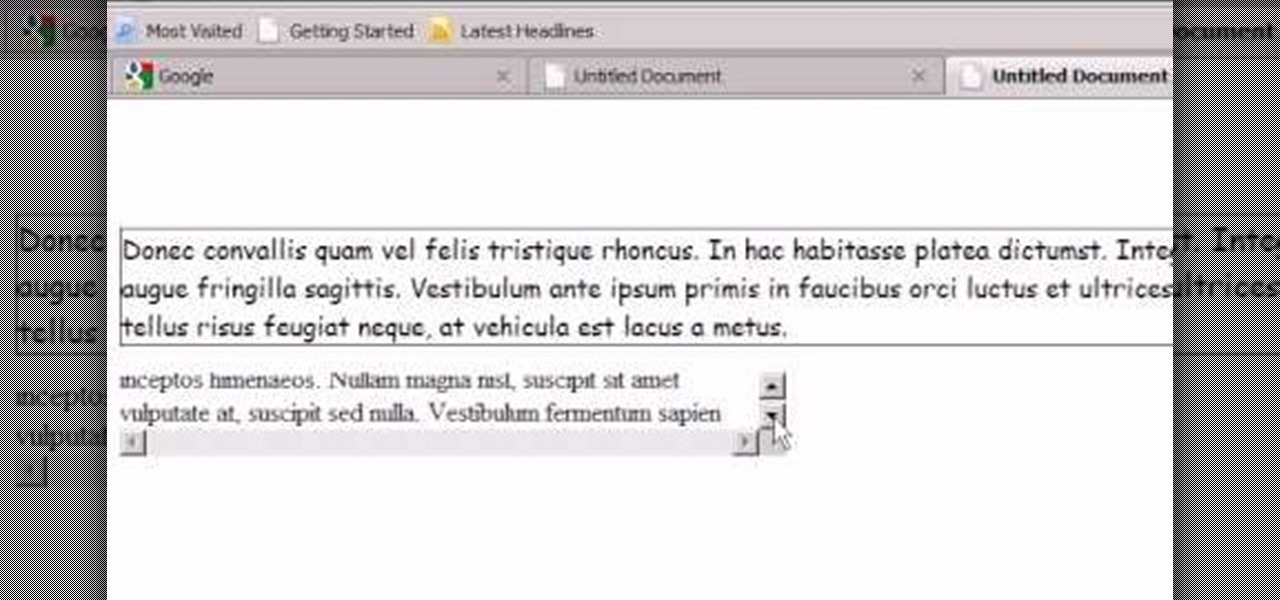
Step1. First of all you need to remove all the borders. Scroll up and then select all the text lines that have 'border' mentioned and then delete them.

In this how to video, you will learn how to create an animation with pictures using Photoshop. First, open an image in Photoshop. Double click the layer to unlock it. Next, open another picture in the program. Select and copy the first image, then paste it into the second image as a new layer. Close the original picture. Next, open another picture and copy it. Paste it into the other picture and close the latest picture. Open yet another image and copy and paste it into the previous picture. ...
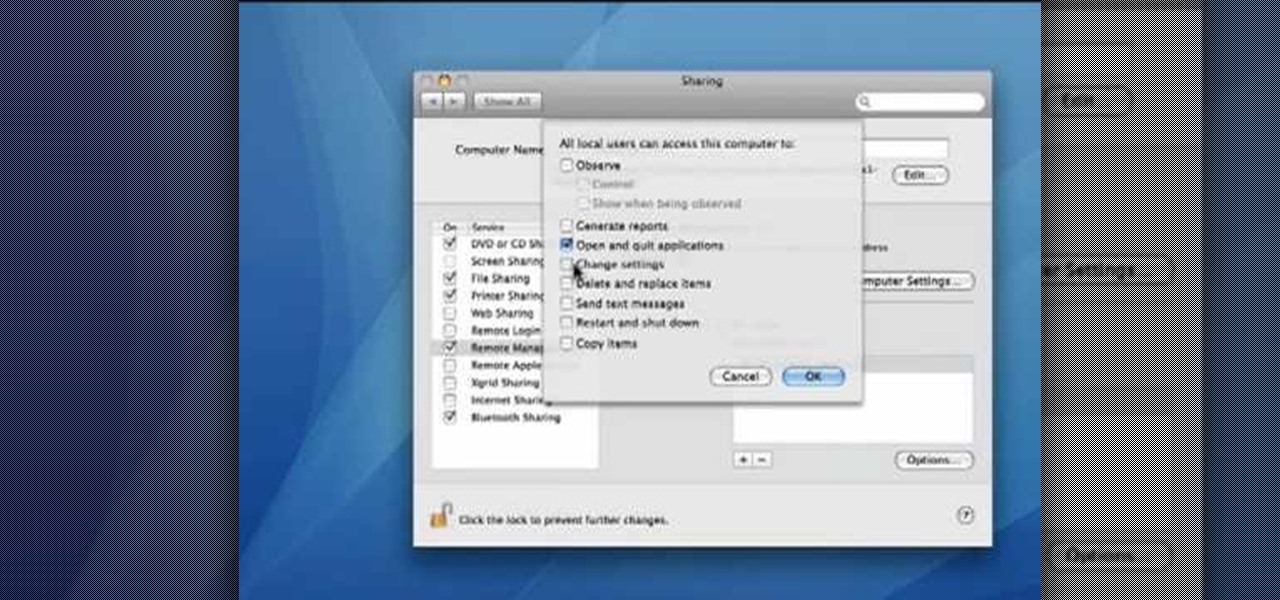
This video demonstrates how to set your Mac up to accept VNC connections.First we open up the "system preferences". Double click on Sharing and then go down to remote management and check this. We can see some options . Check the options Open and quit the application, Change settings, Delete and replace items, Send text messages, Restart and shutdown and Copy items. Then select "OK". Over here we can see "allow access for" and check "only these users". Remote management is now On. We can mana...

In this Software video tutorial you will learn how to change the font color in Word 2007. The default font color in Word 2007 is black. But, you can change the color of the font to just about any color that you want. Click on the ‘home’ tab of the ribbon on top of the page and you will see a small window with the letter ‘A’ in it. Click on the arrow next to it and it will display a color palette with automatic, theme colors, standard colors and more colors sections. Here you select any color ...

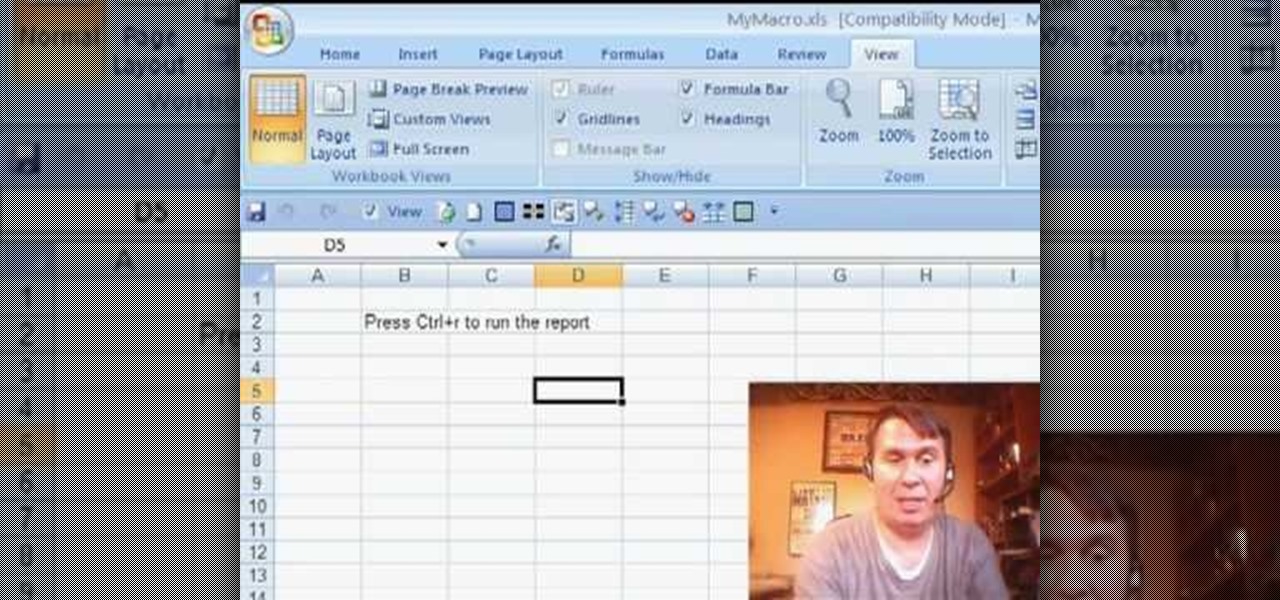
Some times when you upgrade your Microsoft Excel software to Excel 2007 your old macros may stop working. Some times this may be due to the settings and by enabling the macros you can get your old macros to work. Macros are turn off by default in Excel 2007. You can turn this on from the macro security settings. But the settings option is it self completely hidden. You cannot find it in any of the tabs present on the top of the program. Even the macros option present in the view tab has no se...

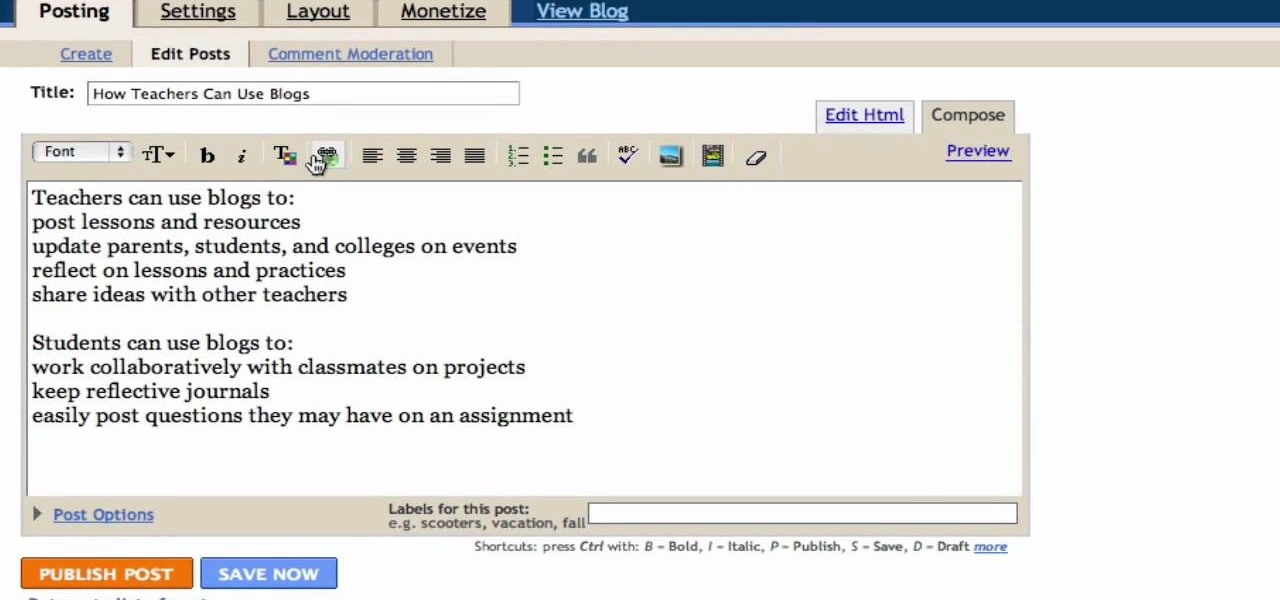
In this Computers & Programming video tutorial you will learn how to create a new account, add and edit in Blogger. First go to Blogger. On the home page click on ‘create a blog’. You will be taken to the account setting up page. Feed in all the details including our email. Then open your email and click on the confirmation link. You will then be taken to your dashboard or your home page. On this page you can click on ‘new post’ button and start writing your blog. When you do this a word proc...

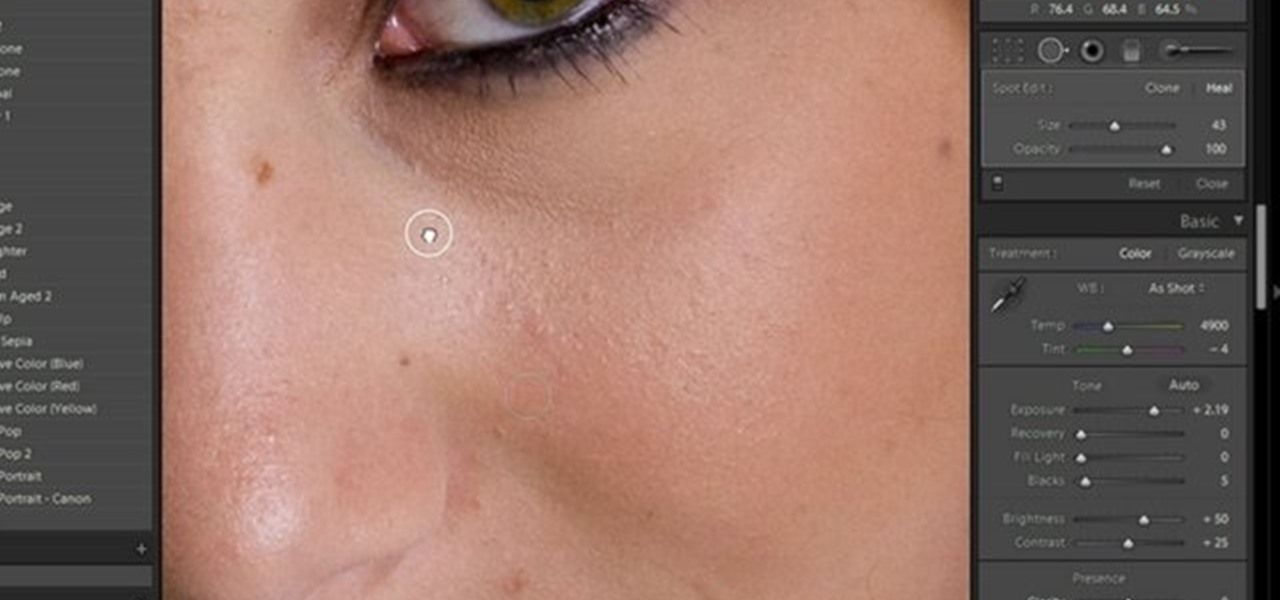
Kerry Garison demonstrates a quick tip of healing tool (Lightroom 2. 0), which is situated on the upper right hand corner of the screen, with the help of lady's image. Click on spot removal tool which can be used for cloning and healing. In order to change the brush size, scroll wheel mouse or left or right rapid keys can be used. Brush size, change in opacity can be changed also by clicking and dragging the bar; from there cloning or healing options can be selected also. After clicking the h...

In this video the instructor shows how to set parental controls for a user ID account in Windows 7. To do this go to the 'Start Menu' and go to 'Control Panel'. In the Control Panel window select the 'User accounts and Family Safety' link. There is an option called 'Set up parental controls for any user'. Select that link and it opens a window where it asks you to Choose a user and set up parental controls. There you are presented with some user accounts that are currently active on that syst...

In this Microsoft Word tutorial the instructor shows how to add a drawing or a free form shape to a document. Using the canvas in the Microsoft Word 2007 can be very helpful in adding graphical content to your document. Adding shapes and special effects like shadows, 3D will give a rich look to the document. To do this open a document in Word 2007. In the tool bar go to the Insert tab and in that select the Shape button. Now you are presented with plenty of predefined auto shapes. First at th...

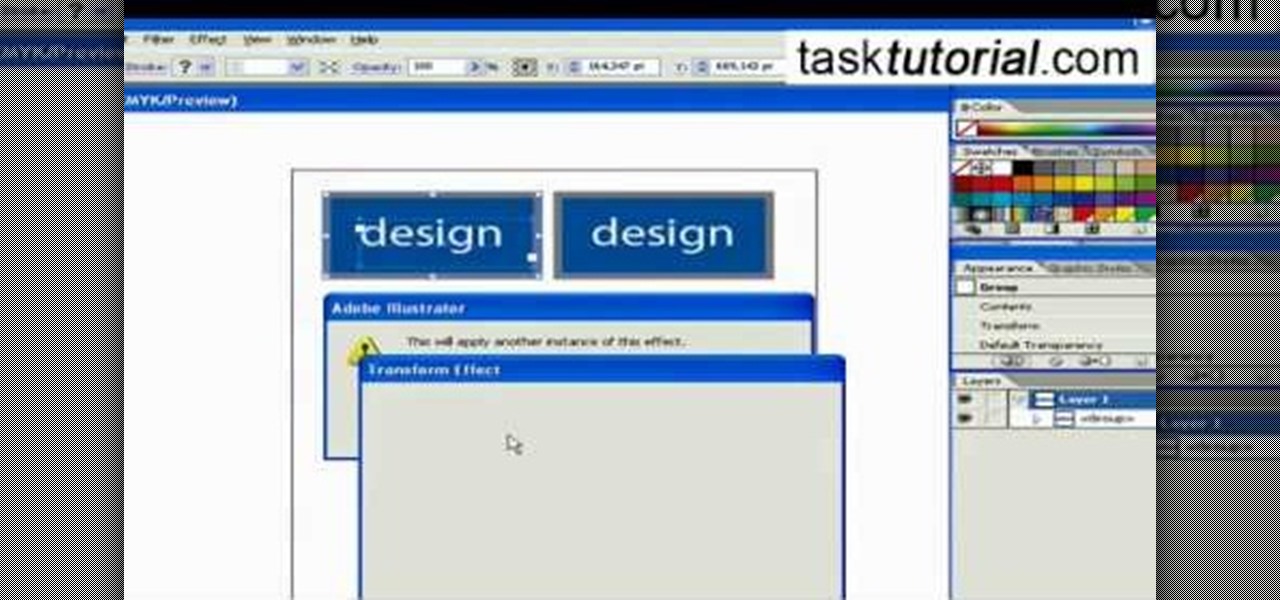
This video takes us through the procedure of creating a transform effect in Illustrator. First, choose a rectangular box and fill color in it. Input some text inside the box. The font and the color of the text can also be changed. Then position the text properly. Make a group of the shape and text. Now go to effect and choose transform. Transform is a very powerful effect which lets us create duplicates. Now select the number of copies, for example, one copy. Select preview. Now set the point...

This video describes how to create an easy glossy button in Photoshop. This is done by "simpleretouch.com" website. First select the "Ellipse Tool" from the Photoshop tool bar and then drag it on the layer; it will give the ellipse shape in the layer. Select the "Blending options" from the "Layers" Menu by double click on the layer which is right below corner. From the blending options choose only the "Gradient Overlay" and in that we can choose color and its gradient as your wish. Now take a...

Gigafide will show you how to slipstream Windows installations. You need to go to Vlite and download the program for Windows Vista. Install and run it. Select install at the main window. Use 7-zip to extract the ISO file. Next, go to that folder and run startcd.exe. You click next, agree to the terms and install it to the Vlite folder. Go to that folder, then Tools - x86 and select the file wimgapi.dll. Copy and paste that into the main Vlite folder. Go to Vlite, select your Windows Vista dis...

This video tutorial will show you how to create a seamless background texture using Photoshop using any square or rectangular portion of a picture. The narrator in the video demonstrates step-by-step how to achieve a seamless tiling of a photo through Photoshop and dictates the options that you will need to select. You first have to select a portion of the picture that you want to use. Then the narrator explains that you have adjust the sides of the square portion you chose--labeled A, A' , B...

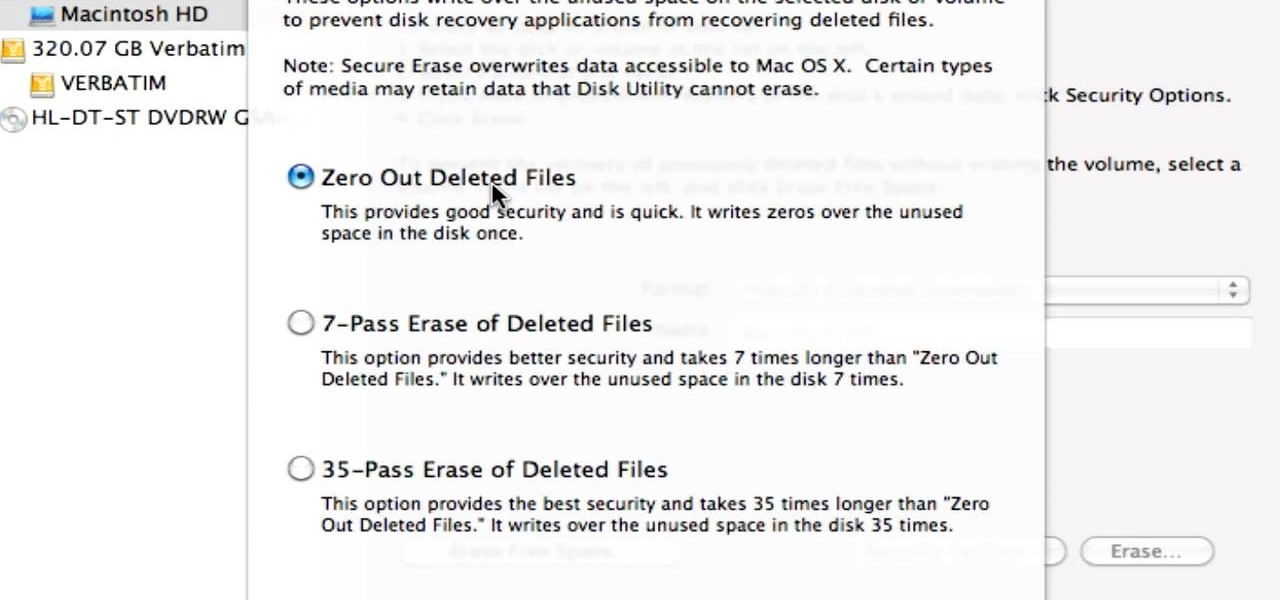
Did you know that even after you've emptied your Mac's trash can, the data still has not been permanently removed from your system? Anyone who knew where to look could easily unearth this data. You can prevent this by using the secure empty trash option on your Mac. Whenever you put something in the trash, instead of pressing delete, go into 'finder' up top and press 'secure empty trash'. What this will do is replace the data that is left behind on your hard drive with random ones and zeros. ...

A presenter from The Home Depot gives you several tips and professional secrets on how to hang your indoor Christmas lights making this tricky process a little bit easier. She takes you through the selection of lights, planning and the installation of lights.

Create lasting memories by organizing a well-planned family reunion. This video will show you how to organize a family reunion.

There's a million web games spread throughout the internet now, and if you like to play them, you probably want to play them all the time. And if you play one flash game, you probably play another, maybe 10 or 20. But what if you don't have an internet connection one day? What if you can't play those web games anymore? Well, you can, and all you have to do is download them to your computer. Watch to see how to download and play web-based flash games on your computer without web access.

In order to install a new hard drive in your MacBook Pro, you will need to save everything on Time Machine. You will need to be in a static free environment, a hard drive, and small screwdriver.

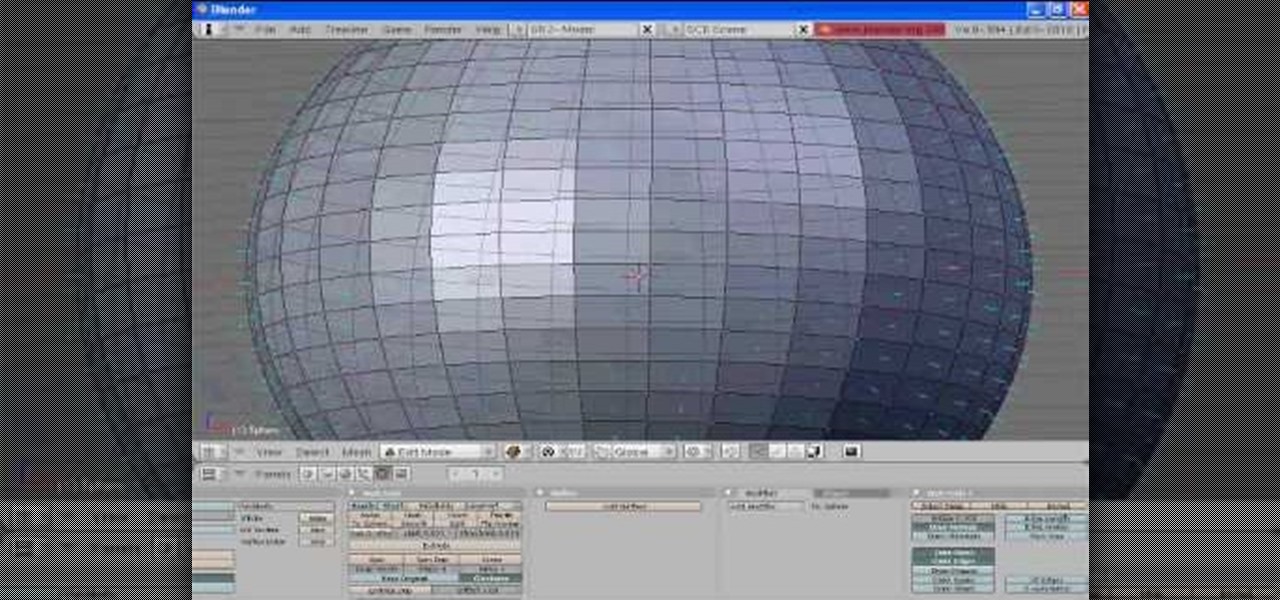
In order to unwrap and object and export it in Blender, you will need to import and object in blender, by go to "file". Click on "import". Click on "wavefront". Then, go to the parent directory. Select the object, by right clicking. Then, go into edit mode via the drop down menu, underneath the object. When your "normals" are visible and facing the right direction.

Software needed: Voodoo motion tracker, virtual dub and blender

In this Software video tutorial you will learn how to make a PDF out of almost anything on a Windows PC. PDF files offer many advantages. Here you will see 4 easy ways to create a PDF from almost any file type. For this you will need Adobe Acrobat Pro or a PDF printer application and a document that you want to convert. Technique 1. Right click on the document you want to convert and select 'convert to Adobe PDF'. Give it a name and click 'save'. It will then launch Adobe Acrobat and you can ...

Have you ever gotten the error message, "BOOTMGR is missing" on your PC? Well, if you have check out this video. In this tutorial, learn how to remedy and fix this problem in no time.

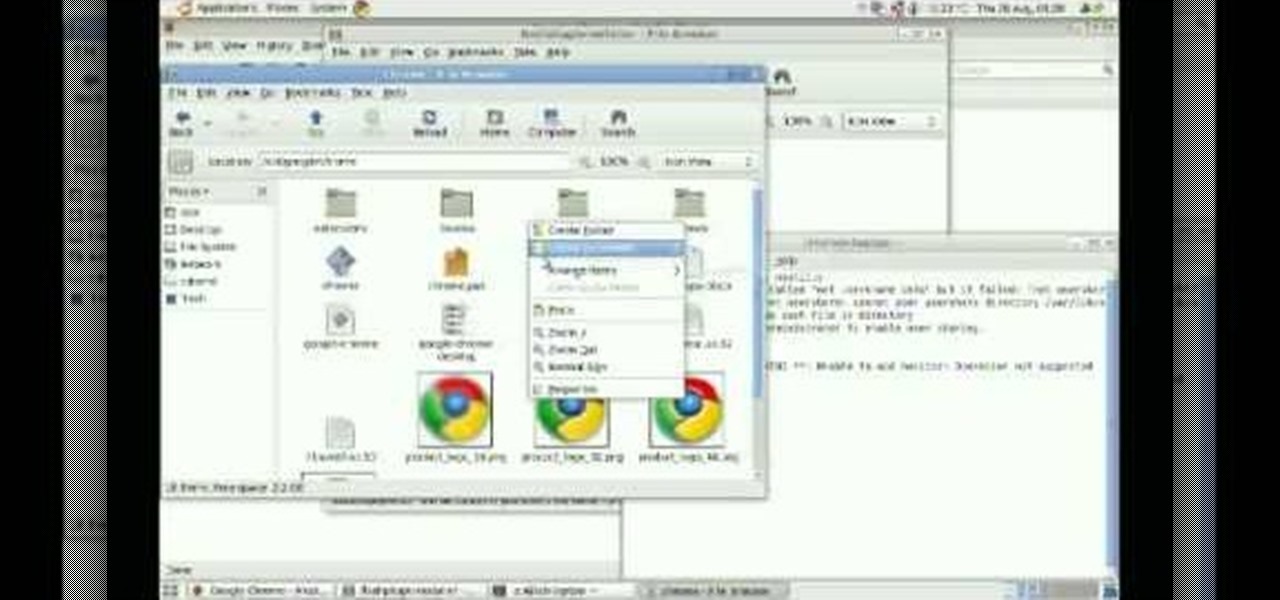
This video tutorial from izbyfl shows how install Google Chrome and enable its plugins in Ubuntu. First download application from here: http://www.google.com/chrome/intl/en/eula_dev.html?dl=unstable_i386_deb.

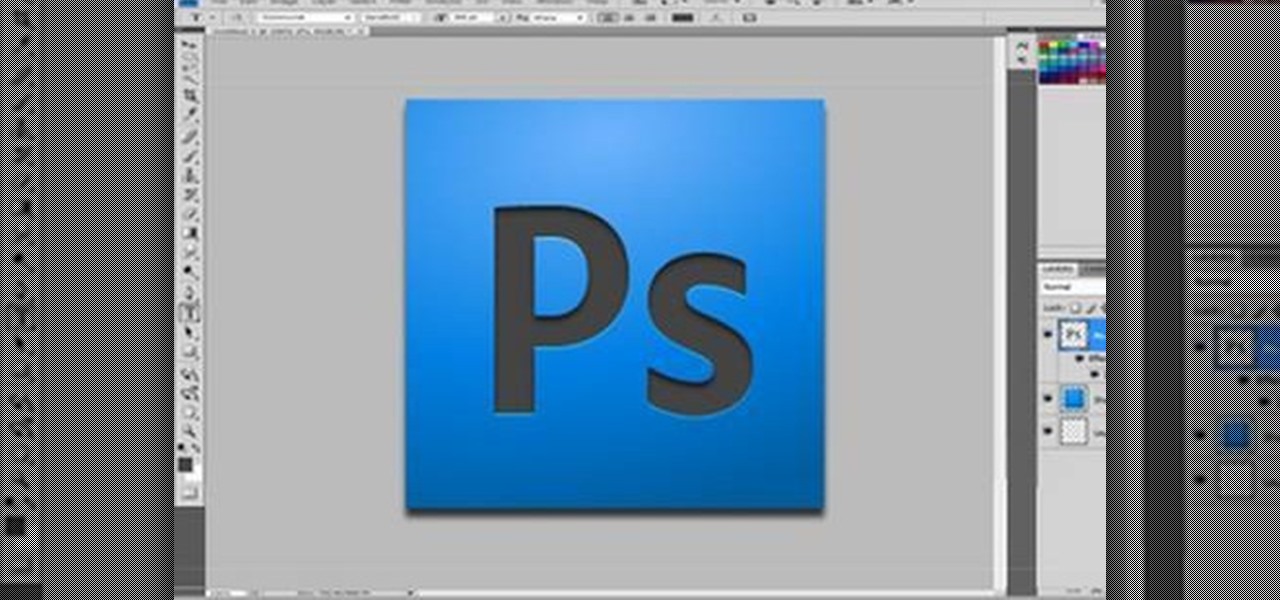
In this Software video tutorial you will learn how to make your own Adobe CS4 logo in Photoshop. Open Photoshop and click ctrl+O to open a new document. Set the height and width to 500 pixels, select ‘transparent’ under background contents and click OK. Create a new layer and with the rectangle tool draw a rectangle. Right click on the shape layer > rasterize layer. Hold ctrl and click on the thumbnail of shape1 layer. Open gradient tool and make a light to dark gradient as shown in the v...

Open the picture you want to edit. Right-click on the main picture layer in the box and then select "Duplicate Layer". Then, in the same box, go to the drop-down menu that says normal, and change it to "Overlay". Then, select Filter>Other>High Pass. In the box that comes up, set the radius to 7.4 pixels. Next, go to Layer>New Adjustment Layer>Gradient Map. Then, when the box comes up, click OK. Then click on the main gradient in the Gradient Map. In the new box, there is a bar that goes from ...

This video tutorial from adamstechvids shows how to resize photos in Windows using Picasa application.

In this how to video, you will learn how make car rims bigger using Photoshop. First, open the image in the program. Choose the elliptical marquee tool and select the rim. Next, right click the selection and click layer via copy. Now you should have the cut out rim in a new layer. Drag layer 1 bigger by holding shift. Replace it and then click on the accept button. Erase the part of the rim that is on the body of the car with the eraser tool. Have layer 1 selected and merge it down. Do the sa...

Open your video in Final Cut Pro. Go to Effects>Video Generators>Boris. Then drag the option called Title 3D over your video. Then select Title 3D and go to your controls. Then click on "Title 3D Click for options". Now a new box should be open. Type your text into it. Then, highlight your text and pick the font size, then hit enter. Next, select the font. After that, go to the bottom test menu, and select Drop Shadow. Make the shadow distance 2. For the shadow opacity, turn it up all the way...

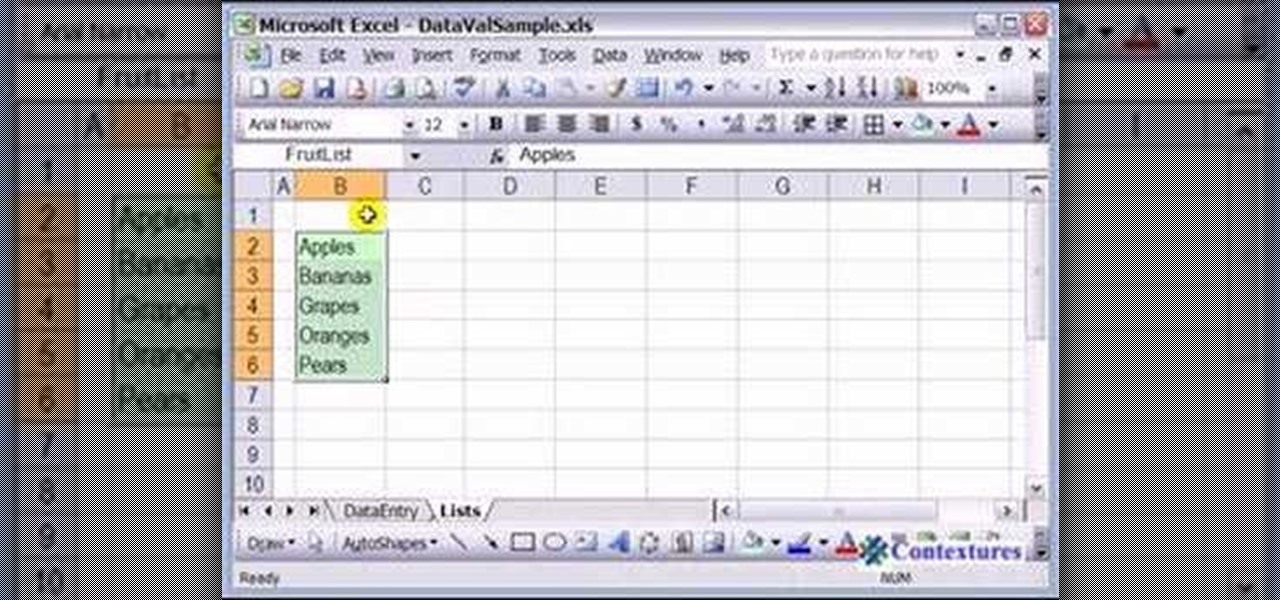
This how to video shows you how to use drop down lists in Microsoft Excel. This will be useful for stores and avoiding people ordering items that are not available. First, type the items in a column. Select them and then click in the name box. Type the name of the list. Note that it must be one word. Now, go back to the order sheet. Select the cell where you want the list to be placed. Go to data and select validation. On the settings tab, choose list and type in = and list name. You can pres...

This video teaches us to make a photo black and white with coloured parts in Photoshop. This procedure consists of many steps. In the first step, we choose the magnetic lasso tool from the application. This is followed by the second step. In the second step, we draw the contours of the places we want to stay colored in the photo. Press the 'Shift' key to keep the contours selected while drawing contours across multiple places in the image. After drawing the contours, go to step three. Right c...

This video tutorial will help you to use the bone tool on an imported or Photoshop image while in Flash. If you want to use an image from Photoshop you must first pull the image up in the Photoshop program. Once the photo is pulled up in Photoshop you can save it by going to, file, and save us. Save your file as whatever file extension you would like to use (Photoshop, jpeg, etc). Pull up the Flash program and find file, and import. At this point you can import your Photoshop picture to your ...

This video explains how to solve the problem of probability dependent events. In this video the problem is that a box contains three pens, 2 markers, and 1 highlighter. The person selects one item at random and does not return it to the box. So what is the probability that the person selects 1 pen and 1 marker. That is 6 items total. First she count the all items that involved in this problem. Then count the individual probability of the pen and marker. The person selects 3 pens out of 6 item...

This video is a tutorial on creating an Icon Logo in Photoshop Cs4. Go to File and open a new document. In the Layer option, set up a new layer and give it a name. Using the pen tool, create a shape for your logo, it can be anything you like. When you have the shape you want, right click and select Make Selection. Now you can fill the shape with a color. Press ctrl+U for the Hue/Saturation option to get the exact color that you want.

In this how to video, you will learn how to create a rainbow effect in your photos with Photoshop. First, open the image you want to edit in Photoshop. Next, edit the hue and saturation. Make sure to desaturate the drawing. Next, create a new layer. Select a brush and choose a blue color. Make sure in the new layer that color is selected. Color the top part of the image. Next, select a purple or pink color and color the middle part. Choose a yellow color and color the bottom of the middle par...

Some computers might now have a working DVD drive and in such cases you can use a USB pen drive to install Windows 7 on it. To do this first connect the USB drive to your computer. Now go to the command prompt and run the 'diskpart' command to find the details of the hard drive. Use the 'List Disk' command to list all the drives on you computer. You can also find the USB drive in the list. Now use the Select disk command to select the disk. Perform a clean command of the disk. Next create a p...

This video shows how to make a rotating SWF logo in Photoshop. Choose any desired logo that will be used later in the SWF file. Save the logo to the desktop. Use any kind of editing pogram. Make sure we only have what we want showing the area coloured with small squares is invisible. Open any version of Adobe Flash. Create a new "Actionscript 2" file. Then set workspace size to 240X320 and background color to match the picture we choose before. Make sure we select Flash Lite 2.0. Then go to F...

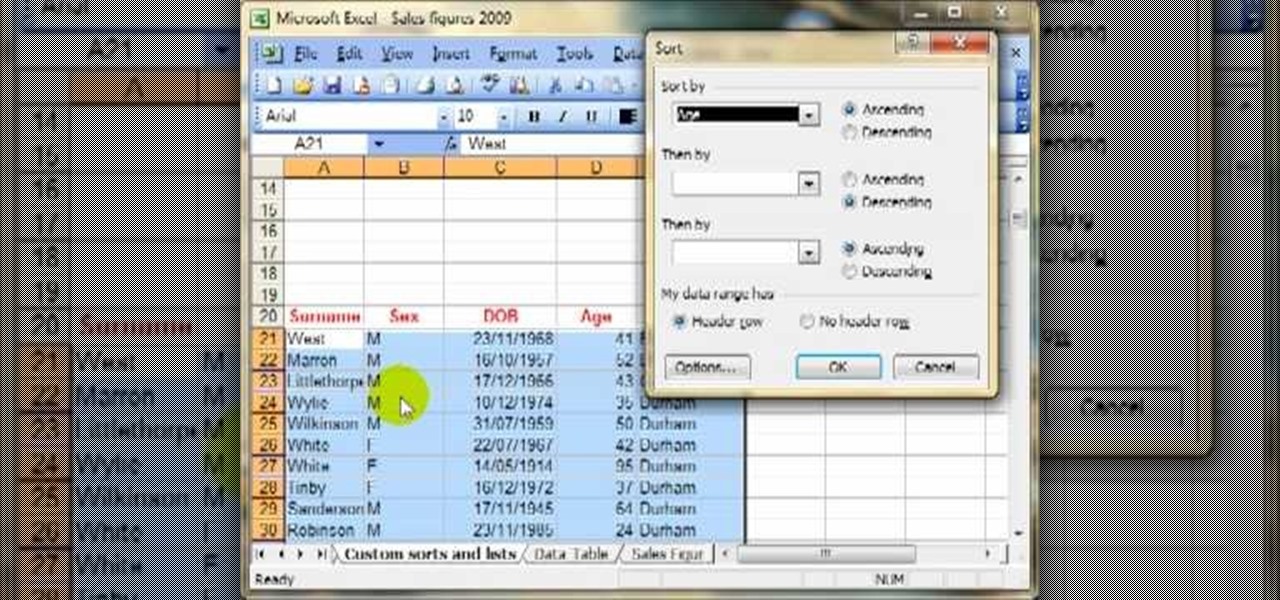
Today we are going to learn how to sort data in a Microsoft Excel 2003 spread sheet. We will go over single column and multiple column sorting. In a single column sort you may high light the data or just click on any cell in the column. Once the data is selected look for the sort icons just under the menu bars. There is a sort ascending and sort descending icon. Click on the icon and Excel will sort the list. When sorting multiple columns the data must be in columns next to each other. If the...


