In this video tutorial, viewers learn how to access every Windows 7 setting at once. Users will need to download the Windows 7 in a Box program provided in the video. Once downloaded, simply click on one of the functions (Functions, Folders, Internet Settings, Programs, Tools and Settings) on top of the window and select the option that you wish to use. This program will organize all the Windows 7 settings into an easy to comprehend layout. This video will benefit those viewers who use a Wind...

In this video tutorial, viewers learn how to use Flickr photos in their screen-saver. This task can only be done on the Windows computer. Users will need to download the program from the website provided in the video. Once downloaded and installed, there is an option in the Screen Saver Settings. Users are able to take photos from specific users or groups, or can search through tags and contacts. Further options include selecting the size of the photo and delay between switching the photos. U...

In this video tutorial, viewers learn how to copy and paste multiple text entries in a Windows computer. Users will need to download the free clipboard manager, Ditto form the link provided in the video description. Once downloaded, users will be able to manage multiple strings of text to copy and paste anywhere. Simply select the text field of the copied text and click on the icon in the system tray. Copied images will be displayed as a thumbnail. This video will benefit those viewers who us...

Much can be said of masking: Masking is the art of using the image to select itself. Masking lets you apply the entire weight of Photoshop to the task of editing a selection. And masking, thy name is alpha channel. Whether you're new to Adobe's popular raster graphics editing software or a seasoned professional just looking to better acquaint yourself with the program and its various features and filters, you're sure to be well served by this video tutorial. For more information, including de...

As powerful as Photoshop is, there is little about the program that is obvious. Case in point: How do you rotate a layer? Right-click on it and select Rotate? Choose Rotate from the Layer menu? Click on the Rotate tool? The answer is no, no, and no. Fortunately, there's the Free Transform command, which rotates the active layer and much, much more. Whether you're new to Adobe's popular raster graphics editing software or a seasoned professional just looking to better acquaint yourself with th...

In this video tutorial, viewers learn how to use Spotlight to find files in Mac OS X. To activate Spotlight, click on the blue magnifying glass icon in the top right corner. Then type in the term to search. Spotlight will display all the documents and files that match your search. If you click on Show All, you will have more options in Spotlight. In the Spotlight Preferences, users are able to select the categories for Spotlight to search in or not search in. This video will benefit those vie...

In this video tutorial, viewers learn how to restore a crashed system in Windows 7. This task is very easy, fast and simple to do. In Windows 7, users are able to create a repair disc. To do so, open the Start menu and type "system repair" in the search bar and select "Create a System Repair Disc". Then just follow the instructions to create the repair disc. It will take less than 5 minutes. This video will benefit those viewers who use a Windows 7 computer, and would like to learn how to res...

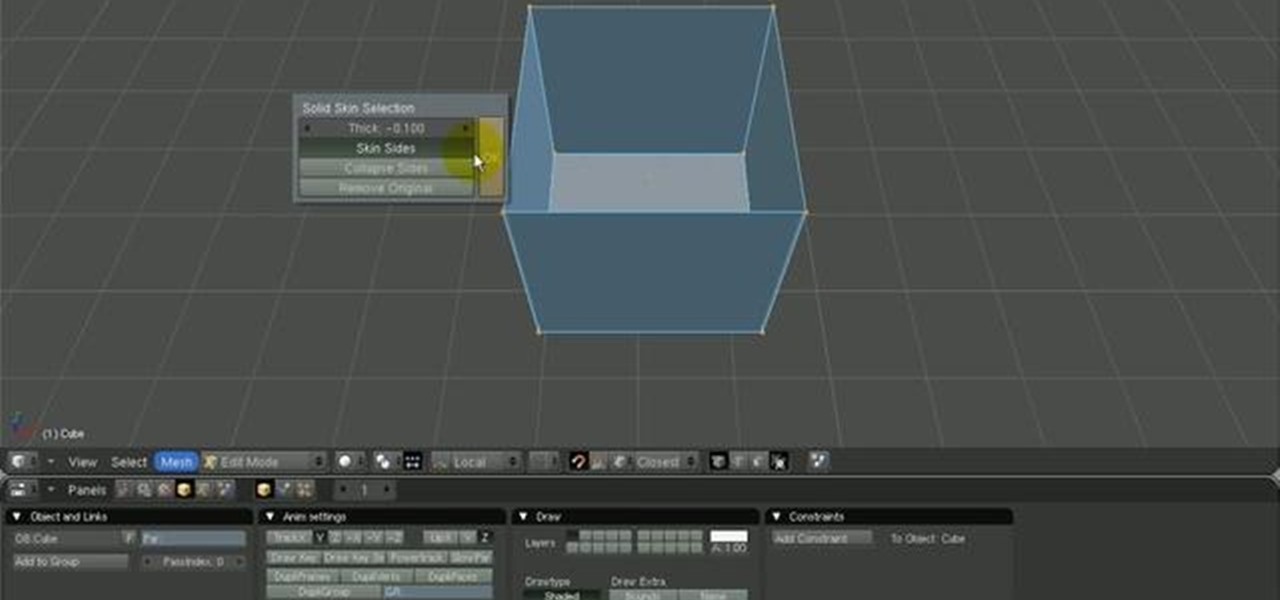
In this tutorial, we'll take a look at a built-in script called the Solidify Selection script. This script, created by Campbell Barton, will allow you to solidify a mesh by adding a second "skin" to it based on the selected geometry. Whether you're new to the Blender Foundation's popular open-source 3D computer graphics application or are a seasoned digital artist merely on the lookout for new tips and tricks, you're sure to be well served by this free video software tutorial from the folks a...

If you are considering buying a new bike to ride up and down the beach with, check out this video first. Riding a bike must be comfortable for you to really enjoy the workout, so follow along and make sure you select the right size.

The iPad, though much bigger than an iPod Touch, is every bit as easy to jailbreak. And with the Spirit jailbreaking tool, the process is easier than ever. It's so simple, in fact, that this hacker's guide can present a complete overview of the process in just over 3 and a half minutes' time. For more information, and to get started jailbreaking your own Apple iPad watch this free video lesson.

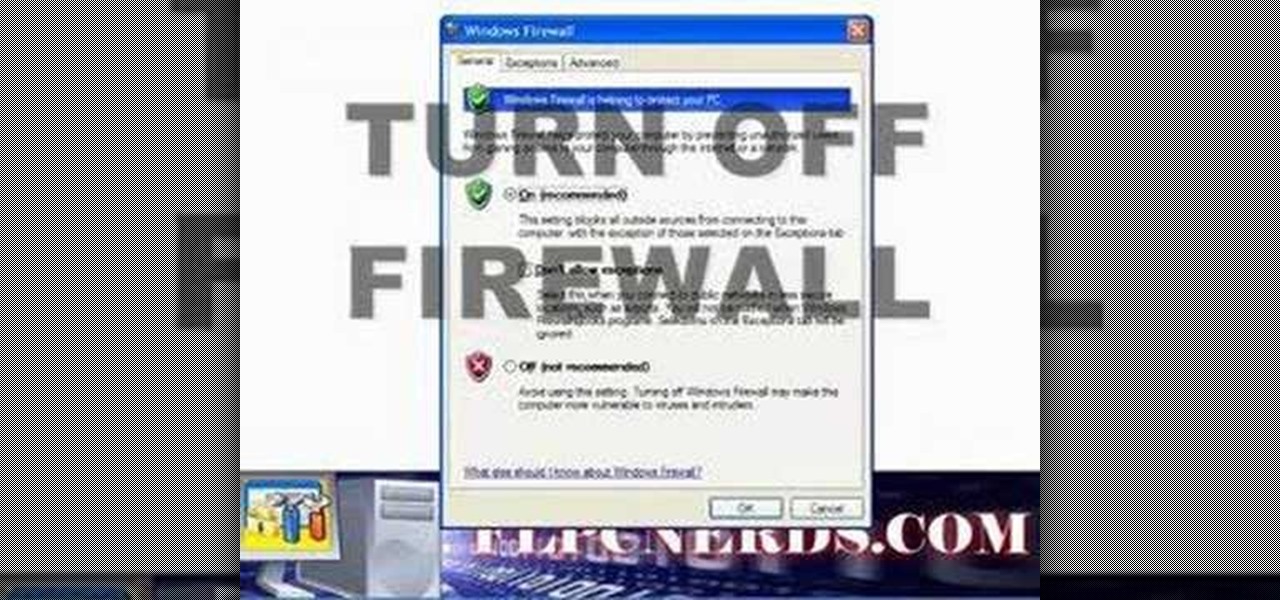
In this how to video, you will learn how to turn off the Windows firewall in Windows XP. This is useful if you would rather use a third party firewall to protect your computer instead. First, go to start menu and click run. Type in firewall.cpl and press okay. The firewall will now open. You will see that the firewall is on. To turn it off, select off. It will say it is not recommended, but if you must turn it off, this is the easiest way to do it. Click okay to complete the process. Your Win...

This video is about Laparoscopic Suturing Techniques.The video begins with the narrator saying that the technique is widely used in major abdominal surgeries and mastering of the techniques would give great confidence in the surgical procedures.There are various types of laproscopic needle drivers are available which can be selected according to preference.Different types of 10 millimeter laproscopic ports are available,however the valves used in the ports are important for performing extra c...

In this video tutorial, viewers learn how to import, manage and export 16:9 footage in Adobe Final Cut Pro. Begin by opening the Log and Capture.Then configure the Logging, Clip Settings and Control Settings. For the Control Settings, set the Device Control as Fire Wire NTSC and the Capture/Input as DV NTSC 48 kHz Anamorphic. Then scroll through the sequence setting of the footage and check Anamorphic. To export, click on File and select Export. Click in Options set the the size to Compressor...

This video tells us the method to transfer photos from your iPhone to your Mac. In the first step, launch the image capture. Connect your iPhone to Mac via a USB cable. 'Download To' option is used for specifying the folder in which you want the downloaded files. 'Automatic Task' specifies the task which the application must do after the transfer of files is over. Go to the 'Download Some' option. Select the file(video or photos) you want to transfer. Choose the download folder and click 'Ope...

In this tutorial, we learn how to choose and cook clams. There are a number of recipes for clams as well as a number of ways to cook them. With a hard shell clam, they are best used in clam chowder and soup because they are tough to open. The Venus clam has a softer shell and are very easy to open. The Pollord clam is best to be steamed and served right away. The Razor clam can either be steamed or grilled. Make sure you wash all of your clams thoroughly but do not soak them or that can ruin ...

This video illustrates the quick and easy method to Identify and control garden pests on grapes and roses . The process is comprised of the following steps:Step 1:Garden pests are quite common in grapes and roses.Step 2: To identify these gardener needs to keep a very sharp eyes on the plants every day. Negligence may lead to disaster of the entire crop.Step 3:Garden pests can be commonly seen on the leaves on inner side or on the shoots of the plant.Step 4:Randomly select the plant and check...

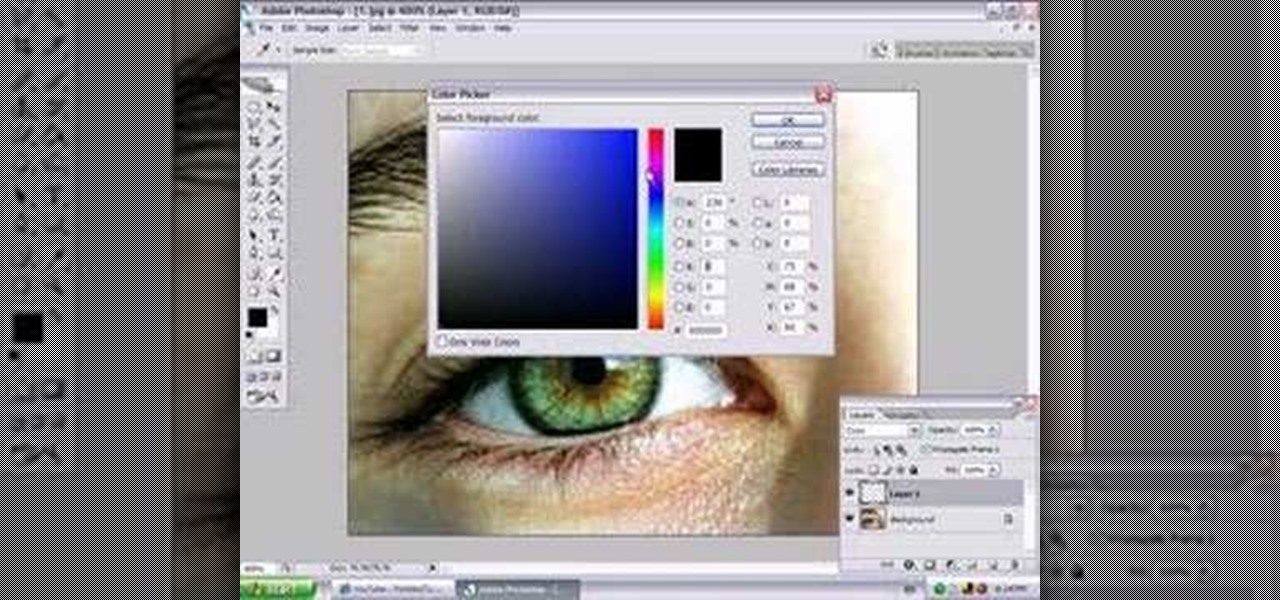
In this video, Jessica shows us how to change eye color using Photoshop. First, open up Photoshop on your computer. Open up your picture and zoom in on the eyes so you have a great view of it. Then add a new layer or "control +j". Where it says "normal" change that to color. Then select your paintbrush tool and make it a reasonable size for your eye. Click the color palette square and change the color to whichever one you choose. Now, paint over the eye and it will completely change the look!...

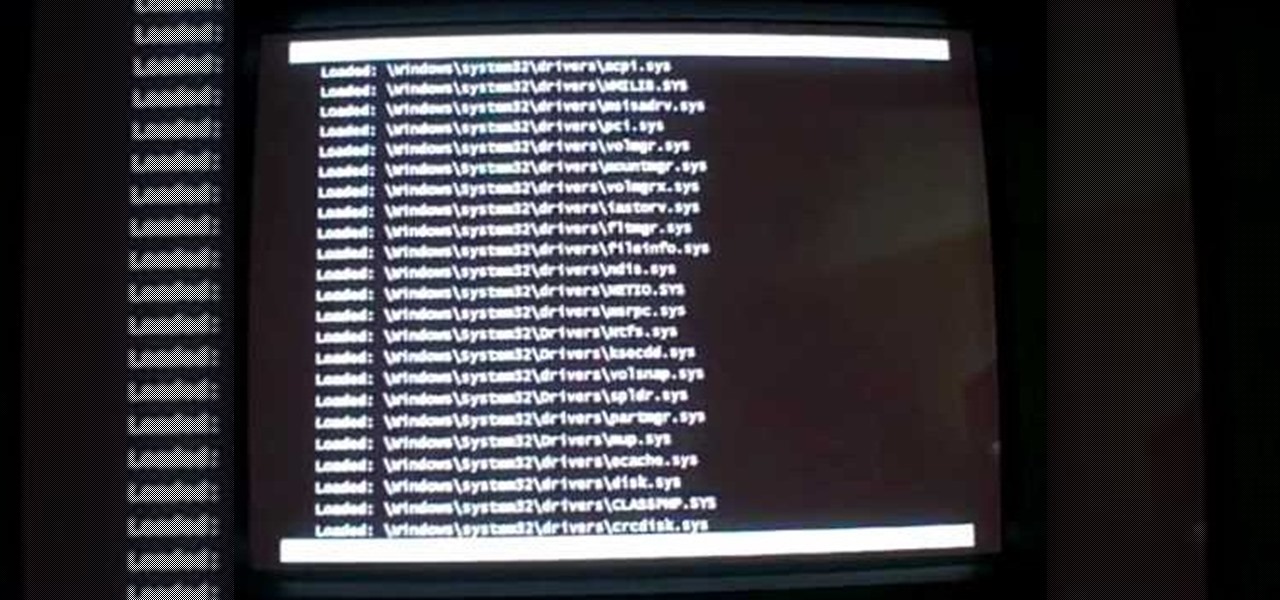
In this video tutorial, viewers learn how to start a Microsoft Windows computer in safe mode. Begin by turning on your computer. As your computer starts up, press F8 before Windows launches. Tap the F8 key slowly (about 1 second apart) as soon as the computer starts up. Keep tapping until the Windows Advanced Options Menu appears. The use the arrow keys to select the appropriate safe mode option and press ENTER. You may need to log into your User account. This video will benefit viewers who u...

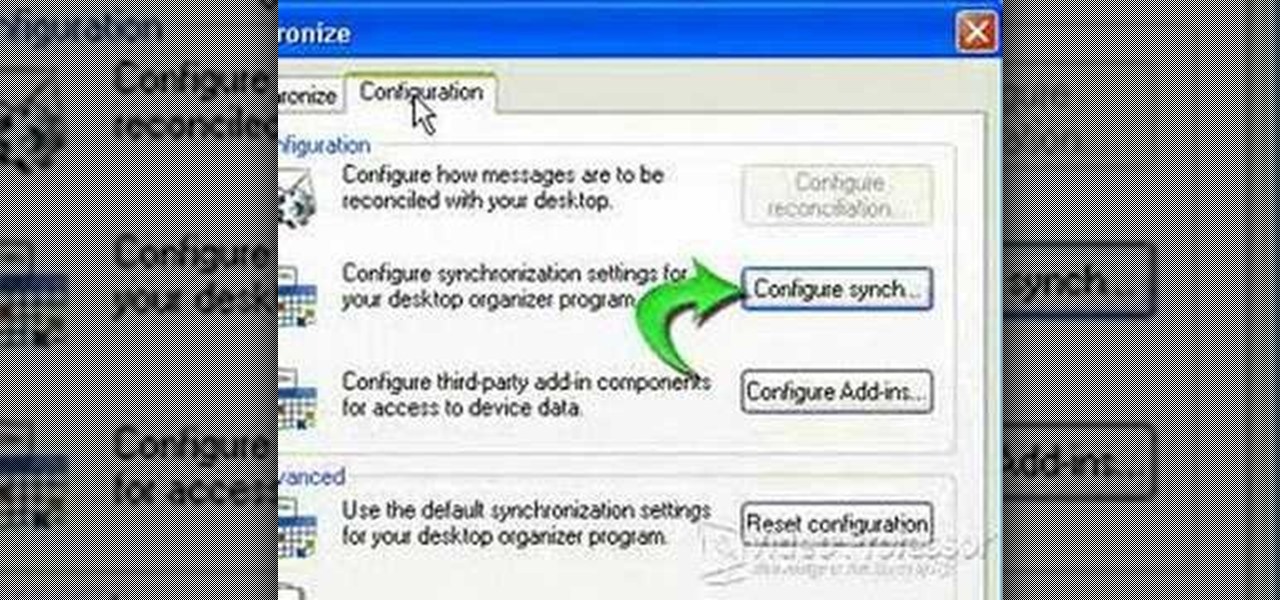
This video shows how to synchronize our blackberry smartphone with MS outlook. First open up the Blackberry Desktop Manager. Let us start by synchronizing the blackberry. Double click the synchronize button to load the synchronization settings. Here we can specify what we want to synch and where we want to synch firm. Click the configuration tab and select configure synch. Our device configuration menu let us pick which application on the black berry to synch and where to synch. Today we are ...

Whether you're new to Adobe Photoshop or a seasoned graphic design professional after a general overview of CS5's most vital new features, you're sure to be well served by this (17-minute) official video tutorial from the folks at Adobe TV. In it, you'll learn how to do each of the following: realistically blend colors on canvas with the new Mixer Brush; create superior composites for print or web layouts with new technology that makes it easy to select even the trickiest image elements, like...

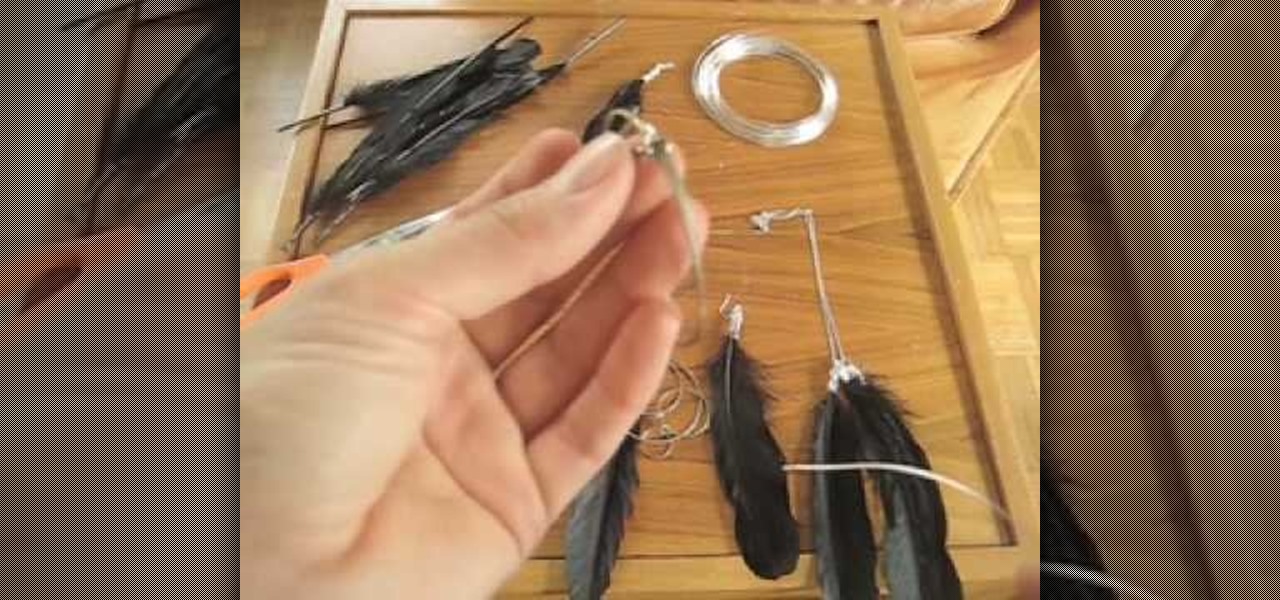
Here is a way you can make your own jewelry for little money and have fun doing it. In this video we are shown how we can add feathers to existing earrings and necklaces. For this project we need some feathers, a pair of earrings, some silver plated copper wire, needle nose pliers, and scissors. The earrings used in the video are already made circle earrings. The first step is cut about a circle's length of copper wire and grab a feather. Wrap the wire nice and tightly around the quill of the...

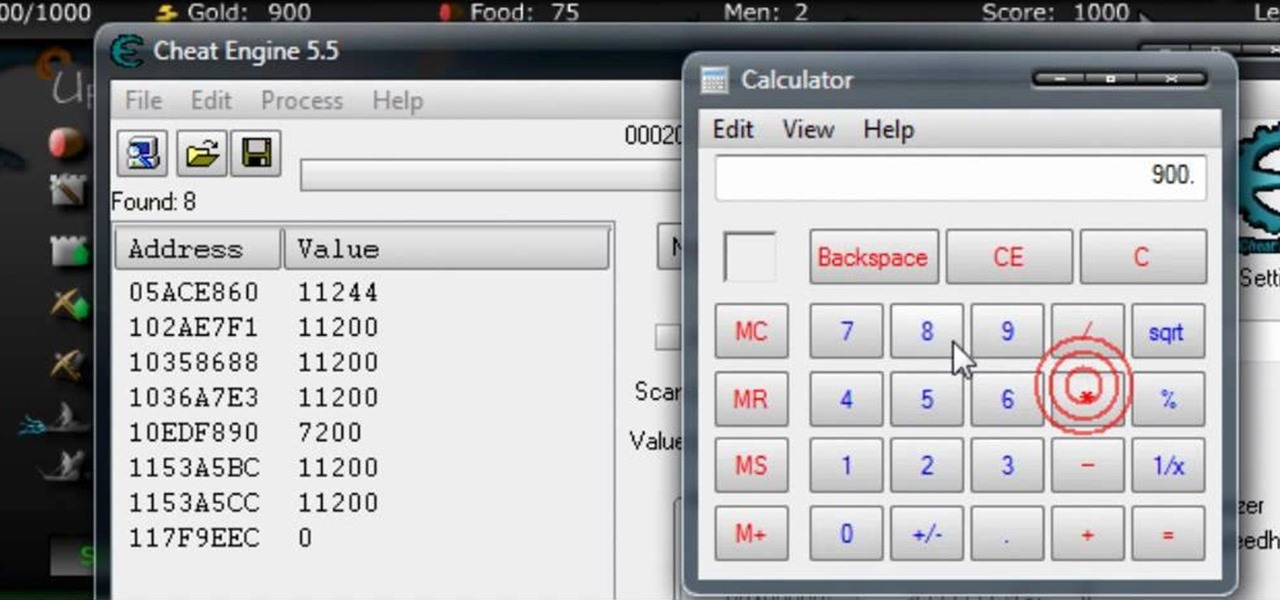
Users will need to use Cheat Engine version 5.5. This hack will increase the gold and food amount. Begin the game and play at least 2 levels to earn some gold and food. Open Cheat Engine, click one the computer icon and select the internet icon. Multiply the amount of gold or food by 8. Type the number in the Value bar and click First Scan. Buy anything in the game, multiply the new amount by 8 and put the number in Values. Check the frozen box below and add a new value (should be a divisible...

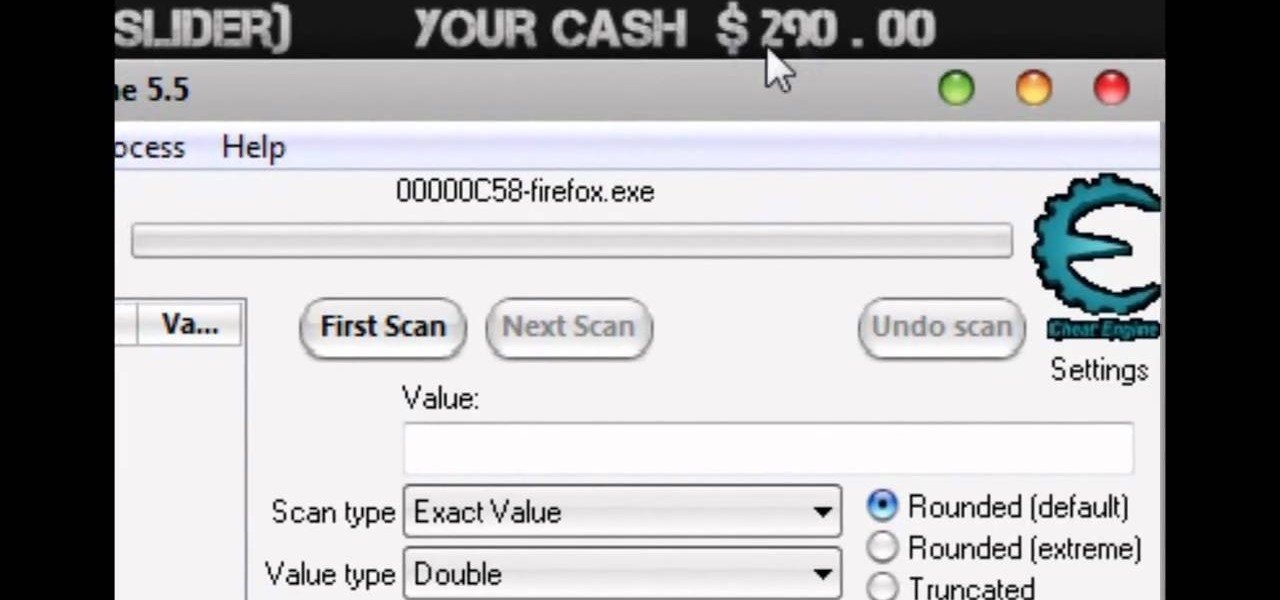
In this video tutorial, viewers learn how to hack the flash game, Palisade Guardian 2: Modern Combat with Cheat Engine. Begin the game by entering your name and play the first level. After that, open up Cheat Engine and select your internet in the process list. Change the Value Type to Double and Truncated to Rounded (default). Enter in the value of your cash and press First Scan. Then buy something to lower your cash and enter in your new value. There should be only 1 address. Check the froz...

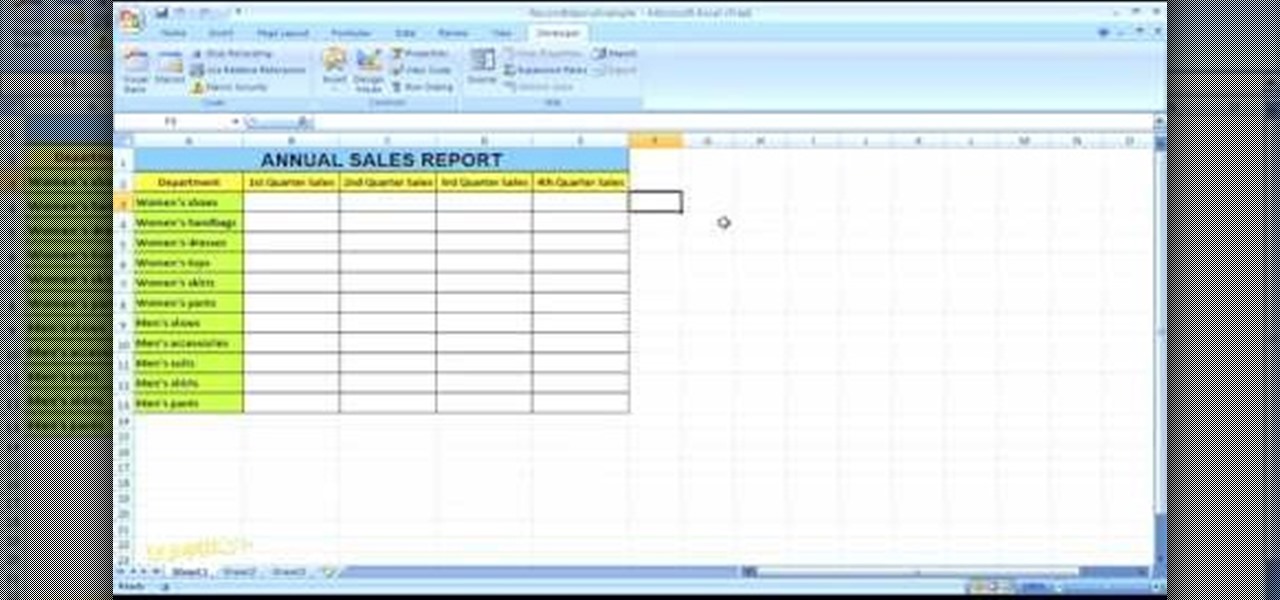
In this Microsoft Excel 2007 for Dummies video the instructor shows how to record a Macro. Macros let you create a shortcut to perform a sequence of commands all at once. For example you can create a macro to quickly build a sales report template that you frequently use. When ever you run that macro the Word will automatically build the template for you based on the recorded commands. To write macros you need to have the developer tab enabled. To enable it click on the office button and at th...

The maximum is a 1000 gold. In order to hack and win the game, he goes through several techniques choosing a level to start out, once a level completed and he collects one gold. He then selected a cheat engine in his Firefox page. He advised in order to hack the game, multiply the amount of gold you have times 8. At that point you have to sell something in the game. That created 2, so 2 times 8 is 16. Repeat the process. Then multiply that by 8000 to create 1000 gold which is the maximum amou...

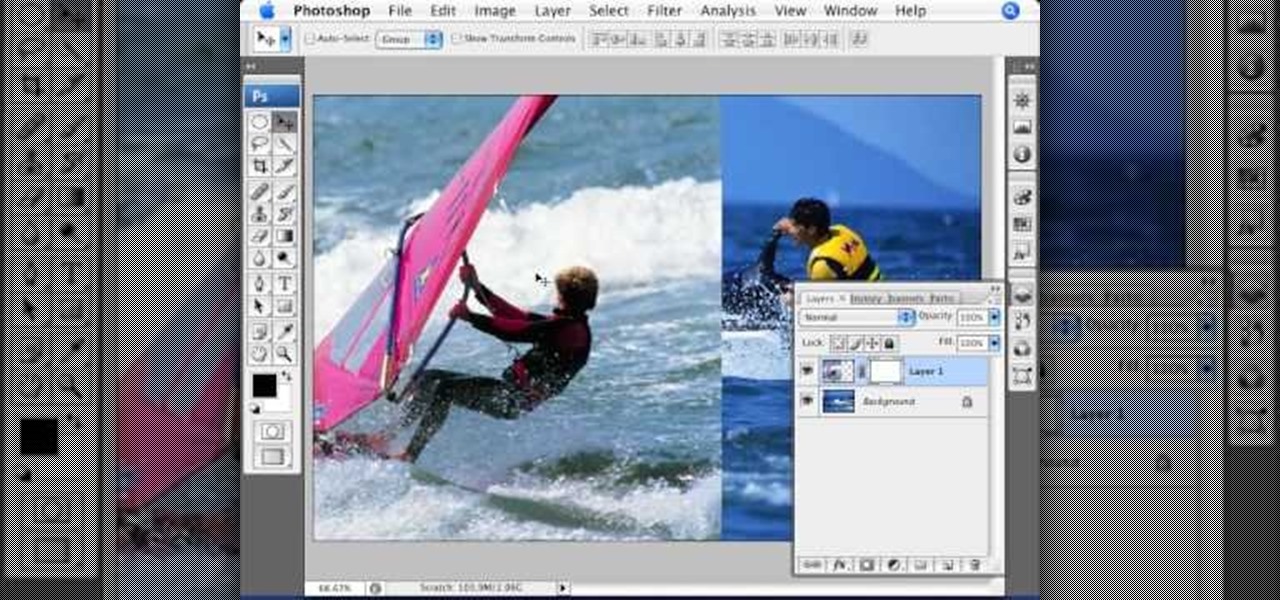
This video tutorial by photoshopuniverse teaches you how to blend two images seamlessly using Photoshop. For this you need two or more images that need to be blended together. Using the move tool in Photoshop move one image over to the other image. Open the layers window and make a layer mask as shown and select the gradient tool making sure the colors are white on black and connect the two images as shown. Using the brush and the opacity at 50% reveal the parts of the image that need to be c...

There are few cocktails more classic than the White Russian. Whether you are trying to perfect your recipe or make one for the first time, you will want to check out this step by step. In this tutorial, learn to make a White Russian. The White Russian is an easy to build cocktail that's very smooth but also really brings out the flavor of the vodka. So, make sure you select a good vodka, some delicious cream, a bit of Kahlua and you will be mixing like the Big Lebowski in no time.

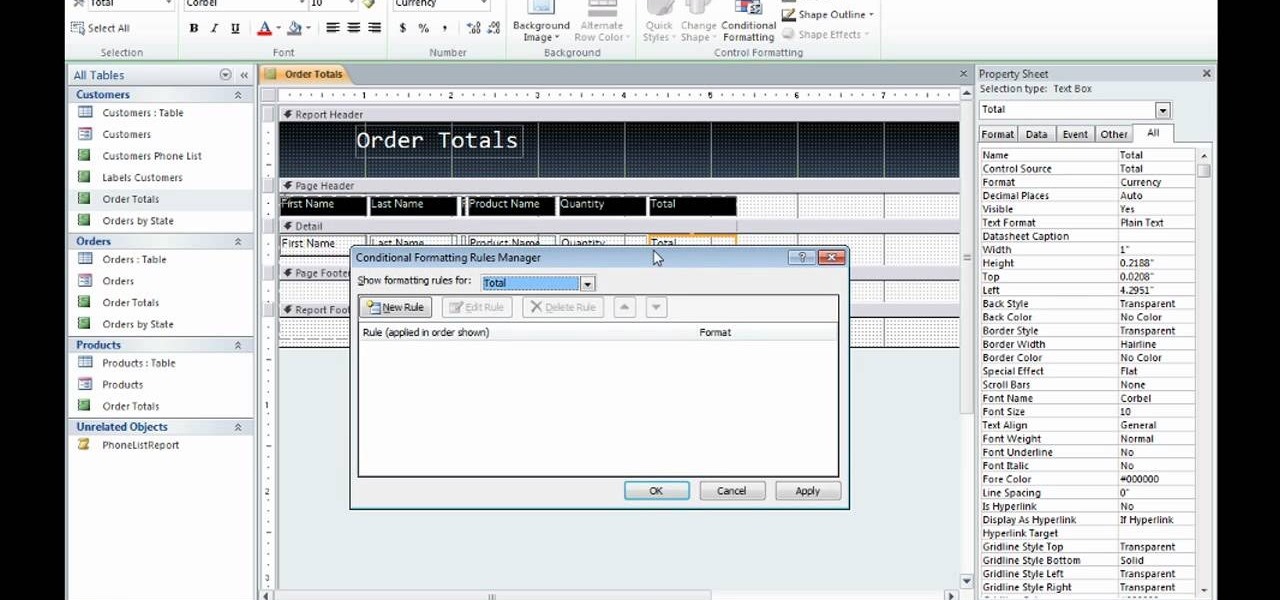
lyndapodcast teaches you how to apply conditional formatting withing Microsoft Access 2010. You click View - Design View. Click the Total tab and you'll notice some highlighted options above. Click Format and then Conditional Formatting. This where you will create rules. Click the new rule button. Now you will see the conditions with drop-down menus. Type in the numbers you want and then select the formatting you want when the rule is true. The preview below will show you how the numbers will...

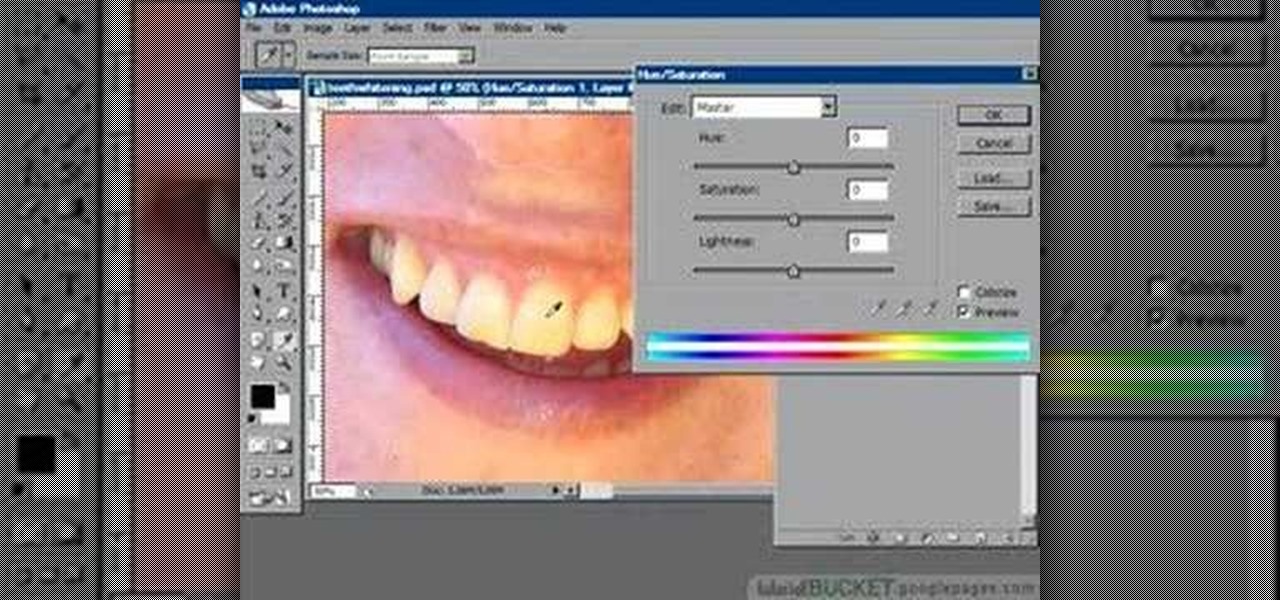
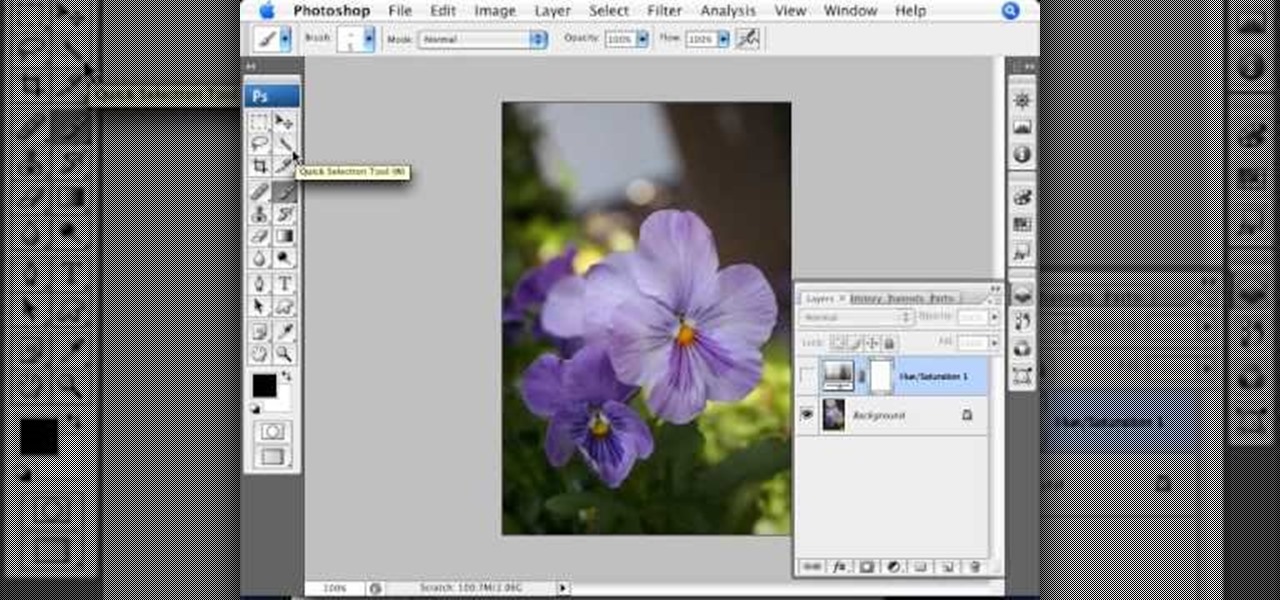
You know that you can edit almost anything in PhotoShop but did you know that you can make your teeth look dramatically whiter with just a few PhotoShop tweaks? Watch this video to learn how to select the teeth that you want to whiten and then how to adjust the hue and saturation of your teeth. Teeth tend to give off a yellow cast in photos even if they are not yellowish in person. You will need to leave a little bit of the yellow to keep your teeth natural looking.

Ever wondered about those digital effects in advertisements having some parts in pixels? Let's try it. Open Photoshop and take a picture. Duplicate its layer and on the new layer,select it and go to filters->pixelate->mosaic. Then you can mask the new layer with having some parts in blur and the other one's in focus or can use gradient. You can lighten or darken the mask layer for better output. This helps in creating unique styles and digitize your world.

Learn how to use the parking assist mode in the new 2010 Toyota Prius in simple steps. Press the Intelligent parking assist button located under the power button when you park you car. Now select the type of parking you want to park your car which is either parallel parking or back in mode. For the parallel parking stay 3 feet away from the vehicle to your right and stop when you hear a beep. Press OK when ready, release the steering and gently control the speed as the system will steer for y...

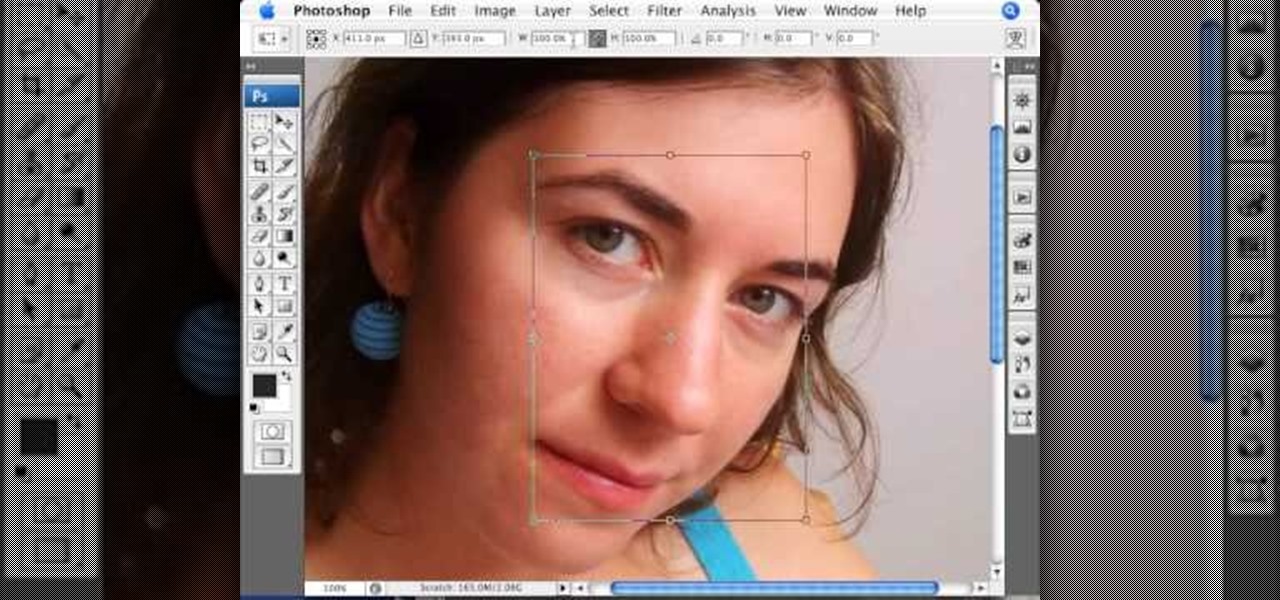
This Photoshop tutorial on performing a nose job using Photoshop contains detailed instructions on the use of Photoshop tools to, depending on taste, enhance the appearance of an individual. The person narrating the tutorial specifies the necessity of subtlety with the modification of the picture in order to remove any appearance of modification. The way described is essentially to select the general nose area, feather the selection by an optional amount, and set it in a separate layer. Then ...

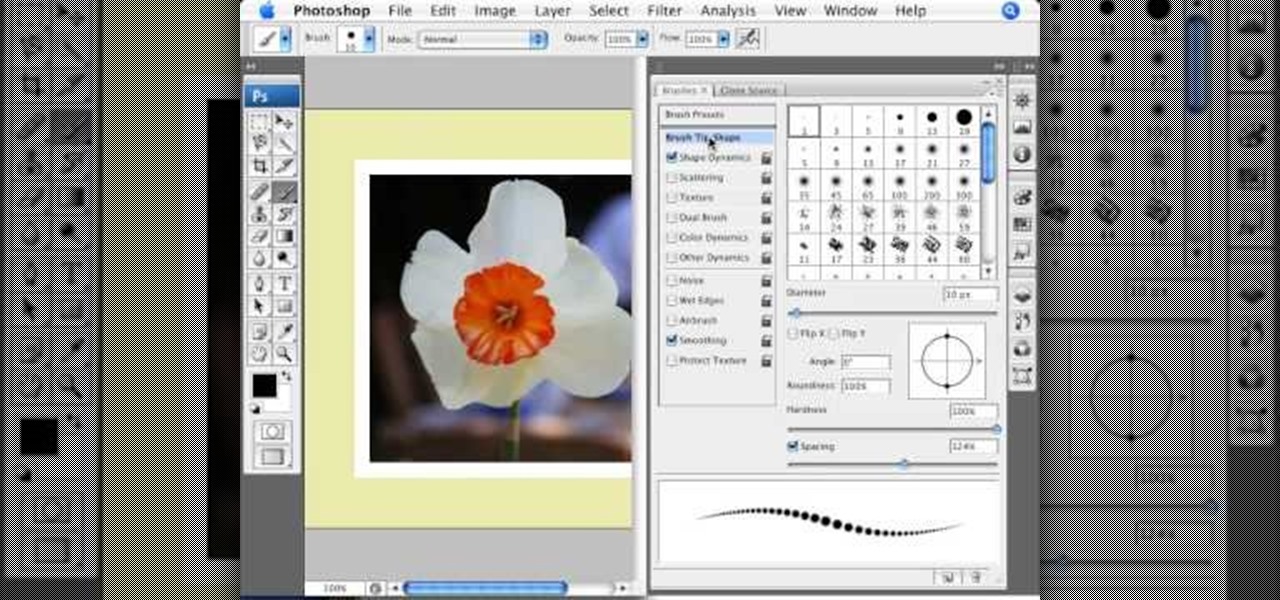
This video tutorial by photoshopuniverse shows you how to create a postage stamp in Photoshop. First take a suitable image and decide the shape of the stamp. Corp the image to suit the shape of the stamp by selecting the area and choosing corp and increase the canvas size as shown in order to create the perforated cutout. Transform the image into a regular layer and once again increase the canvas size to create a back ground with an appropriate color as shown. Add a layer mask, chose the brus...

This video shows you how to simulate hand coloring in Photoshop. The first step in the process of simulating hand coloring is to turn the image you have chosen into black and white. Following turning the pictures coloring to black and white you must bring up the hue color control panel. The final task includes selecting the object to color within your image as well as picking the color in hue that you wish to use. The coloring must be done manually by the users control of the mouse.

This how-to video produced by Photoshop Universe gives step-by-step instructions on how to batch automate a process in Adobe Photoshop. With this tutorial you'll be able to learn to correct white balance, enhance colors, resize, and save for the web whole folders' worth of images in one go. The first step to doing this is to open up one of the images in your folder and correct the white balance, enhance the colors, resize the photo and save. The next thing you want to do is to record all of t...

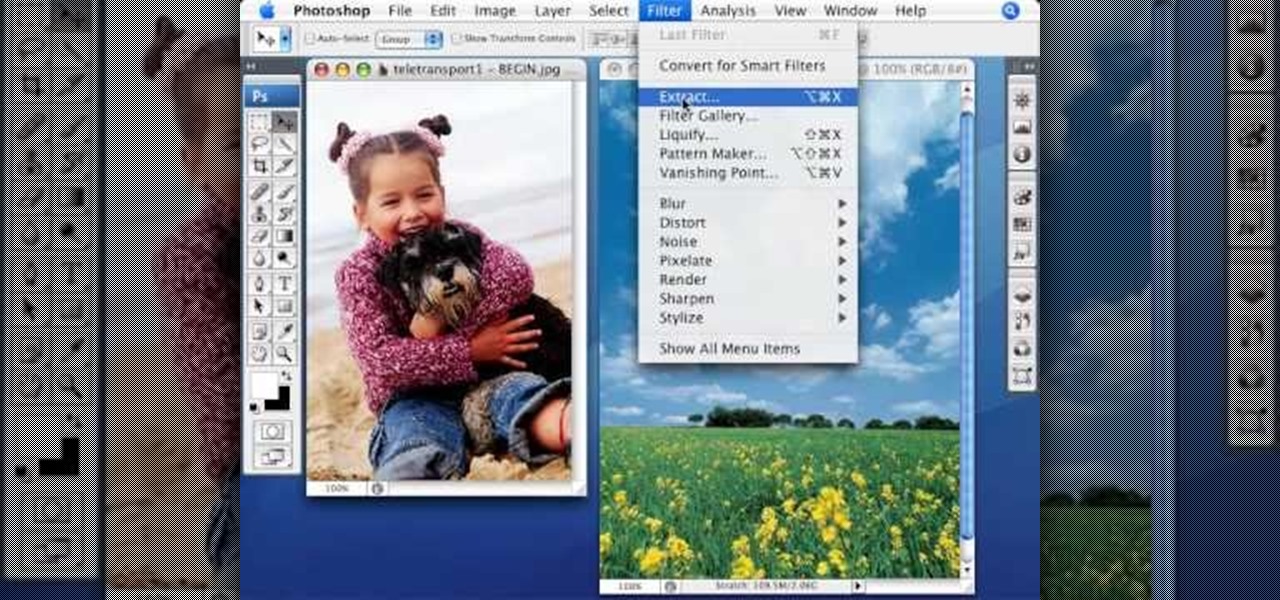
This video tutorial by photoshopuniverse, is to tele-transport people in photos using Photoshop. For this you will need two photos, one with a person and another of a suitable scene. Select the image with the person and extract the person using the extract tool by marking the edges. Make sure to change the brush size so that you can mark the edges with a bit of the border to be included and a bit of the outside to be excluded. Fill in the retaining area and extract the image. Using the move t...

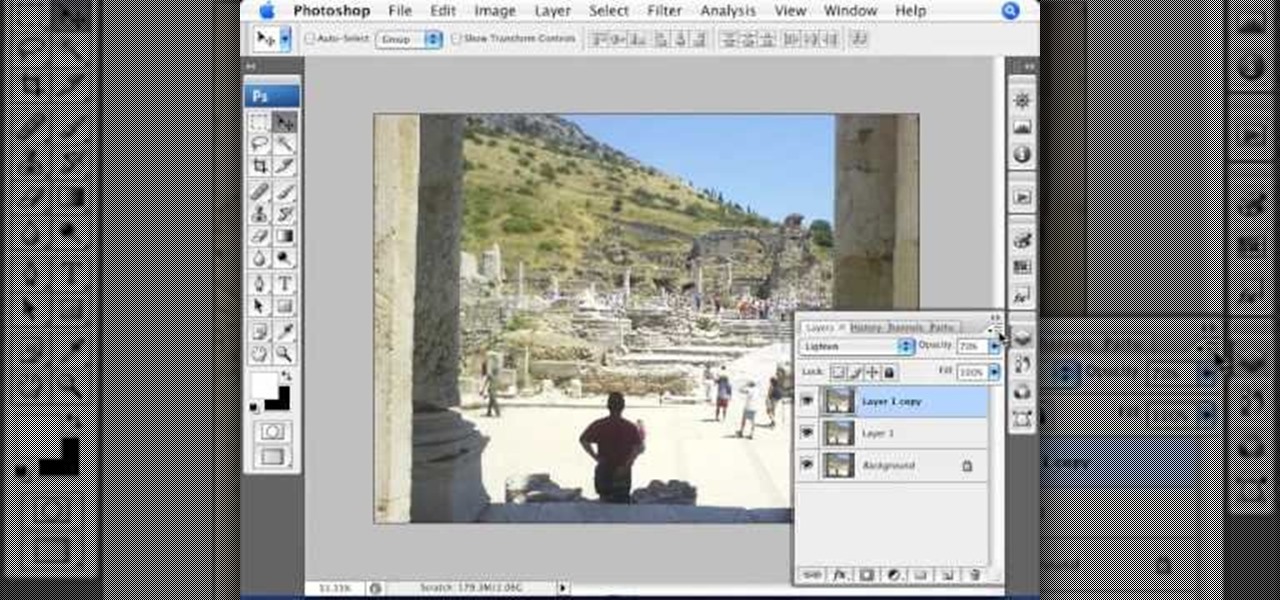
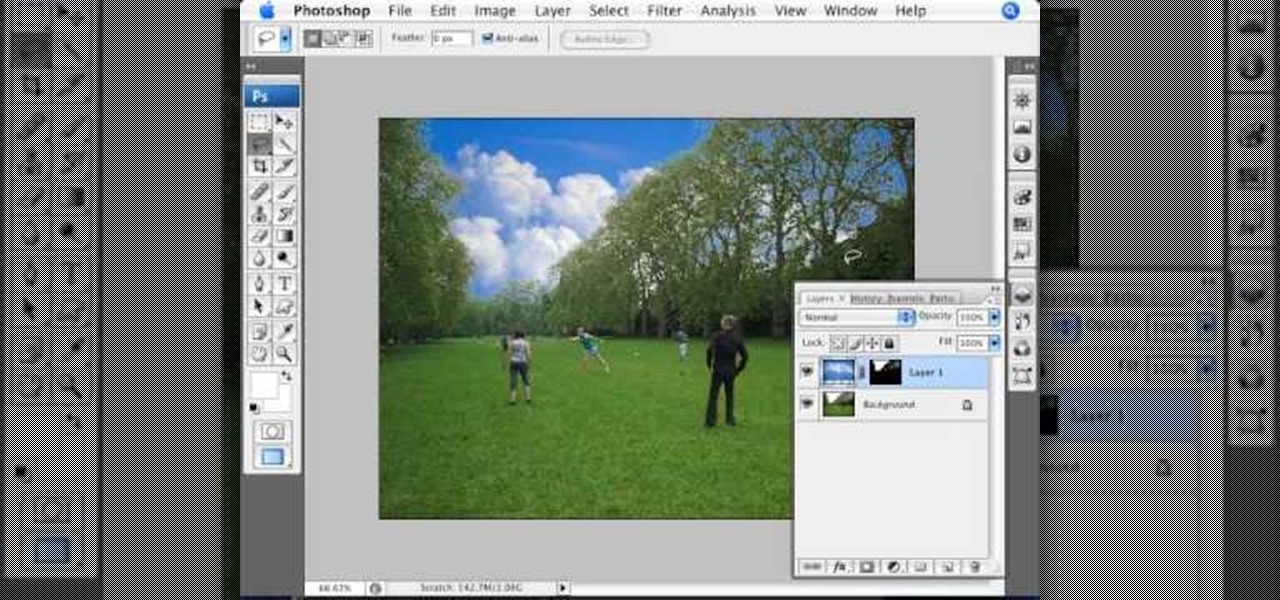
In this Photoshop tutorial the instructor teaches you to replace the sky in a photograph. If you have a photograph which has a very dull and blown out sky you can change it to make it look better as shown in this video tutorial. Some times when the sky is cloudy or due to improper white balance you end up with photos having a over bright or dull sky. Now you can find another image where the sky looks bright and attractive and replace the sky in this image with that one. Open the photo that yo...

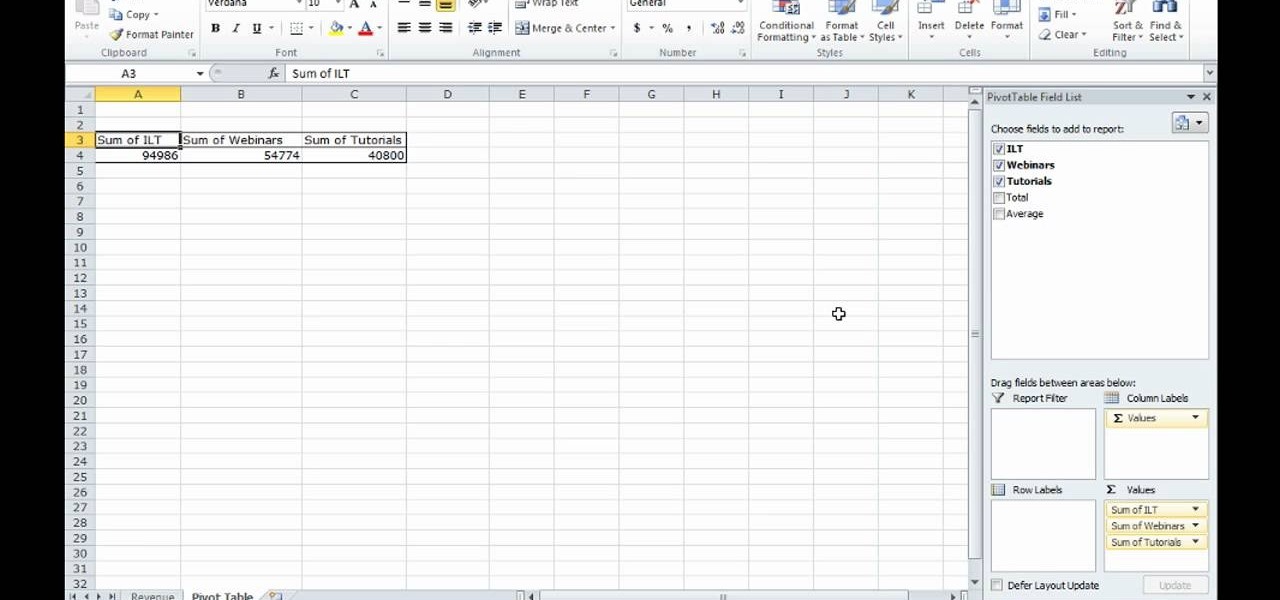
This video shows how to make a quick pivot table data filtering by using Excel 2010's ‘Slicer’ functionality. ‘Slicer’ delivers enhanced visual filtering method to allow you to get the data you need more quickly. When selecting a cell in the pivot table you will find ‘Slicer’ in the filter group of the ‘Insert’ tab. Click on ‘Slicer’ and an 'Insert Slicer' dialogue shows up where you can pick particular data fields from the slider list. Once you click on ‘OK’, the ‘Slicer’ objects with filter...

Radford Education teaches you how to create a website using Google Sites. You need to have a Gmail account for this. Go to Google and click More - Sites. After the login, click Create new site in the upper left corner. Complete all the fields, starting with the name of your site. You can also select your site theme below. Hit the Create Site button at the bottom, when you're done. You will then be taken to your brand new site.

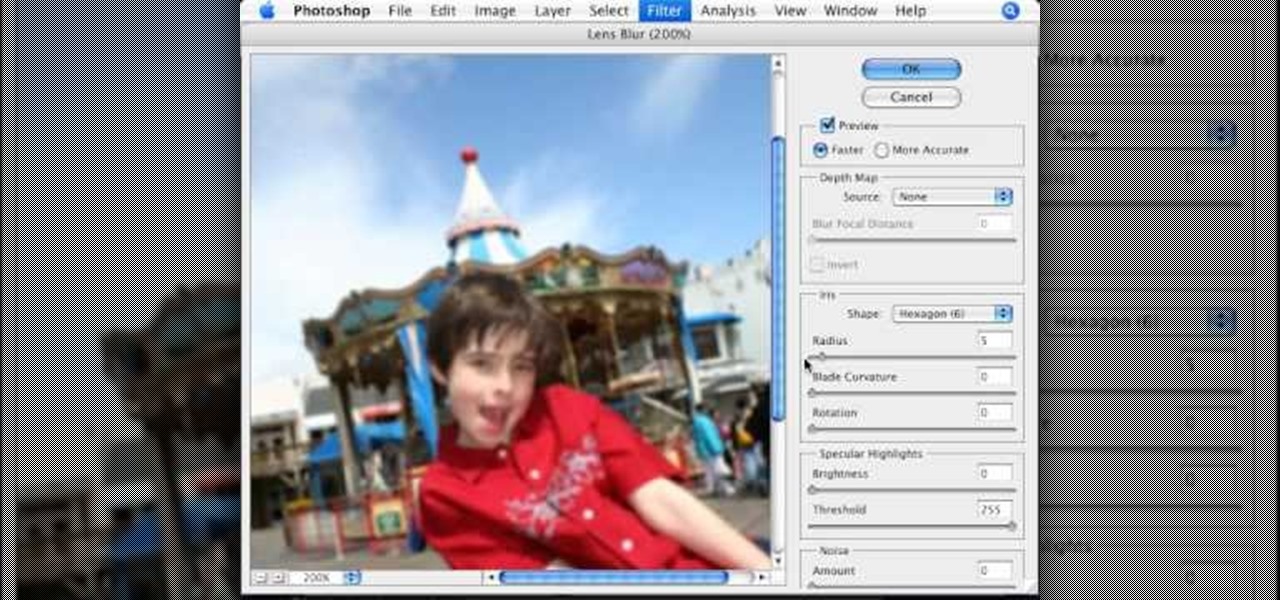
This video tutorial, by photoshopuniverse, shows you how to reduce the depth of field after a photo is taken using Photoshop. This enables you to ensure that your main subject is clearly in focus while the background is out of focus or blurry. First duplicate the layer using the short cut that was mentioned and apply the filter lens blur to the new layer and adjust the radius so that an adequate amount of blurring is achieved. Add a layer mask and bring the subject to focus by selecting the b...
