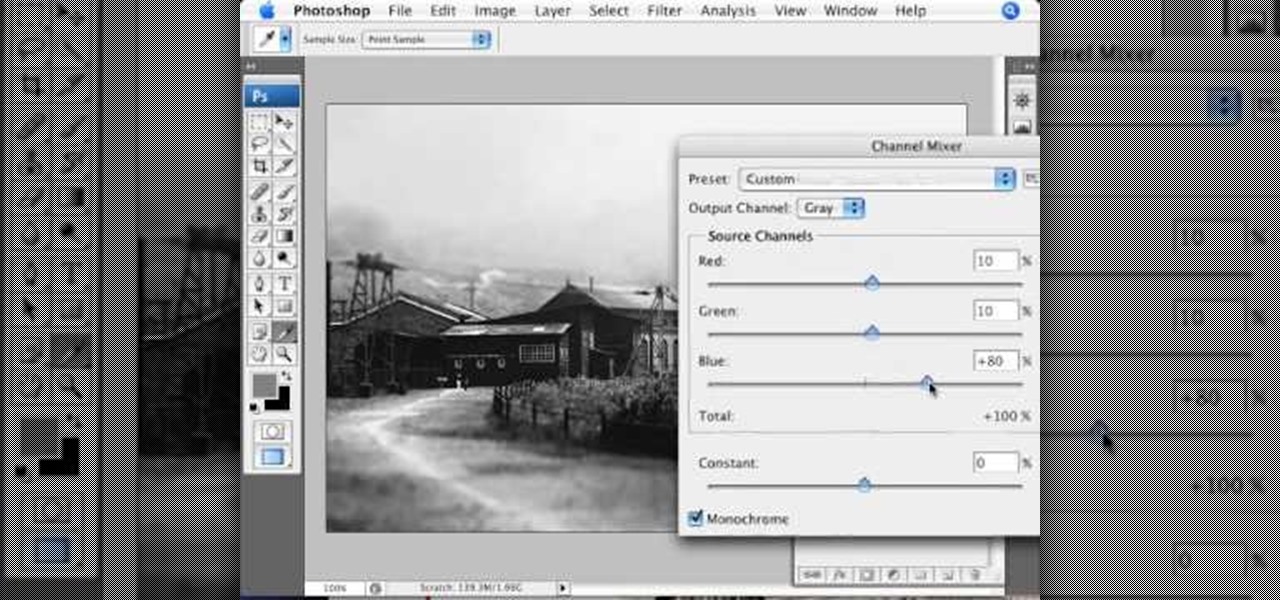
This video demonstrates the split tone effect in Photoshop. A split tone effect makes a picture look more rustic by changing the tones. First, add an adjustment layer to the picture by opening the channel mixer window. Select Monochrome and adjust the RGB values to create a black and white image to your own personal preference. Next, add another layer by opening the color balance window. Here you can change the colors of the light areas by selecting Highlights and changing the color sliders, ...

Tutorial on how to create realistic reflections on Photoshop with the objects. Take a base ball image then open layer pallet and duplicate the base ball layer its shortcut is Ctrl j. Go to image menu adjust the canvas size change height to 200 and anchor to the top then click OK then go to edit select transform change to flip vertical, select move tool then move the base ball vertically down change opacity to four percent. Finally go to filter select blur then motion blur with an angle 90 deg...
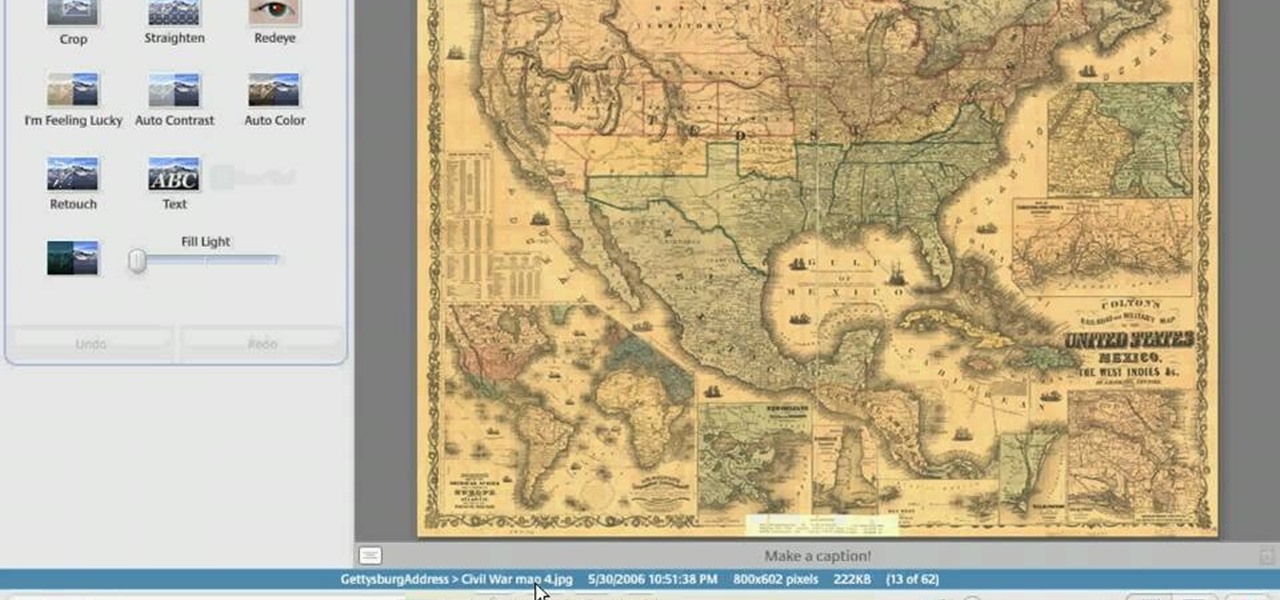
The video is basically about how to modify the focal point of the image. When the image has some stuff on the background and when you want the viewers to focus more on one particular area and making the rest of the image darker, you need to modify the light values of the image, which will be taught in this video. This can be done by just selecting the area, which you need to highlight on the image by giving some border and then add curves. In the curves the area is made darker than the rest b...

Learn how you can remove the blue haze from photos in Photoshop with this tutorial! 1. Select any image and right click on the menu click on Levels. 2. Select each and every channel and set input levels for red, blue and green and see the preview of the image. Set as RGB in Channels. 3. Now, click on "Sample in image to set gray points" and click on the area of the image which need to be set gray click on ok button. 4. From the picture icons select eye dropper and make sure it is set as 5 by ...
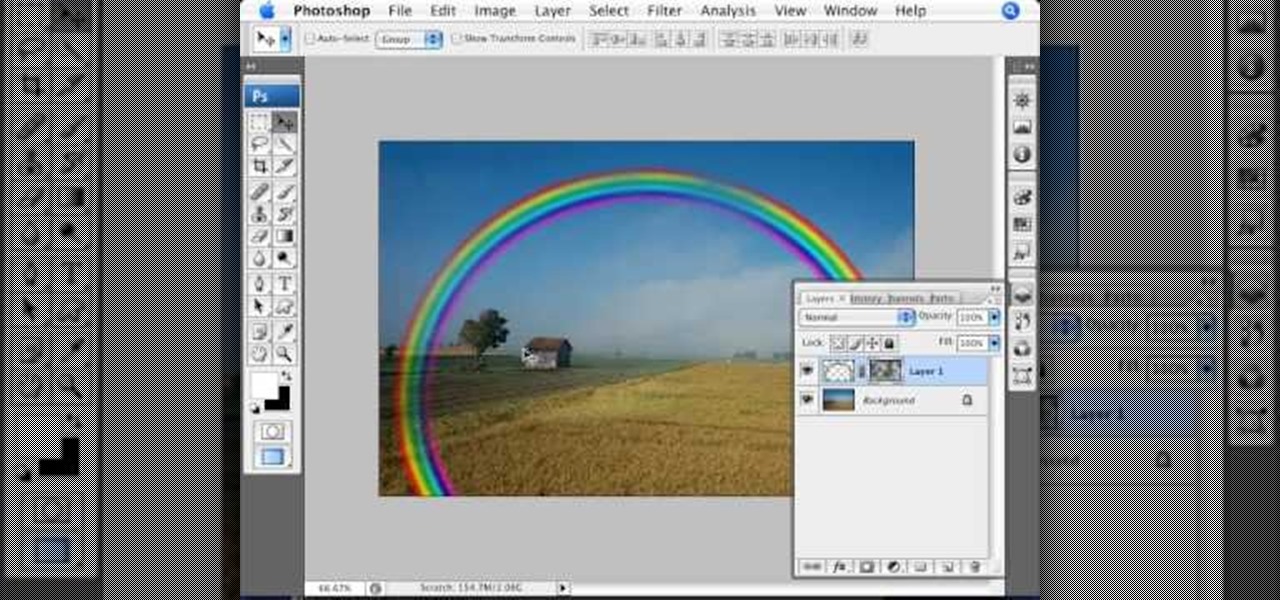
Open the picture you wish to place a rainbow within. A good scene has clouds that are receding into the distance and the light angle coming in from the front of the scene. A rainbow effect appears when by the sun is shining from behind you into the mist-filled air where it is refracted by raindrops.
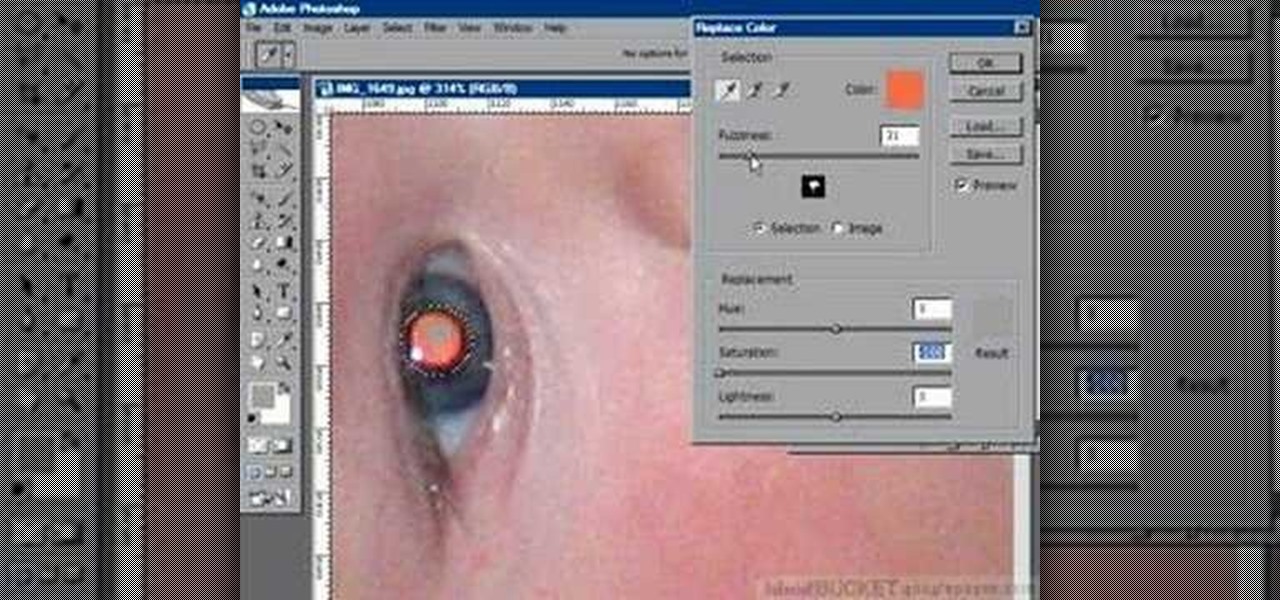
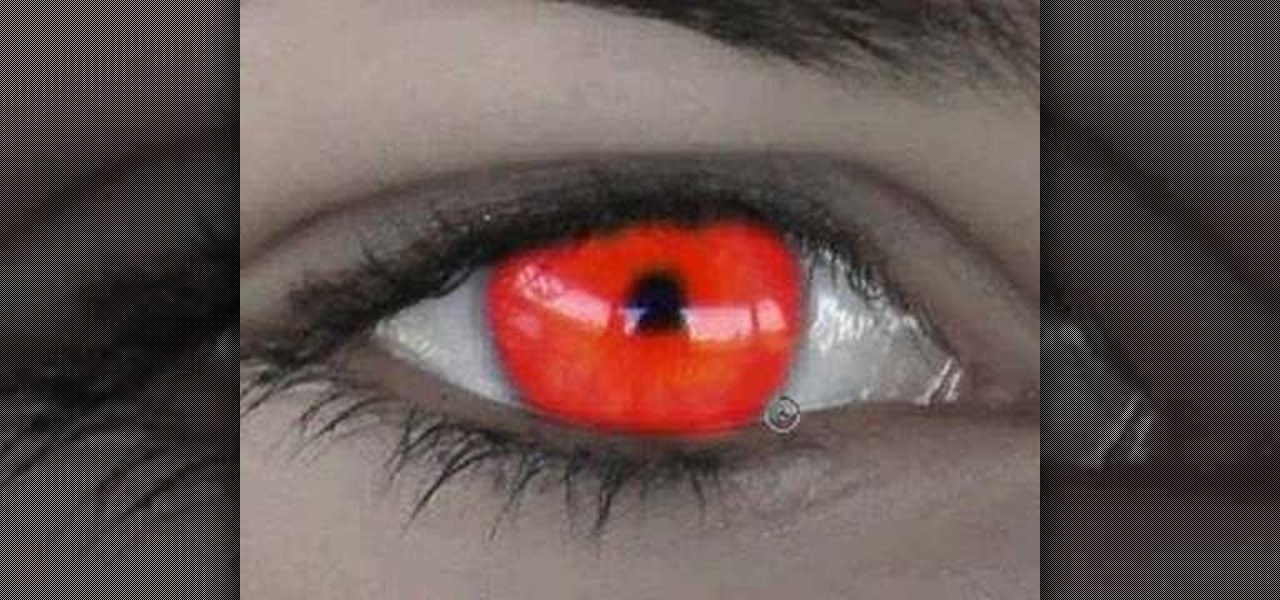
If you have a photograph with an extreme red eye problem, then you will have to take steps above and beyond using the built-in red eye reduction tool in Adobe Photoshop. In extreme cases, red eye will actually contain colors outside of the red spectrum of light. Since the red eye tool only works on this spectrum of light, you will have to manually fix extreme red eye by working on tools that are effective across all different wavelengths of light. The most effective tool at your disposal in t...

You love your iPhone and you can't live without it, but it's lacked the basic ability to cut, copy, and paste across multiple apps. With Apple's OS 3.0 upgrade, you can do it all with just a few taps. Watch this Howcast guide to learn how to cut, copy, and paste on your iPhone.
In this video we learn how to sync your Powertap. First, go to your setup screen by pulling down mode and select and going through the find. Then, click clear and find your main menu. Use the select button to scroll until you get to the number 5. Hit mode and then your hub ID number can be entered in. From here, hold down the select button for two seconds until it starts to blink. Then your hub will start to become activated. If you have a wireless speed sensor do the same thing as well. This...
Checkboxes let users to your site select or deselect items in a list (such as adding products to a shopping cart or selecting multiple answers to a quiz or poll). This tutorial shows you how to build and incorporate checkboxes to your website or other Flash project.
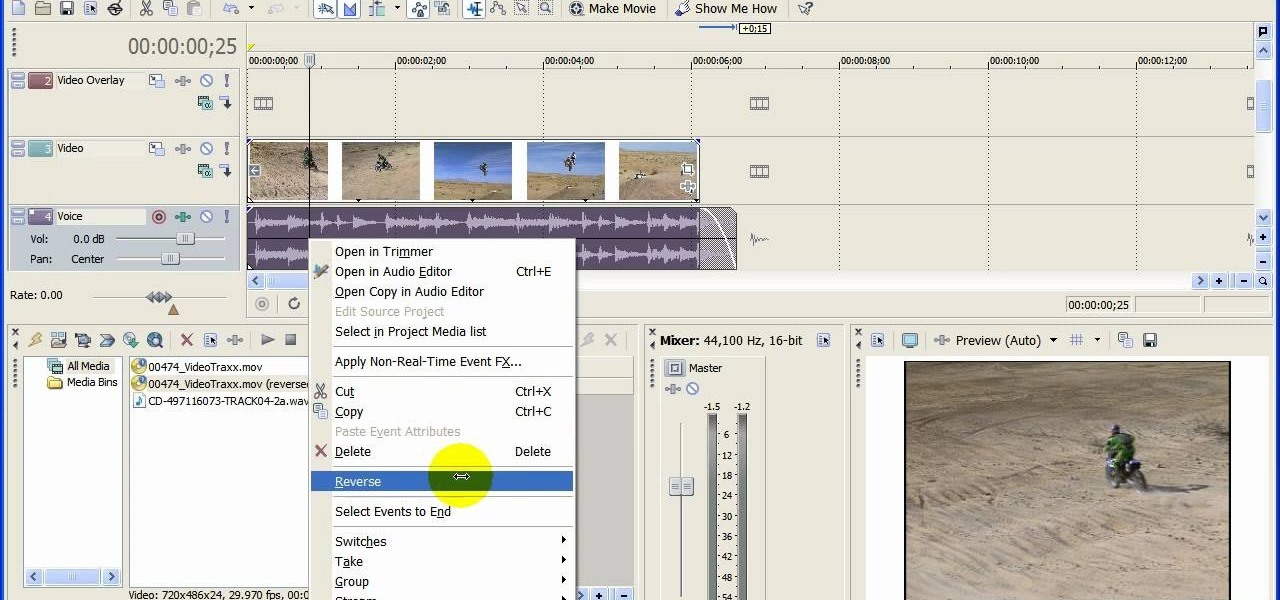
In this video tutorial, viewers learn how to reverse video direction in Sony Vegas Movie Studio. This task is very easy, fast and simple to do. Begin by importing the video clip(s) and/or audio into the time line. Then right-click on the clip and select Reverse. To reverse the audio, right-click on the track and select Reverse. To undo the video or track, right-click it and select Reverse once again. This video will benefit those viewers who enjoy editing and creating videos, and would like t...
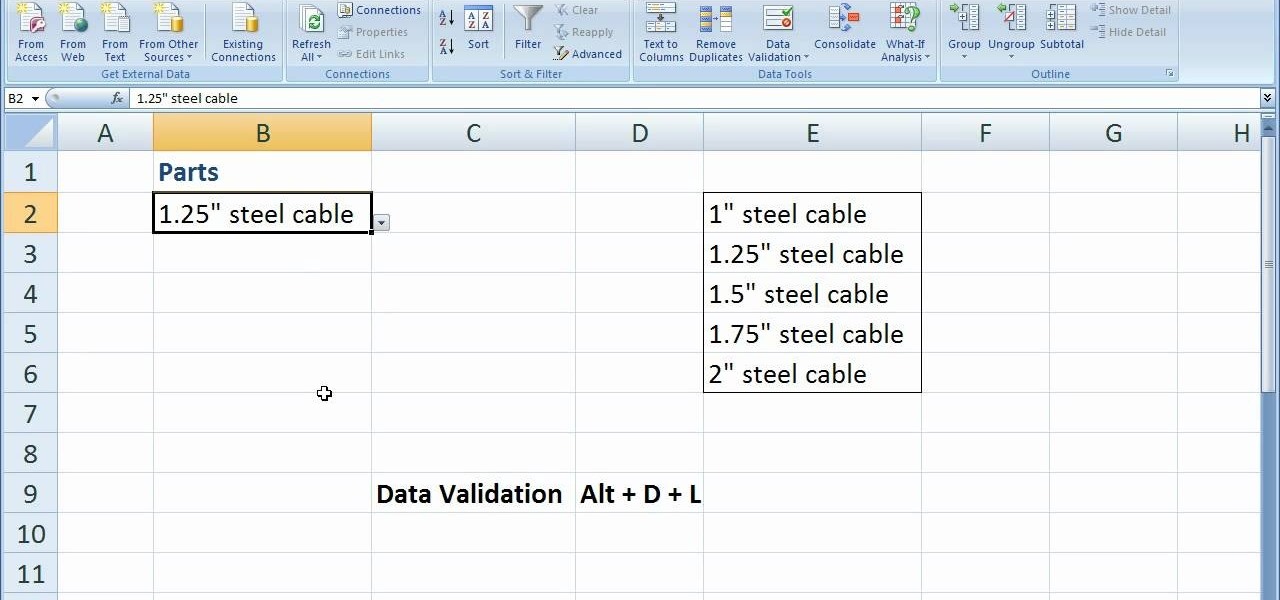
In this software video tutorial you will learn how to create drop down menus in Excel using Data Validation. This example will show you how to display a list of parts in a drop down menu. Create the list of parts somewhere in your worksheet. Then in the cell underneath the one where you want to display the parts, go to the data validation window and enter the data. For this select the cell and then press 'Alt + D + L' to bring up the data validation box. Here you click on 'settings' and selec...
This video tutorial is in the software category where Kerry Garrison will show you how to use vignettes with Adobe Photoshop Lightroom. By this you can remove the dark corners in a photo created by some zoom lenses. Select the photo, kick in the vignettes and fade out the corners focusing on the main subject matter. For this, select 'lens correction' on the right hand side and with the help of the sliders apply the vignettes. You have the choice of applying either a light or a dark vignette. ...
This video tutorial belongs to the software category which is going to show you how to add a watermark in Camtasia Studio. Open up Camtasia Studio and either import a video or open up a saved video to add a watermark. You got to edit your video and be ready to publish it because adding a watermark is the last step. Now click on 'produce video as' and the production wizard will come up. Here you can select a preset mode or create a custom one. Then you go to 'add / edit preset' and click on 'e...
In this tutorial, Paul Pacult tells you everything you need to know about selecting and drinking a fantastic scotch. Scotch is a drink best enjoyed slowly and for this reason you will want to make sure you choose a tasty option. Follow along and learn the ins and outs of single malts so that you can sit back and enjoy this truly masculine beverage.
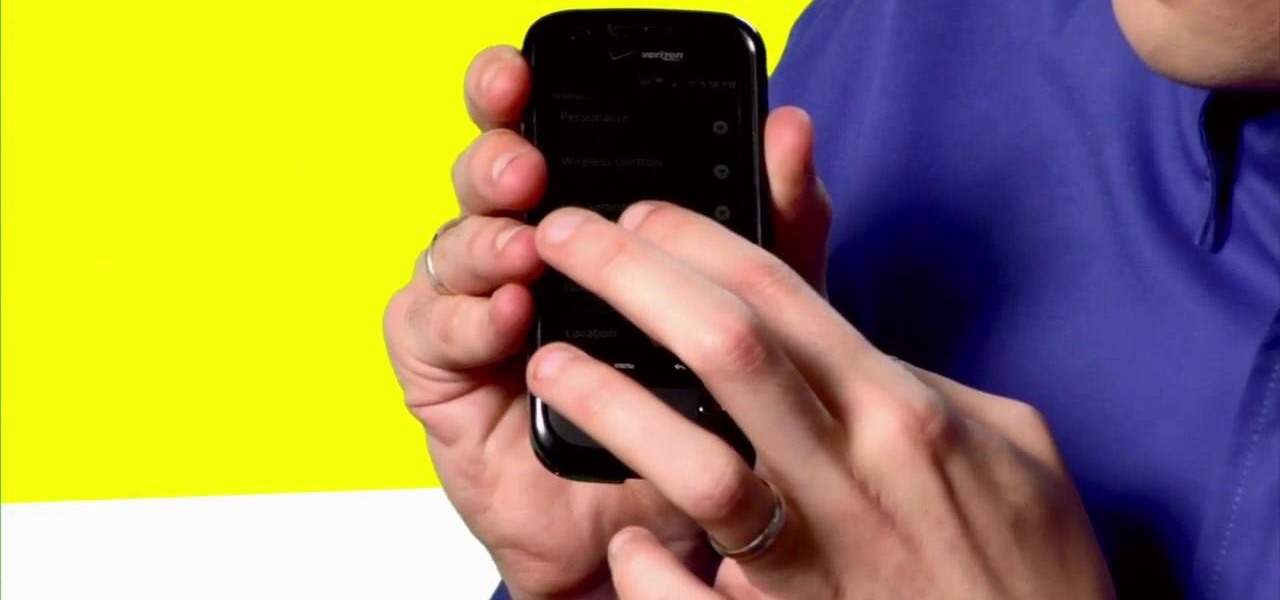
The new Android enabled phones can take up a bit of power, so knowing the best way to manage your power settings is crucial in having a fully-charged cell phone all the time. The biggest key is making sure your screen brightness isn't more than it should be. Best Buy has answers. The Best Buy Mobile team explains how simple it is to adjust screen brightness to save battery life on an Android cell phone.
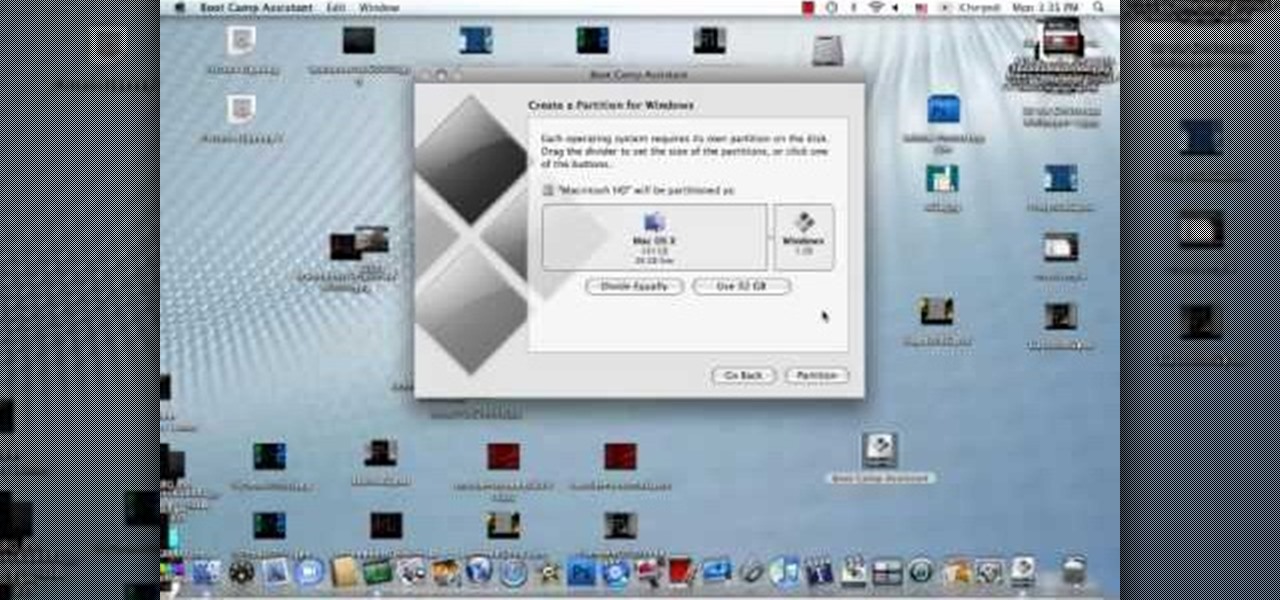
In this how to video, you will learn how to install Sony Vegas or any other Windows software on to a Mac. This will be useful if you cannot find a Mac equivalent of a Windows program. First, you will need Boot Camp Assistant. This will allow you to run any windows program on your Mac. Open the program and press continue. Next, you can select how big you want the Windows partition to be. You can select the 32 gigabytes button, or adjust it manually by sliding it. Next, select Partition. Once t...
In this how-to video, you will learn how to create a invisible folders on your Windos XP or Windows Vista operating system. First, create a folder or find a folder that you want to be invisible. Select the folder and hold and type alt+0160. Release the alt key. Next, right click the folder icon and select properties. Select customize and select change icon. From here, find a space between the icons. This will set it to an invisible icon. Once that is selected, press okay. The folder is now co...
New to Microsoft Excel? Looking for a tip? How about a tip so mind-blowingly useful as to qualify as a magic trick? You're in luck. In this MS Excel tutorial from ExcelIsFun, the 373rd installment in their series of digital spreadsheet magic tricks, you'll learn how to select 3 numbers from 50 with no repeats. Also see how to select 3 names from a list of 10 with no repeats.
In this video tutorial. viewers learn how to change the size of text and icons in a Windows 7 computer. Begin by clicking on the Start menu and open Control Panel. In the Control Panel window, click on Appearance and Personalization. Then click on Display. Now users are able to select the size of text and icons to Smaller - 100%(default), Medium - 125% and Larger - 150%. If users select one of the larger sizes, some of the items will not fit on the screen. Once users have select the setting, ...
This video is about how you can change someone's eye color. The first thing to do is to load up a picture in which you want the eye color to change. The next step is to zoom in the eye that you're interested in working on. Just simply press "D" button on the keyboard and draw a rectangular shape on the eye. Now that you've zoomed in, make a selection of the iris, the part that we want to change the color on. The first thing is, you need to set up colors found on the lower left of the window. ...
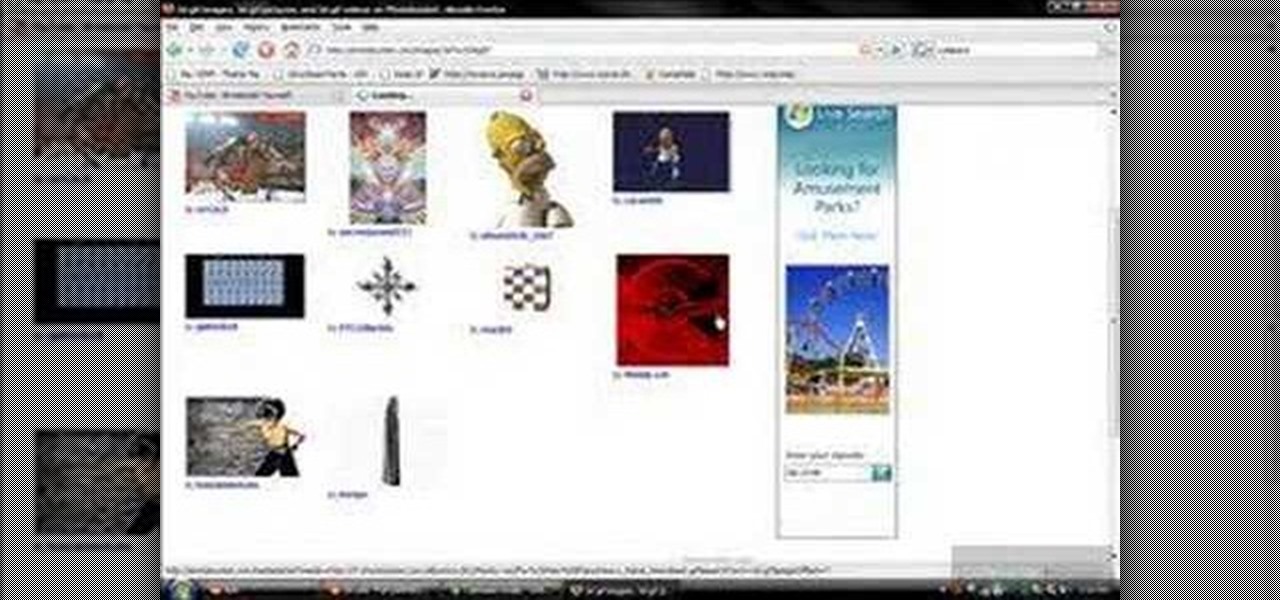
First of all you have to go to Photobucket. In the search option you have to type in '3d gif''. Now click 'search'. You shall get a number of photos and you can select the image that has red color moving screen. It is better to get image this way without a virus. Now you have to right click on the image and save as '3d image animation wallpaper' and click save and then save it on your desktop. Now right click on your desktop and click on the properties. Now go to the desktop and then select ‘...
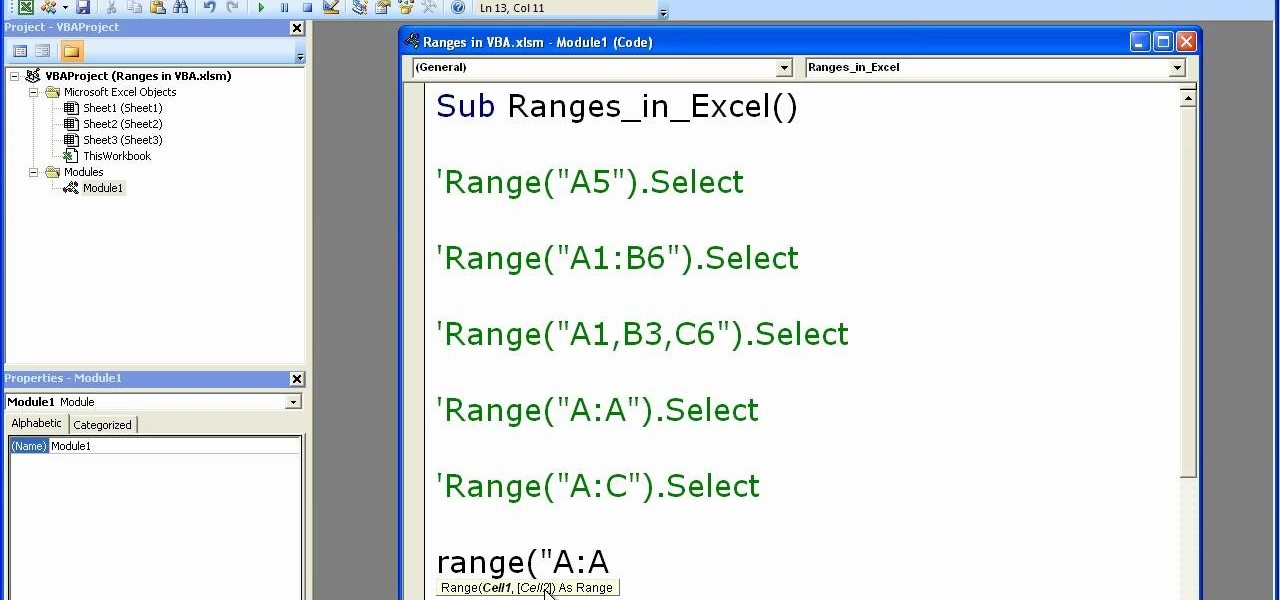
Microsoft excel is a powerful tool used to work with numbers and data by filling them down in rows and columns of a table. Excels also supports macros, which are small scripts to automate certain functions. In Microsoft Excel you can select entire rows and columns using the range property. You can also use macros to select individual rows and columns as well as multiple variations of rows, columns, and individual cells all at once. In Excel a horizontal line of data is called as row and a ver...
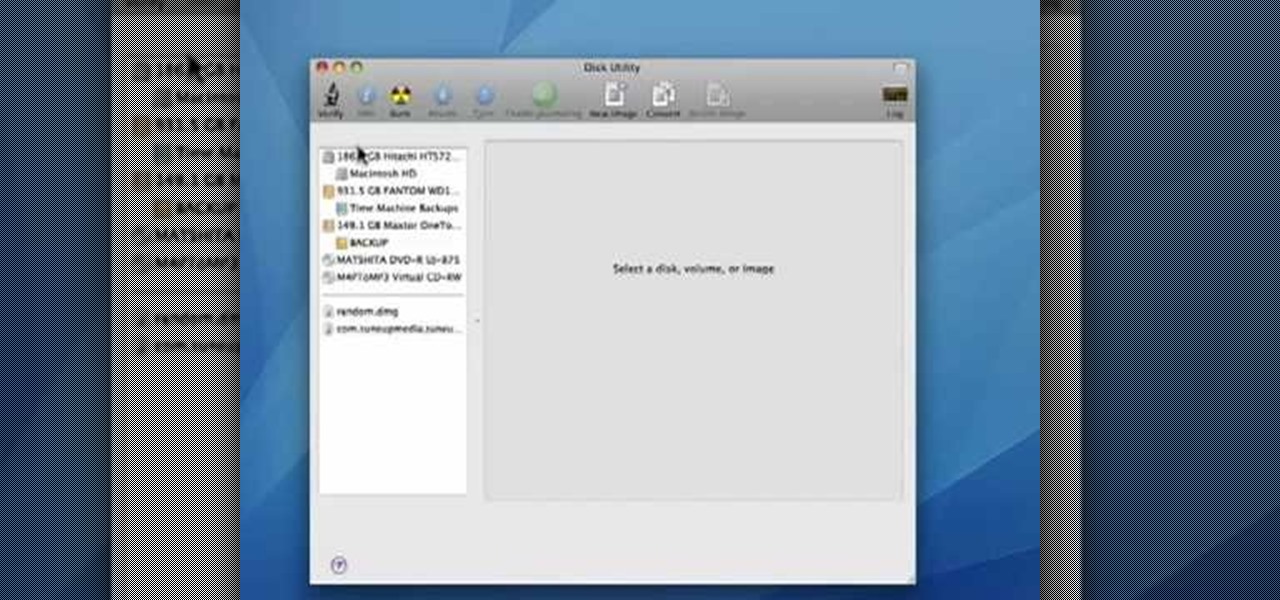
In this video tutorial, viewers learn how to verify a drive on a Mac computer. Begin by opening Finder and select Applications. Open Utilities and then select Disk Utility.app. Now select a disk drive that you would like to verify. Make sure that you are in the First Aid tab and check the Show Details. Then click on Verify Disk. Now wait for the drive to be verified. Once finished, it will display all the items that were checked. This video will benefit those viewers who use a Mac computer an...
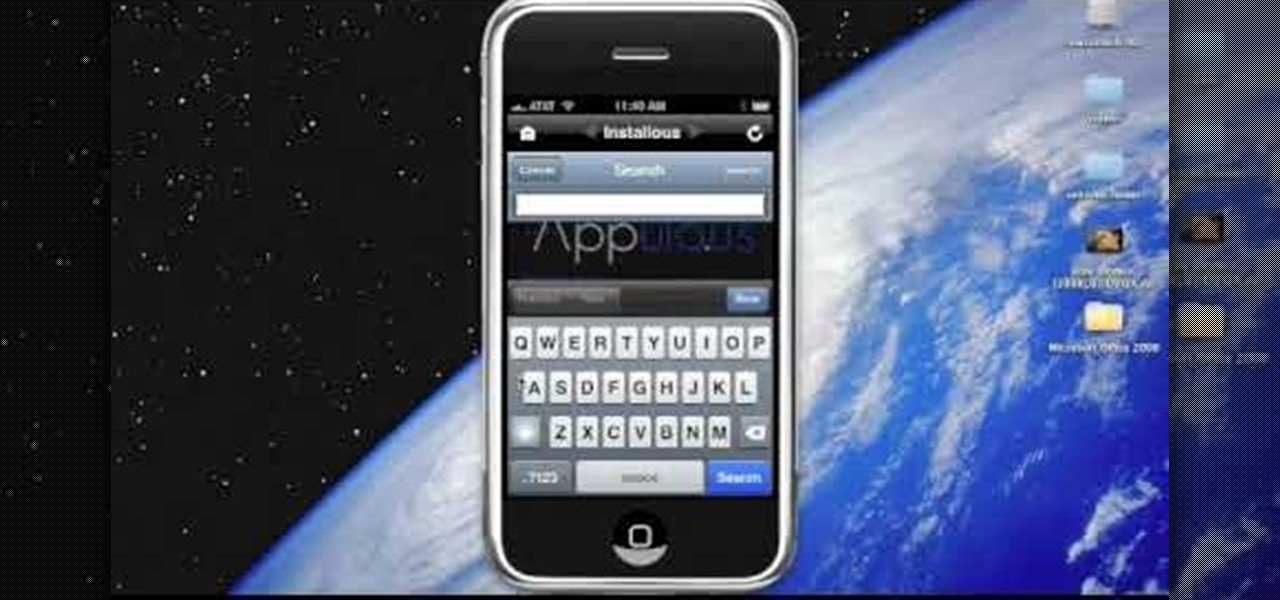
In this video tutorial, viewers learn how to install the Installous application for the iPhone or iPod Touch. Users will need to have their iPod device jailbroken before installing. Begin by opening Cydia and select manage. Click sources and select edit. Add this source: Select your new source (Hackulo.us) and install AppSync for your device's firmware, Then install Installous. Return to your home screen and run your new application (Installous. Now users are able ...
In programs such as Microsoft Word moving text around can save quite a bit of time and for some be easier than re-typing whatever it may be. It's an easy task, but it entirely depends on what kind of computer you own, whether it's a Mac or a PC. In this video tutorial find out how to select, drag, copy, and move text while using a Mac operating system. Enjoy!
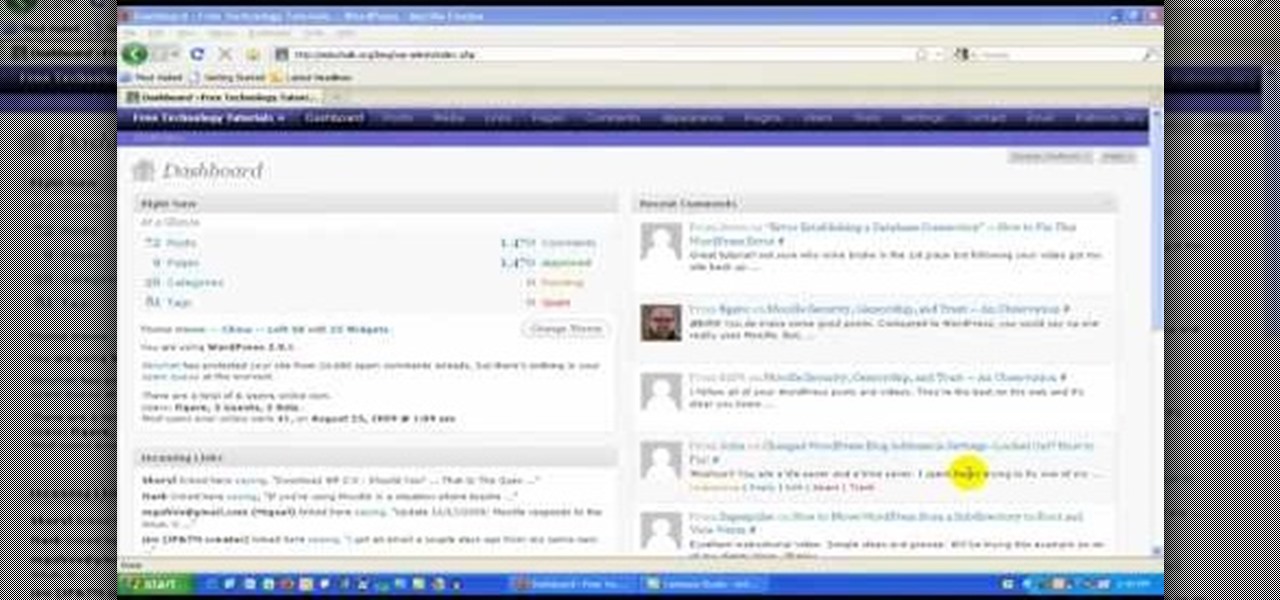
In this video tutorial, viewers learn how to locate and remove spam accounts from a WordPress blog. Begin by logging on your blog and select the User tab. Search through the user list and look for suspicious email accounts. Some keys that reveal spam accounts are: emails that have .ru, poker, Viagra, pharmacy and accounts with more then one dot. Use your common sense to find spam accounts. Select the account you want to delete. Select Delete and click on Apply. This video tutorial will benefi...
In this Software video tutorial you will learn how to make a book cover in Photoshop. Go to file -> new. Give it a name, set width 900, height 1200 and resolution 300 and click OK. You can change these settings if you like. Go to your paint bucket tool and paint the background black. Then go to layer -> new ->new layer -> OK. Now select the elliptical marquee tool and holding ‘shift’ drag from the top left hand corner and make a circle. Go to your paint bucket tool and paint the circle with a...
In this Computers & Programming video tutorial you will learn how to make a simple CD / DVD cover in Google Picasa. Go to ‘Tools’ and select ‘Options’. In the box that opens up next, click on the ‘Printing’ tab and from the drop down menu, select ‘CD Cover Size’ and click OK. Then on the top left hand corner, go to ‘File’, select ‘Print’ from the drop down menu. On the next page, click on ‘CD cover size’ and you get the print preview. Then all you need to do is to just print that out and you ...
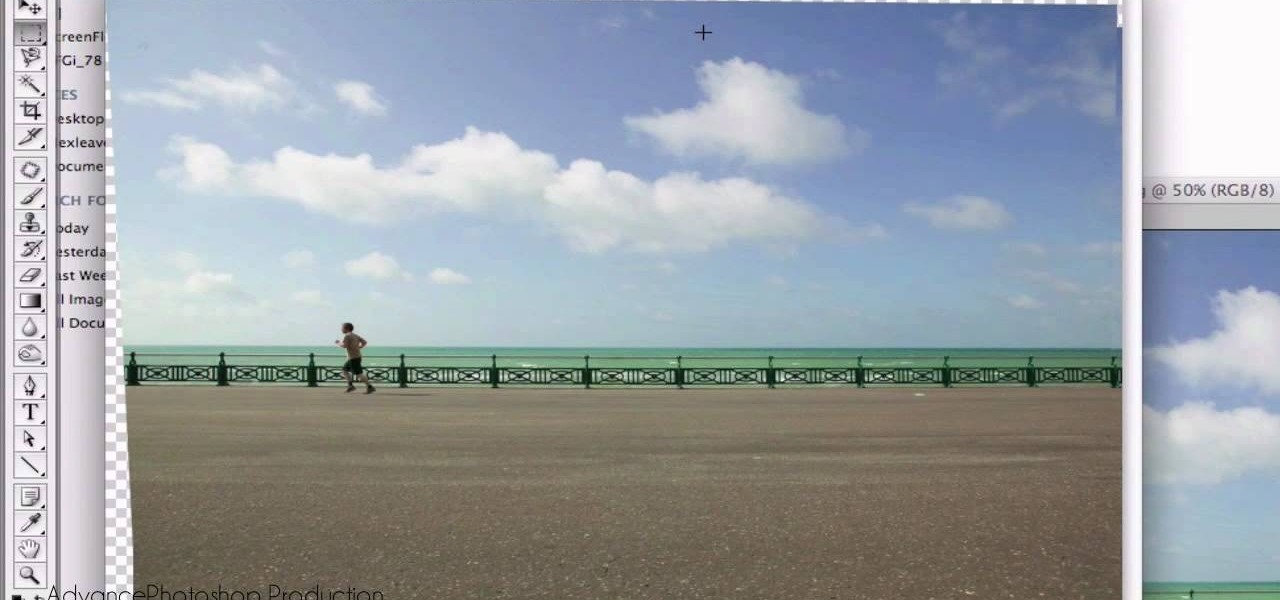
Open your first image and go to the rectangular marquee tool and select all of the image. Next click command or control C to copy image. Then go to your second image and click command or control V to paste the image. Select both the layers (hold down shift when clicking the layer), then go to edit, auto align layers and choose the top option then click ok. Last add a mask to your top layer, this is done by selecting the gradient tool (make sure its set black to white, the mode is normal and o...
First download Paint.net. Save the YouTube logo on your computer and then open it using Paint.net. Press S and select the "You" from YouTube, once selected press delete. Now press F and choose the white color, pain the deleted area to fill it with the white color. Press T to select the text tool, select the font Arial Narrow and choose the font size 144, press ctrl+shift+N to create a new layer. Now click on where you want to the text appears and type anything you want. Go to File and Save As...
Although it is a rare and potentially frightening occurrence, knowing how to do a system restore in Windows XP is an important thing to know how to do. To get started with a system restore, select the Start menu in the lower right of your screen. Then select All Programs. Then from the All Program menu, select Accessories and then from Accessories, select System Tools. There are several items under System Tools, but you want to select System Restore. You will follow through the next few scree...
In this video tutorial, viewers learn how to use the vanishing point filter in Adobe Photoshop. Begin by selecting the image you want with rectangular marking tool. Then hold Control and C to copy it. Now go to your 3D shape. Press on Filter and select Vanishing Point. Click on one of the corners and drag to each corner. Hold Control and drag it down to create another selection. Now paste the photo by hold Control and V. Then drag the photo to the selected shape area. This video will benefit ...
De-fragmenting a hard drive improves the performance of a hard drive and it is recommended to de-fragment your hard drive from time to time as shown in this video. In Windows 7 you can use the Disk De-fragmentation tool. To do this go to the start menu and open the Control Panel. In the right column select the Performance Information and Tools. Now in that window in the left hand column select the Advanced tools option. In that new window scroll down to the Open Disk De-fragmenter link. Click...
In this video the instructor shows how to user printer options in Microsoft Word 2007. To do this go to the Microsoft button and click it. Form the drop down menu select the print option. Now you are presented with the three options of Print, Quick Print and Print Preview. Print is used to directly send documents to the printer by selecting the necessary settings. Quick Print is used to quickly send the documents to the printer using the default settings. Print preview is a useful way of seei...
In this video the instructor shows how to create charts and graphs in Microsoft Word. First, open the Word document and select an area to insert the charts. Now go to the Insert tab in the ribbon and select the Chart icon. The Insert Chart window opens up with various chart templates. There are various categories of charts like Line, Pie, Bar in the left hand side. In the right hand side you can see the sample charts available and you can select any of them that you want. Now it transfers you...
Follow the steps outlined in this video to learn how to connect to XBox Live using a laptop running Windows XP. The first step is to connect the XBox with the laptop by using an Ethernet cable. When they are connected you have to click on Start and select 'Connect To' and then 'Show all connections'. Select both the Wireless Area connection and the Local area connection icons by highlighting both of them. To do so hold the Ctrl button until they are both highlighted. At this point right click...
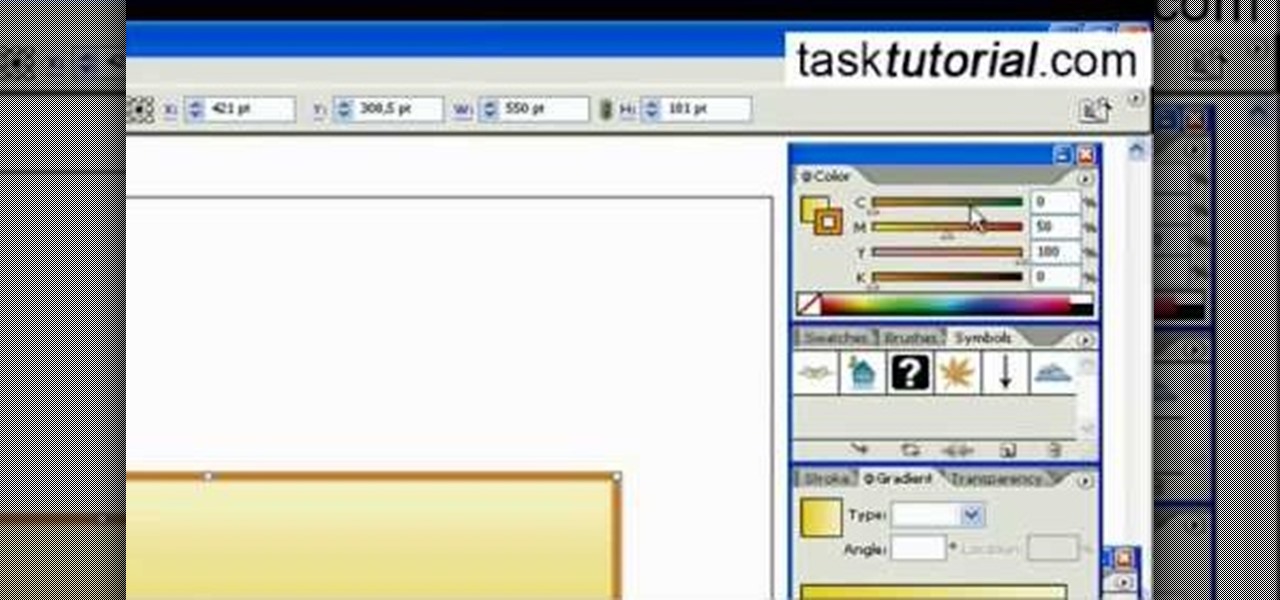
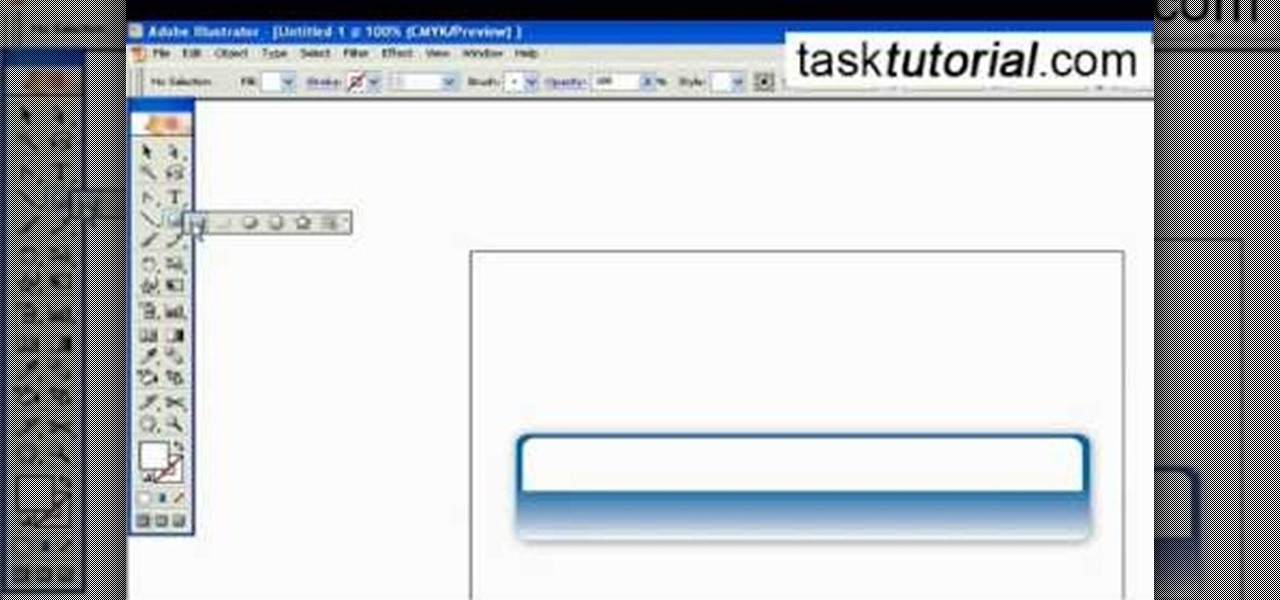
In this video tutorial by Task Tutorial we learn how to create a YouTube subscribe button using Adobe Illustrator. The first step to creating a button is to select the rectangle tool and draw a bar and then select a gradient fill. Next create the first color in the gradient and then the second color in the gradient. After that you'll want to change the gradient angle and also change the stroke width. Then you'll want to edit the stroke color to 9.6%. Then select the text tool and create your ...
In this video tutorial by Tasktutorial, learn how to make a paper scroll in Photoahop. Select the rounded rectangle tool and draw a shape similar to the shape shown. Open layer options. Go to gradient. Select the indicated gradient and delete the marker shown. Adjust the other markers as indicated and use the control+g shortcut to duplicate the layer. Position the shape as shown and using the pen tool draw the paper outline by clicking and holding to obtain the required shape. move the paper ...
Outcomes are endless in Adobe Illustrator. You can create pretty much whatever you can think of and what you can create. This tutorial will demonstrate how to create a glass bar in Adobe Illustrator. You will need to:
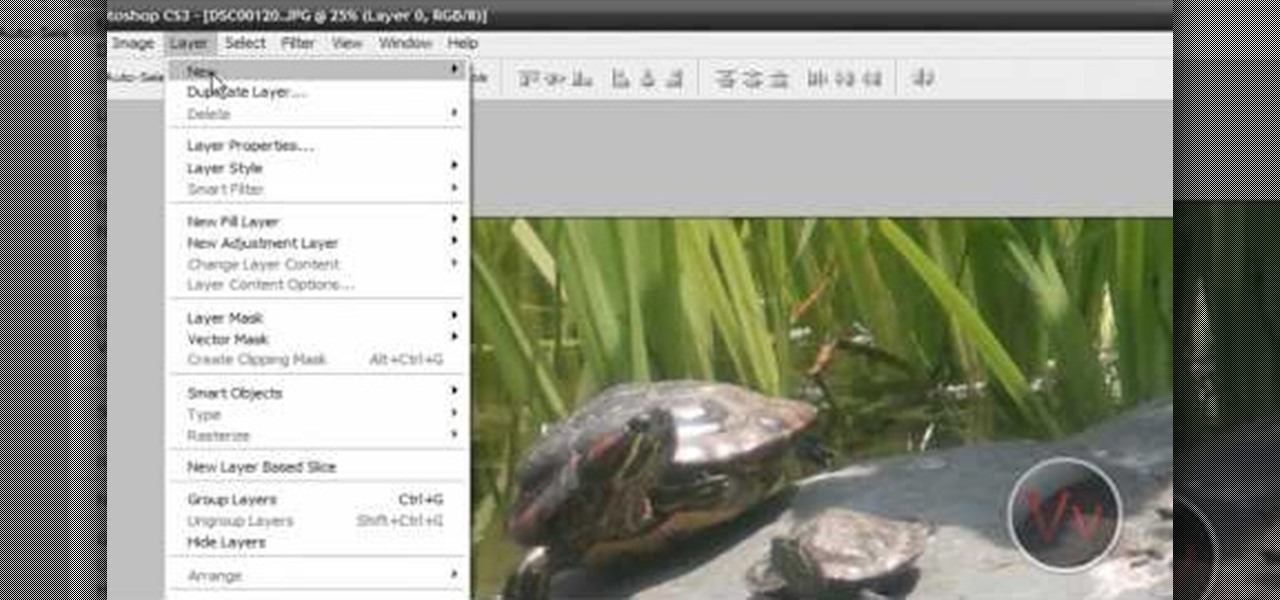
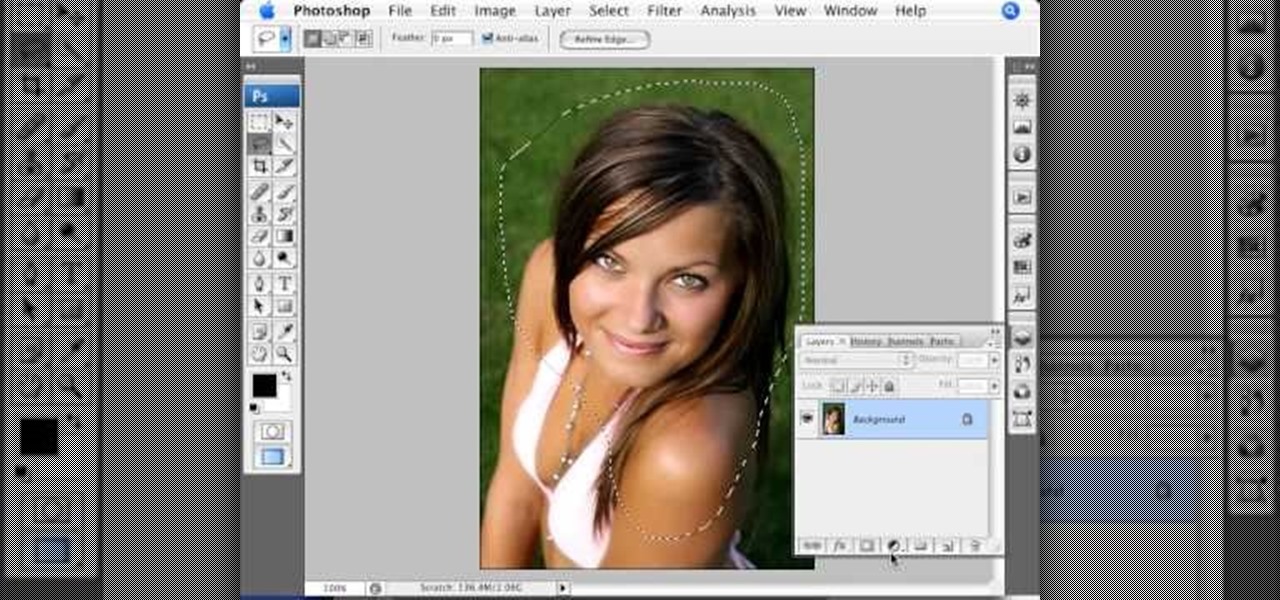
This video tutorial by VvCompHelpvV gives you two methods to achieve the Sin City effect in your photos using Photoshop. The Sin City effect is making the main subject of the photo appear colored while the rest of the photo looks black and white. In the first method the subject should be selected using a pen-tool using the settings mentioned. After that right click on the selected areas and make the feather radius 3, inverse the selection and go to image > adjustments and de-saturate and your...