To do that, first select the pen tool, choose yellow stroke color and draw the path as showing in the video then deselect and choose pen tool again, pink color in stroke and draw the path again. Now you need to select the blend tool and click on both paths. Now go to object, blend and choose blend options. Now select the specified steps, put the value of 25 there and click on ok. Now open the blend in layer window and select the paths. Now set color to white

In this Software video tutorial you will learn how to create a vector RSS icon in Illustrator. Open illustrator and open a new document. Select the ‘rounded rectangle tool’ from the rectangle menu. Click and drag to draw a rounded square. Select the gradient fill on the left side and change the color to orange on the right side and make it dark to light from top to bottom. Next grab the corner and turn it around 180 degrees. Move the picture to one side and select the ellipse tool. Draw a...
You can customize and select your preferred monitor settings to improve the clarity of your monitor display. First open the start menu and go to the Control panel. In the Control Panel select the Display link. In the Display option window to the right hand side there are a few options available. Select the screen resolution option from them. Now there are many options present in there like Display, resolution, orientation etc., Using the display option you can select the monitor you want to m...
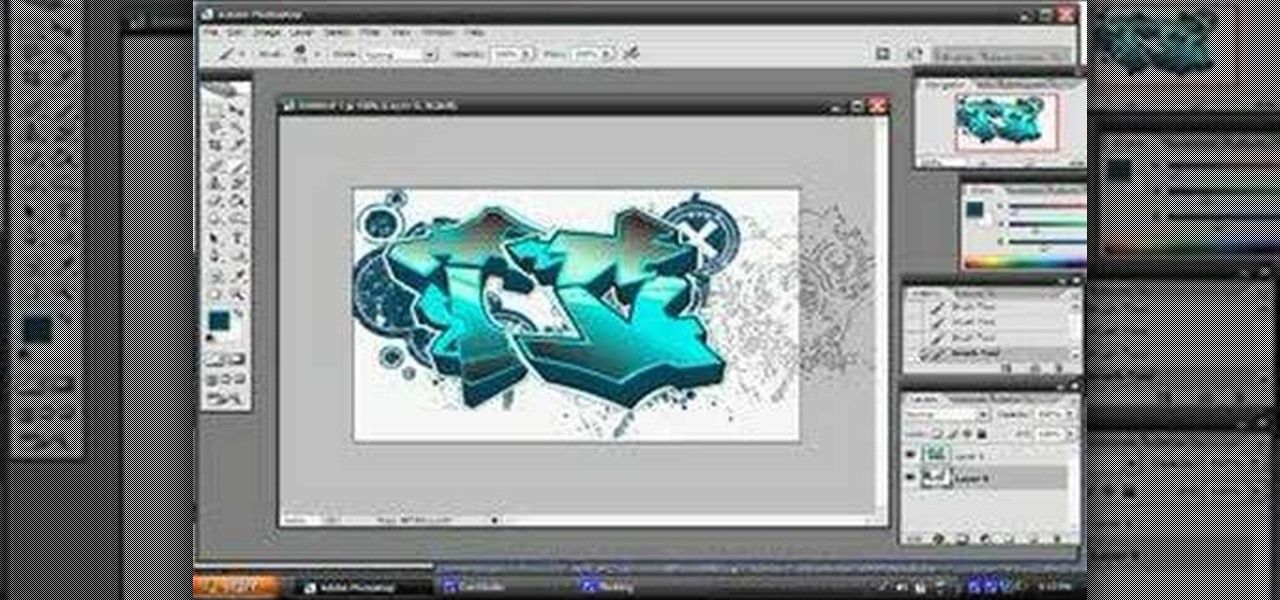
Walagers helps us learn how to make graffiti in Photoshop. First, go to "Select" and click on "Color Range". Use the eye dropper tool to select the color of the background, then press delete. Next, press "alt" and double click on the background layer to convert it to a normal layer. Using the brush tool, select the type of brush you want and the brush's size. Brushes can be downloaded from Brusheezy.com. Use the eyedropper tool to select part of the graffiti. It is recommended to use the same...
Open another canvas. It doesn't matter what size you make it, as long as it is the same size or bigger than the area you want it to cover on the image. Open a new canvas by going to "File" and clicking "New." Select your dimensions and click "Okay."
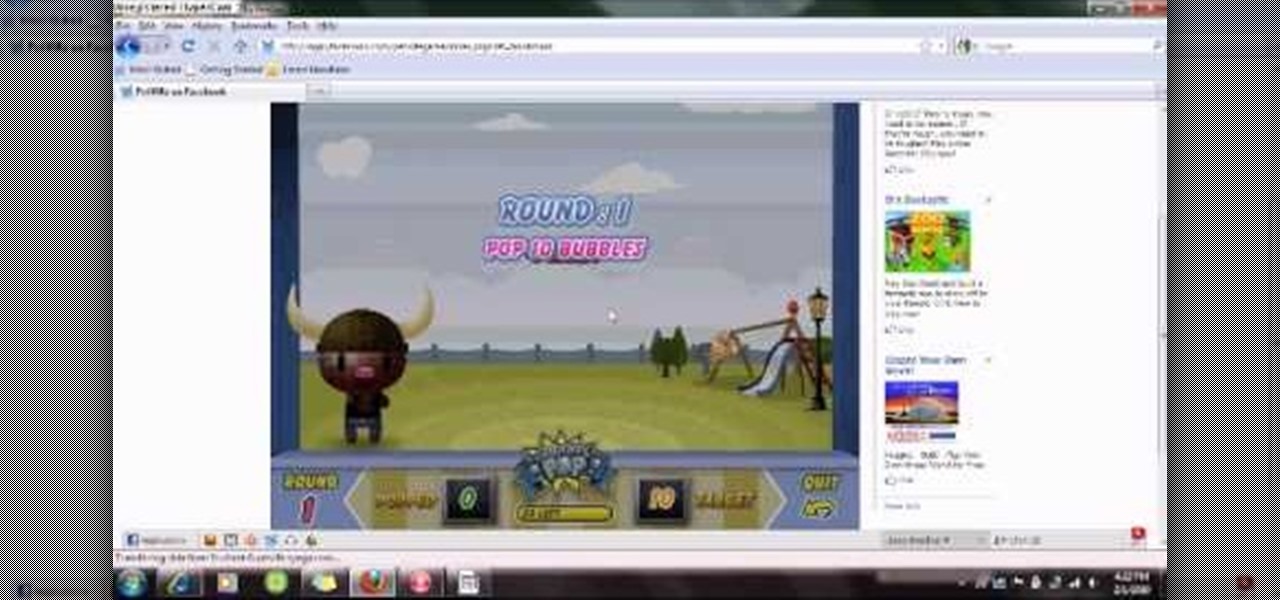
In PetVille, there's a tiny game involving popping some bubbles, and the easiest way to beat this game is to cheat. By simply using Cheat Engine to slow the game down, you can easily have success.

Don't know how to add some line frames in Photoshop? Well, this video teaches the viewers how to exactly add line frames, or borders for their images using Photoshop. First of all, change the background layer into a normal layer. Next, go to image size and add in some more pixels in order to allow room for the border. Next, add another layer and set it to transparent. Now select where you want your border to be, then go to strokes, and select a color. At this point, the viewer should have a b...
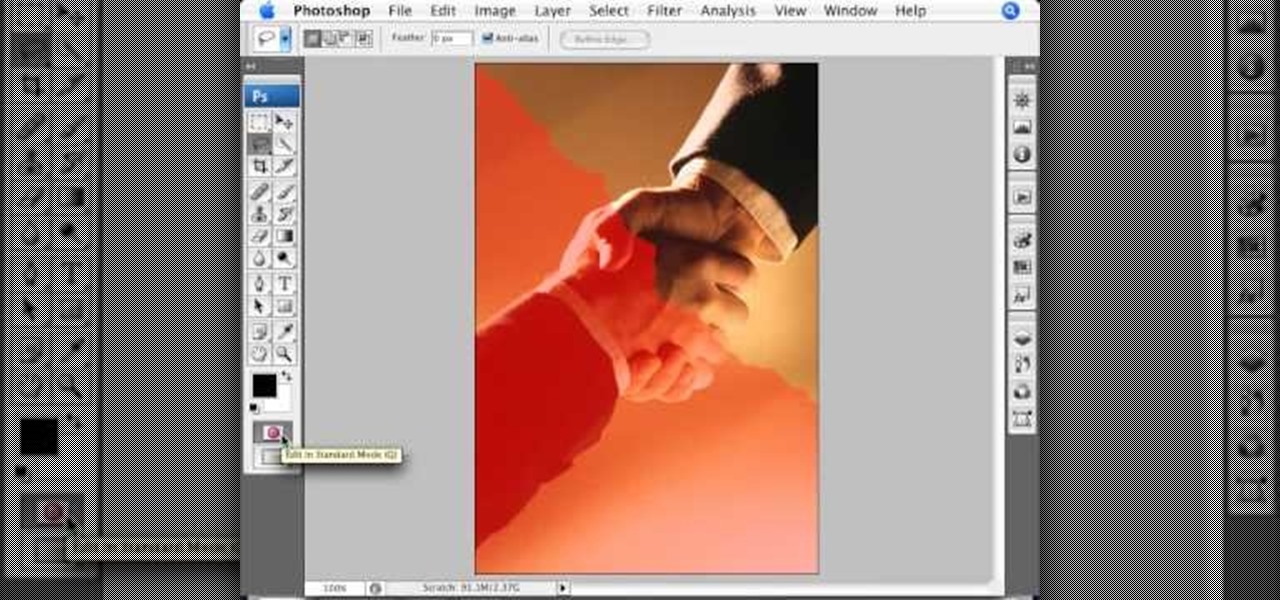
In this video we learn how to make it seem like your photo is torn in half using Adobe Photoshop. The first step is to decide how you would like to have your photo "torn" up. The second step is to select the lasso tool and draw the tear line through the photo. The third step is to select the rest of the image you want to keep. The fourth step is to go into Quick Mask mode and select Filter, Brush Strokes, then Splatter. This creates the jagged edge torn effect. Finally select a smoothness bet...
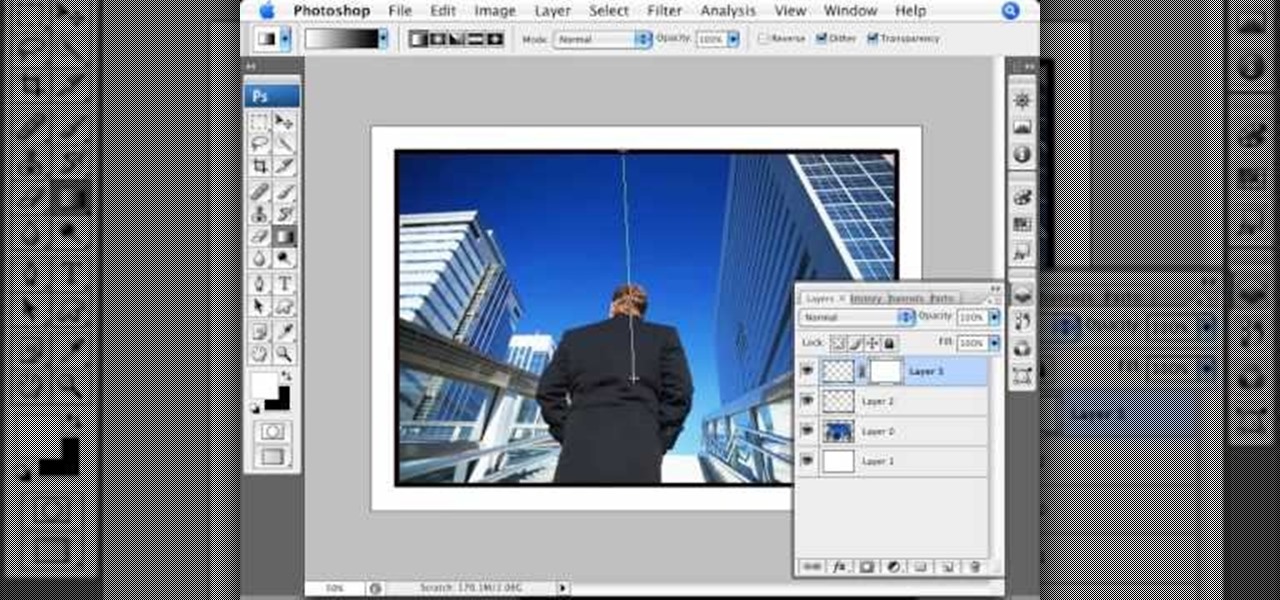
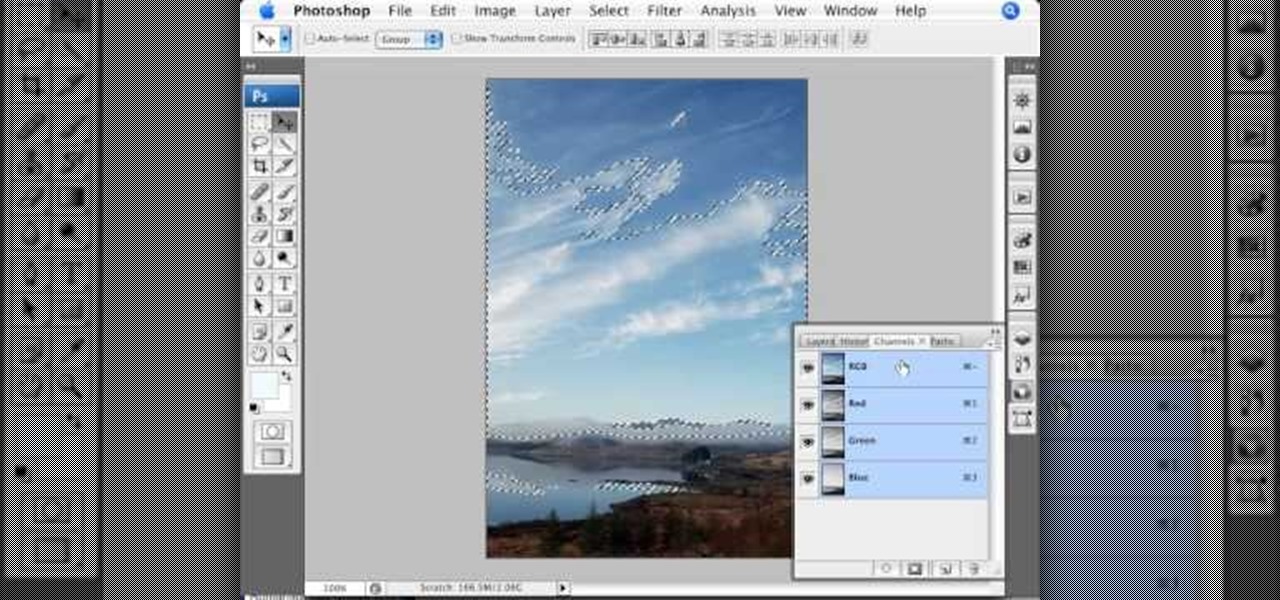
This video is about using a luminosity mask in Photoshop. The luminosity mask is used to enhance the color and contrast in photos that lack each of these. The color is enhanced or punched up. Choose the manipulation tool: channel and RGB. To choose RGB, touch control and then select RGB. Select the 100 % white or light parts of the photo, it will not select the darker or black images. Copy the light parts of the image by using control J. Choose to copy the lightest parts by selecting overlay ...
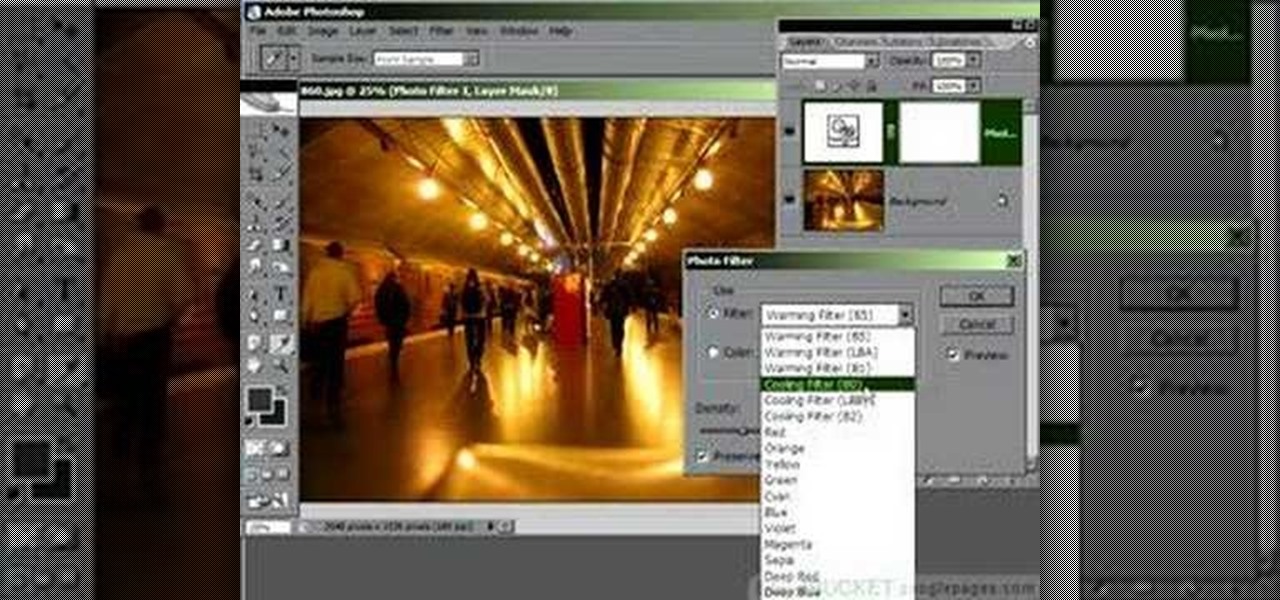
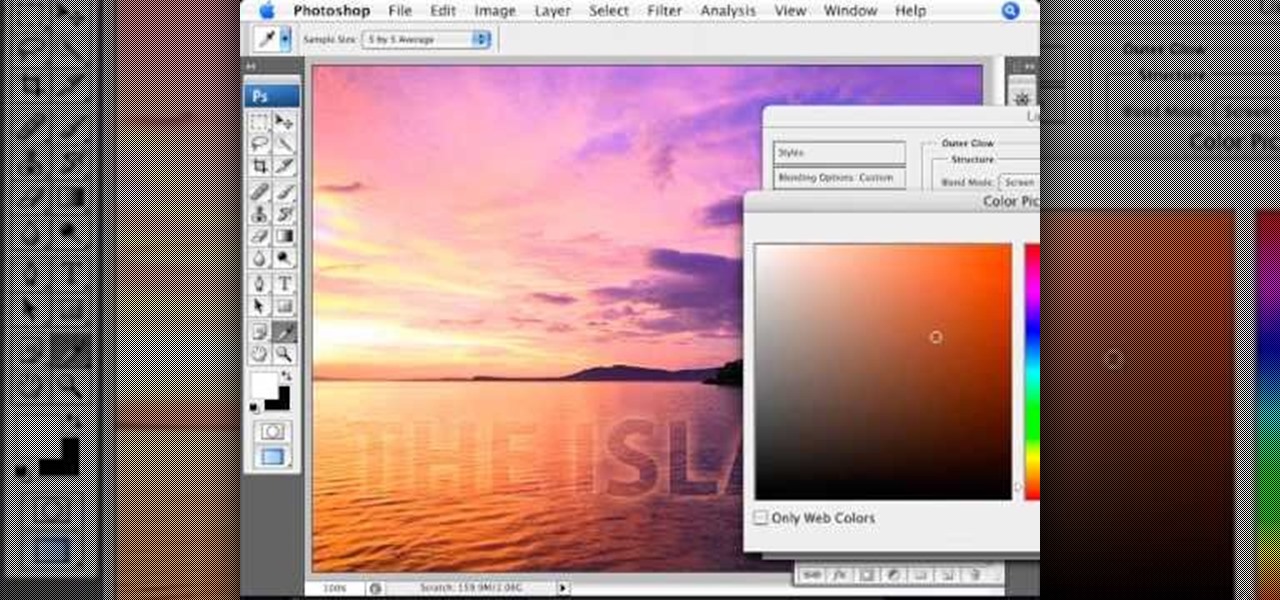
Photoshop is a place where we can edit the image in different styles. One of the features is adjustment layer of a photo that is also called as filter correction. It is an easy step to color filtering of a photo. Open a picture in a Photoshop, and select add layer option that present at the right bottom of the screen, then a pop up menu appears. Select filters from the options available, then dialogue box appears consisting of sub options filters and colors. then select the main color from fi...
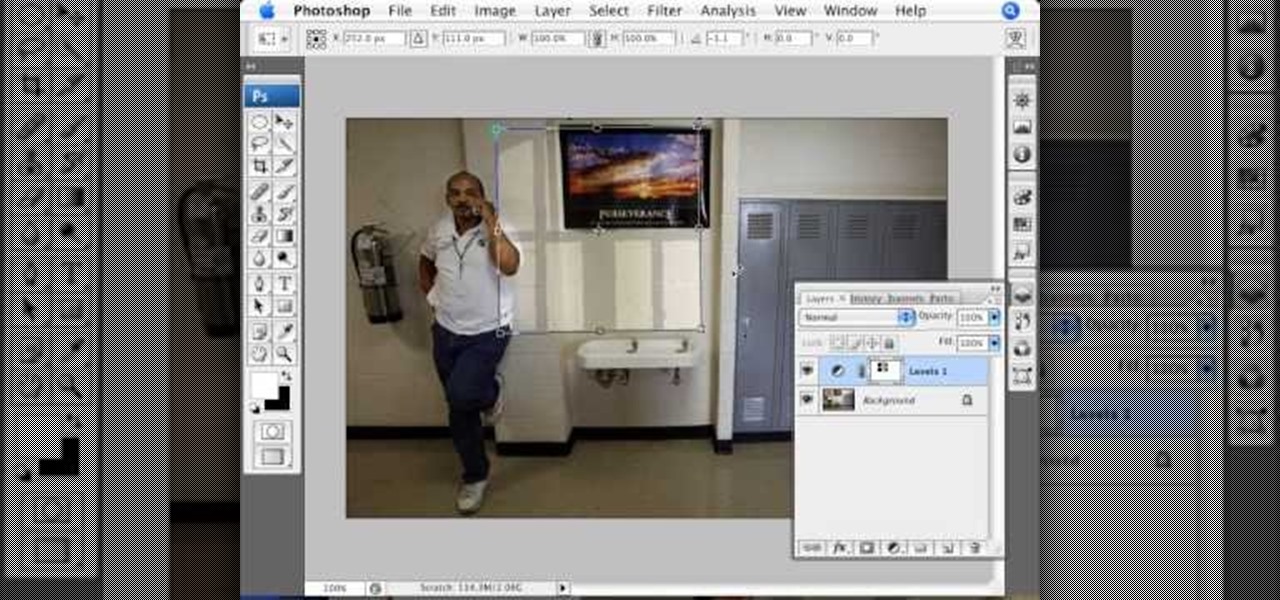
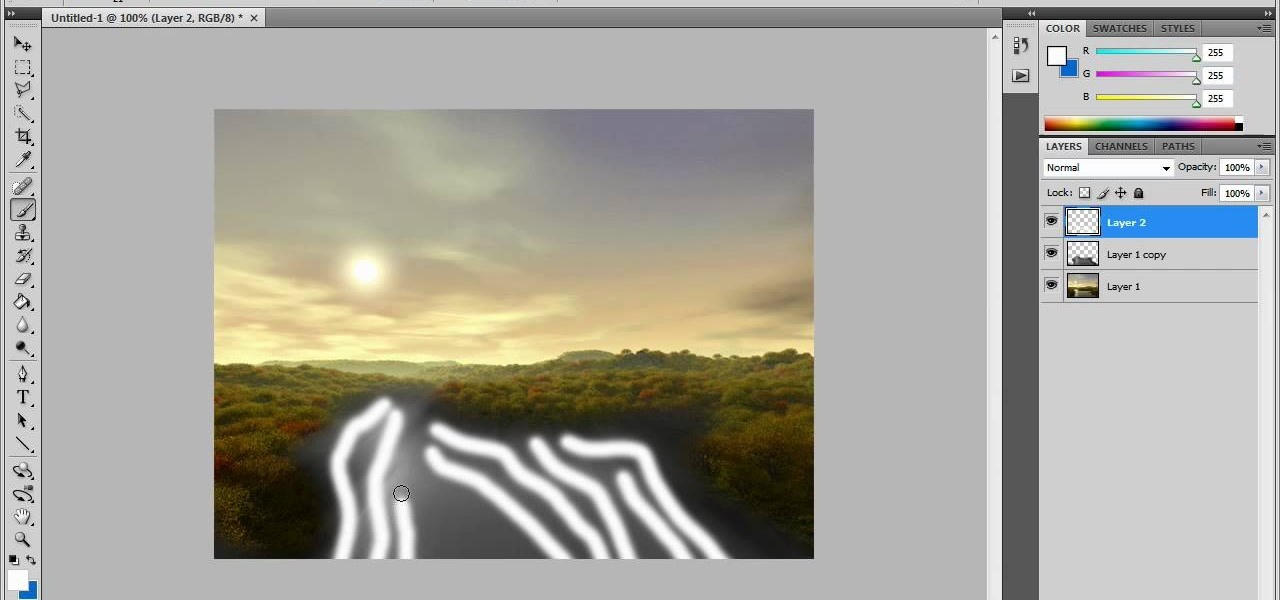
In this video we are going to light cast a window so we can add more focus to the photos. First take unremarkable photo, then find a window image to transfer and select all Ctrl+a. After that copy it to the previous image. Click layer 1, then select the white space in the window that allows the sun light to pass by using magic tool quick select the part of the window. Delete the layer, after that go to adjustment layer, select levels. Adjust the level so that the color of the window is darker...
Learn how to create glowing text in Photoshop with this awesome video! 1. Write any text using text button T on the selected image as a background. Write a suitable text and place it somewhere. 2.Select the text and make it Bold. 3. right click and set Opacity and Fill options. Opacity changes the color of the text as well as its effect. Whereas Fill changes the color only . If you have set it to 0% then you can't see the text if its exist also. Set Opacity to 100%. 4. For glowing text select...
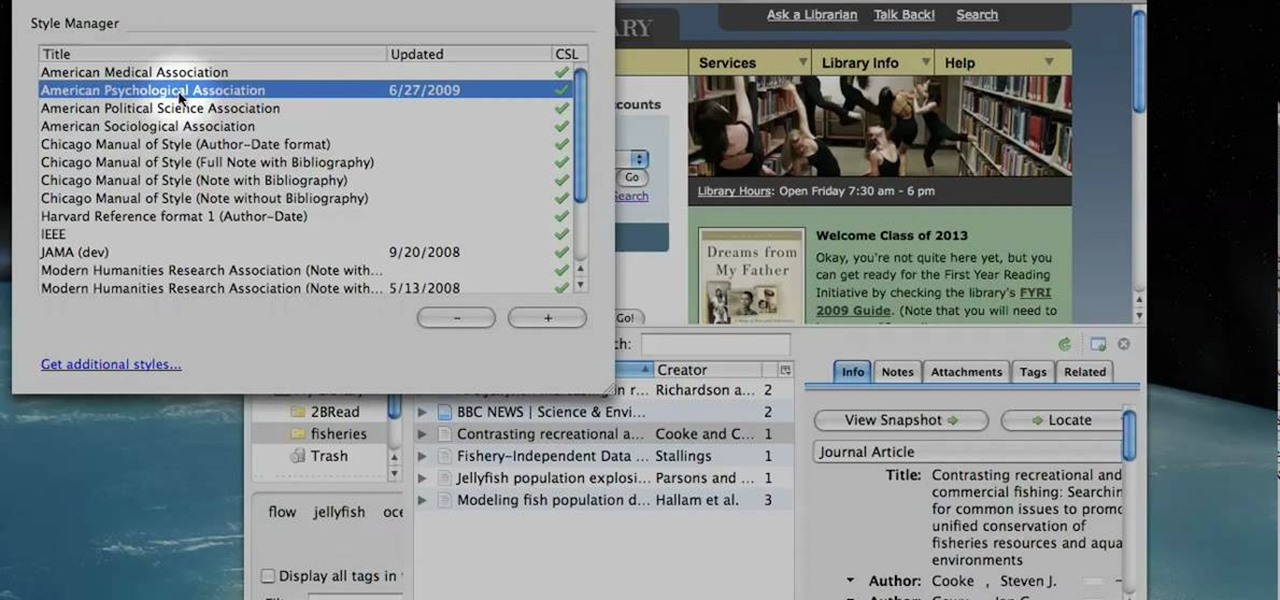
Learn to use Zotero to create bibliographies and citations with this tutorial. In addition, collect and organize information from all sources. So help correct the sources research paper. Before using the excitation features, make sure to select and prepare the style of your paper. If you are not sure ask your instructor. She has a preference style. You will select by clicking on the action button +preference then choose the style. It will include the number of most common style. You can downl...
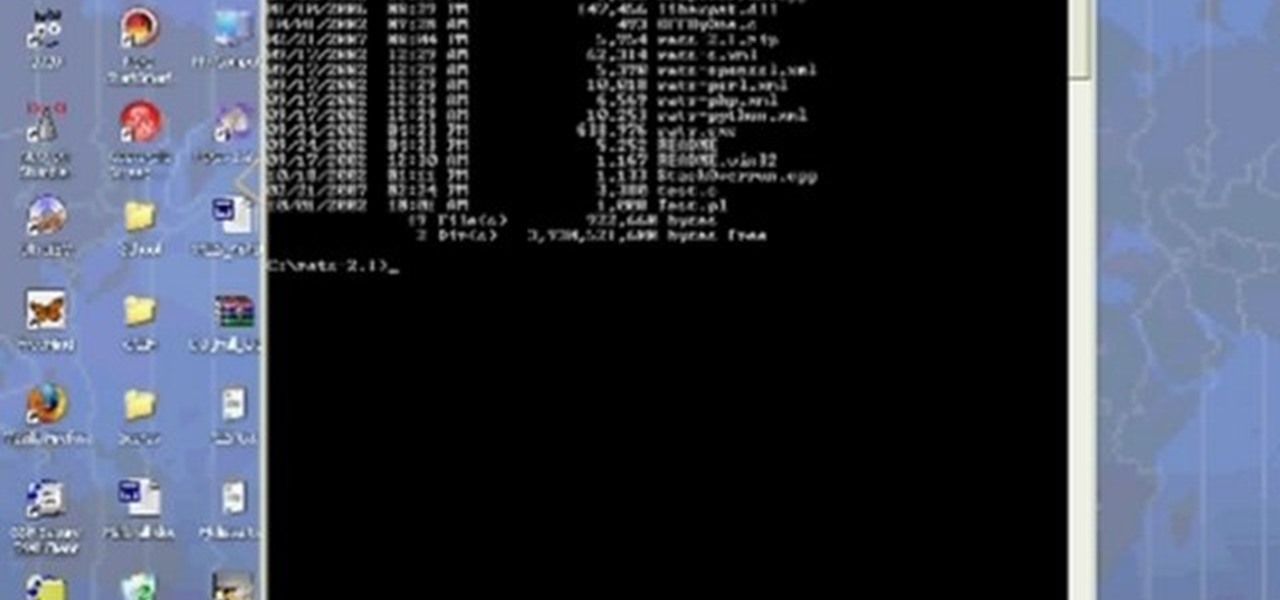
Any hacker worth her salt will need to debug from time to time. One particularly efficient way to check your code is with the RATS code checking tool. In this video, you'll learn how to use the RATS code checking tool for C/C++, PHP and Perl. For a detailed walkthrough on how to use RATS scanner to audit your source code, take a look!
Putting music on your iPod using Windows normally require having to use iTunes, which can be a real pain in the but if you hate using extra software for something that should be as easy and dragging and dropping.
One size does not fit all, at least when it comes to selecting what clothes flatter your figure. Despite what Hollywood actors and actresses try to make us believe - ie. that we're all size zeros with cheese grater abs, big boobs, and heavenly faces - each of us is created a little different.
In this video tutorial, viewers learn how to transfer music from an iPod to the iTunes library. Begin by connecting the device to the computer. Then click on the Start menu and open Control Panel. Now click on the device. Click on Tools and select Folder Options. Then click on the View tab and check "Show hidden files and folders". Click OK. Now open the iPod_Control folder and open the Music folder. Finish by simply opening all the folders and importing the music files into iTunes. This vide...
This video tutorial is in the Computers & Programming category where you will learn how to set up an FTP connection using Firezilla. Open up your filezilla program. On the top left, click on the file menu button, and select 'site manager'. In the window that opens up, select 'new folder' and give it a name. Now create a site to store in this new folder. Click on 'new site' and name it. Now on the right hand side, enter the host and the port. The default port is 21. Under server type, select F...
In this video tutorial, viewers learn how to clear their cookies in Mozilla Firefox. Begin by opening the web browser. Then click on Tools from the top menu and select Options. In the Options window, click on the Content tab and deselect "Block pop-up windows". Click OK. Now click on Tools and go to Options once again. Click on the Privacy tab and click on Clear Now under Private Data. Make sure that Cookies and Cache are checked and click OK when finished. This video will benefit those viewe...
In this video tutorial, viewers learn how to create fog using Adobe Photoshop. Begin by importing the image into the program and duplicate the image. Now go to Filter, select Blur and select Radial Blur. Set the amount to 100, Blur Method to Zoom and Quality to Best. Now select the rectangular marking tool and select the sky. Then open the Hue/Saturation menu and set the Saturation to -100. Use the eraser tool to remove the gray from the edges. Now use the paint tool and paint white streaks o...
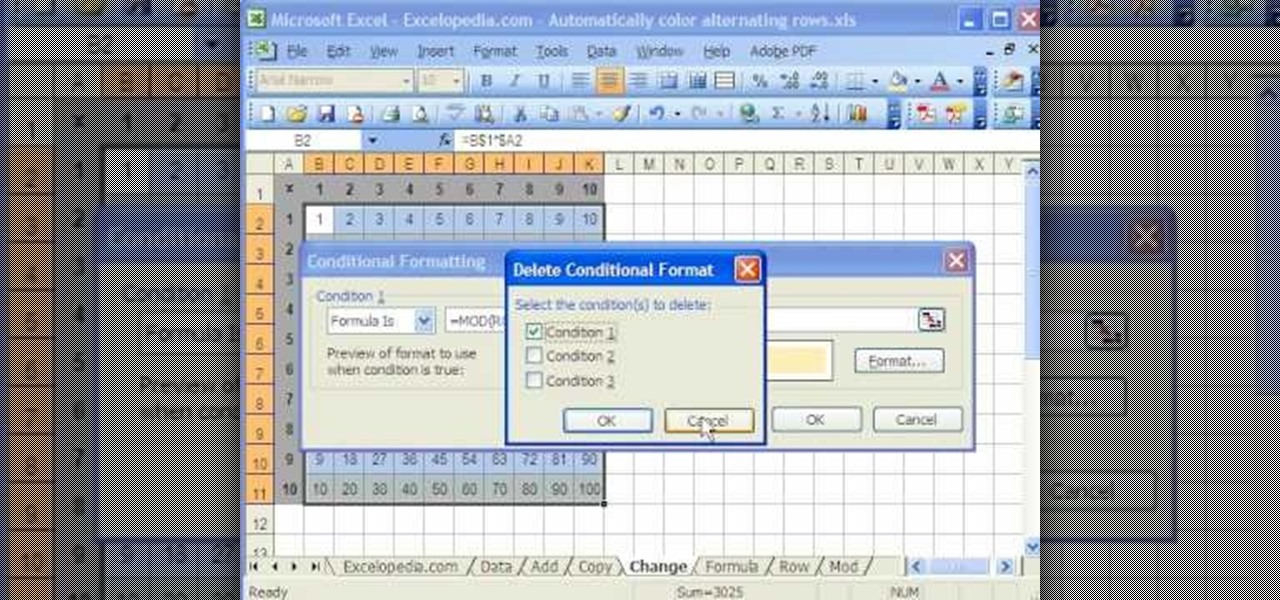
This video is a tutorial on using the Conditional Formatting function of Excel to automatically color alternating rows, which helps your eye to follow across the row. This can be done manually with the “Fill Color” button, but if you add or delete rows after applying the shading, the whole purpose is defeated.
This is a video about the multiplication, determination, and inverse of matrix using excel. First we have to take two matrix in excel. If you take two 3x3 matrices and multiply it then you will get a 3x3 matrix as a result. First we have to select 3x3 cells in the excel and give then a formula of =mmult(and then select the first matrix it will automatically takes the row and cell numbers, next select the second matrix). Then it will give the answer. Next if you want to find the determinant of...
This video shows how to create a menu with rollover images in Dreamweaver. Open a new document and create a table with one row and one column. To add your rollover images, go to the "Image" tab and select “Rollover Image”. In the “Insert Rollover Image” box, give the image a name, then click “Browse” under “Original Image” to find your images. You can select your rollover images in the same window. Then enter your alternate text and click OK.
This video tutorial from iTouchMaster2 shows how to SSH to iPod or iPod Touch using FileZilla application.
In this video tutorial, viewers learn how to make a real flame text in Adobe Photoshop. Begin by opening a flame image in the program and select the text tool. Type in the text and position it over the flame. Now go to Select and click on Load Selection. Once the selection is created, delete the letter. Then select the marquee tool. Right-click above the selection and select Feather. Now create a new sheet and fill it in black. Using the move tool, drag the selection to the new sheet. Go to F...
Isn't it annoying when you want to check your Facebook or MySpace but you are at school and hit a big giant Websense blocker? Well, if you are stuck in a library or somewhere else where there are filters on your surf-ability, check out this tutorial for a useful hack.
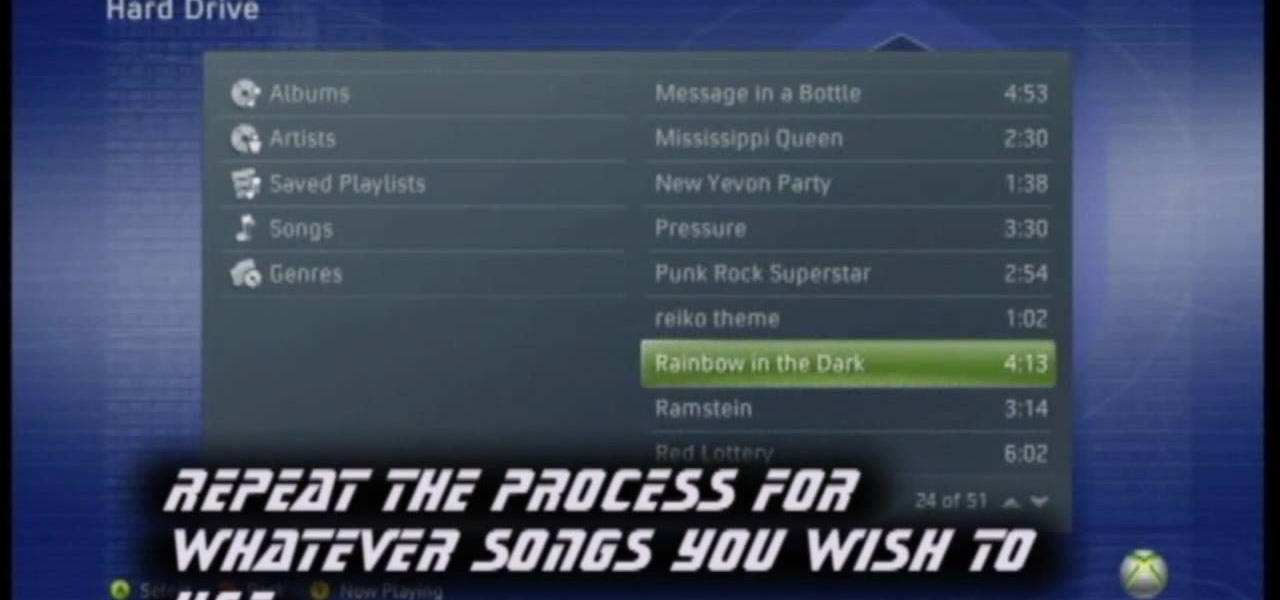
In this video tutorial, viewers learn how to add custom music in the game, WWE Smack Down vs. Raw 2009. Users will need a blank recordable CD and cannot use MP3s or any other audio format. Begin by recording all the music files into the CD and the insert it into the Xbox360. In the Xbox360 dashboard, go to My Xbox and select Play CD. Click on Rip CD and name the information of the CD. Now select the song that you want and add in into a play-list. Now to select the song in the game, select use...
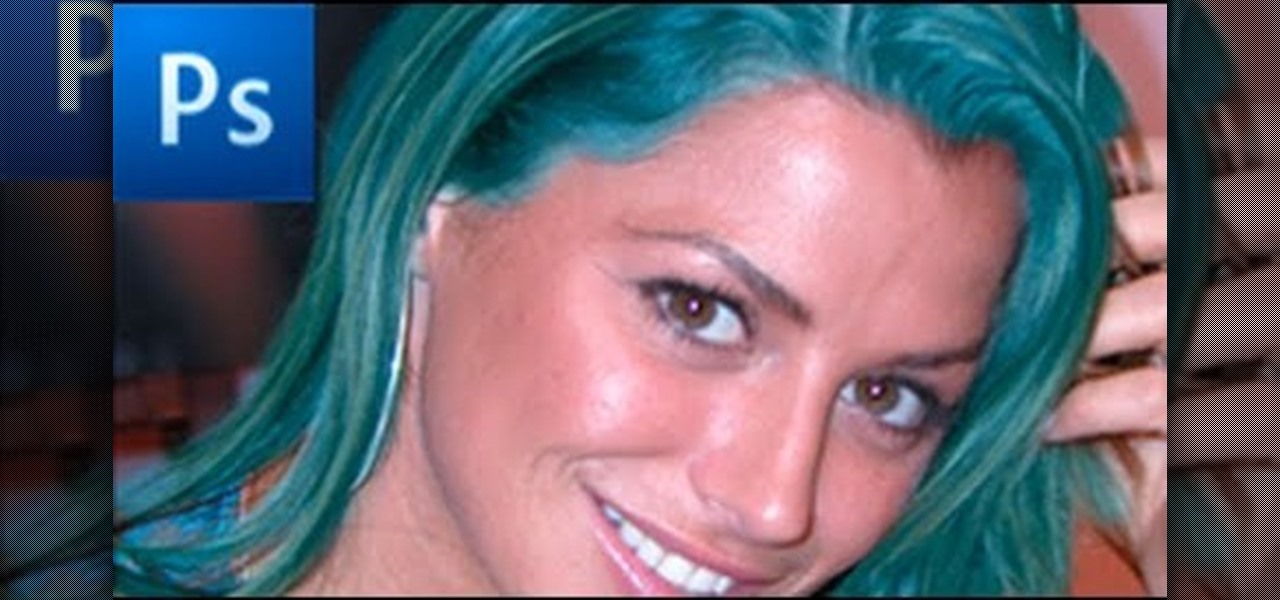
This video demonstrates how to change the color of hair, dress, car or any thing of your choice using photoshop. This is really simple. Select the photo in which you need to change the color. Create a new transparent layer. Click on the brush tool and select a brush type with the right size required. For hair, you could use a brush with a fuzzy edge while sharp edges for clothes and car. Select the white color in the task bar. Click and drag carefully along the edges and fill in the area wher...
Steps to Configure Your Modem/Router are: 1. Open Network connection and click properties
In this video tutorial, viewers learn how to import music from i-Tunes into a Adobe Final Cut Pro project. Begin by right-clicking the song and select Show in Finder. Then drag the song from the Finder into the Final Cut Pro program. Users will not be able to drag songs directly from i-Tunes to Final Cut Pro. If the song is not compatible with Final Cut Pro, right-click and select Show in Finder. Then right0click the song and select Open with Quick time player. Now click on File and select Ex...
Here is a simple technique to resize multiple pictures in Photoshop by creating an action, to adjust the image size. The only requirement is for the pictures to more or less the same size. First we go to windows and select action then we open up an image to determine the appropriate size that we require. Then click on the create new action and, give it a name then hit record now go to image the image size resize the image and then save and hit ok .You can see that its still recording your act...
In this how to video, you will learn how to make a reflection in water using Photoshop. First, open the image in Photoshop. Select the crop tool and select the whole photo. Click and drag the lower part down. Select the rectangular marquee tool and select the picture. Click on the selection and select layer via copy. Click the move tool and drag the upper point in the picture to the bottom of the document. Go to filter, blur, and select motion blur. Choose a -90 degree angle with a 35 pixel d...
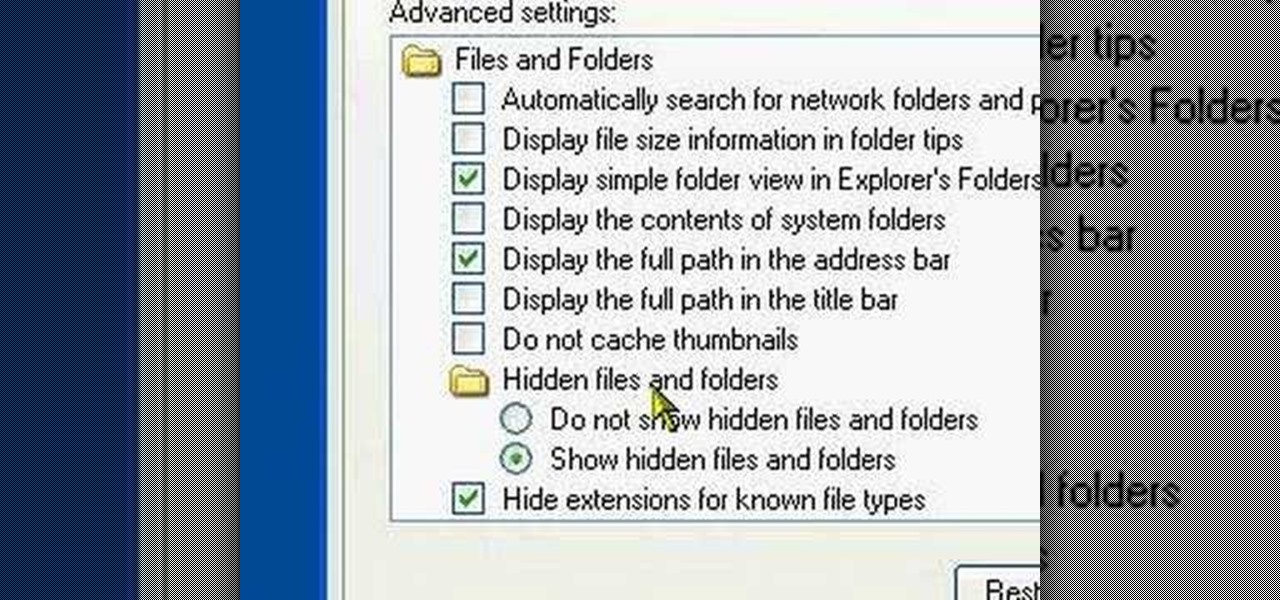
In this video tutorial, viewers learn how to view hidden files and folders in a Microsoft Windows XP or Vista computer. Begin by clicking on the Start menu and select Control Panel. Double-click on Folder Options and click on the View tab of the Folder Options window. Under Hidden files and folders, check the option that reads, Show hidden files and folders. Then click on Apply and OK. This video will benefit those viewers who use a Windows XP or Vista computer, and would like to learn how to...
Tool is selected, followed by email accounts and a selection is made at the "add new email account" option , the "next" button is clicked. Pop3 is selected and the next button. The required information is filled in such as name, amail address, incoming and outgoing mail server, username; which is the same as the email address and the password is entered. The "remember password" option is selected, along with the "more settings" button. Within the more settings window, the company name and a r...
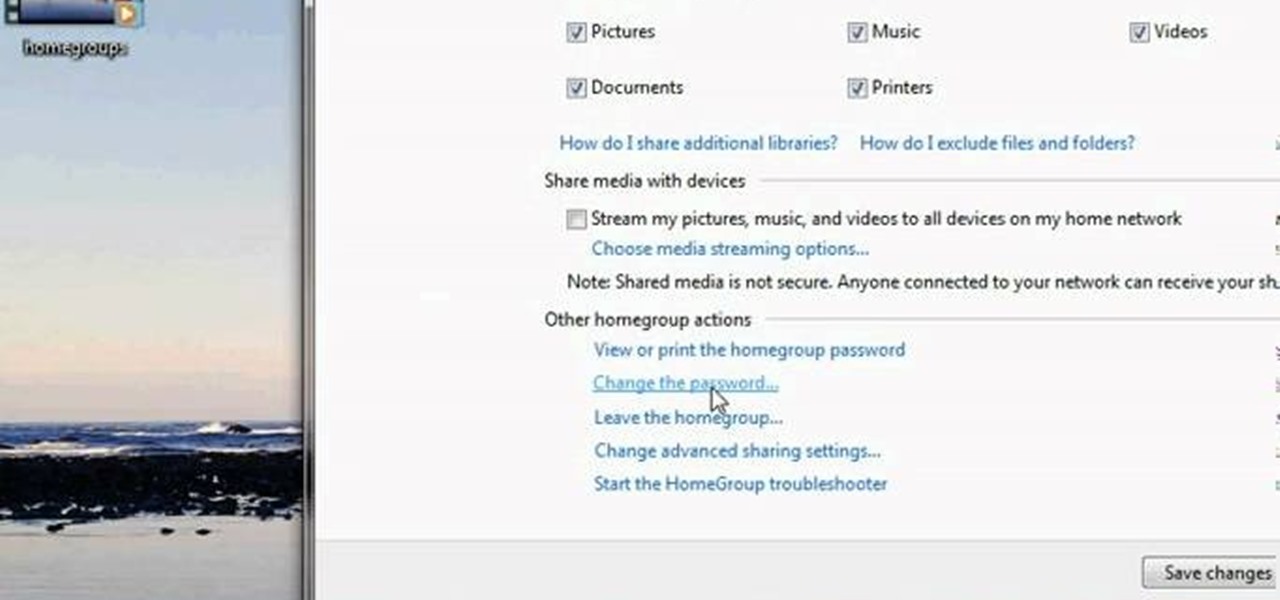
This video tutorial from pctechbytes presents how to quickly set up Homegroups in Microsoft Windows 7.This feature allows to easily share files between computers with Windows 7 operating system.Press Start button, select My Computer option. In the newly opened window select Homegroup from the list to the left. Select View Homegroup Settings link.In this window you can choose what types of documents you want to share with other Windows 7 operating system users.You can share pictures, documents...
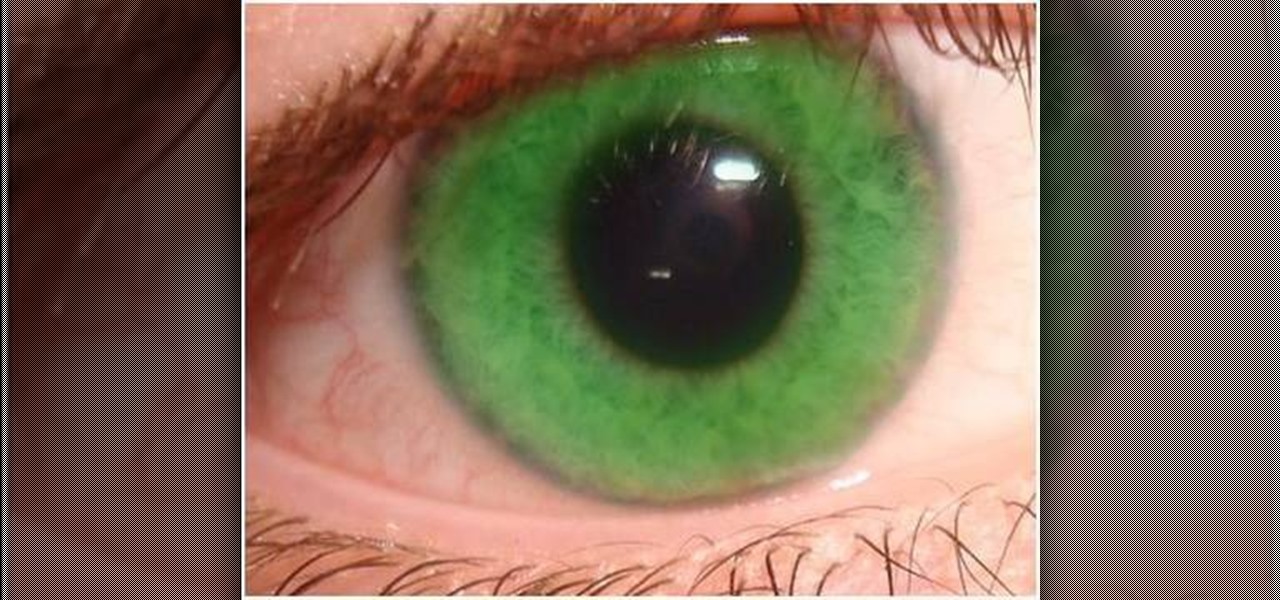
This video guides you through a process you can use in Adobe Photoshop CS3 or CS4 in order to change a persons eye color. The computer user shows how to first select only the iris of the eye by guiding you through which tool bar buttons to use. You should then zoom in close to the eye in order to very accurately select just the iris. Once the iris is selected you will go to the select menu then click "New Fill Layer" then "Solid Color..." When the dialogue opens up you will change the Mode to...
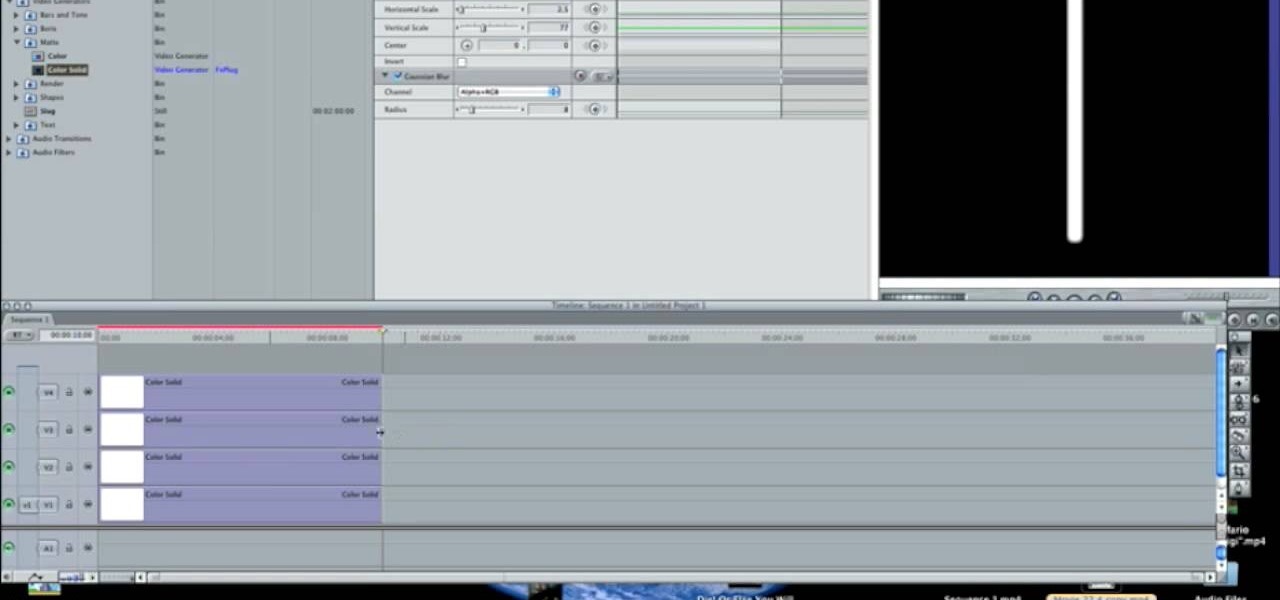
In this how-to video, you will learn how to make a light saber or similar image in the Final Cut Express program. First, go to the effects tab and go to video generators and select color solid. Drag this to the viewer. Go to the control tab and select the blue color. Now drag it to the time line. Double effect the color solid and go to mask shape. Select filters and change the effects settings to 2.5 horizontal scale. For the vertical scale, select 75 to 85. Go to the effects, video effects, ...
Stevmay09 will be teaching you how to digitally modify your eye color for free using GIMP. First you need to zoom in on the eyeball then click on the free select tool. Then start on the corner of the eye and make your way around the entire eye. Once you have the area around the eye selected you need to create a new layer. Make sure its filled with transparency then select the color you would like the eye to be. Then get the paint brush tool and select the icon shown then increase the scale an...
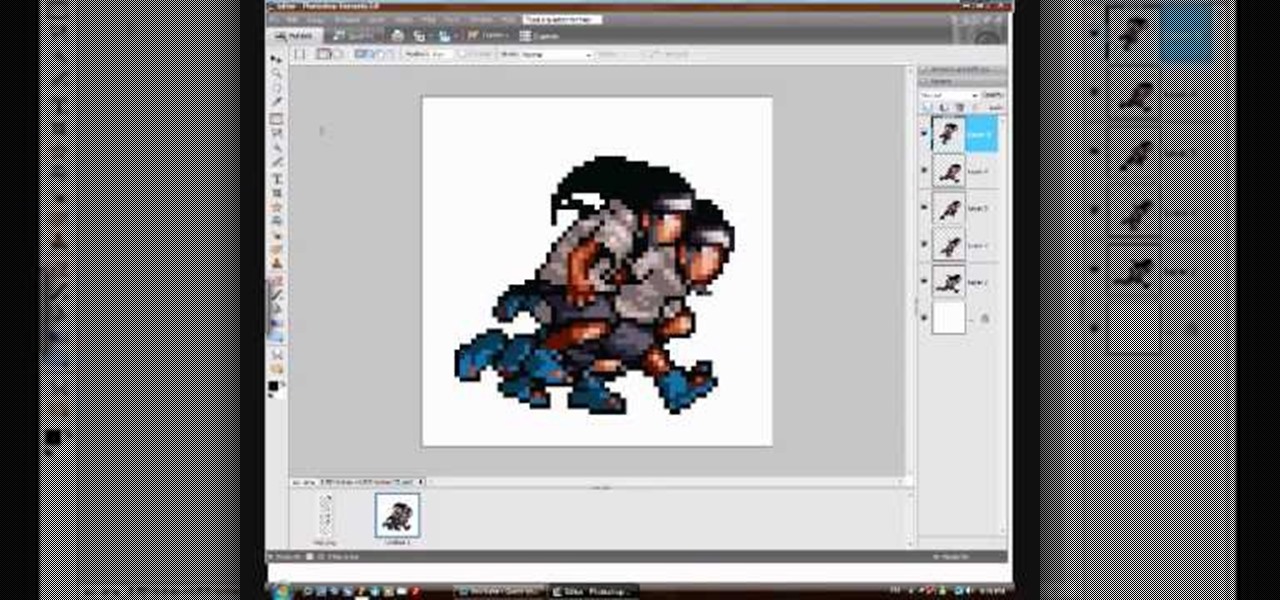
Steps to make Sprite animation in Photoshop are:1. Open a spreadsheet of your own choice; in this case we are going to take running animation.2. Once your spreadsheet is loaded, zoom-in until you get a four page, for ease of use.3. Zoom-in to the required movement, after zoom, select the image and open File and from that click New File and click OK (Dialog Box), and you will get a work space to work on with your selected image. The feature makes it simple for one character animation (work).4....
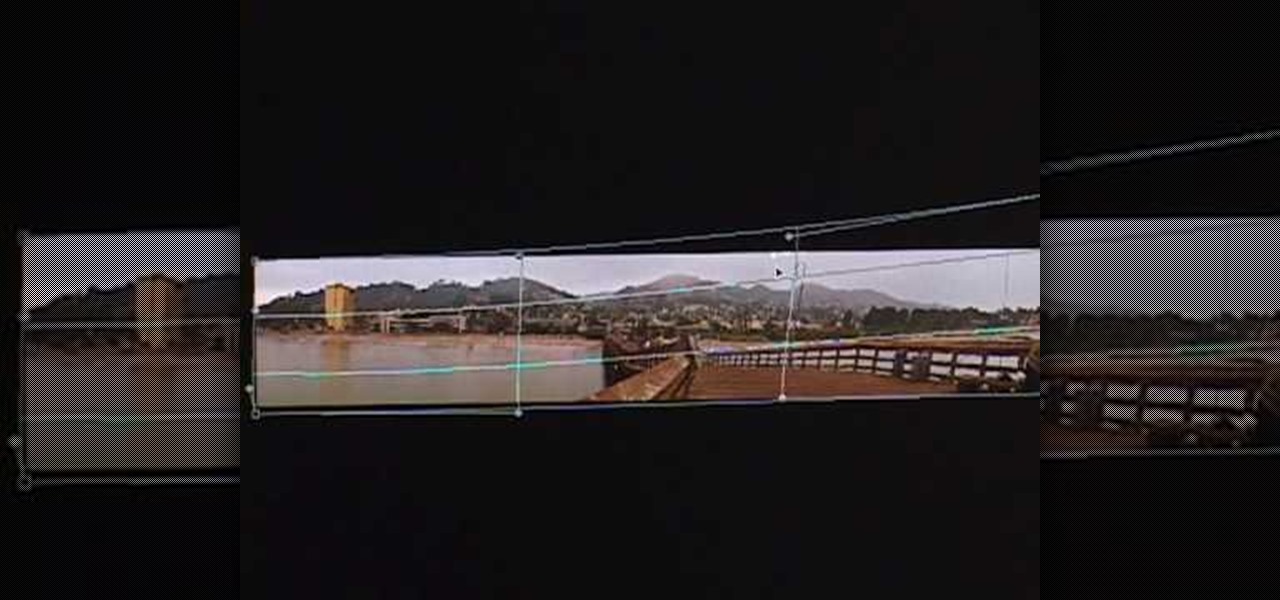
This video in the Software category will show you how to create simple panoramic images in Photoshop. This video uses only five images for this effect. Select the five images and put them in a folder. Go to File -> Automate -> Photomerge. On the Photomerge page select ‘Folder’ and browse. Find and ‘choose’ the folder you created. Under the layout panel on left hand side of the page, select ‘cylindrical ‘option and click OK. Now the panoramic image will appear that will have some blank areas. ...