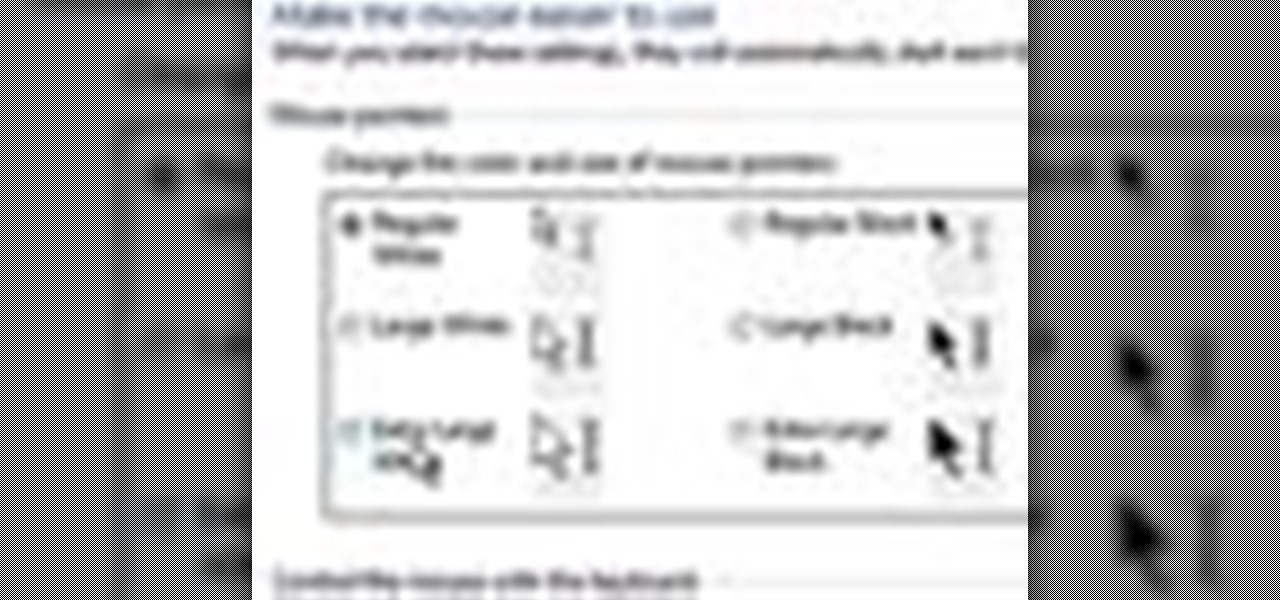
How To: Make it easier to see the cursor in Windows 7
Windows 7 uses several options to make it easier to change and locate the cursor on the screen. 1) To access these options select “Start” then click on “Control panel“from the menu.


Windows 7 uses several options to make it easier to change and locate the cursor on the screen. 1) To access these options select “Start” then click on “Control panel“from the menu.
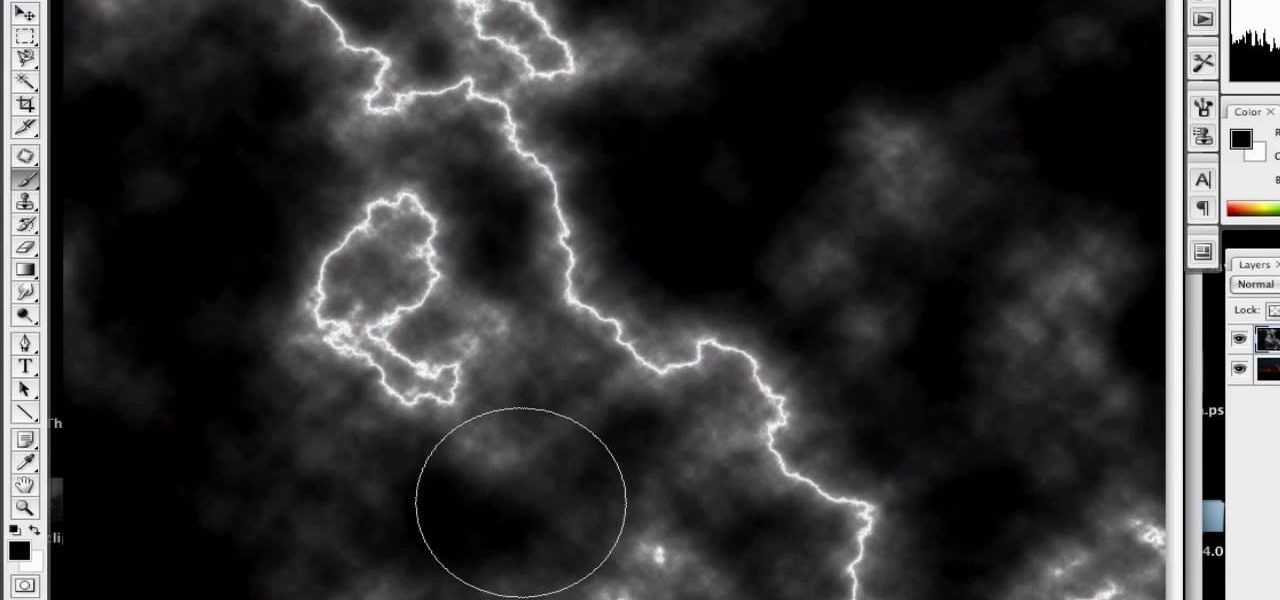
First of all open an image which shows many different lights in a night background. Now make a new layer now set the color of background to black by first and the foreground color set to white. Click the background for the bottom of the left bar and then pressing 'd'’. Next select the 'gradient' tool. Make sure to select the style from the foreground to background. Select the 'mode' to 'normal' and ‘opacity’ to '100%'. Now drag the top right hand corner to the bottom of the left hand corner. ...
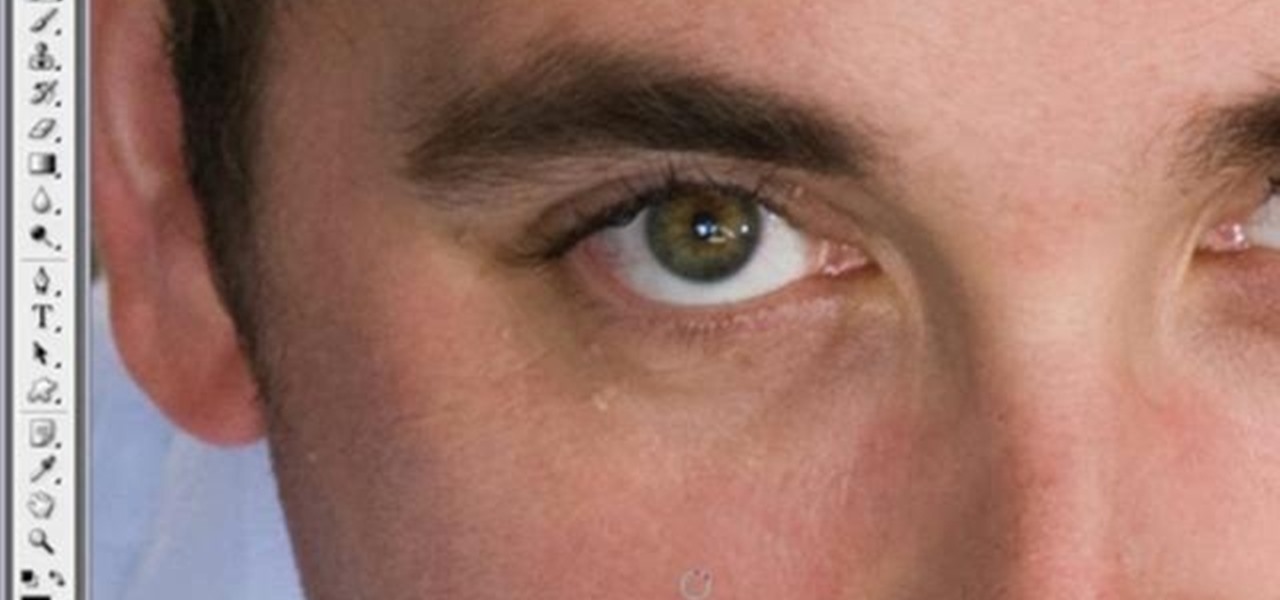
This video in the Software category will show you how to remove pimples and wrinkles in Photoshop. Yanik from Yanik’s photo school presents this video. Select the photo you want to work on. First you duplicate the layer by ctrl+J or select from the dropdown menu. You start off with removing those pimples that you want to remove completely. Select the spot healing or the regular healing brush. Yanik prefers the regular healing brush. Also choose a small brush size. To select a source point, ho...
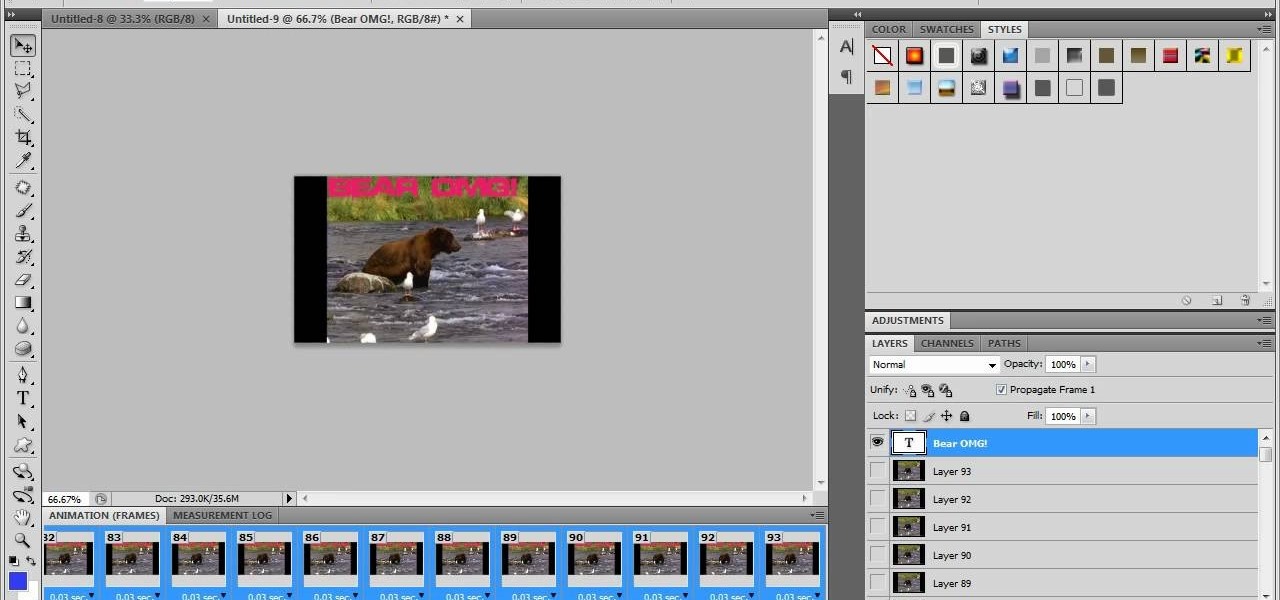
Learn how to make an animated GIF from a video clip using Adobe Photoshop CS4. You'll need to use an external editing program (like Sony Vegas) to create a small clip from your larger video beforehand. From Photoshop, go to "File" and select "Import" and then "Video Frames to Layers" from the pop-up menu and select your video clip. Choose "From Beginning to End" when prompted about range to import. The duration of the video clip will now be displayed in frames. By default, each frame is set t...

This video is from HelpVids and describes how to change the axis titles on charts in Microsoft Word 2007. To access the chart tools, select the chart and the tools will appear above the ribbon. There are many different design options that you can preview on the screen to make your final selection. To change the chart title, click on the Chart Title button which is located on the Layout ribbon. You can then select where you would like the title to appear. Once you select the location you can t...
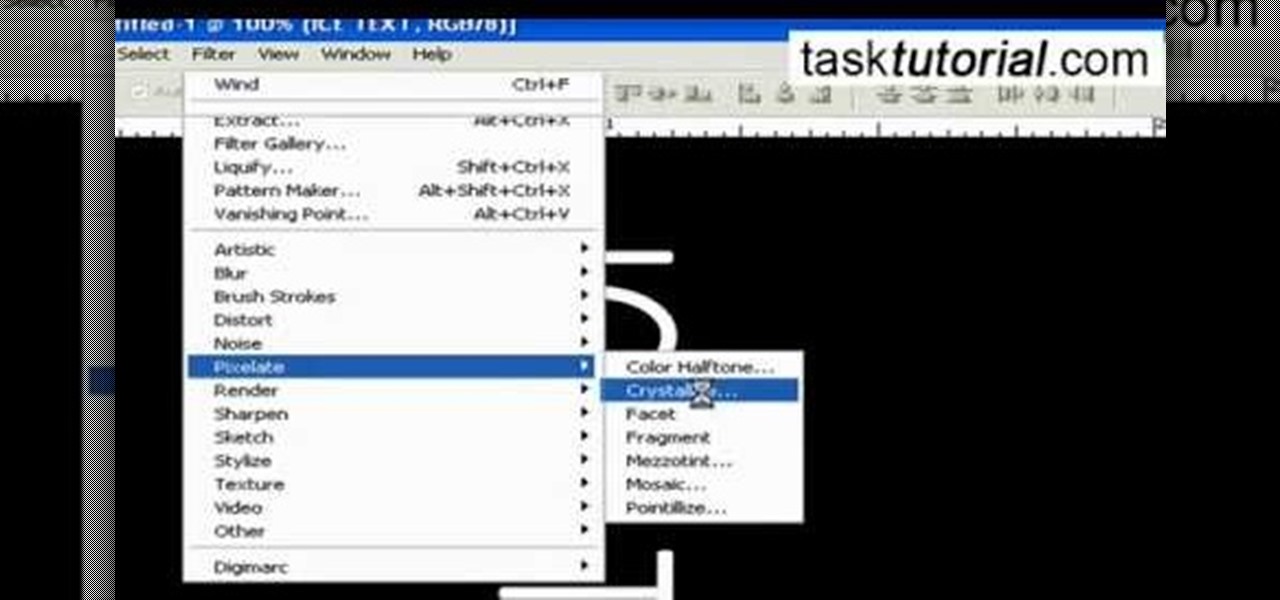
It is a tutorial that how to make an ice text effect on Photoshop. First create a new layer select paint bucket tool switch black color and paint the layer now create an other layer, choose type tool then switch the white color and create a text "ice text" after go to layer pallet merge the layers after that again create another layer select paint bucket tool and select black color now select ice text layer then go to image menu rotate canvas click clock wise then go to filter choose crystall...

In this video, Sierra Snowboard gives us some tips on how to select the snowboard that's right for you. Each board comes in a number of different sizes, and most boards come with a size chart specific for that board. These charts can be vague, but are good starting points for selecting your size. One thing to consider is your bossy type. The weight of the rider is the primary factor in selecting the size of a snowboard. You'll notice that the height of a rider is not listed on a size chart. I...
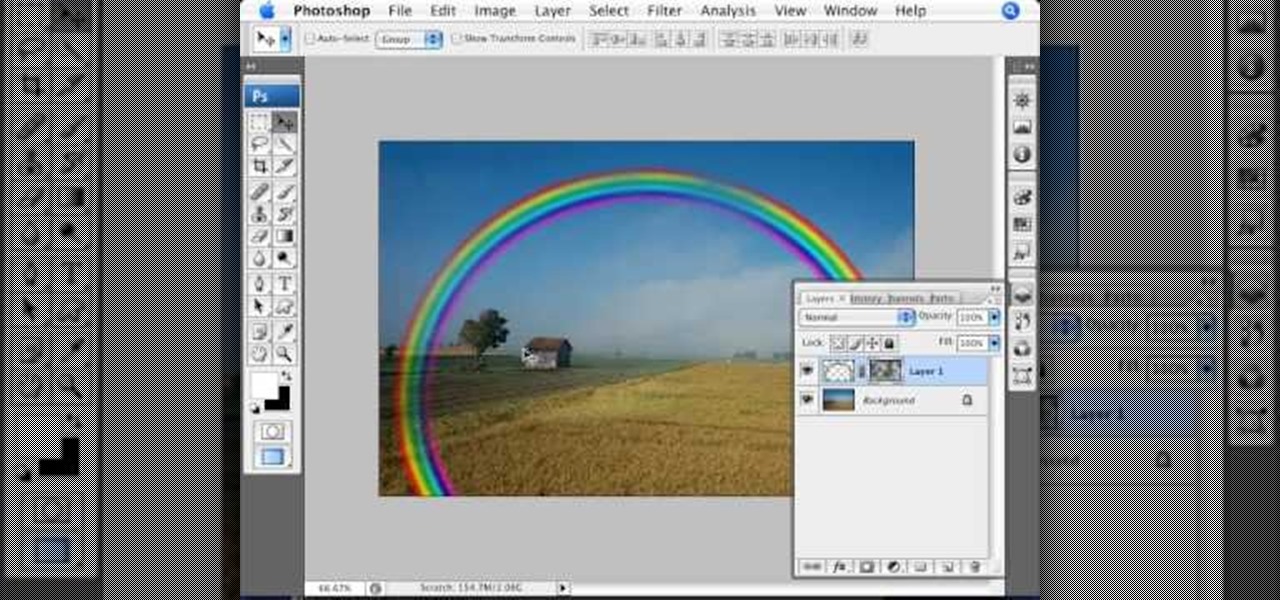
Open the picture you wish to place a rainbow within. A good scene has clouds that are receding into the distance and the light angle coming in from the front of the scene. A rainbow effect appears when by the sun is shining from behind you into the mist-filled air where it is refracted by raindrops.
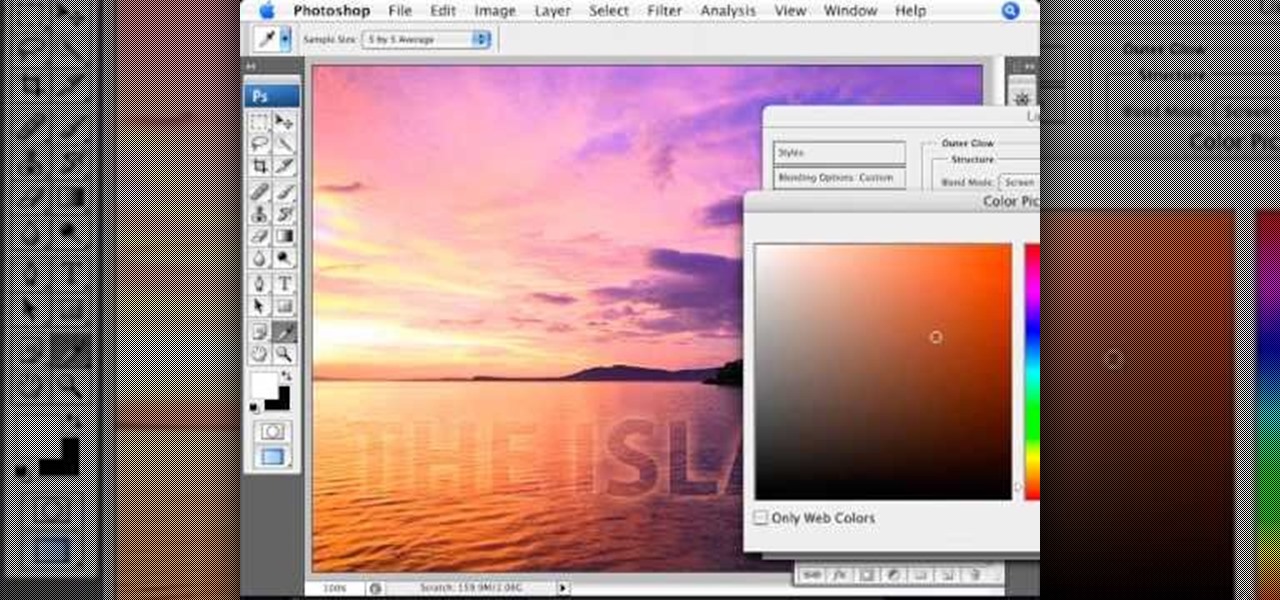
Learn how to create glowing text in Photoshop with this awesome video! 1. Write any text using text button T on the selected image as a background. Write a suitable text and place it somewhere. 2.Select the text and make it Bold. 3. right click and set Opacity and Fill options. Opacity changes the color of the text as well as its effect. Whereas Fill changes the color only . If you have set it to 0% then you can't see the text if its exist also. Set Opacity to 100%. 4. For glowing text select...
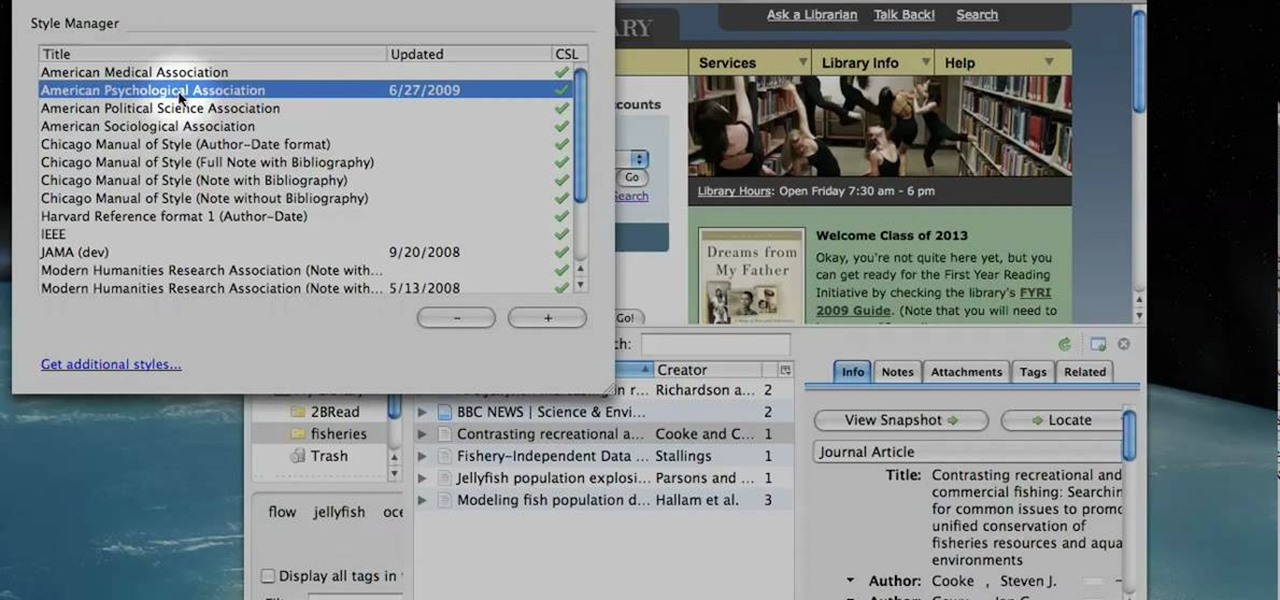
Learn to use Zotero to create bibliographies and citations with this tutorial. In addition, collect and organize information from all sources. So help correct the sources research paper. Before using the excitation features, make sure to select and prepare the style of your paper. If you are not sure ask your instructor. She has a preference style. You will select by clicking on the action button +preference then choose the style. It will include the number of most common style. You can downl...
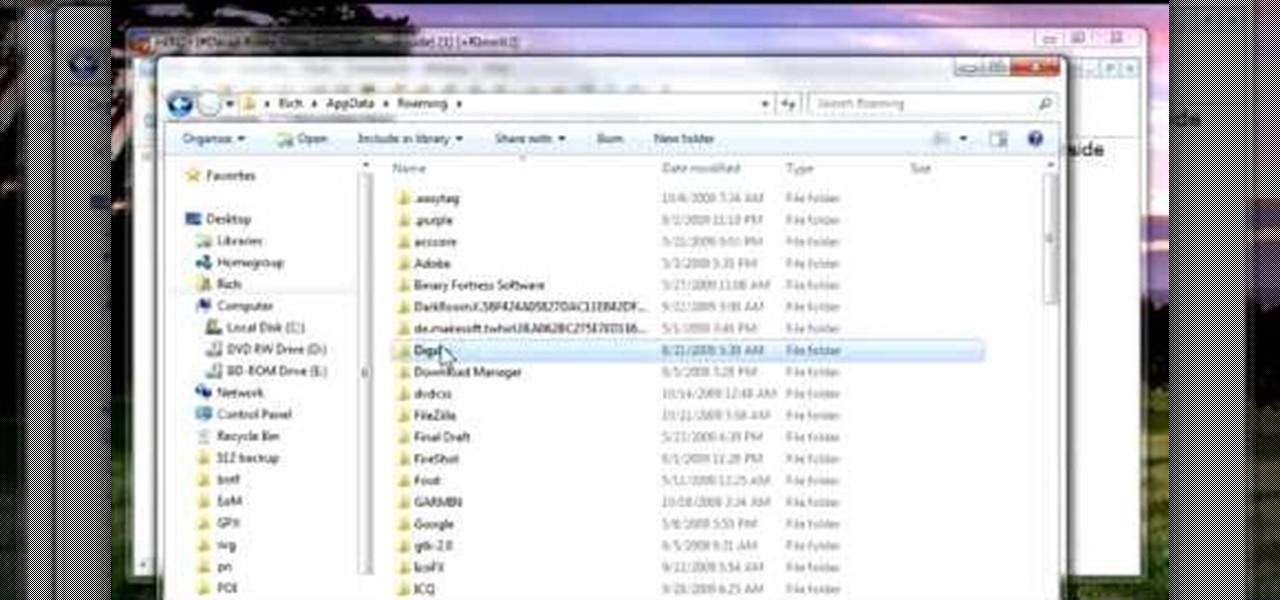
This is a video tutorial in the Software category where you are going to learn how to revert to the Fixedsys font using mIRC. Click on the channel icon and select font. Here you can select the font and the size and then click OK. If you have Windows XP or older version of Windows, you can type in fixedsys in the font window, select the size, click OK and the fixedsys font will be selected. But if you have Vista or Windows 7, this will not happen. So you bring up the Windows explorer and in th...

In this tutorial, we learn how to make a cool neon text effect using Photoshop. First, type your text using a big and simple font. After this, right click on the text layer and click on "rasterize type". Now, press the control button while you click the thumbnail of the text layer. After this, grab the lasso tool and click "select inverse". Then, set it on 12 pixels in the toolbar. Now, use the magic wand too and select each of the letters by holding shift. Next, create a new layer and click ...

This video tutorial belongs to the Computers & Programming category which is going to show you how to reformat a computer. For doing this you will need your computer and the operating system CD. Turn on the computer and load the CD. Then keep tapping f8. Your computer will now load from the CD. When the set up options page comes up, select the 'set up windows' option. Thereafter select the number of partitions that you want to create in your hard drive. The hard drive is now reformatted and t...
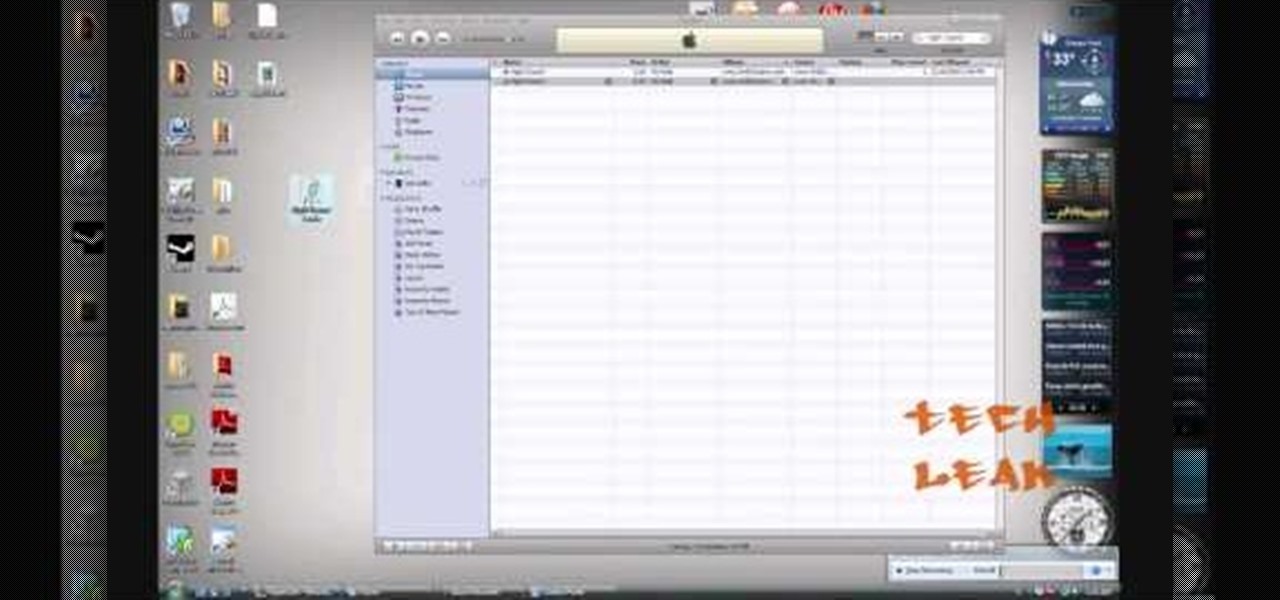
In this video tutorial, viewers learn how to make free custom ring tones for an iPhone. Begin by clicking on the Start menu and select Control Panel. Then click on the Folder Options and deselect "Hide extensions for known file types". Now open iTunes and select the desired song. Right-click on it and select Get Info. Click on the Options tab and make the song lasts only 29 seconds. Then right-click on the song and select Create AAC version and wait for it to finish converting. Now open the c...
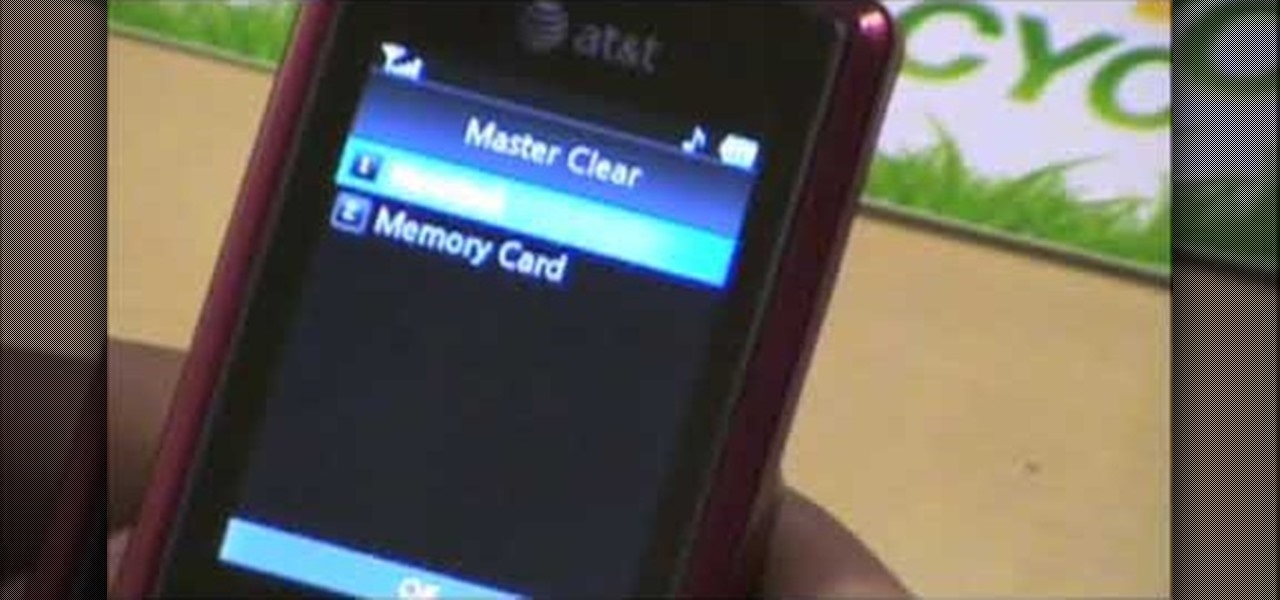
In this video tutorial, viewers learn how to data clear and erase an LG CU720 Shine mobile phone. This task is very fast, easy and simple to do. Begin by clicking on the Menu button and select Settings. Then scroll down the list or press the # sign to select Reset Settings. Now select Master Clear and select Handset. If there is data in the memory card, clear it as well. Click on Yes to confirm the resetting and type in your security code. This video will benefit those viewers who have a LG S...
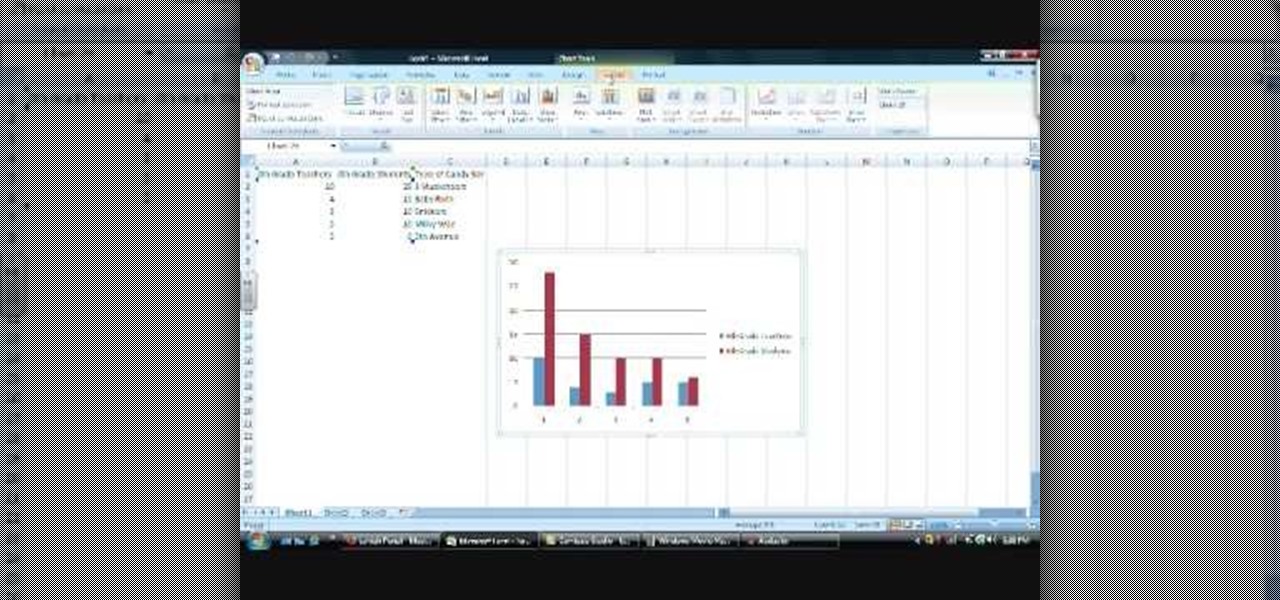
In this Software video tutorial you will learn how to make a basic bar graph in Microsoft Excel. You will also learn how to give your chart a title and how to label the axes. First you put in all your data in to an Excel spreadsheet. Then you highlight the data you want to put in your graph, select the 'insert' tab, then' column' and choose the basic column chart. Next you select the title tab, go to option and choose new title. Now you add the title to the graph. To label the axes, go on top...

In this video tutorial, viewers learn how to fix the Wi-Fi problem on an iPod Touch or iPhone. Begin by clicking on Settings and select General. Then scroll down to click on General and select Reset Network Settings. When a confirmation window pops up, click on "Reset Network Settings". The iPod device will then reboot. Now click on Settings and select Wi-Fi. Then select a network to connect to. This video will benefit those viewers who have an iPhone or iPod Touch, and would like to learn ho...
In this video tutorial, viewers learn how to use the zoom tool in Adobe Photoshop. To select the zoom tool, click on the magnifying tool in the toolbar. Users are also able to press the "Z" key to select the zoom tool. Once selected, users are able to zoom into the image by left-clicking on the image. Users are then able to select the hand tool to move around the image. To zoom out, right-click on the image. This video will benefit those viewers who use Photoshop to edit images, and would lik...
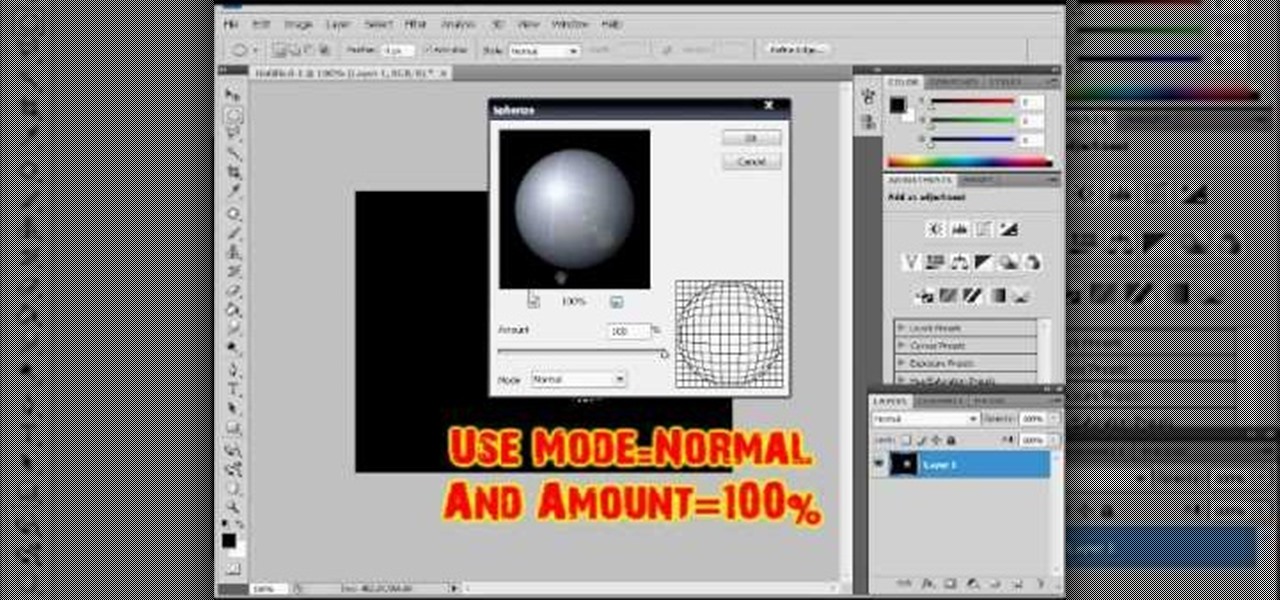
In this video tutorial, viewers learn how to make a shiny glass ball in Adobe Photo-shop. Begin by creating a new document with the default size and a transparent background. Then paint the entire background in black. Now select the marquee tool and create a circle anywhere in the background. Now go to filter, click on Render and select Len Flare. Make the lens flare 105 mm prime with 141% brightness. Then go to Filter, click on Distort and select Spherize. Use normal mode and set the amount ...

In this video, viewers observe the auto reversal magic trick. The magician begins by telling the spectator to select the card. Once selected, the magician places the card back into the middle of the deck. The magician then reveals that he/she has no card markings. Now the magician tells the spectator that he will find the card behind his own back. The magician starts shuffling the cards behind his back. The first card that shows up is not the selected card, so the magician goes through the de...

In this video tutorial, viewers learn how to create a carbon fiber desktop wallpaper using Adobe Photo-shop. Begin by creating a 20x20 pattern with the rectangle marquee and gradient tool. Then go to Edit, select Define Pattern and name the image. Now create a document with the dimensions of your monitor screen. Then go to Edit, select Fill and select the pattern that you have created. Then go to Filter, select Render, click on lighting effects and configure the image's lighting. This video w...
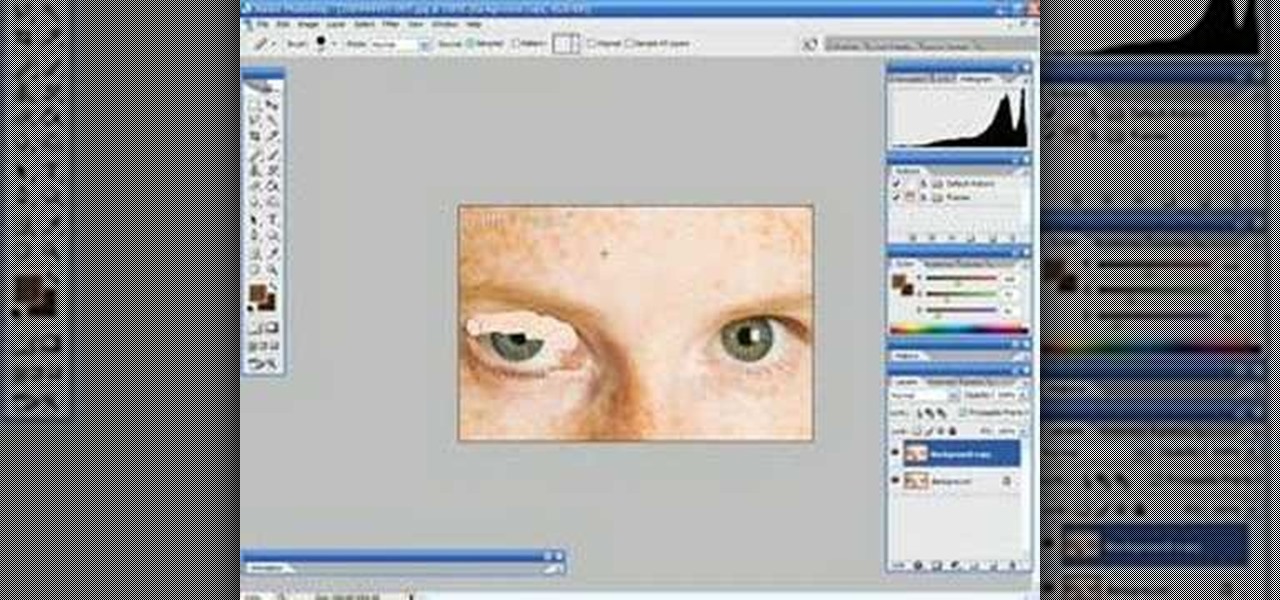
In this Software video tutorial you will learn how to make a winking animated GIF in Adobe Photoshop. Select a photograph of two eyes and duplicate the layer. Now copy the top eyelashes and paste them on top of the bottom eyelashes. Go to the eye drop tool and select a dark color. Then go to paint brush, choose a brush with size 1 and select darken in the ‘mode’ dropdown menu. Reduce opacity to 50%. Now darken the lower eyelashes as shown in the video. Then go to healing brush tool and se...

Anime is a very cool, fun form of animation. In this tutorial, learn how to draw one of the genre's most famous characters. This video will take you step by step through the process of drawing Goku, a character from DragonBall Z. This very cool Manga character is not too difficult to draw once you get the hang of it. Japanimation takes a bit of practice, because it is a much different style from more Western cartoons, but is not difficult to master.
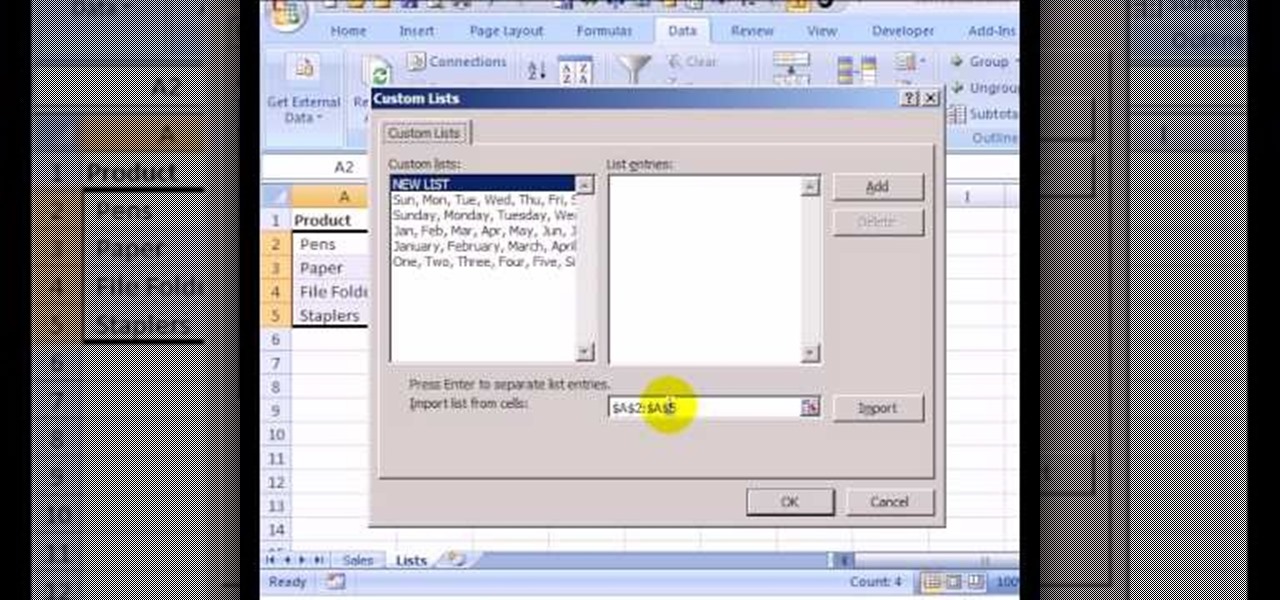
This how to video shows you how to sort data in Excel in a custom order. First, open a spread sheet in Excel. Select a column of cells with words that you want sorted. Click the office button and select Excel options. Go to edit custom list. You will see different custom lists. Click import to import your selection as a custom list. Next, you can go back to a sheet with those words that you want sorted and click the sort command. Select custom list on the order tab and select your new custom ...

This video shows us the method to transfer files between iTunes libraries in iTunes 9. First step involves downloading iTunes 9 from apple.com. Go to the 'Edit' tab and 'Preferences'. Go to the 'Sharing' tab and select the 'Share selected playlists'. Select the playlists you want to share and click 'OK'. Now go to 'Advanced' and select 'Turn on home sharing'. Make sure that both are under the same account. Type in the password and you will see an icon in the shape of a home in the left side. ...
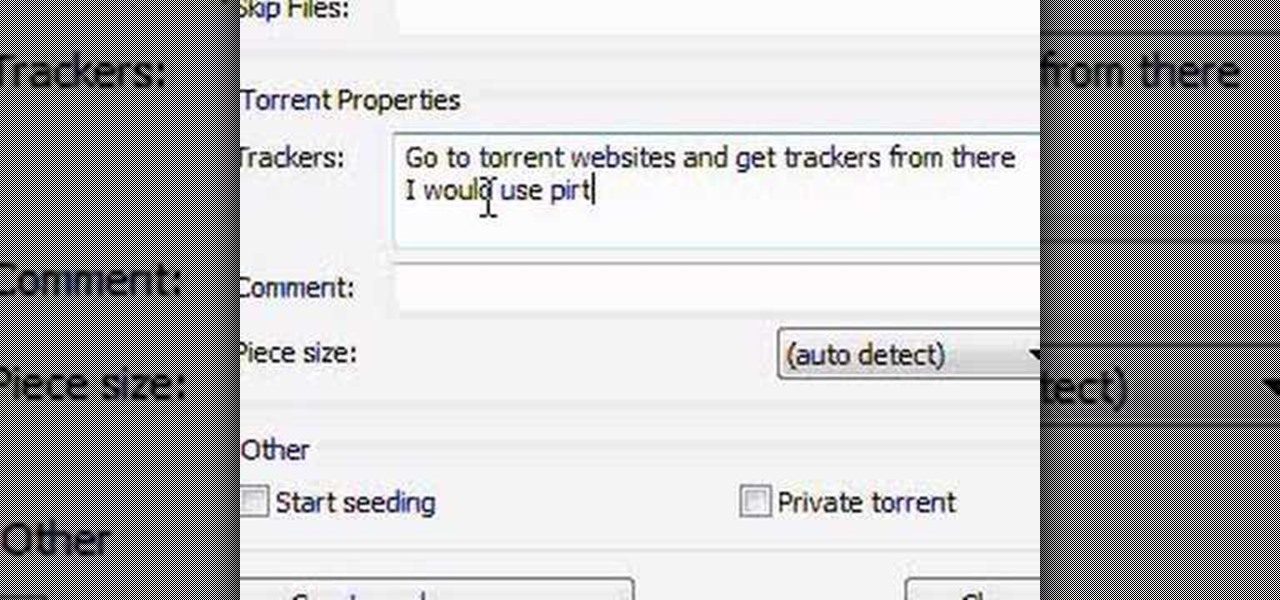
In this video tutorial, viewers learn how to create a .torrent file using u-Torrent. Begin by opening the program. Click on File and select Create New Torrent. Now select the file, select the directory and type in the tracker code. Then click on Create and save as. Once the file is created, click on File and select Add Torrent. Locate the .torrent file click OK. Now wait for the torrent file to finish downloading. This video will benefit those viewers who use u-Torrent and would like to learn...
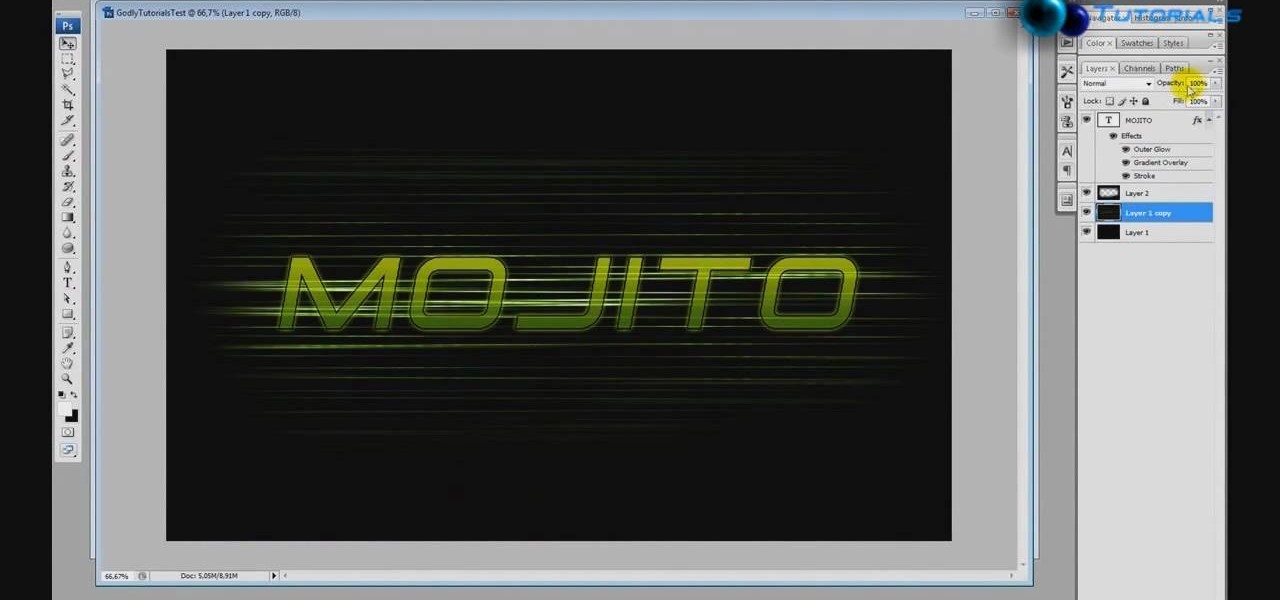
This how to video shows you how to create wallpaper for your computer desktop. Open Photoshop and create a new file. Change the dimensions to the size of your desktop. Click okay and go to edit and fill. Choose color and select black. Click okay to fill the screen with black. Duplicate the layer. Once this is done, go to filter, render, and lens flare. Make sure the lens flare is in the center. Edit the settings to your liking. Click okay to add the effect on to the image. Go to filter, disto...

The video shows a quick tip on how to get the best value out of one's BlackBerry Calculator. First, it instructs one on how to access the calculator application from the home screen:

In this how to video, you will learn how to convert DVD movies to AVI or any other type of file for free. First, you will need to download DVDx 2.1 and the install it. Next, open the program and insert the DVD disc you want to copy. Go to file and click DVD root. Find the video and select the video_ts folder. You will see the IFO files. Look for the one with the longest time. Click on this one and press select. If you have a DVD already ripped on your hard drive go to file and click open IFO....
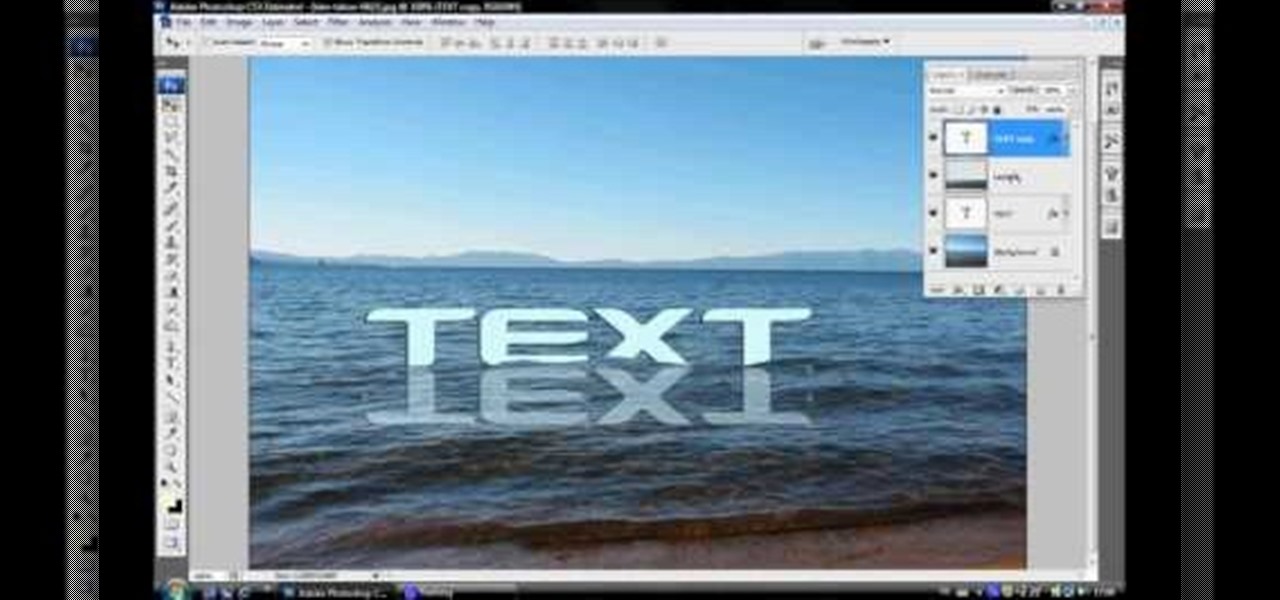
In this video tutorial, viewers learn how to make floating text on water. Begin by importing the water image into the program. Begin by selecting the polygonal lasso tool in the toolbox and select the top of the water. Once you have made the selection, right-click on it and select Layer via Copy. Then select the text tool and type in your text. Create a contour to make the 3D and give the text a light color. Then place Layer 1 over the ext layer and use the selection tool to place it behind t...
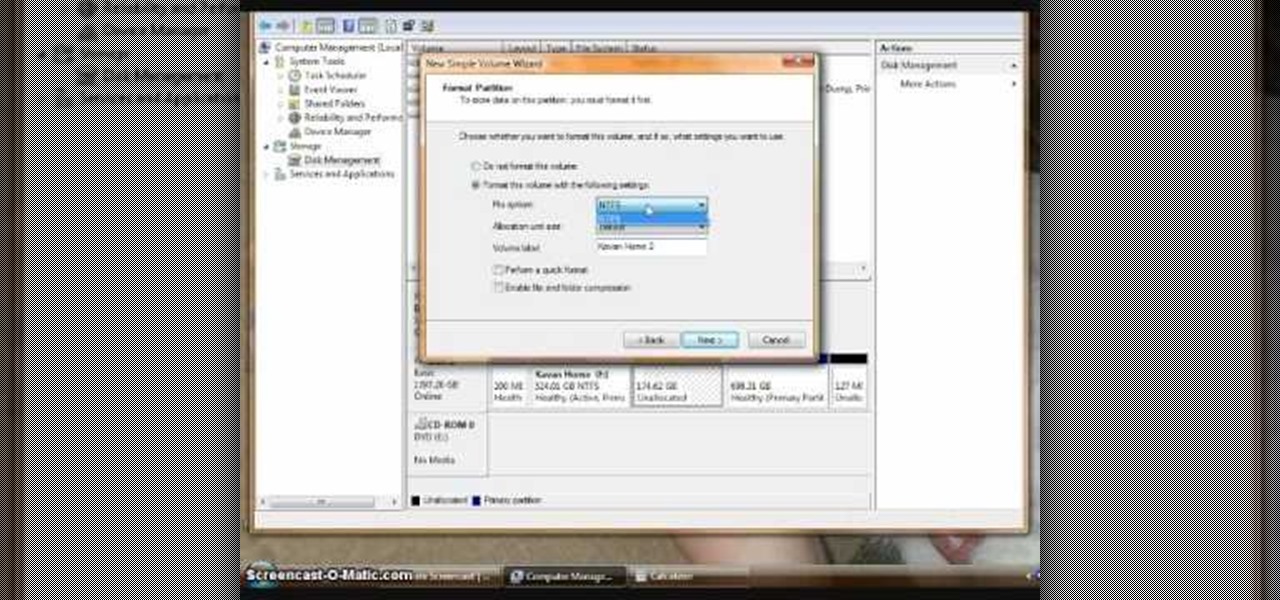
To format an external hard drive on Windows Vista, plug the hard drive in, then click on start menu, right click on "computer", and select "manage". Go to "storage" on the left hand menu and select "disk management". Right click on the letter of your external hard drive, and select "Shrink Volume". Choose the size of the partition you want to create, and click shrink. After it is done, there will be 2 seperate drives, with the new one being allocated. Right click on the unallocated drive and ...
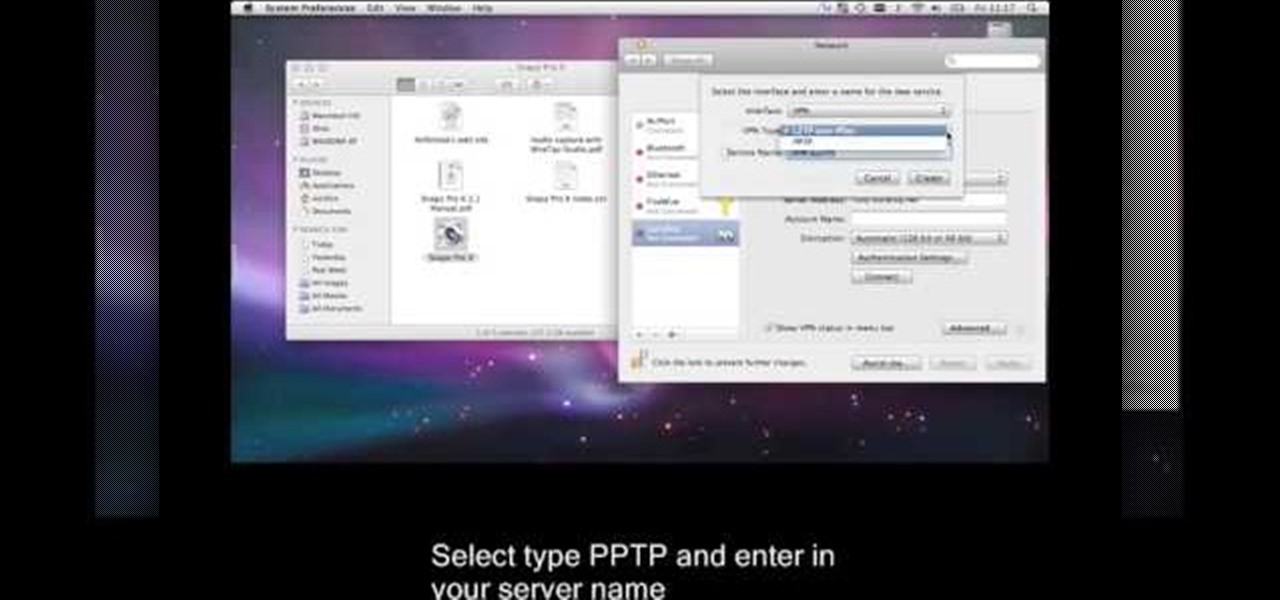
This is a video tutorial that is showing its audience how to set up your own VPN client on your Mac computer. The first step in setting up a VPN client is to go to your system preferences on your computer. Next select network and then select the plus button and type in that you will be making a VPN network. Next you should select the type PPTP and enter your server name. Then you can click on create and it will create a new network for you. Next you should enter your service address and your ...

This video demonstrates how to change the color of hair, dress, car or any thing of your choice using photoshop. This is really simple. Select the photo in which you need to change the color. Create a new transparent layer. Click on the brush tool and select a brush type with the right size required. For hair, you could use a brush with a fuzzy edge while sharp edges for clothes and car. Select the white color in the task bar. Click and drag carefully along the edges and fill in the area wher...
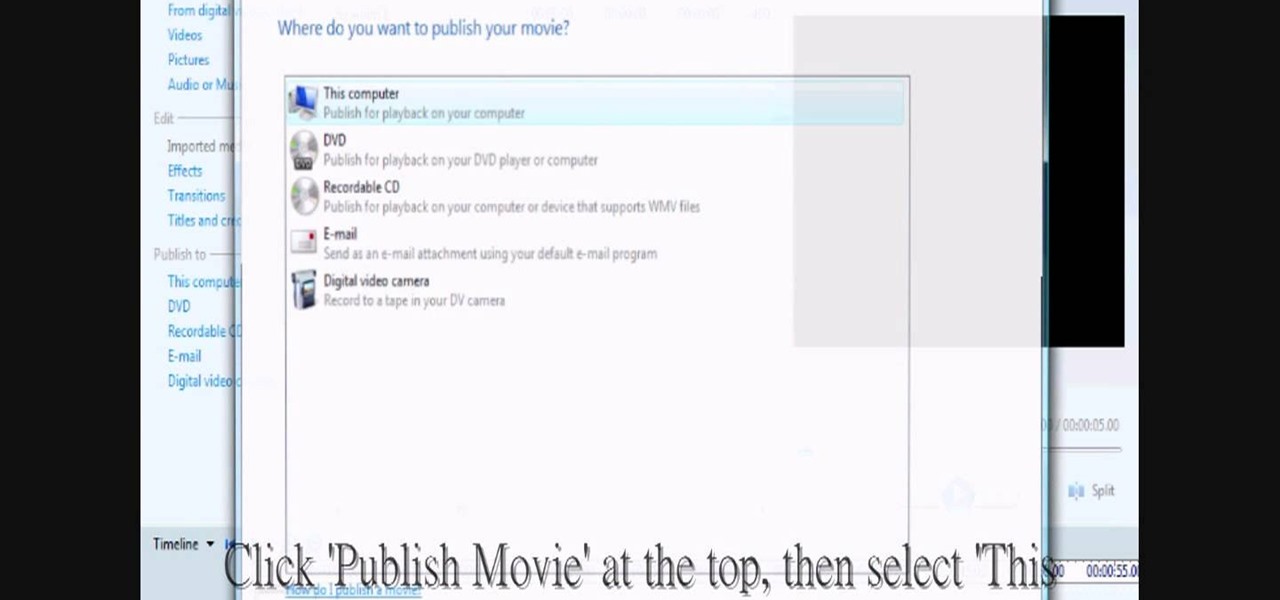
In this video tutorial, viewers learn how to change/convert a pivot animation into an AVI video format. Begin by loading the animation in the Pivot program. Now click on File and select the Save as type to Animated gif. Nam the file and click on Save. Then open Windows Movie Maker and add the pivot animation into the time line. click on Publish Movie and select This Computer. Name the file and select the save location. Click on More Settings and select DV-AVI (PAL) and click on Publish. This ...
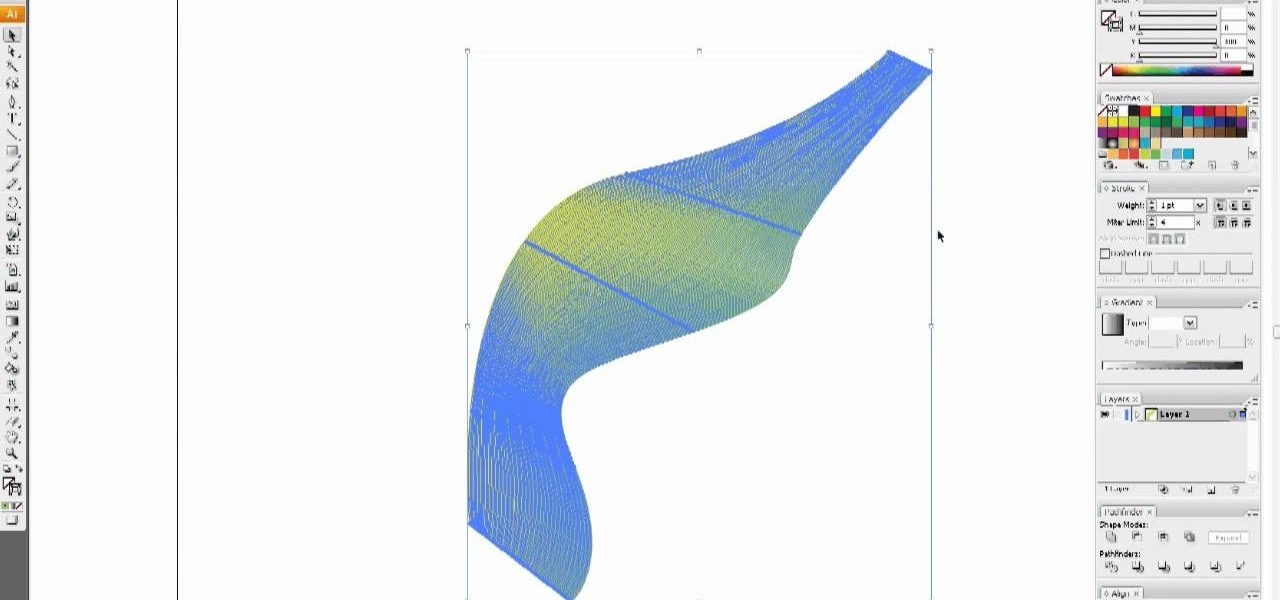
In this video tutorial, viewers learn how to use the blend tool in Adobe Illustrator. The blend tool will allow users to create objects between two strokes or filled objects. When you double-click on the blend tool, there will be 3 options to select from. Select the spacing and press OK. The three spacing options are: Smooth Color, Specify Steps and Specified Distance. Users are also able to select the amount strokes between the two objects. Now select the points of the two objects and it wil...
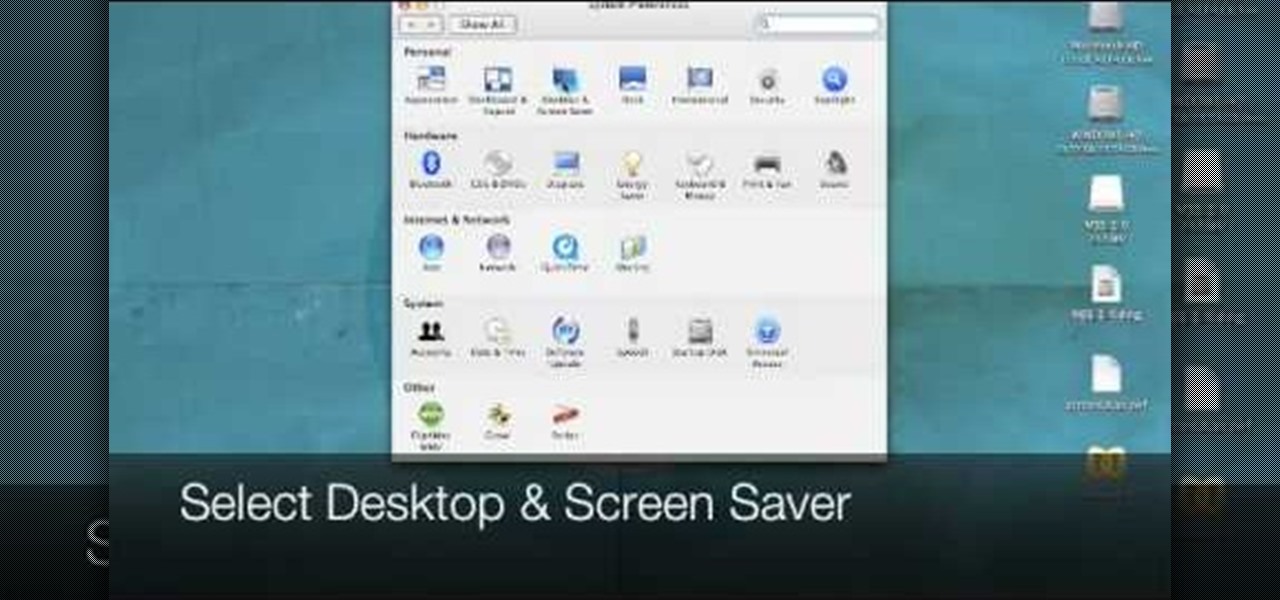
This video is a tutorial on how to create your own custom screen savers from your favorite movies on a Windows computer. The first step is to download the Movie Screen Saver Software from www.vijusoft.com. When the program is finished downloading from the website then you will have to open the installer package and follow the instructions. The download should only take a few minutes and then you might have to restart your computer when it is finished. The second step, once the program is down...
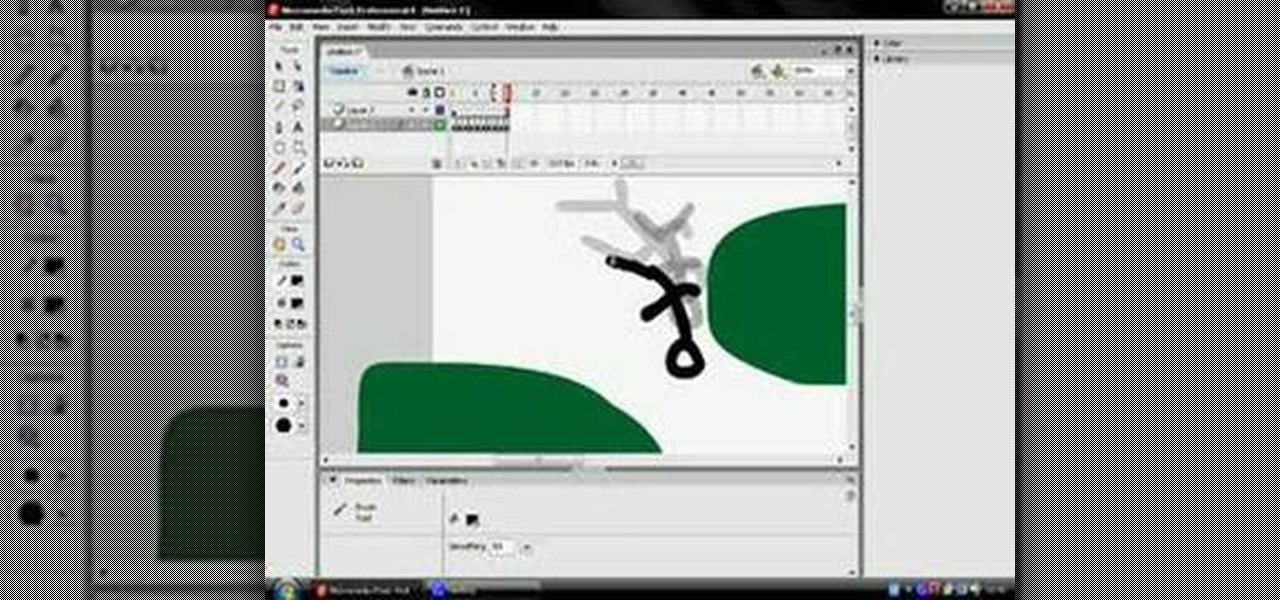
This how to video shows you how to use the program Macromedia Flash 8. First, open the program and click Flash Document. Next, select show frame in the drop down menu. Next, right click and select insert layer. Select the pen tool and choose a size. Next, select a color and then draw a picture. Click the other layer and zoom in. Click the onion skin. Continue to draw and then press F7. Keep on doing this for each new animation. Click control and test the movie. Go to file and save the file. Y...

In this how-to video, you will learn how to remove tattoos using Photoshop. First, open the image in Photoshop. The patch tool is the easiest for removing these type of tattoos. If the tattoo is very ornate and complicated, it will take longer to remove. First, select the patch tool, which looks like a band-aid. Hold it down and select patch tool. Zoom in on the tattoo and draw a selection around it. Once it is selected, click the left mouse and hold it down. Drag the selection to an area sim...
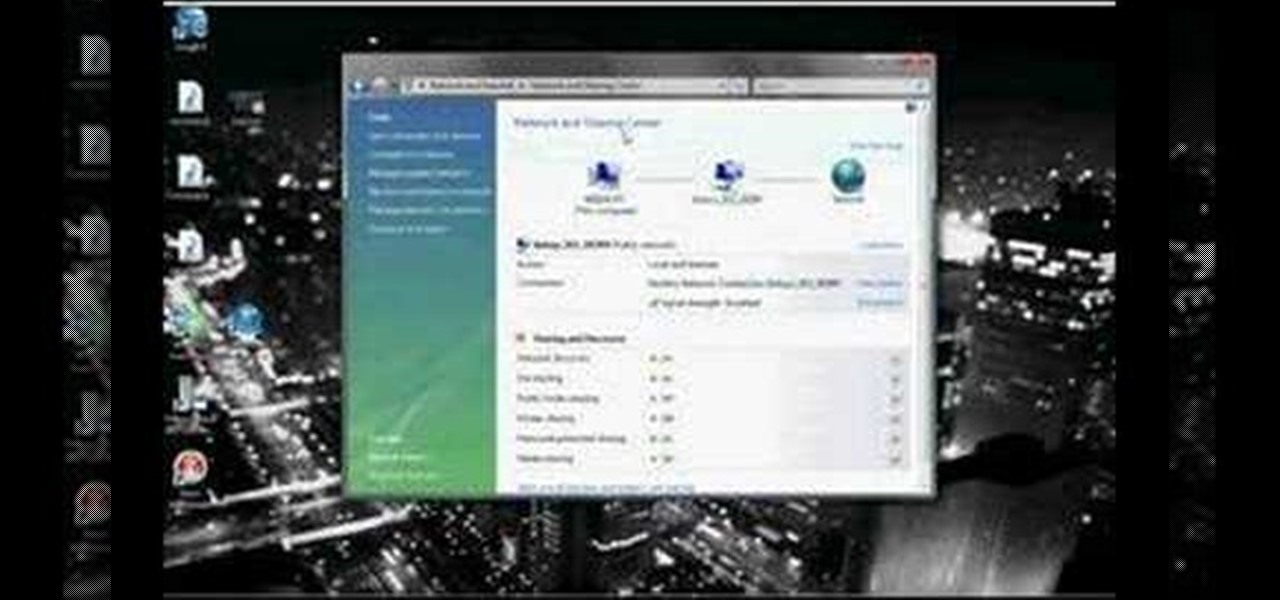
In this video tutorial, viewers learn how to connect an Xbox360 with wireless internet. Begin by connecting your computer to a wireless network. Click on the Start menu and select Control Panel. Go to Network and Internet, and select Network and Sharing Center. Under Tasks, click on Manage network connections and select your wireless connection. Right-click on the connection and select Properties. Go to the Sharing tab and check both the sharing options. Now click OK. This video will benefit ...
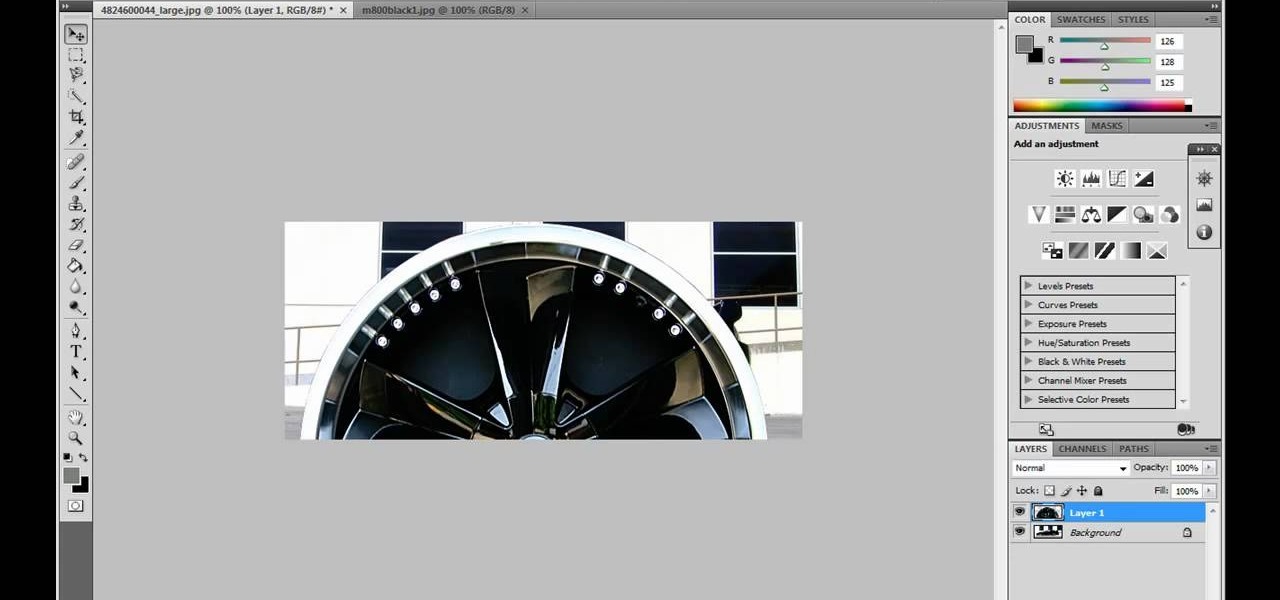
JdudeTutorials shows how to Photoshop the rims of a photo of a car, either for previewing different options for your vehicle or just for fun. Open the photo of the car (preferably shot from the side) in Adobe Photoshop. Open the desired rim photo. On the rim, use the lasso or magnetic lasso tool to select the rim from the background. Then copy the selected area and paste it into the car photo. Select the layer with the rim, select "free transform" and resize the image to fit the car's rim siz...