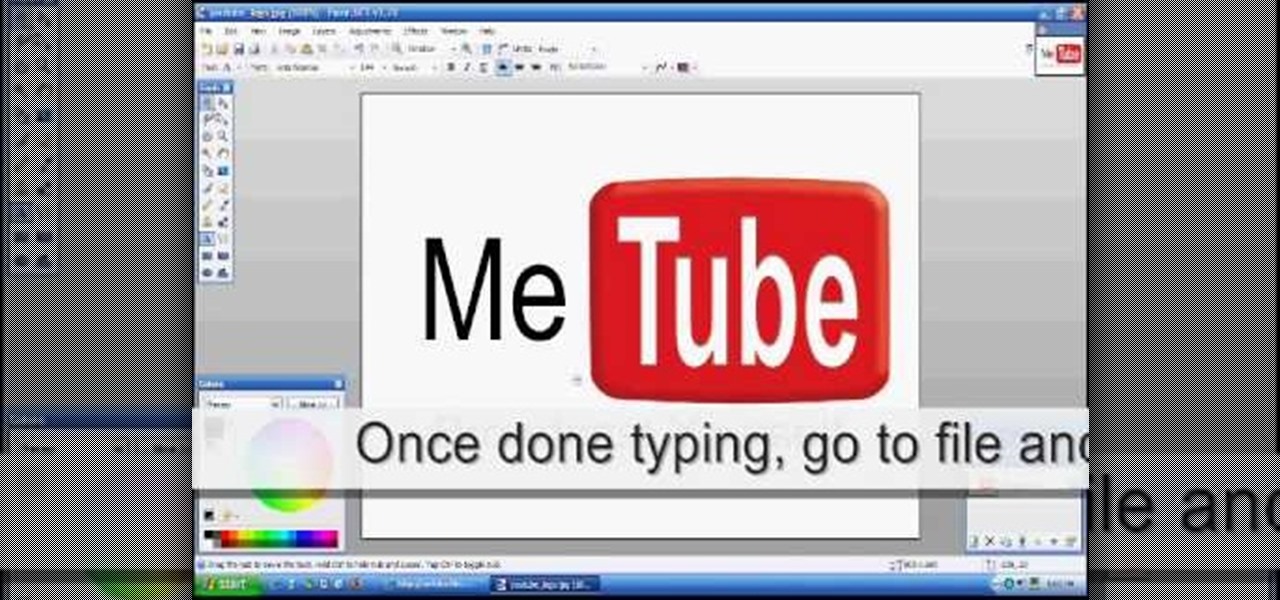
First download Paint.net. Save the YouTube logo on your computer and then open it using Paint.net. Press S and select the "You" from YouTube, once selected press delete. Now press F and choose the white color, pain the deleted area to fill it with the white color. Press T to select the text tool, select the font Arial Narrow and choose the font size 144, press ctrl+shift+N to create a new layer. Now click on where you want to the text appears and type anything you want. Go to File and Save As...

Although it is a rare and potentially frightening occurrence, knowing how to do a system restore in Windows XP is an important thing to know how to do. To get started with a system restore, select the Start menu in the lower right of your screen. Then select All Programs. Then from the All Program menu, select Accessories and then from Accessories, select System Tools. There are several items under System Tools, but you want to select System Restore. You will follow through the next few scree...
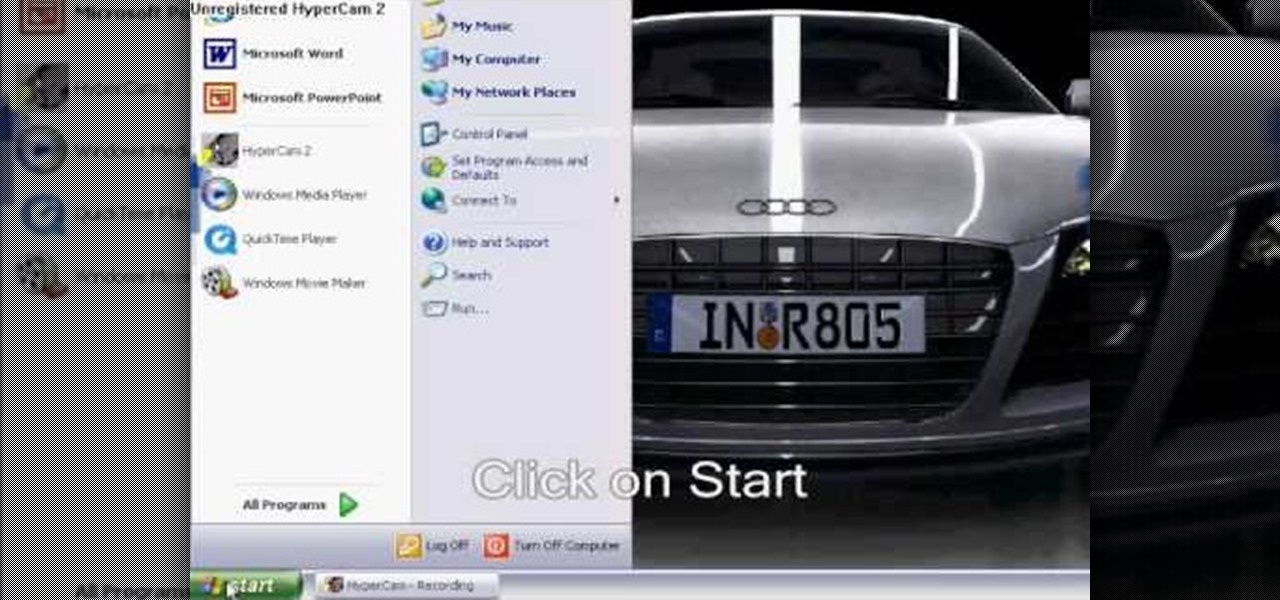
Follow the steps outlined in this video to learn how to connect to XBox Live using a laptop running Windows XP. The first step is to connect the XBox with the laptop by using an Ethernet cable. When they are connected you have to click on Start and select 'Connect To' and then 'Show all connections'. Select both the Wireless Area connection and the Local area connection icons by highlighting both of them. To do so hold the Ctrl button until they are both highlighted. At this point right click...
This Photoshop tutorial covers color selection. Part one is about using the Color Picker and part two is about the color and swatches palettes.

Wait, a query within a query? This function is possible within the framework of MySQL. Learn how to correctly implement a subquery or sub select in your next database project and avoid a couple perils that will make your program unstable.
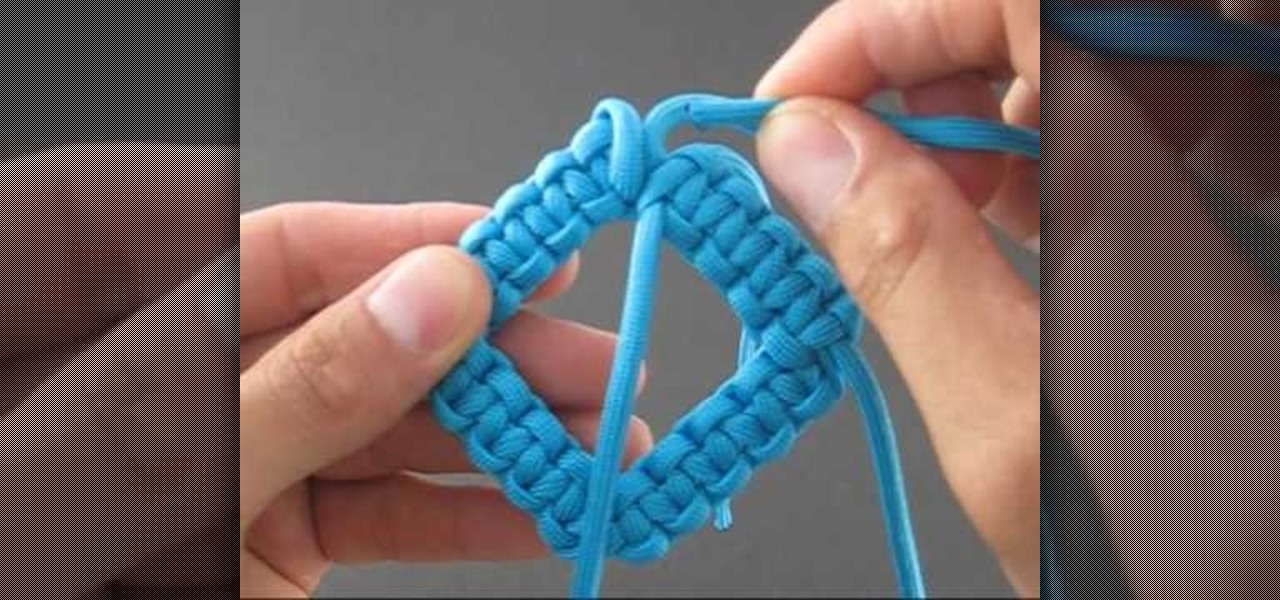
The Solomon Bar is one of the more versatile ties in the paracording genre of knot tying. Although most prefer the straight line, in this video you will learn how to tie a bent line in your knot. You will get a full tutorial of the entire process with each step shown up close with extreme detail.

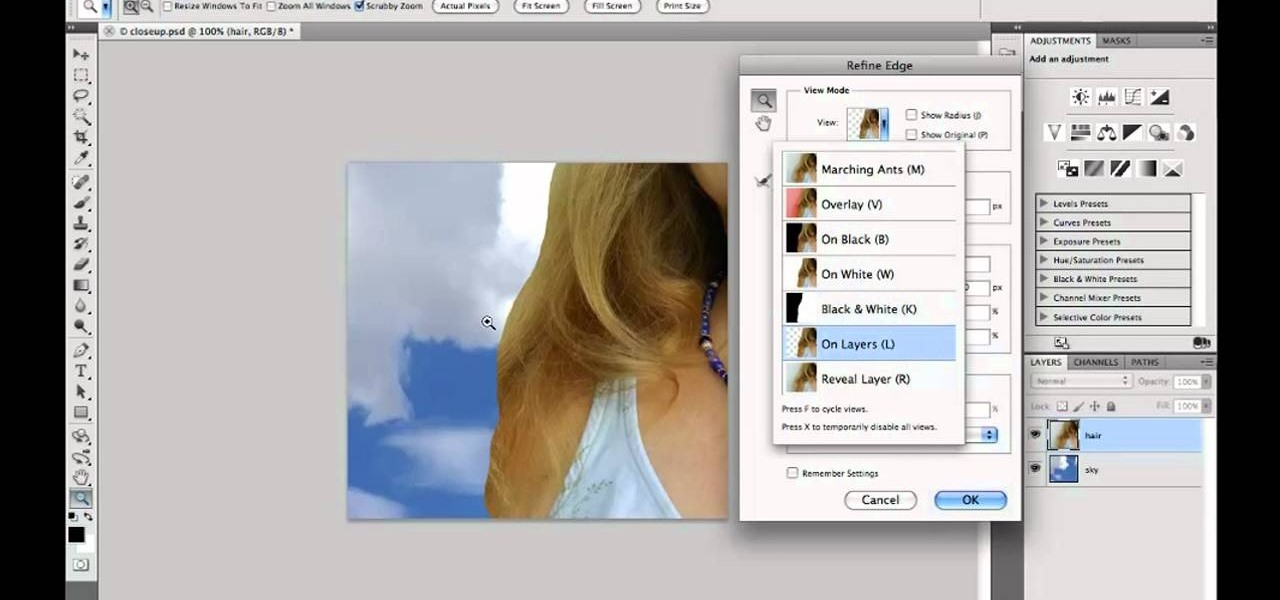
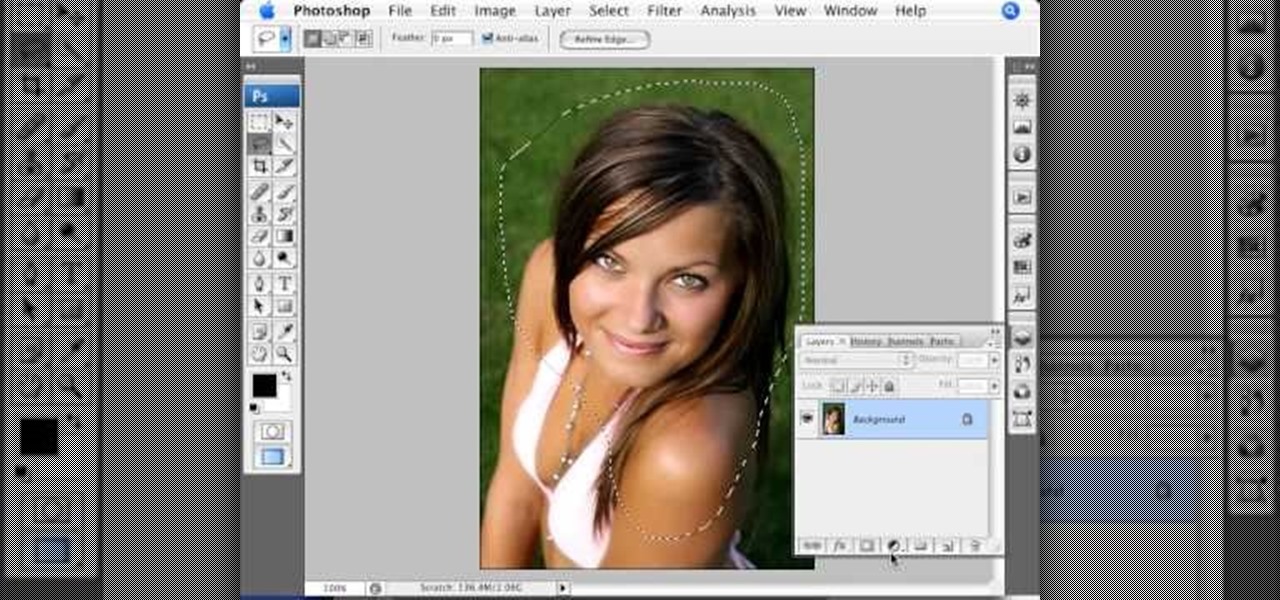
Want to know how to make clean hair selections when working in Adobe Photoshop CS5? It's easy. And this clip will show you precisely how it's done. Whether you're new to Adobe's popular raster graphics editor or a seasoned designer looking to better acquaint yourself with the new features and functions of the latest iteration of the application, you're sure to benefit from this free software tutorial. For more information, watch this video guide.

This video tutorial is in the Computers & Programming category where you will learn how to use caret browsing. Caret browsing is a method of selecting text on any web page. You can activate caret browsing by pressing the f7 button on your computer. It is available in Internet Explorer and Firefox browsers. Normally, for selecting text on a web page, you highlight the text by clicking and dragging the cursor and then you can copy and paste it in to a text editor. While doing this, if there are...

In this video tutorial, viewers learn how to save and swap icons on a Mac OS X computer. Begin by selecting the application that you want to get the icon from, and copy it. Then open preview, go to the File menu and click on "Create new clipboard". Users are also able to apply the icons on other applications or drives. After you have copied the desired icon, select the application with the icon that you want to replace, press the Command and I buttons, select the icon and paste the copied ico...

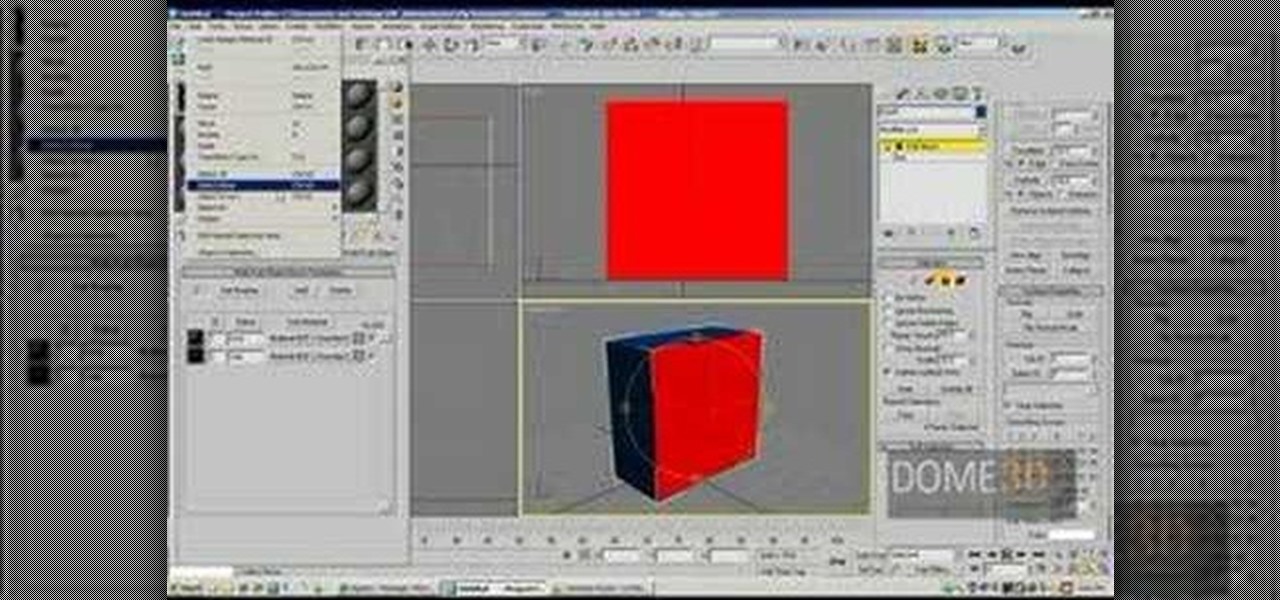
This video tutorial is in the Software category which will show you how to map multi-sub objects in 3D Studio Max. What this means is you can apply two textures to a single 3D object. First you select the 3D object, say a box and go to editor > standard > multi sub-object > OK. Now change the number of materials from 10 to 2 and follow through the next steps to select the two textures. Then go to modify panel > edit mash. Select polygons, and apply the texture to the front of the box, move ar...

Alt chanteuse Hayley Williams and rapper B.O.B seem like an unlikely duo who play at opposite ends of the genre spectrum, but when they came together for B.O.B.'s bittersweet "Airplanes," the result was a dulcet melody.

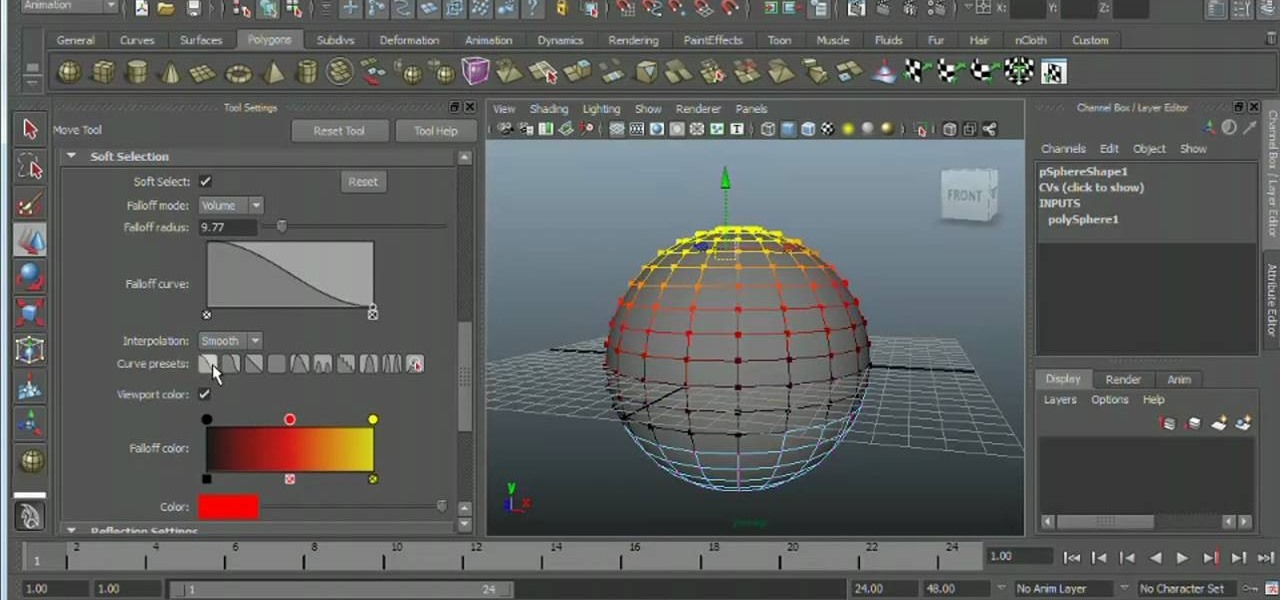
Want to know how to do proportional modeling when working in Maya 2011? This clip will you how to do just that using the program's Soft Select tool. Whether you're new to Autodesk's popular modeling software or a seasoned 3D artist just looking to better acquaint yourself with the Maya 2011 workflow, you're sure to be well served by this video tutorial. For specifics, watch this free video guide.

In this video you will learn how to setup a Bluetooth mobile phone in OS X. To do this go at system preferences select Bluetooth click on Discoverable, Open Bluetooth Setup Assistance and Show Bluetooth Status in the menu. Then click Sharing and mark all the options. Now go at devices, select set up new device, mark mobile phone, click continue, wait until the device will find your mobile device, click continue and you will get a pass key. Enter that passkey. A window will pop-up where you ca...

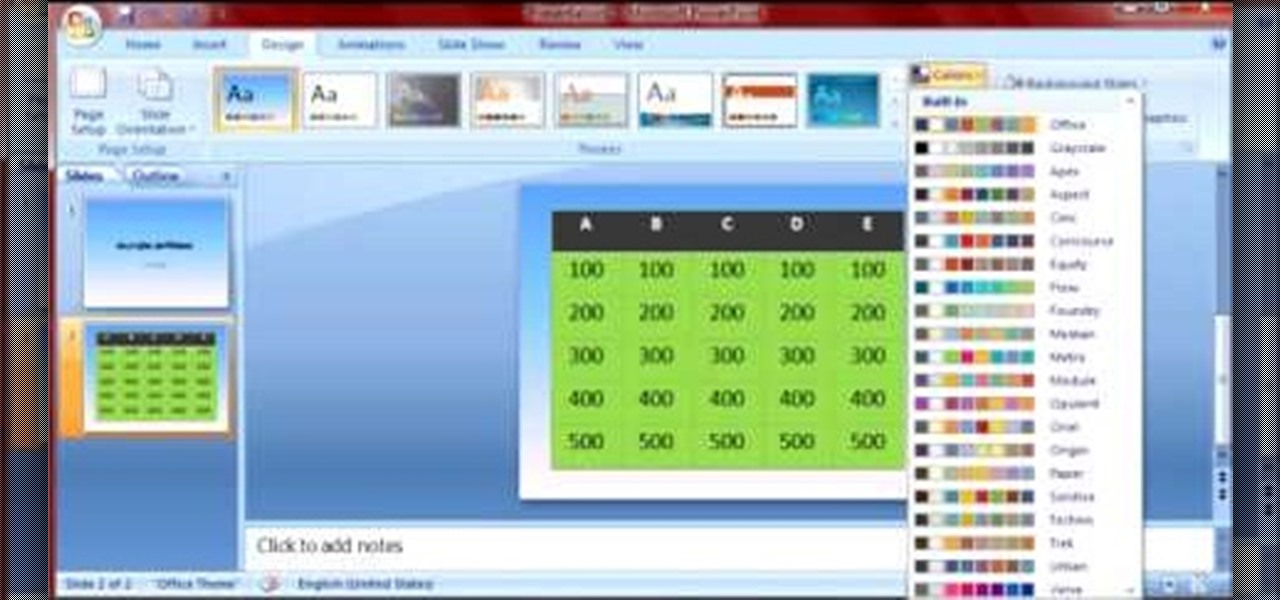
Microsoft PowerPoint is a powerful software to make presentations. It can also be used to make a Jeopardy board. To do this open a new PowerPoint presentation. Start with a title layout. Now add a gradient to its background. To do it right click on it and select the fill option from the menu. Select the color of you choice and fill the background. Now add the title in the layout with suitable fonts. Now add a new slide and insert a 5 X 6 table to it. Format the table with colors of your choic...

To program your DirecTV remote for your XBox you will need to find your programming codes. Press menu on your remote and scroll down to parental fav's and setups, then system setup, select remote control, and program remote. You can use either AV1 or AV2 both should work. Then you will choose DVD, and then select the brand for your 360 and your program codes will come up. Put your TV in AVI mode and press your menu and select button at the same time. The lights at the top of the remote should...

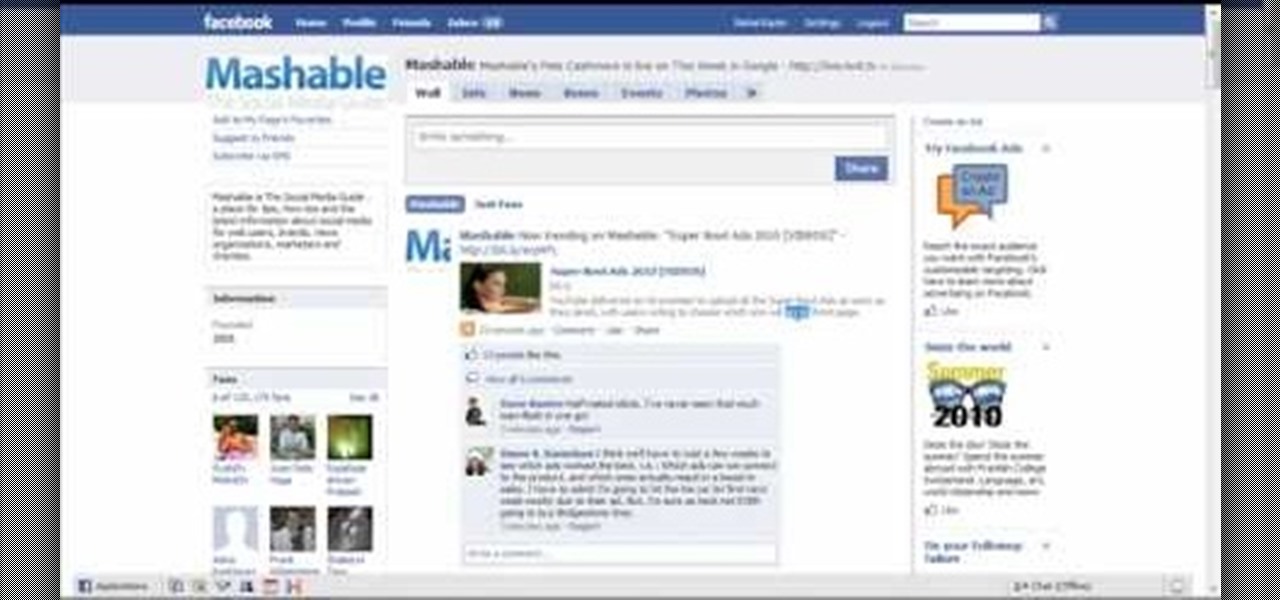
This instructional video Nehal Kazim from Site shows you how to make a complete Facebook fan page. Before creating a fan page evaluate the reasons of making a fan page. A fan page lets you connect with your future clients and fans and keeps them updated and gives them a platform to talk about your organization. To create a fan page go to the bottom of any page and click 'Advertising', select pages and click create a page. Select a suitable category and a suitable name make sure to select it c...

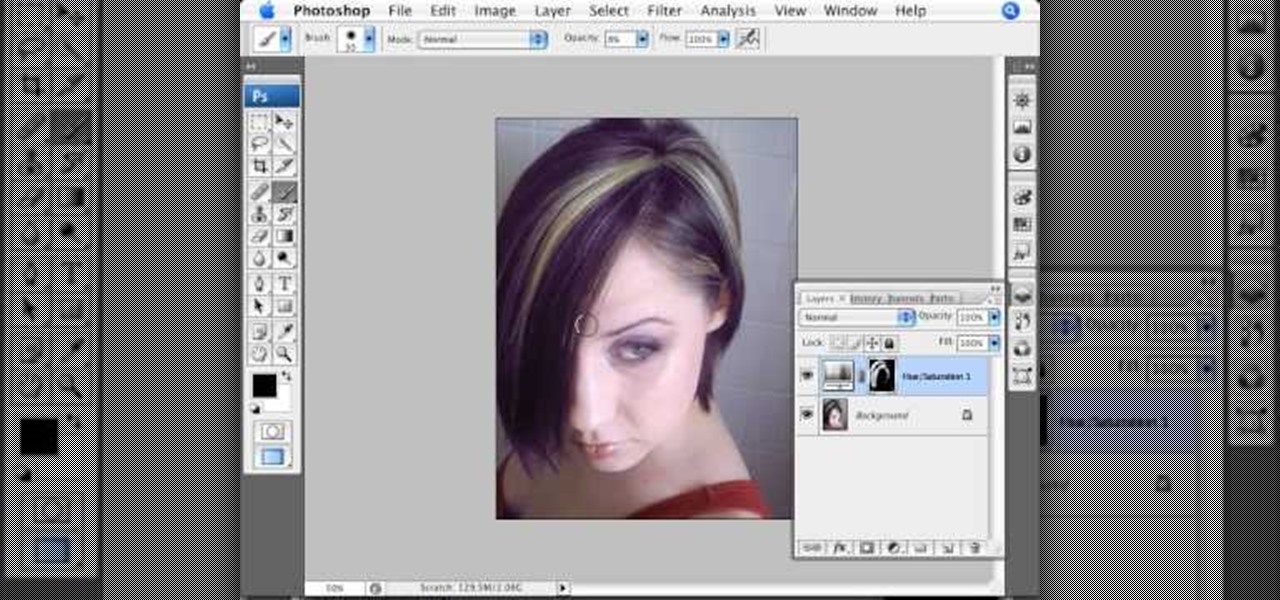
Photoshopuniverse will show you how to change a person's hair color in PhotoShop. You can achieve this by using hue and saturation adjustment layers and set to colorize. Set the saturation to about 50%. Go back to the background layer and select the color range select parts of the hair color, select the parts of the hair you want to change and with the eye dropper click it. Once the selection is made invert the selection the color will change. You can now change the hue to make it what you want.

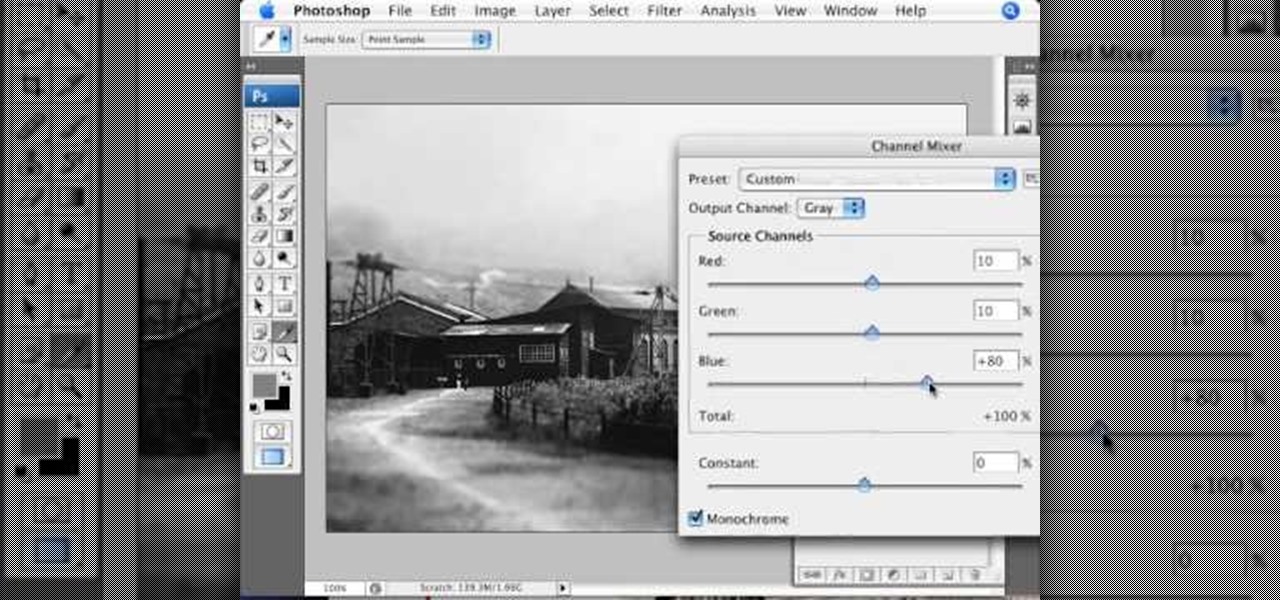
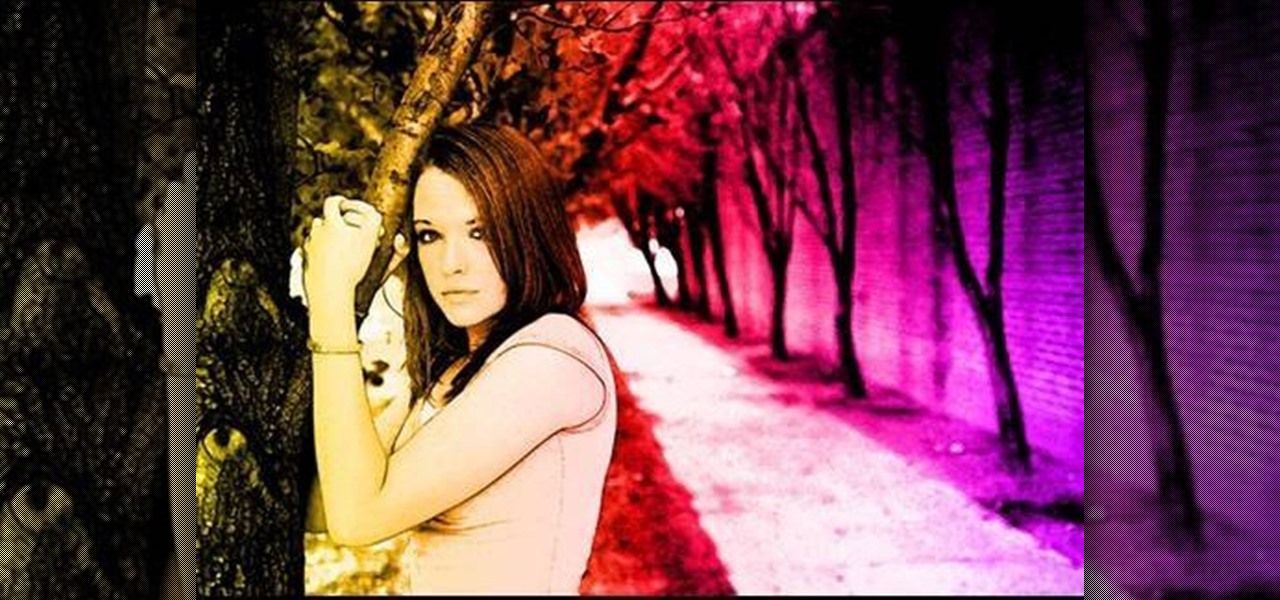
This video demonstrates the split tone effect in Photoshop. A split tone effect makes a picture look more rustic by changing the tones. First, add an adjustment layer to the picture by opening the channel mixer window. Select Monochrome and adjust the RGB values to create a black and white image to your own personal preference. Next, add another layer by opening the color balance window. Here you can change the colors of the light areas by selecting Highlights and changing the color sliders, ...

Tutorial on how to create realistic reflections on Photoshop with the objects. Take a base ball image then open layer pallet and duplicate the base ball layer its shortcut is Ctrl j. Go to image menu adjust the canvas size change height to 200 and anchor to the top then click OK then go to edit select transform change to flip vertical, select move tool then move the base ball vertically down change opacity to four percent. Finally go to filter select blur then motion blur with an angle 90 deg...

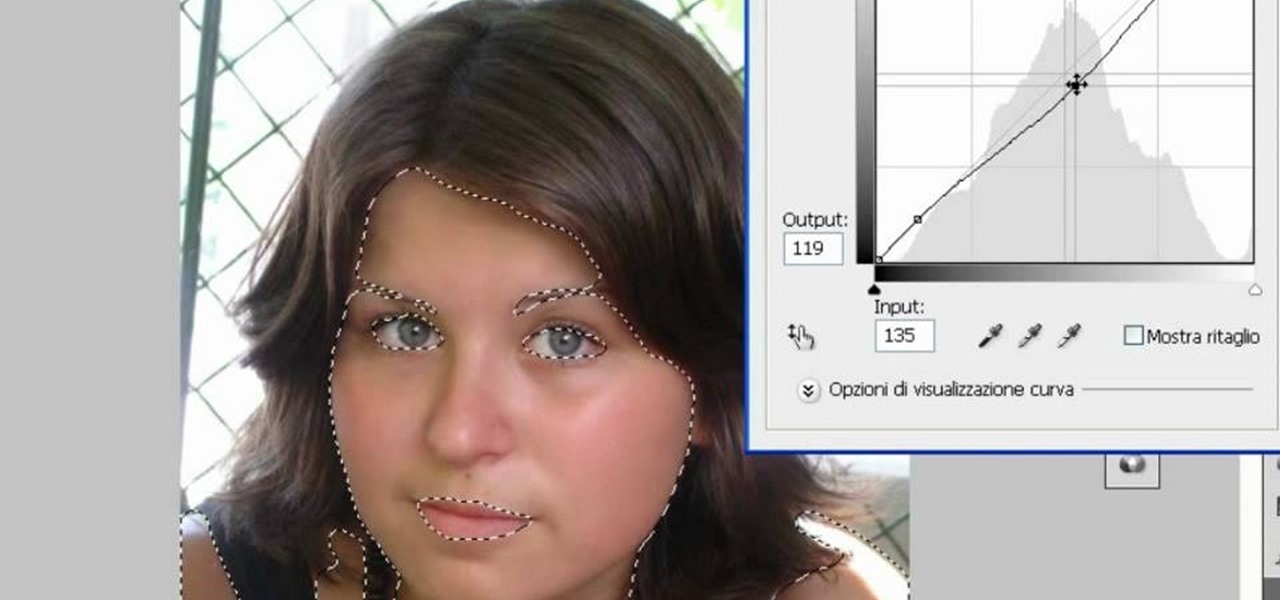
The video is basically about how to modify the focal point of the image. When the image has some stuff on the background and when you want the viewers to focus more on one particular area and making the rest of the image darker, you need to modify the light values of the image, which will be taught in this video. This can be done by just selecting the area, which you need to highlight on the image by giving some border and then add curves. In the curves the area is made darker than the rest b...

Learn how you can remove the blue haze from photos in Photoshop with this tutorial! 1. Select any image and right click on the menu click on Levels. 2. Select each and every channel and set input levels for red, blue and green and see the preview of the image. Set as RGB in Channels. 3. Now, click on "Sample in image to set gray points" and click on the area of the image which need to be set gray click on ok button. 4. From the picture icons select eye dropper and make sure it is set as 5 by ...

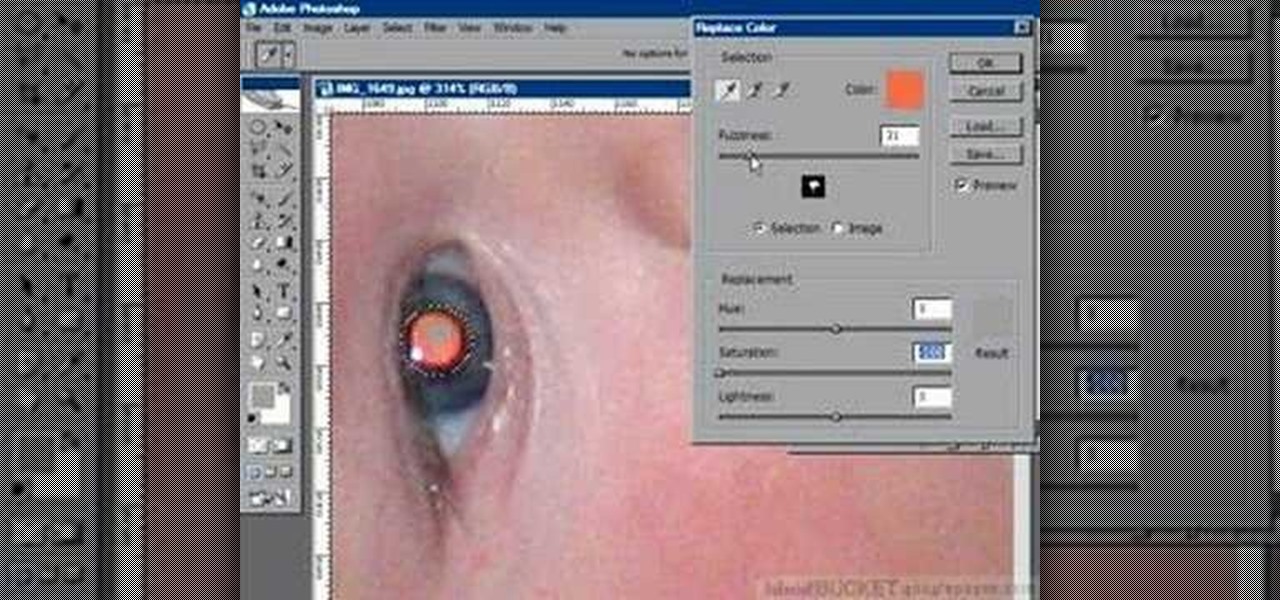
If you have a photograph with an extreme red eye problem, then you will have to take steps above and beyond using the built-in red eye reduction tool in Adobe Photoshop. In extreme cases, red eye will actually contain colors outside of the red spectrum of light. Since the red eye tool only works on this spectrum of light, you will have to manually fix extreme red eye by working on tools that are effective across all different wavelengths of light. The most effective tool at your disposal in t...

You love your iPhone and you can't live without it, but it's lacked the basic ability to cut, copy, and paste across multiple apps. With Apple's OS 3.0 upgrade, you can do it all with just a few taps. Watch this Howcast guide to learn how to cut, copy, and paste on your iPhone.

Learn how to draw the Japanese genre of comics, manga, in this crash course for drawing your own. You will need some drawing pencils, a drawing pad, a kneaded eraser, and perhaps some manga examples. Before you know it, you'll be drawing those quirky and hyper-expressive characters.

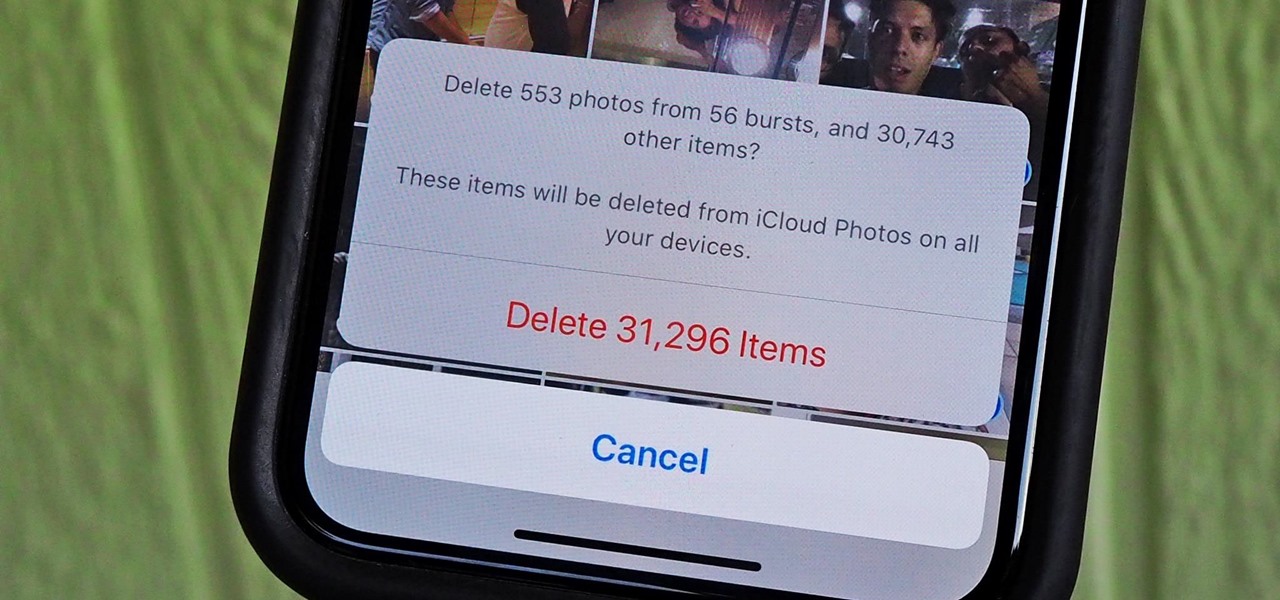
With high-resolution photos and 4K videos being standard these days, it's no surprise that media hogs most of the storage space for many iPhone users. If that's you, there's always iCloud, but you only get 5 GB free, and a paid 50 GB or 200 GB plan can fill up fast. To save money and reclaim storage, you can just delete content from the Photos app, and there's a trick to doing it faster.

Normally, when you want to select multiple emails in the Mail app, you'd hit "Edit," tap all the bubbles next to the emails, then mark them, move them, or trash them. But in iOS 13, there's a much faster way to do it on your iPhone.

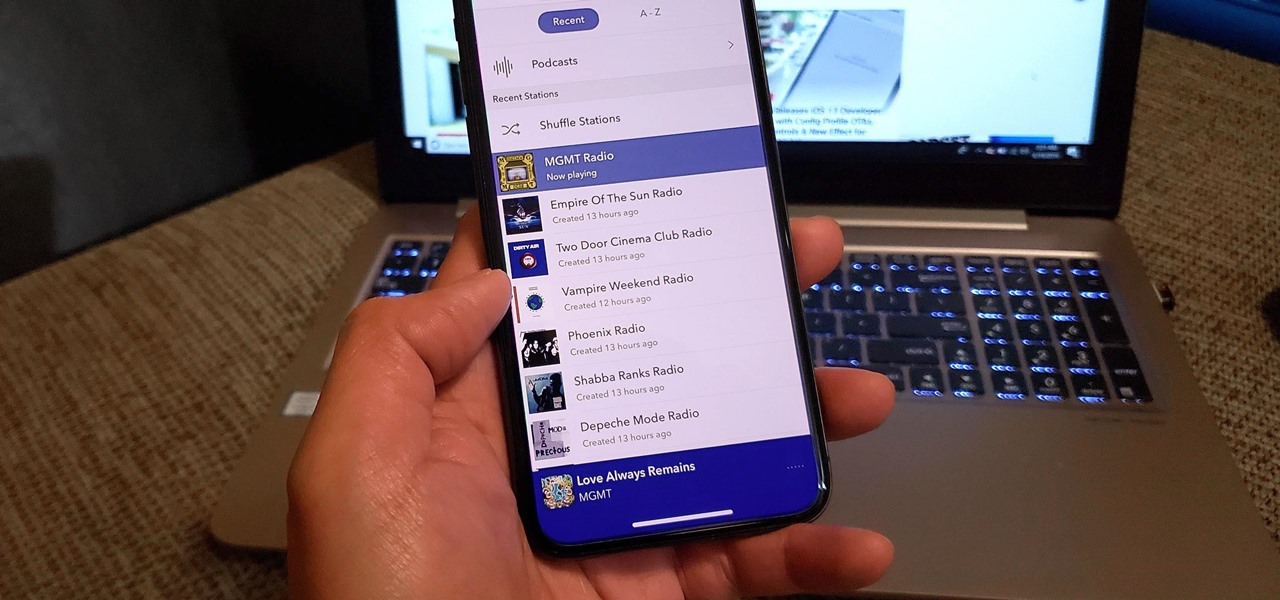
With such a vast selection of music genres available, it's easy to build up a massive list of stations in Pandora that can make your go-to playlists harder to find. Fortunately, the app lets you easily remove unwanted stations to streamline your experience and listen to your favorite tunes in the fewest taps possible.

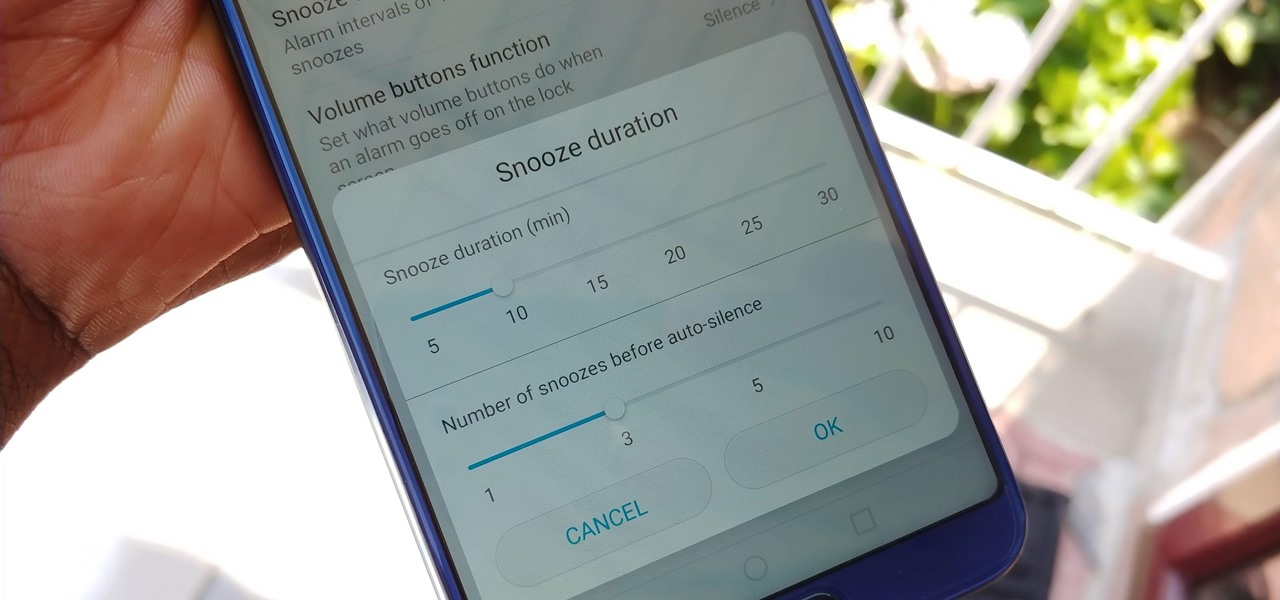
While we shouldn't rely on it, every so often we need to hit the snooze button to get a few additional minutes of precious sleep. Depending on which OEM skin is running on your device, this could be either five or ten extra minutes of dozing. However, some of us need a different length of time.

One of the best things about iOS 7 is the Control Center, which gives you quick access from anywhere on your iPhone to turning on or off Airplane Mode, Wi-Fi, Bluetooth, and more. It also makes it very easy to adjust the brightness of your display, and gives app shortcuts for your Flashlight, Calculator, Timer, and Camera.

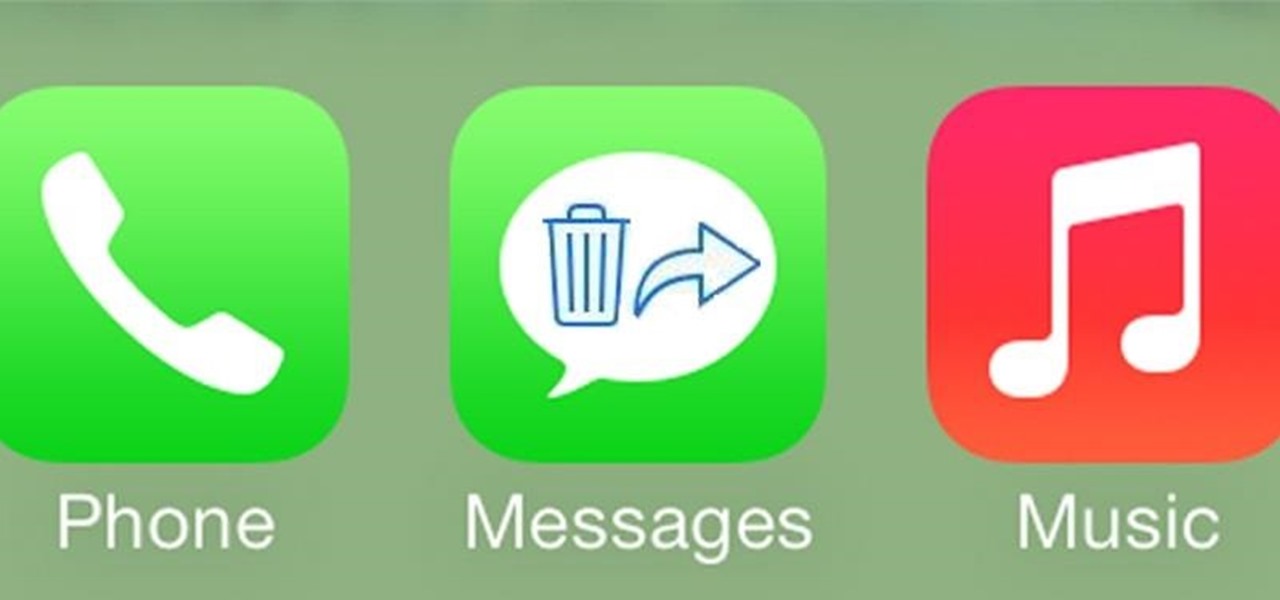
Back in iOS 6, deleting individual text messages in a conversation was just a matter of tapping the edit button on the right-hand corner of the thread, selecting which texts to delete, and then pressing delete.

Since the release of the Samsung Galaxy Note 2, many of its features have been replicated by Android developers for other devices. The most popular feature, aside from Smart Rotation, on the Note 2 has been the multitasking multi-screen/multi-window feature, which allows you to run several apps at the same time.

In this video tutorial, viewers learn how to change the color of lips in Adobe Photoshop. Begin by importing the image into the program. Select the quick mask tool and then select the brush tool. Now color the part that you want to retouch. This will allow the mask to create a selection. No click on the masking tool to create a selection. Then select the marquee tool. Right-click the selection and click on Select Inverse. Right-click the selection again and select Feather. Make it 1 pixel and...

In this how to video, you will learn how create glowing eyes in the darkness using Photoshop. First, open your image in Photoshop. Next, duplicate the background layer. Go to hue and saturation and make the image really dark by turning down the lightness and saturation. Next, select a paintbrush for the eraser and start erasing around the eyes. Once this is done, make a selection around the pupils. Create a new layer and paint the selection red. Next, lower the flow of the paint brush and cho...

In this Software video tutorial you will learn how to create shock style text in Photoshop. Go to the text tool and select it. Then select the font and a large size. Select white color and type in your text. Now create two copies of this text and select the original text. Then click on image > rotate canvas > 90 degrees clockwise. The text will turn by 90 degrees. Now go to filter > stylize > wind. Make sure under ‘method’, ‘wind’ is selected and under ‘direction’, select ‘from ...

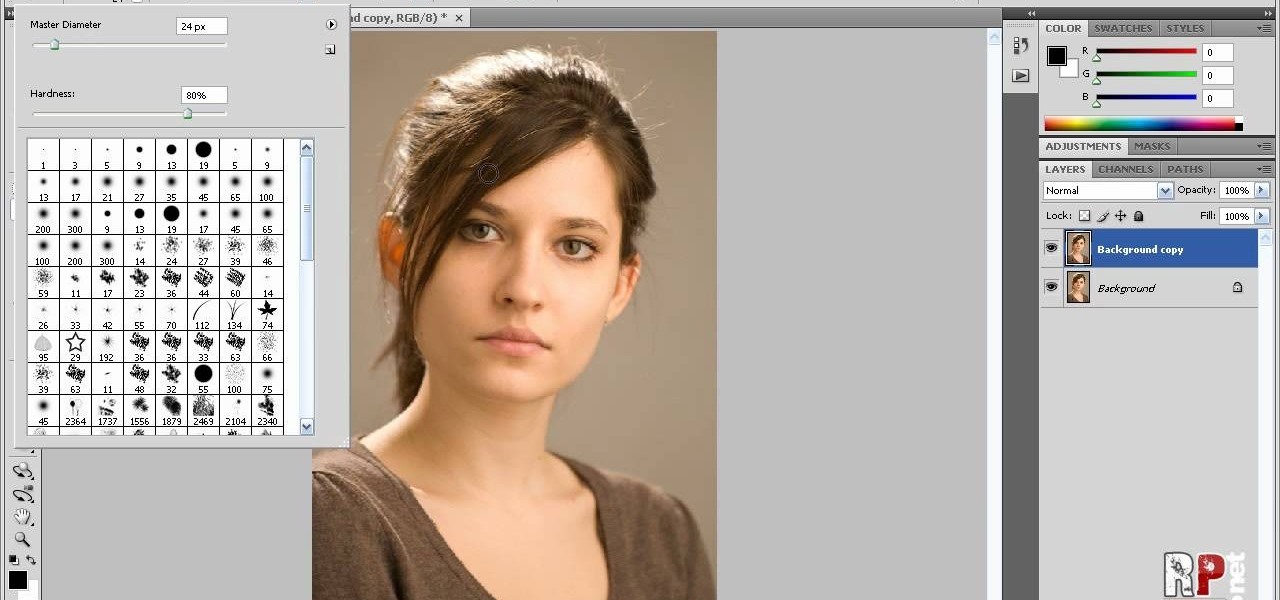
Robert demonstrates how to use Photoshop to give yourself a tan. First, you need to upload your picture(s) into Photoshop. Then pick one to work on. Next, you will need to copy the background to save the original image. On the right side drag the background label to the new layer icon (you can just hit control J). You will then need to select a paintbrush tool. Go up to the tool bar and click on the paintbrush settings to set the hardness at 80%. The master diameter will be adjusted as you wo...

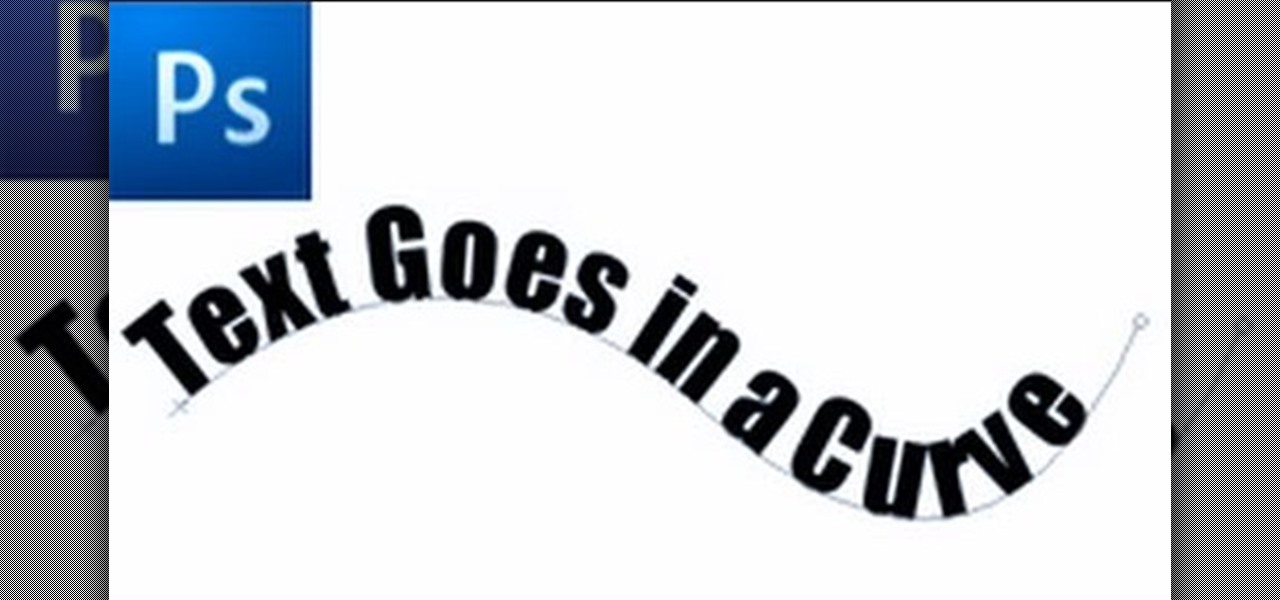
First of all select the 'pen' tool from the side bar. Now select the 'paths' box from the top screen. Now make two different points to make a curve and then make a third point to make another curve as shown. Now select the 'text' button. Now change the 'color' of the text to ‘black’. Now run your cursor over the path till it ‘changes’. Then click. Now you can actually ‘type’ on this path. Type in "text goes in a curve". This shall be written on the curved path that you have just m...

This how to video shows you how to make your avatar look like the Joker from Batman Arkham Asylum. First, go to the avatar edit menu. Hold the button down for 60 seconds until the box tilts. Now, search for spiky hair and choose a green color. Now, move on to the eyes. Choose evil eyes and select any eye color. For the eyebrows, choose a curved shape for an evil look and select a black color. For the ears, choose long ears. For the nose, select a wide or defined nose. For the mouth, select a ...

1. First of all select 'filter' at the ‘top tool bar’. Now select the 'artistic' from the ‘drop down’. Then select 'fresco' and then click 'ok'.

To create glossy or reflective vector image, you will need to know how to use the offset options in Adobe Illustrator and the basics for pathfinder. You will be creating a vector image that can be resized without hurting its quality. To start select you text style, which be glossy for this. You will have first a white layer, a shadow, a radiant layer, a white outline and a shadow going underneath. In this video the Oh Gizmo Logo! is being used as the template. Right click create outlines. You...

In this video tutorial, viewers learn how to make a digital sunburn using Adobe Photoshop. Begin by importing the image into the program. Then use the masking tool and select the areas of the skin that you want to sunburn. Now select a reddish color and use the brush tool to paint the select areas. Then click on the masking tool to create a selection use the marquee tool to invert the selection. Now right-click on the selection and select Inverse Selects. Then go to Image, click on Regulation...


