The Paper Bag Princess is one of the most beloved children's books for girls of all time, and it's heroine is a great role model for young girls everywhere. If you love the book, watch this video to learn how you can make an easy, sexy Paper Bag Princess Halloween costume.
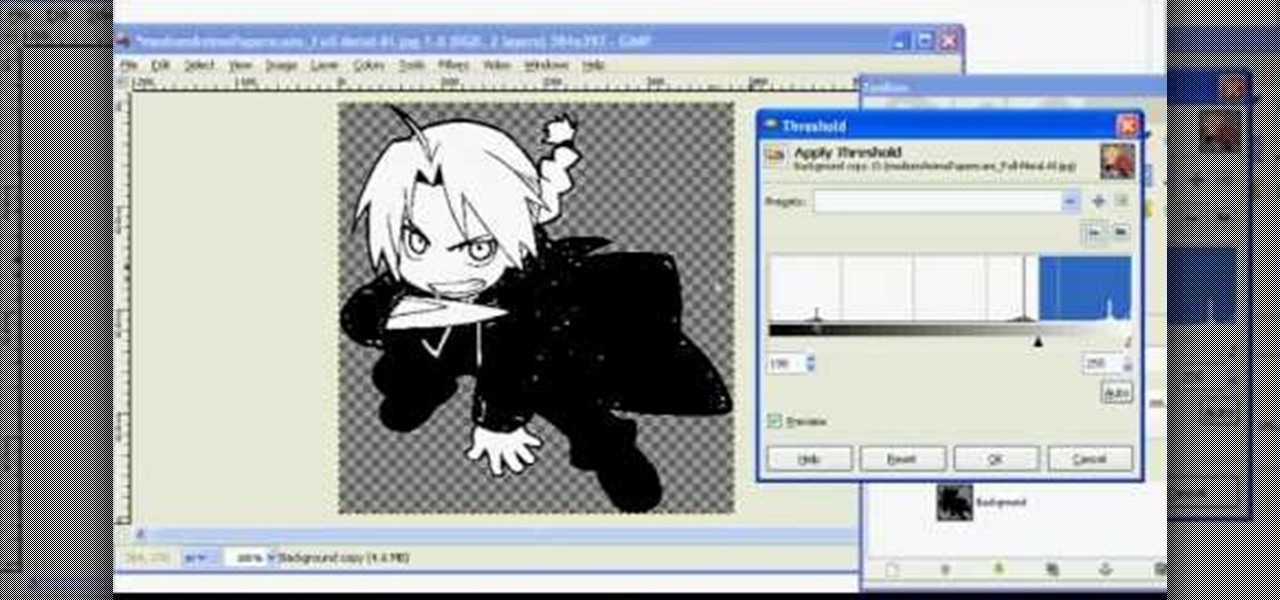
In this tutorial, we learn how to make 2-layer stencils in GIMP. First, cut out the background before you begin. Now, right click on your main layer and then select "add alpha layer". After this, select the magic wand tool and delete all the white areas on the outside of the picture. Now duplicate the layer, then hide the top layer and select the bottom layer. Now, go back to threshold and move it all the way to the right to get an outline of the image. From here, go back up to the top layer ...

To do that, first select the pen tool, choose yellow stroke color and draw the path as showing in the video then deselect and choose pen tool again, pink color in stroke and draw the path again. Now you need to select the blend tool and click on both paths. Now go to object, blend and choose blend options. Now select the specified steps, put the value of 25 there and click on ok. Now open the blend in layer window and select the paths. Now set color to white
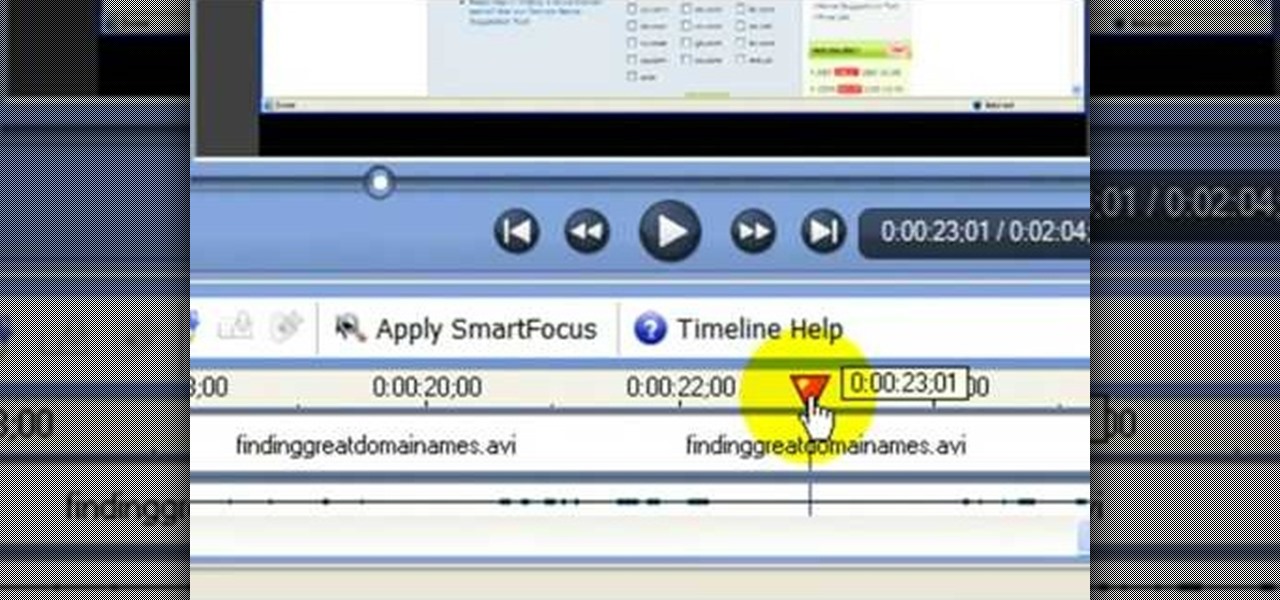
In this video tutorial, viewers learn how to use the noise removal tool in Camtasia Studio. Begin by uploading the audio track into the time line. Then select and highlight the region that contains the noise. Now click on Edit and select Audio Enhancements. Under Background noise removal, users are able to select to automatically or manually remove the noise. Once selected, simply click on the Remove Noise button. Users also have the option to adjust the sensitivity. This video will benefit t...
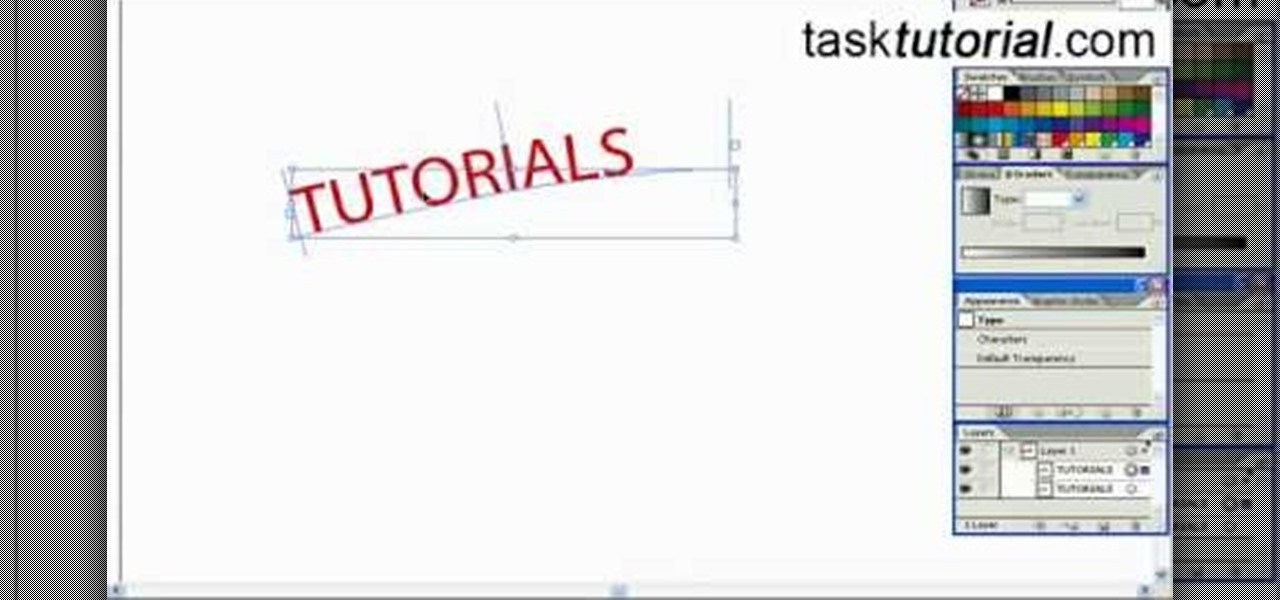
In this tutorial, we learn how to create a cool blend text effect in Illustrator. First, open up Illustrator and draw a path, then change the color to black. After this, click on the line and type in your desired text. Increase the font size to 36 points, then select the red color. After this, copy your path and select the duplicate button. Now, move the duplicated path and change the background color to yellow. Now, scale the path and resize, then place on to of the red path. When finished, ...
In this video tutorial, viewers learn how to align and group objects, and use gridlines. Begin by clicking the Insert tab and select a shape from Shapes. To align the object, go to the Format tab and select the Align menu. From there, users are able to align the selected object in any direction. In the Align menu, users are also able to add gridlines by selecting View Gridlines. To configure the grid-line options, click on gridlines Settings. This video will benefit those viewers who use Micr...

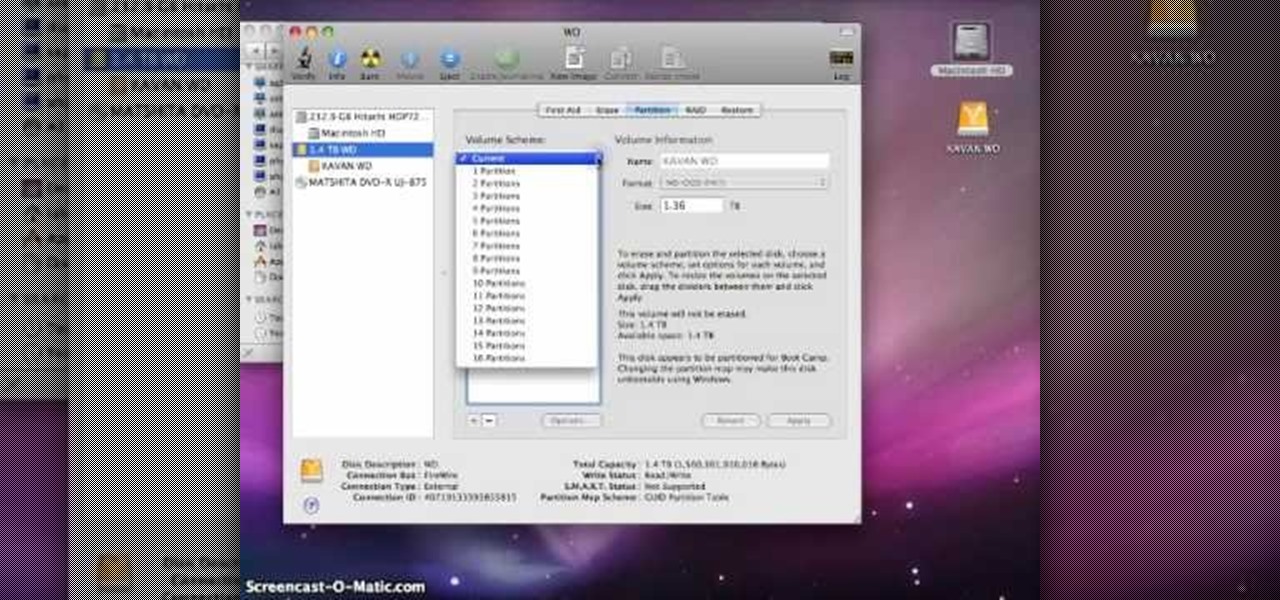
In this video tutorial, viewers learn how to partition an external hard drive on a Mac computer. Begin by open Macintosh HD. Scroll down the list on the left and click on Applications. Double-click on Utilities and select Disk Utility. Under Volume Schemes, select 2 Partitions. Select the name of the partition and choose the format that you want for the drive. Select the second partition and do the same. Now click on Apply and click on Partition. This video will benefit those viewers who use ...

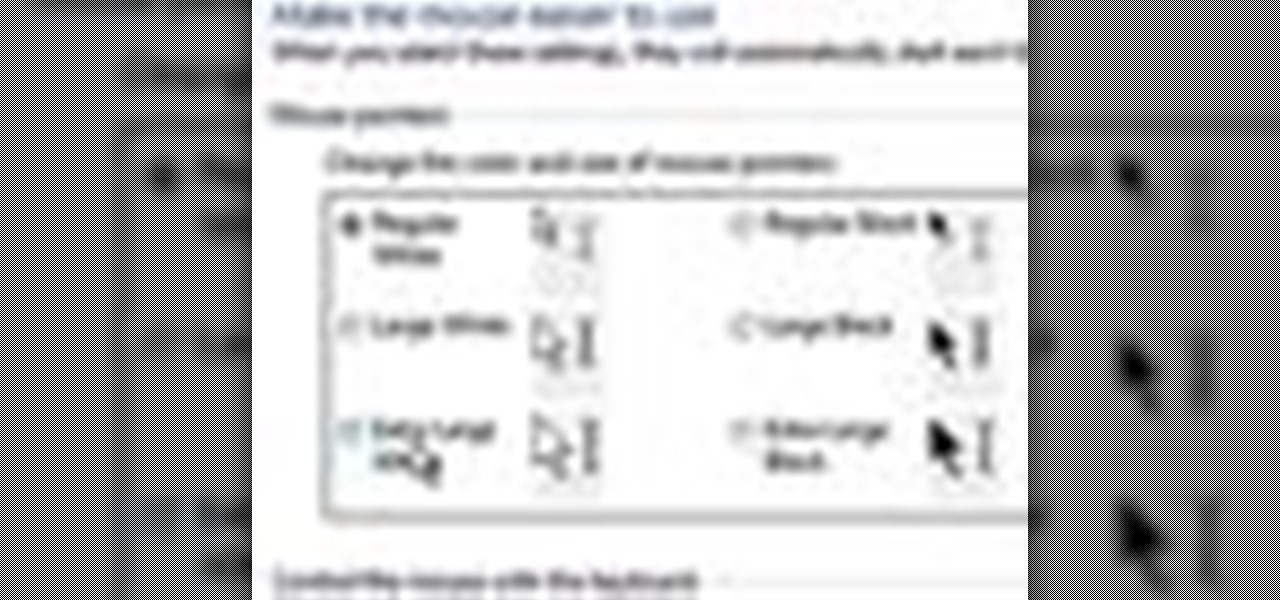
Windows 7 uses several options to make it easier to change and locate the cursor on the screen. 1) To access these options select “Start” then click on “Control panel“from the menu.

First of all you have to arrange the ingredients that are two chicken breasts which you have to cut into chunks, two tbsp of vegetable oil, two tbsp of butter, one chopped onion, a quarter of a tsp cinnamon, one tsp of crushed garlic, one tsp of crushed ginger, half tsp of ground turmeric, one tsp of chili powder, two tsp of ground almonds, a can of 225 gm of whole peeled tomatoes, one tsp of tomato paste, one tsp of natural yogurt, two tsp of fresh coriander or chopped spinach, and salt & pe...

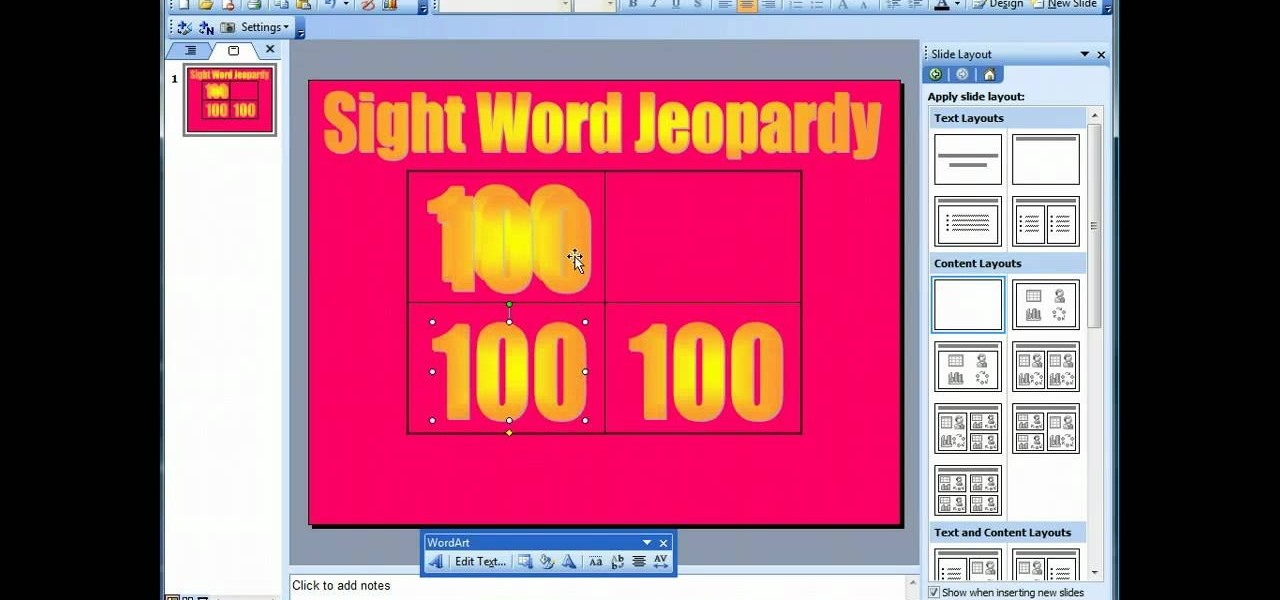
This video demonstrates how to make a basic Jeopardy game in Microsoft PowerPoint. First, choose a background color by clicking Format on the top bar menu. Select Background and choose the color you wish to have. Click Apply To All to apply it to your entire PowerPoint presentation. Then, click Insert on the top bar menu and select Table. Fill in the number of columns or rows you wish to have for your table and then click OK. In this example, create a 2x2 table. Make a title for your game by ...

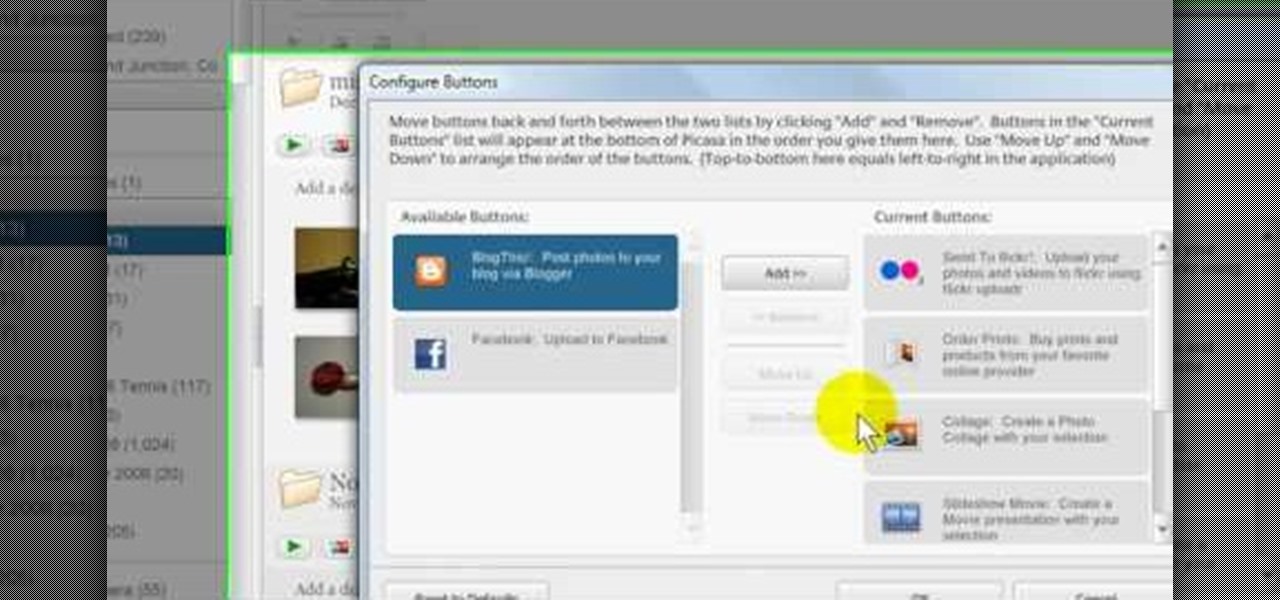
In this Computers & Programming video tutorial you will learn how to add photos to Facebook using Picasa. The video is from Help Me Rick. Log into Facebook, go down to the lower left corner and click ‘Applications’. Click ‘Find More’ and in the search applications box, type in ‘Picasa’. You will get a list of Picasa applications. Select the Picasa by Alan Lundeen. Here you click ‘go to applications’ -> install now -> OK -> Yes -> Facebook -> Add -> OK. Now you will get a Facebook icon on the ...

Do you know what an idiom is? If you don't, this English lesson is sure to make you an expert on idiom usage.

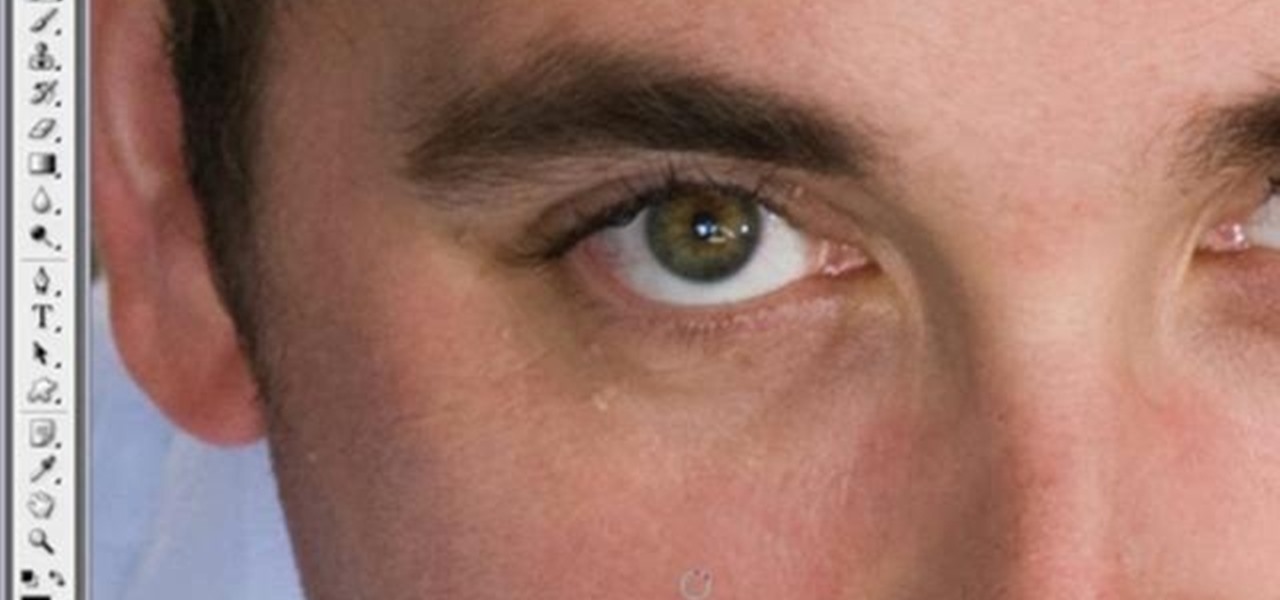
This video in the Software category will show you how to remove pimples and wrinkles in Photoshop. Yanik from Yanik’s photo school presents this video. Select the photo you want to work on. First you duplicate the layer by ctrl+J or select from the dropdown menu. You start off with removing those pimples that you want to remove completely. Select the spot healing or the regular healing brush. Yanik prefers the regular healing brush. Also choose a small brush size. To select a source point, ho...

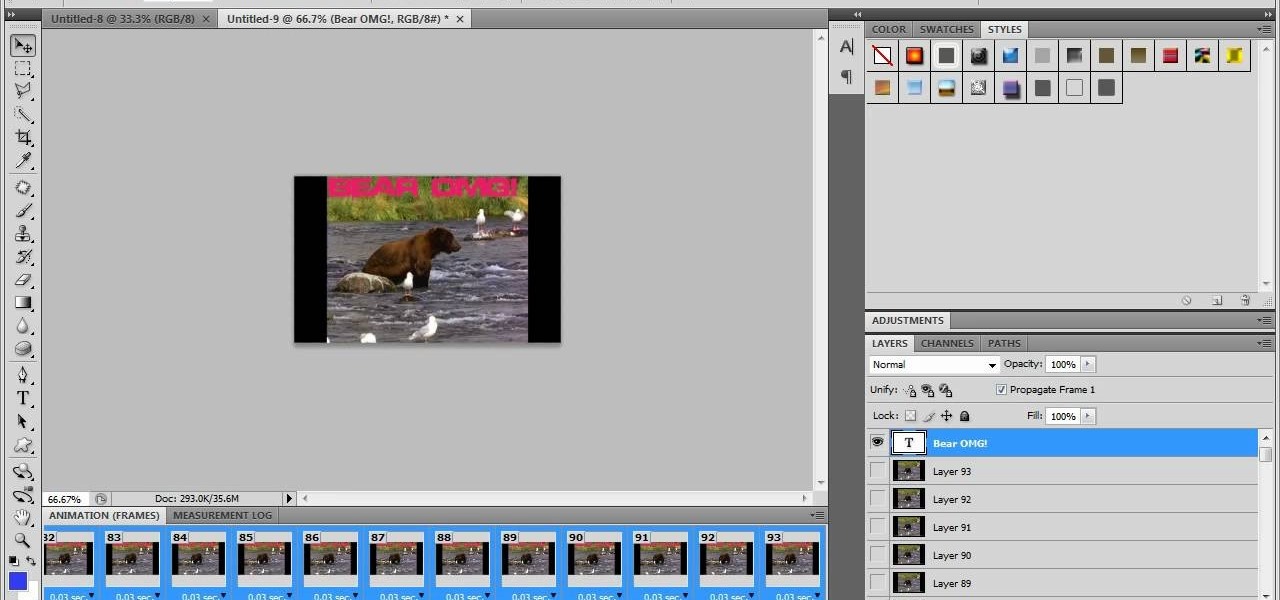
Learn how to make an animated GIF from a video clip using Adobe Photoshop CS4. You'll need to use an external editing program (like Sony Vegas) to create a small clip from your larger video beforehand. From Photoshop, go to "File" and select "Import" and then "Video Frames to Layers" from the pop-up menu and select your video clip. Choose "From Beginning to End" when prompted about range to import. The duration of the video clip will now be displayed in frames. By default, each frame is set t...

This video is from HelpVids and describes how to change the axis titles on charts in Microsoft Word 2007. To access the chart tools, select the chart and the tools will appear above the ribbon. There are many different design options that you can preview on the screen to make your final selection. To change the chart title, click on the Chart Title button which is located on the Layout ribbon. You can then select where you would like the title to appear. Once you select the location you can t...

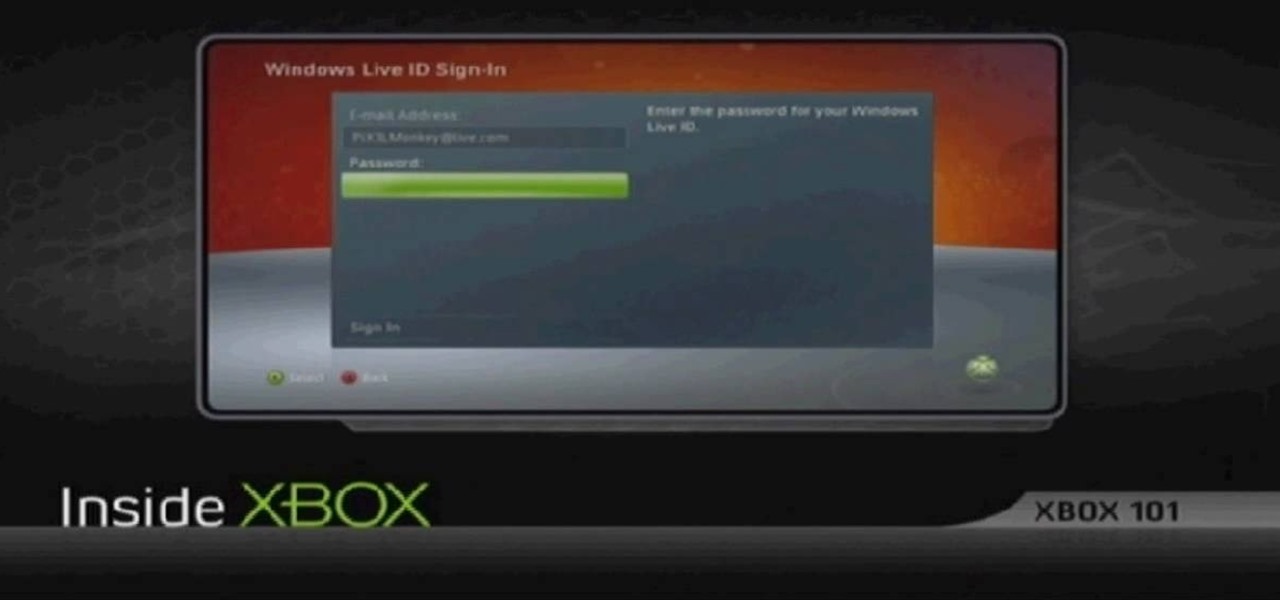
Learn how to update your contact information on your XBox 360 in simple steps. First to update your information through the XBox website go to My XBox and select 'Manage profile'. Now click 'Contact information' and update you information and details. To do it from your XBox 360 console go to My XBox and select 'Manage account'. Now click on 'Contact information' and then update your details. Do not give fake details because if you are selected for any offers you cannot be contacted.

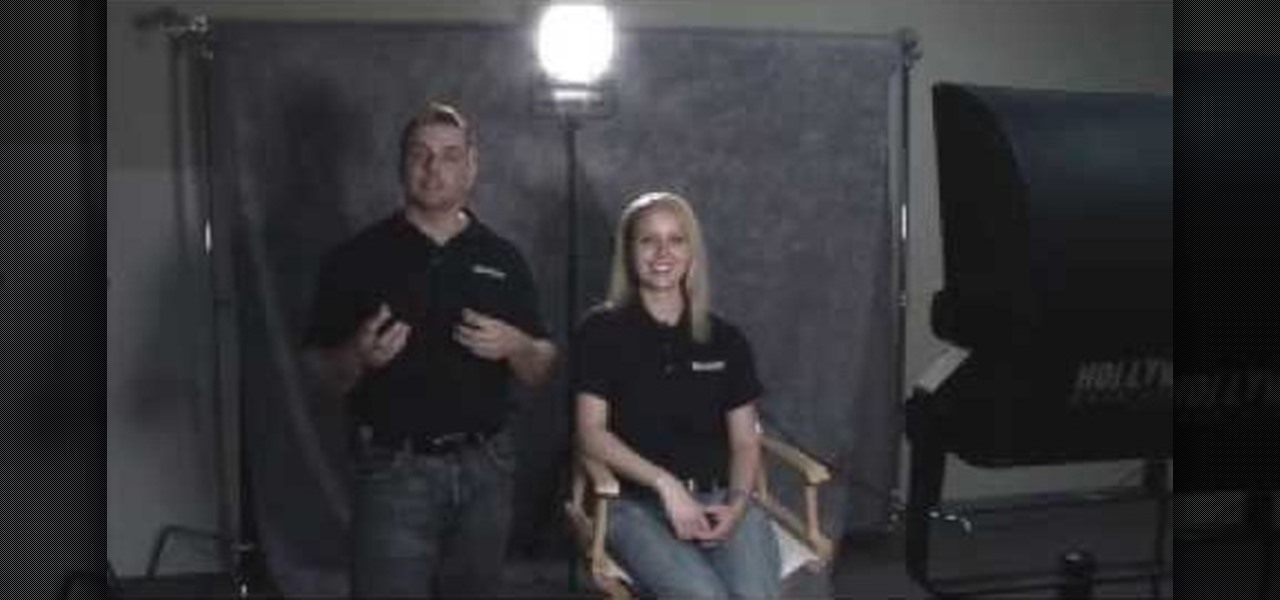
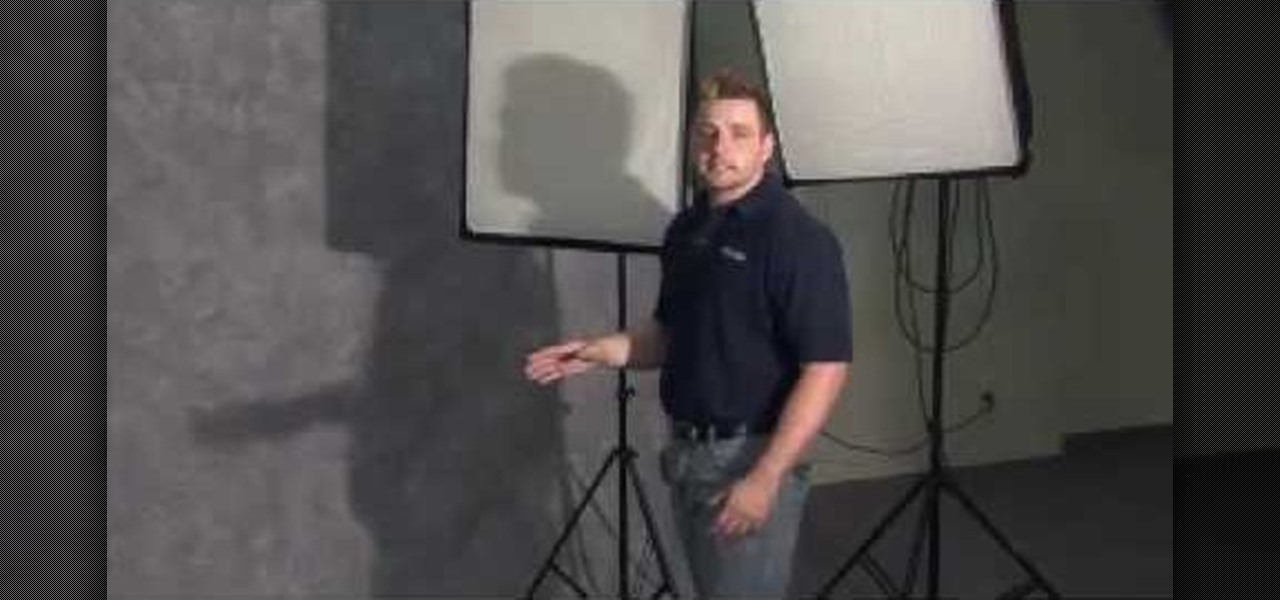
This video tutorial will show you how to apply four styles of lighting. This video teaches you how to apply four styles of lighting, namely Rembrandt, Beauty, Cameo and filling in from the Key Side. You will learn about high contrast lighting schemes, dealing with the amount of contrast used to highlight a person's face, as well as spotlight effects, and how these tend to draw the viewer into the scene. You will be shown how the Rembrandt Lighting setup contains three steps, namely taking a K...

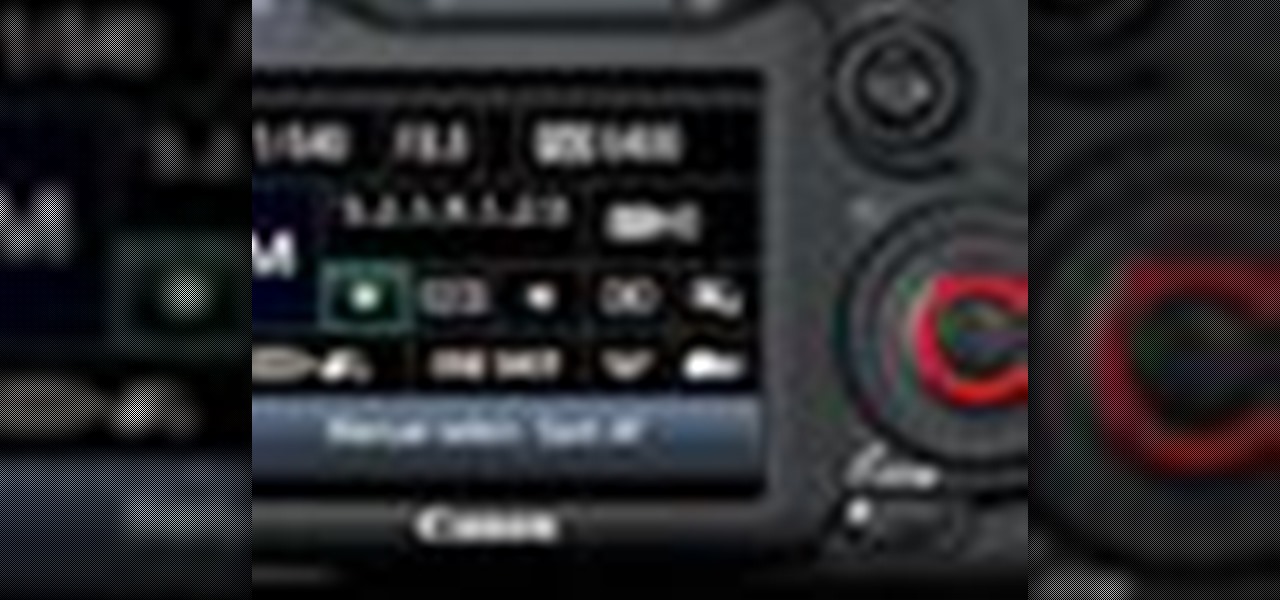
If you're not one to trust you digital SLR camera's automatic focus options, then the only thing you have to do is go to manual mode. With the Canon EOS 7D, select the Manual AF Point Selection and take control. It allows you to pick the area you want to focus on.

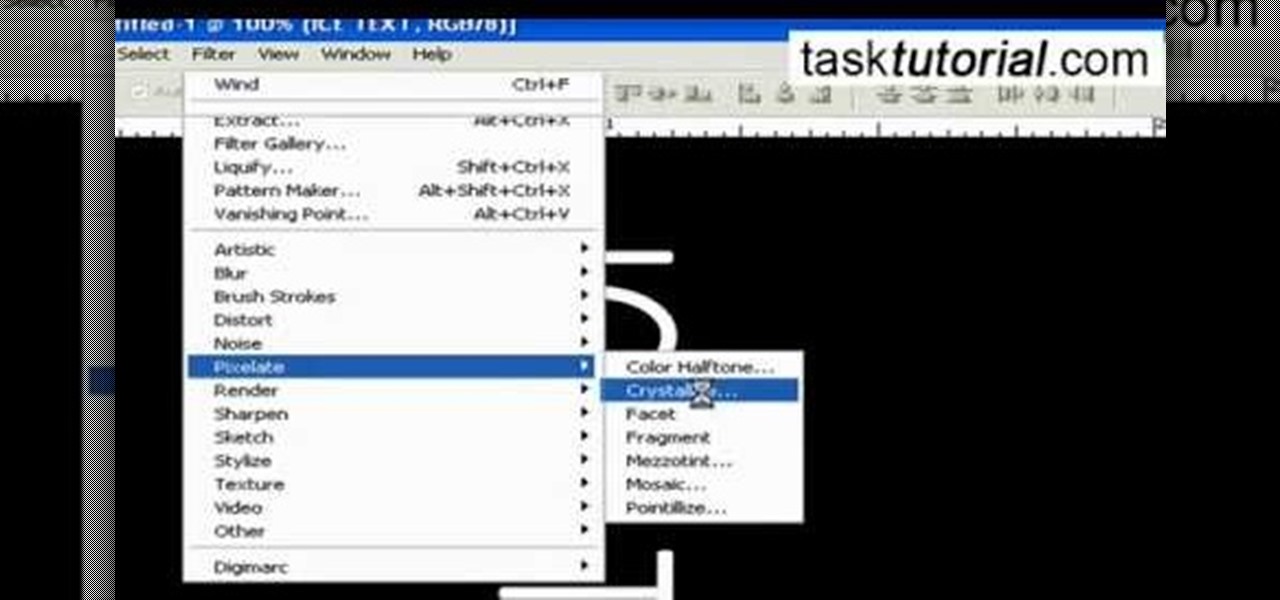
It is a tutorial that how to make an ice text effect on Photoshop. First create a new layer select paint bucket tool switch black color and paint the layer now create an other layer, choose type tool then switch the white color and create a text "ice text" after go to layer pallet merge the layers after that again create another layer select paint bucket tool and select black color now select ice text layer then go to image menu rotate canvas click clock wise then go to filter choose crystall...

Three point lighting is the key to MAKING videos look professional. Tom Skowronski, the associate editor of Videomaker, guides us through the process of three point lighting. Three point lighting involves the use of three types of light to create a professional appearance when video taping. First, a key light is used to provide bright illumination of the subject. Then, a fill light cleans up the dark areas on the face. Lastly, a backlight fills serves to separate the subject from the background.

Wait, a query within a query? This function is possible within the framework of MySQL. Learn how to correctly implement a subquery or sub select in your next database project and avoid a couple perils that will make your program unstable.

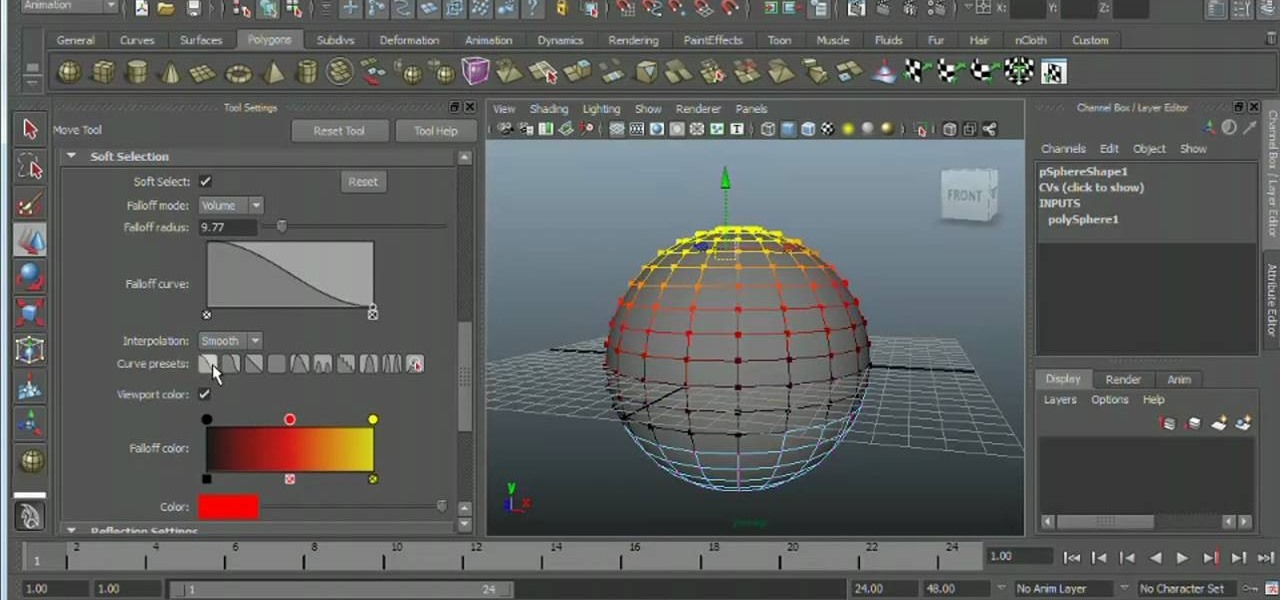
Want to know how to do proportional modeling when working in Maya 2011? This clip will you how to do just that using the program's Soft Select tool. Whether you're new to Autodesk's popular modeling software or a seasoned 3D artist just looking to better acquaint yourself with the Maya 2011 workflow, you're sure to be well served by this video tutorial. For specifics, watch this free video guide.

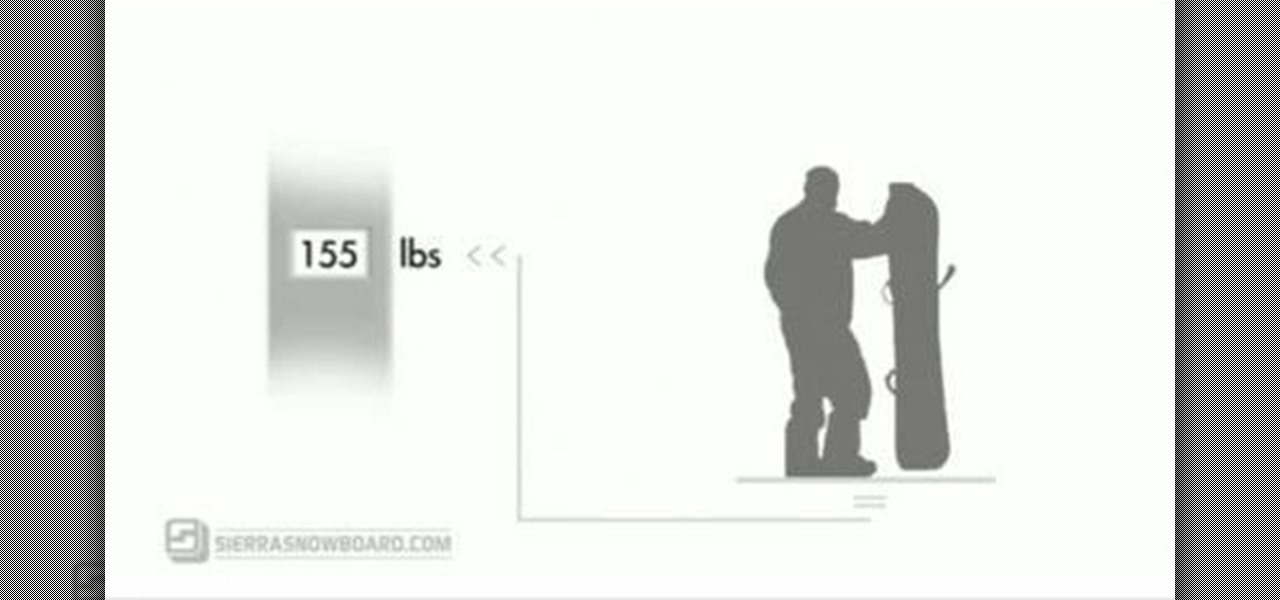
In this video, Sierra Snowboard gives us some tips on how to select the snowboard that's right for you. Each board comes in a number of different sizes, and most boards come with a size chart specific for that board. These charts can be vague, but are good starting points for selecting your size. One thing to consider is your bossy type. The weight of the rider is the primary factor in selecting the size of a snowboard. You'll notice that the height of a rider is not listed on a size chart. I...

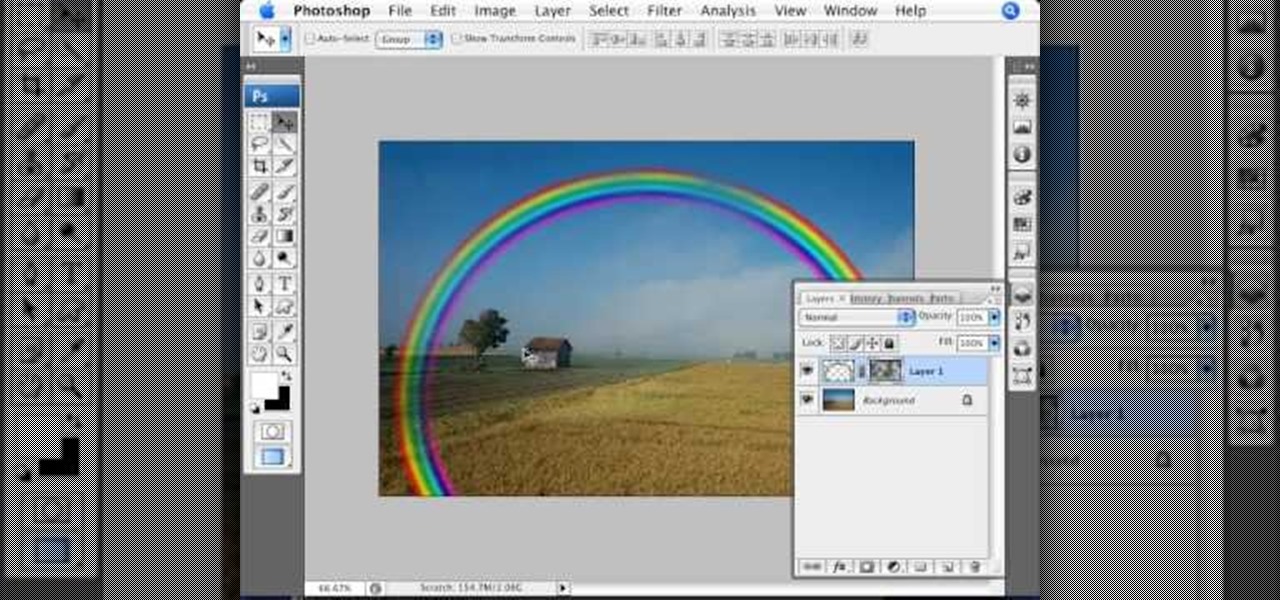
Open the picture you wish to place a rainbow within. A good scene has clouds that are receding into the distance and the light angle coming in from the front of the scene. A rainbow effect appears when by the sun is shining from behind you into the mist-filled air where it is refracted by raindrops.

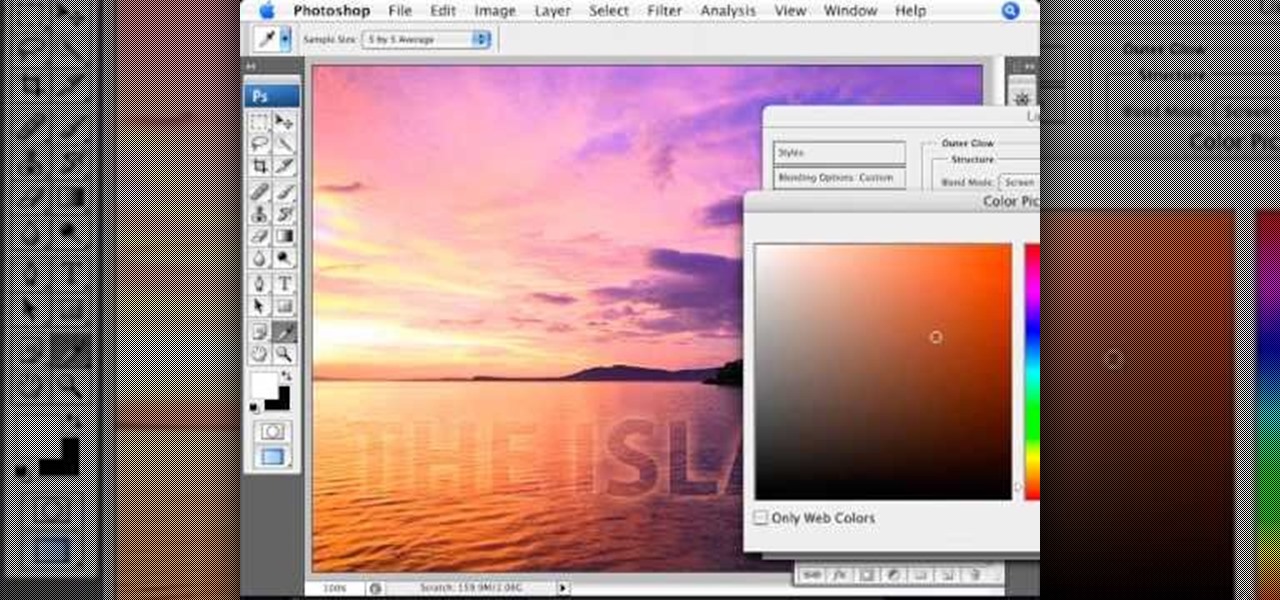
Learn how to create glowing text in Photoshop with this awesome video! 1. Write any text using text button T on the selected image as a background. Write a suitable text and place it somewhere. 2.Select the text and make it Bold. 3. right click and set Opacity and Fill options. Opacity changes the color of the text as well as its effect. Whereas Fill changes the color only . If you have set it to 0% then you can't see the text if its exist also. Set Opacity to 100%. 4. For glowing text select...

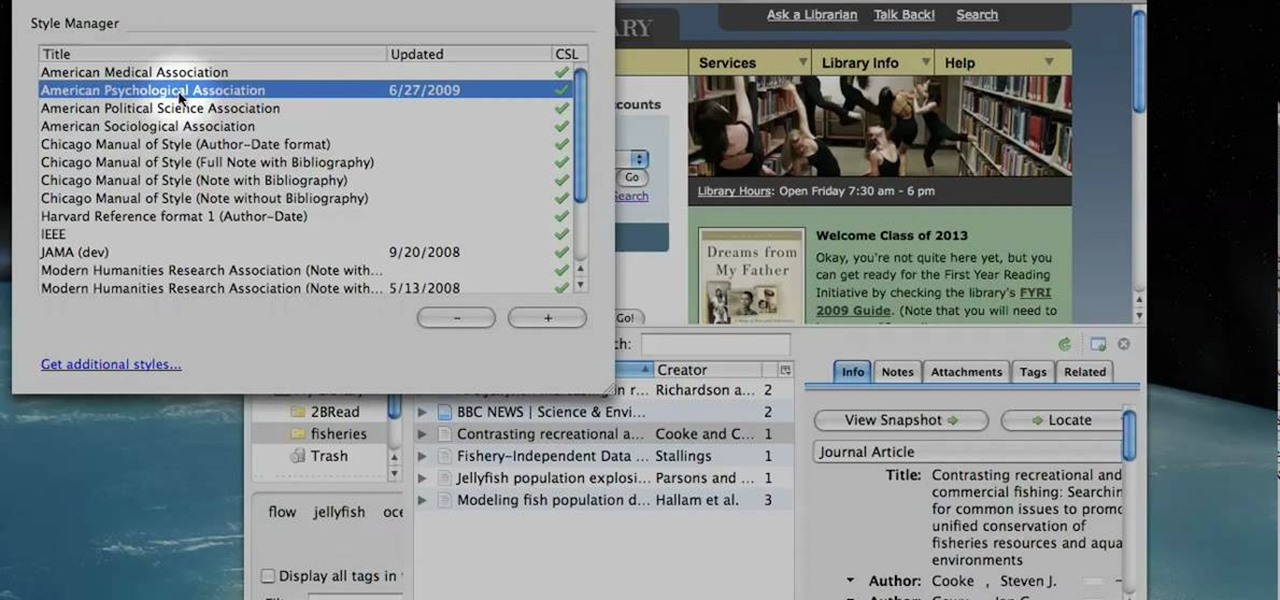
Learn to use Zotero to create bibliographies and citations with this tutorial. In addition, collect and organize information from all sources. So help correct the sources research paper. Before using the excitation features, make sure to select and prepare the style of your paper. If you are not sure ask your instructor. She has a preference style. You will select by clicking on the action button +preference then choose the style. It will include the number of most common style. You can downl...

The Pixel 2 has finally arrived. Google unveiled their newest flagship phones on October 4th, and there's quite a few changes in store. For one thing, most of Google's official renders have already showed us something new: The Pixel 2 and Pixel 2 XL will have a Google Search bar at the bottom of their home screens.

There's a feature in Google's Photos app for Android, iOS, and the web that lets you create shared albums with your friends and family. It's really a useful feature that makes it fun and easy to collaborate on an album with a person or persons of your choosing.

Why unlock your Samsung Galaxy S3 to use with a different SIM card? One possible reason is that you love your phone, but not your cellular provider because of the poor service or an unreliable connection. If you purchased a Samsung GS3 with AT&T, T-Mobile, etc. on a contract, it might be locked for a specific amount of time called the contract period.

This is a video tutorial in the Software category where you are going to learn how to revert to the Fixedsys font using mIRC. Click on the channel icon and select font. Here you can select the font and the size and then click OK. If you have Windows XP or older version of Windows, you can type in fixedsys in the font window, select the size, click OK and the fixedsys font will be selected. But if you have Vista or Windows 7, this will not happen. So you bring up the Windows explorer and in th...

In this tutorial, we learn how to make a cool neon text effect using Photoshop. First, type your text using a big and simple font. After this, right click on the text layer and click on "rasterize type". Now, press the control button while you click the thumbnail of the text layer. After this, grab the lasso tool and click "select inverse". Then, set it on 12 pixels in the toolbar. Now, use the magic wand too and select each of the letters by holding shift. Next, create a new layer and click ...

This video tutorial belongs to the Computers & Programming category which is going to show you how to reformat a computer. For doing this you will need your computer and the operating system CD. Turn on the computer and load the CD. Then keep tapping f8. Your computer will now load from the CD. When the set up options page comes up, select the 'set up windows' option. Thereafter select the number of partitions that you want to create in your hard drive. The hard drive is now reformatted and t...

In this video tutorial, viewers learn how to make free custom ring tones for an iPhone. Begin by clicking on the Start menu and select Control Panel. Then click on the Folder Options and deselect "Hide extensions for known file types". Now open iTunes and select the desired song. Right-click on it and select Get Info. Click on the Options tab and make the song lasts only 29 seconds. Then right-click on the song and select Create AAC version and wait for it to finish converting. Now open the c...

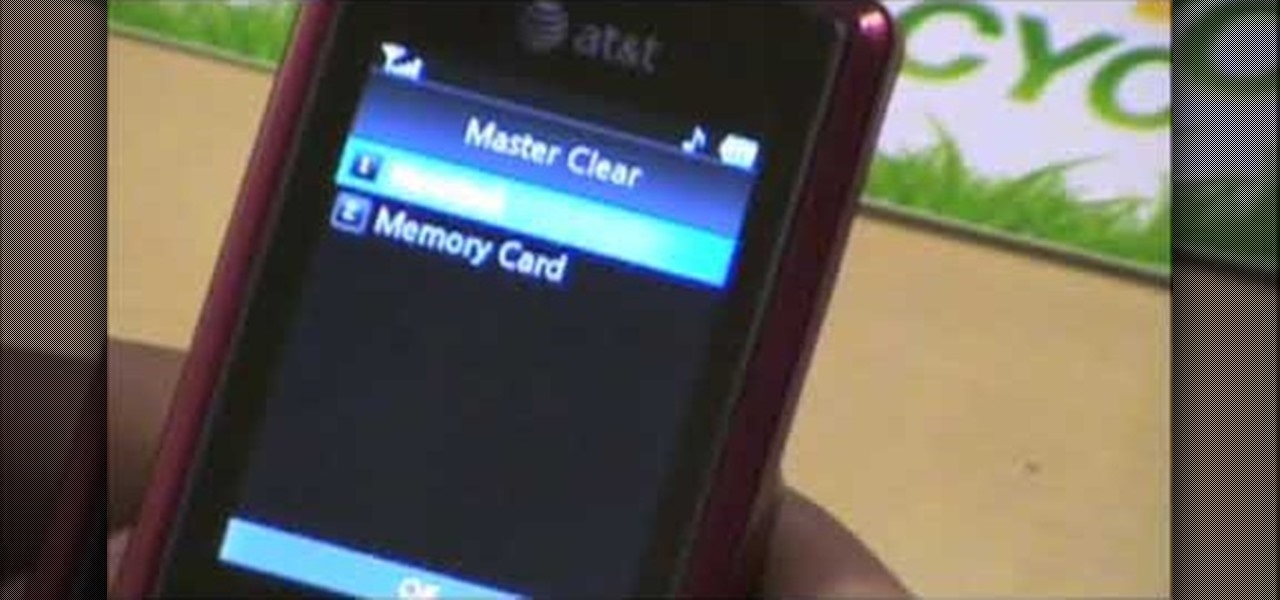
In this video tutorial, viewers learn how to data clear and erase an LG CU720 Shine mobile phone. This task is very fast, easy and simple to do. Begin by clicking on the Menu button and select Settings. Then scroll down the list or press the # sign to select Reset Settings. Now select Master Clear and select Handset. If there is data in the memory card, clear it as well. Click on Yes to confirm the resetting and type in your security code. This video will benefit those viewers who have a LG S...

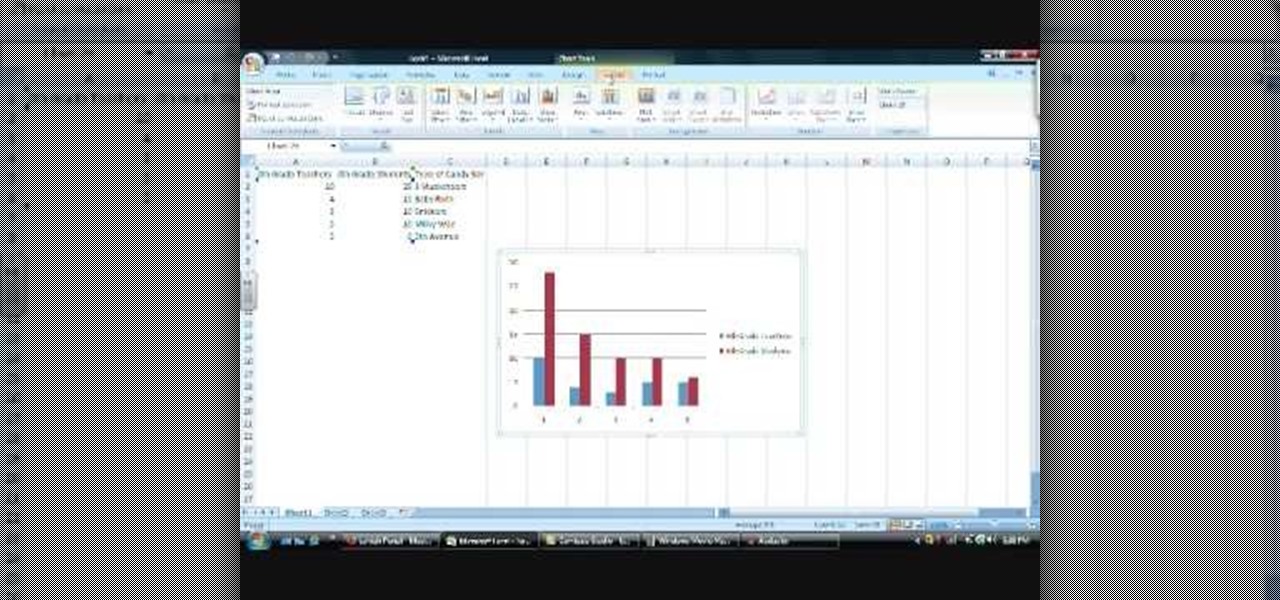
In this Software video tutorial you will learn how to make a basic bar graph in Microsoft Excel. You will also learn how to give your chart a title and how to label the axes. First you put in all your data in to an Excel spreadsheet. Then you highlight the data you want to put in your graph, select the 'insert' tab, then' column' and choose the basic column chart. Next you select the title tab, go to option and choose new title. Now you add the title to the graph. To label the axes, go on top...

In this video tutorial, viewers learn how to fix the Wi-Fi problem on an iPod Touch or iPhone. Begin by clicking on Settings and select General. Then scroll down to click on General and select Reset Network Settings. When a confirmation window pops up, click on "Reset Network Settings". The iPod device will then reboot. Now click on Settings and select Wi-Fi. Then select a network to connect to. This video will benefit those viewers who have an iPhone or iPod Touch, and would like to learn ho...

In this video tutorial, viewers learn how to use the zoom tool in Adobe Photoshop. To select the zoom tool, click on the magnifying tool in the toolbar. Users are also able to press the "Z" key to select the zoom tool. Once selected, users are able to zoom into the image by left-clicking on the image. Users are then able to select the hand tool to move around the image. To zoom out, right-click on the image. This video will benefit those viewers who use Photoshop to edit images, and would lik...

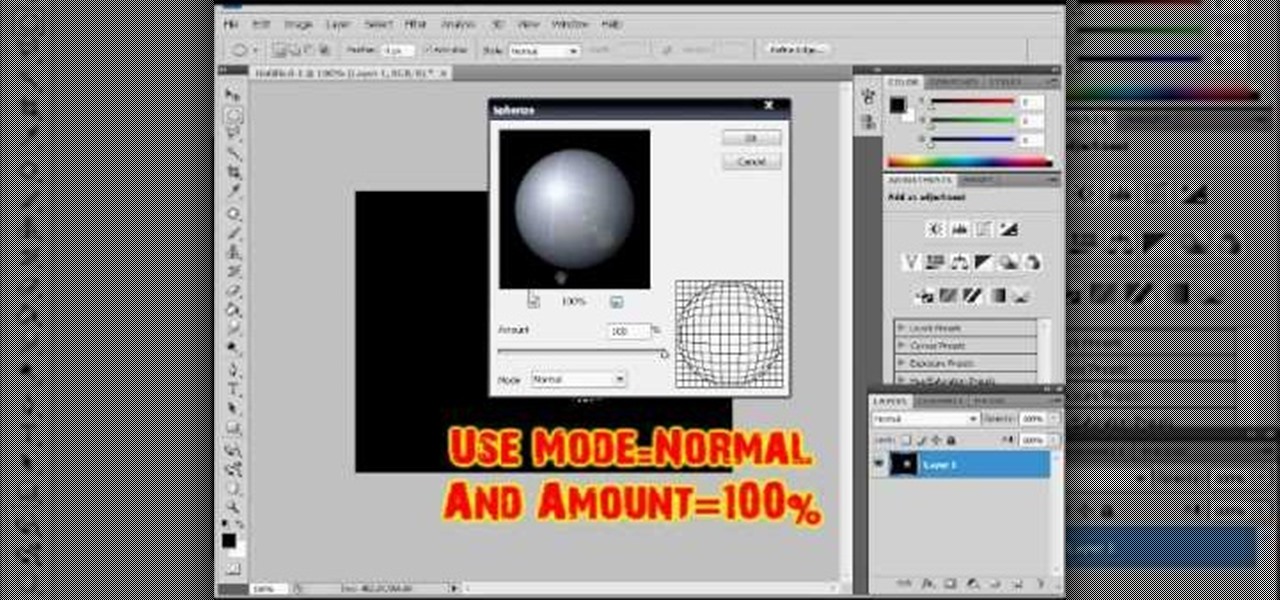
In this video tutorial, viewers learn how to make a shiny glass ball in Adobe Photo-shop. Begin by creating a new document with the default size and a transparent background. Then paint the entire background in black. Now select the marquee tool and create a circle anywhere in the background. Now go to filter, click on Render and select Len Flare. Make the lens flare 105 mm prime with 141% brightness. Then go to Filter, click on Distort and select Spherize. Use normal mode and set the amount ...

In this video, viewers observe the auto reversal magic trick. The magician begins by telling the spectator to select the card. Once selected, the magician places the card back into the middle of the deck. The magician then reveals that he/she has no card markings. Now the magician tells the spectator that he will find the card behind his own back. The magician starts shuffling the cards behind his back. The first card that shows up is not the selected card, so the magician goes through the de...

In this video tutorial, viewers learn how to create a carbon fiber desktop wallpaper using Adobe Photo-shop. Begin by creating a 20x20 pattern with the rectangle marquee and gradient tool. Then go to Edit, select Define Pattern and name the image. Now create a document with the dimensions of your monitor screen. Then go to Edit, select Fill and select the pattern that you have created. Then go to Filter, select Render, click on lighting effects and configure the image's lighting. This video w...


