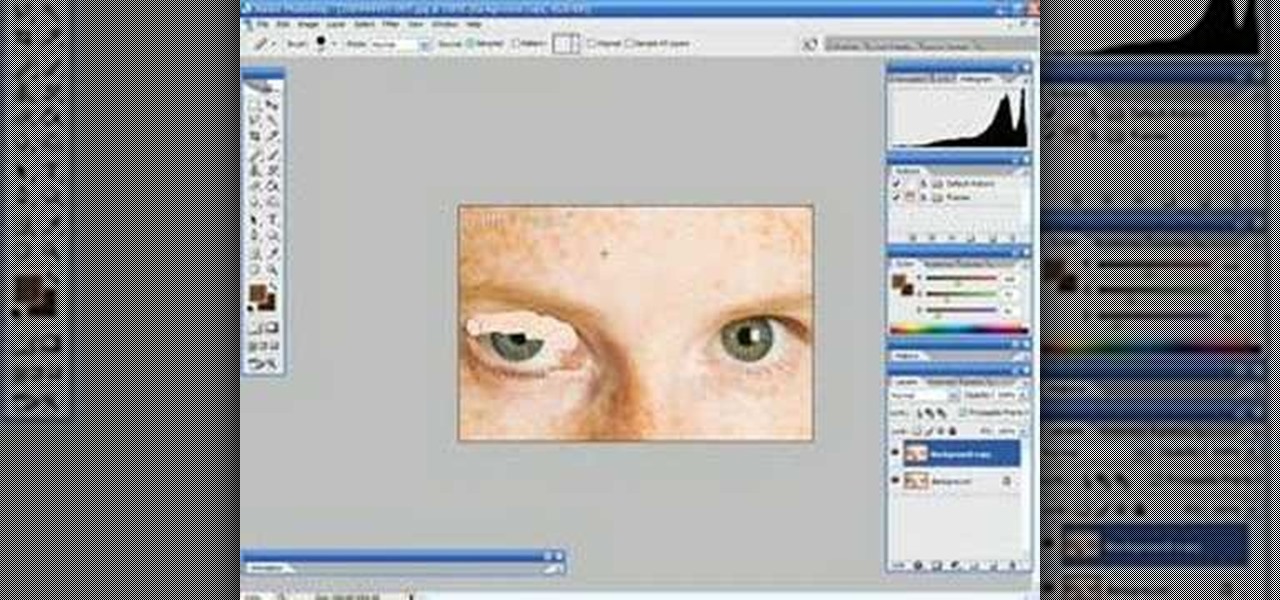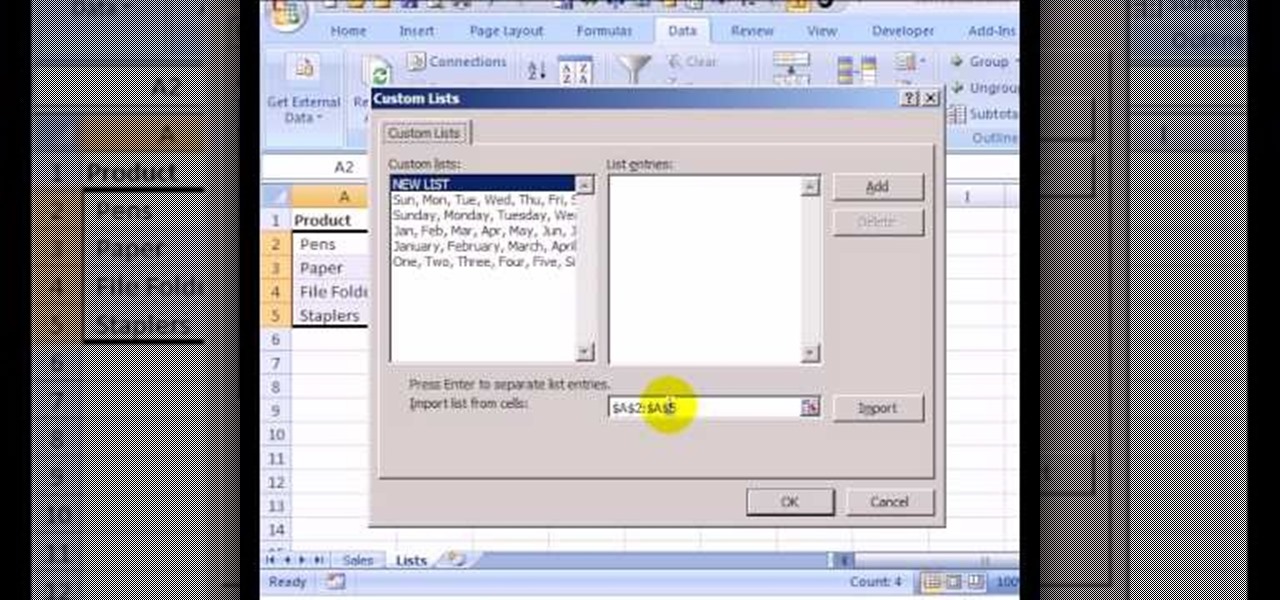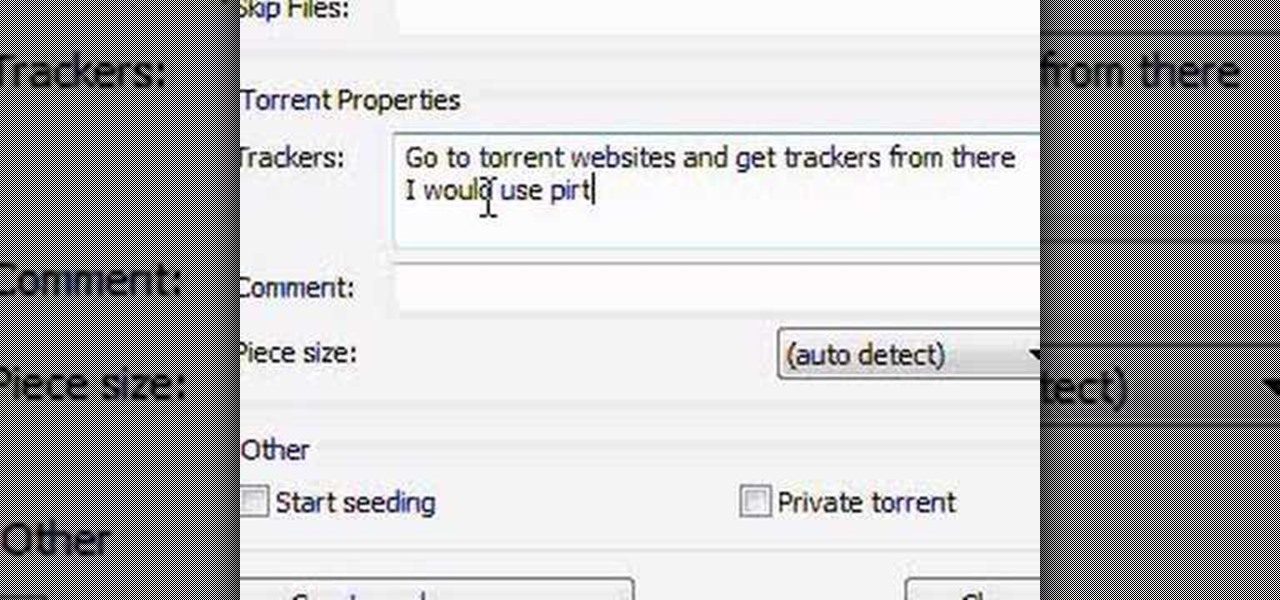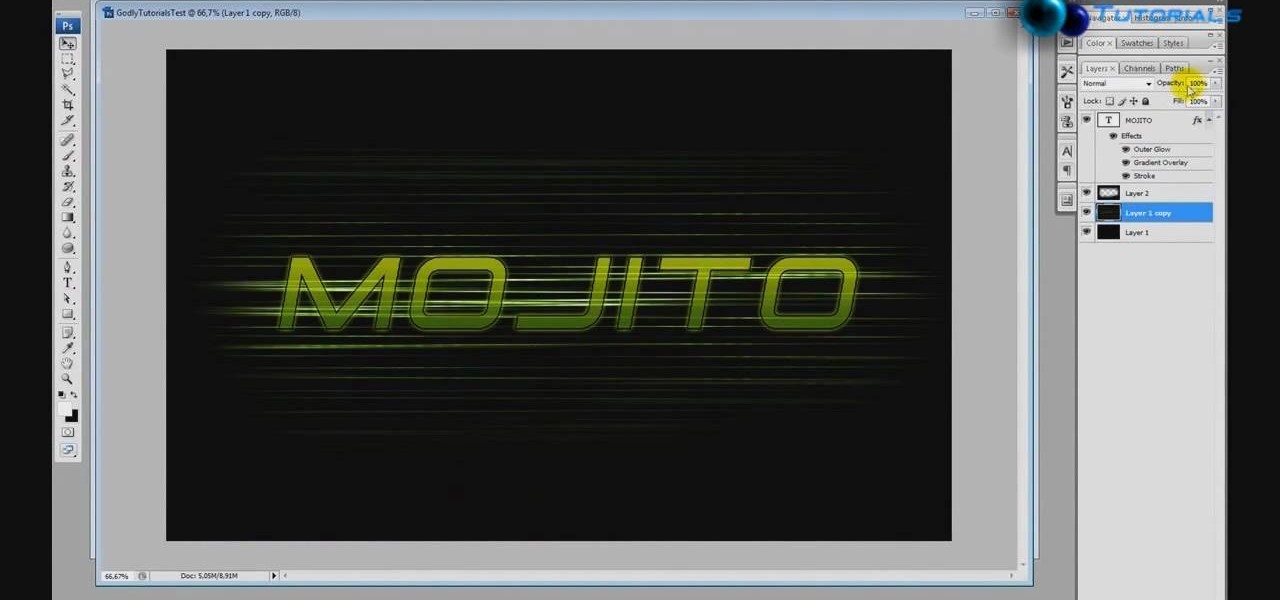
In this Software video tutorial you will learn how to make a winking animated GIF in Adobe Photoshop. Select a photograph of two eyes and duplicate the layer. Now copy the top eyelashes and paste them on top of the bottom eyelashes. Go to the eye drop tool and select a dark color. Then go to paint brush, choose a brush with size 1 and select darken in the ‘mode’ dropdown menu. Reduce opacity to 50%. Now darken the lower eyelashes as shown in the video. Then go to healing brush tool and se...

This how to video shows you how to sort data in Excel in a custom order. First, open a spread sheet in Excel. Select a column of cells with words that you want sorted. Click the office button and select Excel options. Go to edit custom list. You will see different custom lists. Click import to import your selection as a custom list. Next, you can go back to a sheet with those words that you want sorted and click the sort command. Select custom list on the order tab and select your new custom ...

This video shows us the method to transfer files between iTunes libraries in iTunes 9. First step involves downloading iTunes 9 from apple.com. Go to the 'Edit' tab and 'Preferences'. Go to the 'Sharing' tab and select the 'Share selected playlists'. Select the playlists you want to share and click 'OK'. Now go to 'Advanced' and select 'Turn on home sharing'. Make sure that both are under the same account. Type in the password and you will see an icon in the shape of a home in the left side. ...

In this video tutorial, viewers learn how to create a .torrent file using u-Torrent. Begin by opening the program. Click on File and select Create New Torrent. Now select the file, select the directory and type in the tracker code. Then click on Create and save as. Once the file is created, click on File and select Add Torrent. Locate the .torrent file click OK. Now wait for the torrent file to finish downloading. This video will benefit those viewers who use u-Torrent and would like to learn...

This how to video shows you how to create wallpaper for your computer desktop. Open Photoshop and create a new file. Change the dimensions to the size of your desktop. Click okay and go to edit and fill. Choose color and select black. Click okay to fill the screen with black. Duplicate the layer. Once this is done, go to filter, render, and lens flare. Make sure the lens flare is in the center. Edit the settings to your liking. Click okay to add the effect on to the image. Go to filter, disto...

The video shows a quick tip on how to get the best value out of one's BlackBerry Calculator. First, it instructs one on how to access the calculator application from the home screen:

In this how to video, you will learn how to convert DVD movies to AVI or any other type of file for free. First, you will need to download DVDx 2.1 and the install it. Next, open the program and insert the DVD disc you want to copy. Go to file and click DVD root. Find the video and select the video_ts folder. You will see the IFO files. Look for the one with the longest time. Click on this one and press select. If you have a DVD already ripped on your hard drive go to file and click open IFO....

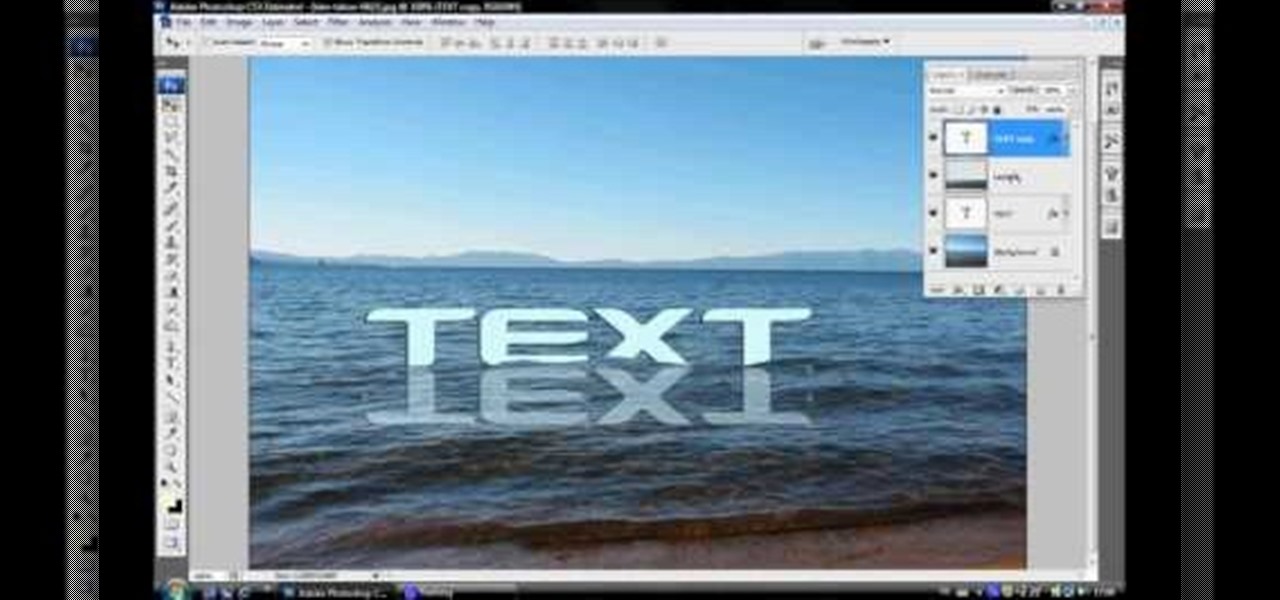
In this video tutorial, viewers learn how to make floating text on water. Begin by importing the water image into the program. Begin by selecting the polygonal lasso tool in the toolbox and select the top of the water. Once you have made the selection, right-click on it and select Layer via Copy. Then select the text tool and type in your text. Create a contour to make the 3D and give the text a light color. Then place Layer 1 over the ext layer and use the selection tool to place it behind t...

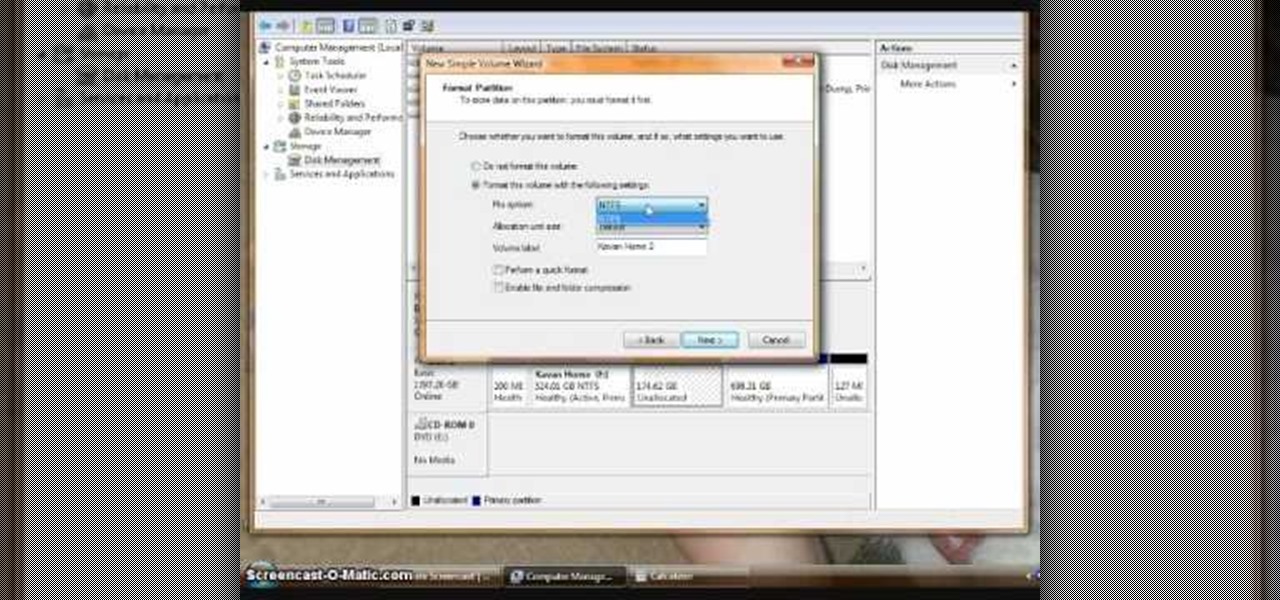
To format an external hard drive on Windows Vista, plug the hard drive in, then click on start menu, right click on "computer", and select "manage". Go to "storage" on the left hand menu and select "disk management". Right click on the letter of your external hard drive, and select "Shrink Volume". Choose the size of the partition you want to create, and click shrink. After it is done, there will be 2 seperate drives, with the new one being allocated. Right click on the unallocated drive and ...

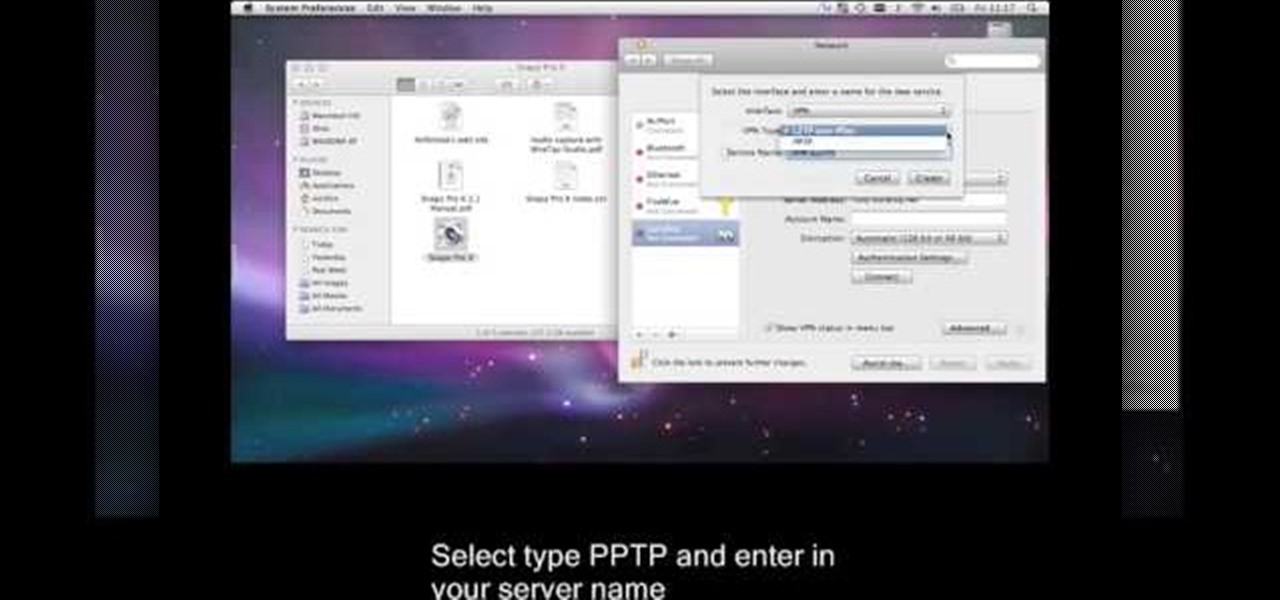
This is a video tutorial that is showing its audience how to set up your own VPN client on your Mac computer. The first step in setting up a VPN client is to go to your system preferences on your computer. Next select network and then select the plus button and type in that you will be making a VPN network. Next you should select the type PPTP and enter your server name. Then you can click on create and it will create a new network for you. Next you should enter your service address and your ...

This video demonstrates how to change the color of hair, dress, car or any thing of your choice using photoshop. This is really simple. Select the photo in which you need to change the color. Create a new transparent layer. Click on the brush tool and select a brush type with the right size required. For hair, you could use a brush with a fuzzy edge while sharp edges for clothes and car. Select the white color in the task bar. Click and drag carefully along the edges and fill in the area wher...

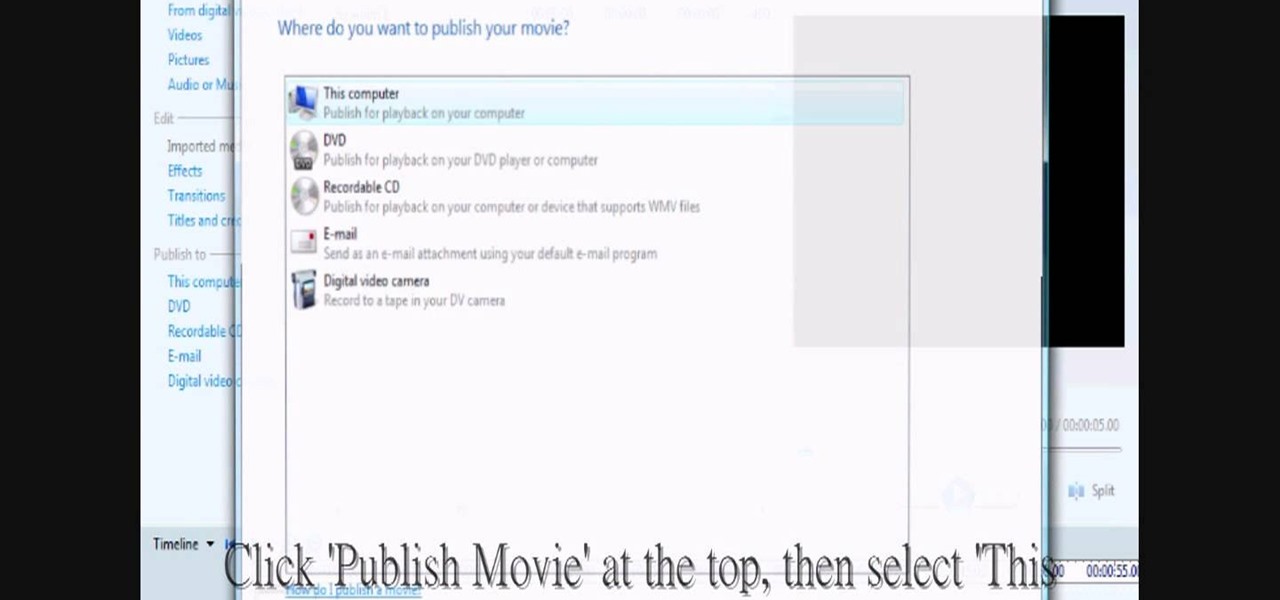
In this video tutorial, viewers learn how to change/convert a pivot animation into an AVI video format. Begin by loading the animation in the Pivot program. Now click on File and select the Save as type to Animated gif. Nam the file and click on Save. Then open Windows Movie Maker and add the pivot animation into the time line. click on Publish Movie and select This Computer. Name the file and select the save location. Click on More Settings and select DV-AVI (PAL) and click on Publish. This ...

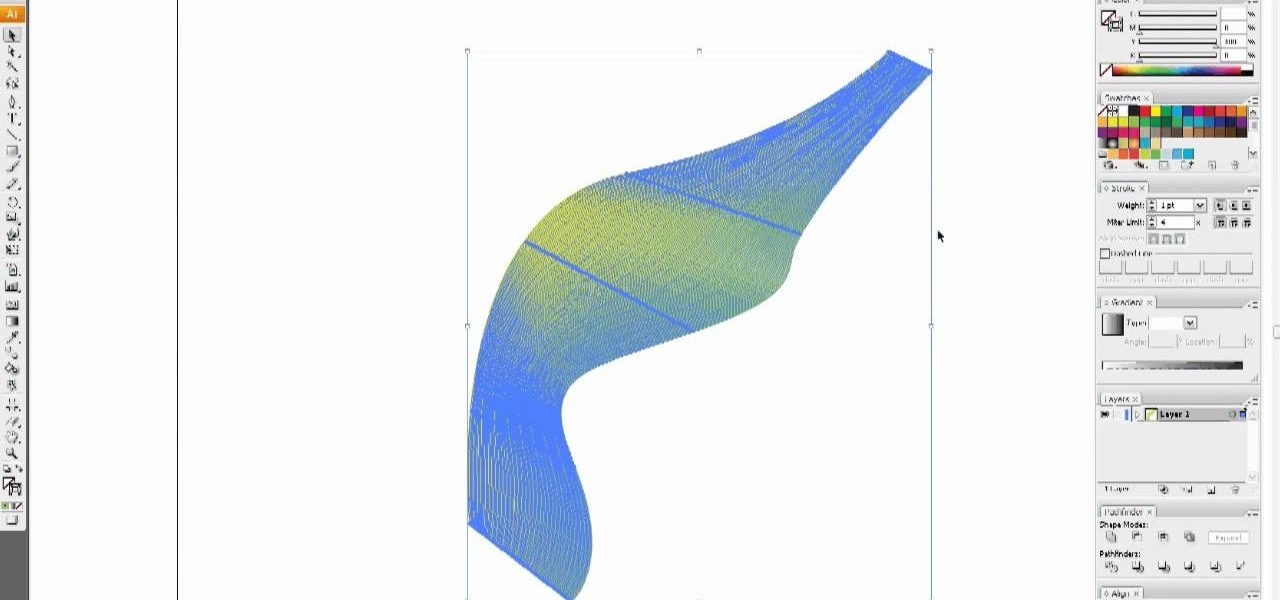
In this video tutorial, viewers learn how to use the blend tool in Adobe Illustrator. The blend tool will allow users to create objects between two strokes or filled objects. When you double-click on the blend tool, there will be 3 options to select from. Select the spacing and press OK. The three spacing options are: Smooth Color, Specify Steps and Specified Distance. Users are also able to select the amount strokes between the two objects. Now select the points of the two objects and it wil...

This video is a tutorial on how to create your own custom screen savers from your favorite movies on a Windows computer. The first step is to download the Movie Screen Saver Software from www.vijusoft.com. When the program is finished downloading from the website then you will have to open the installer package and follow the instructions. The download should only take a few minutes and then you might have to restart your computer when it is finished. The second step, once the program is down...

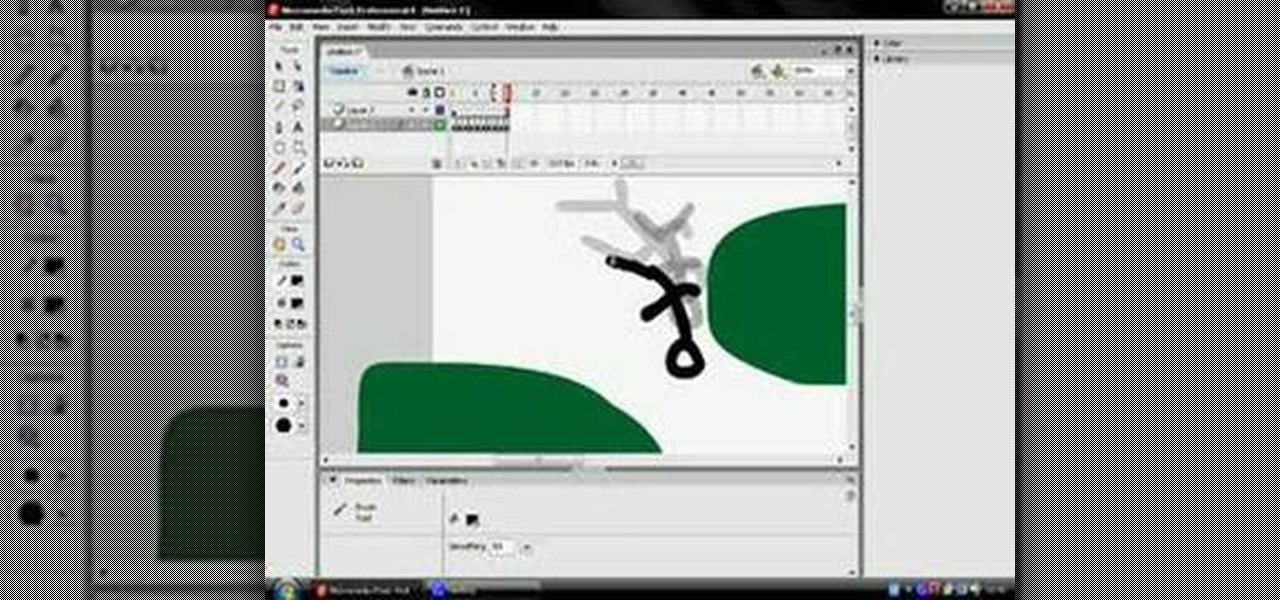
This how to video shows you how to use the program Macromedia Flash 8. First, open the program and click Flash Document. Next, select show frame in the drop down menu. Next, right click and select insert layer. Select the pen tool and choose a size. Next, select a color and then draw a picture. Click the other layer and zoom in. Click the onion skin. Continue to draw and then press F7. Keep on doing this for each new animation. Click control and test the movie. Go to file and save the file. Y...

In this how-to video, you will learn how to remove tattoos using Photoshop. First, open the image in Photoshop. The patch tool is the easiest for removing these type of tattoos. If the tattoo is very ornate and complicated, it will take longer to remove. First, select the patch tool, which looks like a band-aid. Hold it down and select patch tool. Zoom in on the tattoo and draw a selection around it. Once it is selected, click the left mouse and hold it down. Drag the selection to an area sim...

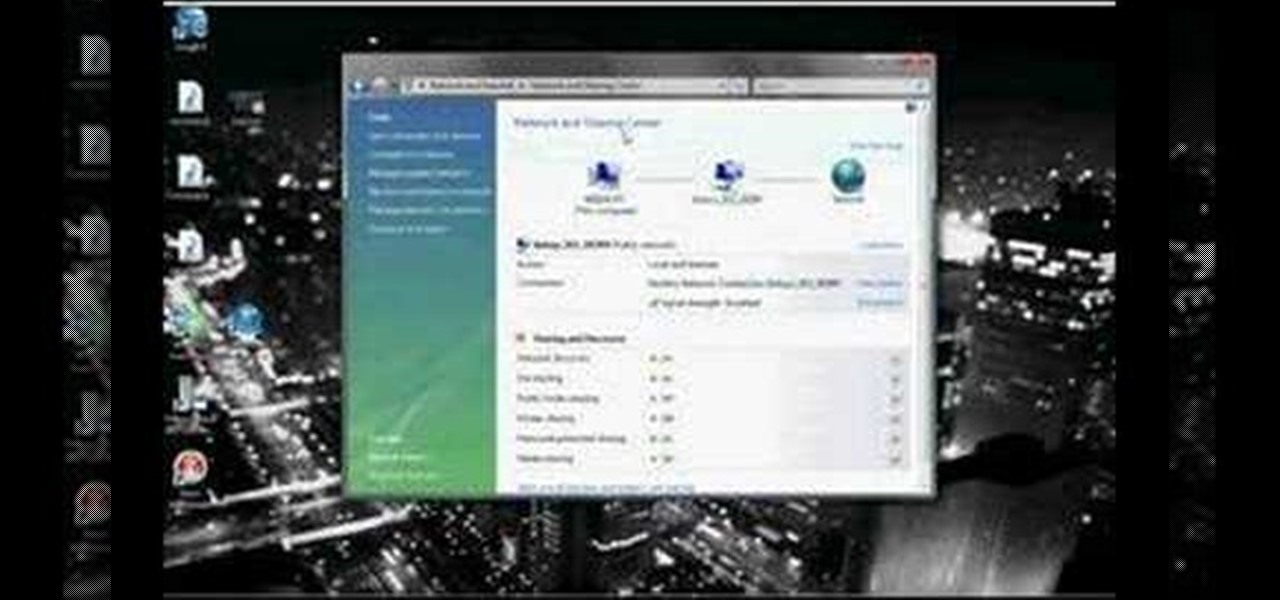
In this video tutorial, viewers learn how to connect an Xbox360 with wireless internet. Begin by connecting your computer to a wireless network. Click on the Start menu and select Control Panel. Go to Network and Internet, and select Network and Sharing Center. Under Tasks, click on Manage network connections and select your wireless connection. Right-click on the connection and select Properties. Go to the Sharing tab and check both the sharing options. Now click OK. This video will benefit ...

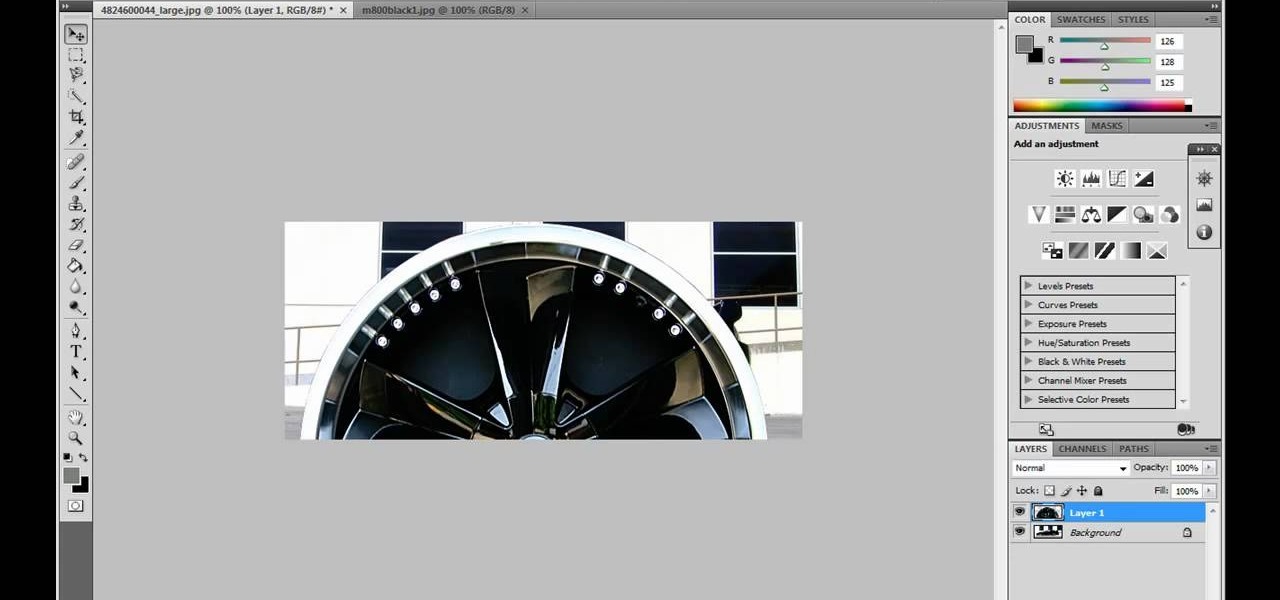
JdudeTutorials shows how to Photoshop the rims of a photo of a car, either for previewing different options for your vehicle or just for fun. Open the photo of the car (preferably shot from the side) in Adobe Photoshop. Open the desired rim photo. On the rim, use the lasso or magnetic lasso tool to select the rim from the background. Then copy the selected area and paste it into the car photo. Select the layer with the rim, select "free transform" and resize the image to fit the car's rim siz...

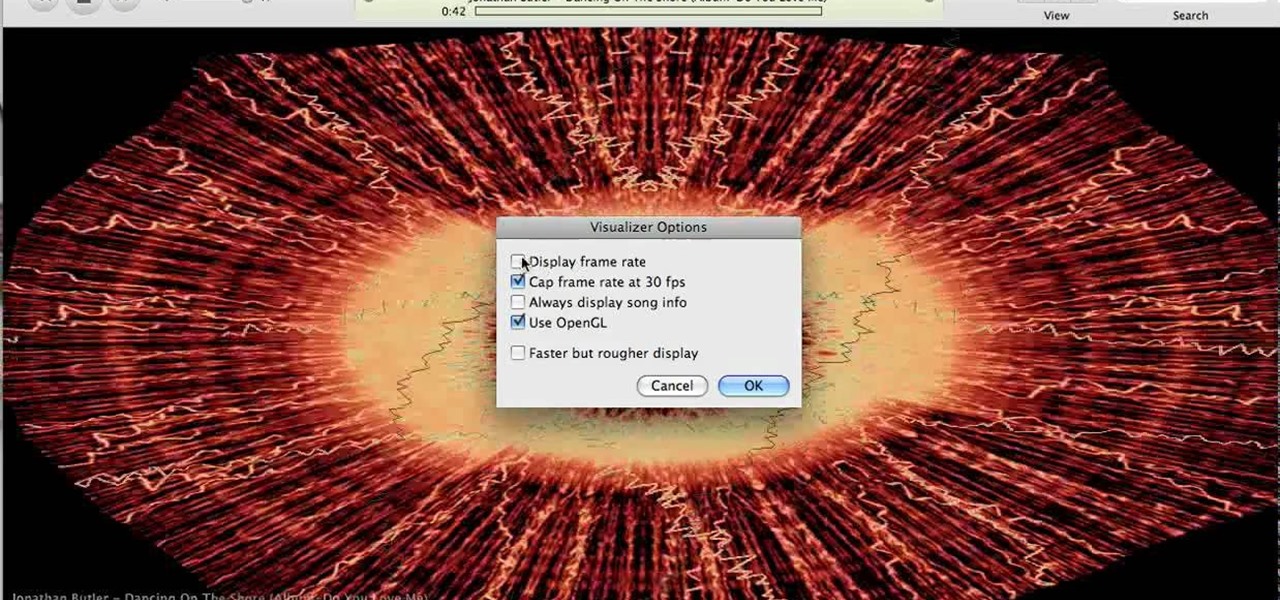
How to test your graphic frame rate in iTunes

A basic maintenance step in Windows XP is deleting temporary files. In this short tutorial, TellYouKnew walks you through the steps necessary to delete temporary files. The first step is to select "RUN" from the Start menu. When the Run box opens, type %temp% in the box and press enter (or click OK). A new window will open which contains all of your hidden, yet safe to delete, temporary files. TellYouKnew advises that you simply select all of the files and delete them. You may delete the file...

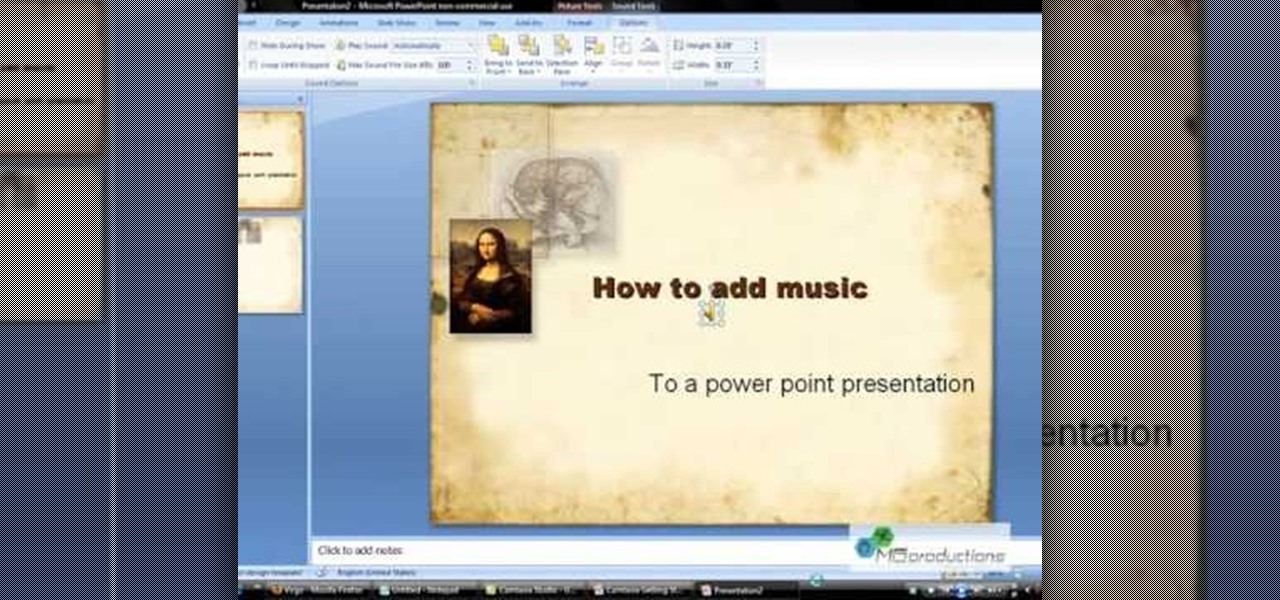
Microsoft PowerPoint can be used to create power presentations. These presentation can contain images, animations, audio and video. Open your PowerPoint presentation. Go to the insert and select the audio and video option. Now browse to the file on your hard disk and select it. You can even select a video file to make your presentation better. Now this video will be added to your slide in the presentation. You can also choose different settings to the video and customize it. You can also sele...

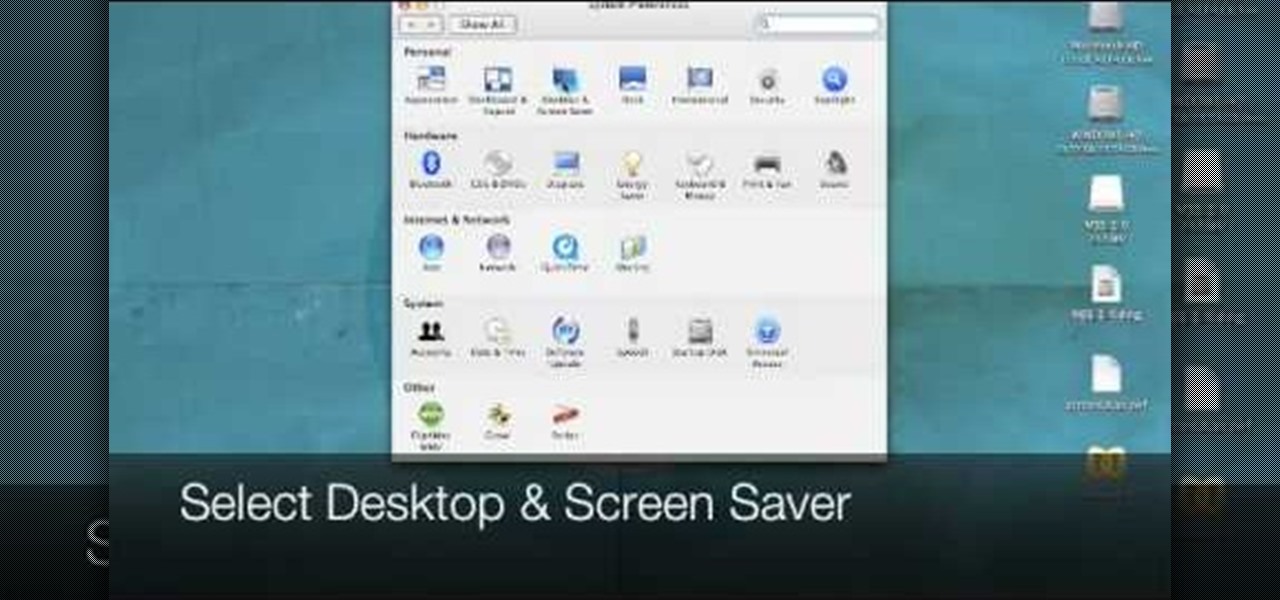
In this how-to video, you will learn how to quickly set up the background image on your Apple Macbook Pro. First, right click the desktop and select Change Desktop Background. A new window will pop up where you can change it. Also, you can go to system preferences and selecting desktop and screen saver. To change the image, select any of the options available. This includes solid colors to large images. You can also go to your iPhoto albums and choose any picture in there. You can also go onl...

In this how-to video, you will learn how to make a .gif animation from video footage. First, open Photoshop, click file and select import video frames to layers. Next, select the video you want to use and open it. Once this is done, you will see the amount of frames in the videos as layers in the video. Go to window and animation to open a new display for the animation. If you want to shrink the .gif image size, go to edit and image. Change the size to your liking. Now, just go to file and se...

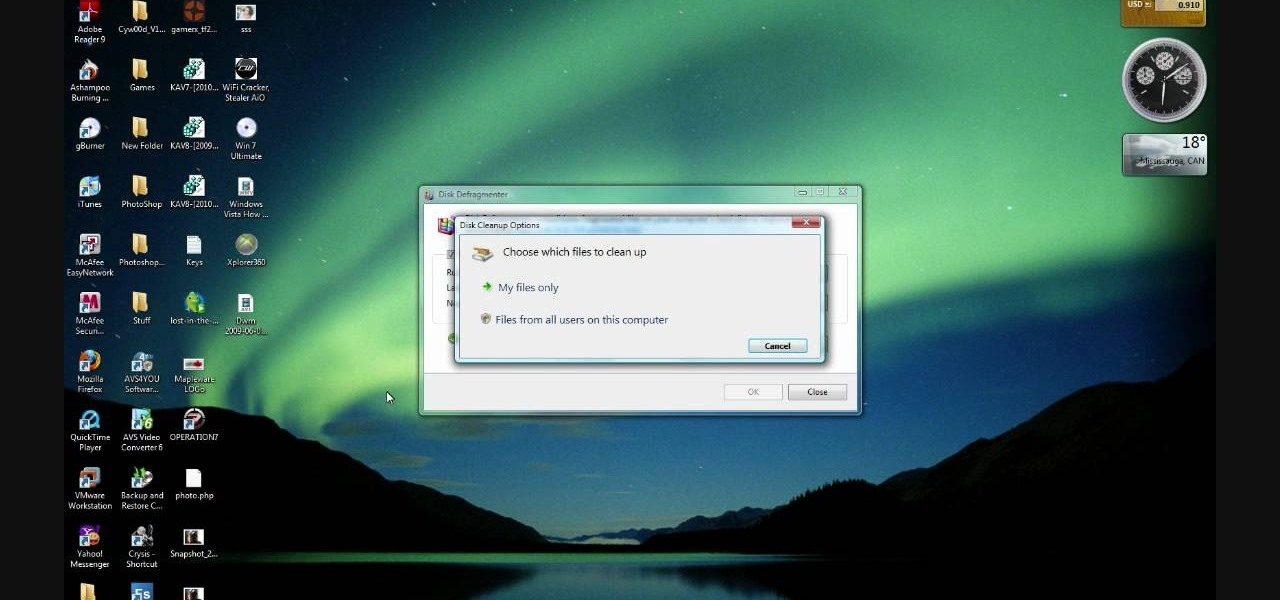
In this how-to video, you will learn how to free up space in your hard drive. This example uses Windows Vista. Go to your recycle bin, right click, and select properties. Change the maximum size of the recycle bin to 200 or 300 megabytes. Next, go to the Start Menu, All Programs, and Accessories. Select System Tools and go to both Disk Cleanup and Defragmenter. Setup a schedule for defragmenting, and then click defragment. For Disk Cleanup, select My Files Only, select a drive, and click okay...

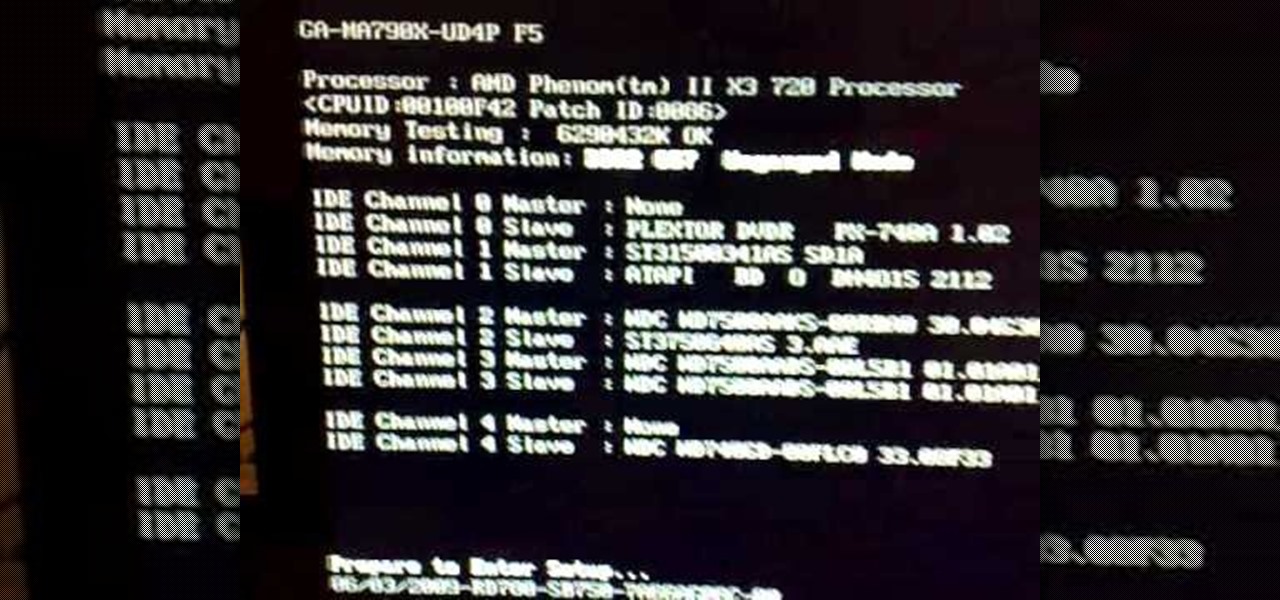
In this video tutorial, viewers learn how to unlock the fourth core of an AMD Phenom II or X2 CPU. Begin by installing the CPU chip into your computer. Then turn on the computer and wait for the black screen to boot up. Go to the setup by pressing the Delete button and select MB Intelligent Tweaker (M.I.T). Select the Advanced Clock Calibration and select Hybrid for the EC Firmware Selection. Select Auto for the Advanced Clock Calibration and press "y" to save it. The system will then reboot....

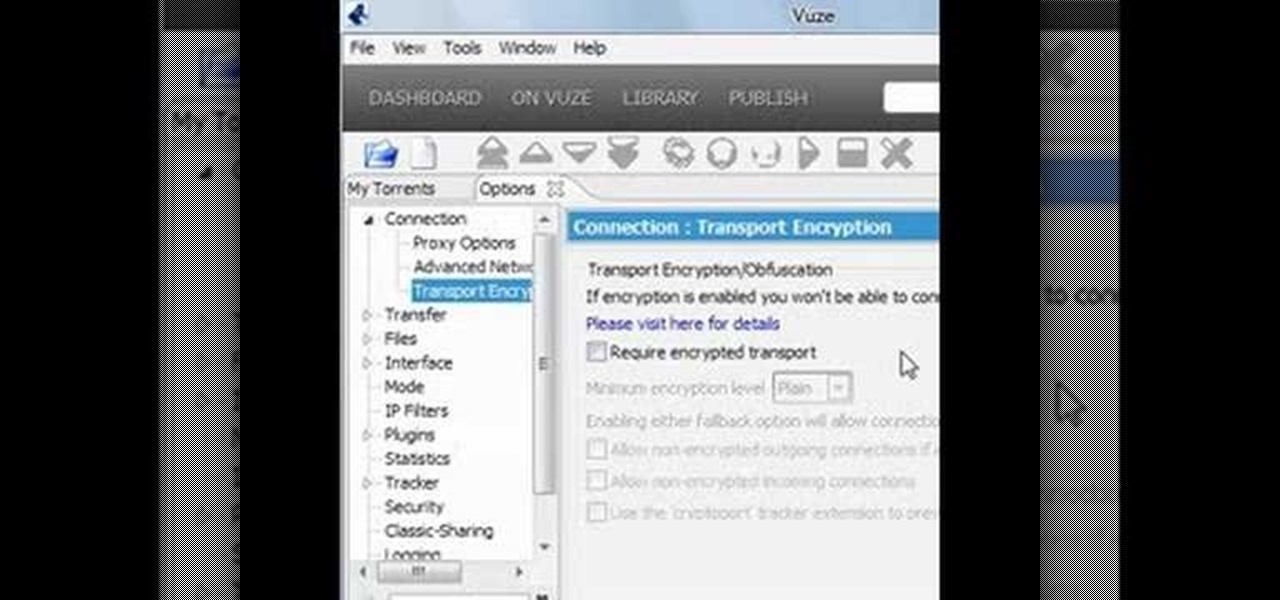
Torrents are a wonderful technology to share your files over the internet. If the data that you are sharing is confidential you may need to encrypt these files before sharing. To encrypt torrents in Azereus, go to tools and select options. From the left hand side menu select the connection option. Select the 'Transport Encryption' option from the connection sub menu. This section is intended for intermediate mode or higher and it is not available in beginner mode. So go to mode and select the...

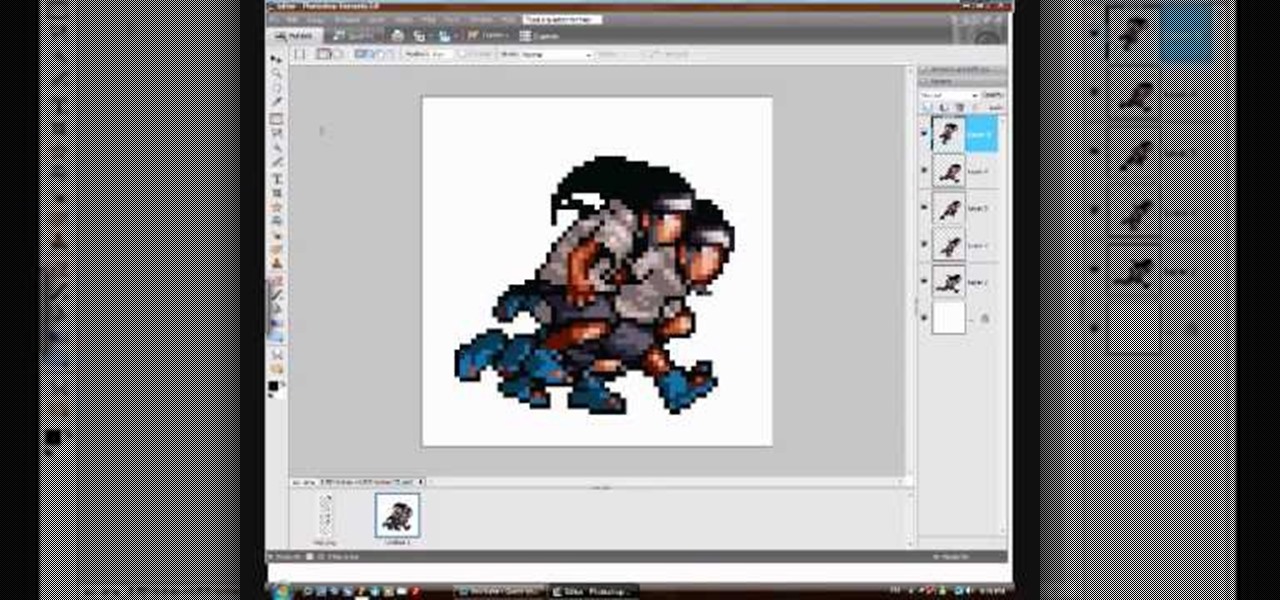
Steps to make Sprite animation in Photoshop are:1. Open a spreadsheet of your own choice; in this case we are going to take running animation.2. Once your spreadsheet is loaded, zoom-in until you get a four page, for ease of use.3. Zoom-in to the required movement, after zoom, select the image and open File and from that click New File and click OK (Dialog Box), and you will get a work space to work on with your selected image. The feature makes it simple for one character animation (work).4....

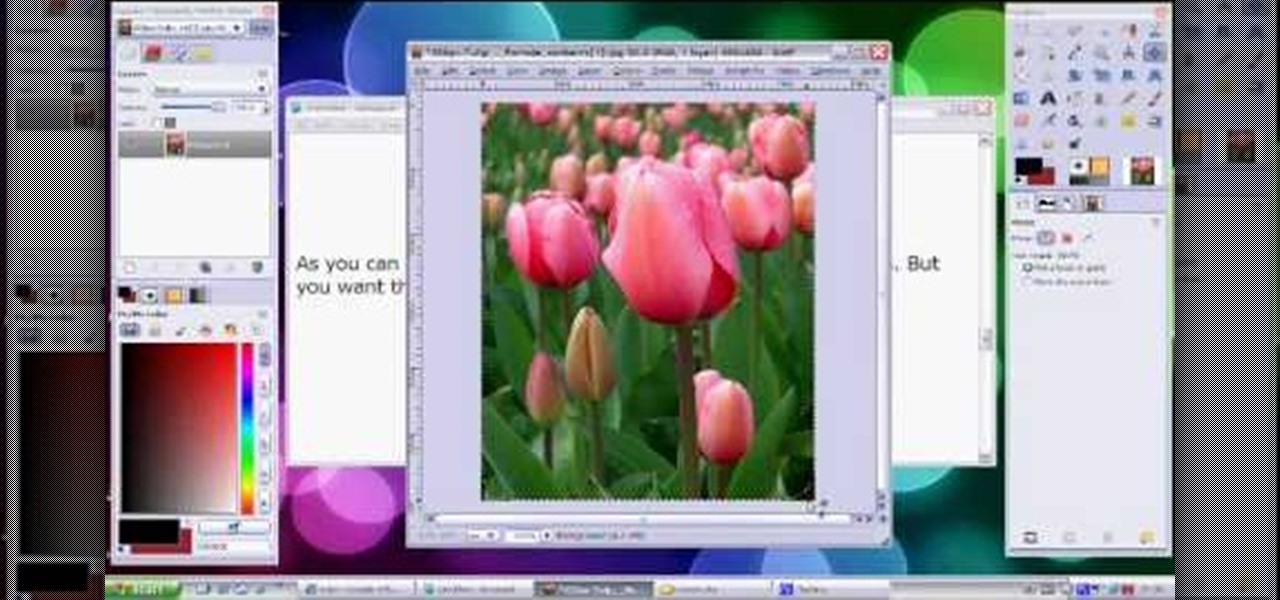
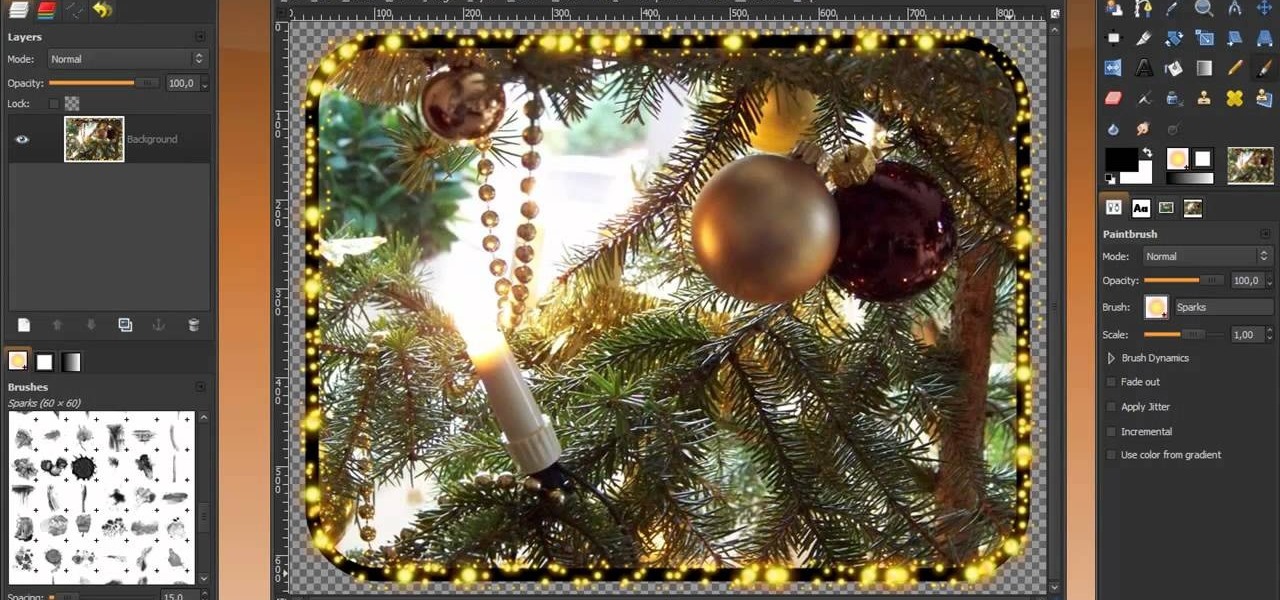
Video demonstrates how to make rounded corners in GIMP. First step is to open an image. The image needs to have transparency for this to work. An alpha channel is to be added to the image. This can be done by going to the layer option in that select transparency and add alpha channel. By doing this if the picture grays out it means the image already has transparency and there is no need to add an alpha channel. Now Select option is selected and in that rounded rectangle is selected. The radiu...

Learn how to make a fancy border in GIMP with this GIMP tricks video tutorial. This border can be used to frame images for YouTube videos or other things. Take your image, and go to Image and Canvas Size. The size should be made larger to allow room for your border and then click Center. On Layers, select All Layers. Then, click Resize. This allows you to make room for your Layer. On the far left side, right click on your layer and select Alpha to Selection. Go to Select, To Path, Select, and...

Basically there are three quick ways to run a program as administrator. You can do that by clicking on cmd. We usually use this cmd prompt for finding your I.P. address and you can modify user accounts also. Another way is to click on start and type cmd in Run. Make a right click on cmd and click Run as Administrator. Final way to run program as an administrator by having right click on the program and select properties next select Compatibility, then select Operating System and finally, sele...

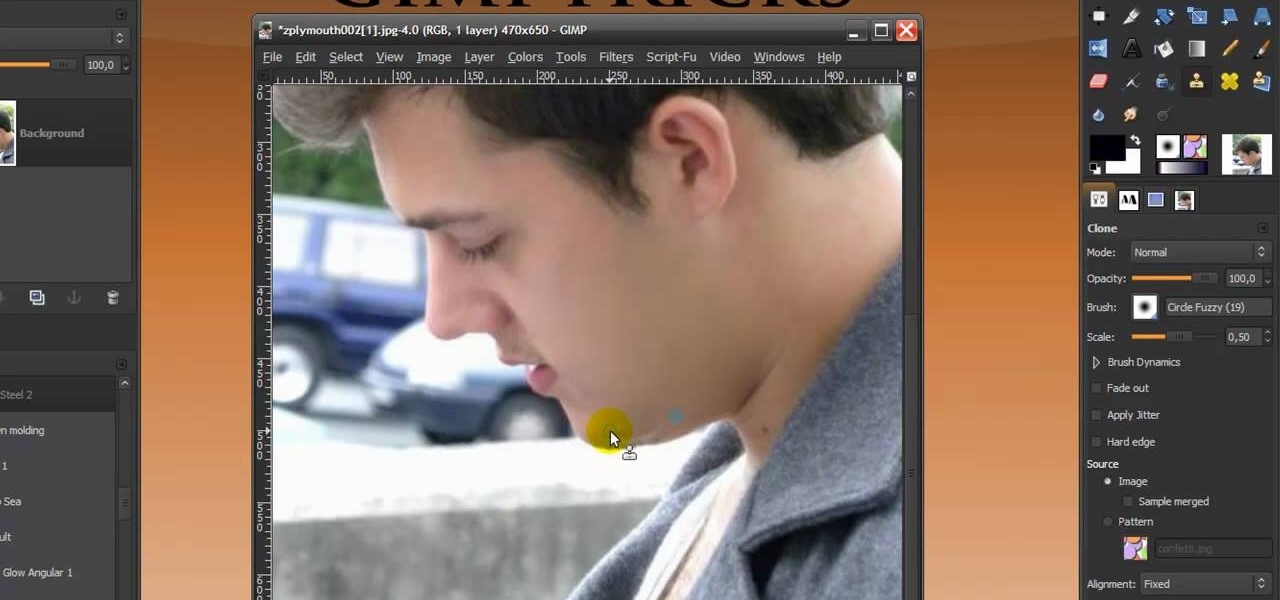
In this Software video you will see how to give someone a shave in GIMP. Learn spot removal, skin smoothening and a makeover or removing a 1 day beard. This is done using the Clone and the Healing tool. To use the Clone tool, select the tool from the right hand panel. Then to select the source skin color, you have to hold ctrl key down and click. Now when you apply it to the area you will get the same shade of the source color. So, you will need to select an area very close to the spot you ar...

This video lesson will show you how to easily make frames and borders in Photoshop. Yanik from Yanik’s photo school presents this video. It’s really easy and fun. Go to select -> all or ctrl+A. Then Go to select -> modify ->contract. Put in the amount of pixels you want your border to be and click OK. 75 may be suitable for most pictures. Then Go to select -> inverse. Now you go into quick mask, ctrl+Q or click the appropriate icon. Click filters -> filter gallery and select the type of effec...

In this video tutorial, viewers learn how to connect to XBox Live with a laptop. In your task bar, locate your connection and double-click it. Select Network and Sharing Center. In the tasks, select Manage network connections and select your wireless connection. Click on Adapter Properties, located in the tab above and select the Sharing tab. Check both the boxes and Press OK. Now plug the Ethernet cable between the Xbox 360 and laptop. Turn on the console and test the connection. This video ...

First add a person as a friend by sending him a request. 1. Open your Facebook account, select friends. Now in the option search for people, give my name and press enter. Now a list is displayed, select add as friend and send a request.

In this video the instructor shows you how to mount ISO images. You can use your ISO images of CD or DVD with out burning them on to real disks. Using this you can play a DVD with out a DVD player. Use DVD shrink to extract the copy of ISO image from your DVD. Go to internet and install Daemon tools lite program. After installing you will see an icon in the tray which says daemon tools. Right click on it and select the Virtual Devices option for the menu. Inside it select the virtual drive yo...

User mel_bone teaches you how to use navigation and selection techniques in Microsoft Word 2007. You will notice in the bottom right corner of the main window a slider. This controls the zoom. You can thus increase the page size or decrease it, as you need. When you have a document that has more than one page, you can go to the end of the document by pressing ctrl+end. Ctrl+home brings you to the start of the document. Clicking and holding the mouse button pressed on the navigation bar lets y...

This short video demonstrates how you can play music on your iPhone or iPod Touch. Open the music bar on your phone. It is usually in the bottom left corner of the screen. The list of songs available appears on the screen. Scroll through it to select a song. If you flip the mobile phone in a horizontal position icons of the song albums can be seen and you can select a song from there. You can also select the option of albums or artists, depending on how you prefer to find the song you wish to...

This video teaches the secrets of partitioning a hard drive on a MAC in simple steps. First open the disk utility, select the root directory of your hard drive and click partition. Now select the required partitions under the volume scheme, adjust the drive space and name them. Select the format a MAC OS Extended (Journaled) and select GUID Partition table from option if you want to boot it. Click 'Apply' to start the partitioning and when its done start using it.

Using this tutorial, you will learn how to make a comic book style cloud in Adobe Illustrator. 1. First, select the ellipsis tool and draw a few shapes. 2. After drawing some shapes, select them and go to window and choose pathfinder. 3. Click to merge the shapes together. 4. Next, go to the layers window. Choose layer 3 and highlight the compound shape. Then select duplicate compound shape. After create one more duplicate. 5. Hide the first duplicate layer and choose the third one. Change th...

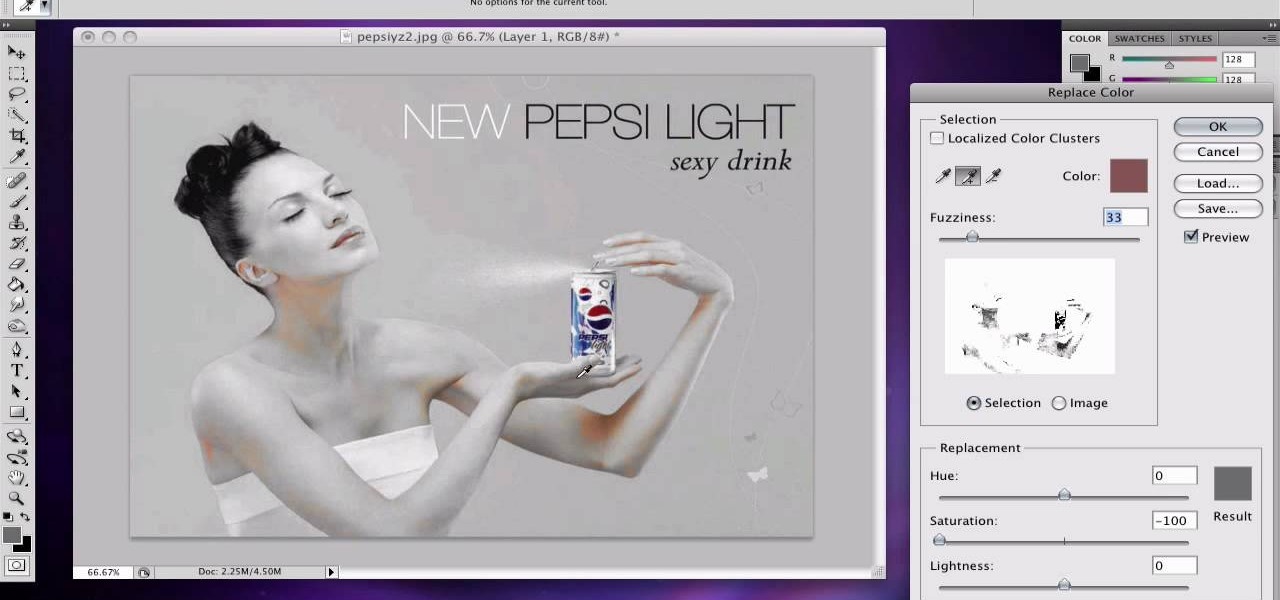
If you want to learn how to do selective desaturation in Photoshop CS4, you should watch this video. Go to File and choose Open. Open the file you want. Go to Image, select Adjustments, and then Replace Color. Select the second droplet or the droplet with a plus sign. Increase Fuzziness, say 106 but you need to decrease Saturation. Set Saturation to -100. Click on the image except for the selected part that you want to have a color. Decrease Fuzziness to know the parts that you need to click ...
