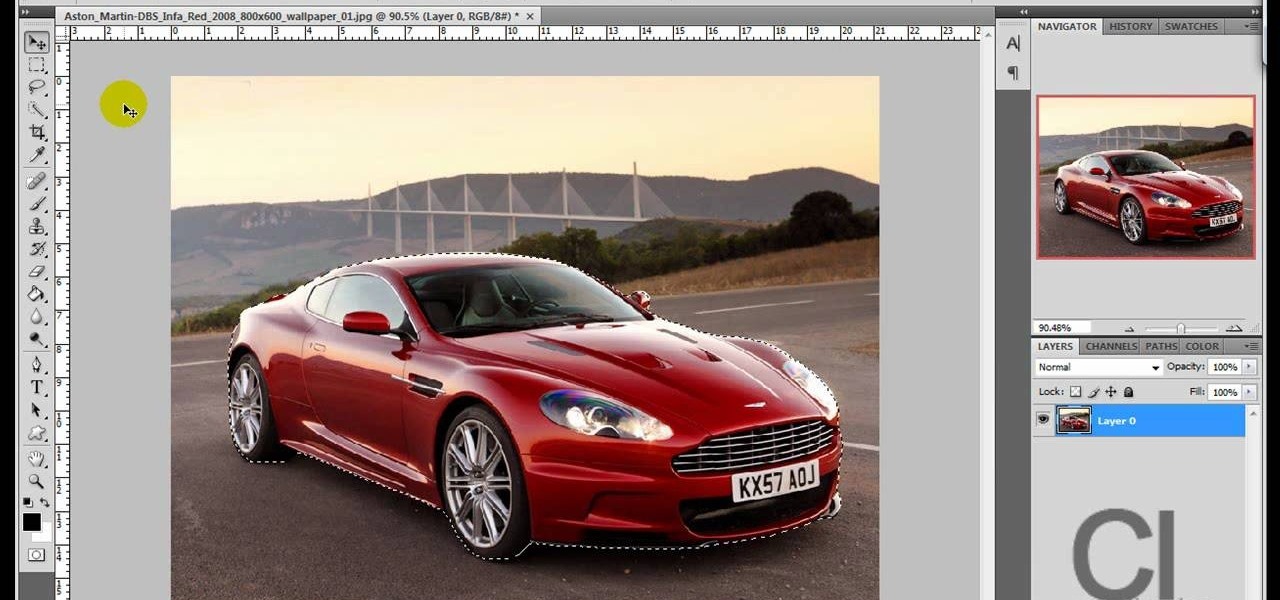
Whether you're new to Adobe Photoshop or a seasoned graphic design professional after a general overview of CS5's most vital new features, you're sure to be well served by this (17-minute) official video tutorial from the folks at Adobe TV. In it, you'll learn how to do each of the following: realistically blend colors on canvas with the new Mixer Brush; create superior composites for print or web layouts with new technology that makes it easy to select even the trickiest image elements, like...
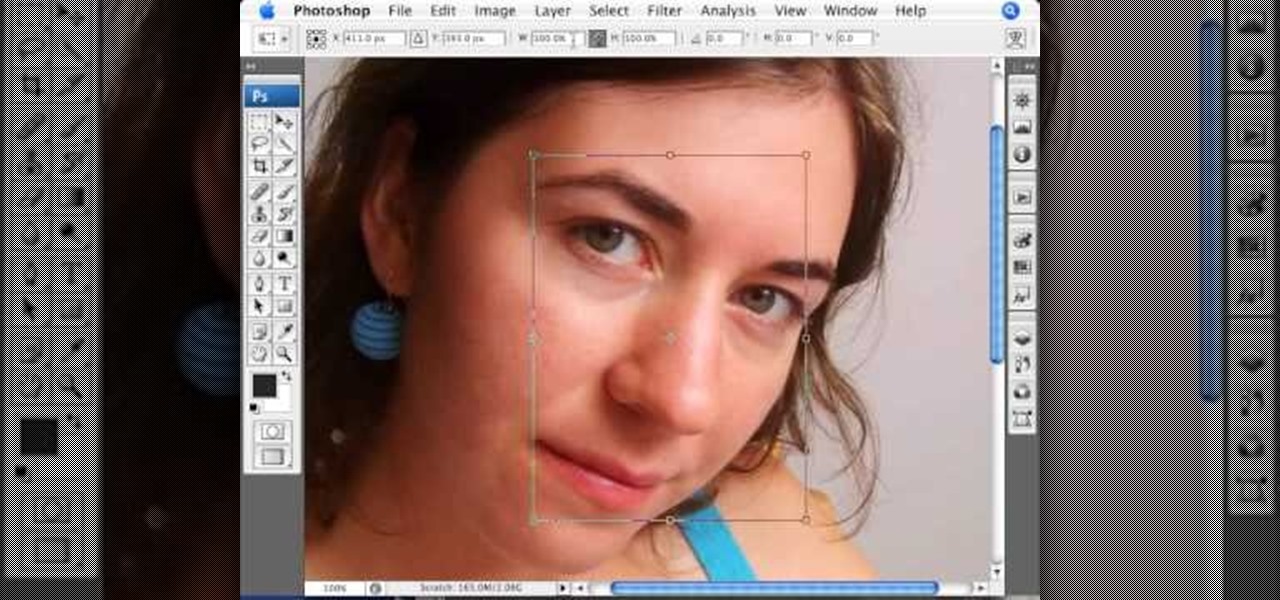
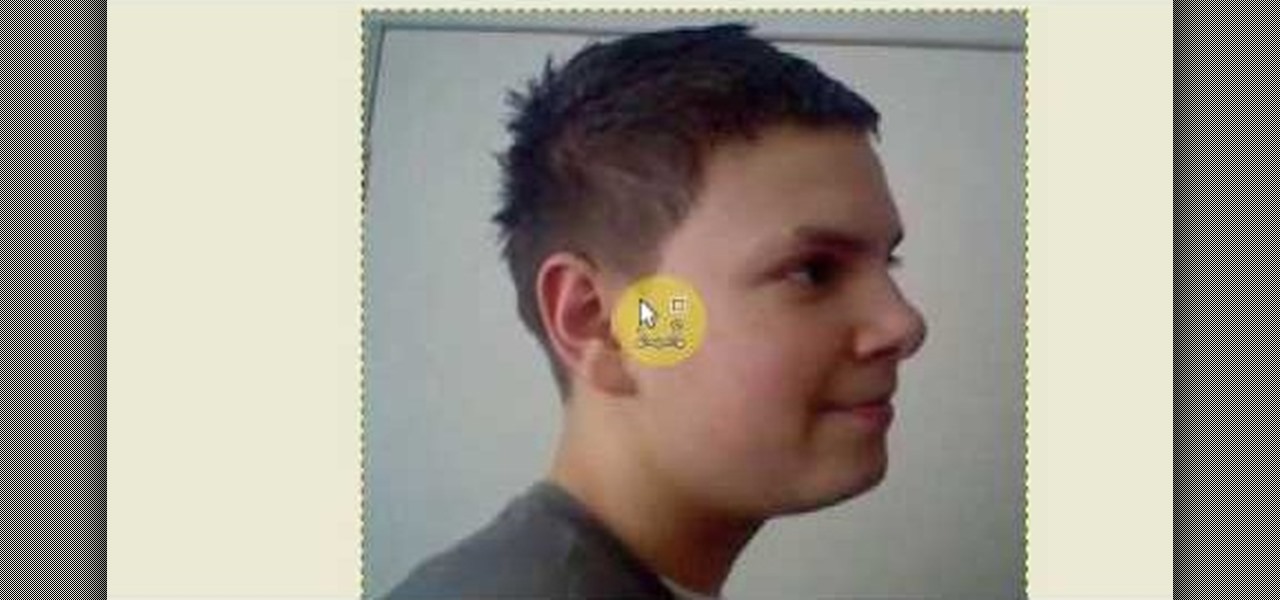
This Photoshop tutorial on performing a nose job using Photoshop contains detailed instructions on the use of Photoshop tools to, depending on taste, enhance the appearance of an individual. The person narrating the tutorial specifies the necessity of subtlety with the modification of the picture in order to remove any appearance of modification. The way described is essentially to select the general nose area, feather the selection by an optional amount, and set it in a separate layer. Then ...
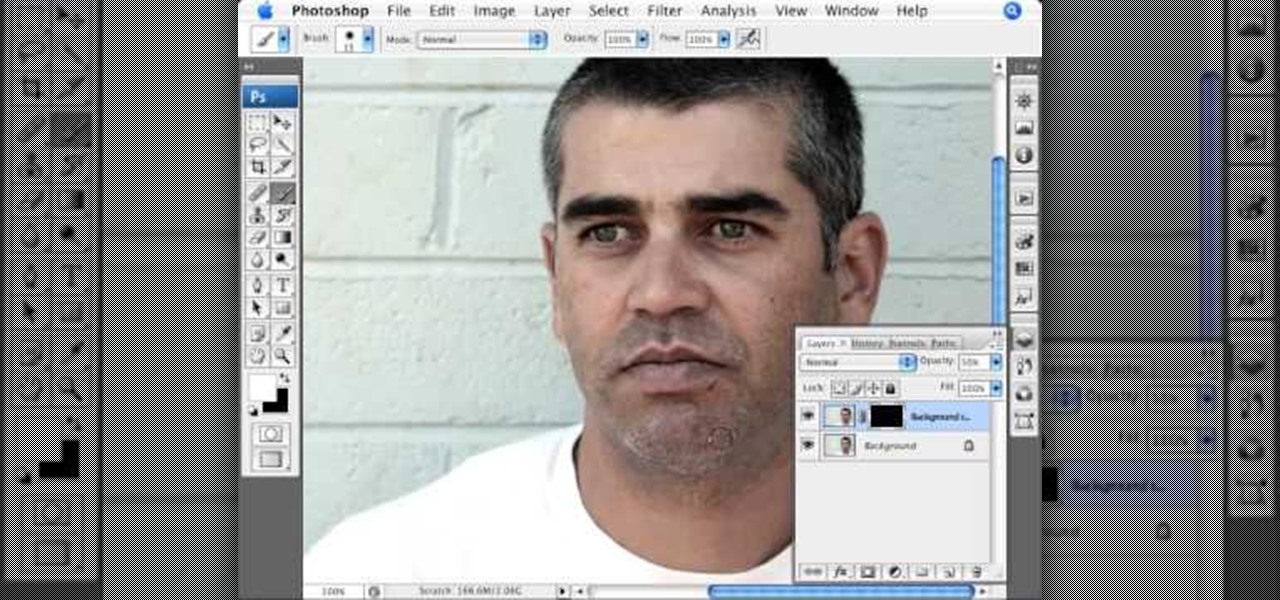
This video, produced by Photoshop Universe, teaches how to reduce beard stubble or 5 o'clock shadows from male pictures. We are shown how to use the dust and scratches filter, layer mask, as well as the advanced layer style command "blend if" on the underlying layer helps us to make this possible. The first step is to duplicate the layer and then select filter, noise, and dust and scratches. The second step is to apply some dust and scratches to the beard selection. Finally we blur the layer ...
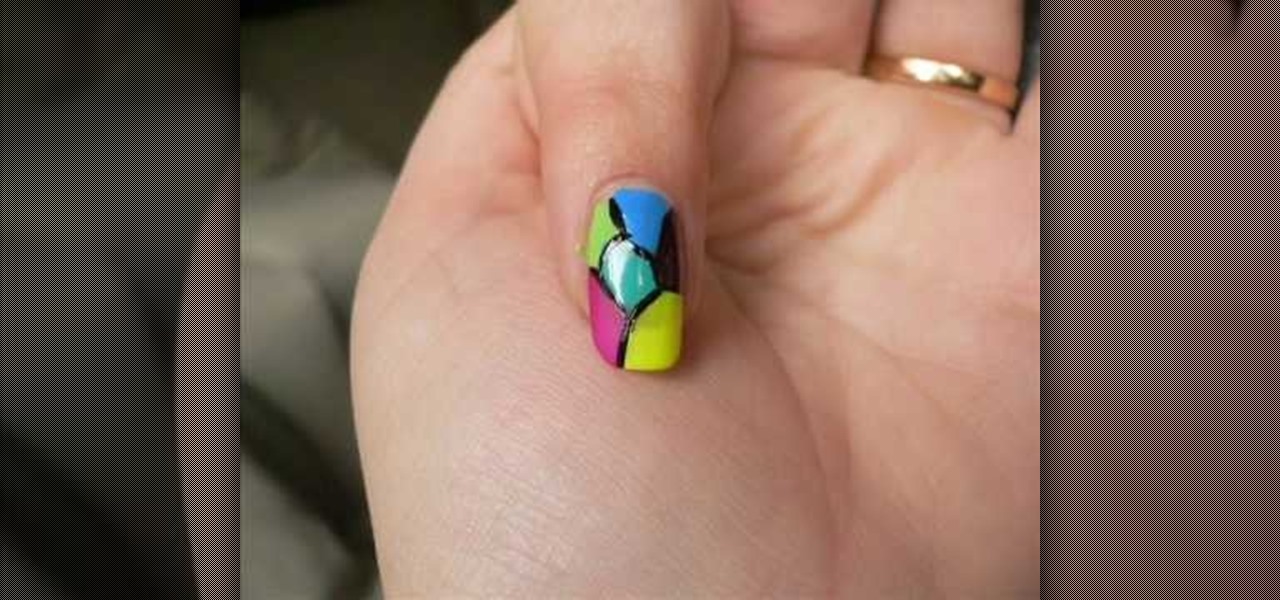
This video relates to Neon Mosaic Nail Tutorial. This video teaches how to make the nails good looking and also pleasing. In this video she teaches how to select the colors of nail polish and also she teaches the steps to be followed regarding which color nail polish to be applied first and also to create a mosaic by using multiple colors. She also add some border line to create and pleasing look. She also narrates to change the colors in applying to each nail. She also teaches how to create ...
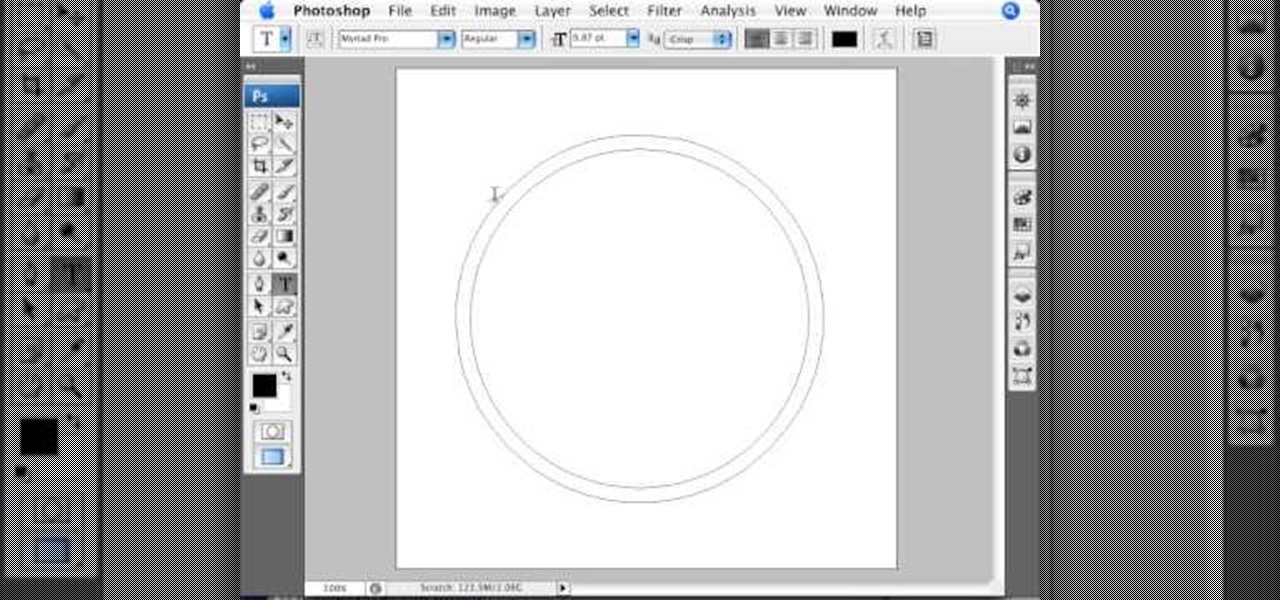
This video is a highly informative tutorial on how to add and control text to a line in Photoshop. According to the author of the video, most people can add text to paths in Photoshop, but are often in the dark about how to manipulate. This, as demonstrated by the author, is quite easy and simple. The tools for path selection, text addition, and various other features which make this particular task very simple are clearly outlined by the author.
Matt describes the necessary steps to take before you begin to build your infrastructure. Find business and design requirements.

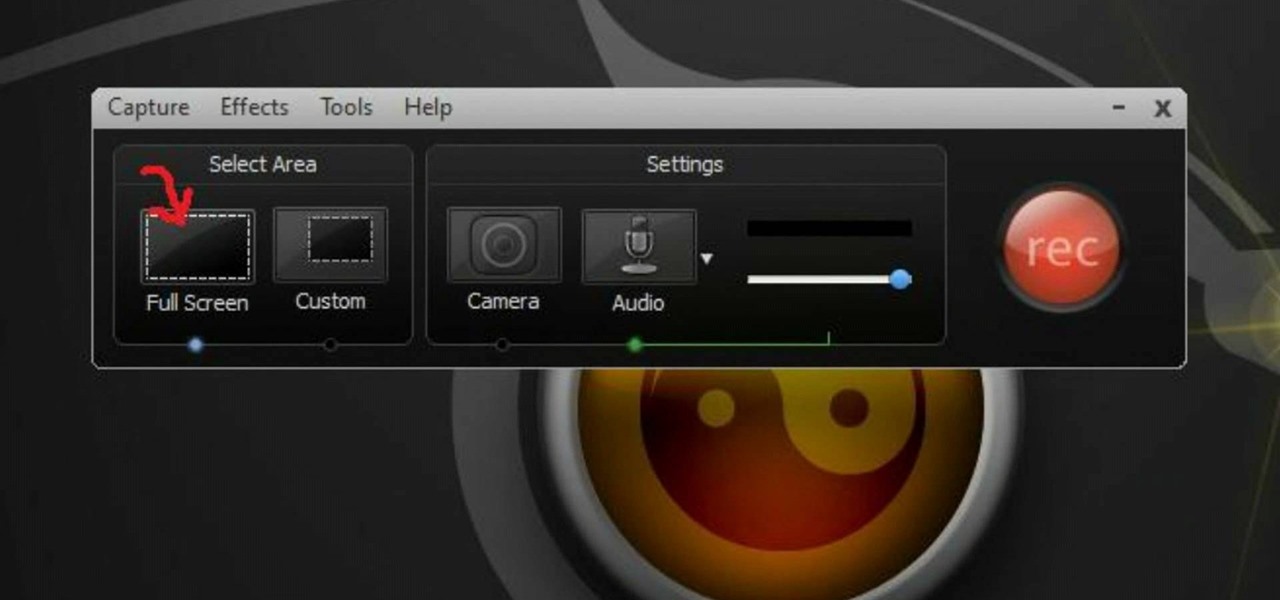
Learn to record audio with the Camtasia recorder by watching this video tutorial. First, if you want to record audio click on the mic. It's easier than clicking on capture. Next, you'll find on the same menu a selection for custom or full screen modes. After you've made these selections you have cursor selections to choose from. Those options are listed under the effects tab. Are you a silent mouse or a squeaker? If you want your viewers to hear your clicks then under the same tab there is an...

If you're fond of remote-controlled vehicles, you might appreciate this video tutorial on how to program a Traxxas electronic speed control. The Traxxas R/C ESC models you will learn to program are the XL-5, XL-10, EVX-2 and VXL-3S. They all have a single push button to turn on and off the ESC and program it. To get the most out of your Traxxas RC vehicle, learn to set up the programming by calibrating the electronic speed control, transmitter, throttle profile selection.

In this video tutorial, Chris Pels will show how to extend a standard ASP.NET server control and customize it for a specific purpose. Specialized controls provide an convenient way to implement standardized user interface elements for multiple web sites for individuals or teams of developers. In this example, see how to extend the DropDownList control to create a special purpose year selection control. Learn how to add properties for custom attributes that control the behavior of the range of...

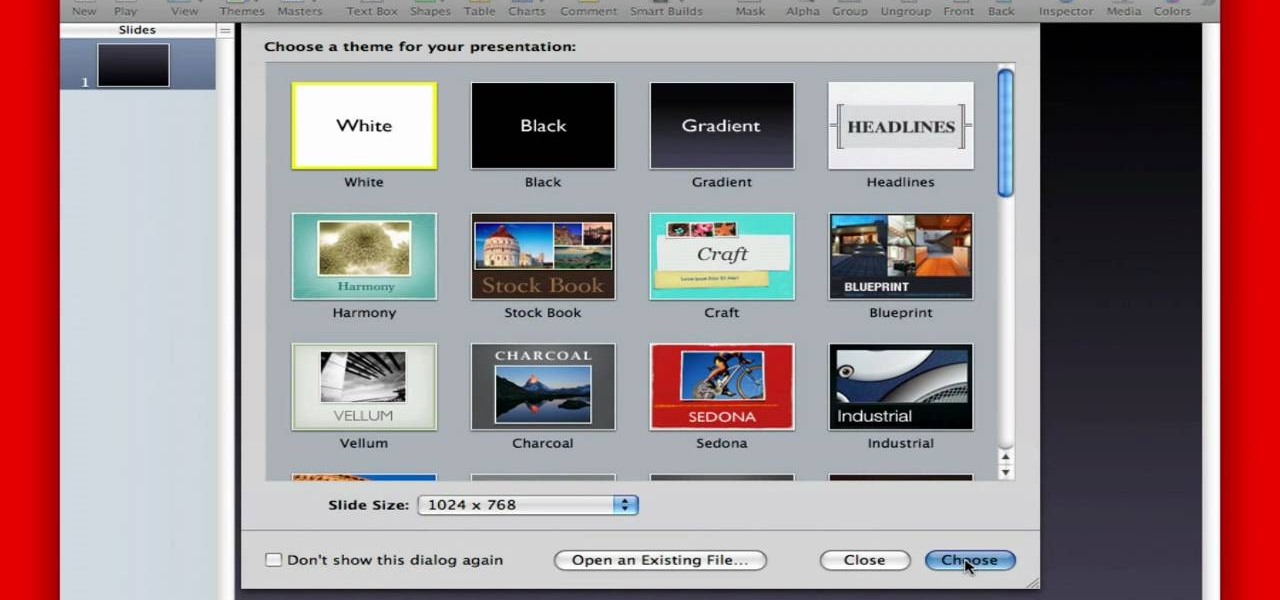
In this tutorial, we learn how to create flashcards with Keynote to use on an iPod touch. First, go into Keynote and choose the flashcard with the plain white background. To format this, click 'masters' on the toolbar. Now, choose "title-center" and make the first slide the question slide and the second slide the answer slide. Double click the text box to insert text into each different card. Next, to add a picture, click 'photos' and insert a picture you already had loaded on your computer. ...

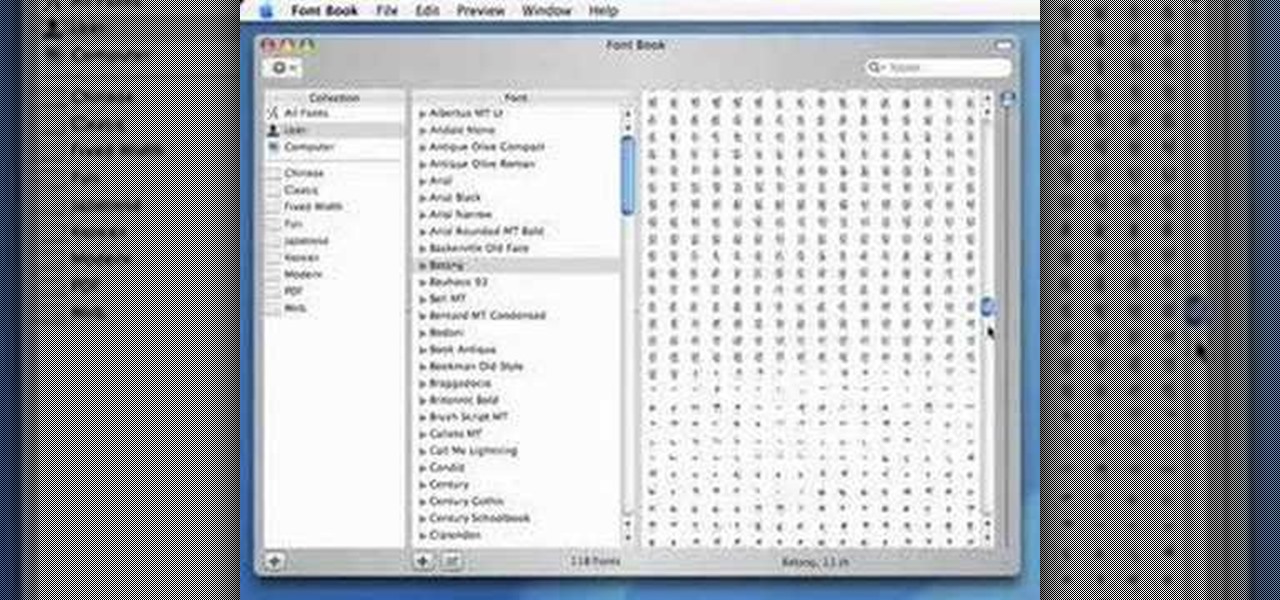
Apple Font book is a utility included with Mac OS X. Font Book is a utility for managing and maintaining your fonts on your Mac computer. It allows you to enable or disable fonts. It also helps you in creating font collections. Using it you can create libraries consisting of different collections and also validate font files for fonts or inconsistency. You can also remove duplicate fonts using it. The font book display consists of three columns. The collection column, the font column, and the...

1. To make tilt shift take one picture which is taken from high angle with any content like car and buses. Now open the picture in Photoshop and change it to quick mask mode to create and edit the selection.

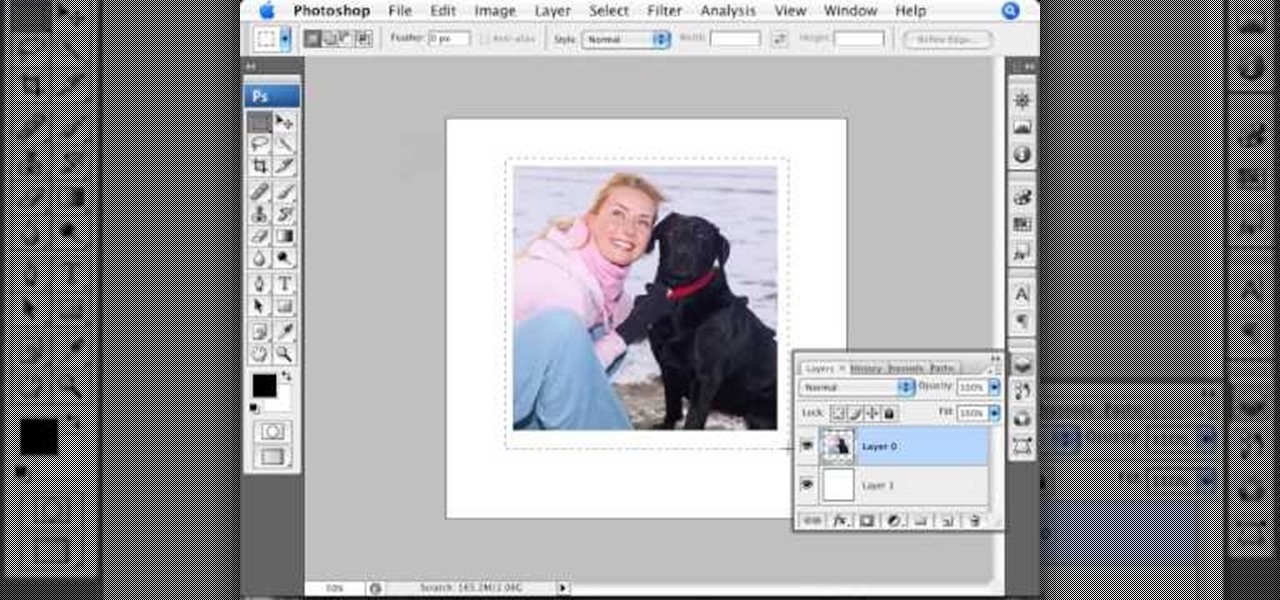
In this Photoshop tutorial the instructor shows how to create a Polaroid photo. First open the regular photo and make it into square shape as Polaroid images are in square shape. So use the selection tool and crop it into square shape. Now unlock the layer from background mode. Now go to the image canvas size and increase the size of canvas like up to 800 X 800 pixels. Now the layer can be moved around in the canvas. Now add another layer and fill it with white. Now select the image leaving a...

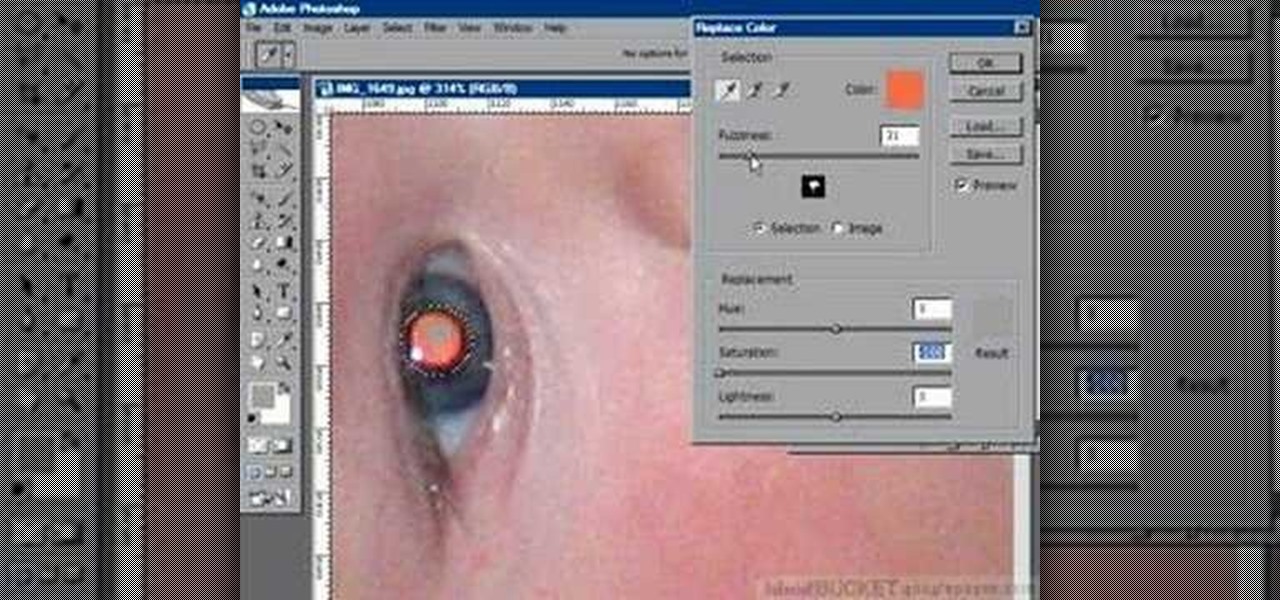
If you have a photograph with an extreme red eye problem, then you will have to take steps above and beyond using the built-in red eye reduction tool in Adobe Photoshop. In extreme cases, red eye will actually contain colors outside of the red spectrum of light. Since the red eye tool only works on this spectrum of light, you will have to manually fix extreme red eye by working on tools that are effective across all different wavelengths of light. The most effective tool at your disposal in t...

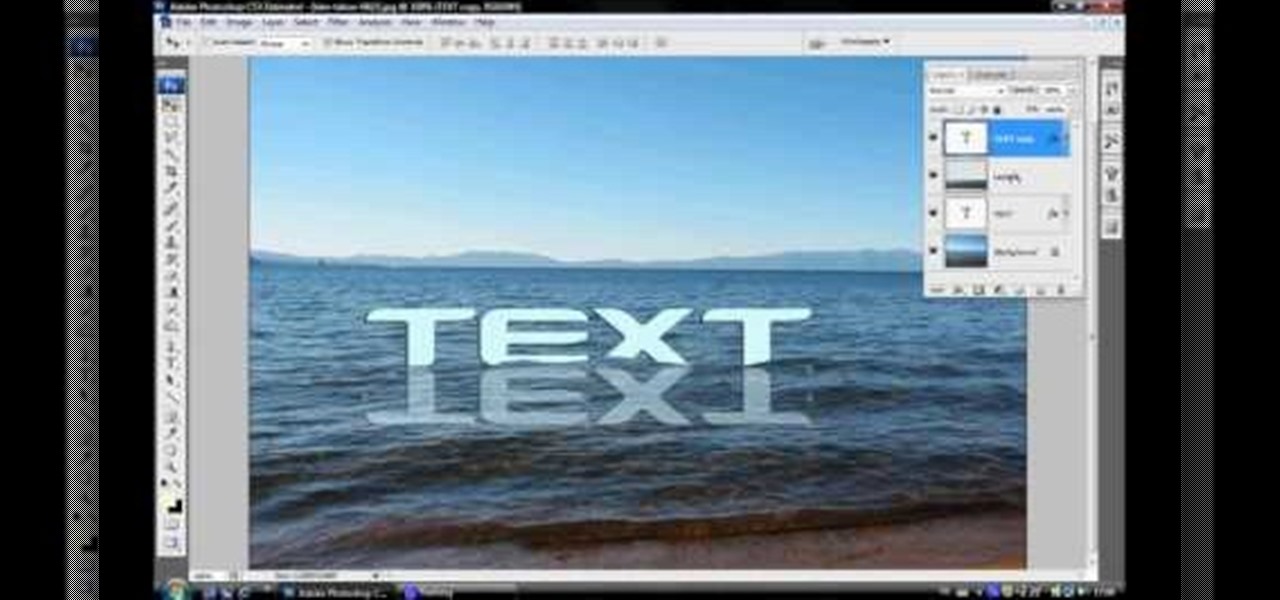
Pixel Perfect is the "perfect" show to help you with your Photoshop skills. Be amazed and learn as master digital artist Bert Monroy takes a stylus and a digital pad and treats it as Monet and Picasso do with oil and canvas. Learn the tips and tricks you need to whip those digital pictures into shape with Adobe Photoshop and Illustrator. In this episode, Ben shows you how to create realistic reflections in Photoshop.

Pixel Perfect is the "perfect" show to help you with your Photoshop skills. Be amazed and learn as master digital artist Bert Monroy takes a stylus and a digital pad and treats it as Monet and Picasso do with oil and canvas. Learn the tips and tricks you need to whip those digital pictures into shape with Adobe Photoshop and Illustrator. In this episode, Ben shows you how to transform a photo into a flashy poster in Photoshop.

If you need some sound effects for your upcoming film, you better watch this video! After principle photography in production, you have to get into the editing process in post-porduction, which leads to sound department for ADR, Foley, Sound Effects and Sound Design. If you can't afford a professional sound designer for your movie, you can do it yourself, and this video will help you find sound effects on the Internet for your film.

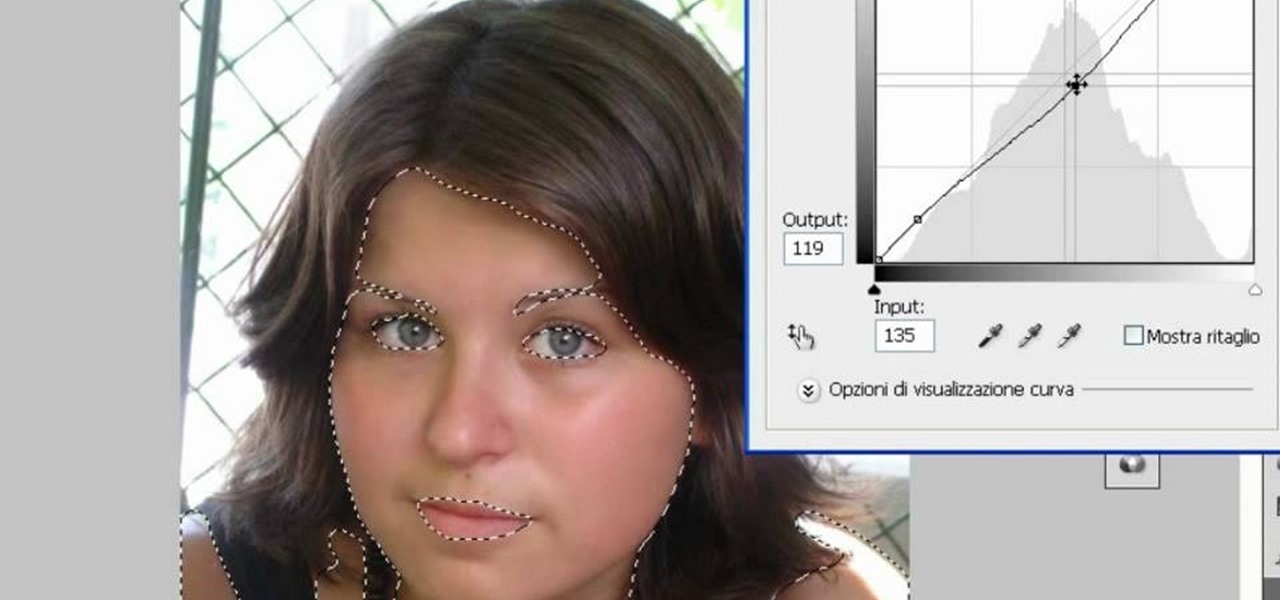
In this video tutorial, viewers learn how to change the color of lips in Adobe Photoshop. Begin by importing the image into the program. Select the quick mask tool and then select the brush tool. Now color the part that you want to retouch. This will allow the mask to create a selection. No click on the masking tool to create a selection. Then select the marquee tool. Right-click the selection and click on Select Inverse. Right-click the selection again and select Feather. Make it 1 pixel and...

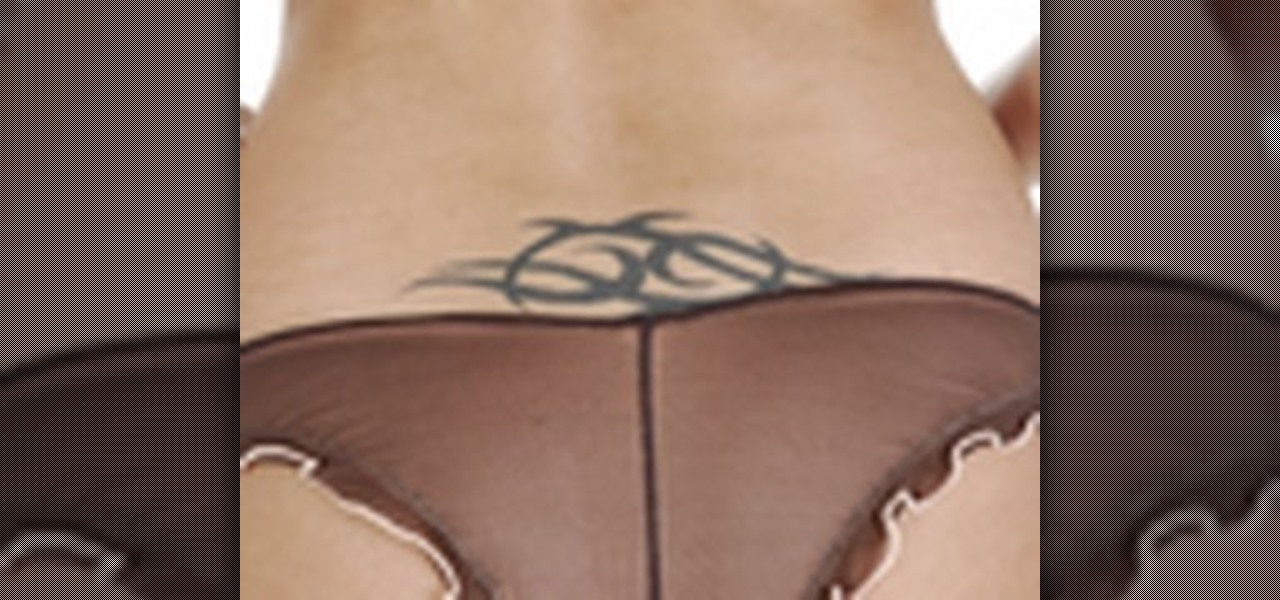
This video shows you how to remove a tattoo from a photograph using Photoshop. First, select the tattoo using the pen tool, to get a very accurate line around the tattoo. Make sure the "Paths" button is punched in. Drag the mouse and click several times to make a path around the tattoo. Right click on the path and choose "make selection". Feather the selection with a feather radius of about 8 pixels. Use the clone stamp tool and a large size brush. Hover outside the selection and click to sam...

In this video tutorial, viewers learn how to make a real flame text in Adobe Photoshop. Begin by opening a flame image in the program and select the text tool. Type in the text and position it over the flame. Now go to Select and click on Load Selection. Once the selection is created, delete the letter. Then select the marquee tool. Right-click above the selection and select Feather. Now create a new sheet and fill it in black. Using the move tool, drag the selection to the new sheet. Go to F...

In this video, Gary from MacMost demonstrates how to select items on a Mac computer. He explains that there are different ways of selecting items, both with the mouse and with the keyboard. Click to select a single item, and click an empty space to clear the selection. Hold Command or Shift to add to a selection or remove items from the selected group. Drag around an area to select multiple items, and use Command and drag to add more areas. To select items in a list, click to select a single ...

In this video, we learn how to use the polygonal lasso tool in Photoshop. This will allow you to create a selection on your photo in a freehand style. First, select the tool from your toolbar, it's the third selection down. Once you select this, go to your picture and find the piece you want to cut out or copy. Press and hold the control and space bar, then highlight the area you want to. This is great to make a selection that has a straight edge. If you just click with it, it will have a dia...

In this video tutorial, viewers learn how to make a digital sunburn using Adobe Photoshop. Begin by importing the image into the program. Then use the masking tool and select the areas of the skin that you want to sunburn. Now select a reddish color and use the brush tool to paint the select areas. Then click on the masking tool to create a selection use the marquee tool to invert the selection. Now right-click on the selection and select Inverse Selects. Then go to Image, click on Regulation...

In this how to video, you will learn how to create a diagonal sum in Microsoft Excel 2007. First, open the program and make a large selection. Type in =int(rand()*500) and then press control enter. This will create random numbers for the cells in the selection. From here, click conditional formatting and select new rule. From here, type in =column(A1)-row(A1)=$H$1. For the format, choose a contrasting look, such as a purple background and bold numbers. Click okay. If you type -1 or -2 in this...

In this how-to video, you will learn how to remove tattoos using Photoshop. First, open the image in Photoshop. The patch tool is the easiest for removing these type of tattoos. If the tattoo is very ornate and complicated, it will take longer to remove. First, select the patch tool, which looks like a band-aid. Hold it down and select patch tool. Zoom in on the tattoo and draw a selection around it. Once it is selected, click the left mouse and hold it down. Drag the selection to an area sim...

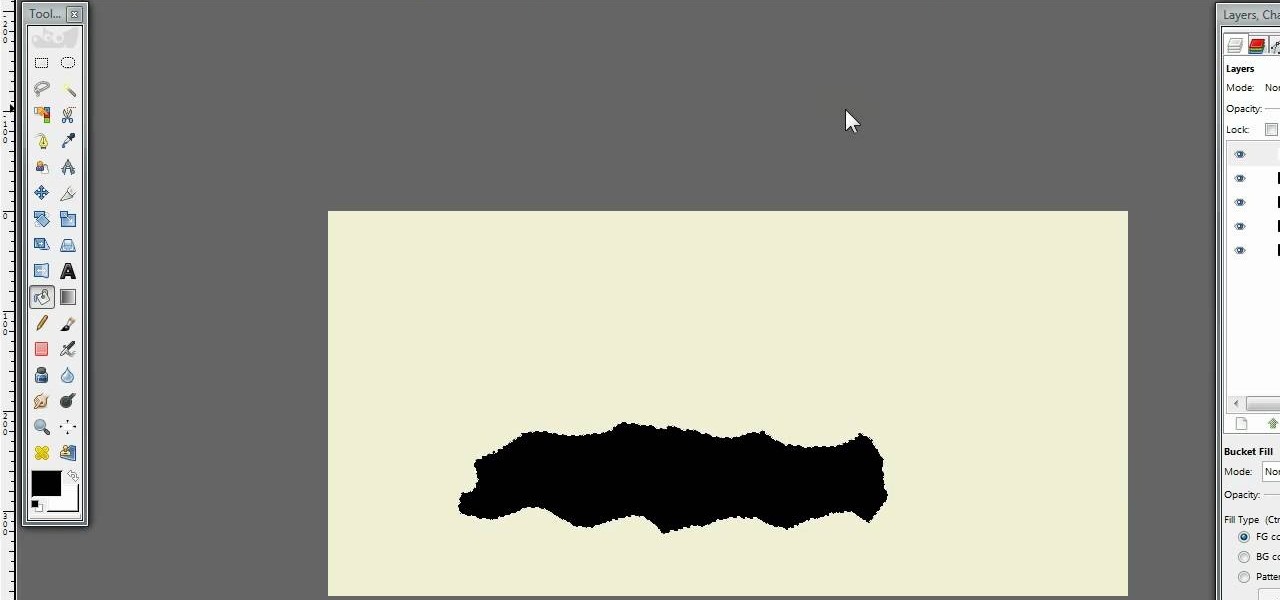
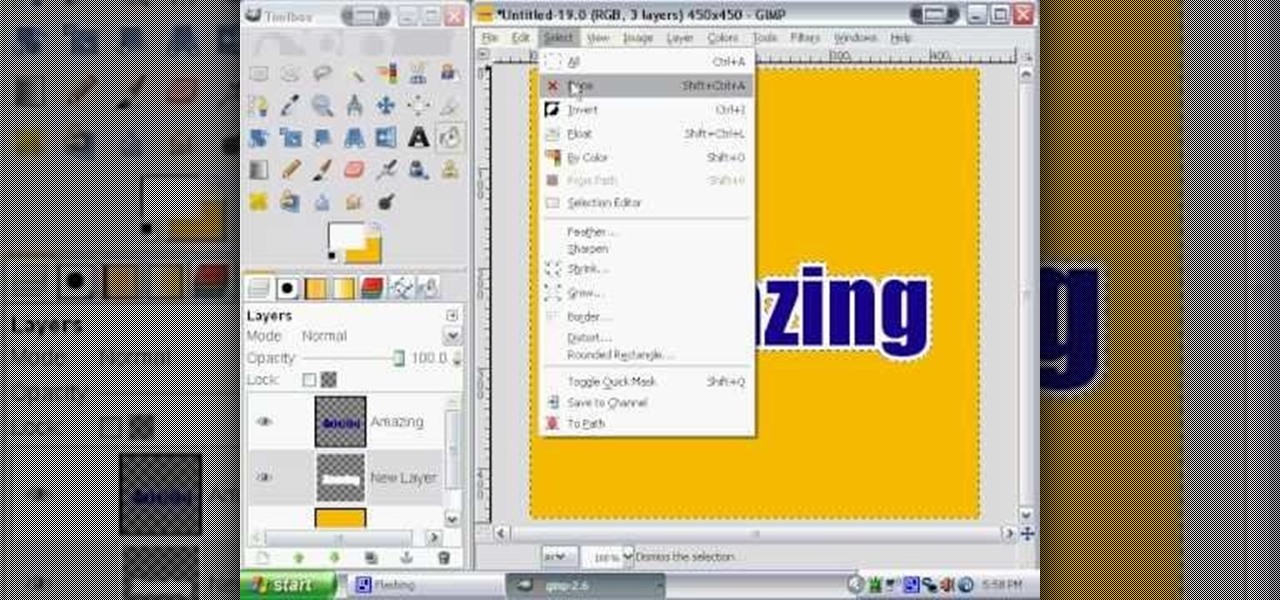
Hulldo teaches you how to create your own headlines in GIMP. You start off with a new file and paint that a light brown. Make a selection on the file and create a new layer on top. Color that layer black and add Gaussian blur. Put that layer beneath so it will make a shadow on your selection. Create the start of a gradient or simply a Grey layer on the bottom of the headline. Then add your text with black color. You can duplicate these layers, reside the selection and change the text. You are...

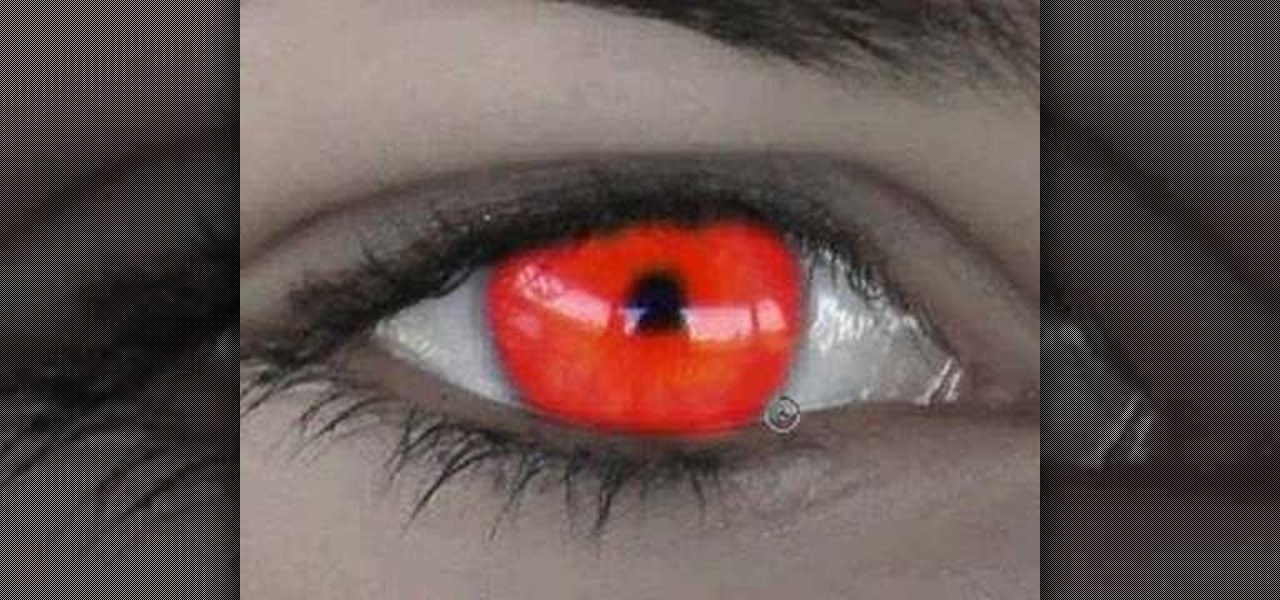
In this how to video, you will learn how create glowing eyes in the darkness using Photoshop. First, open your image in Photoshop. Next, duplicate the background layer. Go to hue and saturation and make the image really dark by turning down the lightness and saturation. Next, select a paintbrush for the eraser and start erasing around the eyes. Once this is done, make a selection around the pupils. Create a new layer and paint the selection red. Next, lower the flow of the paint brush and cho...

This episode of TUTCAST shows you how to get rid of blemishes in your photos using Photoshop. For this demonstration the patch tool in Photoshop is used to clean the blemish. Use the elliptical marquee tool to select the area including the blemish as shown and then feather the selection using the selection modify feather command. Use the patch tool to patch the area with the blemish and use the clone stamp tool to clean up the unevenness as demonstrated.

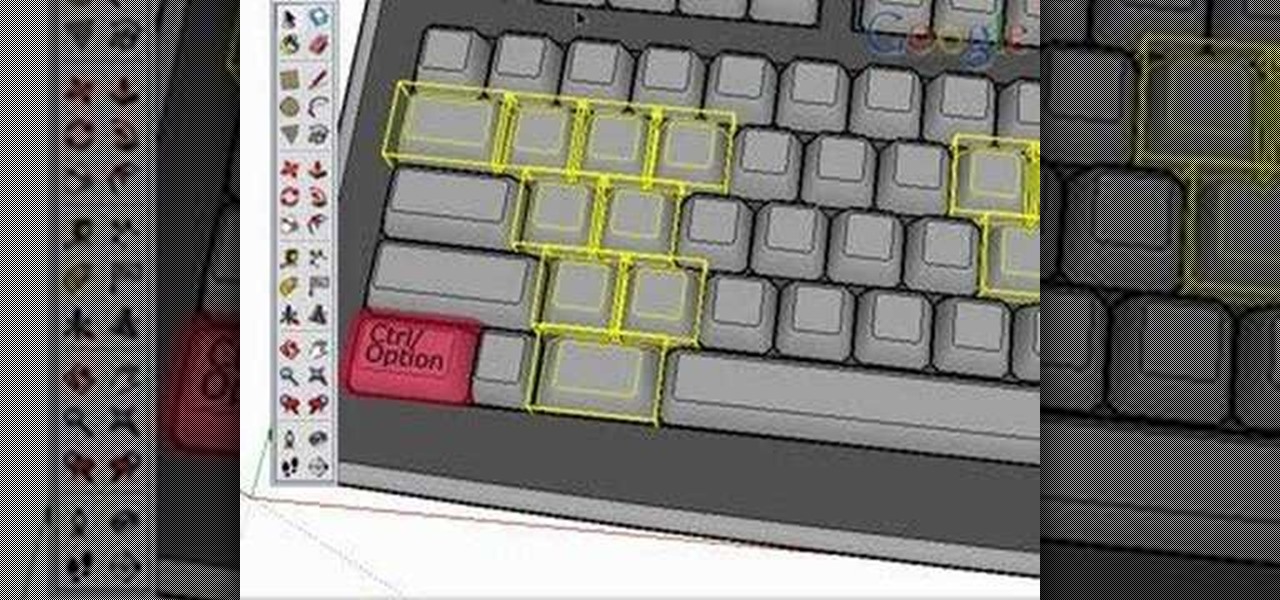
Take a look at this instructional video and learn how to use the select tool in Google SketchUp. Making good selections in SketchUp is crucial in properly using the other tools available in this 3 Dimensional modeling program. This tutorial covers the basic selections, window selections, modifier keys to add to and subtract from your selection, and tips for accurate and quick selection sets.

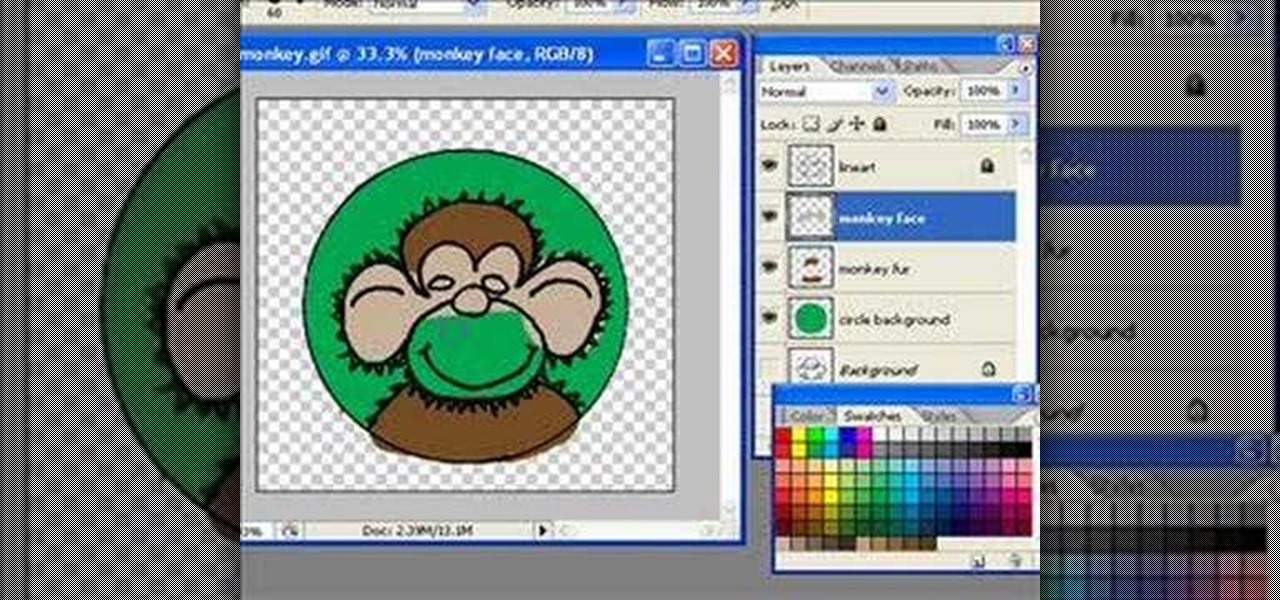
In this video tutorial you will learn to to colorize line art images using Photoshop. Learn to use the magic wand selection tool to make the selection you want. This example involves painting a monkey character.

This is a video about the multiplication, determination, and inverse of matrix using excel. First we have to take two matrix in excel. If you take two 3x3 matrices and multiply it then you will get a 3x3 matrix as a result. First we have to select 3x3 cells in the excel and give then a formula of =mmult(and then select the first matrix it will automatically takes the row and cell numbers, next select the second matrix). Then it will give the answer. Next if you want to find the determinant of...

In this video Dynamite Jack from Hugegamer shows you how to get the most out of your Playstation 3 by setting it up to instantly stream movies and video from Netflix. Start by ordering your free Netflix streaming disc, from Netflix, once you receive the disk load it into your PS3 and start your system. You will also receive an activation code so that you can go online to register your PS3 with your Netflix account. Once your PS3 is booted go to the "video" section on your PS3 and bring up the...

Click in File and New to create a new document, press OK and select the text tool and click once on your file and write something, then close the window. Click in move the active layer to make easier to move the text. Go again to the text tool and click on the Color to change the text color. Press Crtl+O, select the background layer and change the color to the one you want, now select the bucket tool and click on the background to paint it with the color you have selected. Go back to the text...

Use the "Magic Wand" tool to select the color you wish to change. The next step is to open the replace color box. Go to Image > Adjustments > Replace Color. After the Replace Color box is open, you may have to select the color that you want to change in the image. Sometimes, it will automatically select the color you're changing, but sometimes you will have to use the Eyedropper Tool and click a hue of the color you wish to change. After the color is selected in the "Replace Color" box, you c...

This tutorial explains how to create a multi colored eye effect. First open the image in Photoshop and unlock the layer. Make a selection of the eye with either the lasso, magnetic lasso or pen tool. If you are using the pen tool, like in the tutorial, right click and choose mark selection, feather radius of three pixels. Now copy and paste the eye. Go to File and select New. Create an image of 1000 by 1000 pixels. Unlock the layer and make sure tea background and foreground colors are black ...

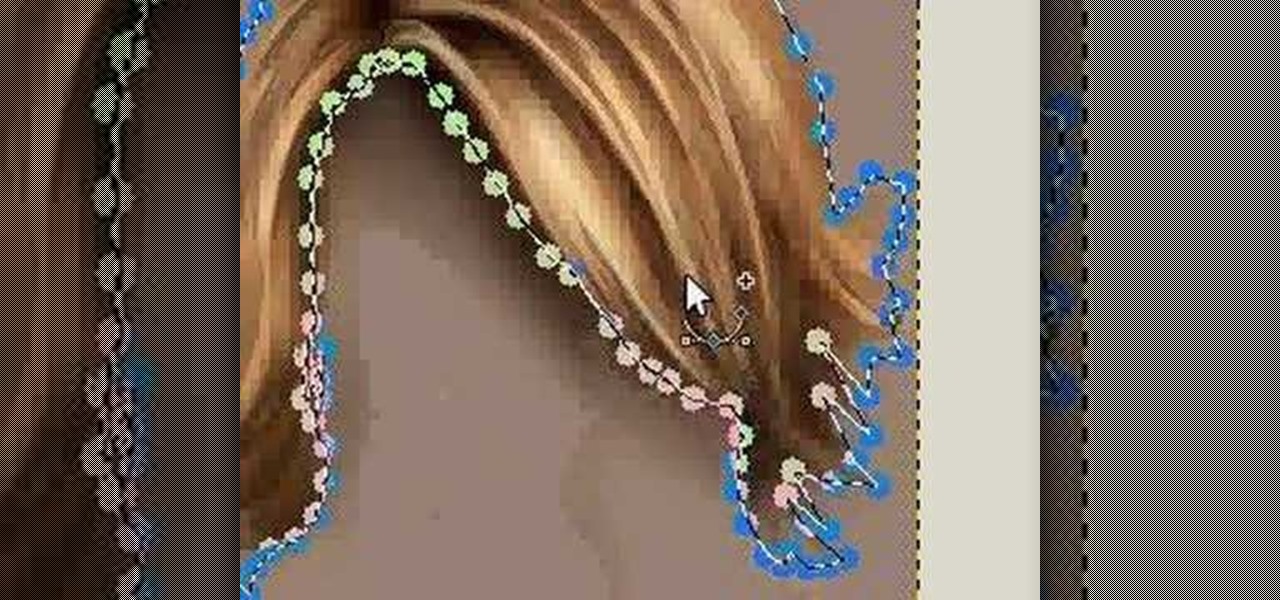
Open up the GIMP on your computer, and then proceed to open up the photo you wish to modify. Now, select the scissors tool from your Tool palette or by clicking "Tools" on the menu bar, then click "Selection Tools," and also click "Intelligent Scissors." Use this tool to outline the person's hair in the photo by clicking along the hairline at about 1/4-inch intervals until you return to the first place you clicked.

During the keynote at WWDC earlier this year, Apple introduced the latest iteration of its mobile operating system, iOS 12. Despite a thorough demo on stage, Apple glossed over new eye tracking features that use ARKit 2. Developers can now use the TrueDepth camera on the iPhone X, XS, XS Max, and XR to determine where your eyes are looking, opening up incredible new possibilities for new apps.

This video is about how you can change someone's eye color. The first thing to do is to load up a picture in which you want the eye color to change. The next step is to zoom in the eye that you're interested in working on. Just simply press "D" button on the keyboard and draw a rectangular shape on the eye. Now that you've zoomed in, make a selection of the iris, the part that we want to change the color on. The first thing is, you need to set up colors found on the lower left of the window. ...

In this how to video, you will learn how to change hair color in a photo using GIMP. First, download and install the program. Open it and find the image you want to change. Next, zoom in to get a full view of the hair. Now you should go to the paths tool. Highlight all around the hair to select it. Once this is done, go to select and select From Path. Marching ants should go around the selection. Now, go to colors and select Color Balance. Adjust the color sliders to change the hair color. On...

In this video tutorial, viewers learn how to make floating text on water. Begin by importing the water image into the program. Begin by selecting the polygonal lasso tool in the toolbox and select the top of the water. Once you have made the selection, right-click on it and select Layer via Copy. Then select the text tool and type in your text. Create a contour to make the 3D and give the text a light color. Then place Layer 1 over the ext layer and use the selection tool to place it behind t...


