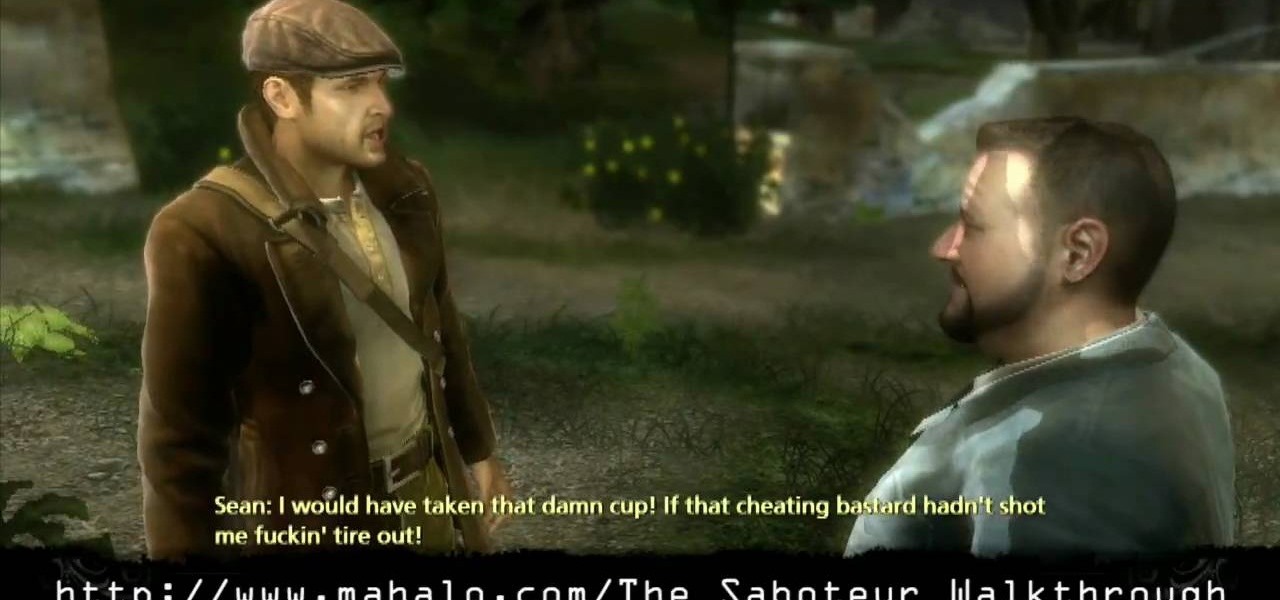
This is just a simple race in The Saboteur for the Xbox 360. The twelfth mission in Act 2: On Your Marks… Get Set... is where Horst is waiting with a good car right near Margot's base. This is a solo race mission to unlock the races throughout the rest of the game. The key to these is really just practicing the route. There aren't waypoints, so you can take some shortcuts, but the highlighted route is the most direct, so this won't amount to much more than corner cutting. For more info, watch...
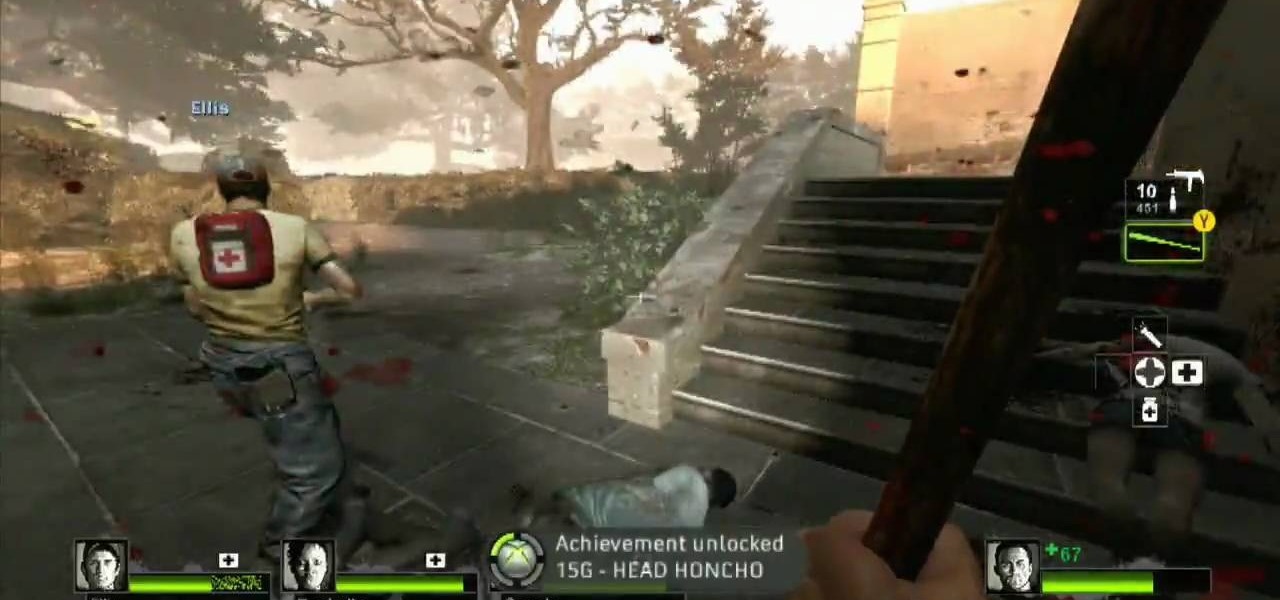
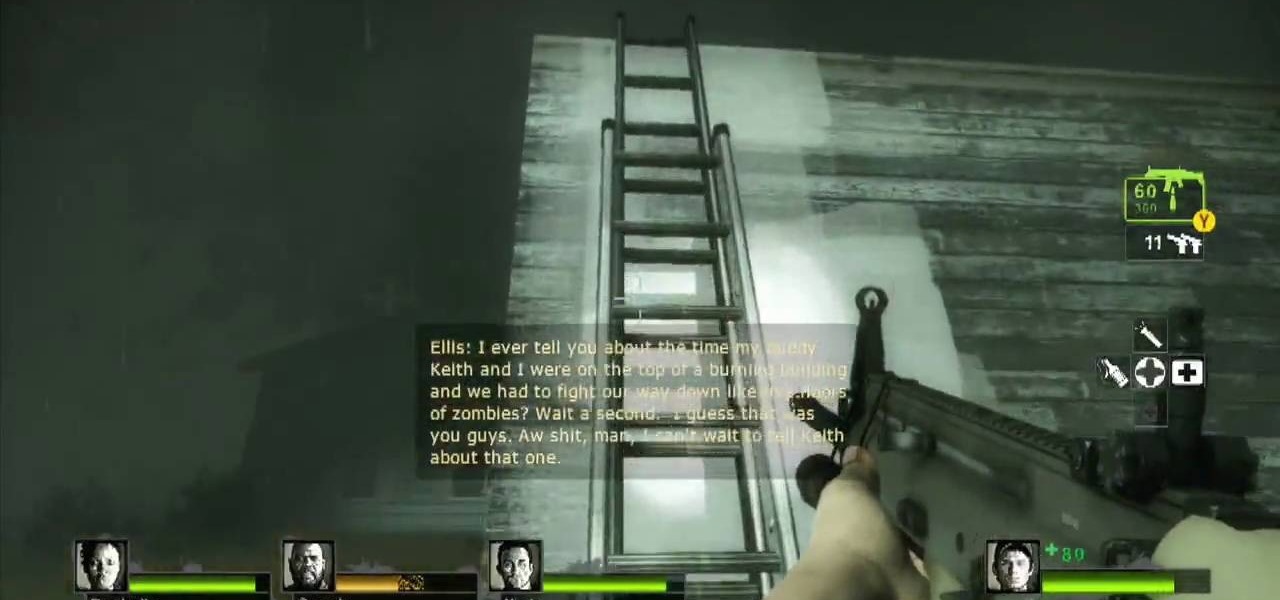
Check out this L4D2 walkthrough for some tips on Campaign 5: The Parish - Park. Stock up on items and exit via the door right next to the one you entered. Clear out any zombies and work your way up the large staircase into the park. Be prepared to deal with a likely Crescendo event in the plaza here. Pick a one of the staircases to climb up and enter the park. The restrooms near the entrance of the park usually contain a throwable item or two. For more info, watch the whole gameplay.
This last campaign is the hardest one. In the first part of campaign five, try not to drown and watch this L4D2 walkthrough for some tips on Campaign 5: The Parish - Waterfront. You are dropped off on the waterfront and told to make your way to the bridge. Pick up weapons and medpacks and head up the staircase. Go through the gate and clear a path to the Waterfront Market directly in front of you. There should be an open door for you to walk into. You may encounter a SWAT zombie at this point...
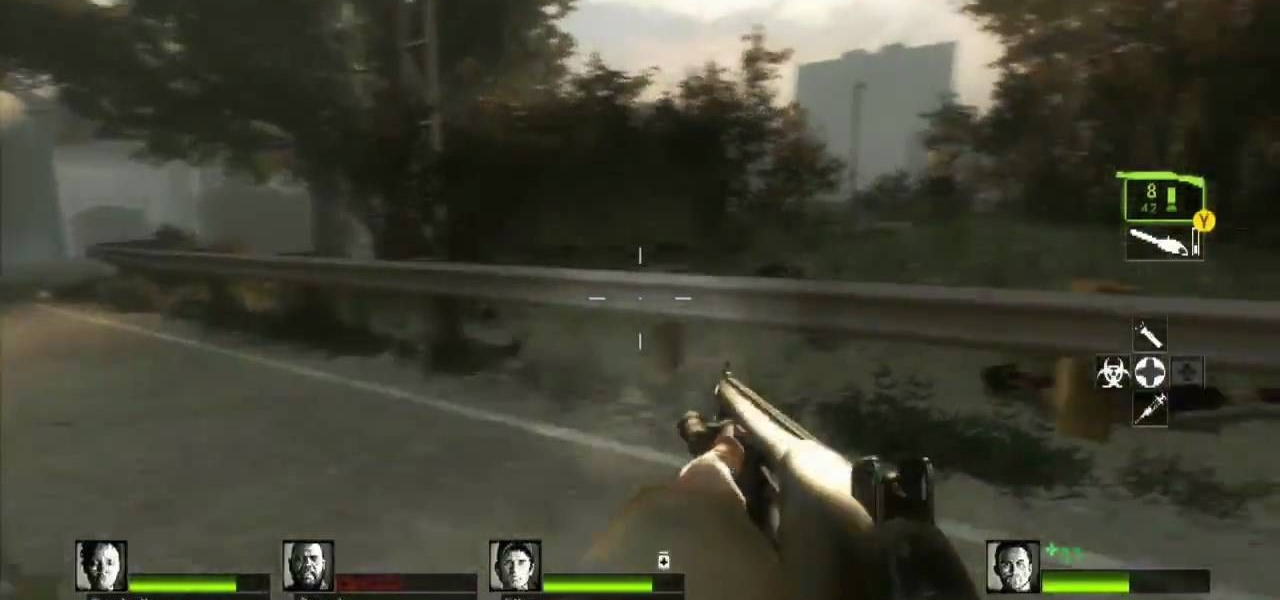
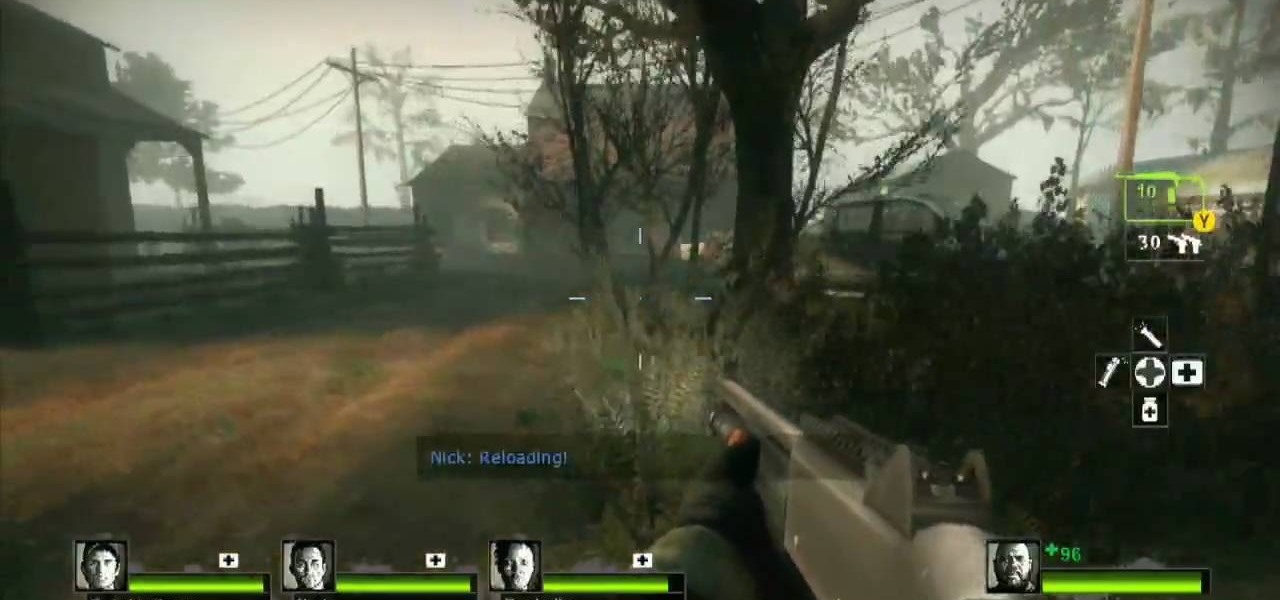
And just when you thought it was safe in town, you come back and find out it's like you were never there. Zombies everywhere. Watch this L4D2 walkthrough to play Campaign 4: Hard Rain - Return to Town. Gather any equipment and head out of the safehouse. The suburban neighborhood you travelled through last time is now flooded. You will want to spend as little time as possible wading through water. Try to look for rooftops or makeshift walkways to maximize your maneuverability. After dropping d...

Learn your way around the saccharine and bloody land of the sugar mill in L4D2. See the whole gameplay for Campaign 4: Hard Rain - Sugarmill. Stock up on weapons and head down the stairs to open the door of the safehouse. Clear out any zombies on the street and go across through the open window into the sugar mill. Once in the building, head to the left. There should be an open door leading back outside. For more info, watch the whole gameplay.
Make your way through the deadly plantation in L4D2. See the gameplay for Campaign 3: Swamp Fever - Plantation. Gear up and go outside of the safehouse. It will be light out. Mop up any zombies here and head straight ahead, bearing to the left. You will climb a small hill and see an opening in the fence. Check the sundries building on your left for items. Make your way through the rows of houses here towards the red two-story house at the end. Don't go inside the house, turn left right before...

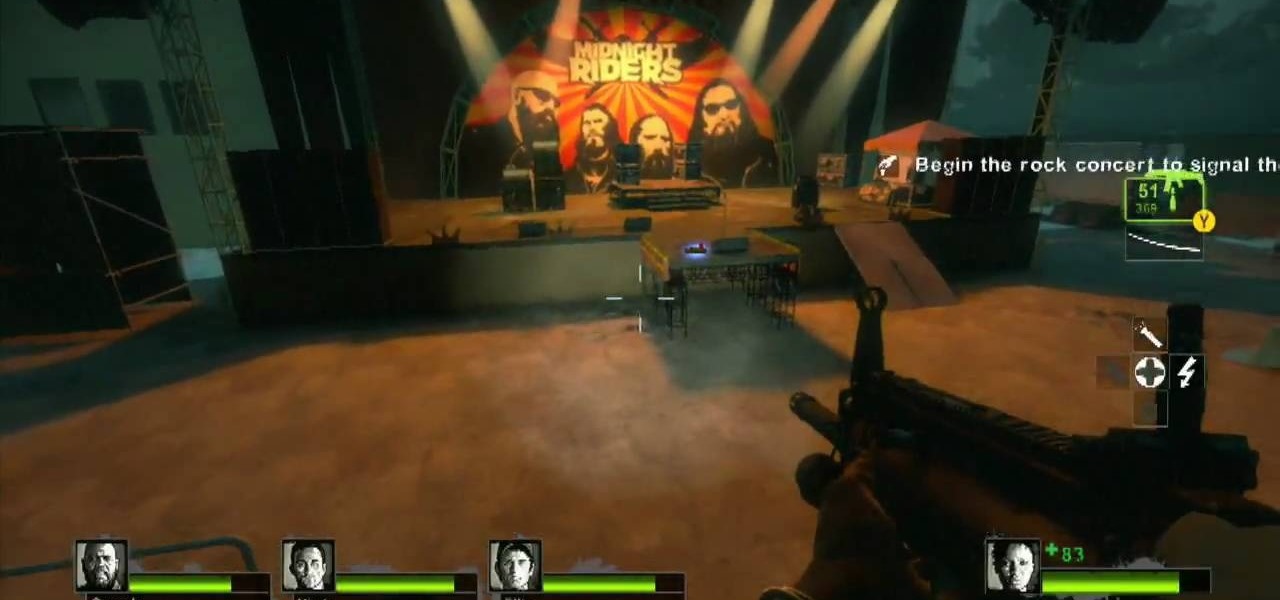
Don't let L4D2 get the best of you. Take control by checking out this video on Campaign 2: Dark Carnival - Concert. Grab your guns and go out the door. There is really only one path to follow, so move right around the venue until you reach the stage. Feel free to use up your ammo as there will be a refill when you reach the end. There are bathrooms to your right and left, but it isn't worth your time to search them. Clear out any zombies in the stage area. You must then flip the switch on the...
Having some trouble beating L4D2? No problem, watch this which shows you around and gives tips on Campaign 2: Dark Carnival - Coaster. Restock your gear and head out the door. If you have any pipe bombs or pick up any throughout the level, try and save them for the roller coaster chase sequence at the end. Climb up the stairs and continue forward until you reach the swans at the start of the ride. Turn right, and follow the water pathway forward. You can safely ignore most of the tiny backdro...
Prepare to delve into the world of L4D2 and check out the gameplay for Campaign 1: Dead Center - Streets. Stock up and open the safe house door. You should see a bunch of infected milling about here. Kill them and make your way straight up the hill past the port-o-potties. Turn right at the fence and take the street down. Watch out for zombie attacks from the walls to the left and right of you. They will drop down from above. Duck into the building on the right when you reach the fence at the...
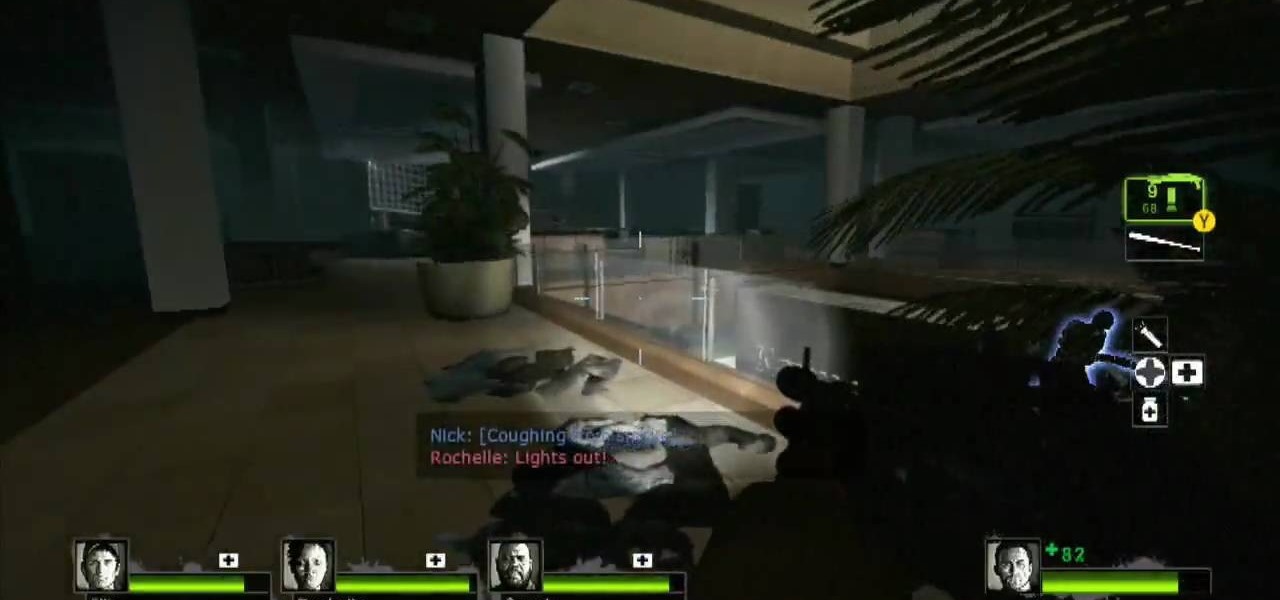
L4D2: One of the best horror video games of all time. Check out the tips and gameplay for Campaign 1: Dead Center - Mall. Restock on supplies and head out of the safehouse. Feel free to kill any zombies trying to reach in the door before you unlock it. Hang right and make your way up the giant escalator in the middle of the floor. Loop around and exit Kappel's department store. Go down the first escalator you see. Watch out for zombie attacks from the floor above. They will jump down and catc...
Learn about the L4D2 gameplay for Campaign 1: Dead Center - Atrium. Get the goodies and walk out of the safe house. Turn right and go down the hallway, making another right through the door at the end. You will find yourself back in the mall. Continue on the makeshift walkway, bearing left at the end until you reach an elevator. The blue door across from you is a dead end. For more info, watch the whole gameplay.
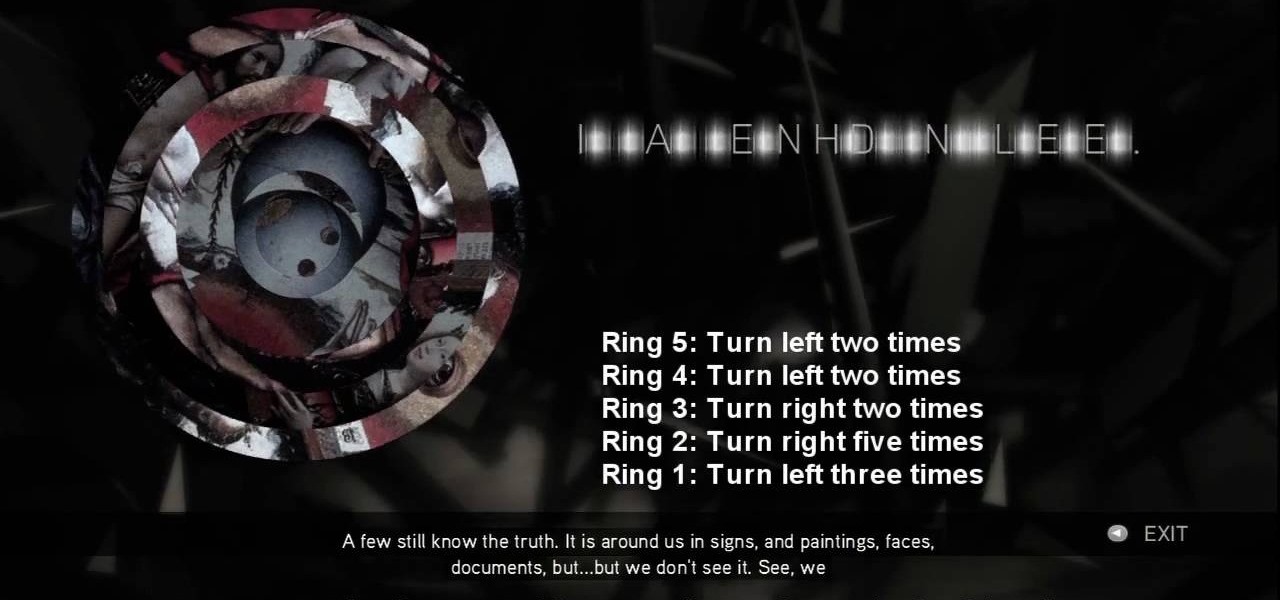
No need to figure out the 20th puzzle, entitled "The Origin of the Species", in Assassin's Creed 2. Here's the answers! Puzzle wheel: Start by turning the fifth ring right ten times, then turn the fourth ring left twice. Then rotate the third (and first) rings right twice, the second ring right five times and the first ring left three times. Image 1: Highlight the eye at the top of the painting. Code wheel puzzle: Ignore the numbers and focus on the Assassin motto: “Nothing is true, everythin...
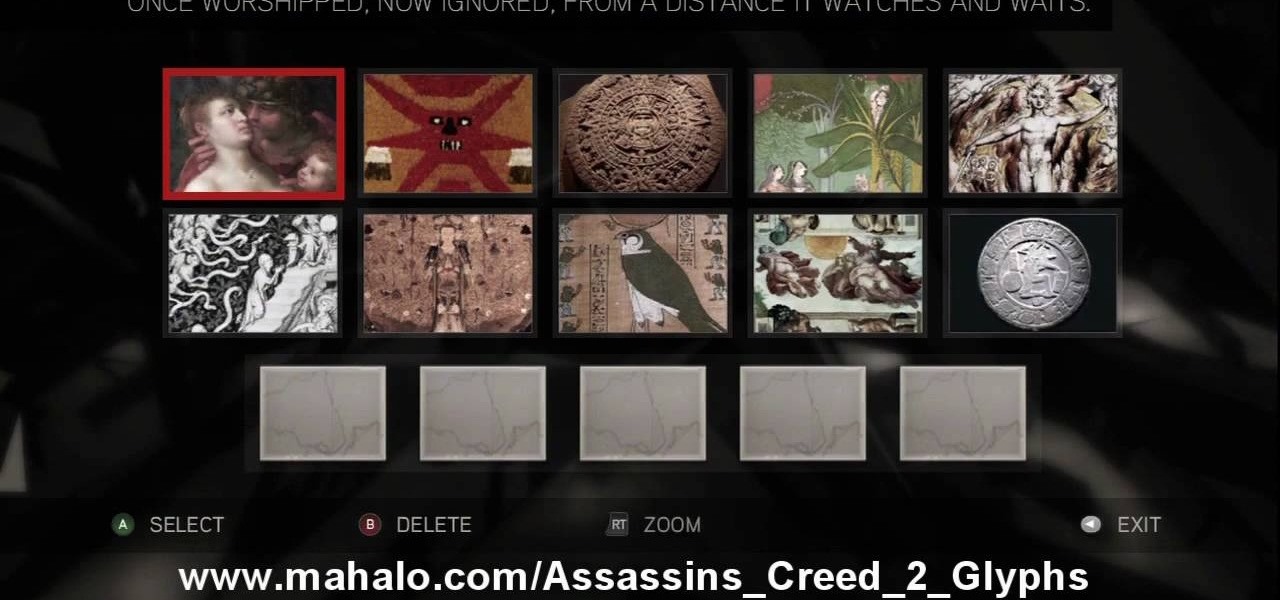
Here's the answers to the 19th puzzle, titled "The Fourth Day", in Assassin's Creed 2. Image set: What used to be worshipped by every primitive culture under the…? That’s right, the sun. Pick the five images that focus on it. Image: Find the tiny image of Earth in the lower-left quadrant of the sun. For more info, watch the whole gameplay.
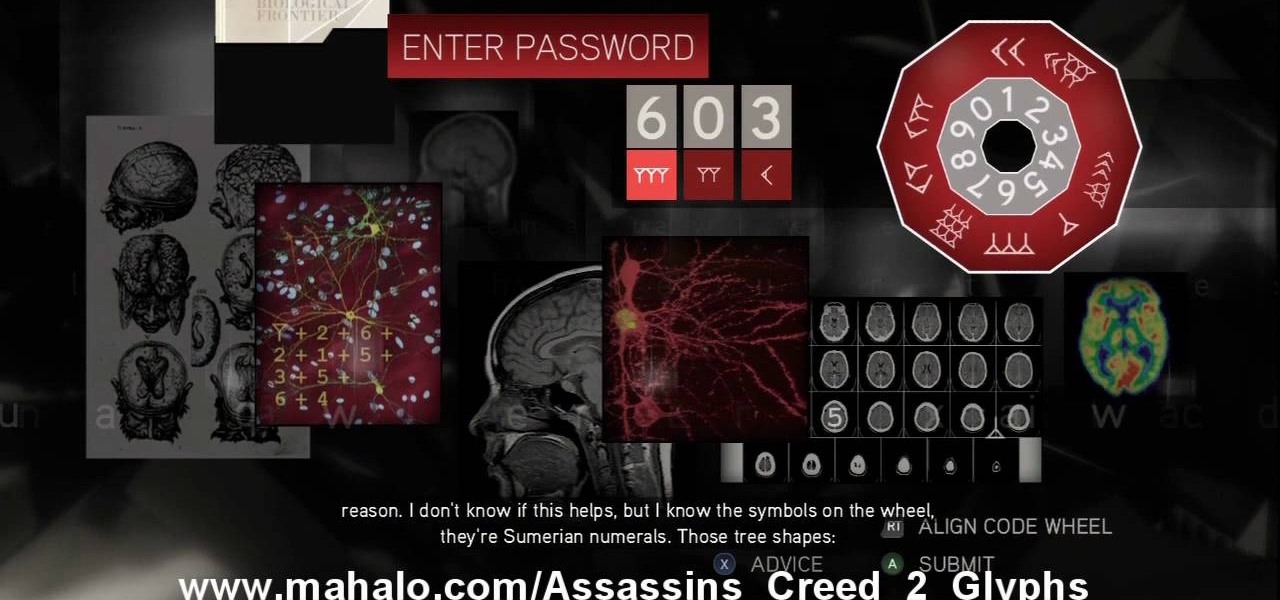
The 18th puzzle is called "Synapses". See how to solve it in Assassin's Creed 2. Code wheel puzzle: Your first clue is to line up 5 with a single tree-looking symbol. The key here is the weird-looking equation on the left, which offers a hint as to the progression of the symbols.
Figure out the 17th puzzle, entitled "The Bunker", in Assassin's Creed 2. Code wheel puzzle: Here’s a tricky one; your clues are “<” and “2,” and the only advice you’ll get from your handlers is that maybe there’s “something we can count” on the strange symbols. In this case that “something” is the number of times each symbol bends sharply. Don’t expect consistency across the wheel on this one; just take a look at what symbols flank the blank spaces and pick a shape with the number of bends t...
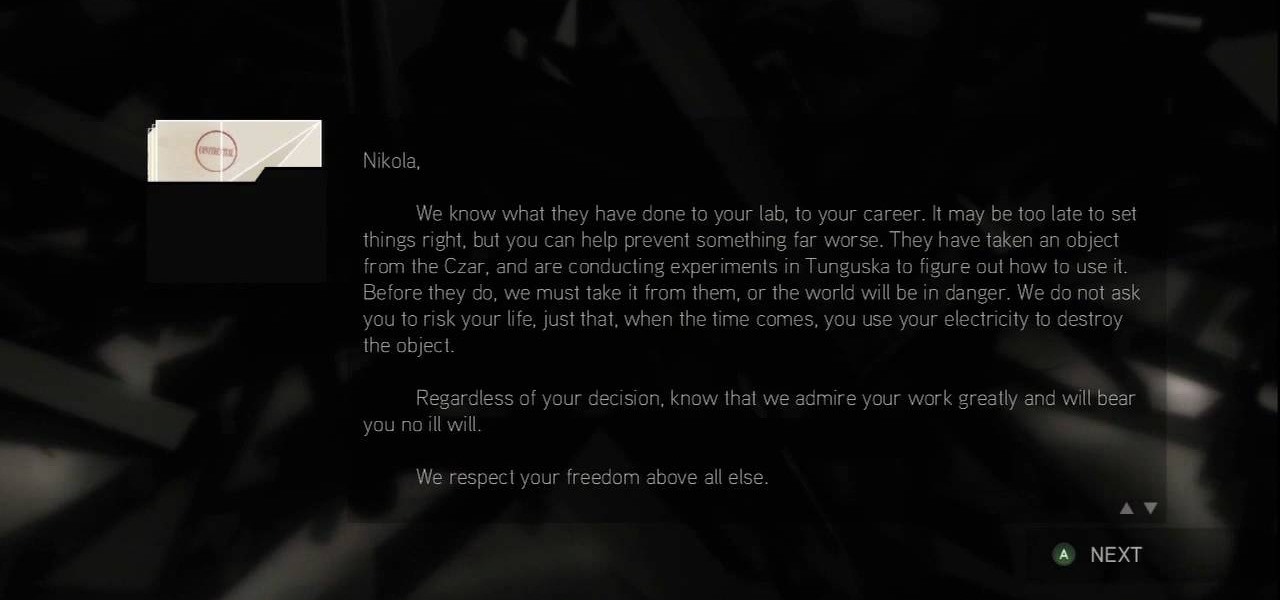
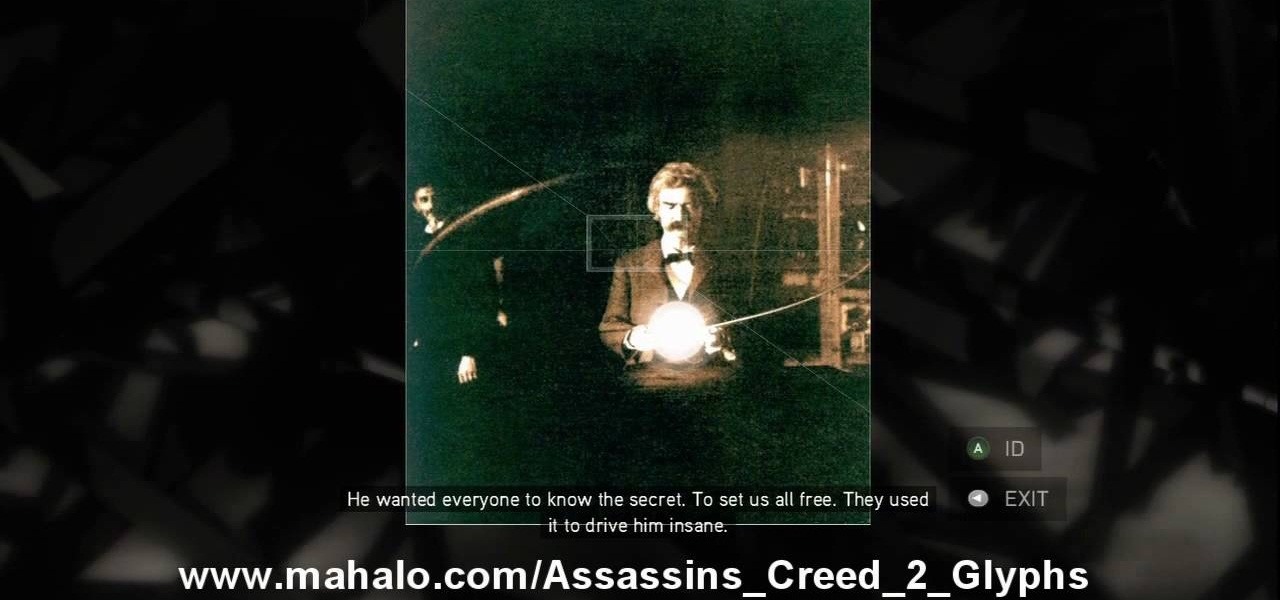
This one's pretty easy. Here's the solution to the 16th puzzle, entitled "The Cavalry", in Assassin's Creed 2. Image 1: Just move the cursor to the word “Tunguska.” Image 2: Move the cursor onto the staff and drag it onto Tesla’s photo. For more info, watch the whole gameplay.
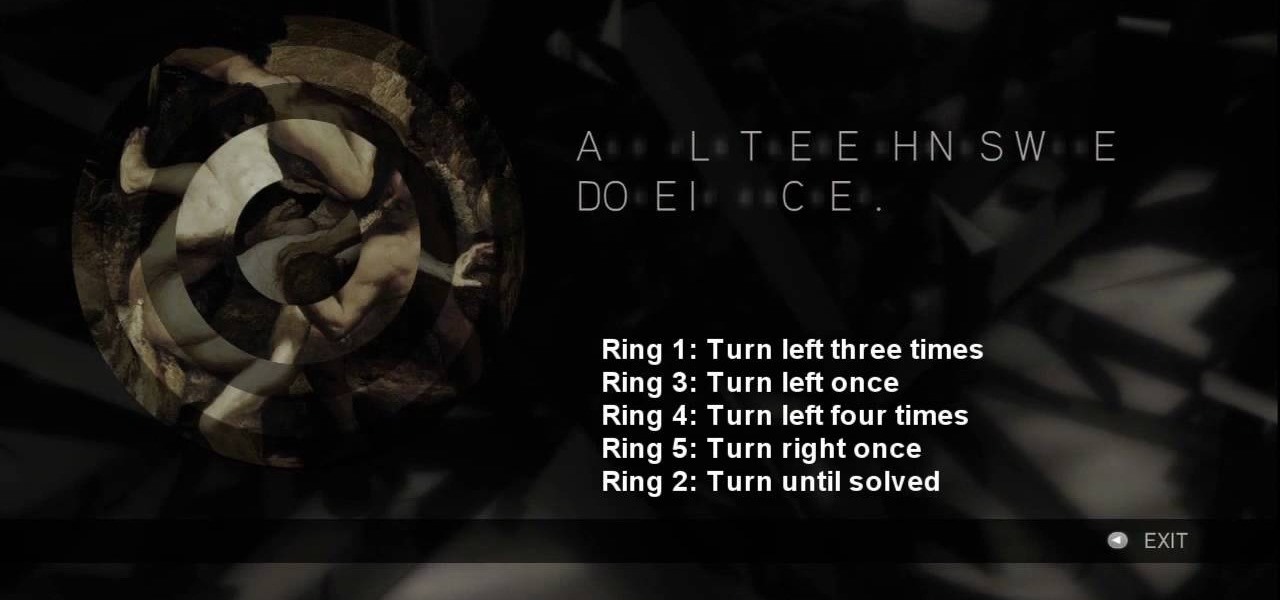
Get all of the info on the 15th puzzle, entitled "Guardians", in Assassin's Creed 2. Puzzle wheel: Seemingly every other ring is linked here, so we’ll cut straight to the chase: Turn the third (and fourth) rings right twice, the fifth (and first) right four times, the fourth (and first) right five times, the fifth (and first) left five times and the second left five times. Finally, move the fifth (and second) rings right five times. Image: Another gimme – just move the Assassin logo over the ...
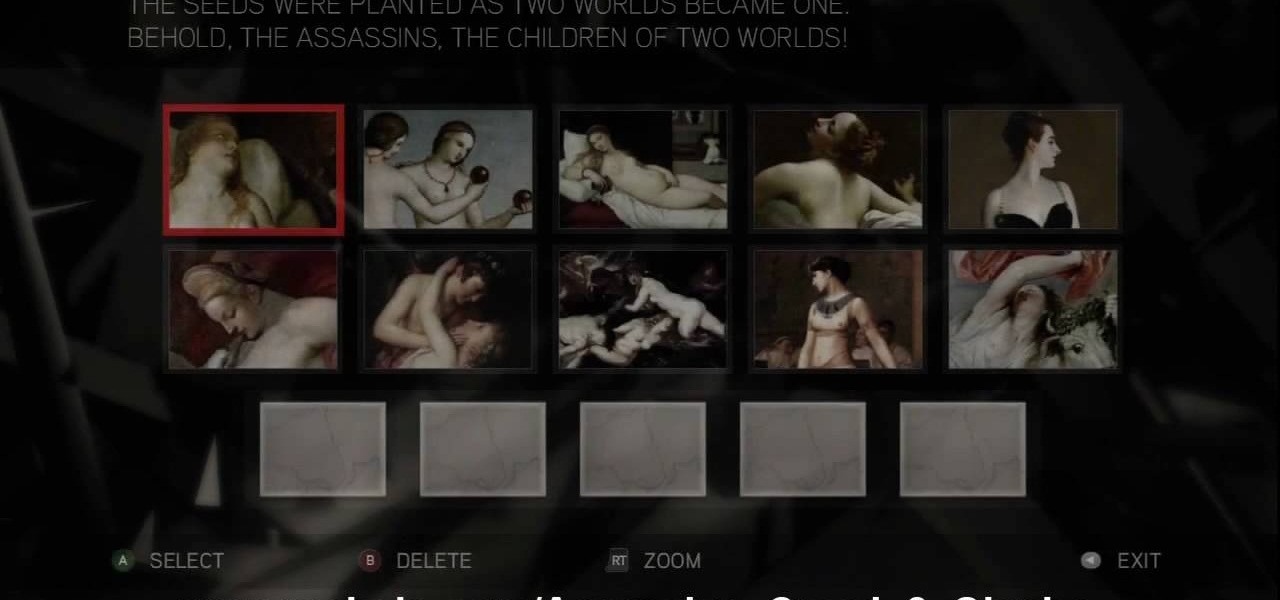
The 14th puzzle, entitled "Bloodlines", isn't really that hard in Assassin's Creed 2. Set 1: Highlight the images that depict women and gods in amorous entanglements (especially if those gods are disguised as animals). For more info, watch the whole gameplay.
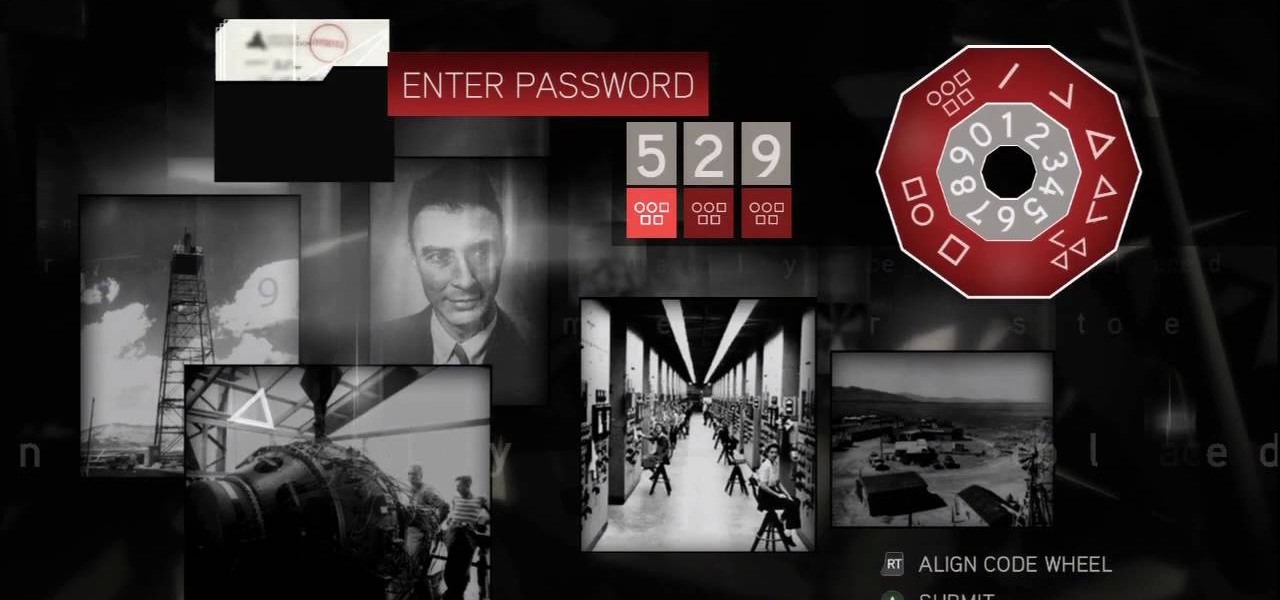
Solve the challenging 13th puzzle, entitled "I Am Become Death, the Destroyer of Worlds", in Assassin's Creed 2. Code wheel puzzle: This one’s even trickier than the last one; starting with the hint that 9 (next to the tower) equals “triangle” (up and to the left from the bomb), you need to figure out which symbols would fill in the blank spots on the wheel, going by the symbols next to them. Image 1: Just hit the button. It’s not hard. Image 2: Use the Geiger-counter clicks to guide you. For...
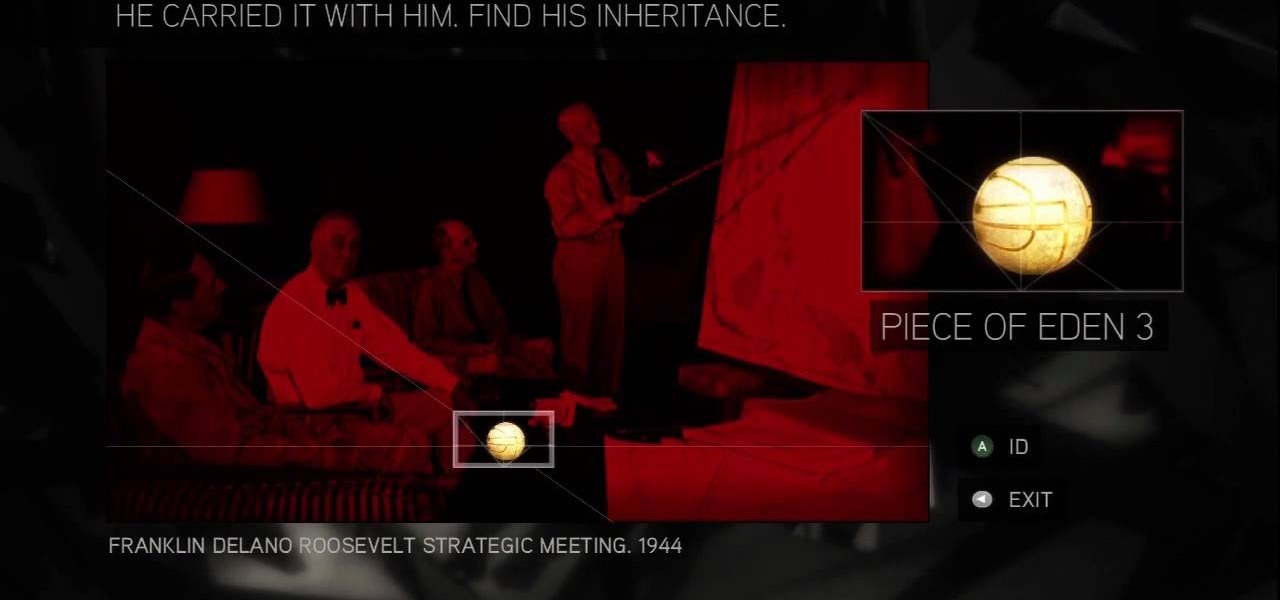
This is the 12th puzzle, entitled "Titans of Industry", in Assassin's Creed 2. Code wheel puzzle 1: The key here is in the “4=1” on the blueprint at the left of the screen. Line up the red 4 over the gray 1 and input the following code: 917240. Image 1: This one’s the opposite of the light-bulb “puzzle” from before – just move the dollar sign over the bulbs to extinguish them. Image 2: Highlight the glowing ball at the center of the image. Code wheel puzzle 2: Your hints here are the “2” on t...
Find out how to solve the 11th puzzle, entitled "The Inventor", in Assassin's Creed 2. Image 1: Just move the lightning bolt over the bulbs to bring them to life. Image 2: Highlight the area just at the base of the tower, between the two windows, to find this hidden image. Image 3: Move the pointer onto Tesla’s lap. For more info, watch the whole gameplay.
Figure out the 10th puzzle, Apollo, in Assassin's Creed 2. Image 1: Highlight the lunar lander just down and to the left of the moon. Puzzle wheel: Another linked-ring rotation puzzle. Your job here is to align all the channels; do this by moving the fifth ring to the left six times, the second ring to the left four times, the fourth ring to the right three times and the third ring to the left five times. Then snap the first ring into place. Image 2: Move the cursor down between the flag and ...
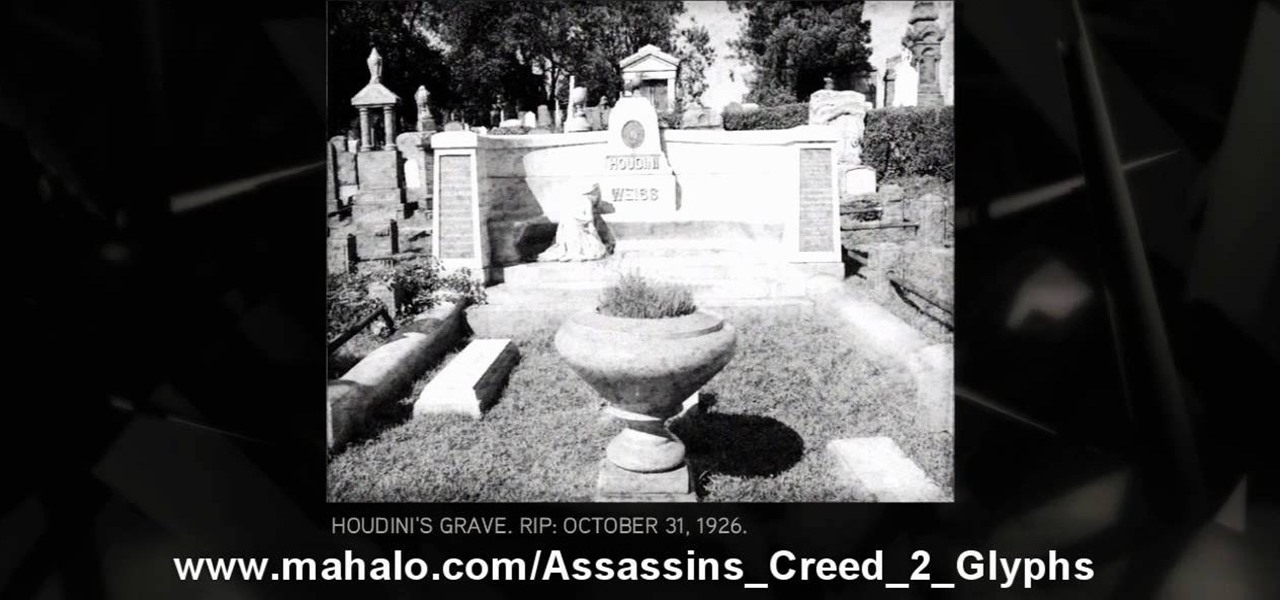
Execute the 9th puzzle, called Hat Trick, in Assassin's Creed 2. Image 1: Move the cursor onto Houdini’s torso. Image 2: Move the cursor over Gandhi’s heart. Code wheel puzzle: Your hint here is pretty obvious; there’s a big, glaring “6=1” next to Oswald’s picture. So move the red wheel so that the 6 is over the gray 1, and plug in the corresponding numbers. For more info, watch the whole gameplay.
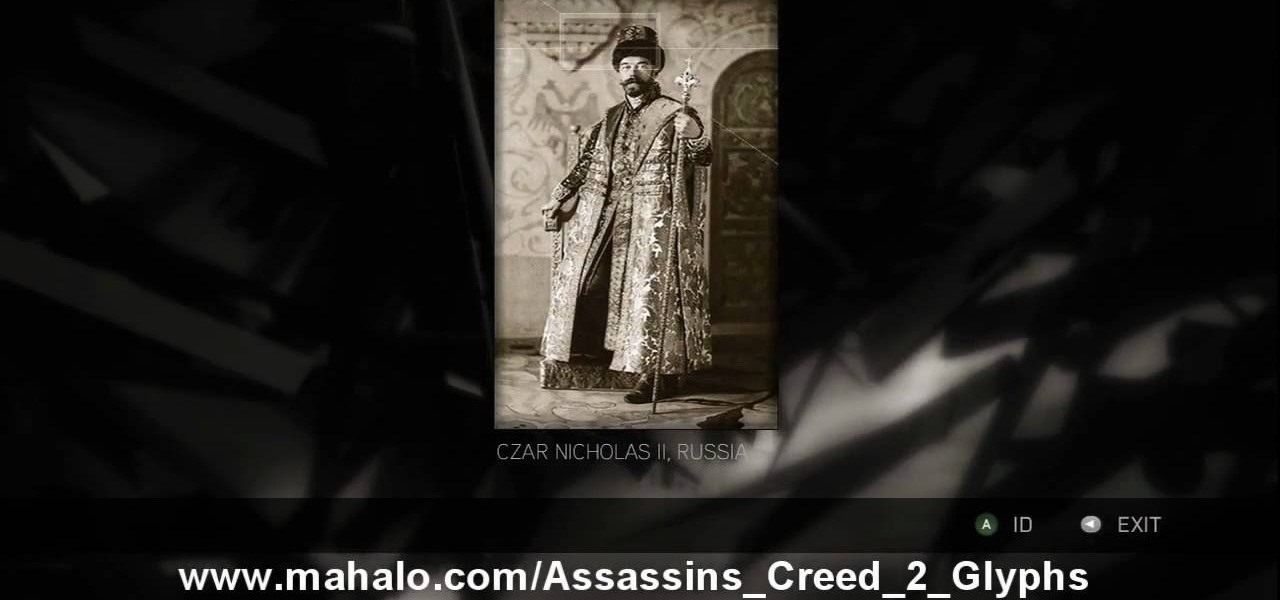
Learn about the 8th puzzle, titled Martyrs, in Assassin's Creed 2. Image 1: Highlight Czar Nicholas’ staff. Image 2: Highlight Joan of Arc’s sword. Image 3: Move the fireball to Joan of Arc’s portrait. Image 4: Move the photo of Rasputin onto Czar Nicholas’ portrait. For more info, watch the whole gameplay.
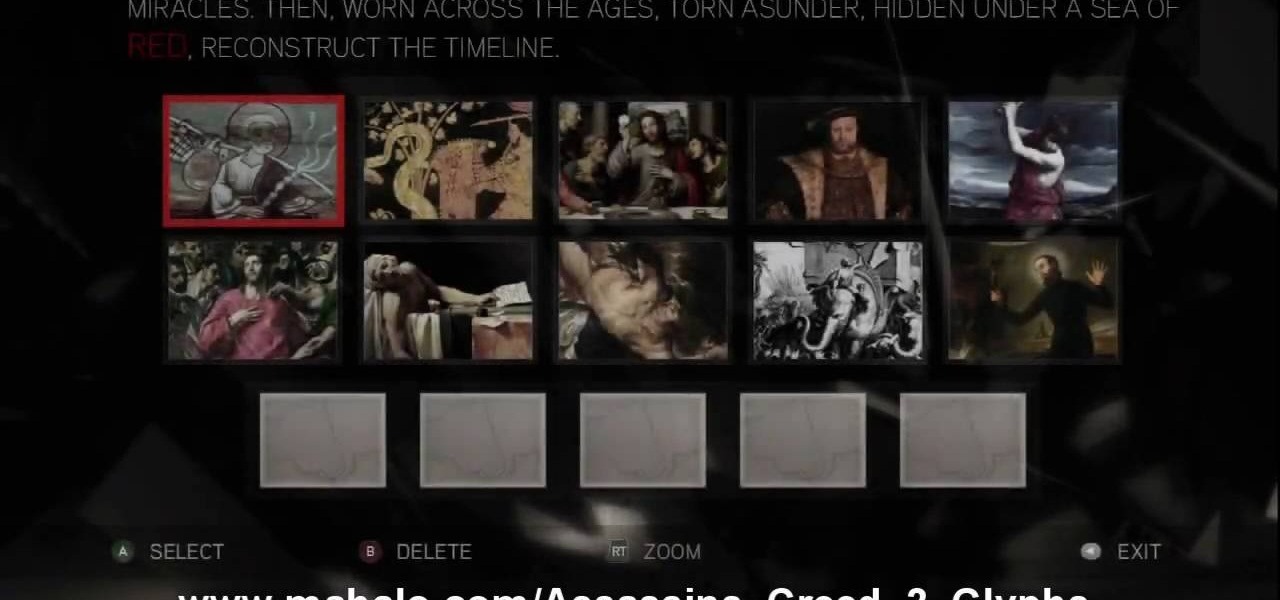
This is about the 7th puzzle in Assassin's Creed 2. Keep on seeking, and you should find… in the first image set, the key word here is "red", so pick the images in which that color shines the brightest. In the second image, highlight the area to the right of Jesus’ hips to reveal a Piece of Eden. For more info, watch the whole gameplay.
See the key to the sixth puzzle "Brothers" in Assassin's Creed 2. This is where things start to get tricky; while the first batch of ring puzzles were simple, these link some of their rings together, so that you can’t move one without moving another. For more info, watch the whole gameplay.
Find out the solution to the 5th puzzle in Assassin's Creed 2. For set one, the hint here is “cut,” so pick the five paintings that feature swords. For set two, what do the people in these paintings lean on? That’s right – pick out the images that feature staffs. For more info, watch the whole gameplay.
Get the answers to the 4th puzzle in Assassin's Creed 2. This is just another hidden-image puzzle. Find them in the barrel of the bazooka, on the helmet of the soldier crouching in the background, on a rifle held up just to the left of the officers, and in the hand of one of the monsters. For more info, watch the whole gameplay.
Find out about the third puzzle in Assassin's Creed 2. Another simple one – just highlight the spot in each image where the Apple is hiding. You can click around at random and maybe find a couple of hidden messages. For more info, watch the whole gameplay.
Try your hands at one of the first puzzles in Assassin's Creed 2. “Core?” “Pick?” That’s a dead giveaway right there. Just pick out all the paintings that contain apples. For more info, watch the whole gameplay.
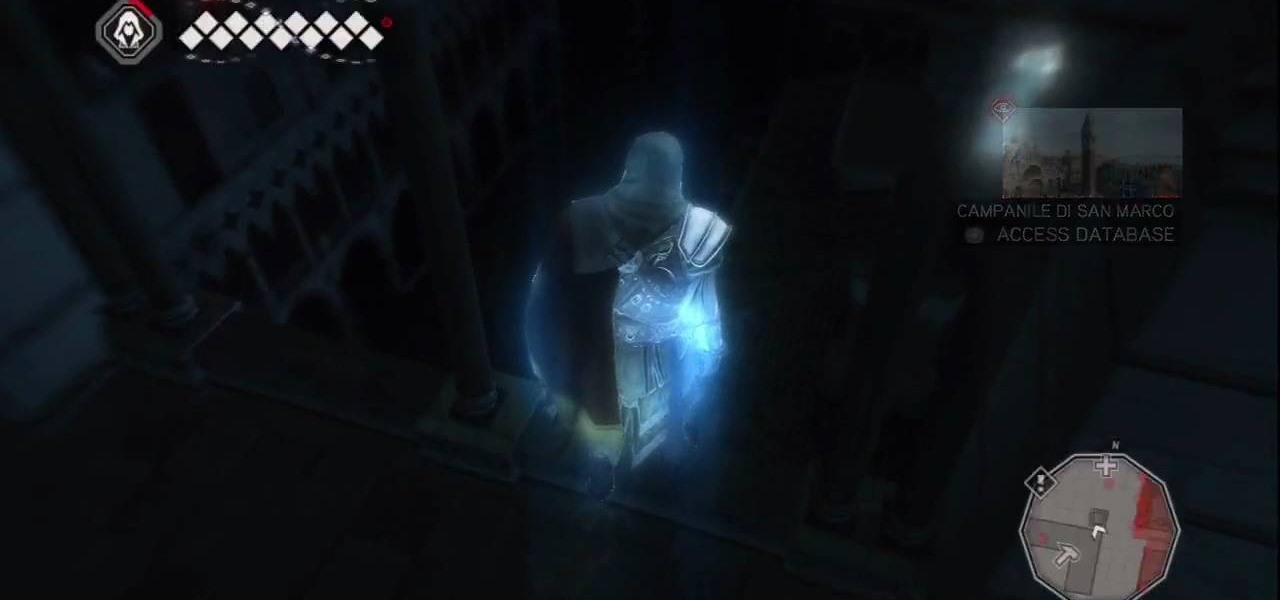
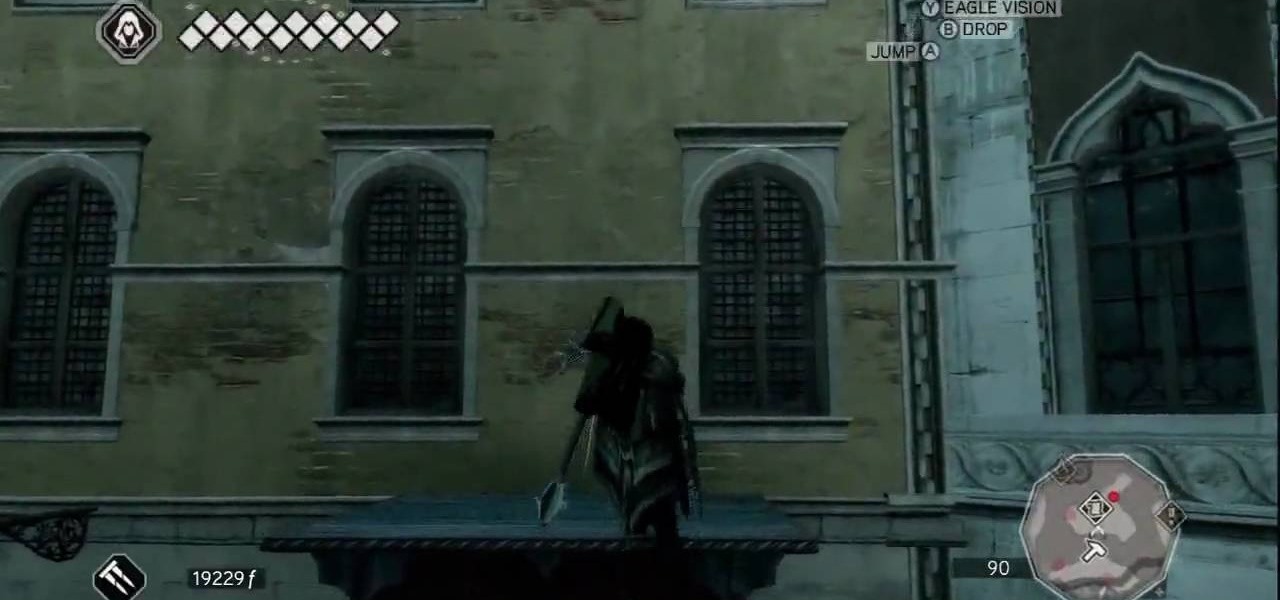
Visitazione's Secret: This is Tomb number 6. The grave of all graves. The entrance to the tomb is on top of the first level of the building's roof. You can pretty easily climb the building on the eastern face and then shimmy around to the north face and continue up. There's a small nook where the building's tower meets the first level of roof, and in there you'll find the entrance.
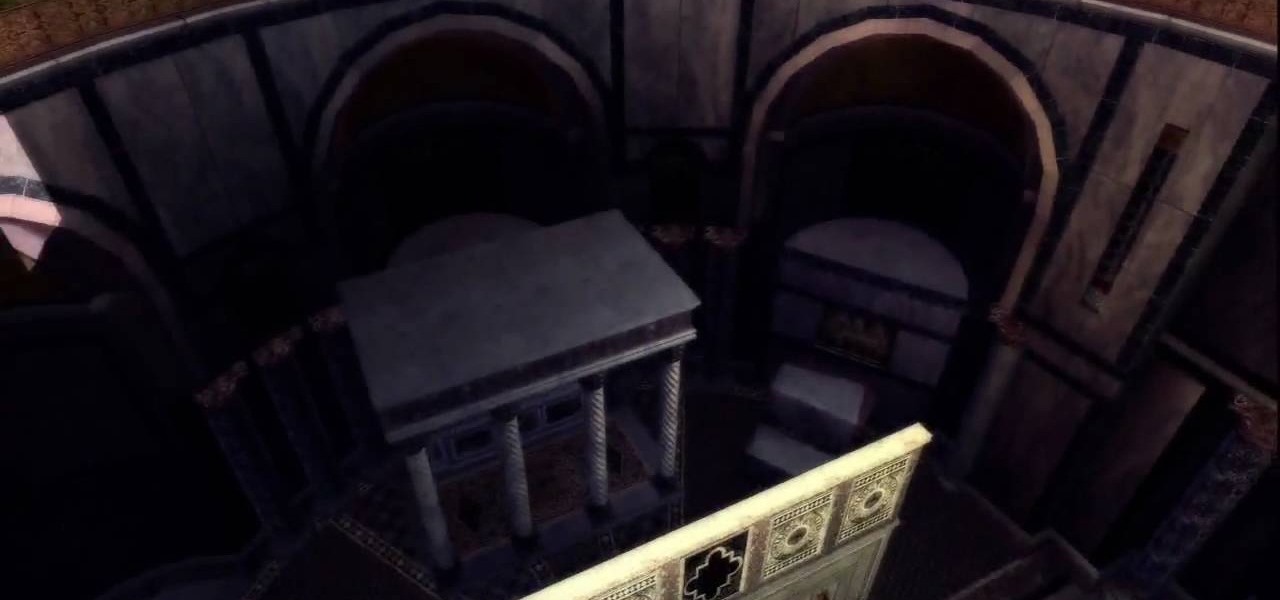
San Marco's Secret: Tomb 5 is not easy, so be careful. Getting into the Basilica without the use of Leonardo's flying machine is tricky. However, chances are that you've already penetrated the massive building's defenses in the mission If at First You Don't Succeed.... But if you haven't yet completed that mission, here's how to get to the tomb's entrance.
Ravaldino's Secret: The entrance is sort of tucked away behind a tower on the other side of the city's water way to the west. Jump in the water and swim around the north end of the tower and you should find the entrance pretty easily. It's just off the water.
Torre Grossa's Secret: The entrance is on ground level, and it's not hard to find. Look for a vaguely-narrow arched hallway just off the street and look for the entrance on the wall to the right.
Il Duomo's Secret: Super simple. The entrance is on the north end of the Basilica Santa Maria del Fiore. It's on street level, and really anyone could open it but only you're smart enough.
X Marks the Spot: Activate the odd glowing thing and then walk up to the wall of codex pages to bring up a puzzle. Use eagle vision and you can spot the faint red outlines of a picture. You need to rotate all of the pieces around into their correct positions in order to complete the picture. Start by going around the perimeter of the puzzle and arranging the border—it's the easiest. Once you've got the border in place, go for the inner pieces.
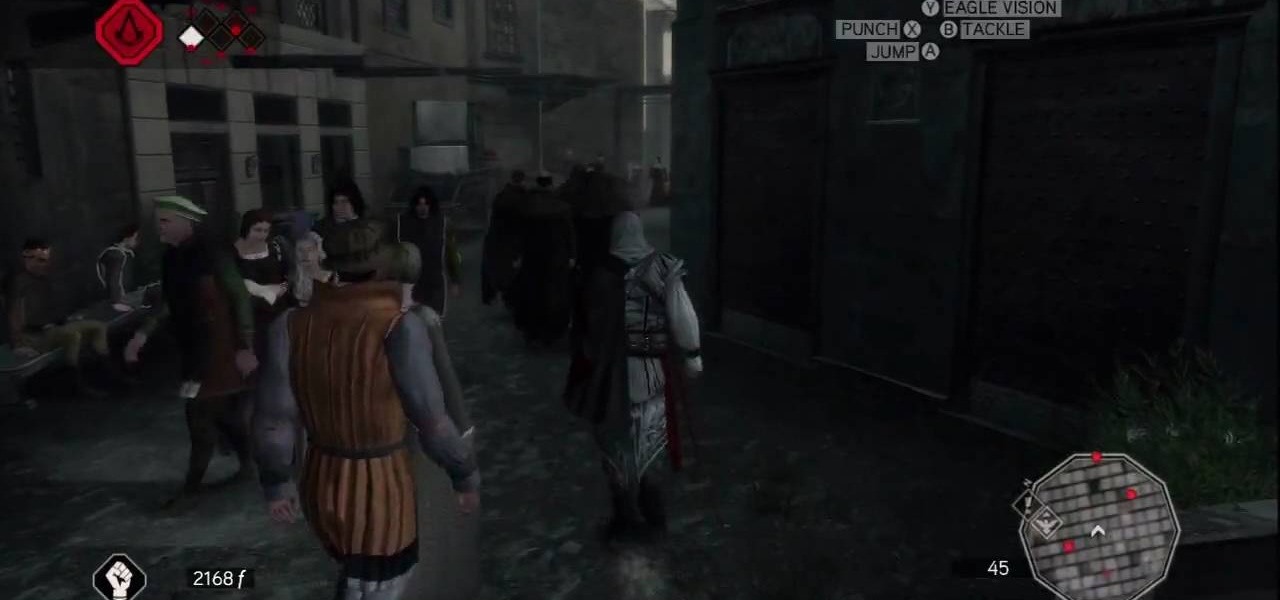
Play Along: At the start of the mission, you simply need to follow the leader through the city. Do your best not to bump into anyone, as Ezio will drop the chest if you do. Eventually, you read the end of the trail and a cut scene takes over.
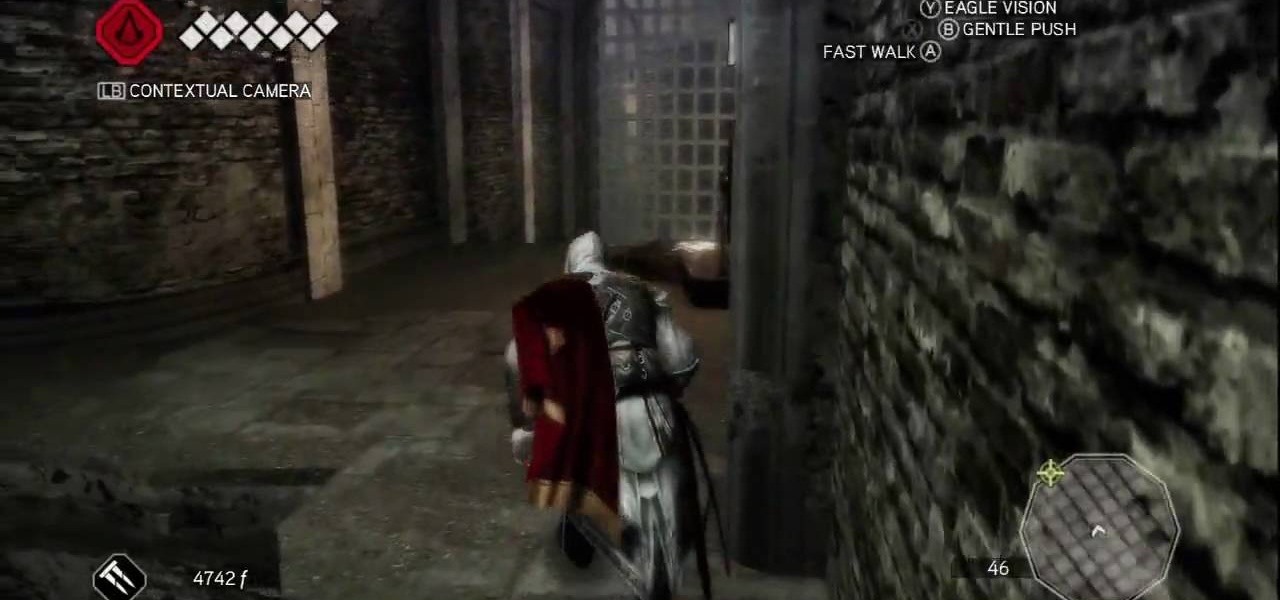
All Things Come to He Who Waits: After parting ways with Leonardo, break into the walled-off area to the northeast and trigger this mission via a waypoint on the parapet walk. After the cut scene, you need to trail a courier that zigs a zagging path through the city. Stay far enough behind him that he doesn't get curious, but also be sure to keep him in your sights. If he gets separated from you by a wall, a countdown timer hurries you to catch back up.
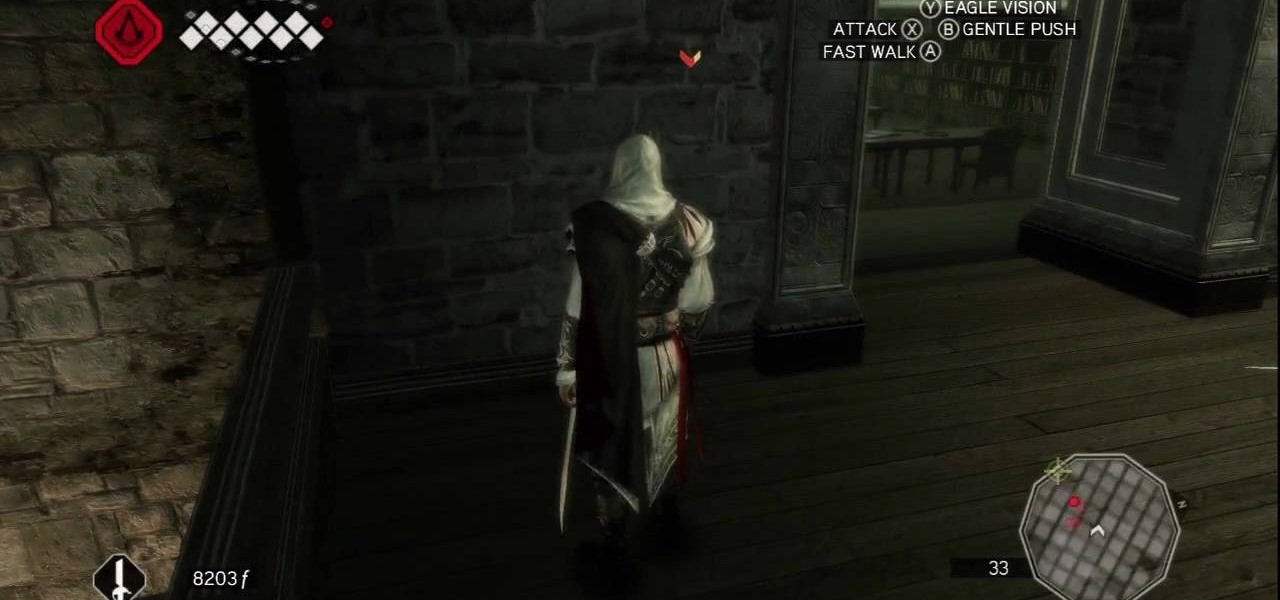
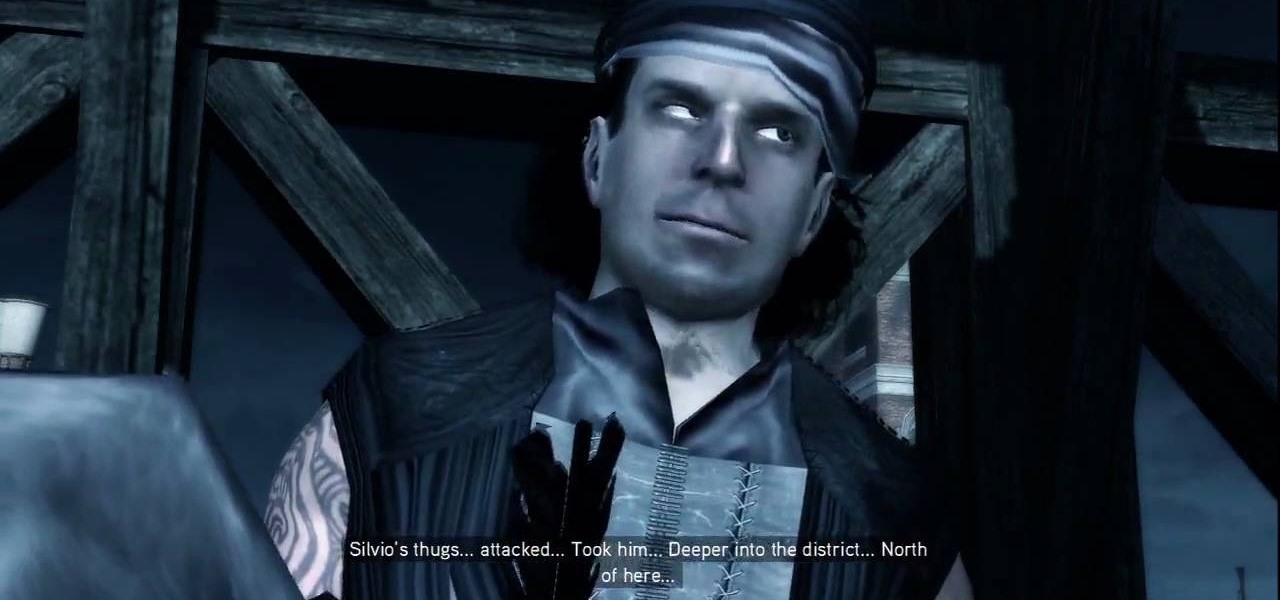
Caged Fighter: Make your way across town and you'll find an injured soldier on the rooftops that gives you some new information on finding Bartolomeo, who should in turn help you with Silvio. You get a large green area added to your map, but note that it's overlapped by a restricted area. Expect trouble.
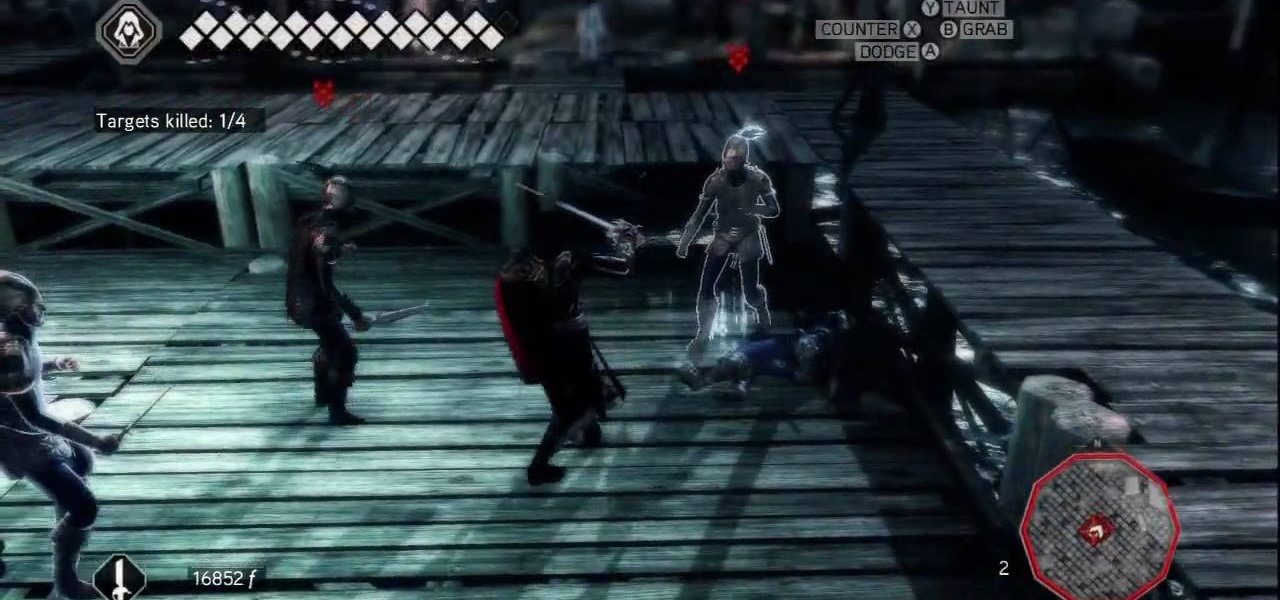
Cheaters Never Prosper: But they do get quite a reputation. This is a simple mission. You need to just fight off the opponents that come at you using your bare hands. Even though you've no weapon equipped, you can still use the typical counter ability. Though you won't always KO an opponent with the first counter, repeatedly make use of the technique and you'll eventually drop the opponent.