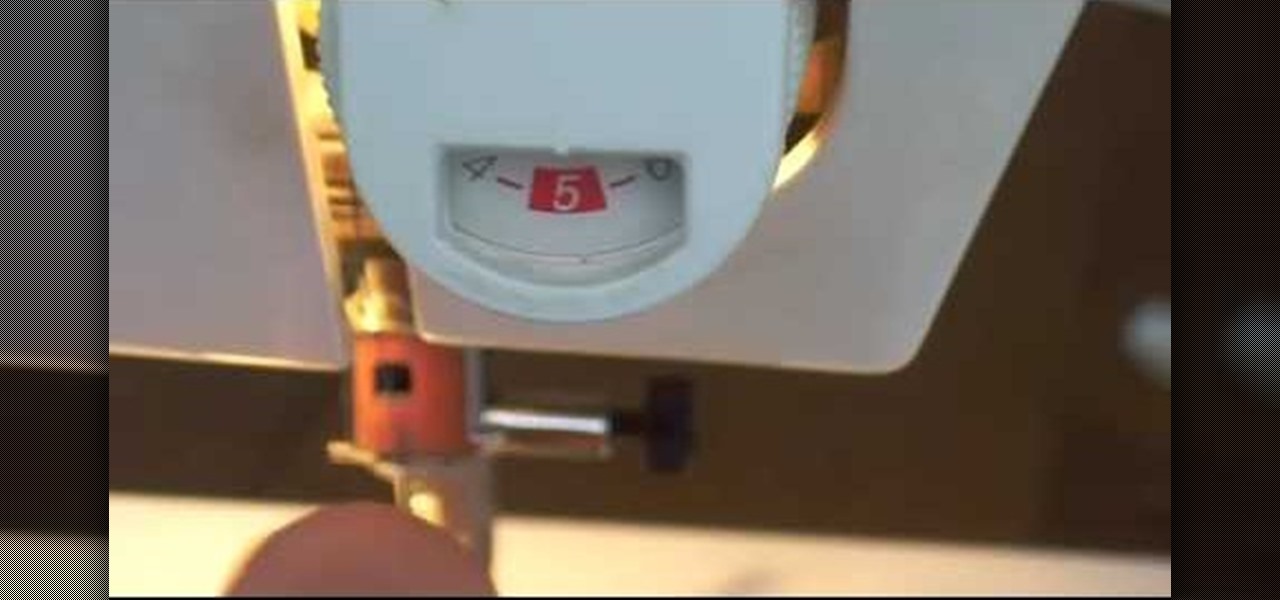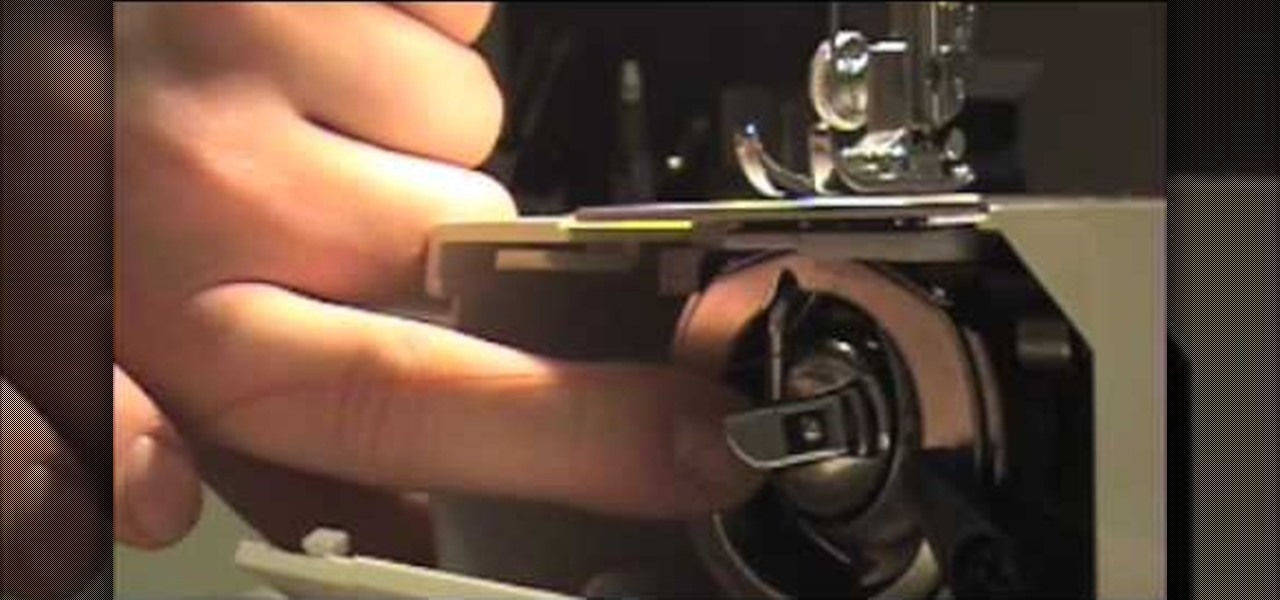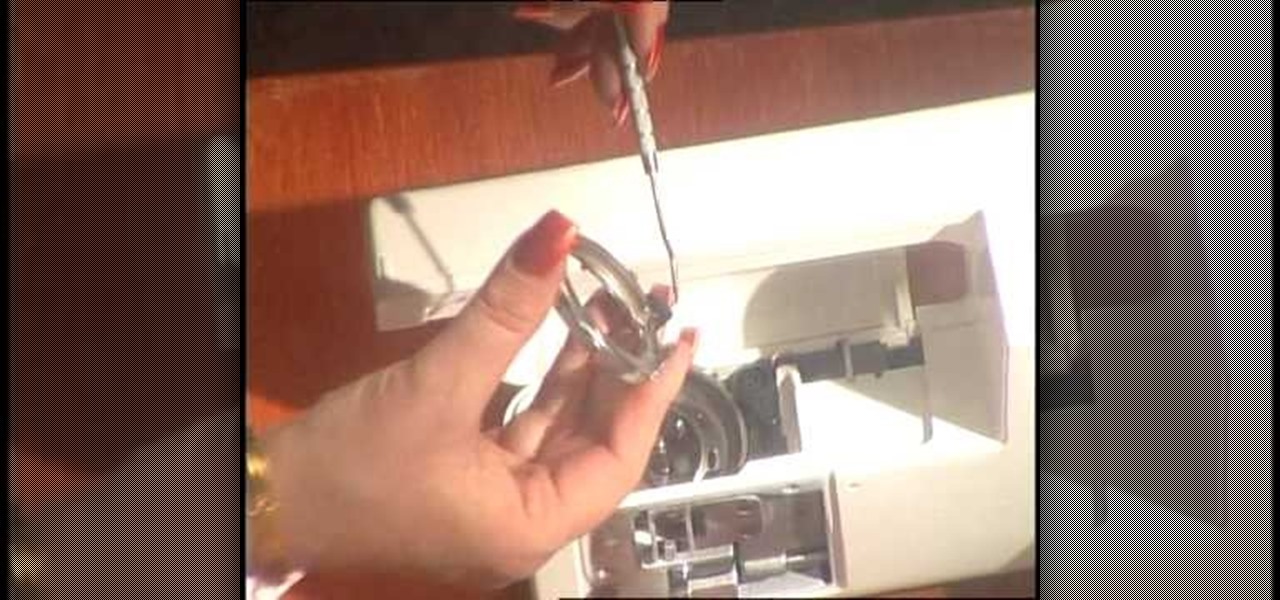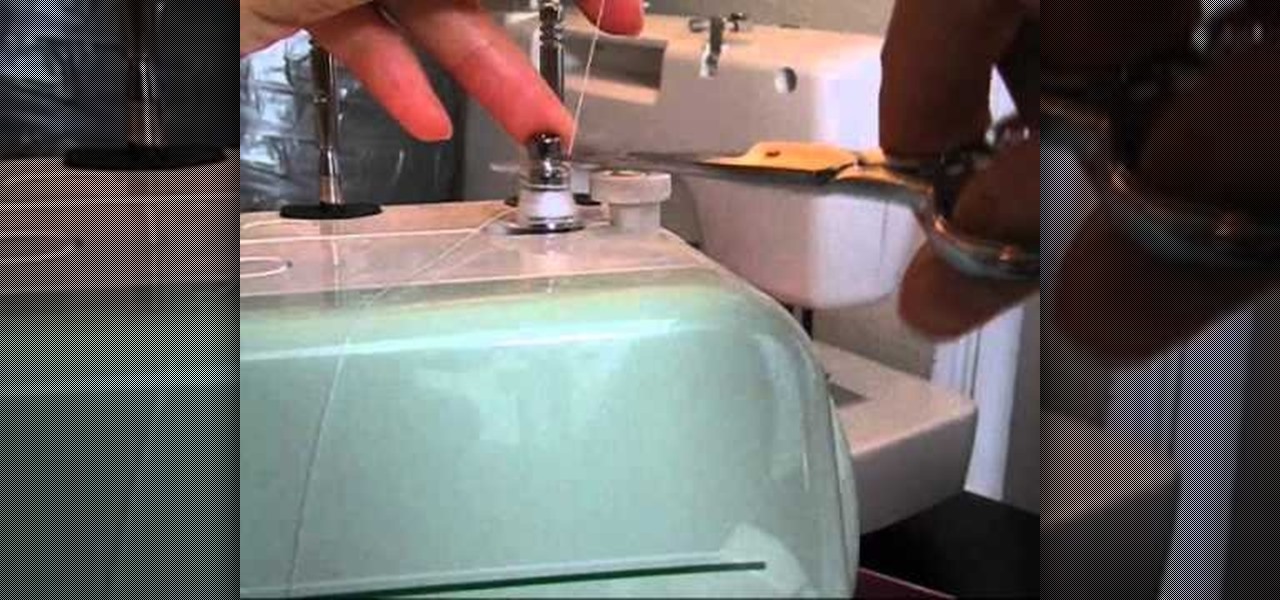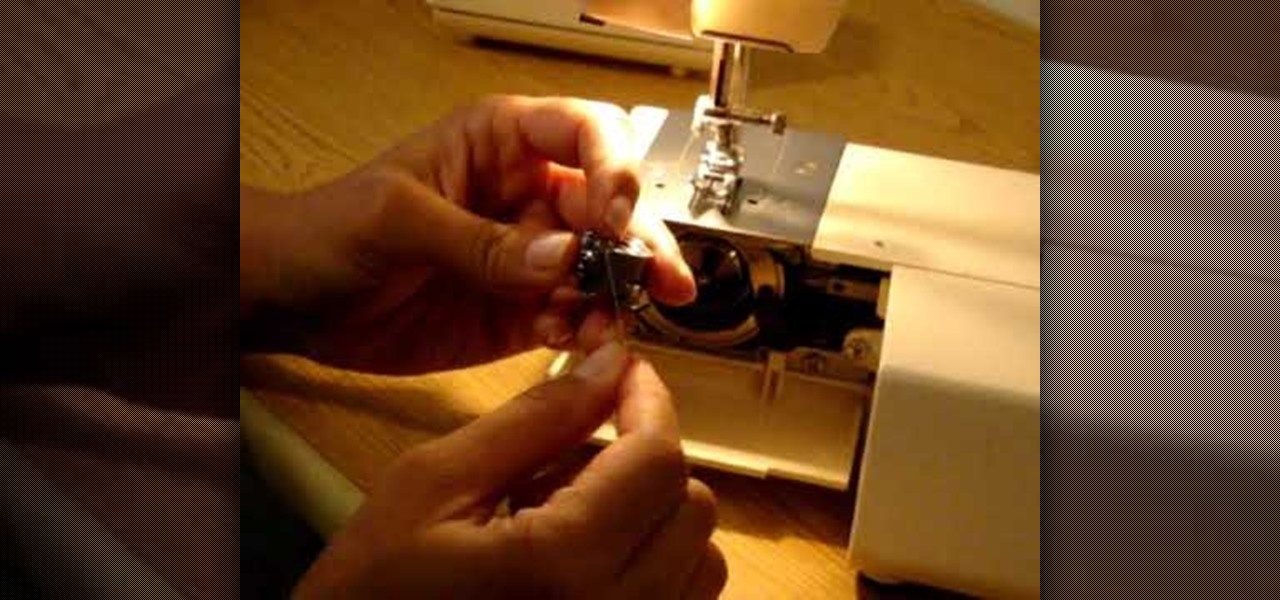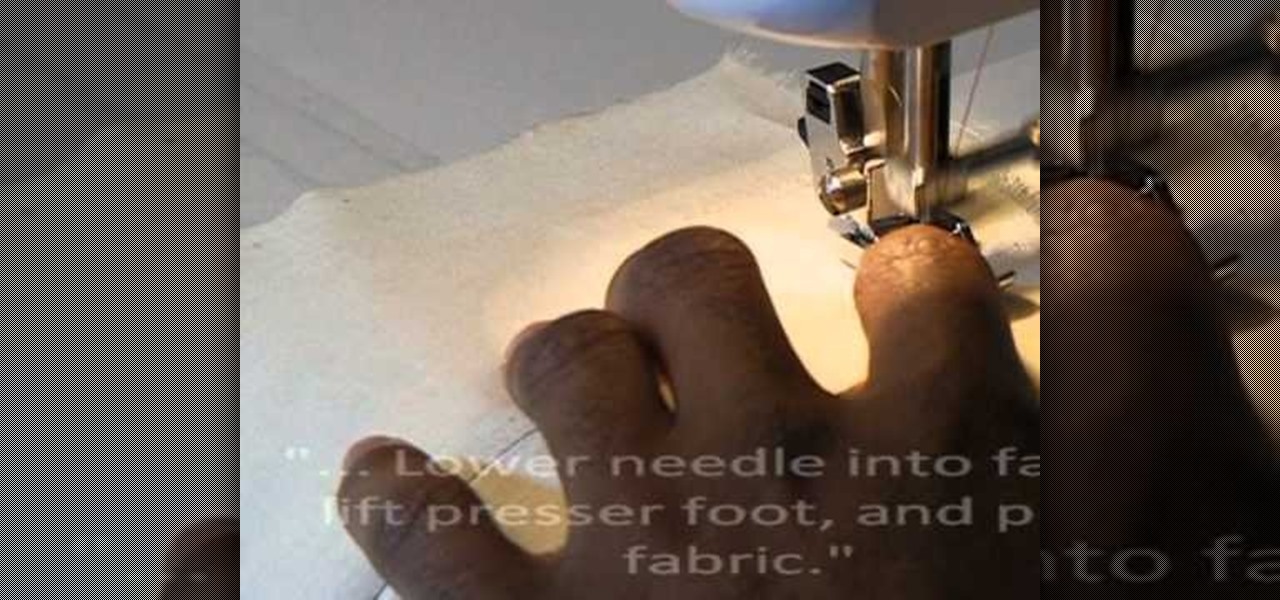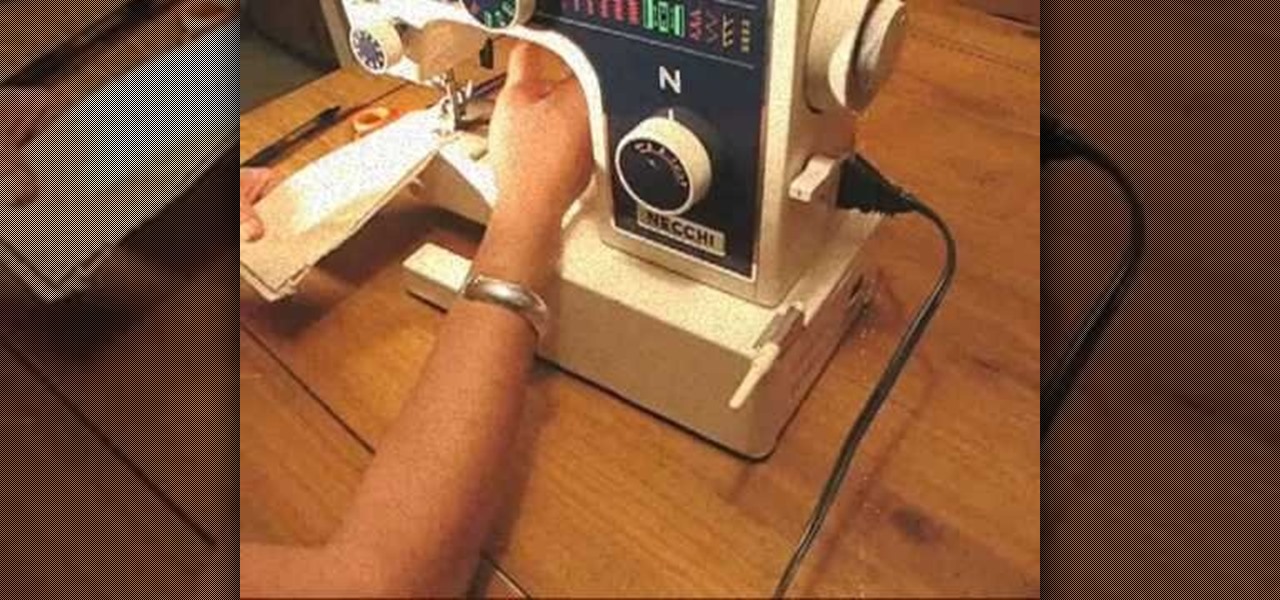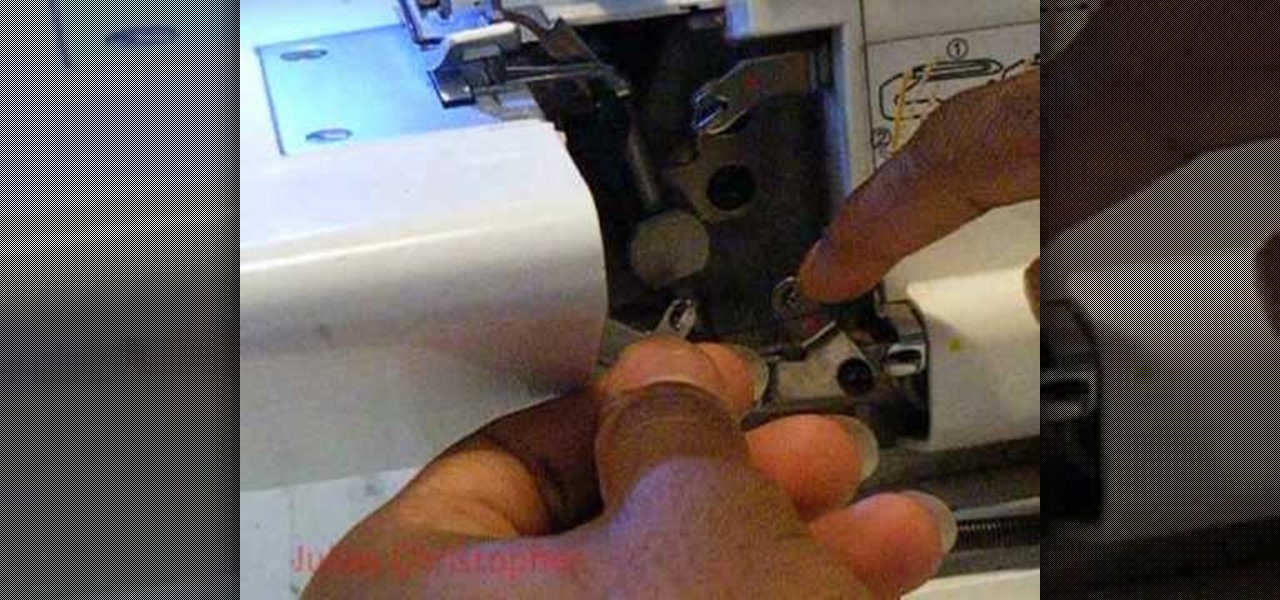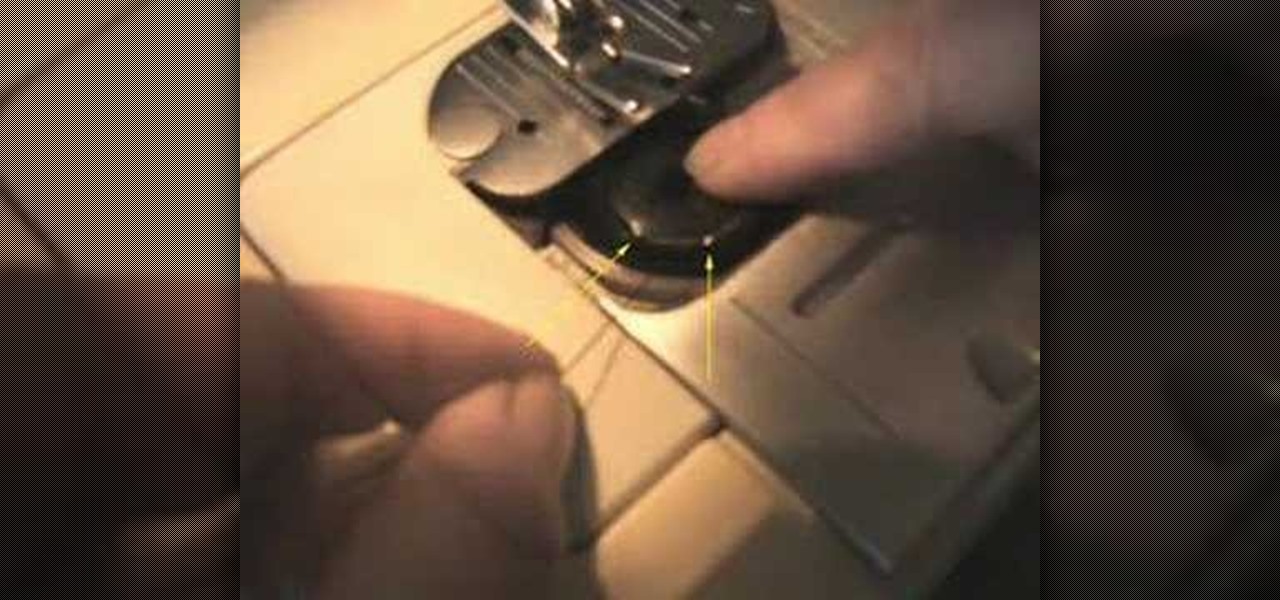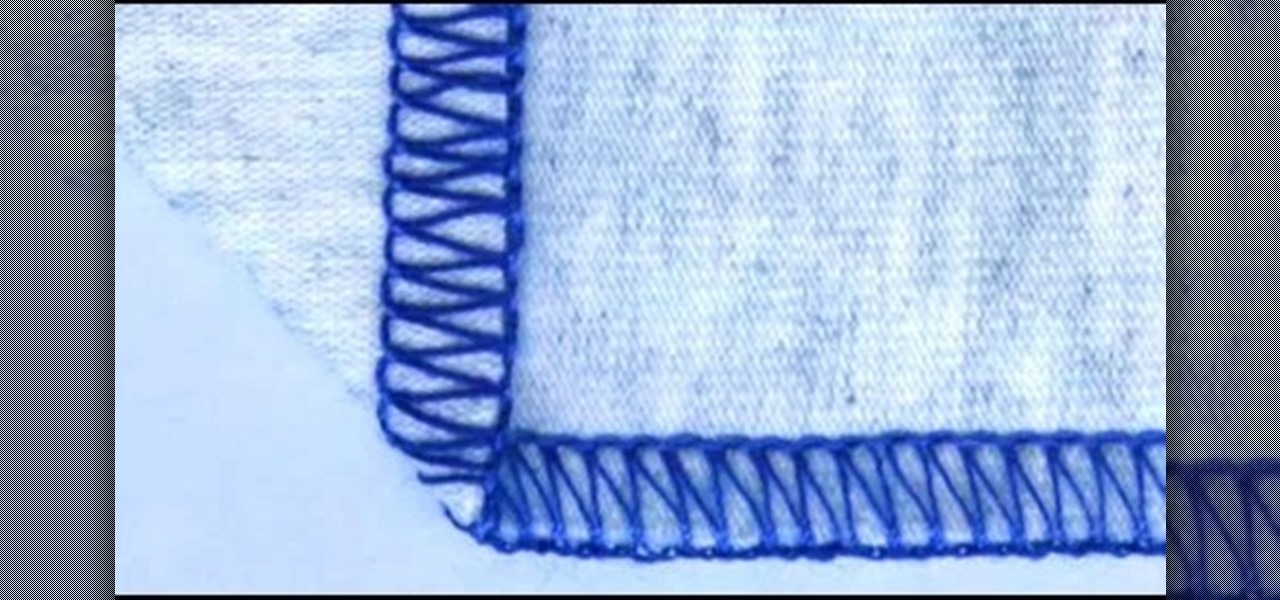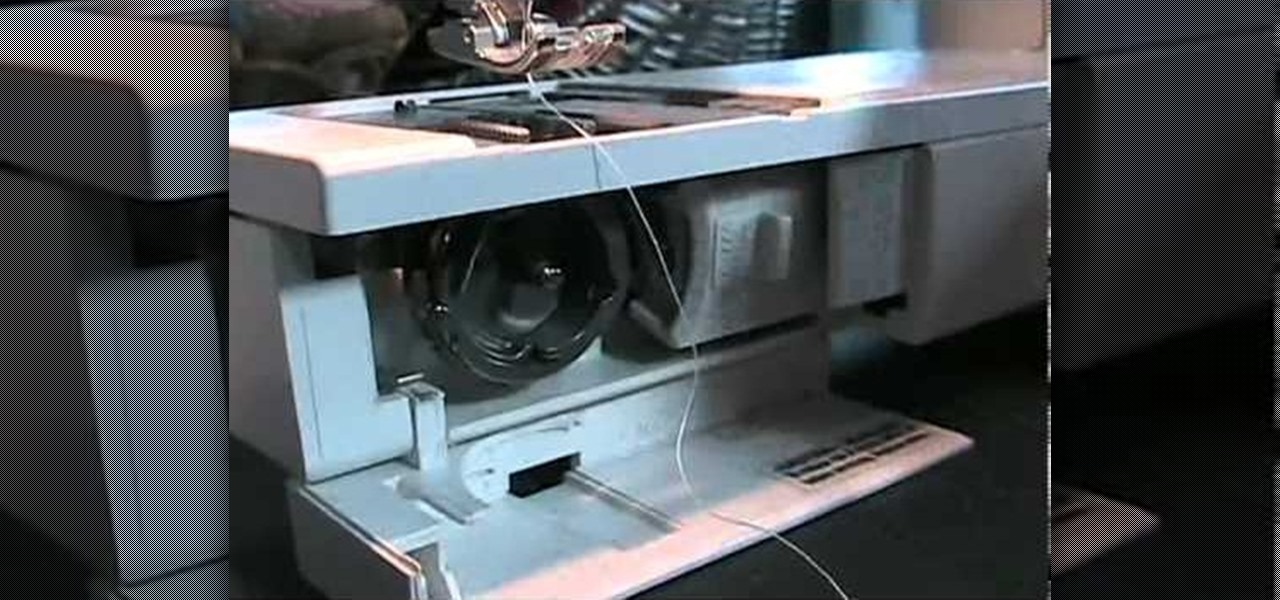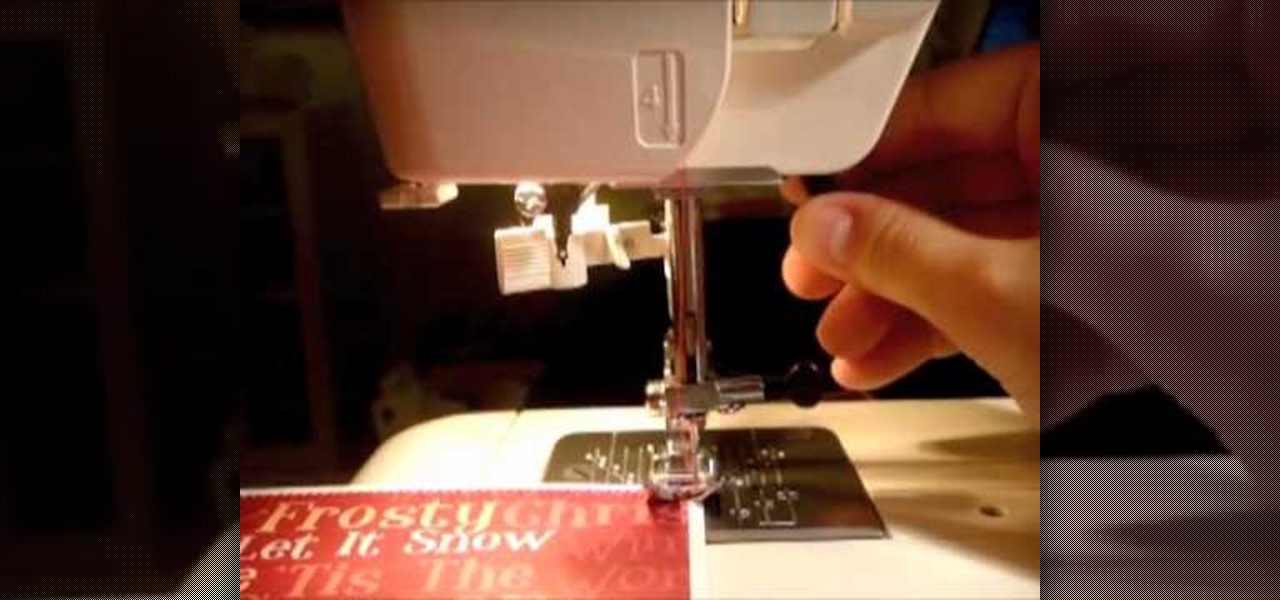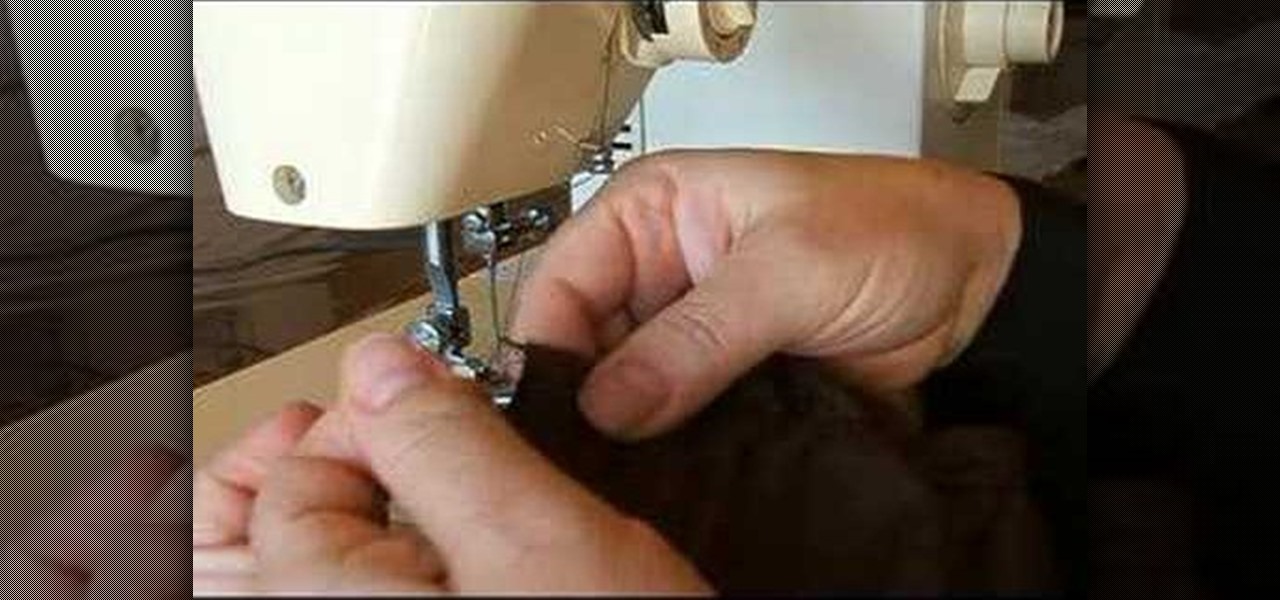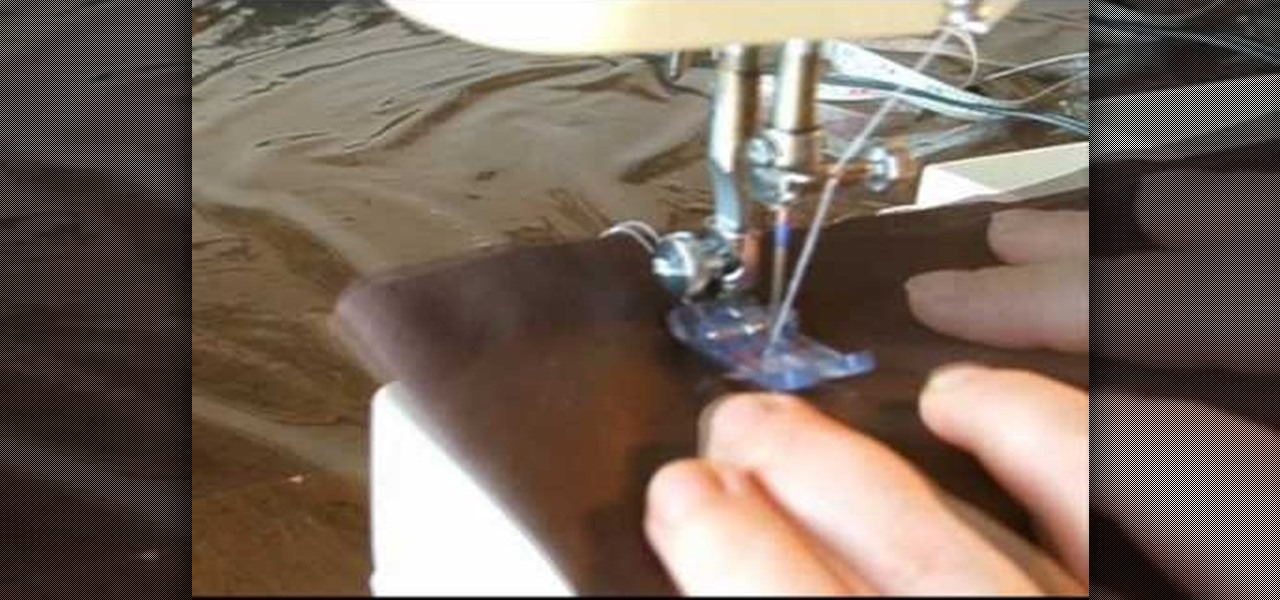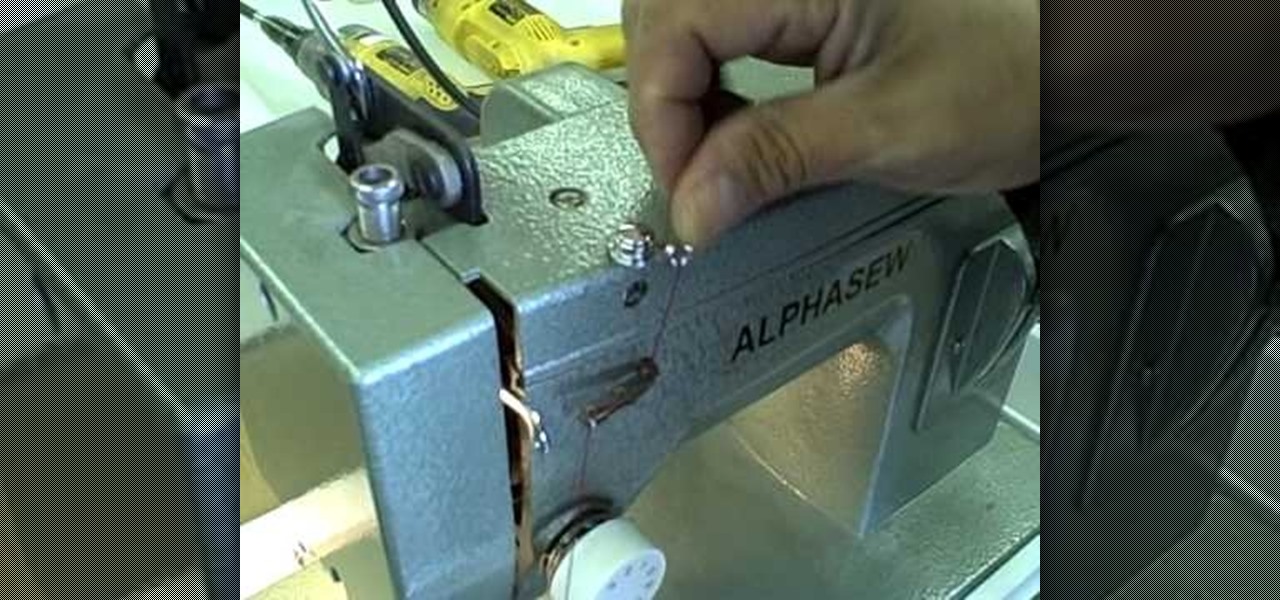
Before you can mend or create garments with your sewing machine, you'll need to thread it. This video guide will walk you through each of the necessary steps, from winding a bobbin to threading the top of the machine itself. For more information, and to get started threading your own electric sewing machine, watch this free video guide.
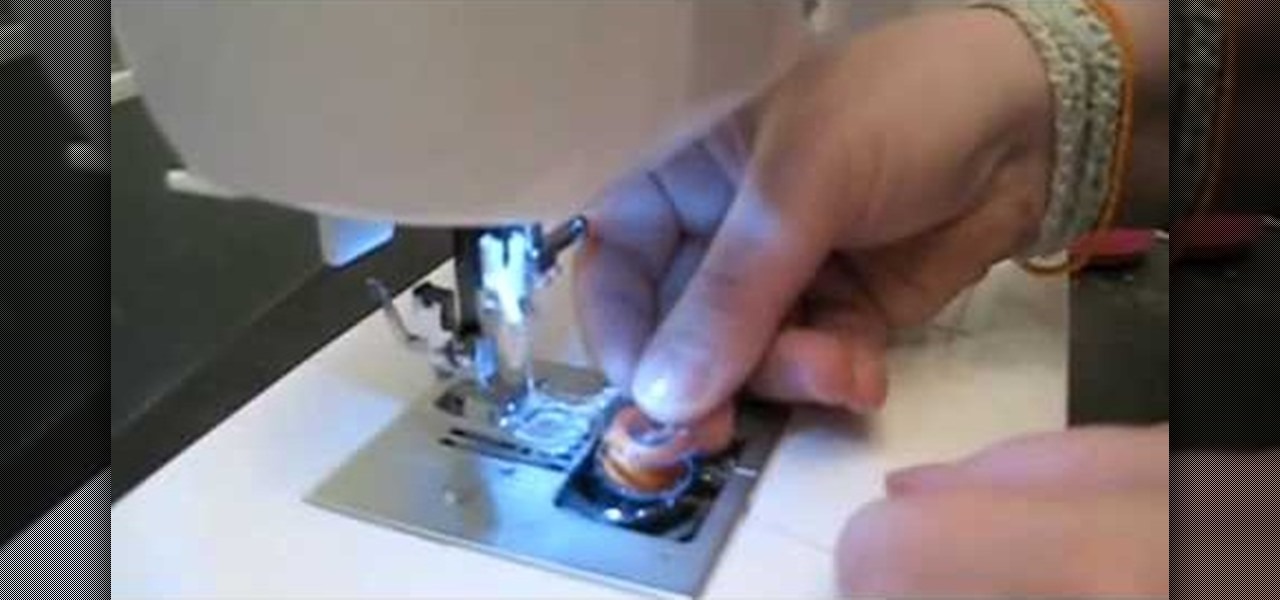
Many sewing machine repairs can be made at home, and most repairs can be completely avoided through routine sewing machine maintenance. This tutorial shows you how to carefully disassemble your machine to give it a round of maintenance. You will need a screwdriver - make sure not to lose any of the screws!
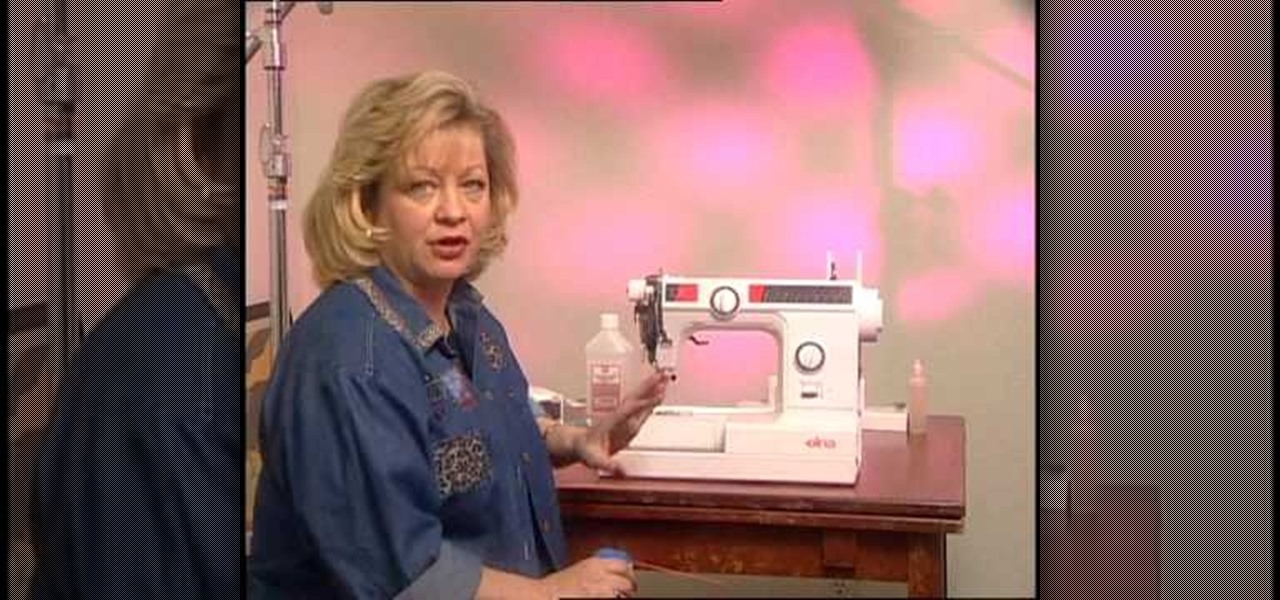
Have a sewing machine and want to learn how to use it? If so, this ten-minute tutorial, which presents a general orientation to using an electric sewing machine, may be just what you need. For more information, and to get started using your own machine, watch this easy-to-follow video guide.
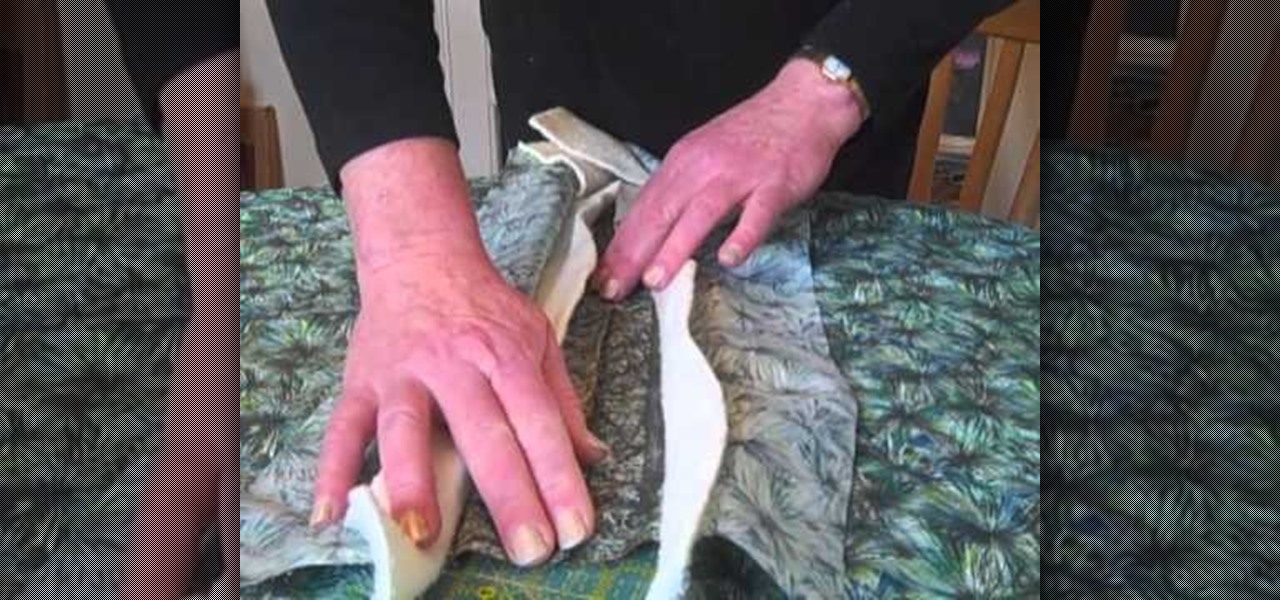
Quilt as you go is becoming one of the most popular quilting methods out there and this video will show you how to do the technique using only your sewing machine. This method allows you to create a quilt in no time flat. You'll need lots of fabric strips, squares or triangles. You'll also need baton and backing, thread and of course a sewing machine. You'll see this project appear before your eyes and your friends will be impressed and amazed!

Ruth demonstrates how to wind a bobbin successfully every time you attempt. Place the spool of thread on the machine and wind the thread between the two disks on the spindle (found in all machines). It is better to wind the thread twice to avoid the thread come off the spindle. This does not damage the machine in any way. Pull the thread towards the bobbin and pull it through the hole in thy bobbin inside-out. Place the threaded bobbin into the winder making sure the extra thread is on top an...
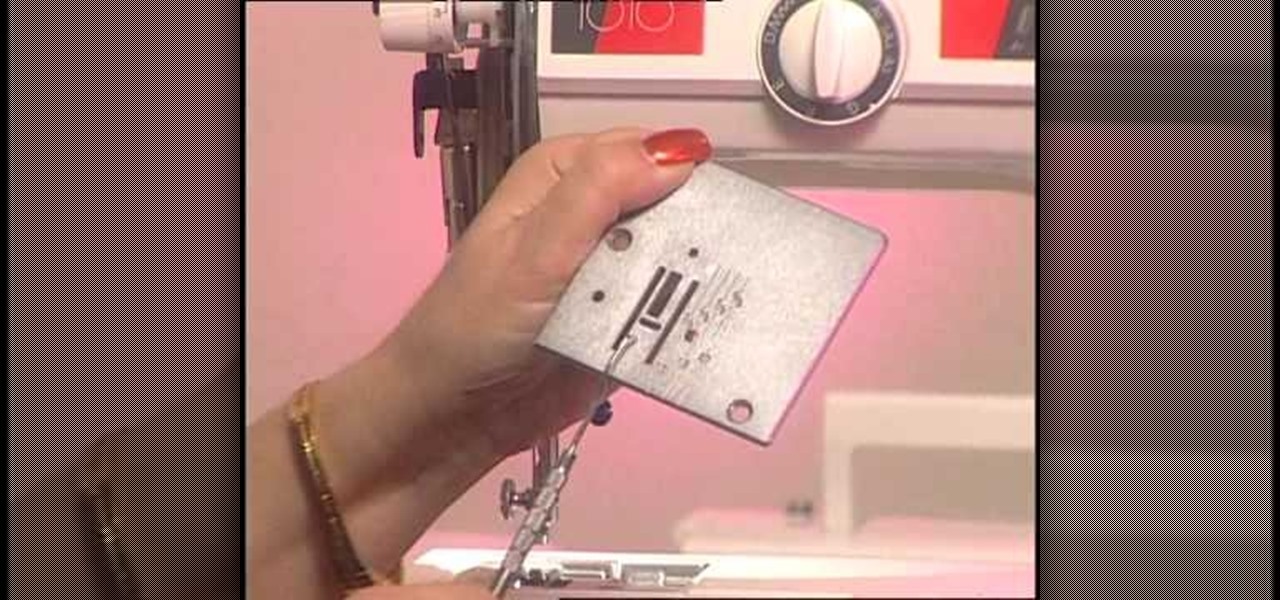
Save money by performing your own sewing machine maintenance! While there are differences between a Singer sewing machine, a Brother model or a Janome machine, there are many similarities. This video shows you how to maintain and clean the feed dog area on your sewing machine.

Whether you use a Singer, Brother, Janome or other model of sewing machine, you'll still be able to use this tutorial. If you find that your stitches are too tight, too loose or bunching up on one side, the problem is likely with your thread tension. Here are a few ways to adjust or fix the tension on your sewing machine.

Whether you have a Singer sewing machine, a Janome or a Brother, this video is good advice. If your sewing machine has been sitting in storage or has been unused for a long time, you'll need to do a little bit of maintenance before you start it up again.

The first part of this tutorial shows you the various parts of your sewing machine, which will be the same regardless of the model. Then, you're shown how to thread both the top and bobbin of the machine, and start stitching.

Sewing is an expensive enough hobby without having to factor in repair costs, as well. You can save money (and have more cash to spend on fabric and notions!) by fixing your own machine at home. This video shows you how to clean and fix the bobbin case area, which can often get cluttered with lint and fuzz.

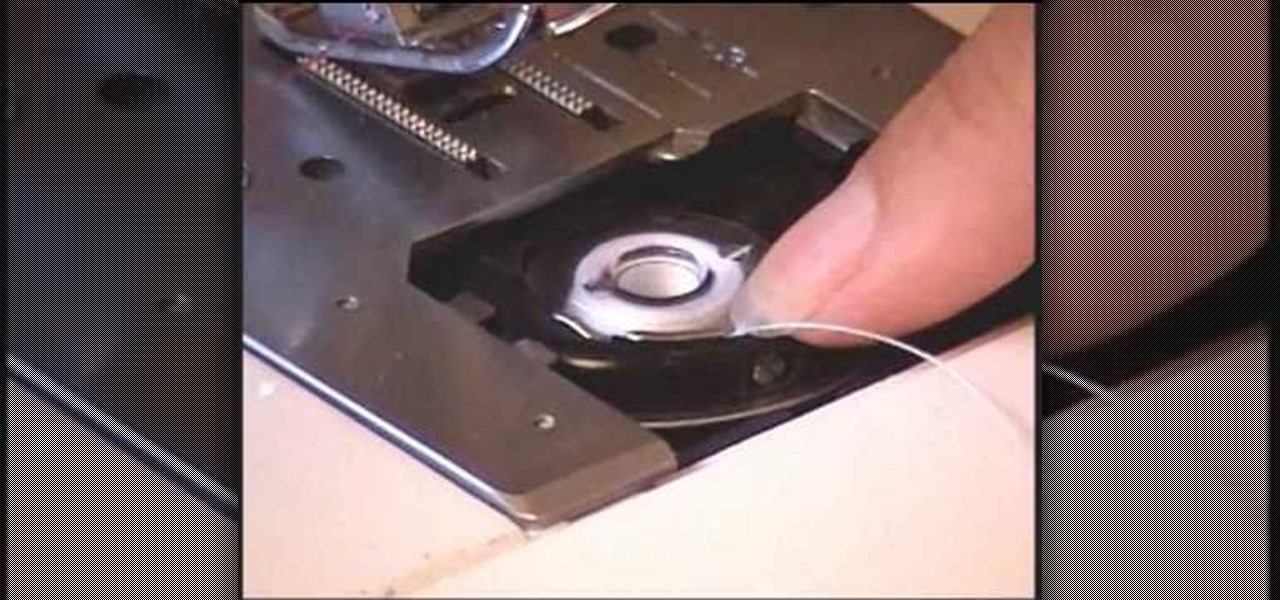
This video shows how to thread your bobbin on a side threading sewing machine. We start off by making sure that the needle is in the most upright position. The upper thread guide when moved to the most top of its travel, the needle is in the most upright position.Then you take the bobbin case and your bobbin. Make sure the thread is coming up over the top towards you and not underneath and over the back. Slip in the bobbin into its case, put the thread through the groove under the potential s...

Did you think sewing was complicated? Then don't even get us started on threading a sewing machine. Each sewing machine is slightly different in the way it's constructed, which makes threading a puzzle (read: pain in the butt).

In this video, we learn how to set up your sewing machine. First, place the thread onto the top pin and pull it down. Then, wrap the thread around the bobbin pin and then push the pin onto the top next to the pin. Now, run the foot petal and keep threading until the spool is fully threaded. Next, place the spool in the bottom of the machine and place the lid back onto the bottom area. Now, thread the top thread down through the tension setting, through the hook, then into the needle. Now you ...

You may or may not realize it, but there are certain seams that are used when making clothes. Each seam as their advantages for keeping things together, so it's important to know them when making your own clothes.

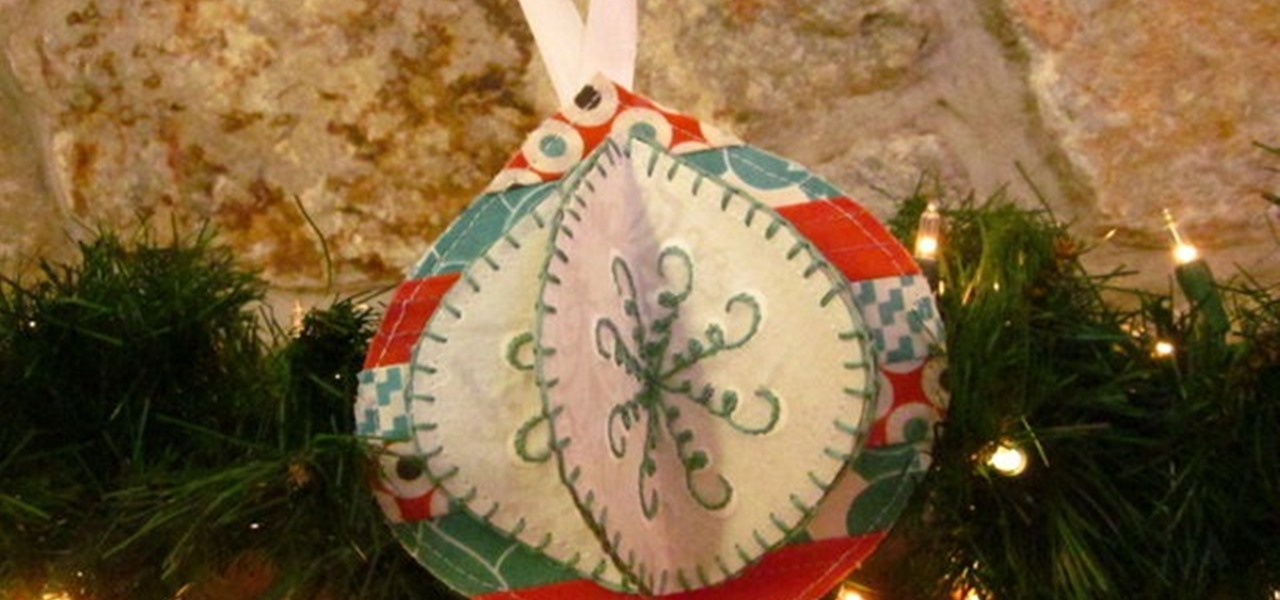
These ornaments make a great embellishment to any Christmas gift or present, and are easy to make out of scrap fabric. You can also use them as a tree decoration! All you need, besides a few sewing notions, is some heavy cardstock.

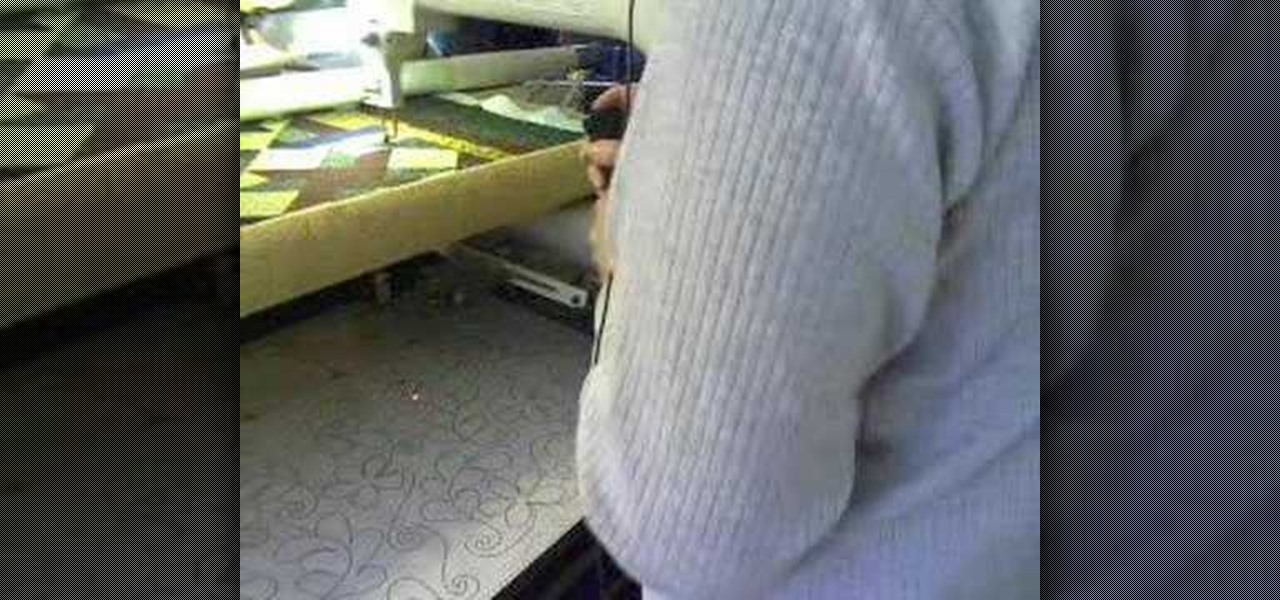
Watch this instructional quilting video to quilt a pantograph pattern with a longarm sewing machine. A pantograph is a mechanical linkage connected in a special manner so that the movement of one specified point is an amplified version of the movement of another point. If a a line drawing is traced by the first point, an enlarged copy will be drawn by a pen fixed to the other. Take note of the proper way to stand and move one's body when stitching out pantographs. It's best not to move one's ...

Are you picking up sewing for the first time, or simply looking to brush up on your sewing machine skills? This video covers all the basics of how to sew with a sewing machine.

If you already know how to sew a lapped zipper, than it's time to move onto the centered zipper, and that's exactly what you'll learn in this sewing tutorial. There's easy-to-follow directions for sewing lapped zippers using a basic sewing machine. If you don't have a sewing machine, check out all of the other zipper sewing tutorials. A center zipper is easy on any type of clothing fabric!

Want to learn how to use that sewing machine? This video will teach you the basics on how to use a sewing machine. This video is part of a series and shows the basics of sewing, reversing the machine, and the basic mechanisms of the sewing machine. She will also show you what to do at the end of your fabric and proper hand placement on the machine while using the machine (no sewn fingers here!). A good step-by-step guide for first-time sewers.

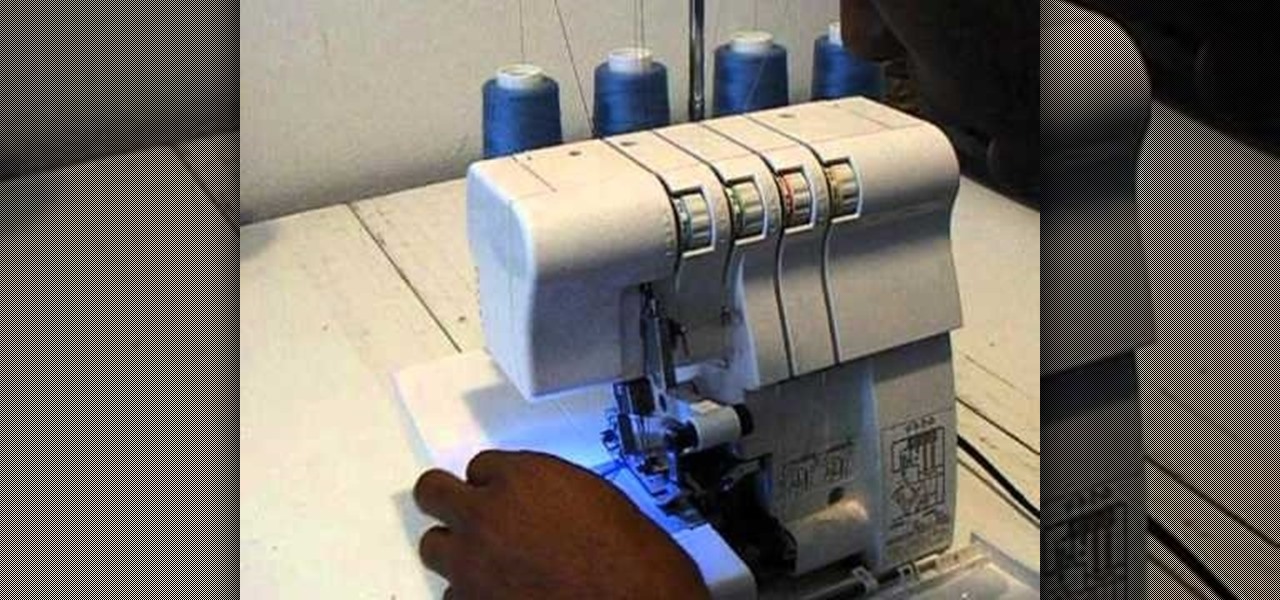
Sewing with a serger sewing machine can be quite difficult, if you're lucky enough to own one. Even threading the beastly sewing machine can be pretty tricky. But this two-part video tutorial should help you to properly thread one. This covers the threading of a Singer Differential-Feed Finishing Touch serger sewing machine (14SH654), which has 4/3 thread capability. Singer also has a PDF available with detailed threading instructions.

Even if you never took home ec, you can create simple projects by learning the basics of sewing machine use.

Now that your bobbin is wound, get it inserted into the Singer sewing machine and it's ready to start sewing. Watch this video sewing tutorial and learn how to insert the bobbin into a Singer sewing machine.

This tutorial video from Threadbanger will show you how to use a Serger sewing machine. A Serger sewing machine is used to sew the adged of one or two pieces of cloth. After watching this video, your clothes should be looking better than ever. Get sewing!

In this video, we learn how to thread a school sewing machine. First, apply the top thread to the bevin on the top of the sewing machine. You will thread this from the spool onto the side hook, then around the top and through the needle at the bottom. Next, thread the thread into the bobbin next to the sewing machine door, then push it through the bottom and thread it around the needle. After this adjust the settings on your sewing machine until they fit what you like. Then you will be ready ...

Whether you want to save money by making your own clothes or you just enjoy working with fabrics, choose the best sewing machine so your projects turn out great.

Get a sewing machine for the holidays? Buying one for yourself? Like any machine, a sewing machine needs some basic maintenance to keep running properly. Make sure lint doesn't build up around the feed dogs, and oil the parts once a year to keep things running smoothly.

You don't have to sew a bound buttonhole by hand, you can replicate this fashion technique using a sewing machine. Make sure you sew slowly and carefully to get the clean finished lines of a perfectly done bound button hole.

This video represents a union between two spheres of crafting - sewing and cardmaking. You can create some decorative stitching on your handmade greeting cards by using your sewing machine. Here's how you can sew on paper without ruining the paper or cardstock.

Sewing by hand can actually go quite quickly if you don't have access to your sewing machine or if it's broken. Hand sewing can also be useful if you're working with especially delicate fabrics, attaching an applique or making a small repair.

The ruffler foot on your sewing machine allows you to sew ruffles far more quickly and easily than having to do it by hand. This tutorial demonstrates how to set up your ruffler foot and then how to use it when sewing ruffles.

Gathering is a technique used in many sewing patterns for such areas as sleeves, ruffles, and waist bands. This video sewing tutorial teaches you the basics of gathering using a sewing machine.

Making a buttonhole is easy to sew using the buttonhole presser foot and the four step buttonhole function on a Singer sewing machine. This video sewing tutorial guides through the simple step by step process of making a professionally finished buttonhole. Watch and learn how.

If you have yourself a serger sewing machine, and you've already learned how to thread a Singer Finishing Touch serger sewing machine with differential feed, then you're eventually going to have to change the thread colors. This tutorial will show you how easy it is to rethread (without unthreading) the Singer serger (14SH654), which has 4/3 thread capability. Singer also has a PDF available with detailed threading instructions.

The machine used in this video demonstration is a 3343c, but the threading is exactly the same as on a vintage Singer and other modern models. Learn how to thread the needle on a mechanical Singer sewing machine by watching this video sewing tutorial.

Crafts are easily completed once you learn how to quickly thread a sewing machine. You Will Need

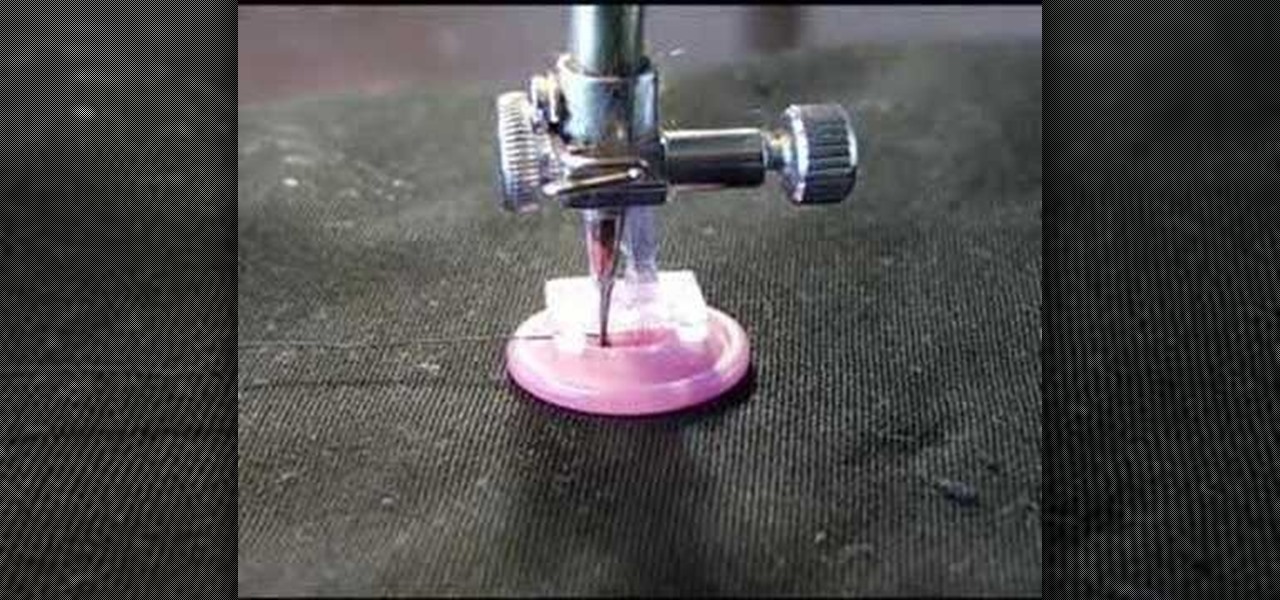
Use the Sew a Button presser foot to sew flat buttons on your garments or craft projects. It's easy, and fun once you've got the method down. The Singer sew a button presser foot comes both as a screw-on foot or a clip-on foot for the slant shank adapter. Great for those of us who always poke ourselves hand sewing buttons. Learn how to sew on a button with a Singer sewing machine by watching this video sewing tutorial.

Use the right presser foot for the right job. If you are having trouble with easily changing presser feet, you need this video. You also need the slant shank adapter, as it makes changing presser feet even faster and easier than the screw on feet. Learn how to change the presser foot attachment on a Singer sewing machine by watching this video sewing tutorial.

In this tutorial, we learn how to thread a horizontal sewing machine. Start off by setting the spool on the top of the machine and placing a cap on the top to hold it on. Next, thread the string through the thread guide and then through the number one. After this, it will go down through the slit and end up at the bottom. It will go through the number two, then go up to the top and go through the number three turn. Once you reach the bottom of the machine, thread the needle, then put the bobb...

In order to thread your sewing machine and wind a bobbin, you will need the following, a sewing machine an empty bobbin, thread, and a pedal control for your sewing machine. Choose a good quality thread. Place the thread in the holder on top of the machine. Place the cap on the end of the thread, in order to hold it in place. Loop the thread around the first guide. String the thread through the hole in the bobbin. Place the bobbin in the slot on the top of the machine. Hold the thread in you ...

This video shows us how to thread a sewing machine step by step. To thread a sewing machine: Place the presser foot in the upward position. Place a spool of thread on the spool holder. Traveling from the spool holder, across the top of the machine, look for a minimum of one thread guide. Insert the thread in the thread guide(s). Now look for a tension mechanism. Bring the thread downward to the tension mechanism, slip the thread between the metal disks of the tension mechanism, and travel bac...


