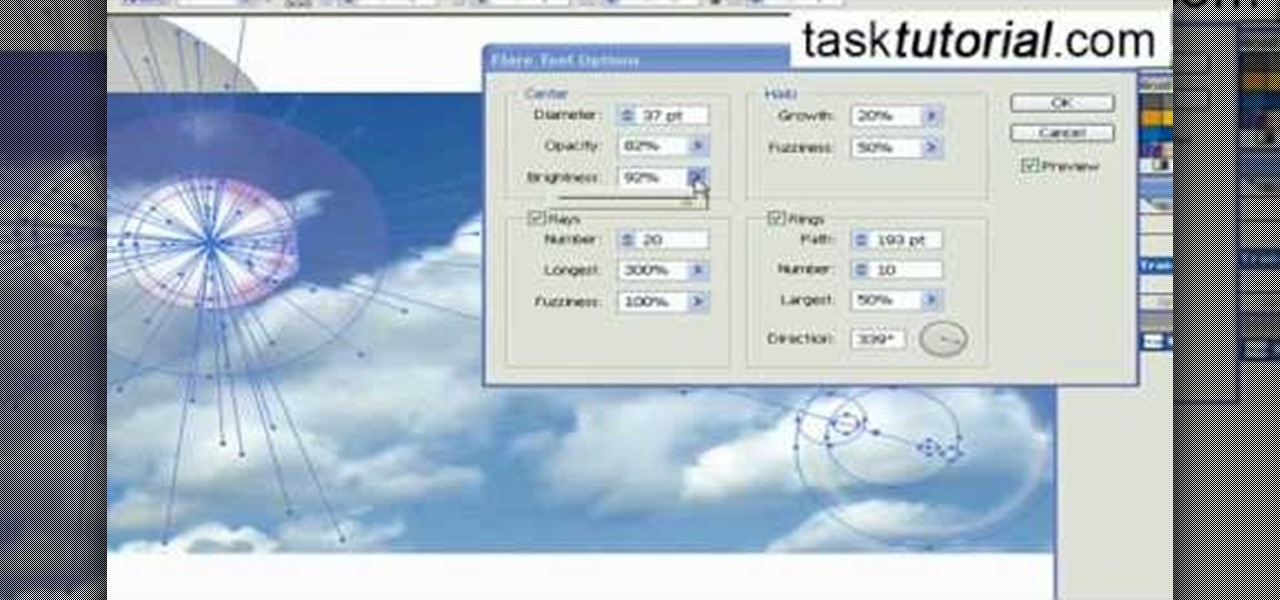
Ever wondered about the flare hitting your eyes from reflective surfaces (vehicle mirrors)? Let's create one. Open Adobe Illustrator with an image and embed it. Take the flare tool from tool palette. Draw the first shape and then second shape. To change settings, go to flare options. You can change the brightness, opacity and diameter of the flare which will add life to the image(open sky). This will help bring out some cool effects as well as realism to the image.

This tutorial will show you how to create a cool image animation using mask in Flash. First lets import image file and now lets create a new layer. Choose oval tools and now lets draw a shape just outside our scene. Then go to frame 30, and add the key frame and select transform tool. Now lets re-size our shape and go to 50 frame and add the key frame. Then go to frame 80 and add the key frame, re-size our shape and use free transform tools. Now lets create shaped in frame over 30, 50,and 80 ...
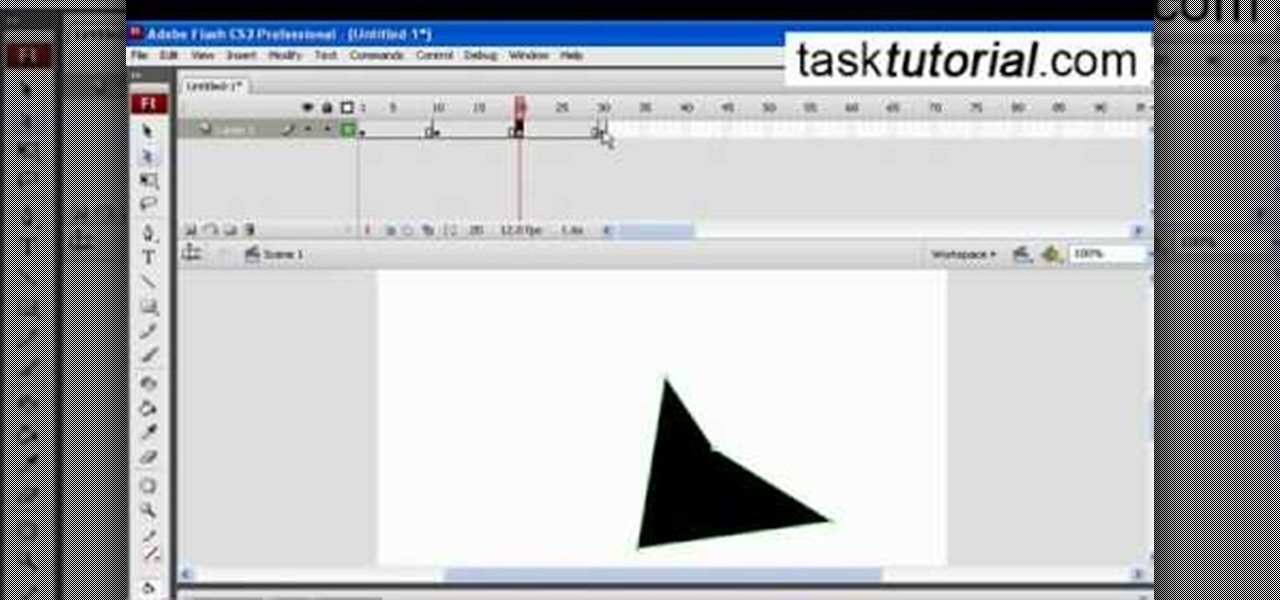
This simple video tutorial teaches you how to create an animation of basic shapes transforming from one shape to another when using Flash.
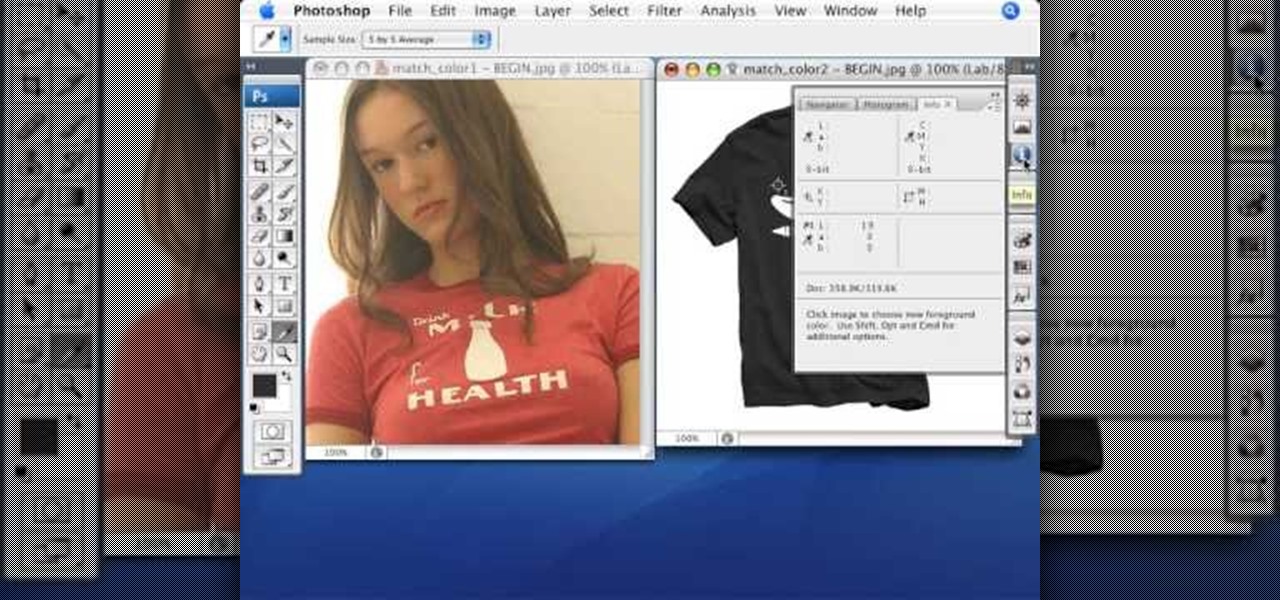
Match the color of objects on Photoshop. Take a picture of your self of one shirt that the shirt is on different color mean while choose the black tea shirt because it the traditionally one of the harder colors, change the image mode to the lab color for both images then use eyedropper tool and expose the info pallet select the neutral part of the image i.e. red. Hold down shift then we can see the icon changes then add contrast to it by hue saturation present in the layer pallet.
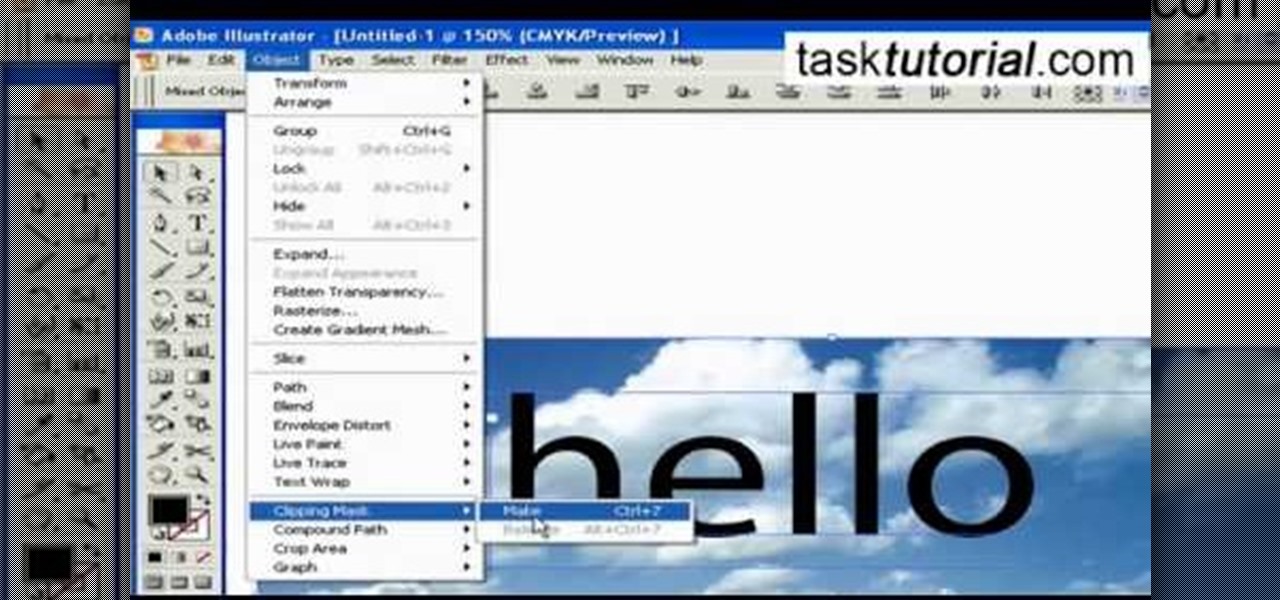
1. To create a clipping mask in Adobe Illustrator, go to File menu select Place button. It will open a dialog box select any picture from there.
Buying a digital camera doesn't mean your old prints, slides, or negatives are obsolete. You can easily convert them with a scanner to bring them into the 21st century. Watch this video to learn how to convert photos to digital.

How to make that cardboard hood to assist you in making your own custom bokeh when shooting images.

This image editing software tutorial shows you how to use Dr. Brown's 1-2-3 Process script for Photoshop CS3. Learn how to batch process large sets of images the easy way. Dr. Brown's 1-2-3 Process script works with Photoshop CS3 and CS3 Extended and is best suited for working in the Bridge.

This image editing software tutorial shows you how to use Dr. Brown's Caption Maker Photoshop scraipt from Adobe Bridge. Learn how to add metadata captions to images from the Bridge. The Caption Maker script works with Photoshop CS3 and CS3 Extended.

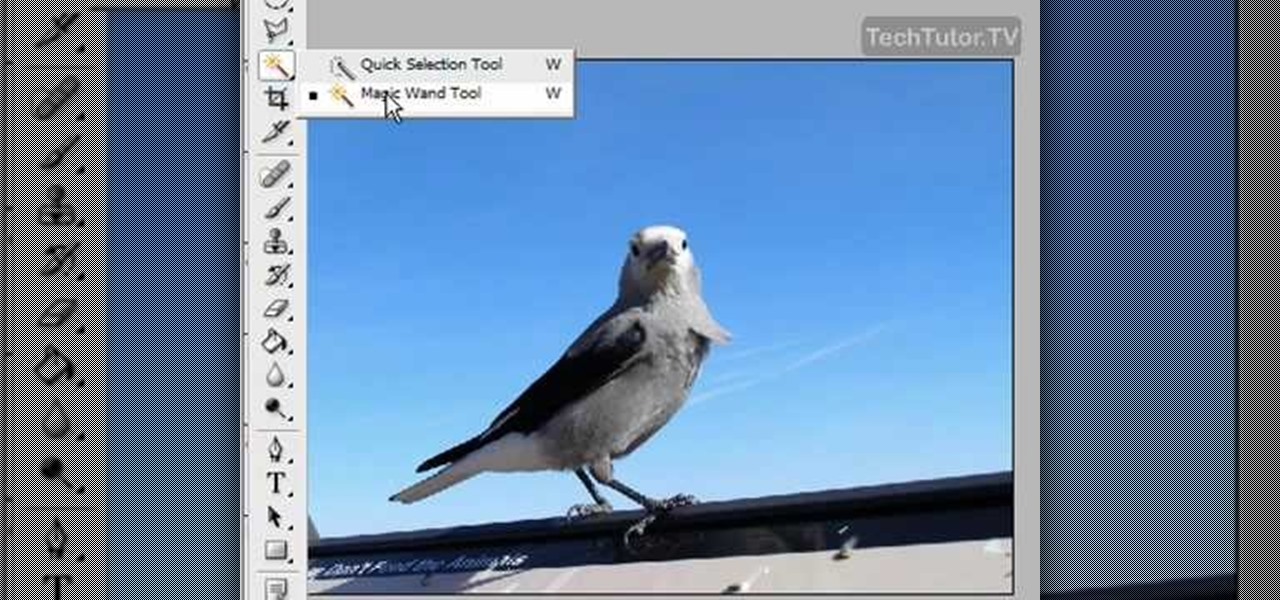
This Photoshop tutorial shows you how to use the extract tool to extract a background from a monster image. Many techniques show you how to remove the subject, but here you will learn to remove the background. Never fear, the Extract Tool is here! Rediscover the Extract tool all over again. In some situations, it's still the best way to make a mask for detailed hair.

In this software tutorial you will learn a quick and dirty way to extract a monster from its background using Photoshop CS3. This technique of using the history tool doesn't work on all images, but it is definitely interesting. Create your own scary Halloween monsters with some image editing tricks in Photoshop and this tutorial.

In this web development software tutorial Paul Wyatt reveals three fantastic Dreamweaver tips: how to edit, crop, and optimise images; create Flash text; and add Flash buttons to your next Dreamweaver project. Learn three get tops for working in Dreamweaver all in one tutorial!

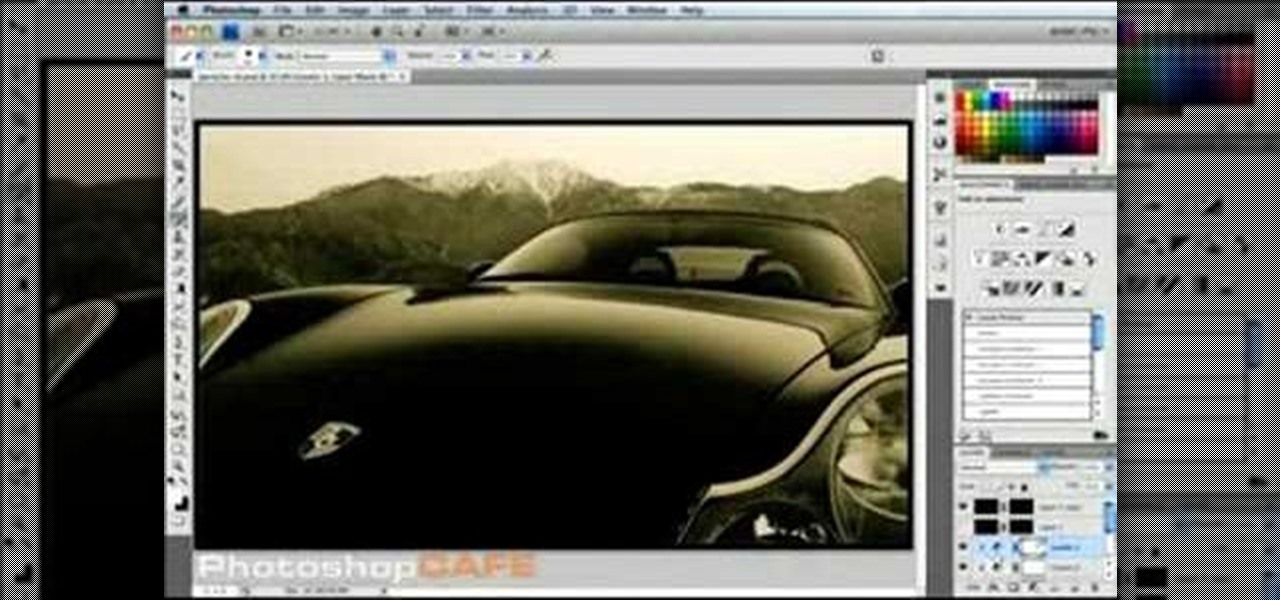
This image editing software tutorial shows you how to create sepia toned images in the freeware GIMP. Learn four methods of applying a sepia tone inside GIMP: color balance, colorize, gradient map and solid color/color blend mode.

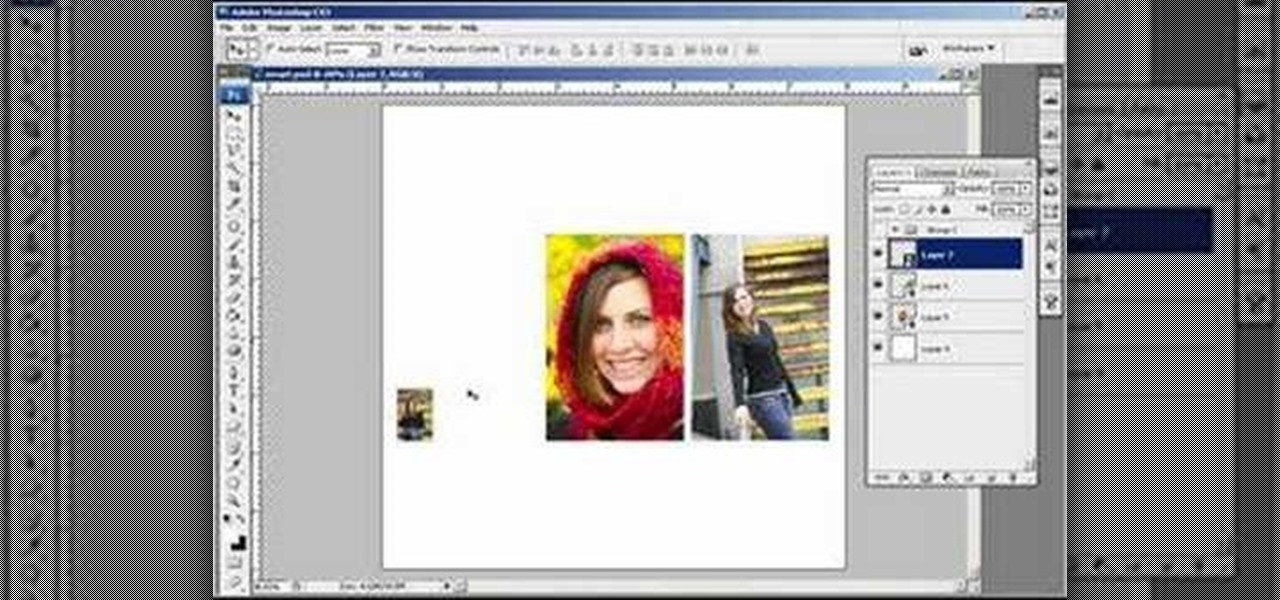
This Photoshop CS3 tutorial covers the benefits of designing your albums with smart objects. Learn how to use Photoshop smart objects in a flush mount album design scenario. Using smart objects makes it easy to replace images with other images without ruining the layers and layout of the album itself. Perfect for picky clients!

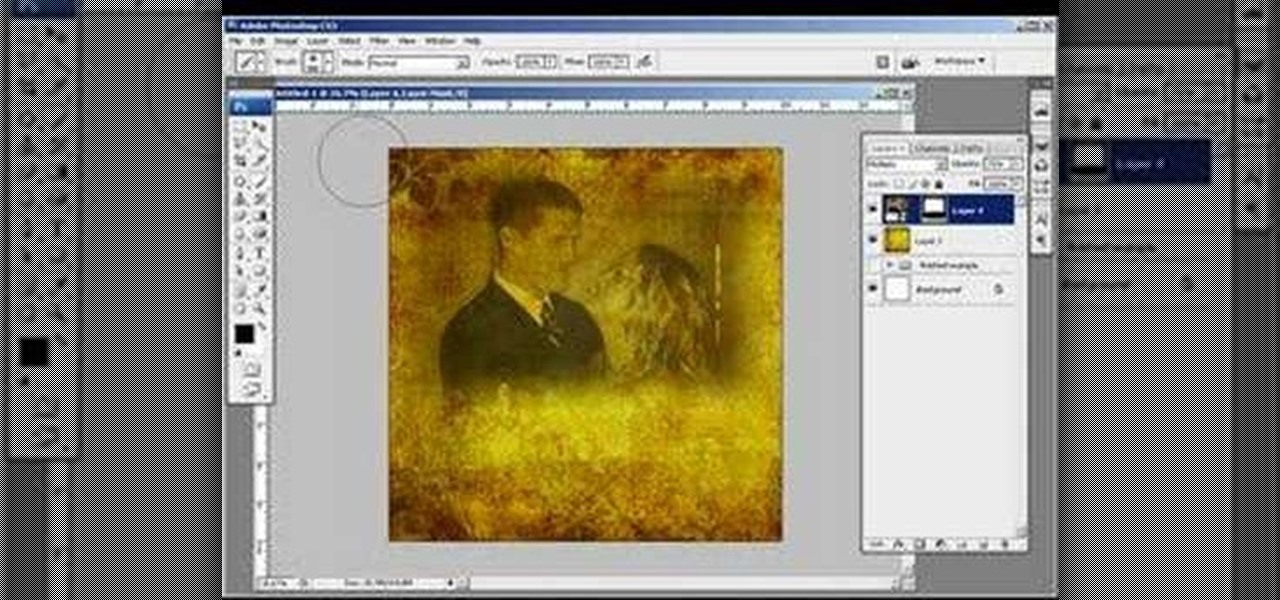
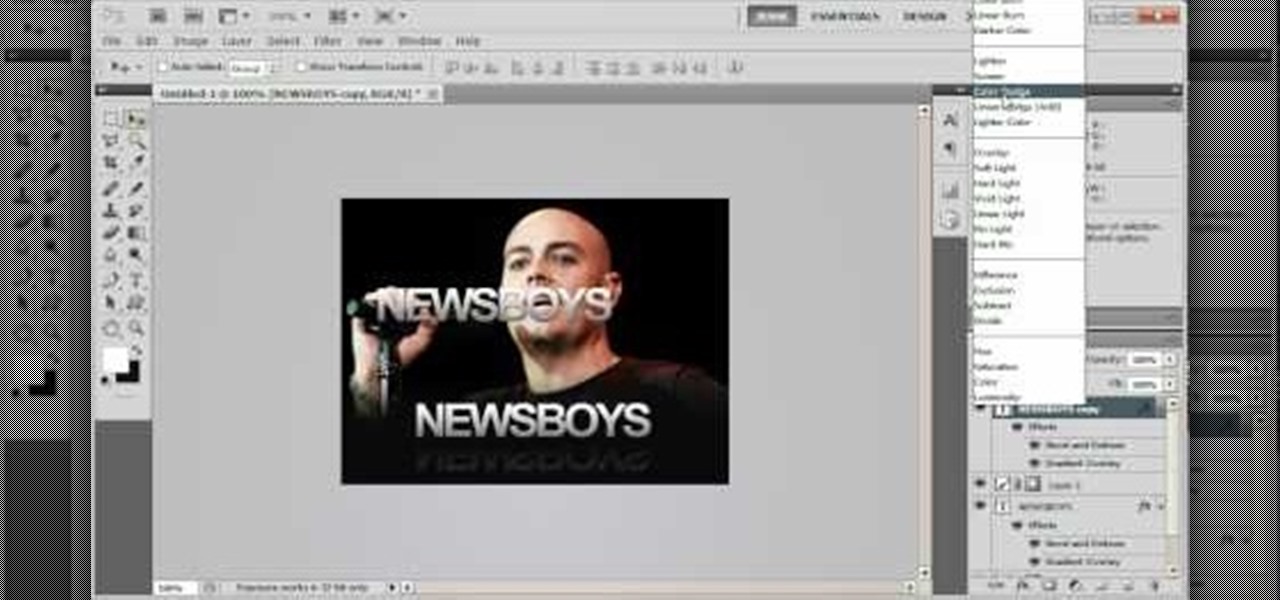
This image editing software tutorial shows you how to create an artsy, textured sign in page for flush mount style albums in Photoshop CS3. Learn how to use the multiply blend mode to darken the image and bring out the texture of the texture layer in Photoshop.

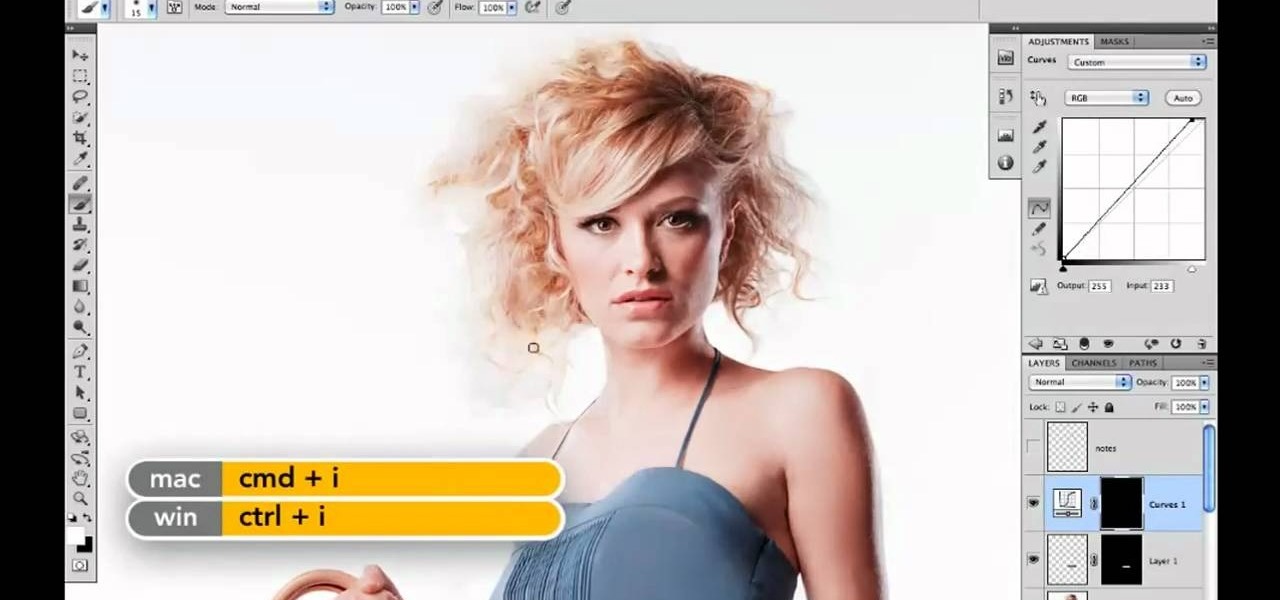
Retouching images is one of the main reasons the world loves Photoshop, and version CS4 has added some new twists and tools to your retouching options. Rediscover the Adjustment layers through the powerful Adjustments panel in Photoshop CS4. Colin Smith shows you all the main features as well as using the new Mask panel. The revamped Dodge, Burn and Sponge tools are mentioned too in this image retouching Photoshop CS4 tutorial.

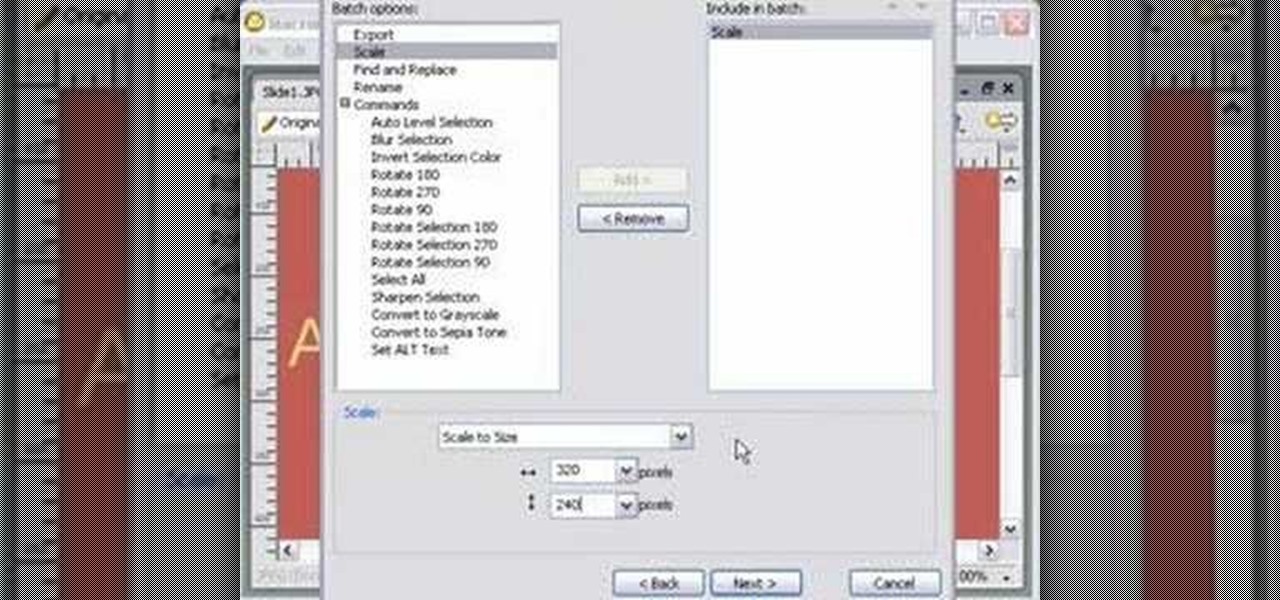
Fireworks has a great batch processing mechanism for images. In this tutorial, Mike Lively converts a PowerPoint presentation to jpegs and batch processes them down to a smaller size within Fireworks.

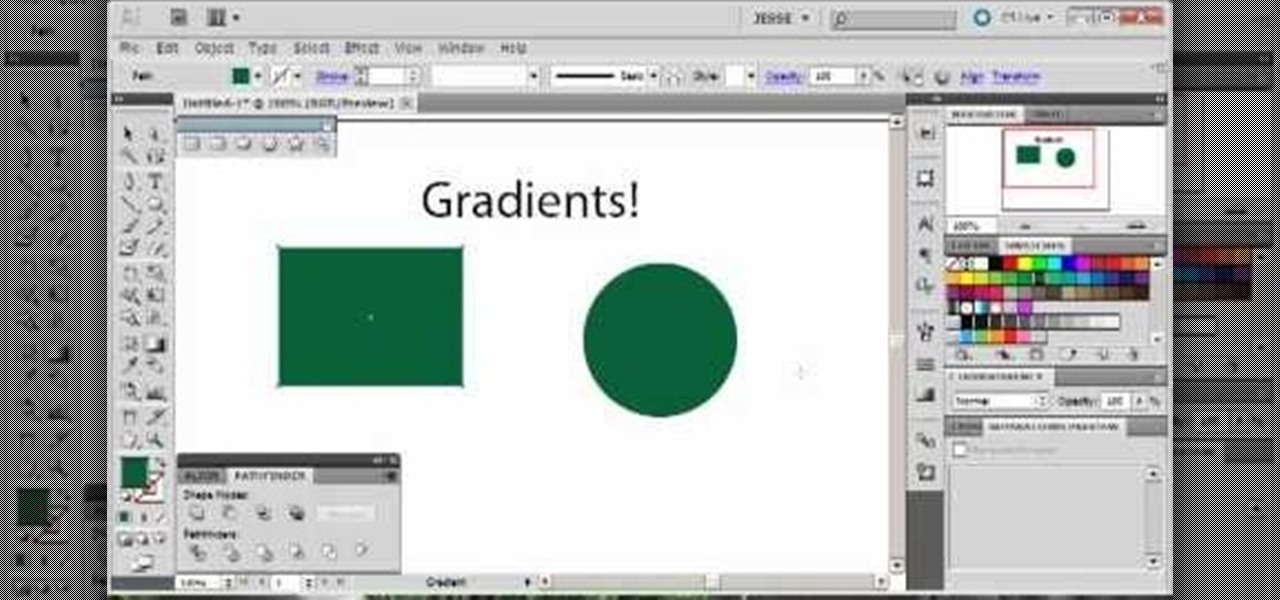
This software tutorial shows you how to use the threshold adjustment tool in Photoshop CS3. The gradient tool is covered as well. See how using threshold and gradient can turn a boring image into a more dramatic tonal image using Photoshop CS3.

This Adobe Illustrator tutorial shows you how to create a 3D monitor effect with moving streamers on it. If you are creating a graphic layout or web design that needs a flat screen monitor and moving images on that monitor, this tutorial will teach you how to impose your own image in a flat screen monitor and integrate streamers all within Illustrator.

Take a look at how to create a realistic pepper in Adobe Photoshop by vector tracing with the pen tool in this software tutorial. Vector images are a more professional way of creating graphics so they won't degenerate when printed. So learn how to work with vector images and the pen tool in this Photoshop tutorial on creating a realistic yellow pepper.

When you watch the news or a television show where someone doesn't want to be identified, it is common to see the face blurred out or obscured. In this Adobe Photoshop tutorial you will learn how to blur someone's face in an image and preserve or hide their identity. So if you are producing videos or podcasts or need to hide part of an image, this tutorial will show you how to do it in Photoshop.

Have an over exposed image and have no idea how to fix it? Well, this Photoshop tutorial gives you two methods (levels and shadows/highlights) to take care of over exposure and blow outs.

In this tutorial we'll look at how to add an image to a block of text using a clipping mask in Photoshop.

This is a Cascading Style Sheet (CSS) Tutorial that will help you position an image using a Div layer.

In this video tutorial you will learn to soften portrait images with diffusion. You will need the Channels palette to do the trick. Learn also to adjust the level of Gaussian blur.

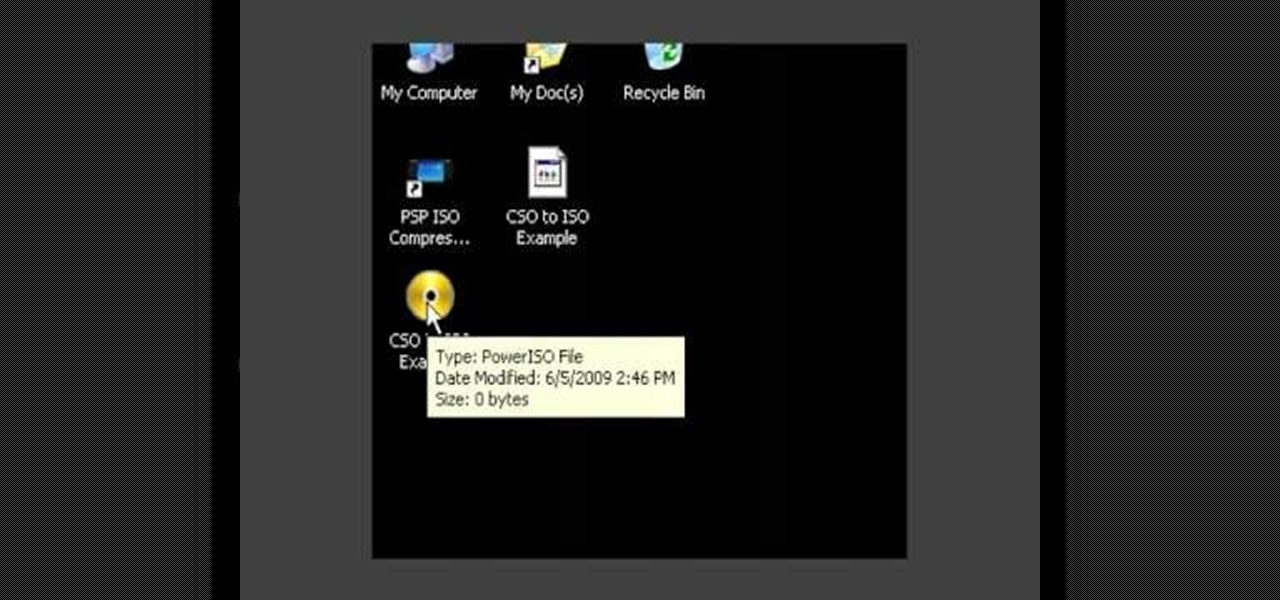
This video will show you exactly how to use PSP ISO compressor to convert CSO image files to ISO image files so that they will play better on a PSP. This will allow you to download either ISO or CSO files and still run the ISO files on your PSP.

Learn how to capture images and zoom in and out with your C6. Learn how to modify capture and recording settings and how to use the captured image as a wallpaper. It's easy and this clip will teach you everything you need to know. For all of the details, including complete, step-by-step instructions, watch this brief, official C6 owner's guide from the folks at Nokia!

Learn how to subscribe to sharing services and share images and videos online, straight from your device. It's easy and this clip will teach you everything you need to know. For all of the details, including complete, step-by-step instructions, watch this brief, official C6 owner's guide from the folks at Nokia!

This tutorial shows you how to use some of the basic functions in Adobe Photoshop, including the ability to save an image in multiple file formats, to create a picture that you can easily use on your website or blog.

Start with a basic photograph, and then use the various image effects to subtly alter it until it's precisely how you want it. This tutorial also goes briefly into layer styles, and some easy and effective ways to work with layers in Adobe Photoshop.

If you're trying to give your images a 3-D feel when designing them using Adobe Illustrator, it's critical that you know how to use the perspective grid. This handy tool will also help you if you're working with images that have depth, like outdoor shots.

In this video tutorial, you'll learn how to delete the background of an image in Adobe Photoshop CS3.

If you don't like the background image on your Samsung Galaxy Tab homescreen, it's easy to switch it out with another picture. To change the background wallpaper on this Android device, simply go to MENU < WALLPAPER < WALLPAPER GALLERY and find the one you want. Click SET WALLPAPER to save it.

Want to flash a new recovery image on your Google Android smartphone? With ADB, it's easy! So easy, in fact, that this rooter's guide can present a complete overview of the complete process in just over five minutes. For all of the details, including step-by-step instructions, take a look.

Learn how to flash a custom recovery image and load a custom ROM onto a rooted Droid Eris Google Android smartphone! Custom ROMs help you to unlock your phone's hidden potential and allow you to, among other things, turn your mobile phone into a 3G wireless modem with free WiFi tethering. For all of the details, and to get started running custom ROMs on your own rooted HTC Droid Eris, watch this three-minute hacker's how-to.

In this video, we learn how to change hair color in Photoshop CS3 and CS4. First, open up your image and zoom in on the hair. From here, you will click on the selection tool with a circle to select your image. Now, make sure this is the perfect size for the entire image. Right click and make sure it's sized out right. Now, select the hair and a red marker will appear. Select the whole surface of the hair, and as you get to the short hair use a smaller circle tool, don't worry about the smalle...

In this video, we learn how to resize an image in MS Paint without losing resolution. First, you will go to the file menu and then open. From here, open up the photo you want to resize. After this, go the 'image' section on the toolbar and then click 'stretch and skew'. From here, change the vertical and horizontal stretches until you have the size of picture that you want! Continue to play with it until it's right and then save this over again. This should only take a few minutes and will ke...

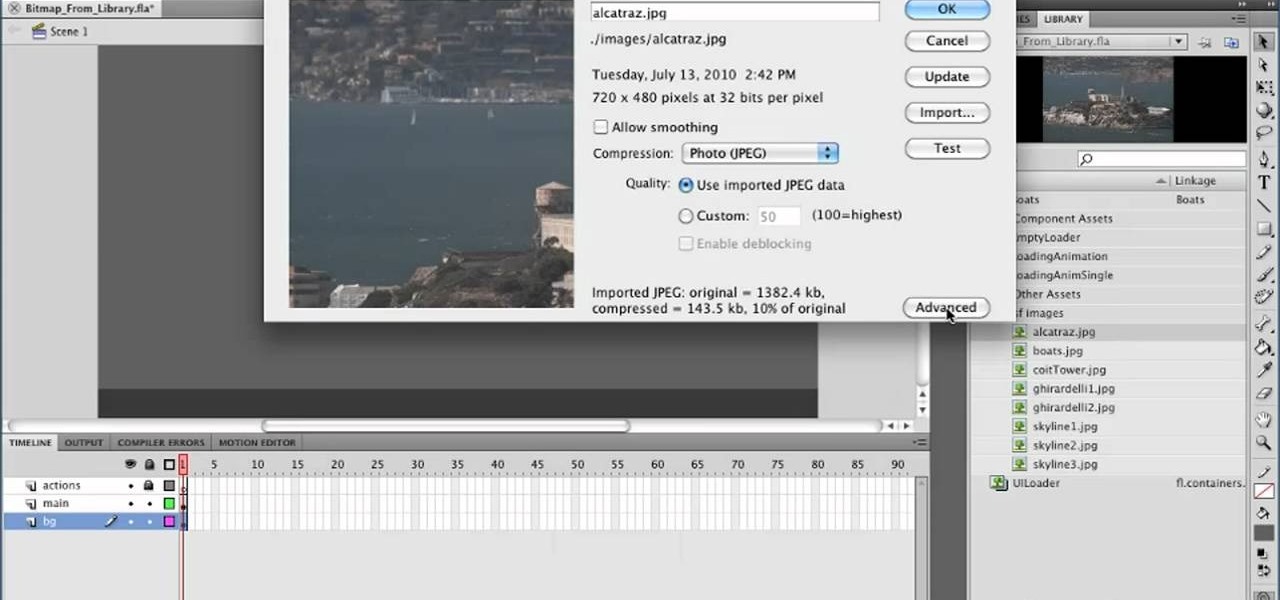
In this clip, we learn how to load a bitmap image from the library within Adobe Flash Professional. Whether you're new to the Adobe's popular Flash authoring application or are a seasoned Flash developer merely looking to better acquaint yourself with Flash Professional CS5, you're sure to be well served by this video guide.

In this clip, you'll learn how to put those few final finishing touches on a digital image when retouching it Adobe Photoshop CS5. Whether you're new to Adobe's popular raster graphics editor or a seasoned designer looking to better acquaint yourself with the new features and functions of the latest iteration of the application, you're sure to benefit from this free software tutorial. For more information, watch this video guide.

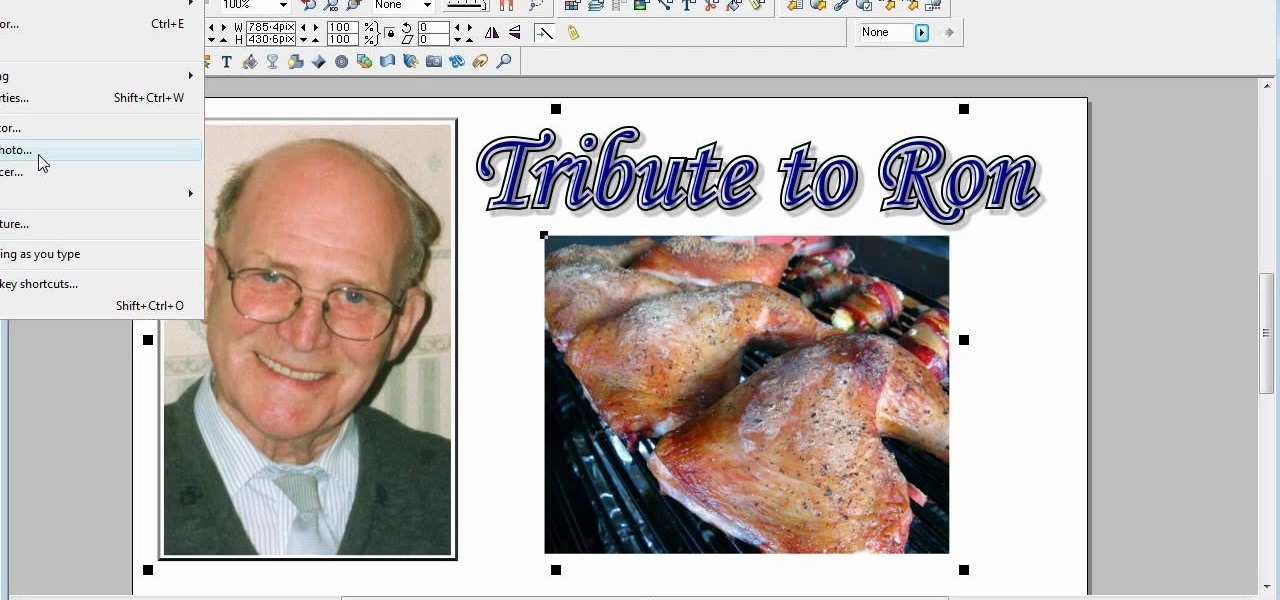
This is a video tutorial in the Software category where you are going to learn how to optimize photos in Xara Xtreme / Xara Web Designer. This is really very easy and simple to do and takes practically no time. Open up Xara Xtreme and go to the object gallery and select a photo that you want to work on. You can now resize the image by simply stretching or shrinking it in any direction. You can also drag and position the image at any part of the canvas that you desire. You can now go to file a...


