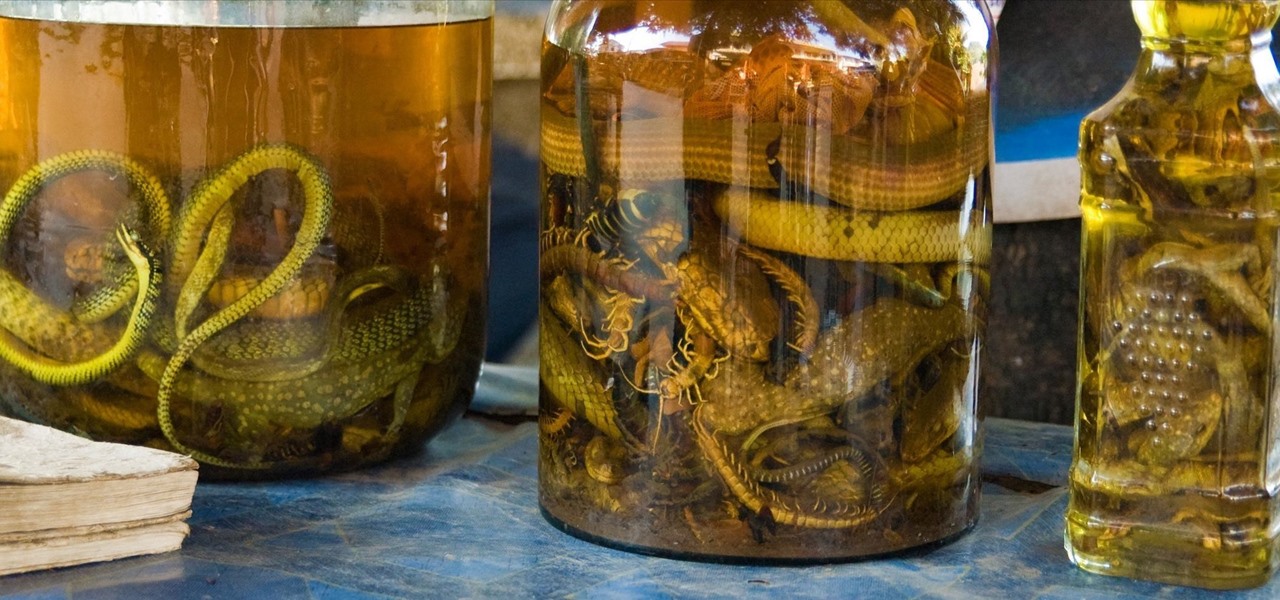
There are so many cutesy pink, red, and heart-shaped desserts and drinks put out on Valentine's Day, but none of those really get you into a low-light mood. Instead, turn up the heat with one of these aphrodisiac cocktails for grown-ups.
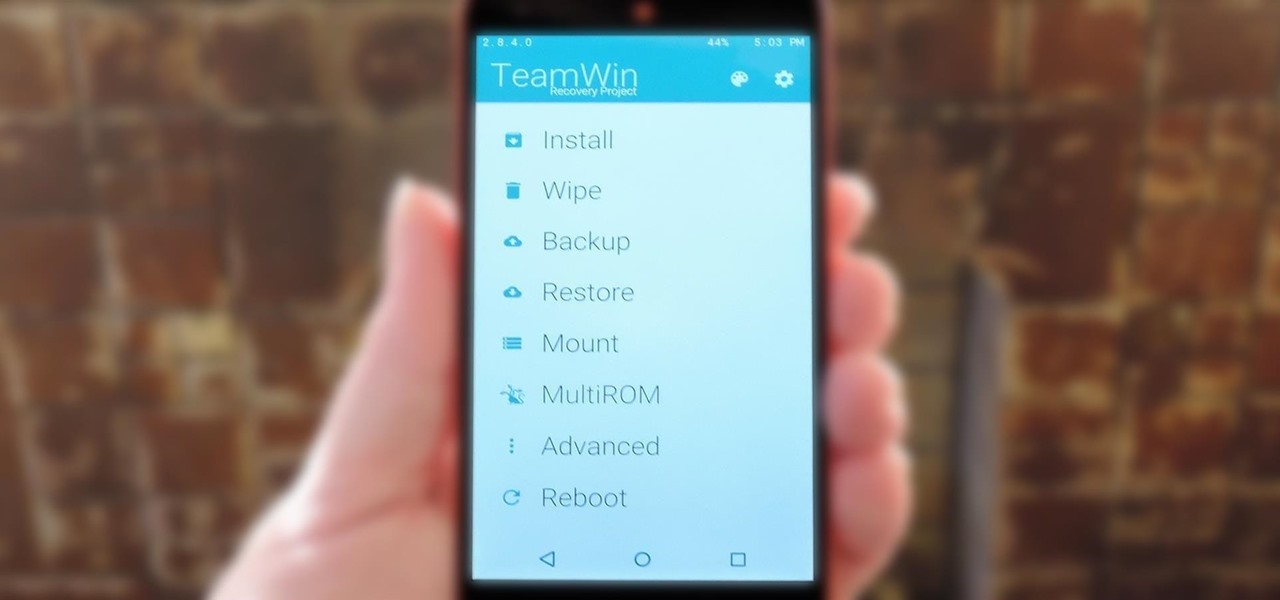
TWRP is hands-down the best custom recovery out there. Its interface, on the other hand, is... well, let's just call it utilitarian. The guys over at Team Win made sure that their product was robust, functional, and easy-to-use, but they didn't put a tremendous amount of effort into polishing the looks.

One feature that the majority of iPhone owners utilize is the device's passcode security lock. And while iOS 8 ushered in device customizations that add a whole new level of personalization on the Apple's mobile devices, the lock screen passcode page remains frustratingly the same.

A few months ago, we showed off a great third-party keyboard for iOS 8 called CooolKey which lets you customize the keyboard itself with any background image you want. Well, take that idea and apply it to the Control Center and we have CCBackground.
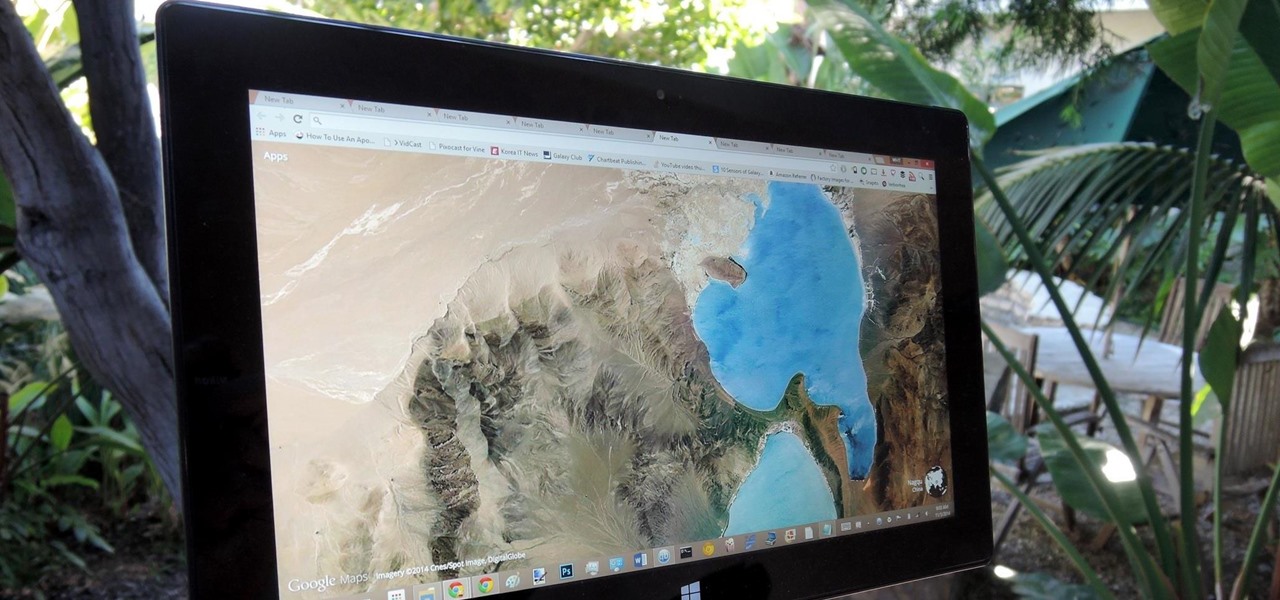
Google Earth is the cheapest way to travel the world, i.e., virtually. Their super satellites give us unbelievable access to images from pretty much any place around the globe, turning us all into would-be world explorers. Plus, these images make for stunning wallpapers.

Whenever a picture is sent via MMS, a certain amount of compression needs to be done in order for a carrier's network to send it. That compression is meant to ease strain on the network, but in the end it leads to heavy downsizing and increased graininess in pictures.

With hundreds of pictures accumulating on my device, it's a daunting task to devote time to sorting through which are worth keeping and which I should discard. Not all of the images on my device are winners, so the losers not only take up space, they make it difficult to find the good ones as I wade through the crap.

Aside from its many high-end features, the camera on the LG G3 is up there with other heavy hitters like the Galaxy S5 and HTC One.

Replacing your wallpaper is one of the easiest and quickest things you can do to keep your device from going stale, but it goes way beyond just picking an image from your gallery. If you use the Google Camera, you can create some really awesome 3D lens blur backgrounds, but what if you want more wallpapers on your wallpaper?

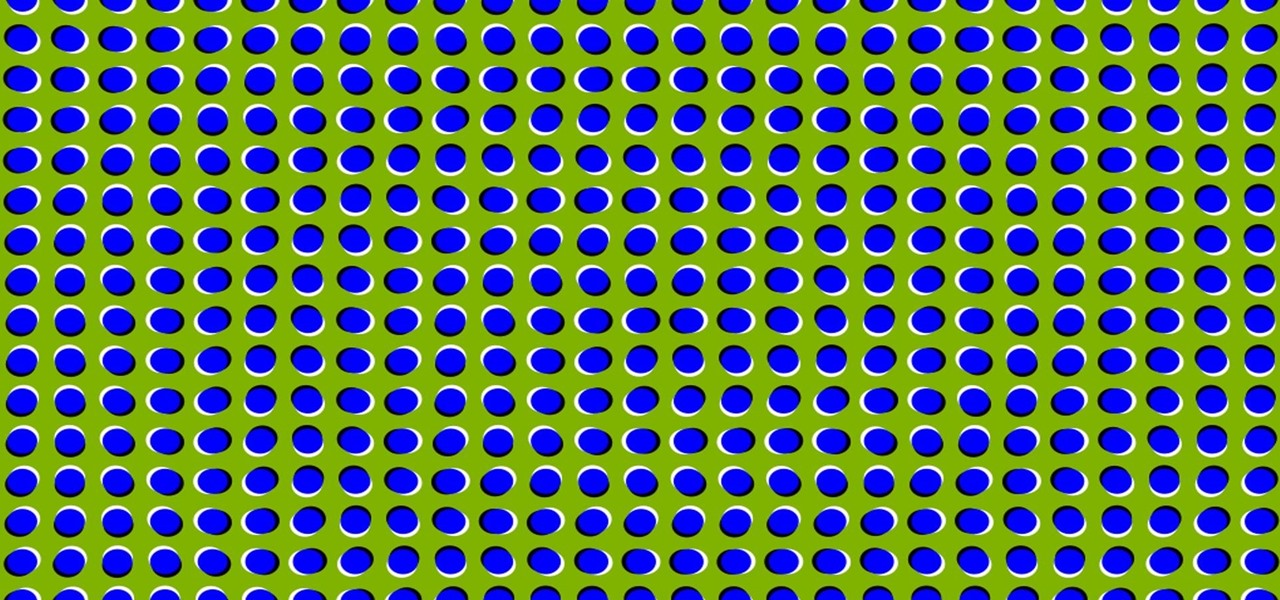
It's time to trip out with your tablet. If you're not looking to drain that precious battery life with a fancy-looking live wallpaper, then apply an optical illusion that appears to be moving on your Nexus 7 (or any other Android device) instead.

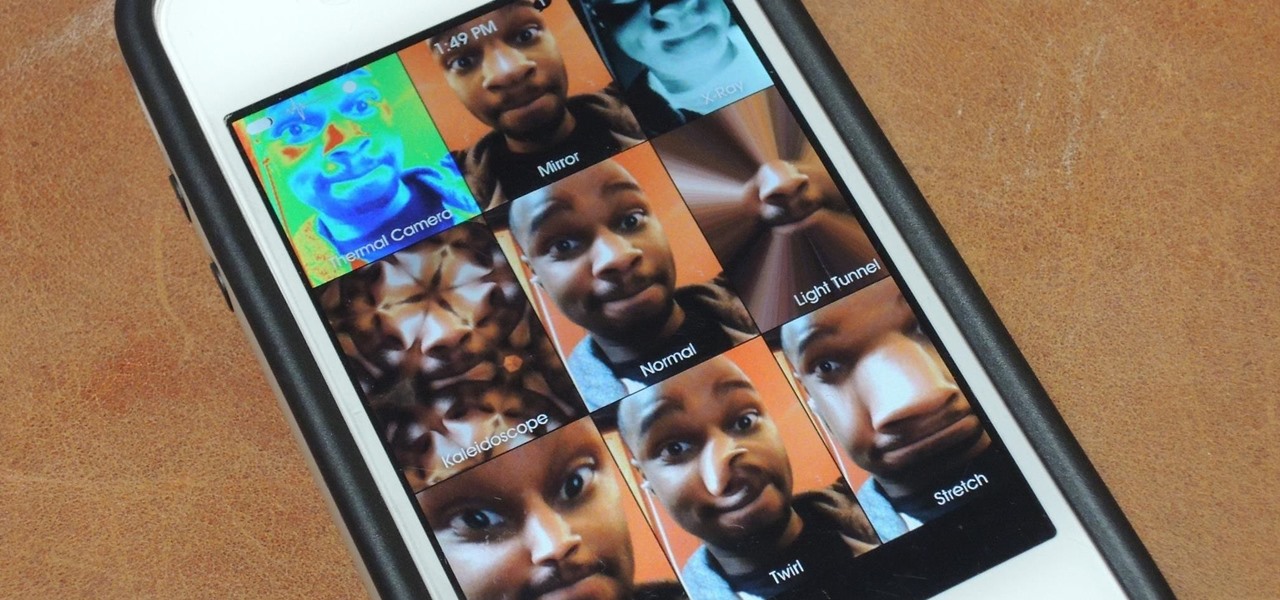
If you've got a MacBook, I'm sure you've spent some time messing around with the Photo Booth app. Who would have thought that adding simple effects like Comic Book or Stretch could make a selfie look so hilarious. Photo Booth is available for all Mac OS X computers running 10.4 or higher with an iSight camera, and it's also available on a few of Apple's iOS devices. Actually, it's only for the iPad 2 and all newer iPads since. It is NOT available on the iPhone, don't ask me why.

Last week, we covered a new, open-source live wallpaper (LWP) called Muzei, and less than a week later we have no less than twenty beautiful add-on extensions to the app.

Snapchat has had more than its fair share of security failures and mishaps. The photo-sharing company is looking to better address some of these security gaps by adding new features, and today its most recent addition is live: the Captcha. New users will be asked to verify their "humanness" by selecting the infamous Snapchat ghost out of a selection of images. The feature is supposed to help block hacker-made bots from creating fake accounts or accessing existing ones. But rather than using t...

Creative Commons is awesome—really. If an image, video, or audio file is tagged with a CC license, that means you can use it as long as you give appropriate credit to the owner. For bloggers with no money for pricey stock media, it's a godsend. When you license your own media under CC, you can choose how you want it to be used by others and whether or not it can be used commercially.

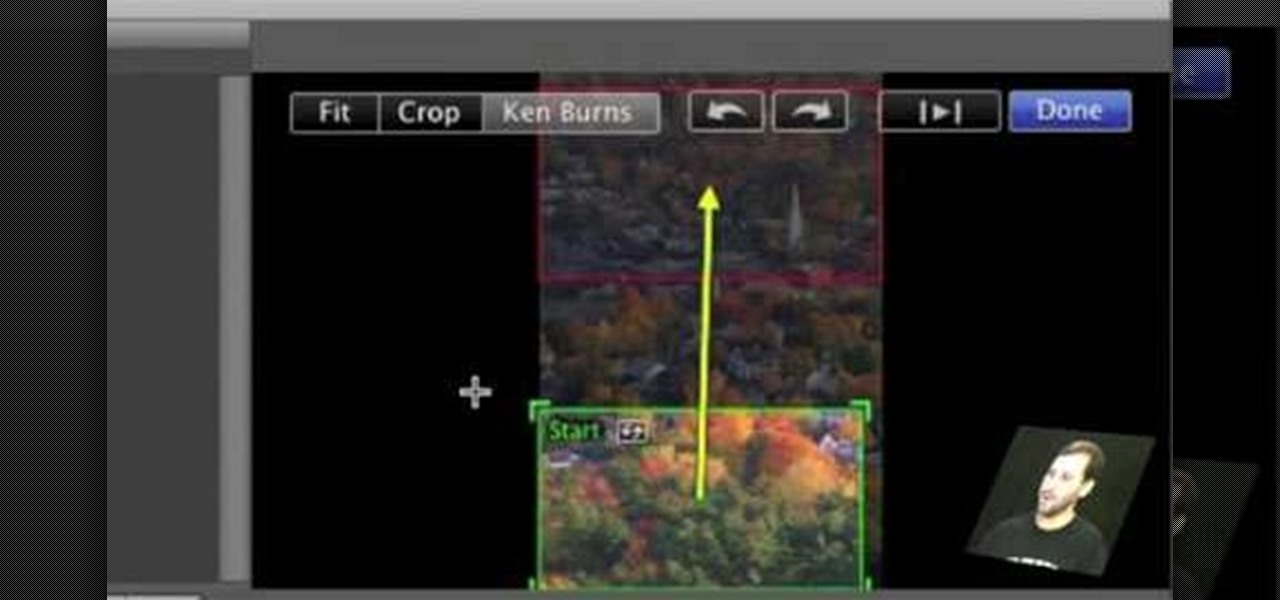
First open up the image by clicking on photo button or just drag the image from finder to the project area. Now click on the crop button or just press the c button, you will see a green and a red area in your picture. Now set the red area to where you want to zoom in and green area to where you want to start your zooming. Now set the green and red area in the picture as showing in the video and play it, you will see that the picture is zooming to where the red area was set. Now change the ima...

If you do not like your desktop background in Windows 7 and you do not know how to change it, this video will be very useful. In this video tutorial you will learn how to change desktop background in Windows 7.

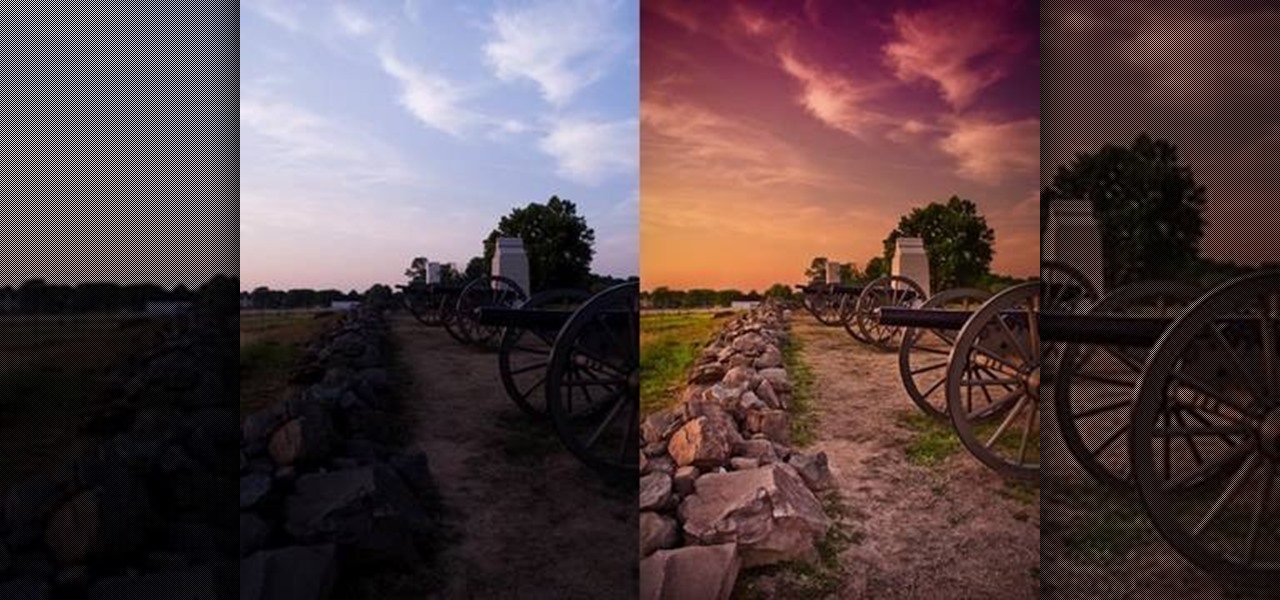
Tutvid shows you how to add flare and dramatic color to your raw camera images (usually the format of a DSLR). In a step-by-step guide with narration, Tutvid takes you through the process of using CameraRaw (used as an extension of Photoshop but never really brings it in photoshop) to add desired colors to your picture. Pull up your raw file in CameraRaw, and press "Command" or "Ctrl + R" to open up the editing panel. With an example, he shows you how to bring out lights in underexposed (dark...

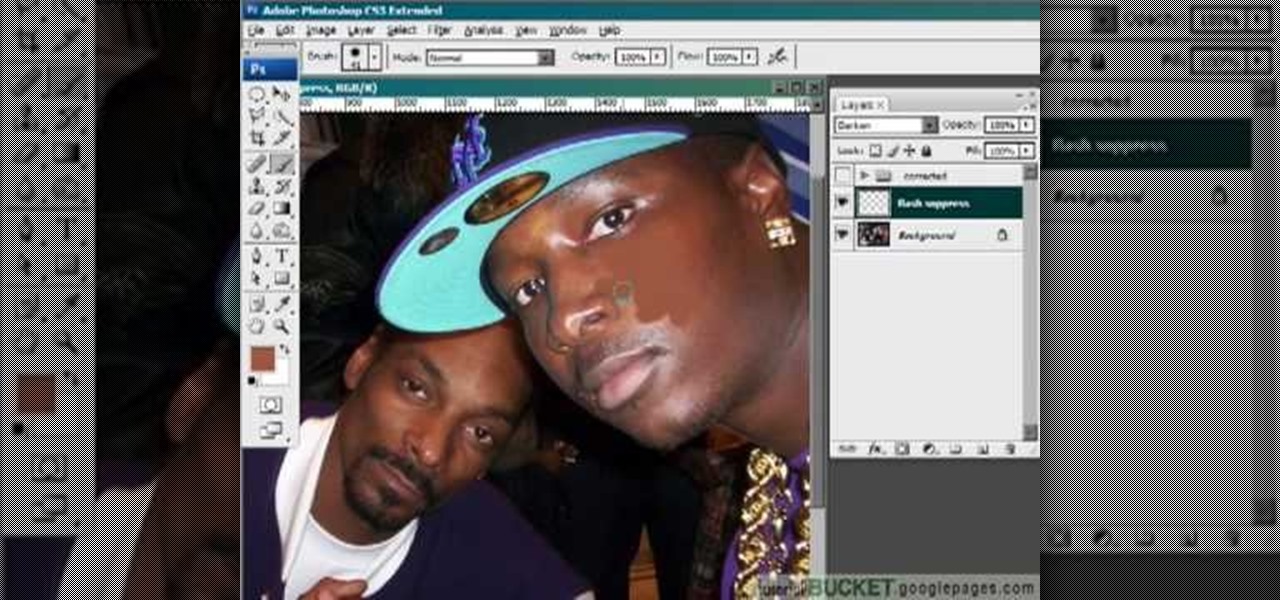
This video gives detailed instructions for removing a hotspot or flash reflection in a photo by using layers and masks. Start by adding a new blank layer and naming it something like Flash Suppress. You will use a special blending mode for this layer called darken. With your paintbrush you will loosely paint out the hotspot, having selected the color tone that you need with the eyedropper tool. Later on you can use layer masks to clean this up. Adjust the opacity of the layer until you have t...

This video is about sliding an object from left to right in Flash. We will be creating a simple, core animation in Flash. First, let's import an image to our scene. Place it here. Now, let's convert our image into a movie clip. Change the frames per second value. Now, go to the frame and enter the key frame. Bring the image here. Let's rotate our image a little bit using the free transform tool. That will give more dynamic animation. Go to frame 30 and hit F6. Now, we need to add motion. Chan...

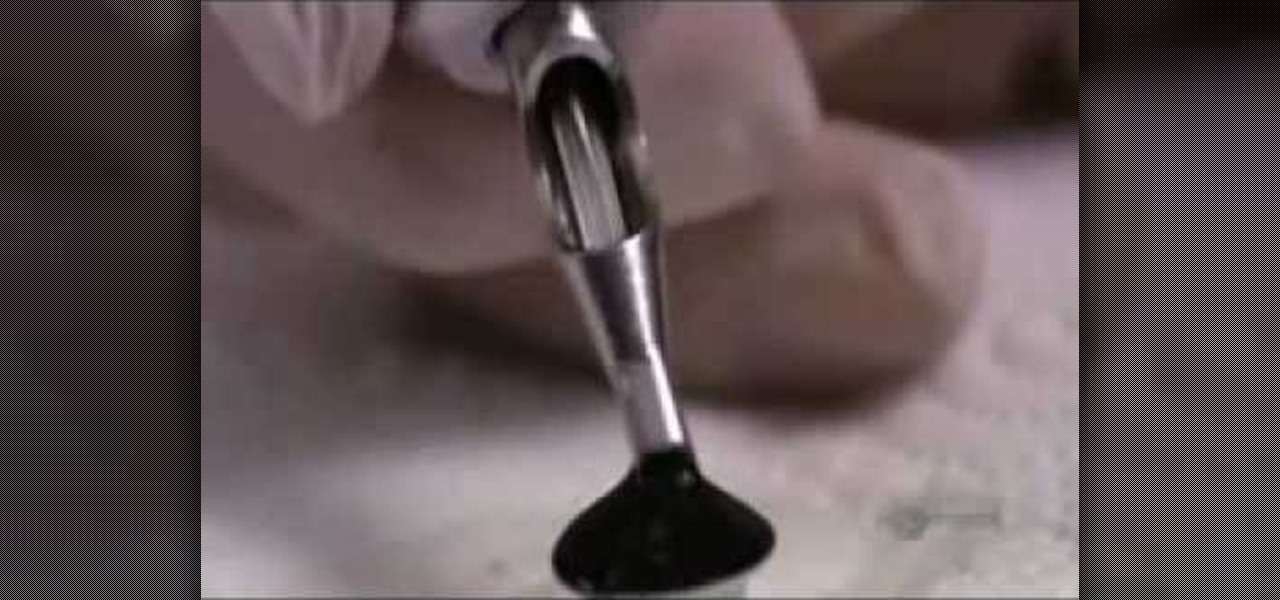
This video is about how to tattoo. Once you make your choice of design, the tattoo artist traces the image. Next, he places the image on carbon paper and traces the image again to create a reverse image. He cleans the persons skin then firmly presses on the blueprint. Now its time to construct the needles. One is for outlining and the other is for coloring. The finished needles go in a machine to be cleaned. He places the needle in a Coil. When an electric current runs through the coil, it ma...

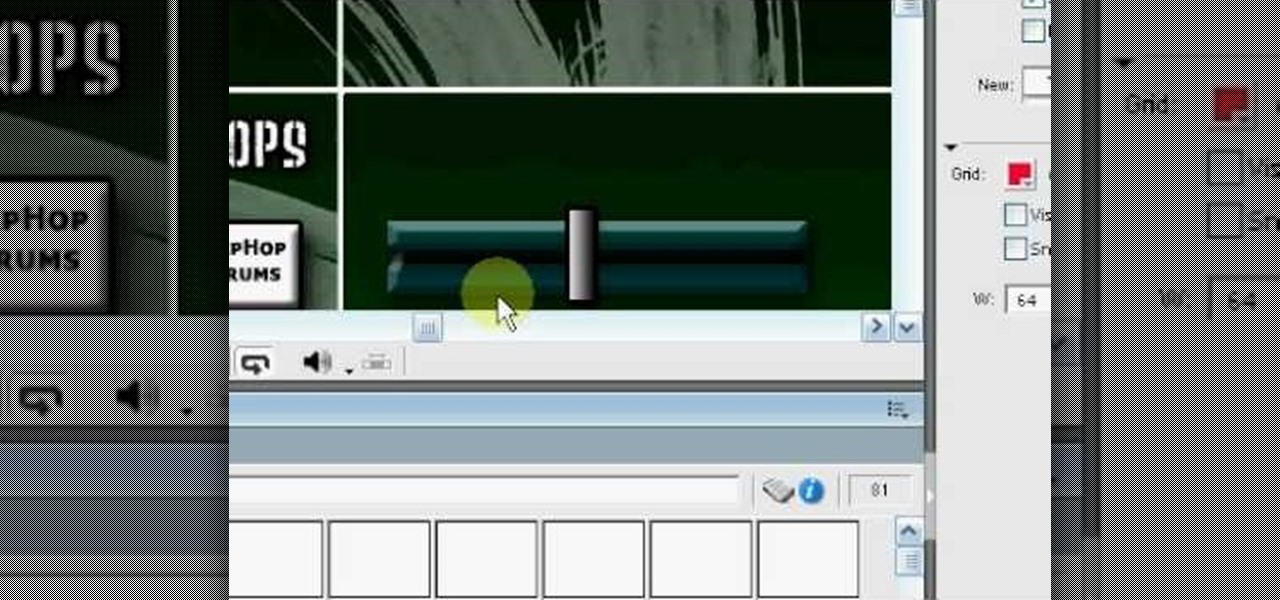
This six-part video tutorial, goes over how to make beats in Adobe Director. The six different videos go over the following:

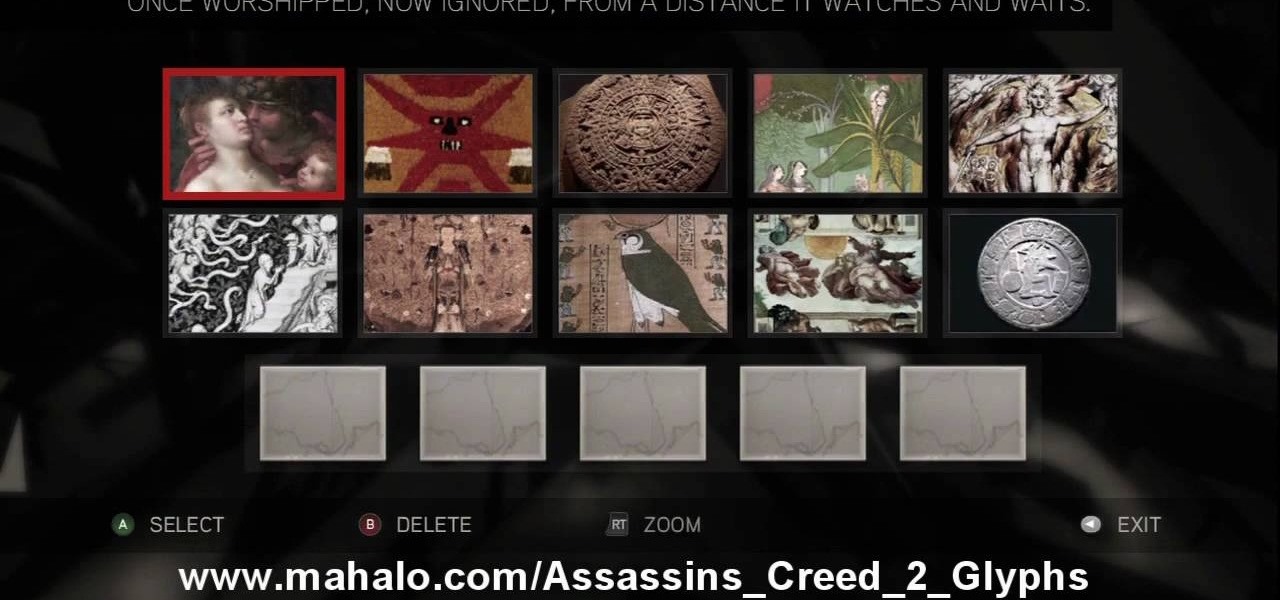
Here's the answers to the 19th puzzle, titled "The Fourth Day", in Assassin's Creed 2. Image set: What used to be worshipped by every primitive culture under the…? That’s right, the sun. Pick the five images that focus on it. Image: Find the tiny image of Earth in the lower-left quadrant of the sun. For more info, watch the whole gameplay.

Find out how to solve the 11th puzzle, entitled "The Inventor", in Assassin's Creed 2. Image 1: Just move the lightning bolt over the bulbs to bring them to life. Image 2: Highlight the area just at the base of the tower, between the two windows, to find this hidden image. Image 3: Move the pointer onto Tesla’s lap. For more info, watch the whole gameplay.

Learn about the 8th puzzle, titled Martyrs, in Assassin's Creed 2. Image 1: Highlight Czar Nicholas’ staff. Image 2: Highlight Joan of Arc’s sword. Image 3: Move the fireball to Joan of Arc’s portrait. Image 4: Move the photo of Rasputin onto Czar Nicholas’ portrait. For more info, watch the whole gameplay.

Windows 7 is the hot, new operating system replacing the past XP and Vista systems. Windows 7 is the most simplified, user-friendly version that Microsoft has developed - ever. Get acquainted with your new version of Windows straight from Microsoft.

Clip Art from Microsoft Office allows you to insert stock photos into you PowerPoint, Word, Excel and Entourage documents easily. You can gain access to the Office Clip Art site easily in any of the mentioned applications. The Microsoft Office for Mac team shows you just how to download and use clipart from Office Online in this how-to video. You can get free stock images of low-priced professional quality photos.

Add pictures always seems to mess up your document— but not anymore. In Word 2008 for Mac, adding photos doesn't have to be stressful. Words and pictures can coexist beautifully now. The Microsoft Office for Mac team shows you just how to make text wrap around pictures in this how-to video. They will look and fit better, and your words can be friends now with your added images.

Install & boot Mac OSX on an external hard drive

In this video tutorial, viewers learn how to change the color of lips in Adobe Photoshop. Begin by importing the image into the program. Select the quick mask tool and then select the brush tool. Now color the part that you want to retouch. This will allow the mask to create a selection. No click on the masking tool to create a selection. Then select the marquee tool. Right-click the selection and click on Select Inverse. Right-click the selection again and select Feather. Make it 1 pixel and...

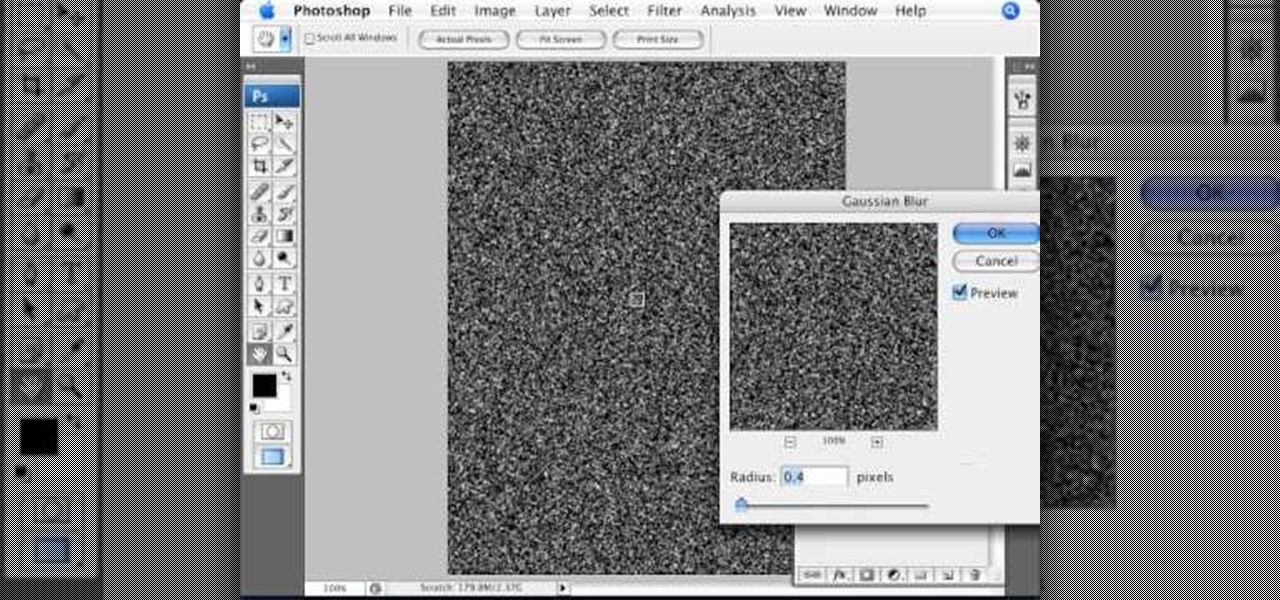
In this how-to video, you will learn how to make grain textures in Photoshop. First, click add layer mask to an open image. Add a filter to this mask and by going to the texturizer option. Adjust the settings to your liking. Click okay to continue. The mask will make the texture transparent. Go to image adjustments and levels to adjust the intensity of the grain. Click okay to save the settings. Select the layer and then choose the color you want the grain to be. Make sure to lock transparent...

In this how to video, you will learn how to create a rainbow effect in your photos with Photoshop. First, open the image you want to edit in Photoshop. Next, edit the hue and saturation. Make sure to desaturate the drawing. Next, create a new layer. Select a brush and choose a blue color. Make sure in the new layer that color is selected. Color the top part of the image. Next, select a purple or pink color and color the middle part. Choose a yellow color and color the bottom of the middle par...

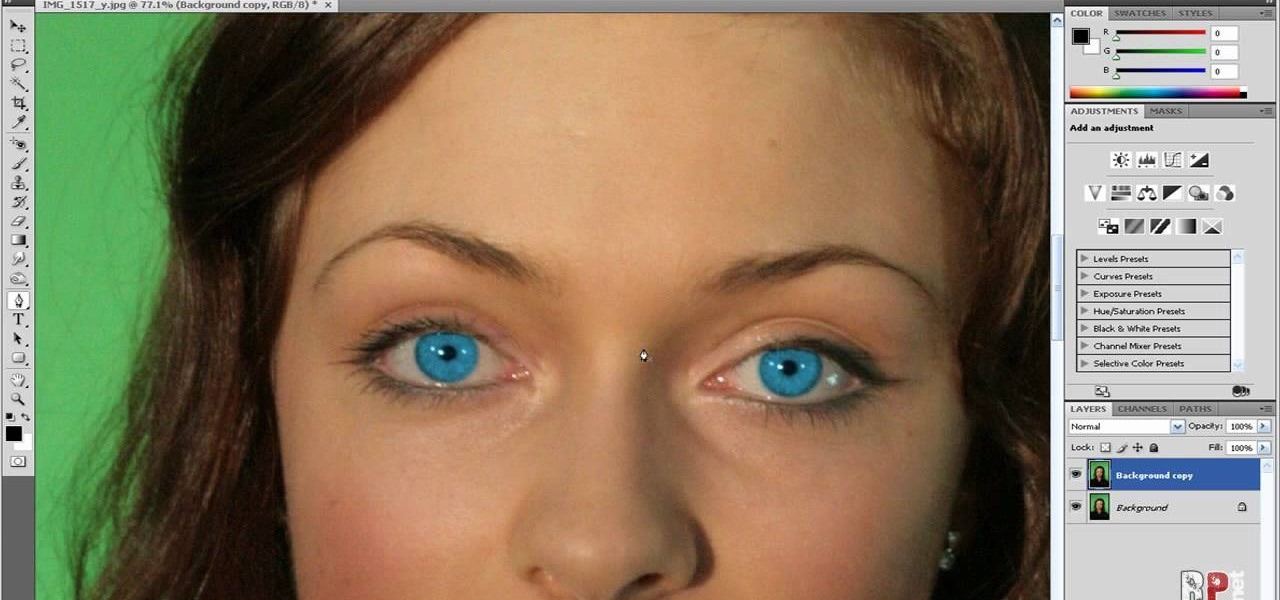
In this how-to video, you will learn how to change eye colors using Adobe Photoshop. First, open the image, Duplicate the background image. Zoom in to one of the eyes and select the pen tool. Set it to paths. Now, go around the iris of the eye. This does not have to be perfect. Click and drag to the other eye and select the other iris as well. Once these are both selected, right click into one of the selections and set the feather radius to about three pixels. Go to Image and Adjustments and ...

This step-by-step tutorial will teach you the correct way make a Light-Saber effect using Paint.net.In this video, you will learn how to gather the Light-Saber image, paste the image into Paint.net, choose the preferred color for the Light-Saber, and other special effects such as: sizing your Light-Saber, 'blurring' your Light-Saber, and learning the correct way to save your project.Your first step is to right click on the Light-Saber image and click 'Copy'. Next, you open Paint.net. Then you...

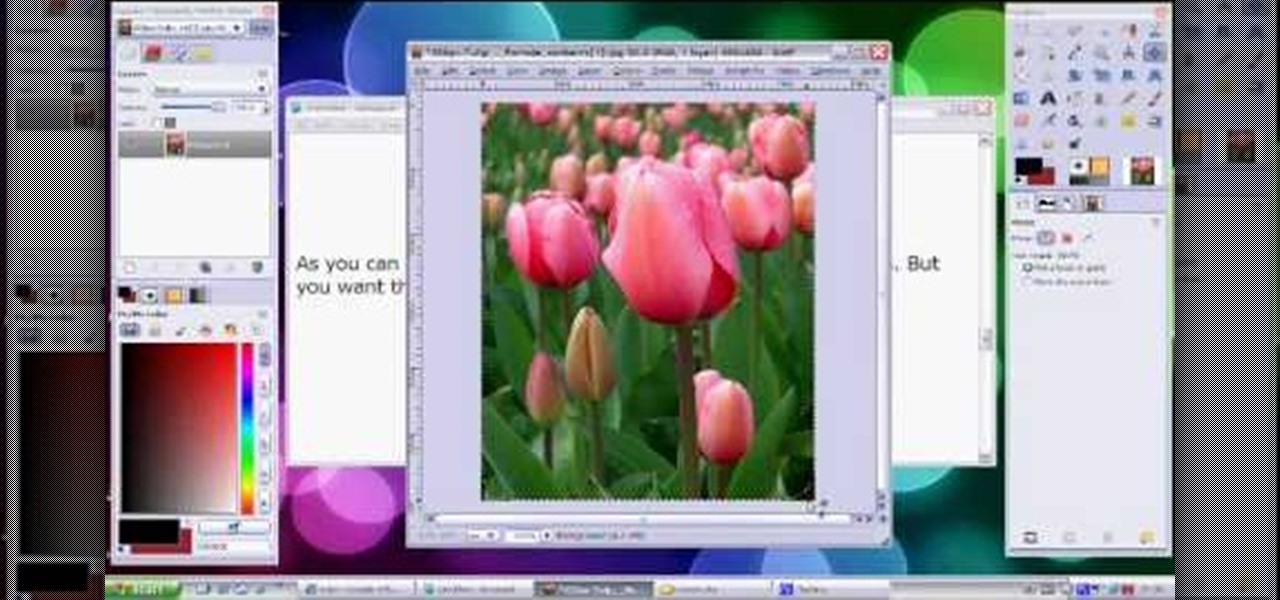
Video demonstrates how to make rounded corners in GIMP. First step is to open an image. The image needs to have transparency for this to work. An alpha channel is to be added to the image. This can be done by going to the layer option in that select transparency and add alpha channel. By doing this if the picture grays out it means the image already has transparency and there is no need to add an alpha channel. Now Select option is selected and in that rounded rectangle is selected. The radiu...

This tutorial explains how to create a multi colored eye effect. First open the image in Photoshop and unlock the layer. Make a selection of the eye with either the lasso, magnetic lasso or pen tool. If you are using the pen tool, like in the tutorial, right click and choose mark selection, feather radius of three pixels. Now copy and paste the eye. Go to File and select New. Create an image of 1000 by 1000 pixels. Unlock the layer and make sure tea background and foreground colors are black ...

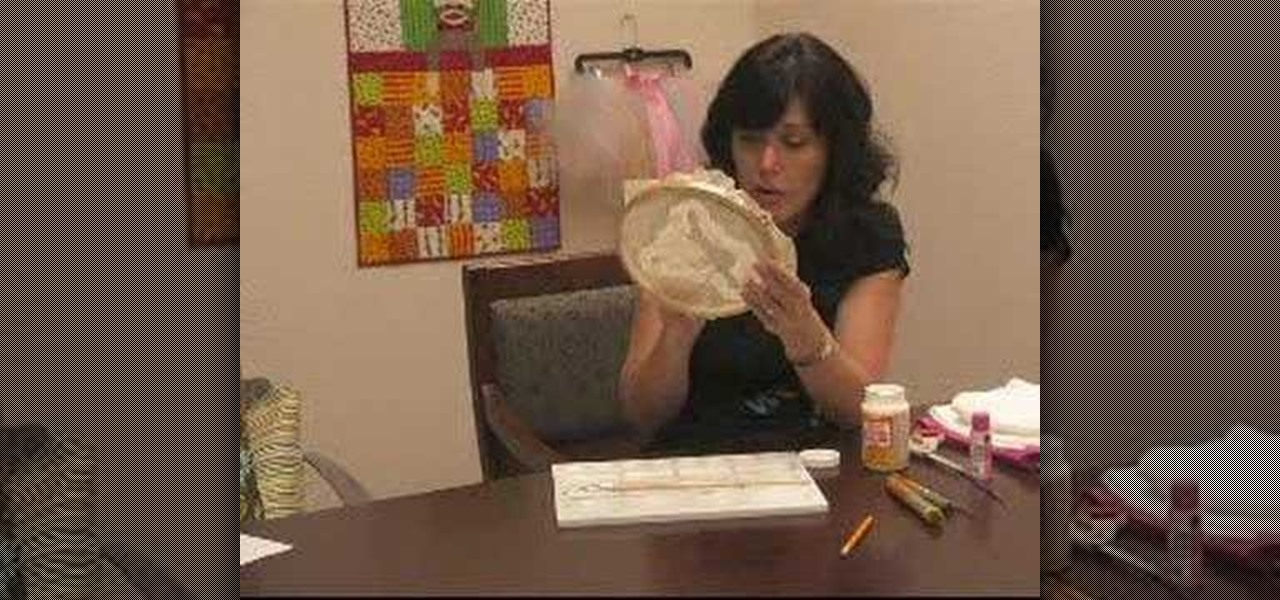
This video by Wowzzydot shows us an easy way to silk screen/stencil a garment. Using either a t-shirt or baby onesie, you can decorate it in the style of our choice. She clearly tells you the supplies you will need, embroidery hoop,sheer fabric, such as a curtain panel, paint and stencil brushes, scissors, Mod Podge or any water solvable glue. Also textile paint or ink and of course, the garment to be decorated. The first step is to cut the sheer fabric about an inch larger around than the ho...

Open an image and on the layers panel add a new layer by clicking on the fifth icon below the layers panel. A new layer is created with the name 'layer 1' and your previous layer would have the name 'background'. These names can be changed by you. For now we'll leave them as they are.

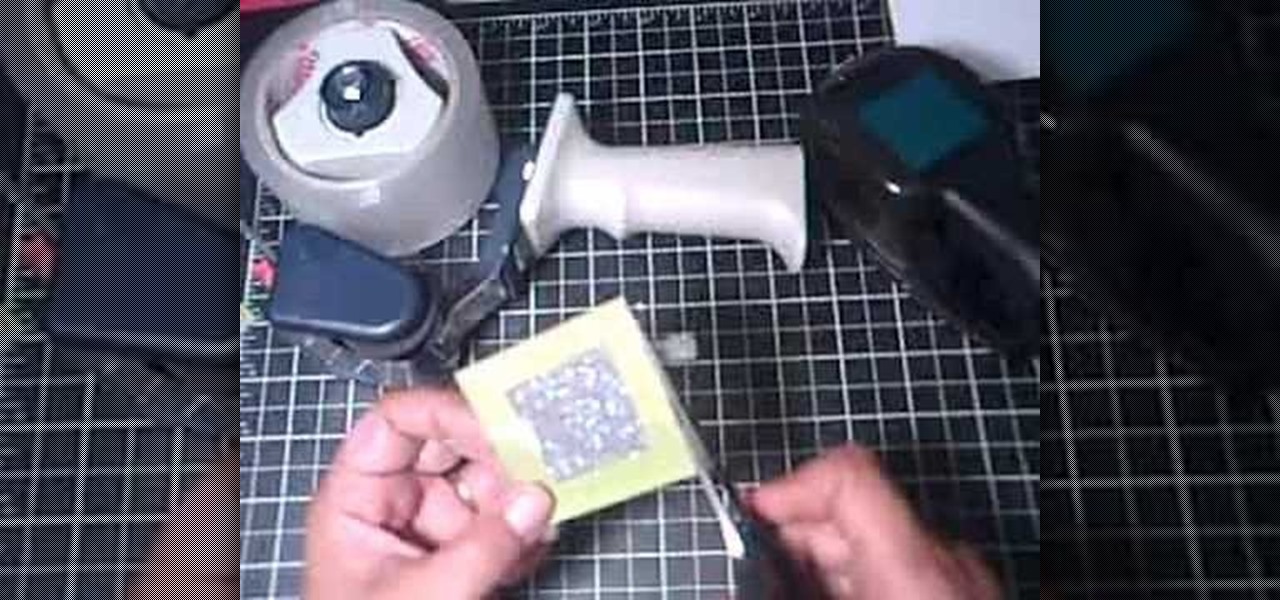
This artsy crafty video tutorial will show you how to make glittered window-style cards. The "glittered window" technique to card-making is basically just adding glitter to shipping tape.

Create 8-bit style icons and portraits in Photoshop with this hilarious and informative video from the guys at eightbit. This video shows exactly how to make the whimsical low-tech icon-style images using Adobe Photoshop and a little bit of creativity.

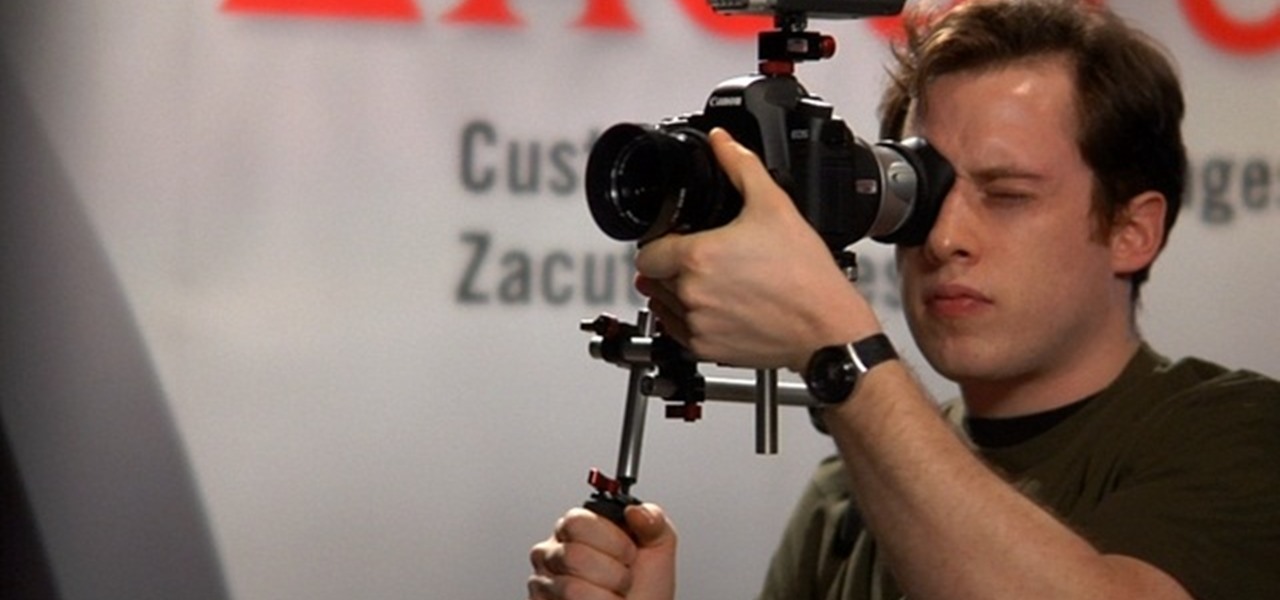
Digital SLRs are known for their high image quality, but what about audio? This panel discussion shows you how you can set up your shots and equipment to ensure you get the best possible audio for your next film project.


