Are you interested in 2D animation in Flash? First import a image in flash. Then create a new layer and choose oval tool and take a radial gradient. In the middle of the shape, we need to have zero alpha value and pick the colors from the background of the image. Create the shape over the image and take another frame at no.10 and increase alpha. Then create another keyframe and convert it to movie clip. Then create shape and motion tween. On the new layer, write a stop command in action scrip...
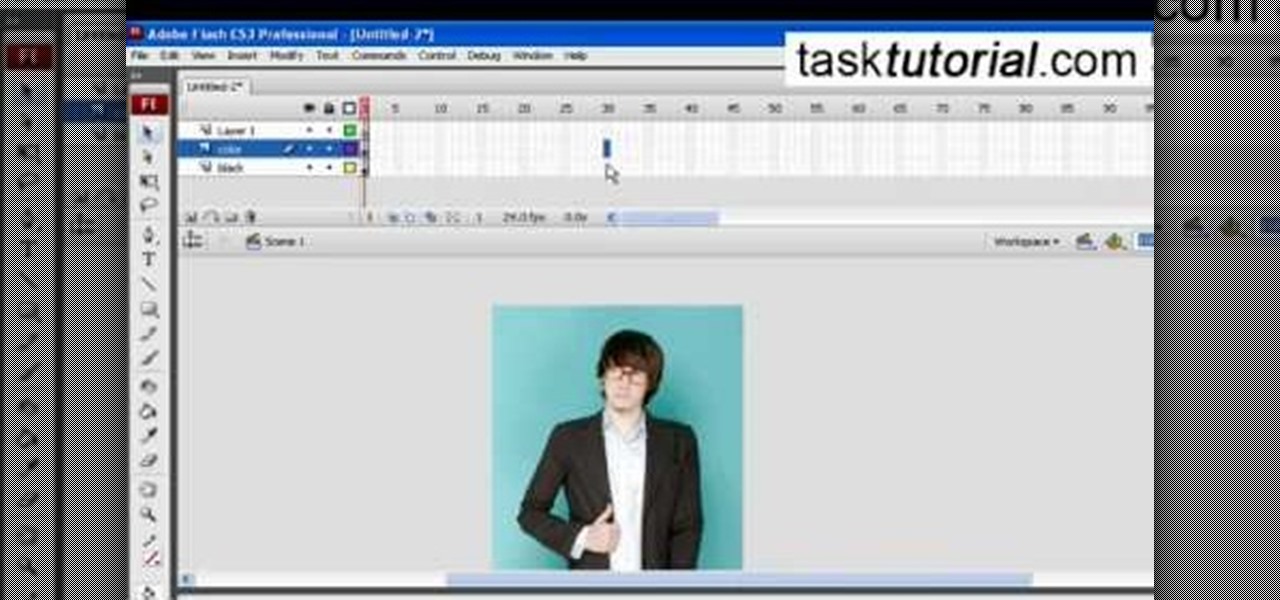
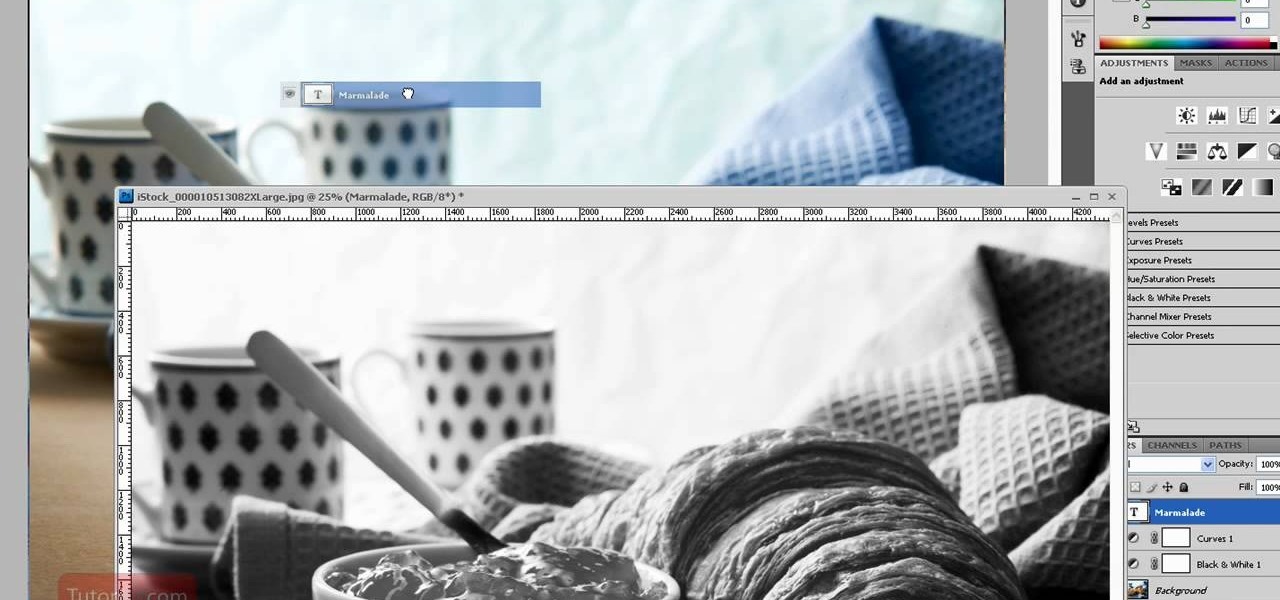
If you don't know how to turn a black and white image into color animation in flash, then this is the perfect video for you. This tutorial is perfect for newcomers! In the video, you will learn how to import images, make layers, and transform them into movie clips. This video will show you the best and easiest way to turn a black and white image into color animation in flash. This video is what you are looking for!
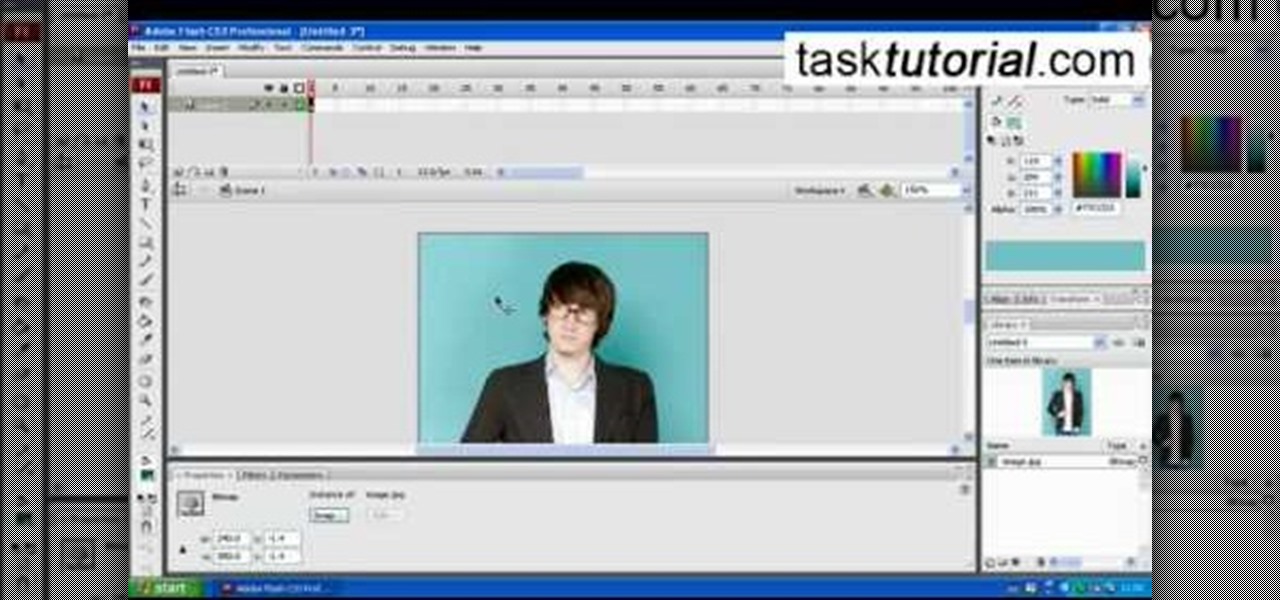
Converting bitmap images to vector in Adobe Flash sometimes can come as a nuisance. This video will give you a step by step tutorial on how to convert bitmap images to vector images in Adobe Flash.
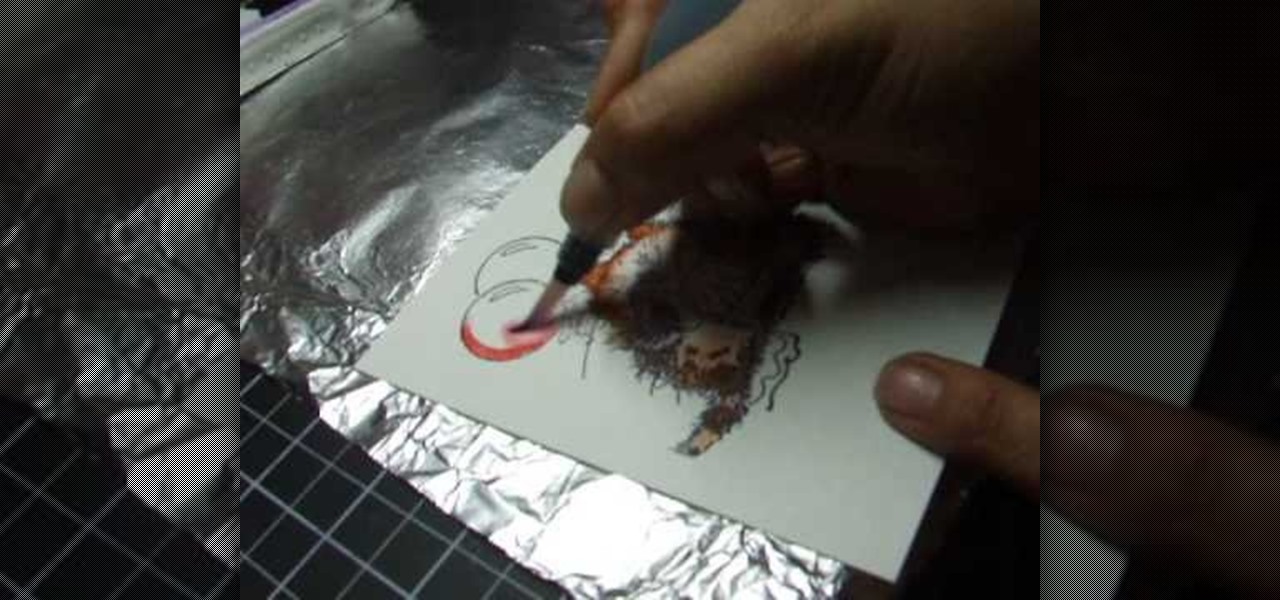
Maria Bell demonstrates to create the watercolor project, add color to the watercolor paper by first outlining the image or the shape with the SU marker. Then, distribute the color from the edge of the image or shape to the center of the image or shape with an aqua painter or watercolor brush. Fill in the images with shading details as desired. The technique produces gradient shading and a quick spread of colors without the use of watercolor pencils or crayon. Painting watercolors with SU mar...
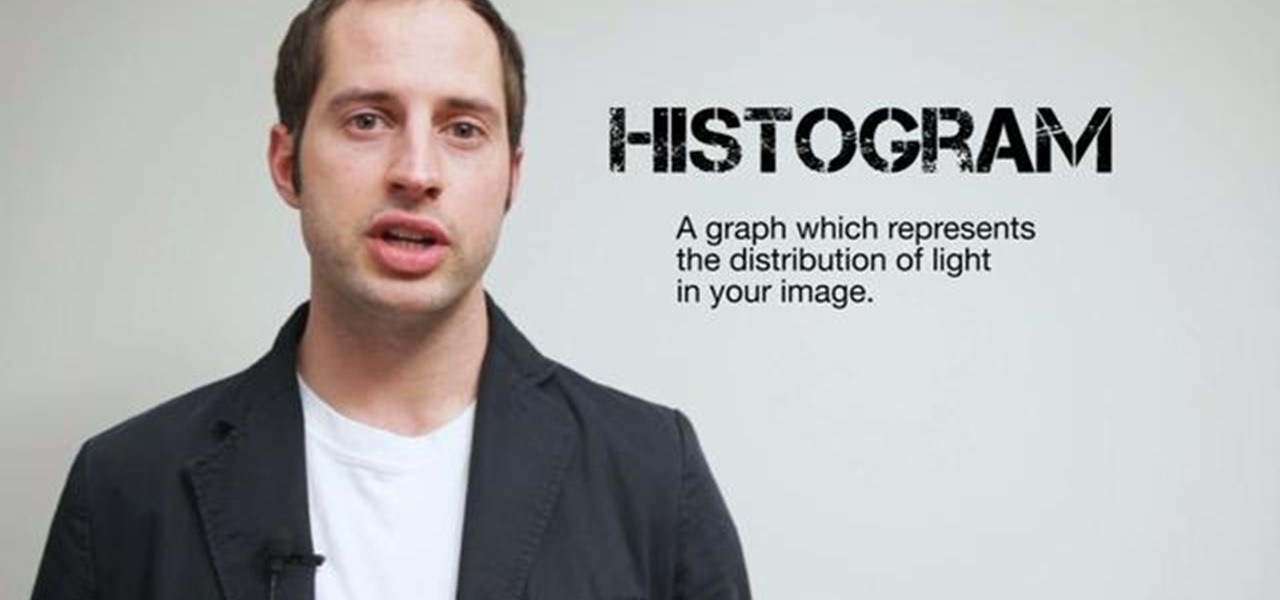
Ever wonder what those bars and lines on the LCD screen on your digital camera do? In this great tutorial, Ethan Wilding demonstrates how to read one of the most useful features on your camera: the histogram.

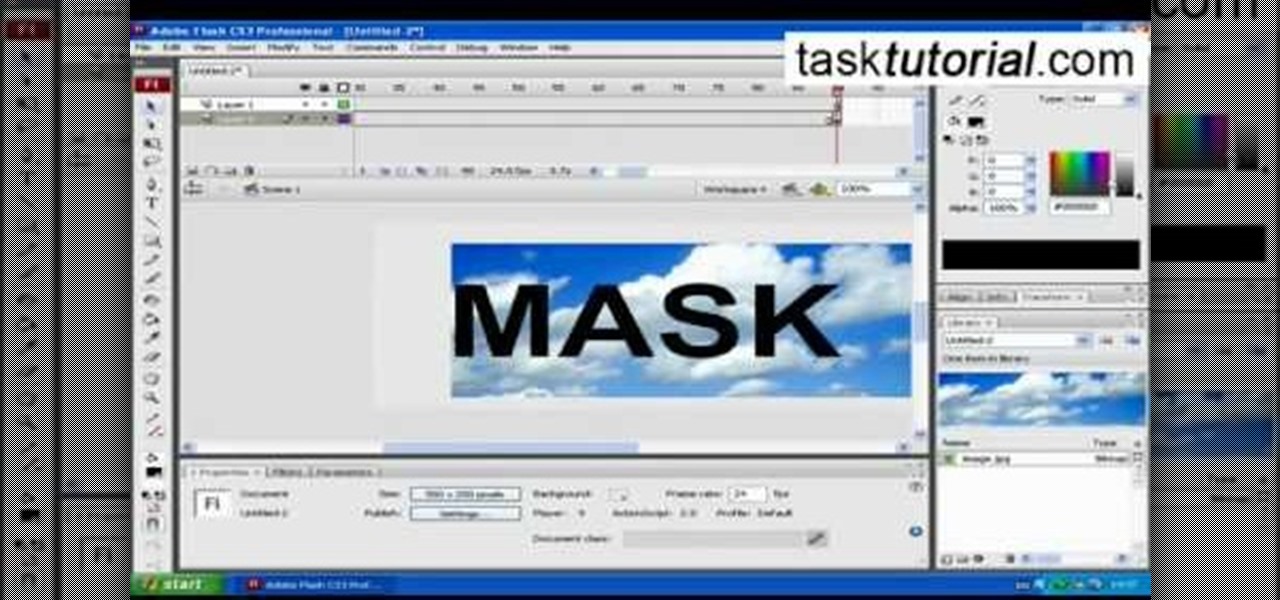
In this flash tutorial the instructor shows how to make a black and white mask animation. To do this, first start by importing your image into the flash tool and bring it on to the scene. The image should be wider than the scene. Now select and distribute the layers. Now convert those images into movie clips. Now go to frame 80 and add all frames. Get back to the first layer and create a shape that is the your mask. Now go to frame 40, select key layer and add free transform tool. Now, mask t...

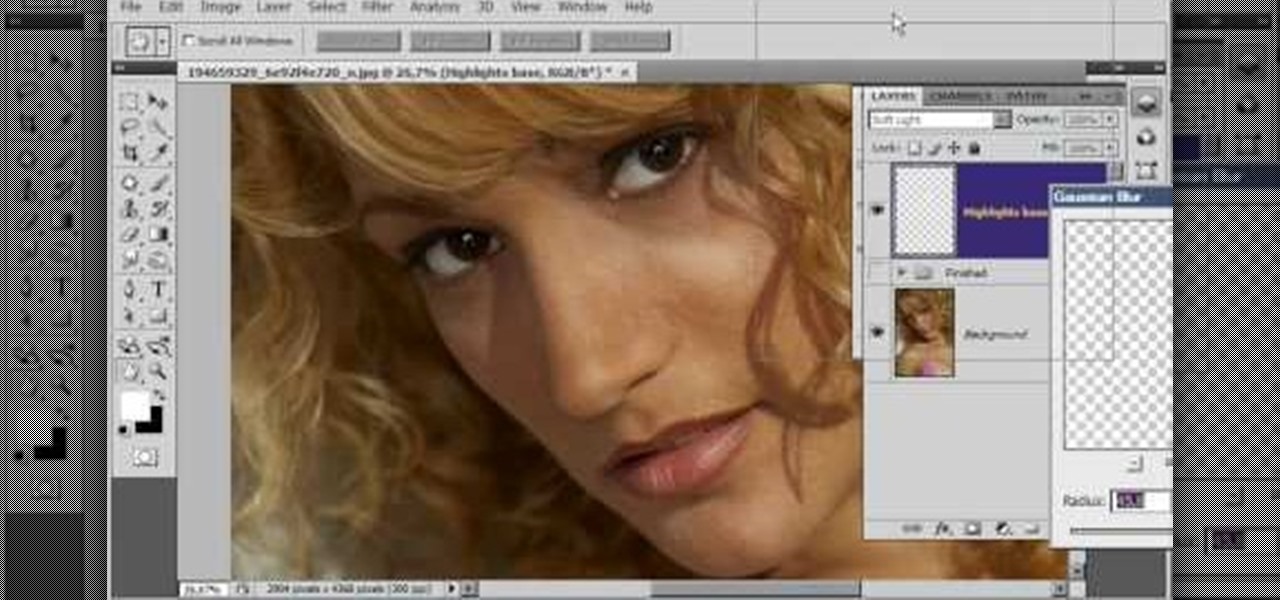
Learn how to touch up images in Photoshop and bring out the true potential of your art. Using subtle strokes of image enhancement you can redefine the effect that shadows have on your images and use them to bring out the aspects of the photos that you want to highlight. Similarly you can hide those nasty imperfections with ease as shown in this tutorial. Never again let your images befall an embarrassing fate. You too can produce professional quality work with minimal effort and time on your ...

clipping mask Sponsored by SimpleRetouch.com Start by creating a task with the name Mask, then Choose a color and a font size.

Need a way to convert your scanned documents back into text files? Check out this video tutorial on how to convert scanned documents (JPG, PDF) to text.

In this lesson, learn how to "texturize" an image in Photoshop by using layers and blending options. Make any image look like it's made of something else - a great technique for creating imaginative, compelling images!

In this video tutorial you will learn to take a grainy image in Photoshop and improve its look by removing the noise. The digital noise appears as a spray of colored pixels in an image. You won't be able to remove them completely, but you can reduce the noise quite effectively with Photoshop.

Slack is meant for business, but it's inevitably used for personal reasons too, or even just to goof off with colleagues. However, you never know who's looking over your shoulder (nosy coworker? boss?), and you could get in trouble for something sent to you. That's why you might want to hide images and GIFs to help keep your conversations private.

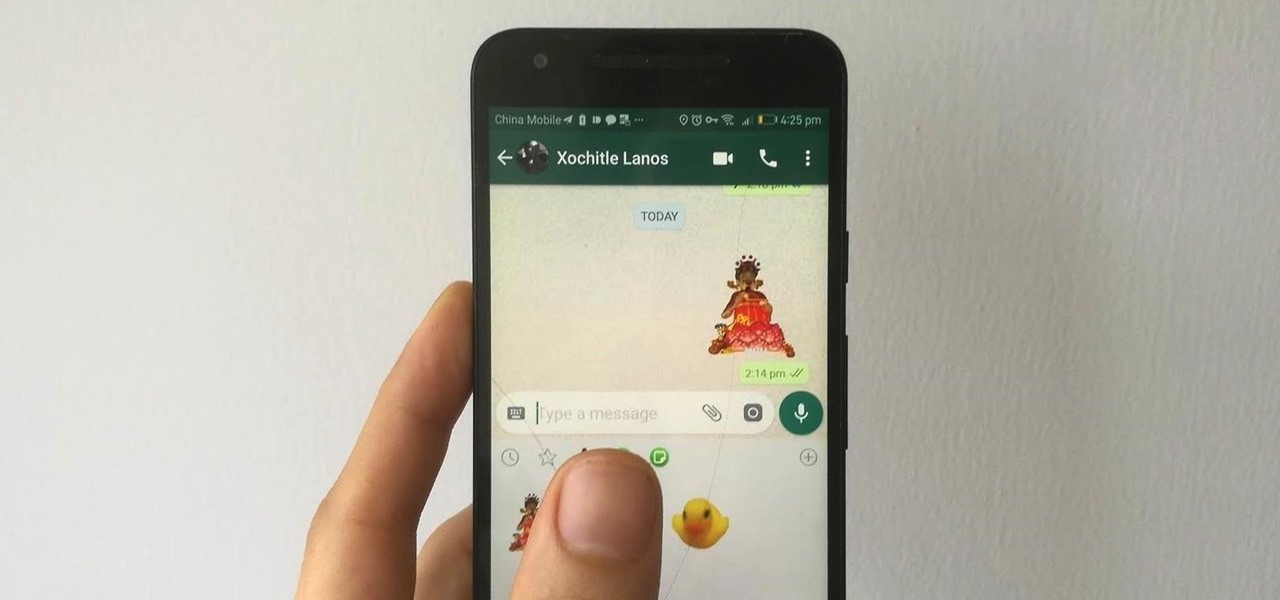
WhatsApp stickers can make your chat more fun. The stickers that come with WhatsApp are fine, but they're standard and accessible to everyone. What if you wanted to show off unique stickers that your friends haven't seen? To take things to the next level, you can create your own WhatsApp Stickers.

If cameras are a priority, one of the first specs to check on a new phone is the image stabilization. You've probably been told optical image stabilization (OIS) reigns supreme, but this isn't the case if you're taking a lot of videos. Instead, we would argue, electronic image stabilization (EIS) actually works better for video.

The pictures we upload online are something we tend to think of as self-expression, but these very images can carry code to steal our passwords and data. Profile pictures, avatars, and image galleries are used all over the internet. While all images carry digital picture data — and many also carry metadata regarding camera or photo edits — it's far less expected that an image might actually be hiding malicious code.

If you've ever wondered how to import your photos in Snapseed, then you've come to the right place. Snapseed is a wonderful photo-editing app and will provide you with many tools to take your photos to the next level. But you can't get to that next level if you don't know how to get your images into Snapseed in the first place.

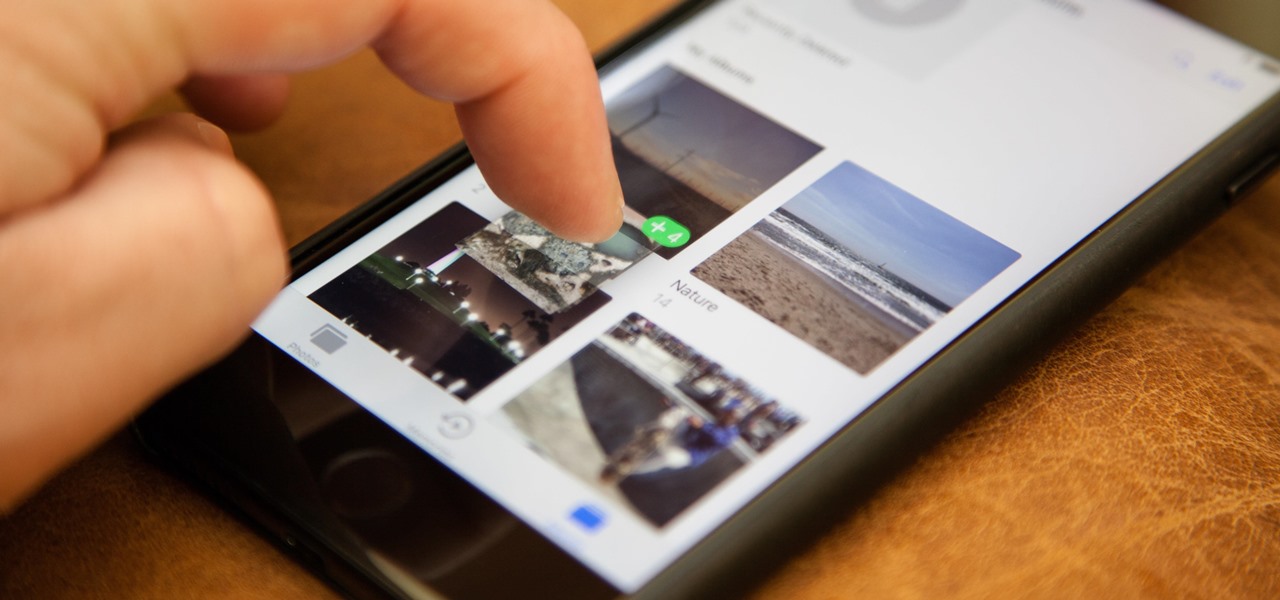
One of the more interesting improvements to the Photos app in iOS 11 includes a way to drag and drop a photo from one album into another album. In fact, you could even drag and drop multiple photos at the same time. And this is not an iPad-only feature — it works just as well on an iPhone.

Instead of a tutorial this is really a card idea for what to do with large stamps/images/rub ons/stickers etc.. and a really quick & easy option. Step 1: Items Used

Macs, like pretty much all Apple products, are notorious for not having a highly customizable UI. They do this to keep a consistent look and feel across all of their devices, but I've grown bored of it over the years.

The new Camera app in iOS 8 has a few really great features, but some of the best photo-centric features were packed into the iPhone's photo editing tools. These new editing features can create even more dynamic images than before, no Instagram required.

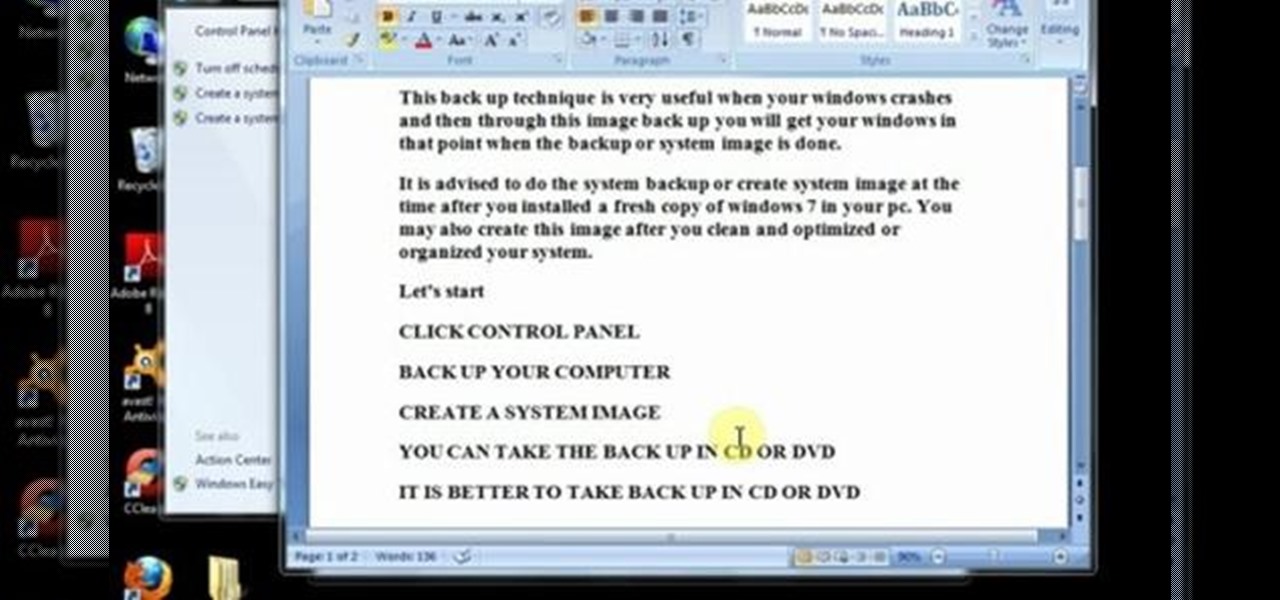
This video will help you how to create system image backup in windows 7. If you create an image of your system you could restore after crashes. Watch the video and follow the steps to create system image backup in your PC.

As I begin my move across the country, I find myself dodging all kinds of Craigslist scams, particularly in the apartments and housing classifieds. Fortunately, I've discovered a little trick that will tip me off to a scam before I lose $1,000 in a fake security deposit.

Google's new camera, aptly named Google Camera, has been all the rage since it was released onto Google Play last Friday. The main reason is the amazing Lens Blur feature that adds depth-of-field Lytro effects to photos, without the use of any expensive accessories or extra hardware, like on the new HTC One M8. The camera does this by utilizing a depth map through the processing of multiple images. Frame your photo, move the camera (phone) in an upward tilt or motion, and the software capture...

This how-to article is about changing you Mac icons. It goes into detail on how to make your dock icons a different image, like your favorite sports team or just a cool looking image.

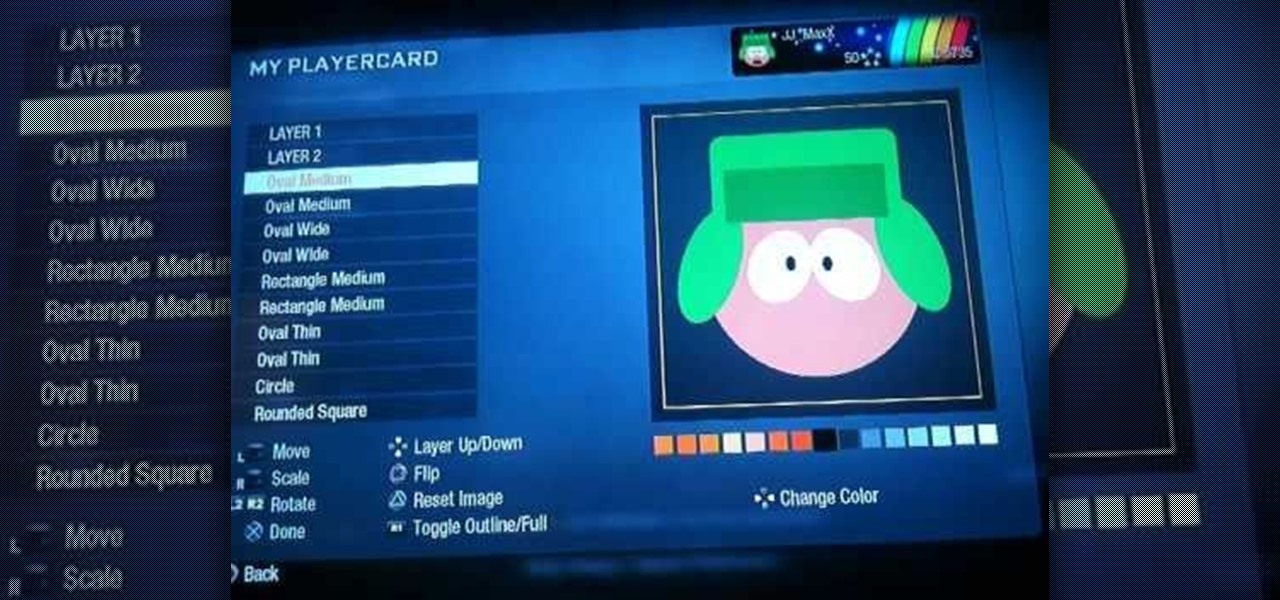
Forget the callsigns and titles from previous Call of Duty video games, Black Ops gives you something new to play with— playercards. Playercards allow you to create virtually any emblem you can possible think of because they're fully customizable, and emblem images can be colored, moved, rotated, flipped, resized and stacked on top of each other, with up to 12 emblem images layered at once. And if you're making Kyle Broflovski from South Park your playercard emblem, you'll need all 12 layers!

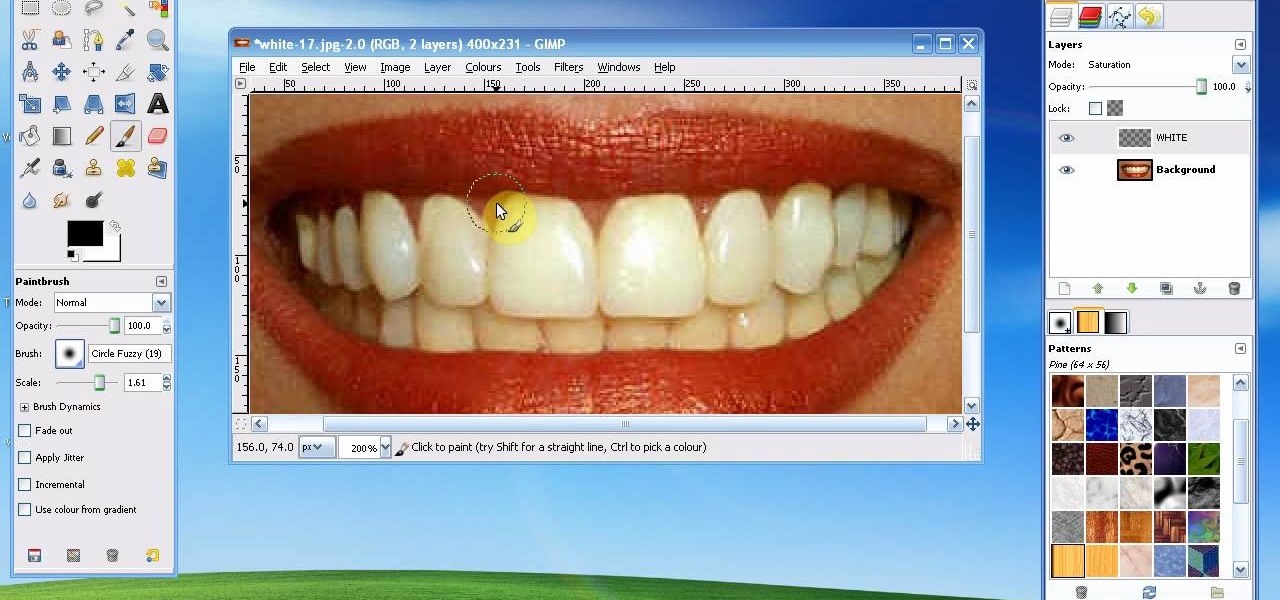
In this tutorial, we learn how to whiten teeth in the Gimp image editor. First, open up GIMP and zoom in on the teeth of your image. From here, create a new layer named "white", making sure it's transparent. Now, make sure the white tab is on the top and go to "mode" then "saturation". Select the brush named "circle fuzzy 19". Put the scale around 1.5 or 1.6 and then draw on the teeth, which will make them white! Do this for all of the teeth, then when you save you can use this as your image ...

You don't need a wide lens anymore to create your own panoramic landscape shots. This tutorial uses a few beautiful shots of the Aegean Sea and shows you a few techniques available in Adobe Photoshop to create your own panoramic images.

Have you ever tried to erase the background on an image so you can use the object image to layer with another document? You can do it in Adobe Photoshop, but if you don't know what you're doing, it could take hours… days to extract that image you want. But with Photoshop Elements, there's a handy tool called Magic Extractor that helps you get some of the dirty work out of the way, so you can concentrate on the finer details. Watch this video to see how it's done.

In this tutorial, we learn how to tune your car in Photoshop. First, open up the image of your car and then add in a picture of different wheels. Then, place these wheels over the existing ones on the car and blend them in, then change the color as you prefer. Do this for the wheels that you are able to see on the image. After this, lower the car and add in a bumper to the front of the car, importing images in from various sources. Continue to add in parts to the vehicle, using shading and bl...

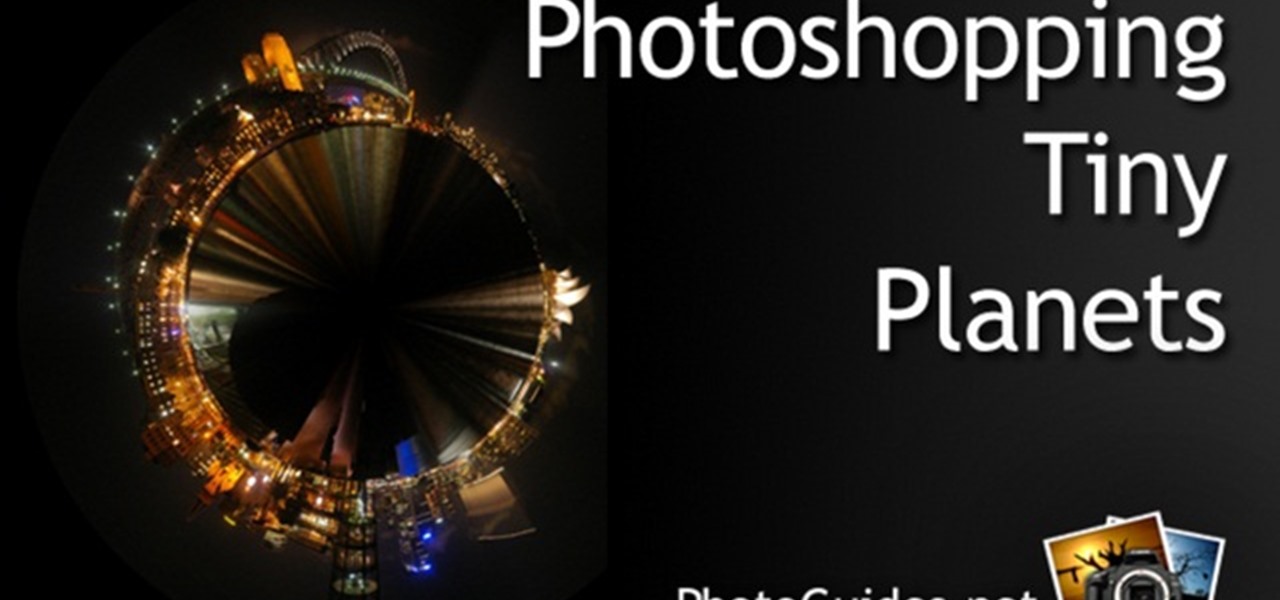
In this video, we learn how to create tiny planets in Photoshop. First, unlock your background layer and create a line in the middle of the image. Now, select the bottom that is underneath the line and drag it down to the bottom of the canvas. After this, make your image into a square by resizing the image with your tools. After this, you will need to rotate the image 180 degrees, then select "polar coordinates" in the distort tools. After this, you can rotate your canvas back around 180 degr...

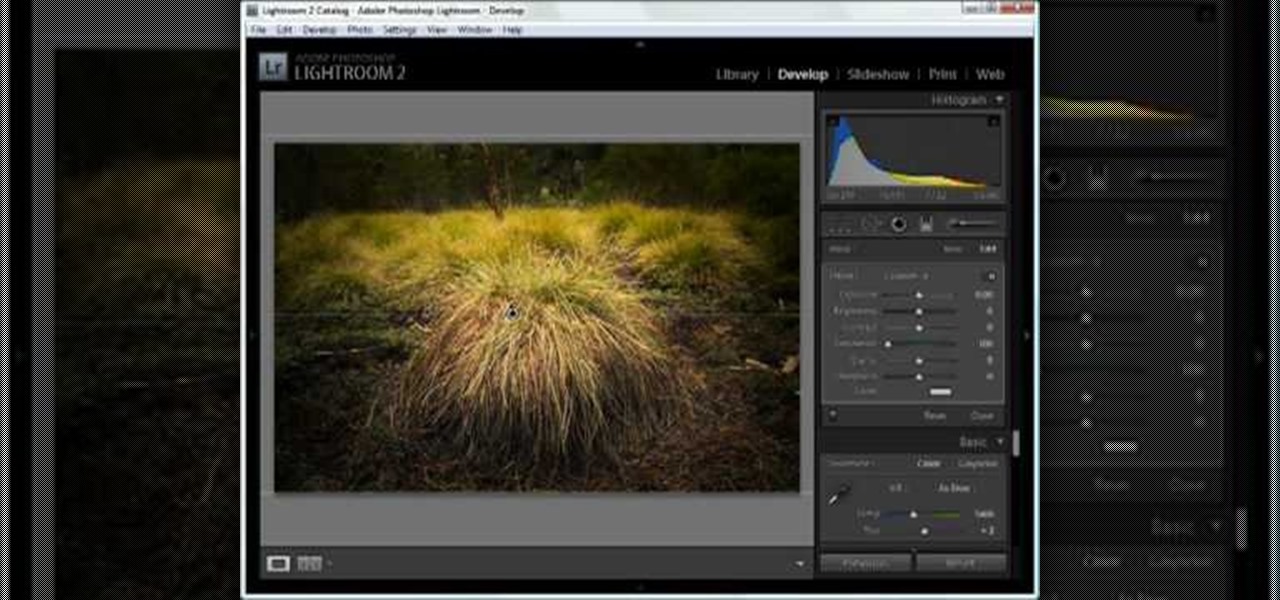
In this tutorial, we learn how to dodge and burn in Lightroom 2. First, open up your image in Lightroom 2 and use the brushes to change the saturation and the colors in the image. You can also use the graduated filter which you can use to apply effects across the image itself. Next, you can add a tint onto the picture and apply a second filter to make the top of the image darker, then make the middle of it brighter. Change the exposure and saturation to make the picture look more realistic. U...

In this tutorial, we learn how to insert pictures and format text in Fusion Essentials. Start by selecting your image and then clicking inside the text box. Select an image, then it will appear in the text box. From here, click on the picture and go to the alignment section. Choose how you want the text arranged around the image. You can justify it to the left, center, and right. You can also wrap the text around the image. Preview the page after you align it, then see if it allows the page t...

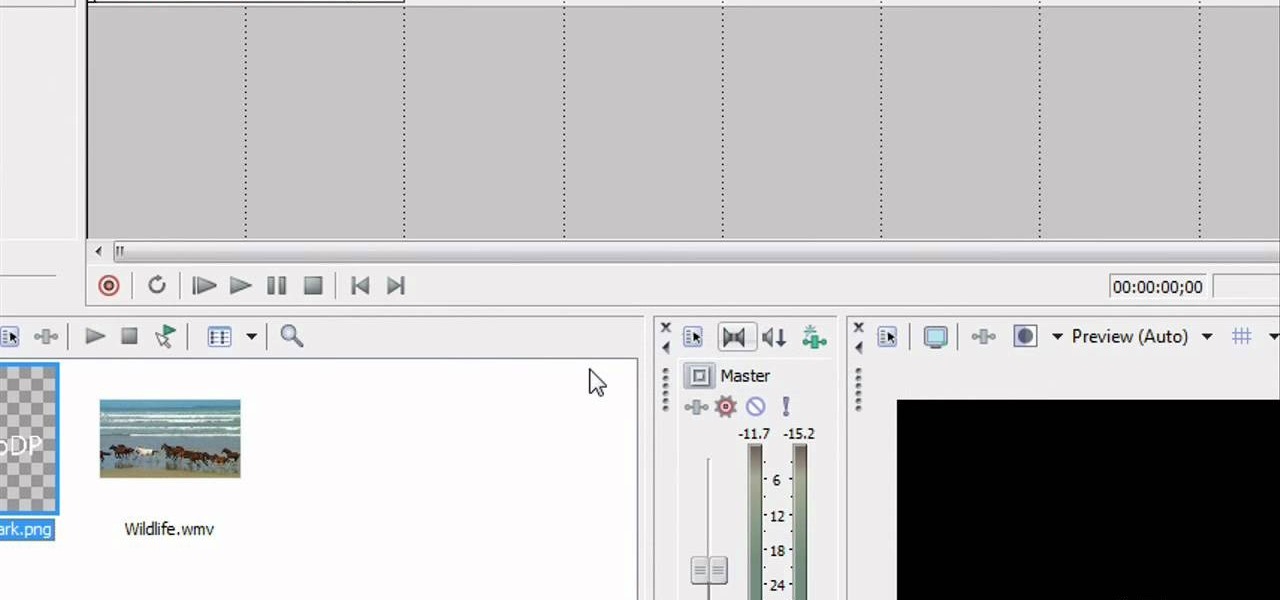
In this video tutorial, viewers learn how to add watermarks to videos in Sony Vegas. Users will need to begin by creating the watermark image in a photo editing software. Once created, make the image into a transparent background and save it as .PNG format. Now load the video into Sony Vegas and place it into the time-line. Then open the image in Sony Vegas and add it into the video time-line. Finish by panning the watermark image to a smaller size in the corner and extend the play time. This...

In this video tutorial, viewers learn how to create a carbon fiber desktop wallpaper using Adobe Photo-shop. Begin by creating a 20x20 pattern with the rectangle marquee and gradient tool. Then go to Edit, select Define Pattern and name the image. Now create a document with the dimensions of your monitor screen. Then go to Edit, select Fill and select the pattern that you have created. Then go to Filter, select Render, click on lighting effects and configure the image's lighting. This video w...

So, you're browsing the web on your iPhone using Safari, and you come across a picture you really want to keep forever and ever… what do you do? You can save it directly to your phone! But how do you download that web image? Best Buy has answers. The Best Buy Mobile team explains how simple it is to save web images from Safari on your Apple iPhone.

Photoshop is one of the most powerful and widely used program out there on the market. Not only can people use it to make their own photos look better, but they are able to take other pictures and images and enhance them to whichever way they want. That can be seen as both bad and good. Somtimes, to do so it involved using the layers and moving a picture to a new image. In this tutorial, you'll find out how to move a layer to a new image using Photoshop. Enjoy! It's quick, easy, and will be a...

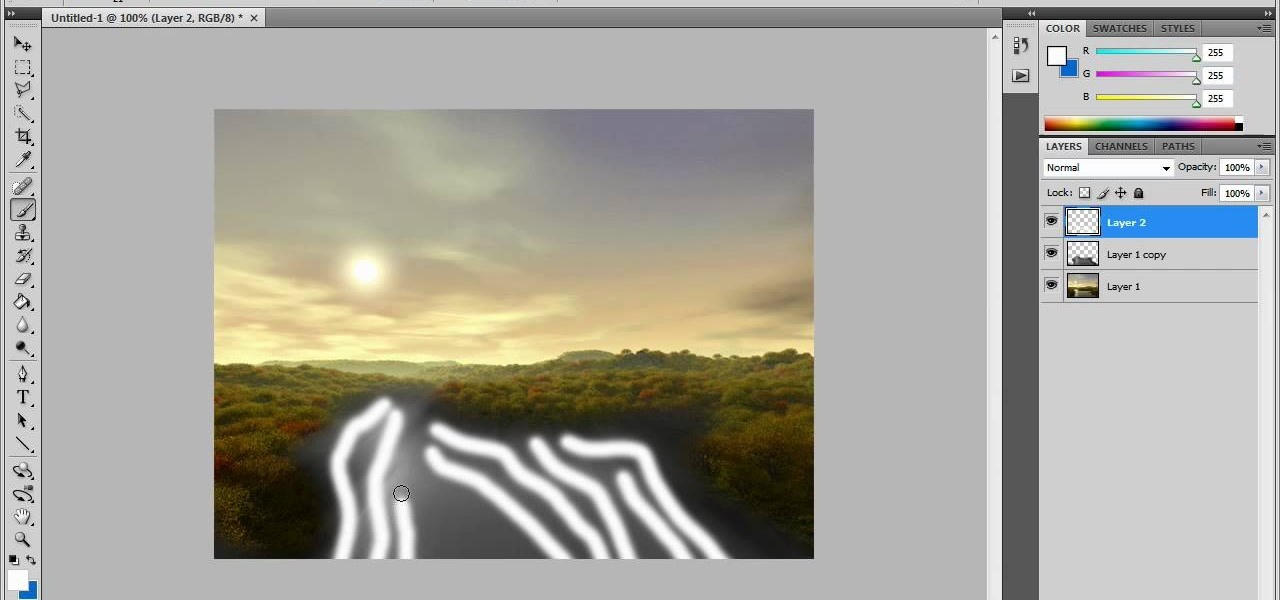
In this video tutorial, viewers learn how to create fog using Adobe Photoshop. Begin by importing the image into the program and duplicate the image. Now go to Filter, select Blur and select Radial Blur. Set the amount to 100, Blur Method to Zoom and Quality to Best. Now select the rectangular marking tool and select the sky. Then open the Hue/Saturation menu and set the Saturation to -100. Use the eraser tool to remove the gray from the edges. Now use the paint tool and paint white streaks o...

In this Software video tutorial you will learn how to sharpen blurry images using Photoshop. Open the image and duplicate the original layer. Then go to filter > other > high pass. In the window that pops up, enter a value of 4 – 6 pixels. Now simply change the blending mode of that layer to overlay by clicking on ‘layers’ and selecting ‘overlay’ from the dropdown menu. You will notice that you have a much clearer picture. Then go to filters > sharpen > ‘unsharp mask’ to add som...

In this how-to video, you will learn how to hide a file inside an image file. You will need a program like WinZIP or WinRAR to do this. First, create a new zip folder. Drag the file you want to hide into the zip folder. Open the command prompt. From here, type in the location of your file. Now, type in COPY /B followed by the name of the image, a plus, and the name of the zip folder. Press enter to do this. Now, you can delete the zip folder. The image will now actually be a zip folder. This ...

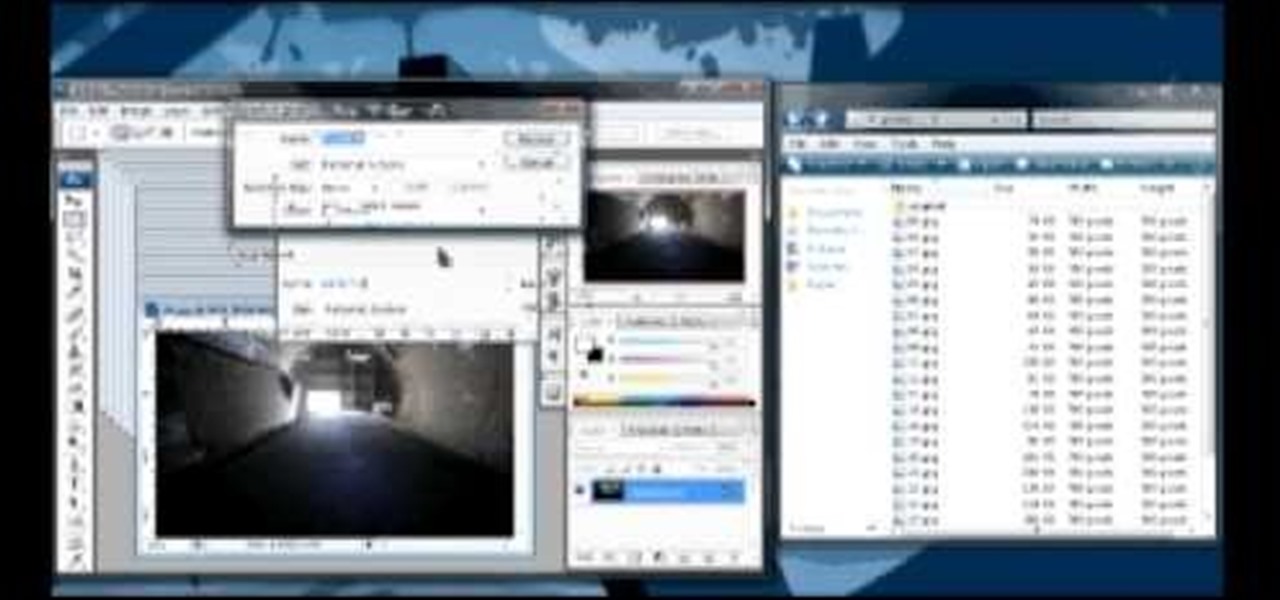
1. First of all you need to have a folder containing stock of various photos downloaded from the internet. The width of these images is ‘780’ and you need to resize them to ‘550’.


